Anna’ Stampin’ Cave – Roses and Dragonfly Thank You For A Smile Card for GDP#075
Hello and welcome everyone! Today I’ve got for you a card I created for this week’s Global Design Project theme challenge: Winged Creatures. I’m bit late to the party but thankfully not too late.
I’m a big fan of detailed die-cutting and had this idea bouncing around in my head for a while now, just never had enough time to try it.
In this card, I’ve incorporated two die-cutting techniques – inlaid die-cutting and partial die-cutting – using a couple of detailed die sets: Rose Garden Thinlits Dies and Detailed Dragonfly Thinlits Dies.
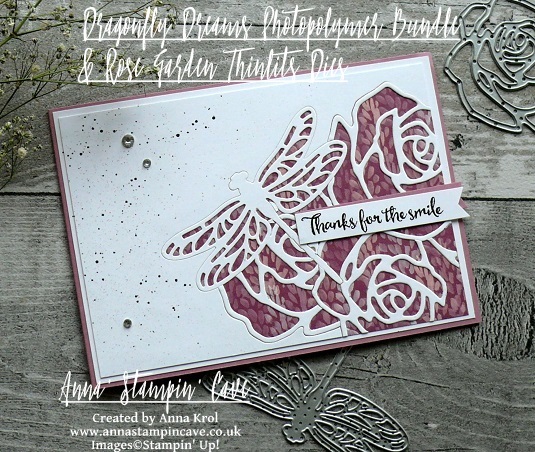
Roses and Dragonfly Thank You For A Smile Card dimensions:
- Sweet Sugarplum cardstock: 11-6/8″ x 4-1/8″ scored in half at 5-7/8″ (29.7 x 10.5 cm scored in half at 14.8 cm)
- Whisper White cardstock cut into two panels: bottom one measure 5-6/8″ x 4″ (14,5 x 10,2 cm) and top one 5-1/2″ x 3-7/8″ (14 cm x 9,8 cm)
- Blooms & Bliss Designer Series Paper: 5-1/2″ x 3-7/8″ (14 cm x 9,8 cm)
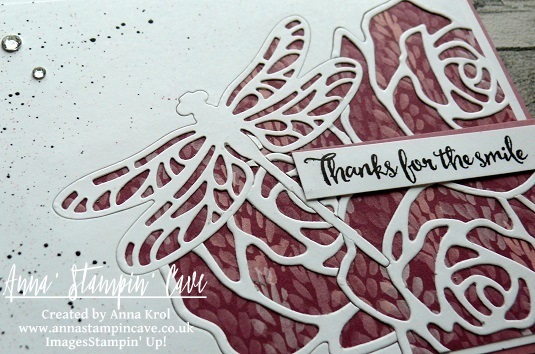
To create my card I started with die-cutting.
I wanted this small dragonfly to be in the foreground of my die-cut panel so I run it through my Big Shot first.
For this technique, you first want to die-cut the image you want to have in the foreground of your card and you work your way backwards. Everything you die-cut later will appear to be ‘behind’ this first image.
Once it has been die-cut, I removed the dragonfly die and die-cut and I placed the rose die on the panel. I placed it the way that some parts of the die overlapped the negative space where dragonfly was die-cut previously from.
Again, I run it through the Big Shot and very carefully removed my rose die-cut from the die, being careful not to lose all the separate pieces as I will need them all to inlaid them back to my panel. I die-cut two more partial roses (one at a time) from the same panel, every time making sure they overlap the space of a previously die-cut image and saving all the little die-cut pieces. I arranged all my die-cut on the desk, so I knew
Once all the images were die-cut, I adhered what was left of the panel to the Blooms & Bliss DSP piece. And now the fun began: I had to inlay all the die-cut outlines where they came from.
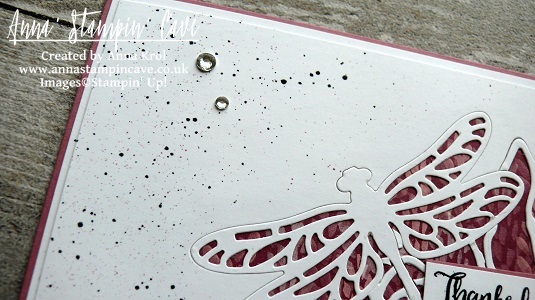
The easiest part was to inlay the dragonfly outline. From there, I worked my way through the roses in the same order I die-cut them. Once I was done, I matted my detailed panel with slightly bigger Whisper White piece and next mounted it onto my Sweet Sugarplum card base.
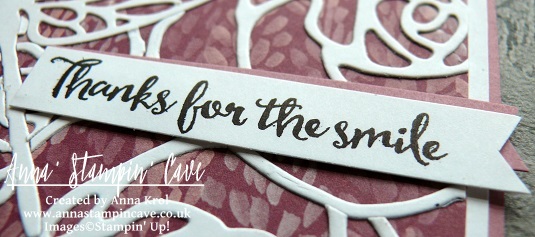
I masked bottom part of the sentiment ‘Thanks for the smile and everything else’, stamped it on a strip of Whisper White cardstock in Basic Black Archival Ink and cut it into a banner. I also cut a banner from Sweet Sugarplum cardstock and adhered them both to my card, offsetting slightly.
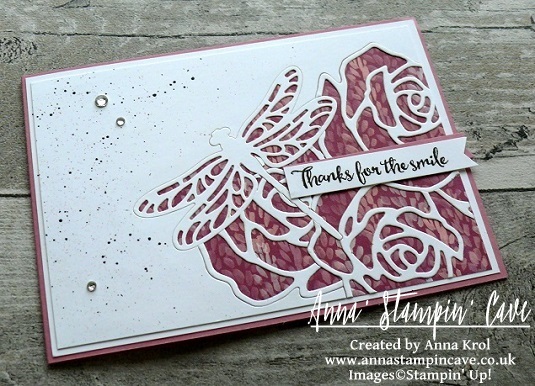
I was pretty happy with the outcome but I had a feeling that something was missing. So I masked the detailed part and all the edges of my card, and I added some tiny speckles in Basic Black and Sweet Sugarplum. Few rhinestones wrap up my card.
I hope you feel inspired and that you give this technique a go. Thank you for stopping by and have a blessed day,


Any chance you will do a video for this technique? Love it!
I’m glad you like it Lisa, but I don’t do videos, it’s just my hobby xx
Wow Anna, this is just beautiful. I love the mix of dies you used, they are perfect together! Thanks for playing at Global Design Project with us this week.
Thank you Paula. I like to experiment 🙂 xx
Anna this is such a gorgeous card and a very clever technique! I LOVE it, and will definitely give it a try. TFS. Good luck in the GDP. X
Thank you Theresa xx
Hi Anna … what an interesting technique with the dies! The end result is very stunning! Thanks for sharing … will look forward to trying it out! xx
Thank you, Cheryll x It’s really great and quite easy technique.
AWESOME!!!!!!!!!!!!!!!!!!!
Thank you, lovely xx