Teachers Thank You Gift Using Stampin’ Up! Tropical Chic Bundle

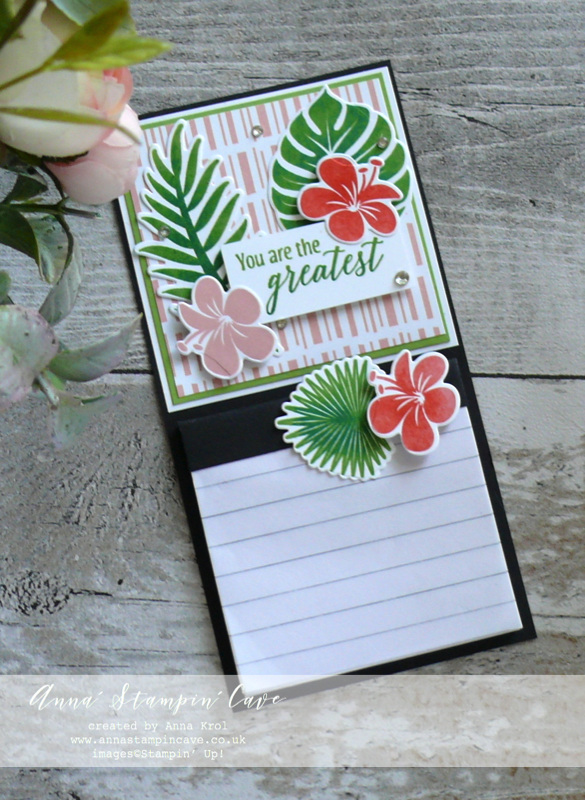
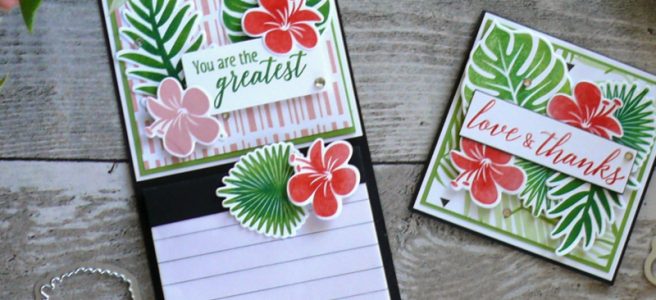
Anna' Stampin' Cave - Teacher's Thank You Gift Fridge Magnet and Thank You card using Tropical Chic Stamp Set and Tropical Thinlits Dies from Stampin' Up!

Anna’ Stampin’ Cave – Teachers Thank You Gift Using Tropical Chic Bundle

Thanks for coming to my blog today! We are being highlighted internationally by Kylie Bertucci and you are able to vote for my project. The top ten winners will get to be part of an international blog hop so please vote for my project. My project is under the number 20. You can do it here or use a button at the end of my post.

A theme for this month’s highlight is ‘Teachers Gifts’. And however, it’s been a long time since our daughter finished primary school (she starts Uni after summer break) I thought why not make a cute little set of a fancy fridge magnet and a mini 3×3″ Thank You card.

To make these I’ve used Stampin’ Up! Tropical Chic Stamp Set & Tropical Thinlits Dies. I also used coordinating Tropical Escape DSP.
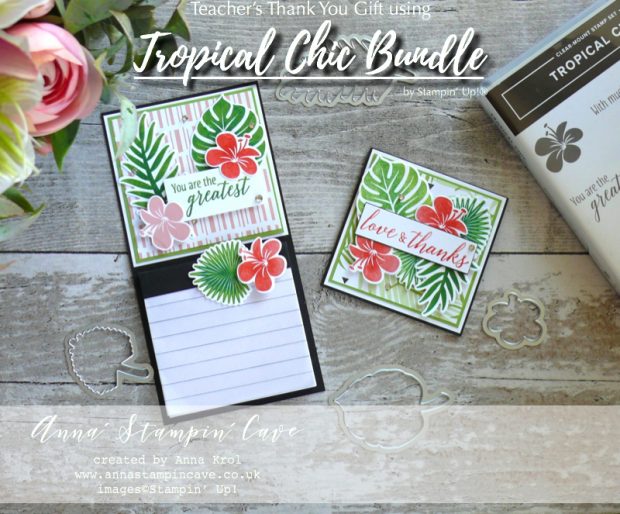
Anna' Stampin' Cave - Teacher's Thank You Gift Fridge Magnet and Thank You card using Tropical Chic Stamp Set and Tropical Thinlits Dies from Stampin' Up!

Teachers Gift Fridge Magnet dimensions:

  • Basic Black cardstock for the base: 3-1/4″ x 6-1/2″
  • Basic Black cardstock for the notebook: 1-1/2″ x 3″
  • Whisper White cardstock: 3-1/8″ x 3-1/8″
  • Granny Apple Green cardstock: 3″ x 3″
  • Tropical Escape DSP: 2-7/8″ x 2-7/8″
  • Whisper White cardstock for stamping & die-cutting
  • Rhinestones
  • magnet sheet 3″ x 4″

Teachers Thank You Card dimensions:

  • Basic Black cardstock: 3″ x 6″
  • 2x Whisper White cardstock: 2-7/8″ x 2-7/8″
  • Granny Apple Green cardstock: 2-6/8″ x 2-6/8″
  • Tropical Escape DSP: 2-5/8″ x 2-5/8″
  • Whisper White cardstock for stamping & die-cutting
  • Rhinestones

Anna' Stampin' Cave Teacher's Thank You Gift Fridge Magnet using Tropical Chic Stamp Set and Tropical Thinlits Dies from Stampin' Up!

First, I created the base for my magnet: I cut Basic Black cardstock to 3-1/4″ x 6-1/2″ and using liquid glue I adhered the magnetic sheet at the back. Next, I created the notes area. I have found this little notebook in my drawer but it had a navy spine and was a little too long (3″ x 4″) and I needed a square one. So I removed the old spine and shortened notebook using the guillotine.

To create new spine I cut a 1-1/2″ x 3″ piece of Basic Black cardstock and scored it at 7/8″ and 1″. Adhered it to the notebook and adhered notebook to the base.Anna' Stampin' Cave Teacher's Thank You Gift Fridge Magnet using Tropical Chic Stamp Set and Tropical Thinlits Dies from Stampin' Up!
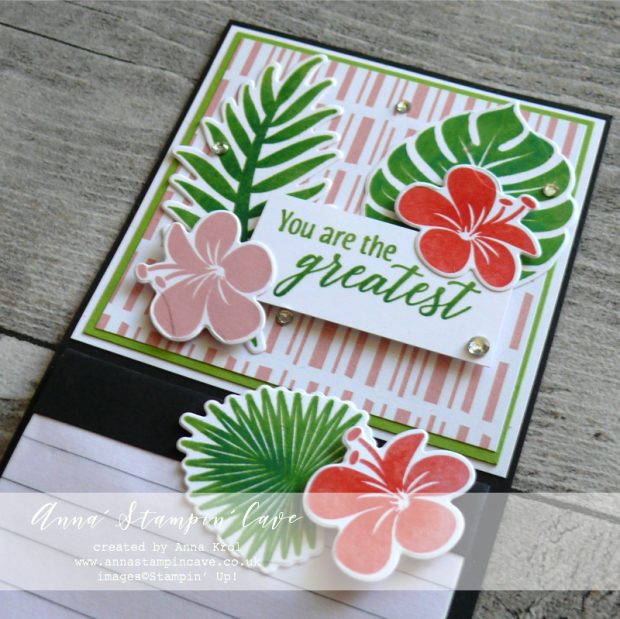
To finish off the top of my magnet, I took a Whisper White cardstock square, glued Granny Apple Green on top and layered a slightly smaller square of Tropical Escape DSP and adhered them all to the base.

For stamping the foliage I’ve used Stamparatus: I stamped each greenery image in Granny Apple Green ink, followed by Shaded Spruce but dabbed off some colour from the edges of the images.

I did the same with flowers but I used Blushing Bride with Poppy Parade. I decided to leave one flower just in Blushing Bride. I die cut all my images using coordinating dies, arranged and adhered them to the magnet using liquid glue and dimensionals.

For the sentiment, again, I’ve used Granny Apple Green with Shaded Spruce.
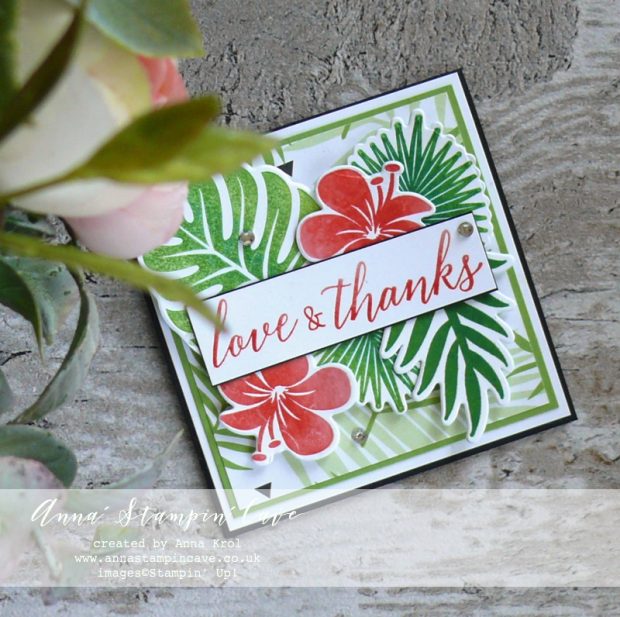
Anna' Stampin' Cave - Teachers Thank You card using Tropical Chic Stamp Set and Tropical Thinlits Dies from Stampin' Up!

For the card, I’ve used a 3″ x 6″ piece of Basic Black, scored at 3″. Same as with a magnet piece, I layered Whisper White with Granny Apple Geen and Tropical Escape DSP on top and adhered them all to the card base.
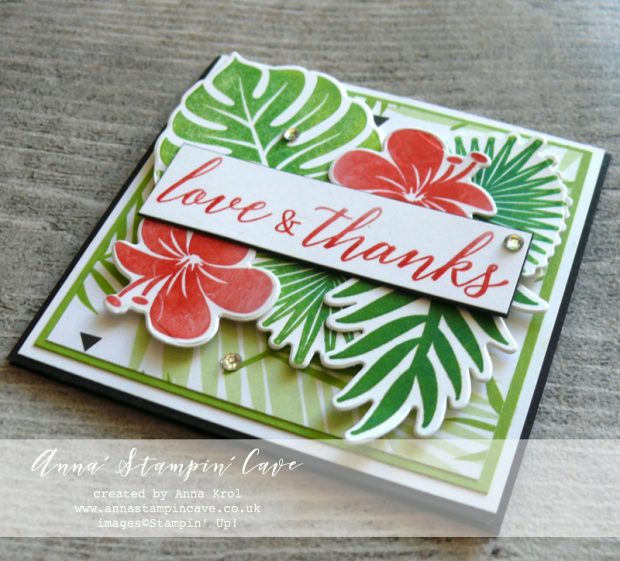
Anna' Stampin' Cave - Teacher's Thank You Gift Fridge Magnet and Thank You card using Tropical Chic Stamp Set and Tropical Thinlits Dies from Stampin' Up!

Using Stamparatus, again, I stamped each of my images and die cut them using coordinating dies.

The sentiment comes from the same stamp set but I stamped only ‘Love & Thanks’ with Blushing Bride at full strength and Poppy Parade dabbed off for gradient look.

Few rhinestones finish off my little projects.

I truly hope you’ve enjoyed coming to my blog today.

Now, make sure you head over to Kylie’s blog to check all lovely projects and vote for your favourites. Hope my project will be among them. My project is under number 20!

As always, if you wish to purchase any of the products I have used, simply click the images below to go directly to my online store.
My exclusive special offer this month only: FREE Stampin’ Up! Pearlised Doilies

How it works…

  • Place a product order of £50 or more (excl. shipping) in my online store in the month of August. 
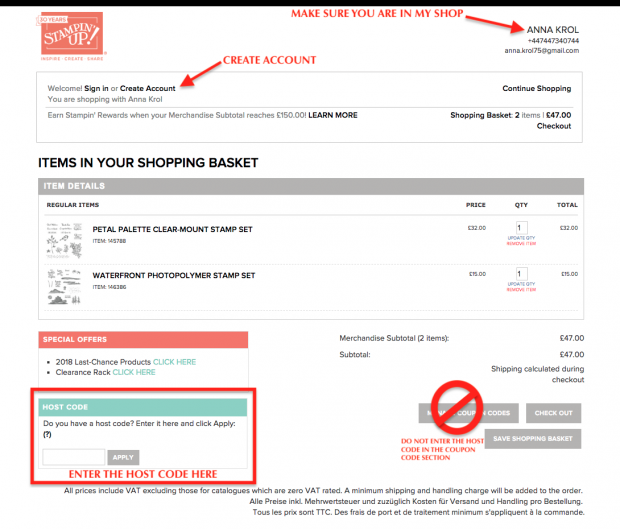
  • Add Host Code U6KK4ACY. To claim your reward you must include this code in your ordering process.
  • This August Special Offer will be applied to all qualifying orders placed through my shop using Host Code U6KK4ACY between 1 August – 31 August.
  • If your order is £150 or more do not use Host Code. You will earn your own Host Rewards to spend.
  • IMPORTANT:  My FREE Special Host Gift giveaways are mailed separately from any order and will arrive mid-September.

Stamparatus

£46.00

Big Shot

£102.00

Pin me

Summary of the project which gives all the views of the card in one photo. I’d love if you pinned and called by on Pinterest xx

Anna' Stampin' Cave - Teacher's Thank You Gift Fridge Magnet and Thank You card using Tropical Chic Stamp Set and Tropical Thinlits Dies from Stampin' Up!

DON’T FORGET TO CHECK

Request Autumn/Winter Catalogue below –
Stampin' Up! Autumn Winter 2018 Catalogue

How can you get a FREE copy of the new Autumn/Winter 2018 Catalogue?

For those living in the UK and Northern Ireland, you may request a catalogue using the form below and I will add you to my mailing list for this catalogue.

You can also opt-in to receive my customer email newsletter, featuring tips, product shares, news of Stampin’ Up! specials and my personal promotions.

  • Do not forget to give your full address
  • It’s open to the United Kingdom and Northern Ireland only.

Earn in August – redeem in September –> click here for more details

All-new, limited-time Colour Your Season products – Products available while supplies last or until 31 August 2018 – order yours today –> click here

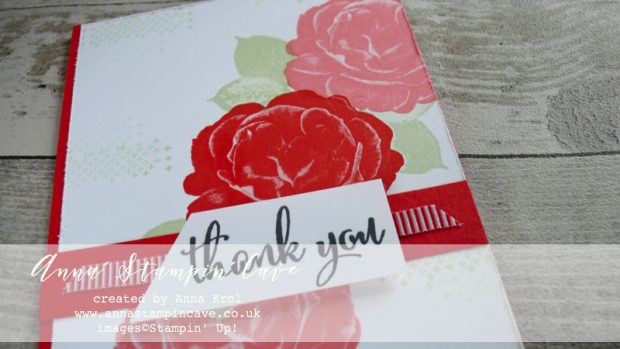
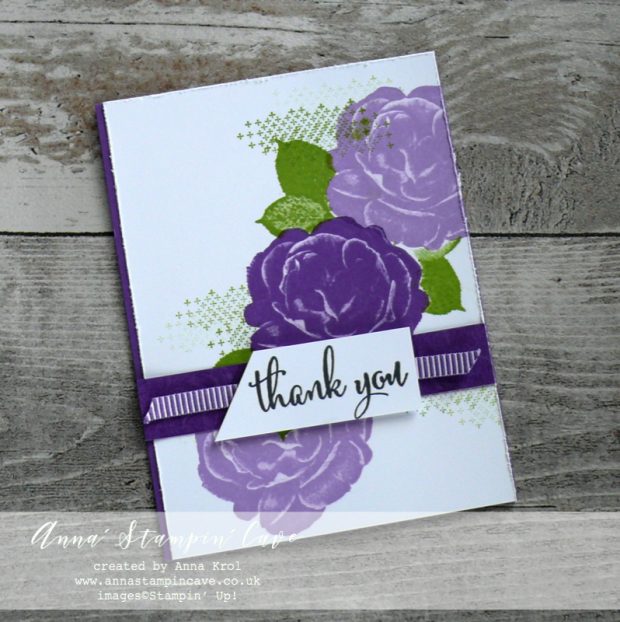
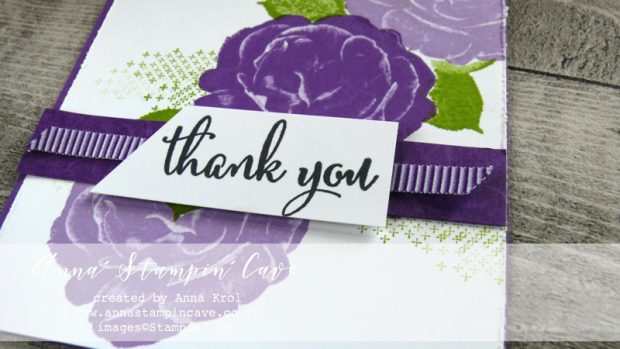
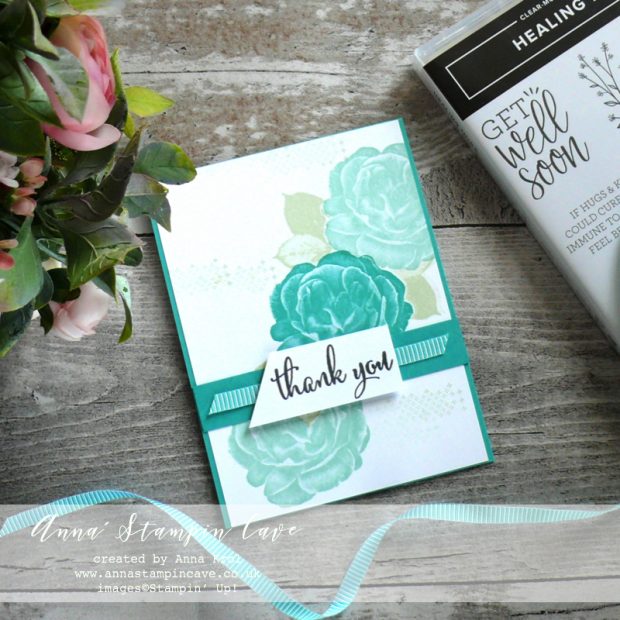
Customers Thank You Cards Using Healing Hugs Stamp Set

Anna' Stampin' Cave - Customers Thank You Cards using DistINKtive Healing Hugs Stamp Set by Stampin' Up! in Poppy Parade, Gorgeous Grunge & Bermuda Bay Colours

Anna’ Stampin’ Cave – Customers Thank You Cards Using Beautiful Healing Hugs Stamp Set

Anna' Stampin' Cave - Customers Thank You Cards using DistINKtive Healing Hugs Stamp Set by Stampin' Up! in Poppy Parade, Gorgeous Grunge, Bermuda Bay Colours

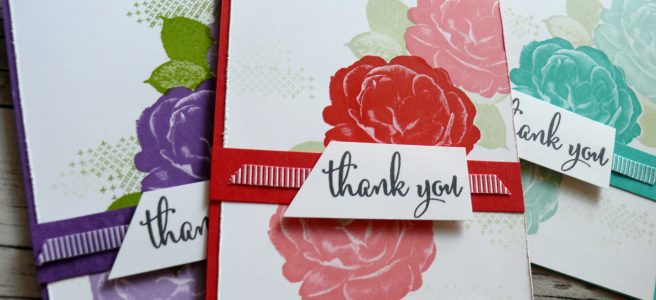
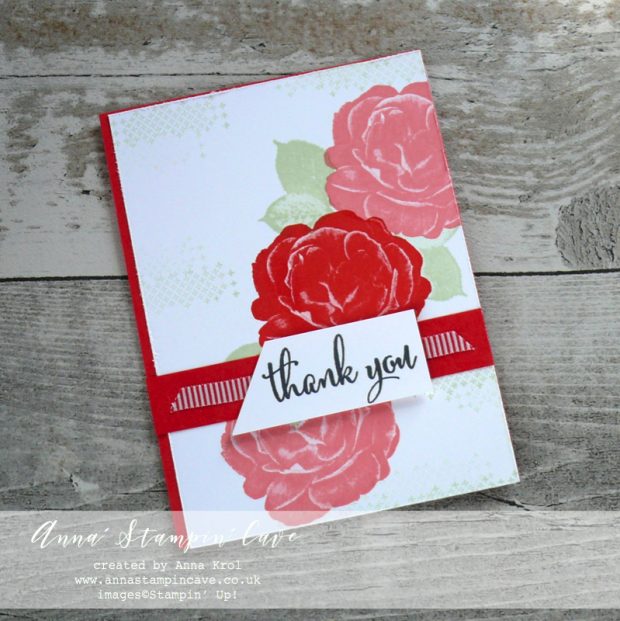
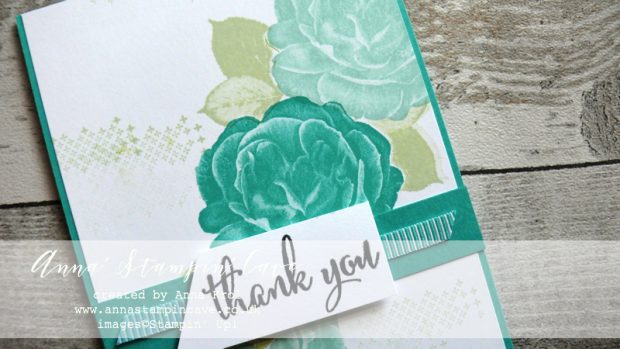
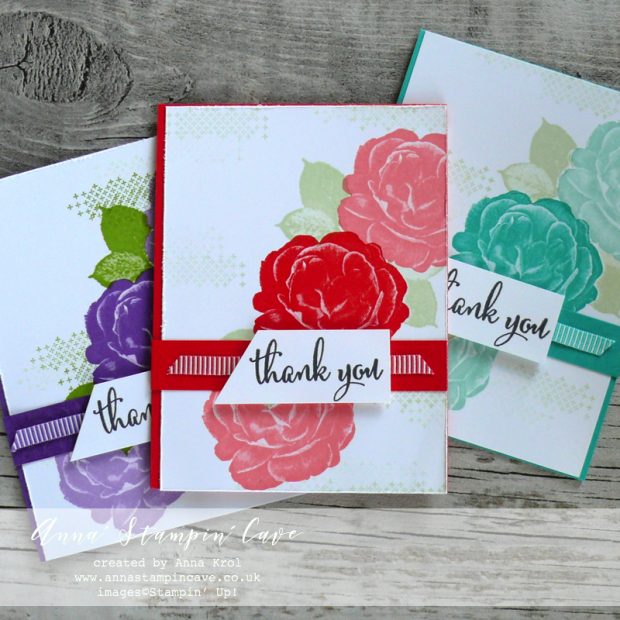
Today I’ve got for you really beautiful Thank You cards I’ve made using Healing Hugs Stamp Set by Stampin’ Up!

These were the cards for my customers who shopped with me in the month of June and used Host Code. I have sent them out with rhinestones and some treats!

I had a little delay this month because of MS giving me hard time again, but my ladies were very understanding and loved their parcels. I even received a couple of messages back to say how much they loved them!

Healing Hugs ‘thank you’ cards

For my cards I’ve used a gorgeous distINKtive stamp set called Healing Hugs and a sentiment from Love What You Do stamp set.

Anna' Stampin' Cave - Customers Thank You Cards using DistINKtive Healing Hugs Stamp Set by Stampin' Up! in Poppy Parade Gorgeous Grunge Bermuda BayHealing Hugs Thank You Cards dimensions:

  • Poppy Parade/Gorgeous Grunge/Bermuda Bay cardstock: 11-6/8″ x 4-1/8″ scored at 5-1/2″ (29.7 x 10.5 cm scored at 13.9 cm)
  • Whisper White cardstock: 4″ x 5-1/2″ (10.3 cm x 13.9 cm)
  • Whisper White cardstock for inside: 4-1/8″ x 4″ (10.5 cm x 10.3 cm)
  • Whisper White cardstock for the sentiments
  • Mini Striped Ribbon in Poppy Parade/Gorgeous Grape/Bermuda Bay: approx. 4″ (10.3 cm)

How to:

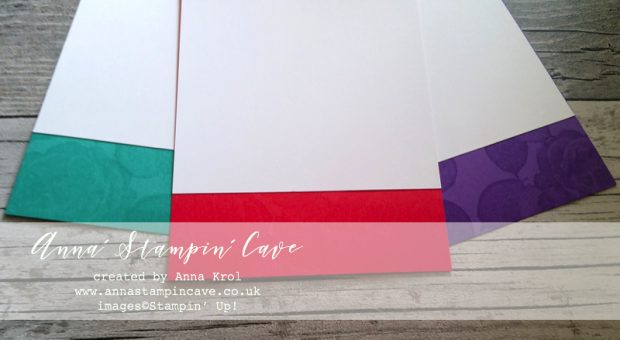
I started by preparing the bases for three cards. Once I scored each card base at 5-1/2″, I had 6/8″ of cardstock hanging off the base. I trimmed it off and saved it, as I will need it later in the design.

Anna' Stampin' Cave - Customers Thank You Cards using DistINKtive Healing Hugs Stamp Set by Stampin' Up! in Poppy Parade Ink

Usually, I make individual cards, but for customers, I really like to make cards in batches. Once I have a design I choose colours, and then I start making the cards, each step at a time.

For these cards, I chose to use three different colours: returning Poppy Parade, new Gorgeous Grape and current Bermuda Bay (the bases and stamping). To help me with accurate stamps placings I have used a Stamparatus.

Anna' Stampin' Cave - Customers Thank You Cards using DistINKtive Healing Hugs Stamp Set by Stampin' Up! in Poppy Parade Ink

Colour Choices, stamping & masking

My first colour choice was Poppy Parade for the base and flowers, followed by Gorgeous Grape and Bermuda Bay. For leaves and background accents I’ve used accordingly either Soft Sea Foam and Granny Apple Green.

I stamped the main flower first on each Whisper White panel and next onto some masking paper and fussy cut it.

Anna' Stampin' Cave - Customers Thank You Cards using DistINKtive Healing Hugs Stamp Set by Stampin' Up! in Gorgeous Grunge

I placed the mask over the flower and stamped two more flowers, one above and one below, first stamping them off for a lighter shade.

Next, using the same mask I stamped the leaves. For the Gorgeous Grape card, I’ve used Granny Apple Green for the leaves. On other cards, the foliage was stamped in Soft Sea Foam.

Anna' Stampin' Cave - Customers Thank You Cards using DistINKtive Healing Hugs Stamp Set by Stampin' Up! in Gorgeous Grunge

Once all the flowers and leaves on all of the cards were stamped I decided to use small ‘plus’ stamp from the same stamp set to add some detail to the background.

I didn’t use a Stampratus for this, just a regular acrylic block, size ‘D’. Added details as I went along using same greens as before.

Before I mount all the panels to the card bases I distressed the edges using paper snips and adhered them either centred or to the right.

Anna' Stampin' Cave - Customers Thank You Cards using DistINKtive Healing Hugs Stamp Set by Stampin' Up! in Bermuda Bay

Finishing off the cards

I took the 6/8″ pieces of cardstock that I have trimmed from bases earlier and stamped them using the flower stamp and Versamark ink pad, to create a subtle background. I adhered them to the cards using snail adhesive.

I have added those strips to my cards and also adhered around  3-1/2″ length of Mini Striped ribbons to each (according to the colour of the base).

Anna' Stampin' Cave - Customers Thank You Cards using DistINKtive Healing Hugs Stamp Set by Stampin' Up! in Bermuda Bay

For the sentiment, I have used the ‘Thank You’ stamp from Love What You Do stamp set. I stamped it on a strip of Whisper White cardstock, in Memento Black, using Stamparatus.

I trimmed each sentiment to measure 1″ x 2-1/2″ and pop them up on the cards using dimensionals.

Anna' Stampin' Cave - Customers Thank You Cards using DistINKtive Healing Hugs Stamp Set by Stampin' Up! in Poppy Parade, Gorgeous Grunge, Bermuda Bay Colours

Inside the cards, I stamped the flowers and leaves in Versamark for tone on tone look. Next, I adhered smaller Whisper White panels inside those cards.

And here’s the last peak on all colours/designs together –

Anna' Stampin' Cave - Customers Thank You Cards using DistINKtive Healing Hugs Stamp Set by Stampin' Up! in Poppy Parade, Gorgeous Grunge, Bermuda Bay Colours

I truly hope you like my cards and enjoyed coming to my blog today.

As always, if you wish to purchase any of the products I have used, simply click the images below to go directly to my online store.


HOST CODE for the month of JULY is D369YGBB. Orders of £50+ (excl. p&p) will receive a SPECIAL GIFT from me: a sampler of In Color® Grosgrain Ribbons (2 yards of each).Anna' Stampin' Cave JULY HOST GIFT 2018-2020 IN COLOR® Grosgrain Ribbon Sampler

Thank You Gifts will be shipped mid-August.

Stamparatus

£46.00

Bermuda Bay Classic Stampin' Pad

Bermuda Bay Classic Stampin’ Pad
[131171]
£6.00

Pin me

Summary of the project which gives all the views of the card in one photo. I’d love if you pinned and called by on Pinterest xx

Anna' Stampin' Cave - Customers Thank You Cards using DistINKtive Healing Hugs Stamp Set by Stampin' Up! in Poppy Parade Gorgeous Grunge Bermuda Bay


How to use HOST CODE


DON’T FORGET TO CHECK

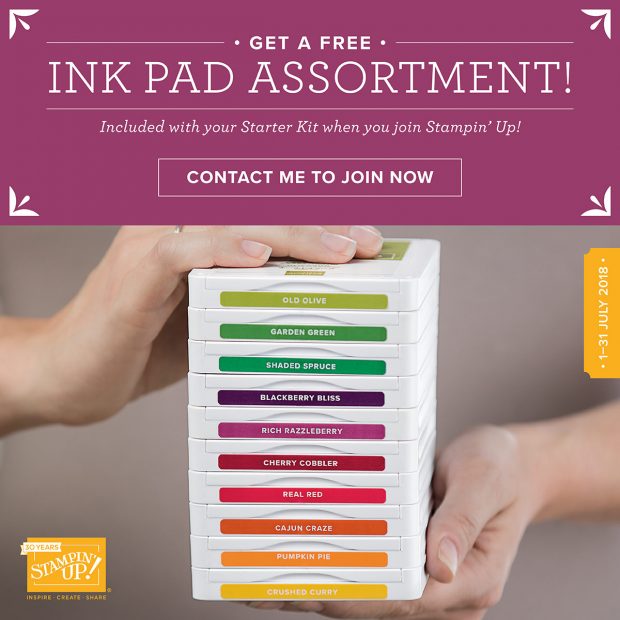
1-31 July – GET 10 FREE INK PADS (up to a £63 added value) with the £99 Starter Kit.  Choose one of the five colour collections (In Color, Brights, Neutrals, Regals or Subtles). For the full details on the Stampin’ Up! July Special Joining Offer –> click here
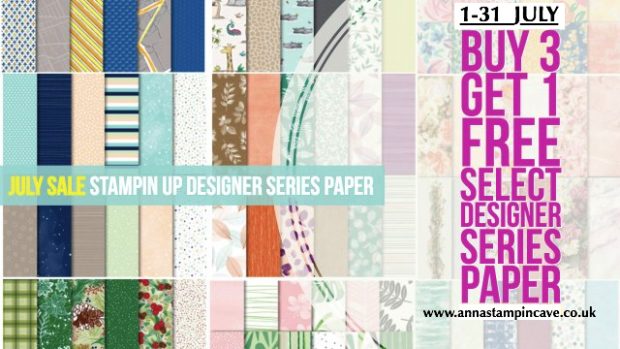
1-31 July Stampin’ Up! BUY 3 GET 1 FREE on select Designer Series Paper –> click here
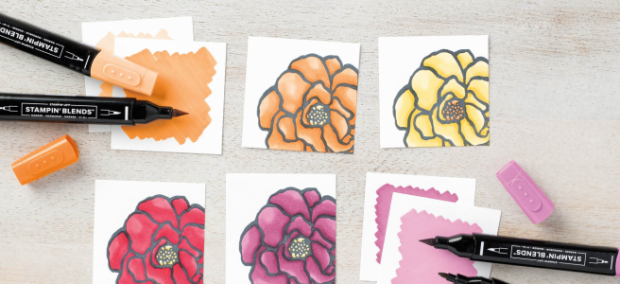
The New Stampin’ Blends Marker Colours Are Now Available –> click here

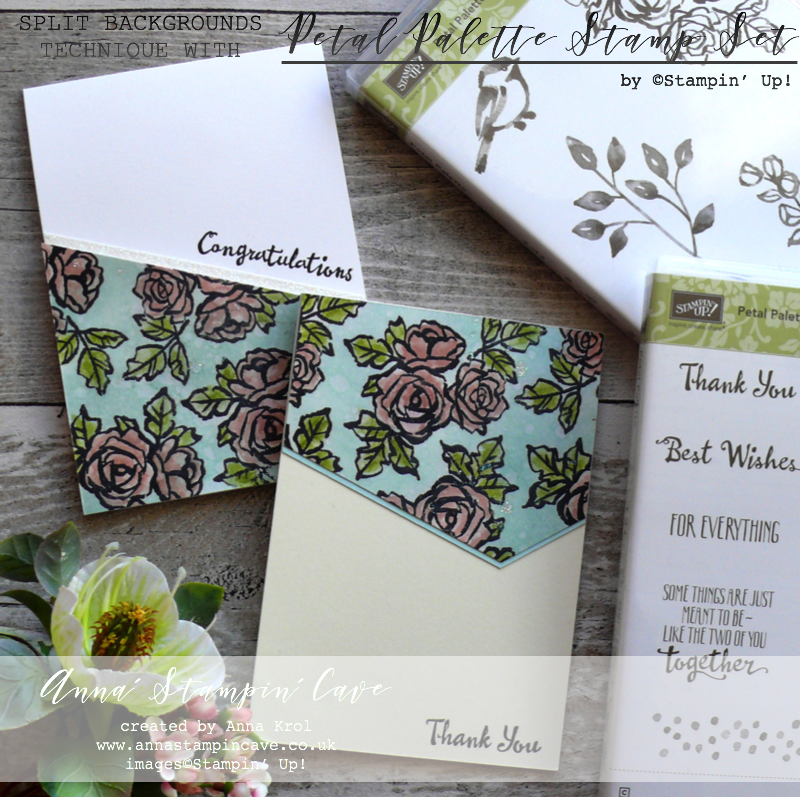
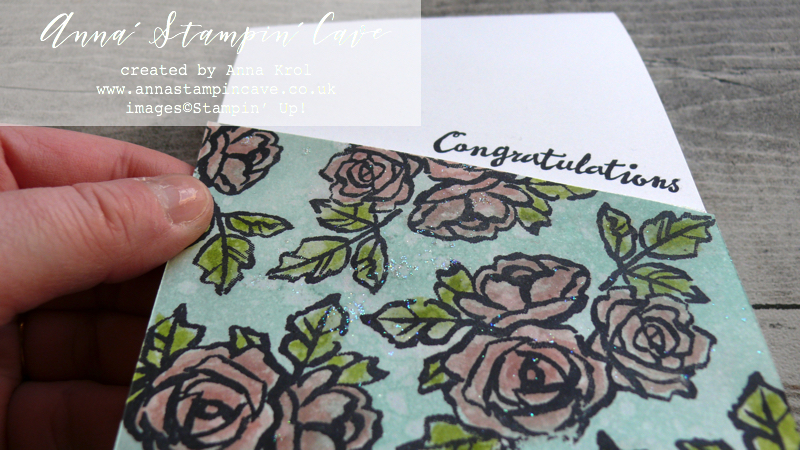
Petal Palette Split Background 1 For 2

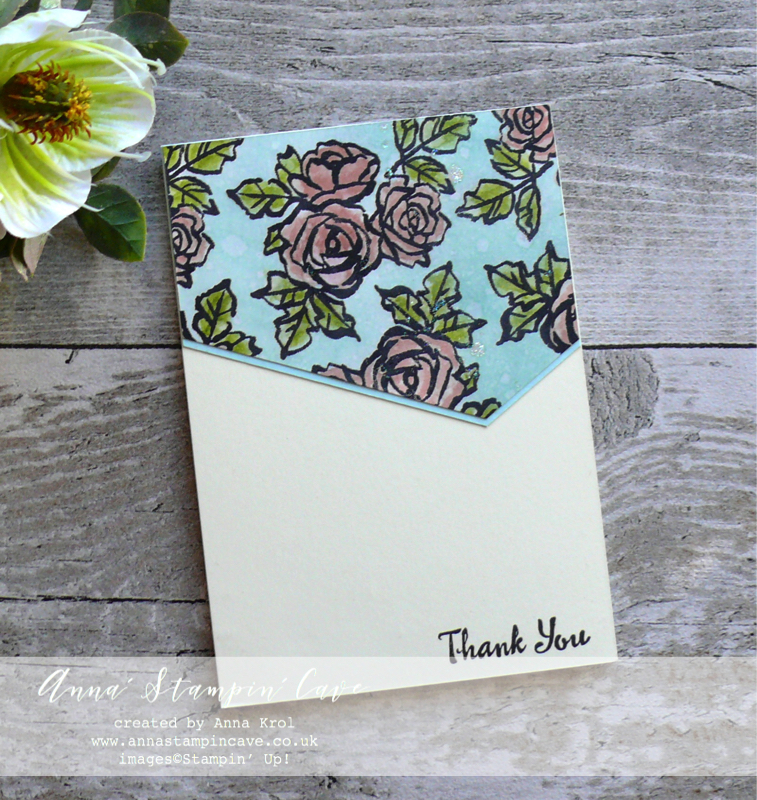
Anna’ Stampin’ Cave – Petal Palette Split Background 1 For 2 for Kylie Bertucci’s International Project Highlights

Thanks for coming to my blog today! We are being highlighted internationally by Kylie Bertucci and you are able to VOTE  for my project. The top ten winners will get to be part of an international blog hop so please vote for my project. My project is under number 7!  You can do it here or use a button at the end of my post.

Our theme for this highlight is, again, ‘Favourite Sale-a-bration Or Occasions Catalogue Products’ – because they are so amazing!! Last time I’ve used my ever favourite medium: Brusho Crystal Colour – you can check that post HERE.

This time, however, I decided to use a stamp set I seem to be using a lot lately, called Petal Palette. And this is also my second project in ‘Bedazzled‘ series, as I have a thing (or two lol) for a glitter lately too haha

Dimensions for both cards:

  • card base: 11-6/8″ x 4-1/8″ scored in half at 5-7/8″ (29.7 x 10.5 cm scored in half at 14.8 cm) – Whisper White Thick & Very Vanilla cardstock
  • Shimmery White cardstock: 4-1/4″ x 5-3/4″ (10.8 cm x 14.6 cm)
  • Soft Sky cardstock: 3-2/8″ x 4-1/8″ (8.26 cm x 10.5 cm)
  • Dazzling Diamonds Glimmer Paper: narrow, long strip – 4-1/2″ x 1/2″ (11.4 cm x 1.3 cm) approx

First I created the background. I didn’t have a plan for my cards yet, I just played – but this is how many of projects start.

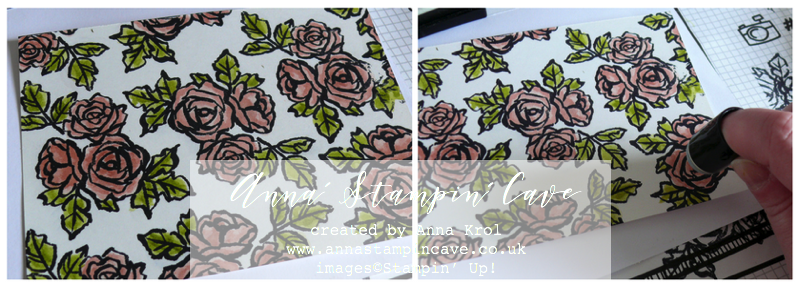
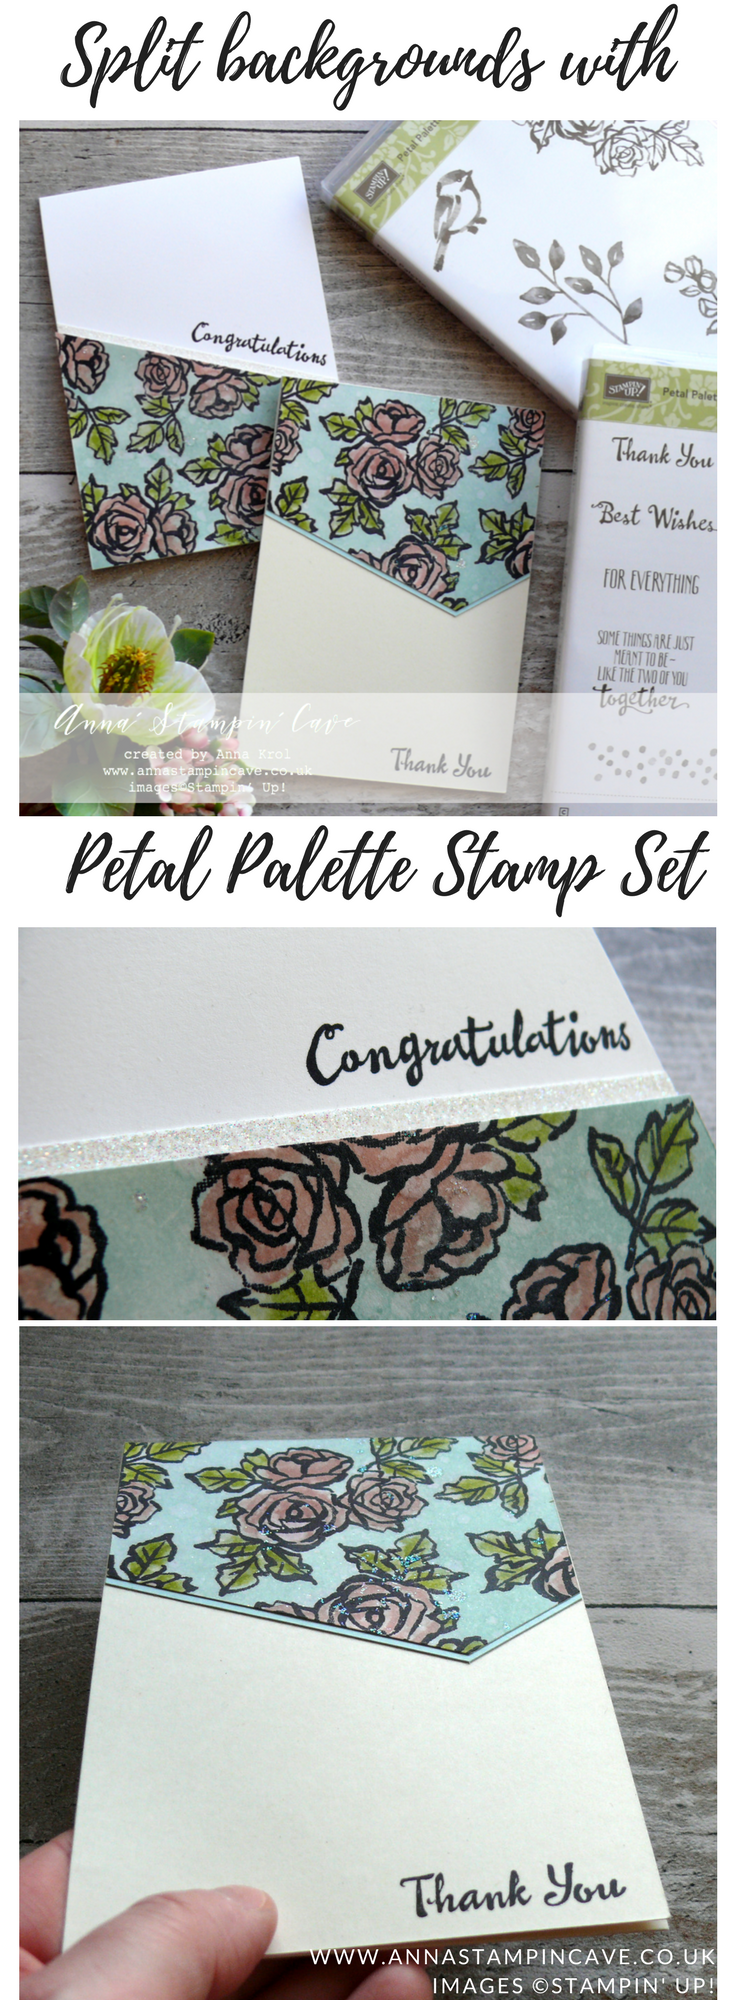
I stamped the cluster of roses from Petal Palettes Stamp Set all over the piece of Shimmery White cardstock using Basic Black Archival ink pad. Next, I watercoloured them. I’ve used my ink pads as palettes: Powder Pink with Blushing Bride for roses and Pear Pizzazz with Old Olive for leaves.

When my piece dried, I decided I want to add some colour to the background. I’ve used a sponge dauber to add Versamark ink to my flowers and let it dry. Next, I sponged Soft Sky ink over my piece. Versamark helped my roses not to be stained with blue ink, but it also allowed the blueish hue to make it’s ‘mark’ (hope you know what I mean).

Once happy with the background, I flicked some water droplets on and picked them up with a paper towel. I truly love subtle texture that those droplets create.

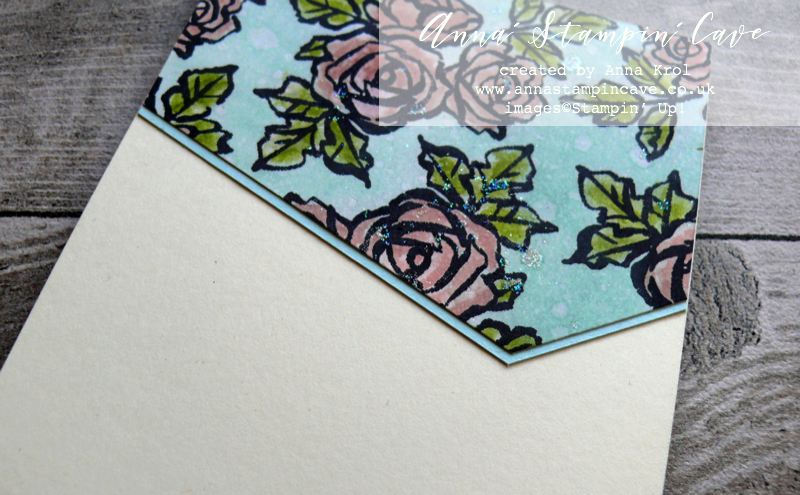
Now the ‘bedazzled’ part: I flicked some more water on my background, sprinkled with clear embossing powder and heat set it. Next, I re-heat it once again, added Dazzling Diamonds Stampin’ Glitter and heat set it again so the glitter stays put. And I cut my piece diagonally to create two cards.

Because of the bold design, I decided to keep the rest of my cards clean & simple.

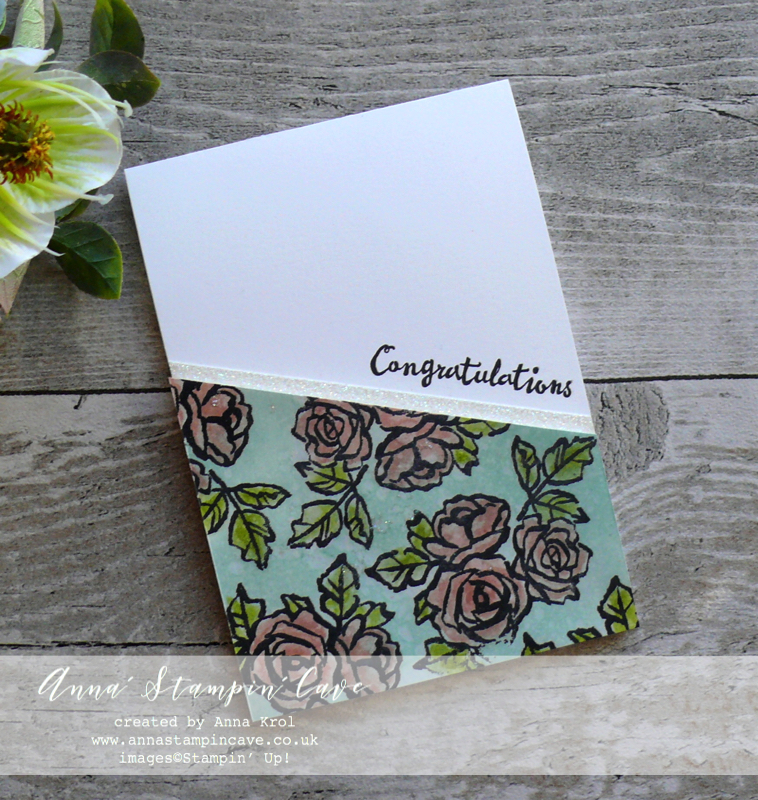
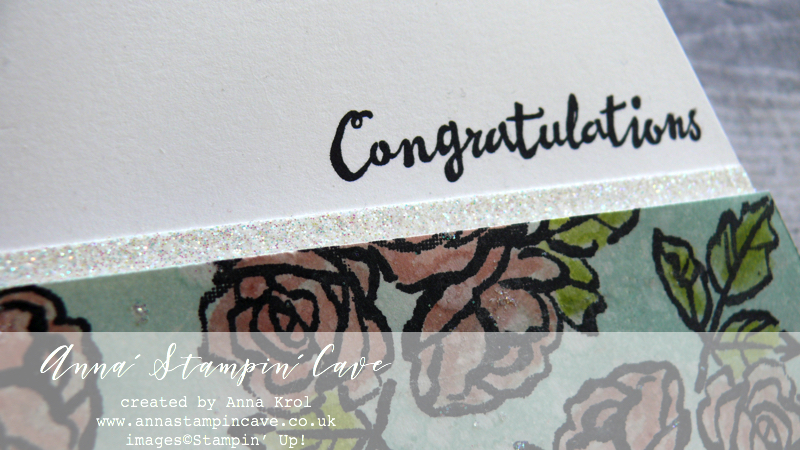
For first card, I decided to mount my diagonal piece at the very bottom of the card. But first, I stamped the sentiment, with help of Stamp-a-ma-jig, in Basic Black Archival ink.

I stamped it diagonally, just above where the diagonal piece will go and I  added a strip of Dazzling Diamonds Glimmer Paper just below my sentiment. Next, using Foam Adhesive Strips I adhered my background to the card base

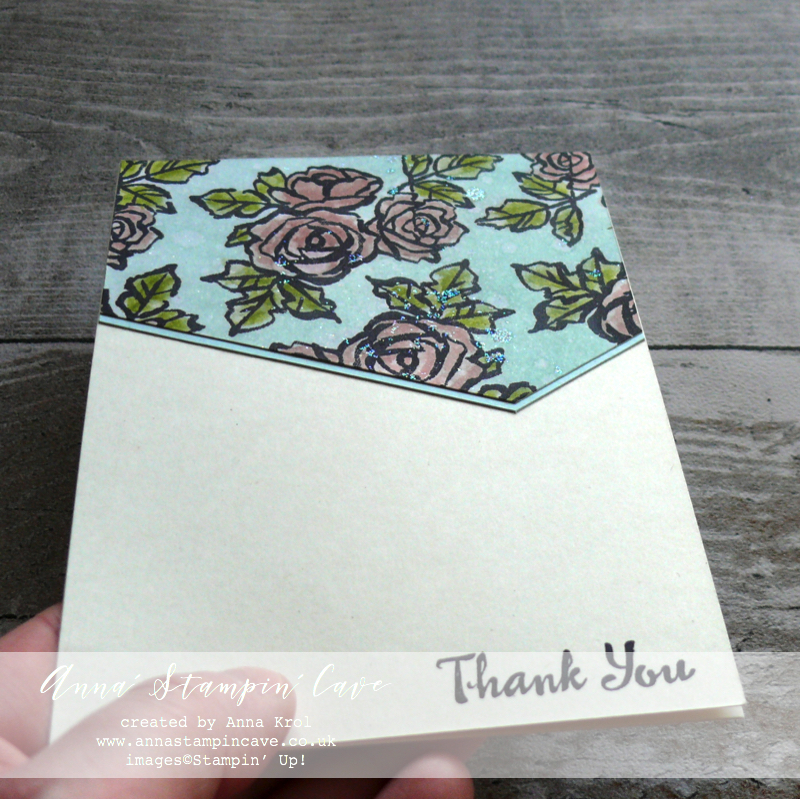
For the second card’s card base I’ve used Very Vanilla thick cardstock and I tweaked the layout slightly.

This time background landed on top of my card and I also cut off the end of my diagonal panel.

I backed it with a piece of Soft Sky cardstock and adhered it to the card base flat with snail adhesive.

I stamped the sentiment at the bottom Right corner of the card base, in Basic Black Archival ink.

I really had fun creating these cards and I hope you like them too. And can you spot soft, blueish shiny speckles of Dazzling Diamond Stampin’ Glitter on my backgrounds? Just yummy!

Thank you so much for visiting my blog today! Make sure you head over to Kylie’s blog to check all lovely projects and vote for your favourites. Hope my project will be among them. My project is under number 7!

If you wish to purchase any of products I have used, simply click the images below to go directly to my online store and don’t forget to enter the hostess code RRMR76JH to receive a gift from me.

Thank you for stopping by and have a blessed day

Hostess Code for February: RRMR76JH – Use this code in the month of February and receive a gift from me. Spend £50 or more and use the code, and you will receive a Whisper White 1/4″ (6.4mm) Organza Ribbon + a handmade gift from me

Special Notes: 1) Make sure you select Anna Krol as your demonstrator;
2) If you select “No Contact” box I do not have access to your name and can’t send you a gift;
3) If your order is £150 or more do not use the code and grab your own Stampin’ Rewards + gift from m

Aqua Painters

£15.50

Pin me

Summary of the project which gives all the views of the card in one photo. I’d love if you pinned and called by on Pinterest xx

Don’t forget to check:

New Sale-a-bration release is LIVE. Click here for more details –>

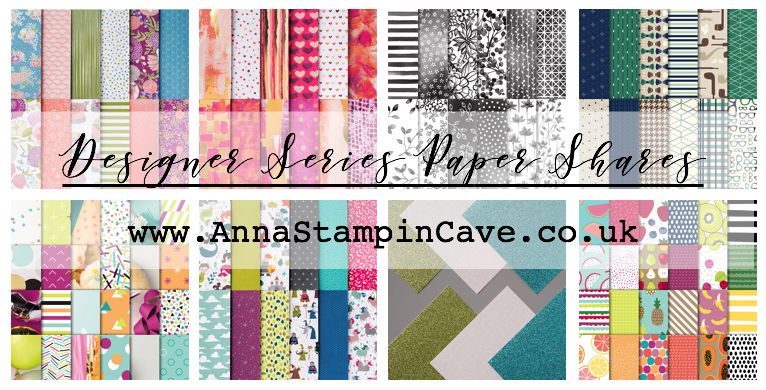
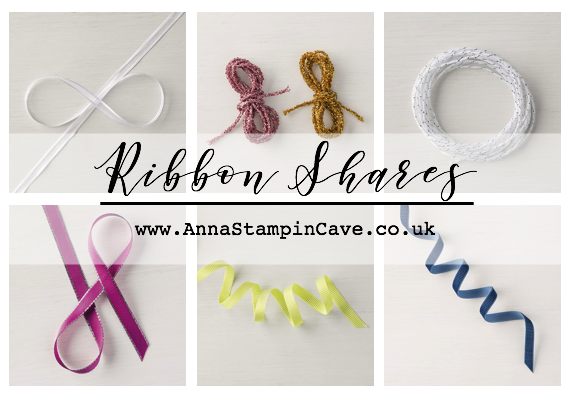
Spring Summer Catalogue Paper & Ribbon Shares. Shares are open to Austria, France, Germany, Netherlands & United Kingdom. 102 sheets of DSP & 2 yards of each type of ribbon from Spring/Summer Catalogue. Click here for more details —>

The New Stampin’ Up! Spring/Summer 2017 Catalogue and Sale-A-Bration are LIVE and it’s AMAZING! For every 60 €/£45, you spend either from Spring Summer Catalogue or Annual Catalogue, you will get to choose one FREE  level 1 product from SAB brochure! If you spend 120 €/£90, you get one FREE level 2 product, OR, you can choose two level 1 items. If you spend 180 €/£135, you have the option to choose three level 1 items or one level 1 item and one level 2 item. Click here for more details —>

Ever wondered what it’s like to join Stampin’ Up!’s community? I may have few answers for you. Click here for more details –>

Colour With Me – Stampin’ Dreams Blog Hop

Anna’ Stampin’ Cave – Petal Palette Bedazzled with gold

Hello everyone! Welcome to the monthly Stampin’ Dreams Blog Hop. This month’s theme is Colouring. You are currently visiting Anna Krol from the United Kingdom.

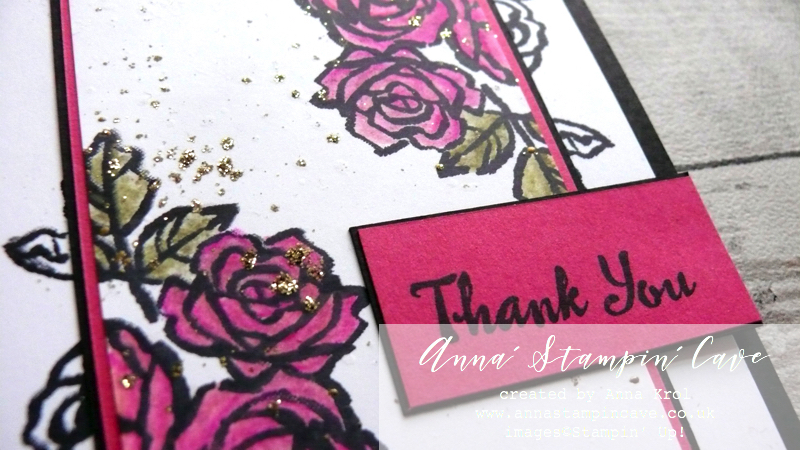
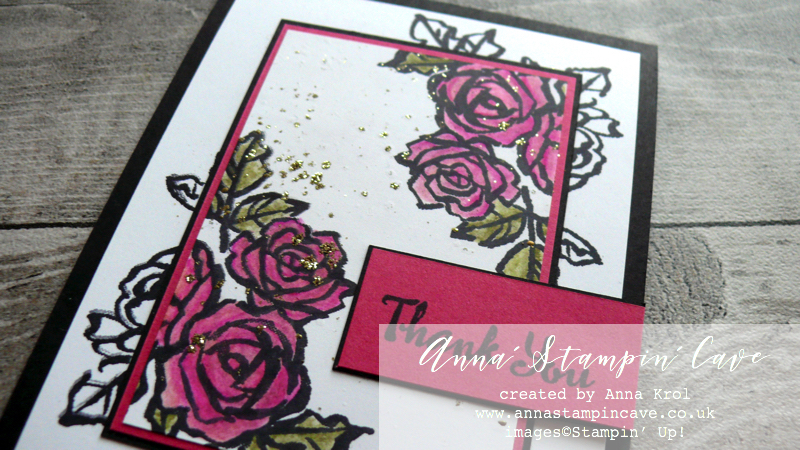
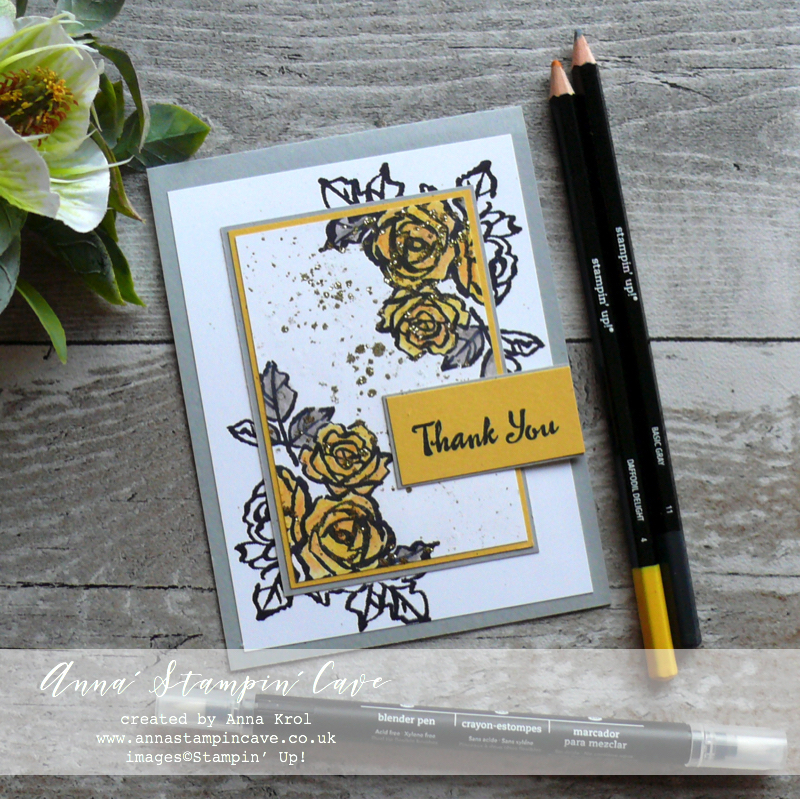
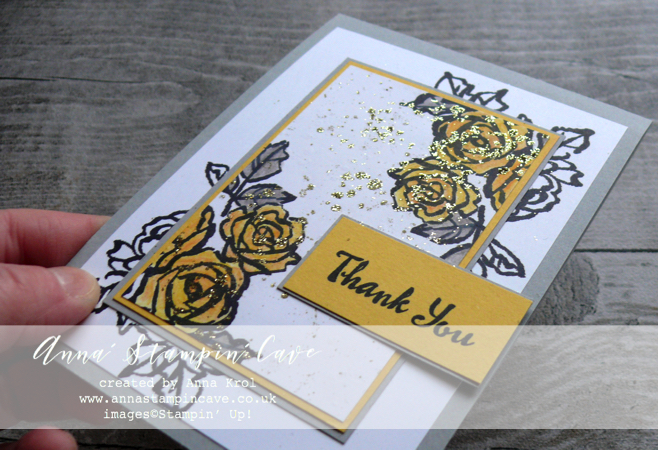
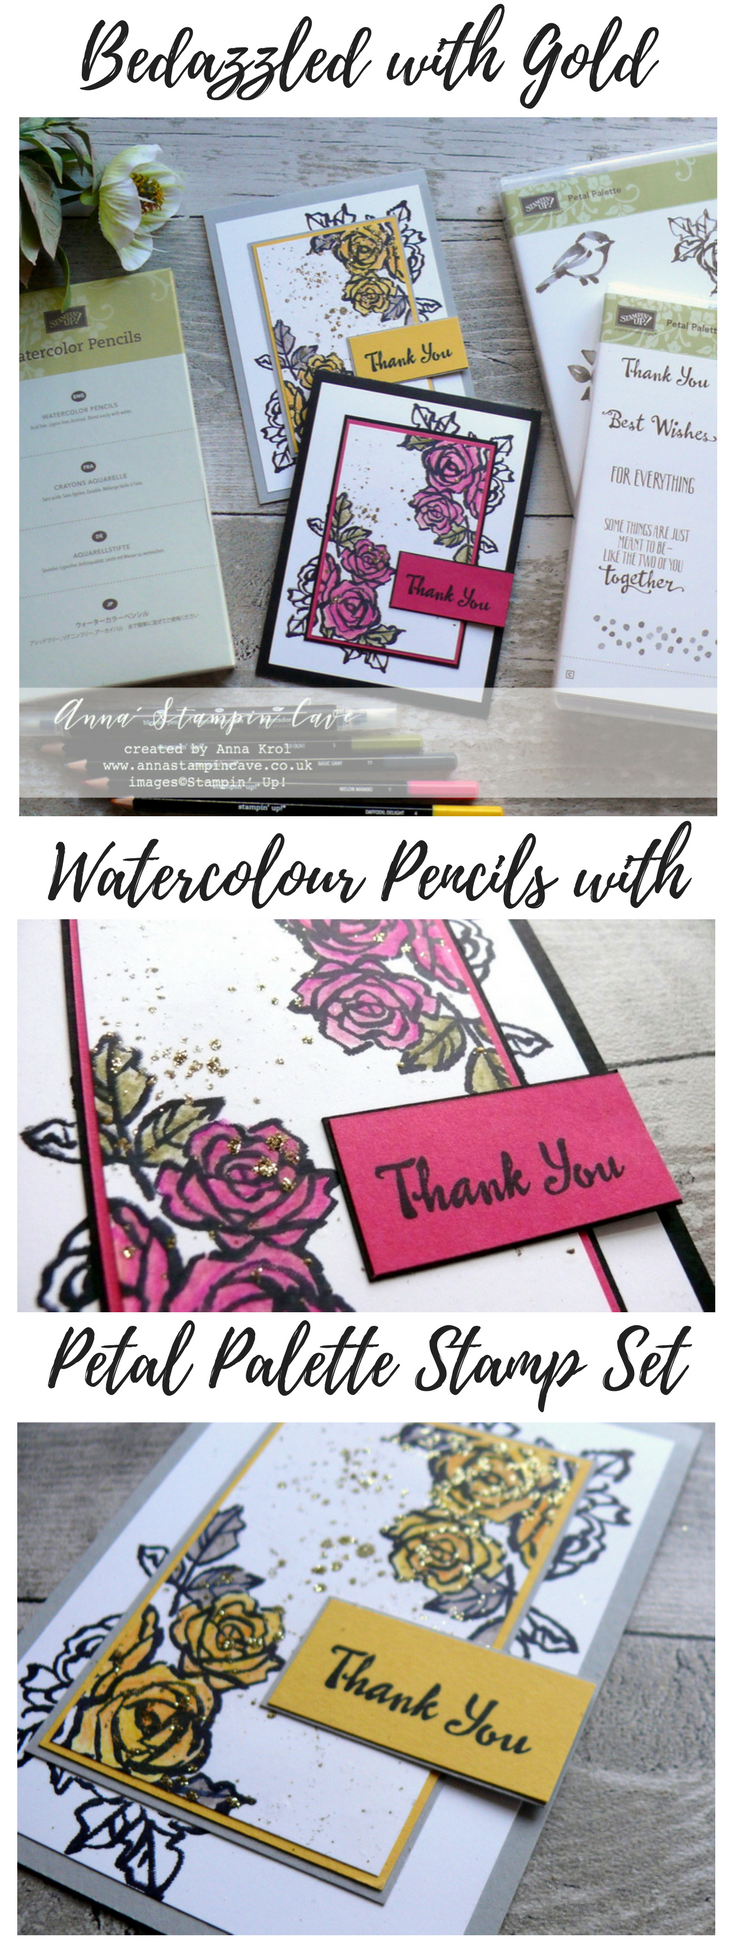
Colouring and painting must be my favourite hobby. And it does not really matter what medium I use. For today’s hop, I’ve created two beautiful cards in different colour combinations, using amazing Petal Palette Stamp Set and Watercolour Pencils.

To showcase beautiful roses from Petal Palette Stamp Set, I decided to try a double layer stamping technique.

Dimensions for both cards:

  • card base: 11-6/8″ x 4-1/8″ scored in half at 5-7/8″ (29.7 x 10.5 cm scored in half at 14.8 cm) – Basic Black & Smoky Slate cardstock
  • Whisper White cardstock panels: 3-3/4″ x 5″ and 2-1/2″ x 3-3/4″ (9.5 cm x 12.7 cm and 6.3 cm x 9.5 cm)
  • Basic Black & Smoky Slate panels: 2-3/4″ x 4″ (7 cm x 10.1 cm)
  • Daffodil Delight & Melon Mambo panels: 2-5/8″ x 3-7/8″ (6.7 cm x 9.8 cm)
  • both sentiment strips (Basic Black & Smoky Slate) measure 2″ x 1″ (5 cm x 2.5 cm)  with Melon Mambo & Daffodil Delight strips are just a smidge smaller

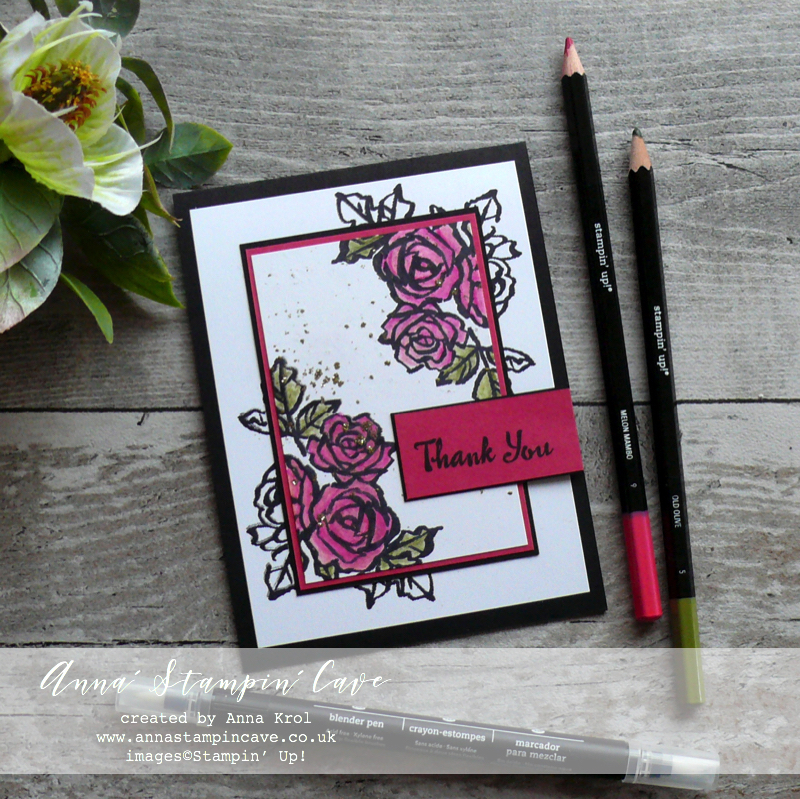
For one of my cards, I’ve used a classic colour combination: Basic Black & Melon Mambo with a hint of Old Olive on the leaves.

I’ve layered together two panels of Whisper White cardstock (smaller & larger) securing them together with a dab of snail adhesive in the middle so they won’t move.

I stamped roses from Petal Palette Stamp Set in two corners of my panel making sure they overlap both layers. Because I planned to use Watercolour Pencils, I stamped them using Basic Black Archival ink.

Next, I took apart those layers and decided to colour only the images on a small panel, and leave the rest just black and white.

To colour my roses, I’ve used Watercolour Pencils in Melon Mambo and Old Olive. Blender Pens helped me to blend those colours nicely.

Blender Pens are colourless, but the solution they hold, helps moving colour around, even on regular cardstock.

To add more colour to the image, you can either colour over the image or use Blender Pen to pick up the colour straight for the pencil.

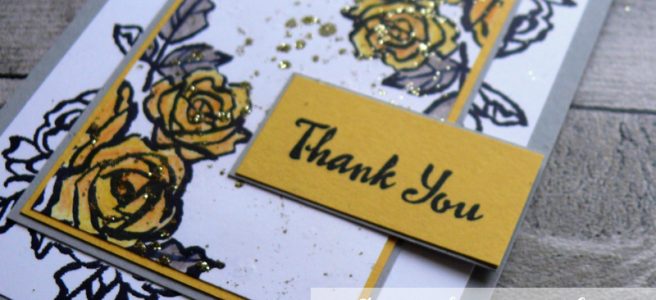
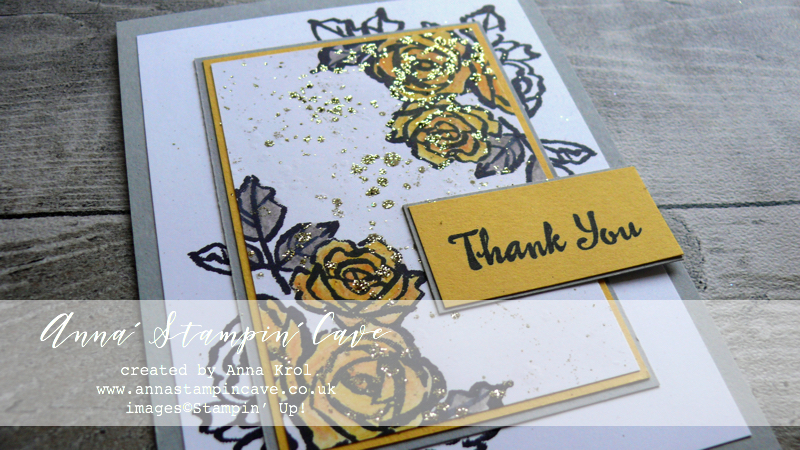
For my second card, I decided to use a rather ethereal colour combination of shades of grey with a pop of yellow.

Same technique but completely different look.

For the roses, I’ve used Daffodil Delight watercolour pencil. I’ve added more colour to the edges of each petal and then using Blender Pen blended the colour towards the centre.

Leaves are coloured with Basic Grey watercolour pencil

And now comes the magic…

I really loved how these cards coming up together, but they seemed too plain to me. So I did a small experiment hoping it will work (and it did!Yay!).

Before assembling my cards, and all the layers together I took those small panels (one at a time of course), flicked water droplets all over them and immediately sprinkled with gold embossing powder.

Did you know that water can hold embossing powder if you act fast enough? Just apply heat from the back.

I heat set it with a heat tool. Once it cools down, I prepped the cardstock with Embossing Buddy, re-applied the heat to those droplets of gold embossing and quickly sprinkled with Gold Stampin’ Glitter. Dabbed off any excess back to the container and heat set it again to set the glitter in place.

I admit it is a VERY MESSY TECHNIQUE!! But it was so worth to have a glitter all over the house haha. Do I have to say it wasn’t last time I used this technique?! Can’t say more now lol

Hope you’ve enjoyed visiting my blog today. I’m wondering which card do you like the most? Classic black & pink or maybe the one in greys and pop of yellow? Please let me know in comments below.

I would love to encourage you to hop along with us and see the rest of beautiful projects designed by amazing artists. Please be sure to continue to hop using the list below. You don’t want to miss any!

If you wish to purchase any of products I have used, simply click the images below to go directly to my online store and don’t forget to enter the hostess code RRMR76JH to receive a gift from me.

Thank you for stopping by and have a blessed day

Hostess Code for February: RRMR76JH – Use this code in the month of February and receive a gift from me. Spend £50 or more and use the code, and you will receive a Whisper White 1/4″ (6.4mm) Organza Ribbon + a handmade gift from me

Special Notes:1) Make sure you select Anna Krol as your demonstrator;
2) If you select “No Contact” box I do not have access to your name and can’t send you a gift;
3) If your order is £150 or more do not use the code and grab your own Stampin’ Rewards + gift from me

Product List 

Blender Pens

£10.75

Aqua Painters

£15.50

Pin me

Summary of the project which gives all the views of the card in one photo. I’d love if you pinned and called by on Pinterest xx

Don’t forget to check:

Spring Summer Catalogue Paper & Ribbon Shares. Shares are open to Austria, France, Germany, Netherlands & United Kingdom. 102 sheets of DSP & 2 yards of each type of ribbon from Spring/Summer Catalogue. Click here for more details —>

The New Stampin’ Up! Spring/Summer 2017 Catalogue and Sale-A-Bration are LIVE and it’s AMAZING! For every 60 €/£45, you spend either from Spring Summer Catalogue or Annual Catalogue, you will get to choose one FREE  level 1 product from SAB brochure! If you spend 120 €/£90, you get one FREE level 2 product, OR, you can choose two level 1 items. If you spend 180 €/£135, you have the option to choose three level 1 items or one level 1 item and one level 2 item. Click here for more details —>

Ever wondered what it’s like to join Stampin’ Up!’s community? I may have few answers for you. Click here for more details –>

The Creative Flow Blog Hop – Hello Spring

Anna’ Stampin’ Cave – The Creative Flow Blog Hop – Hello Spring

Thank you for joining us on our Creative Flow Blog Hop. Each month we are set a challenge to creatively stretch our imaginations. The products we have used are all available in the current Annual and/or seasonal Stampin’ Up!® catalogues. To hop along, please use the buttons at the bottom of the post to keep hopping. And this month’s theme is ‘Spring is sprung’.

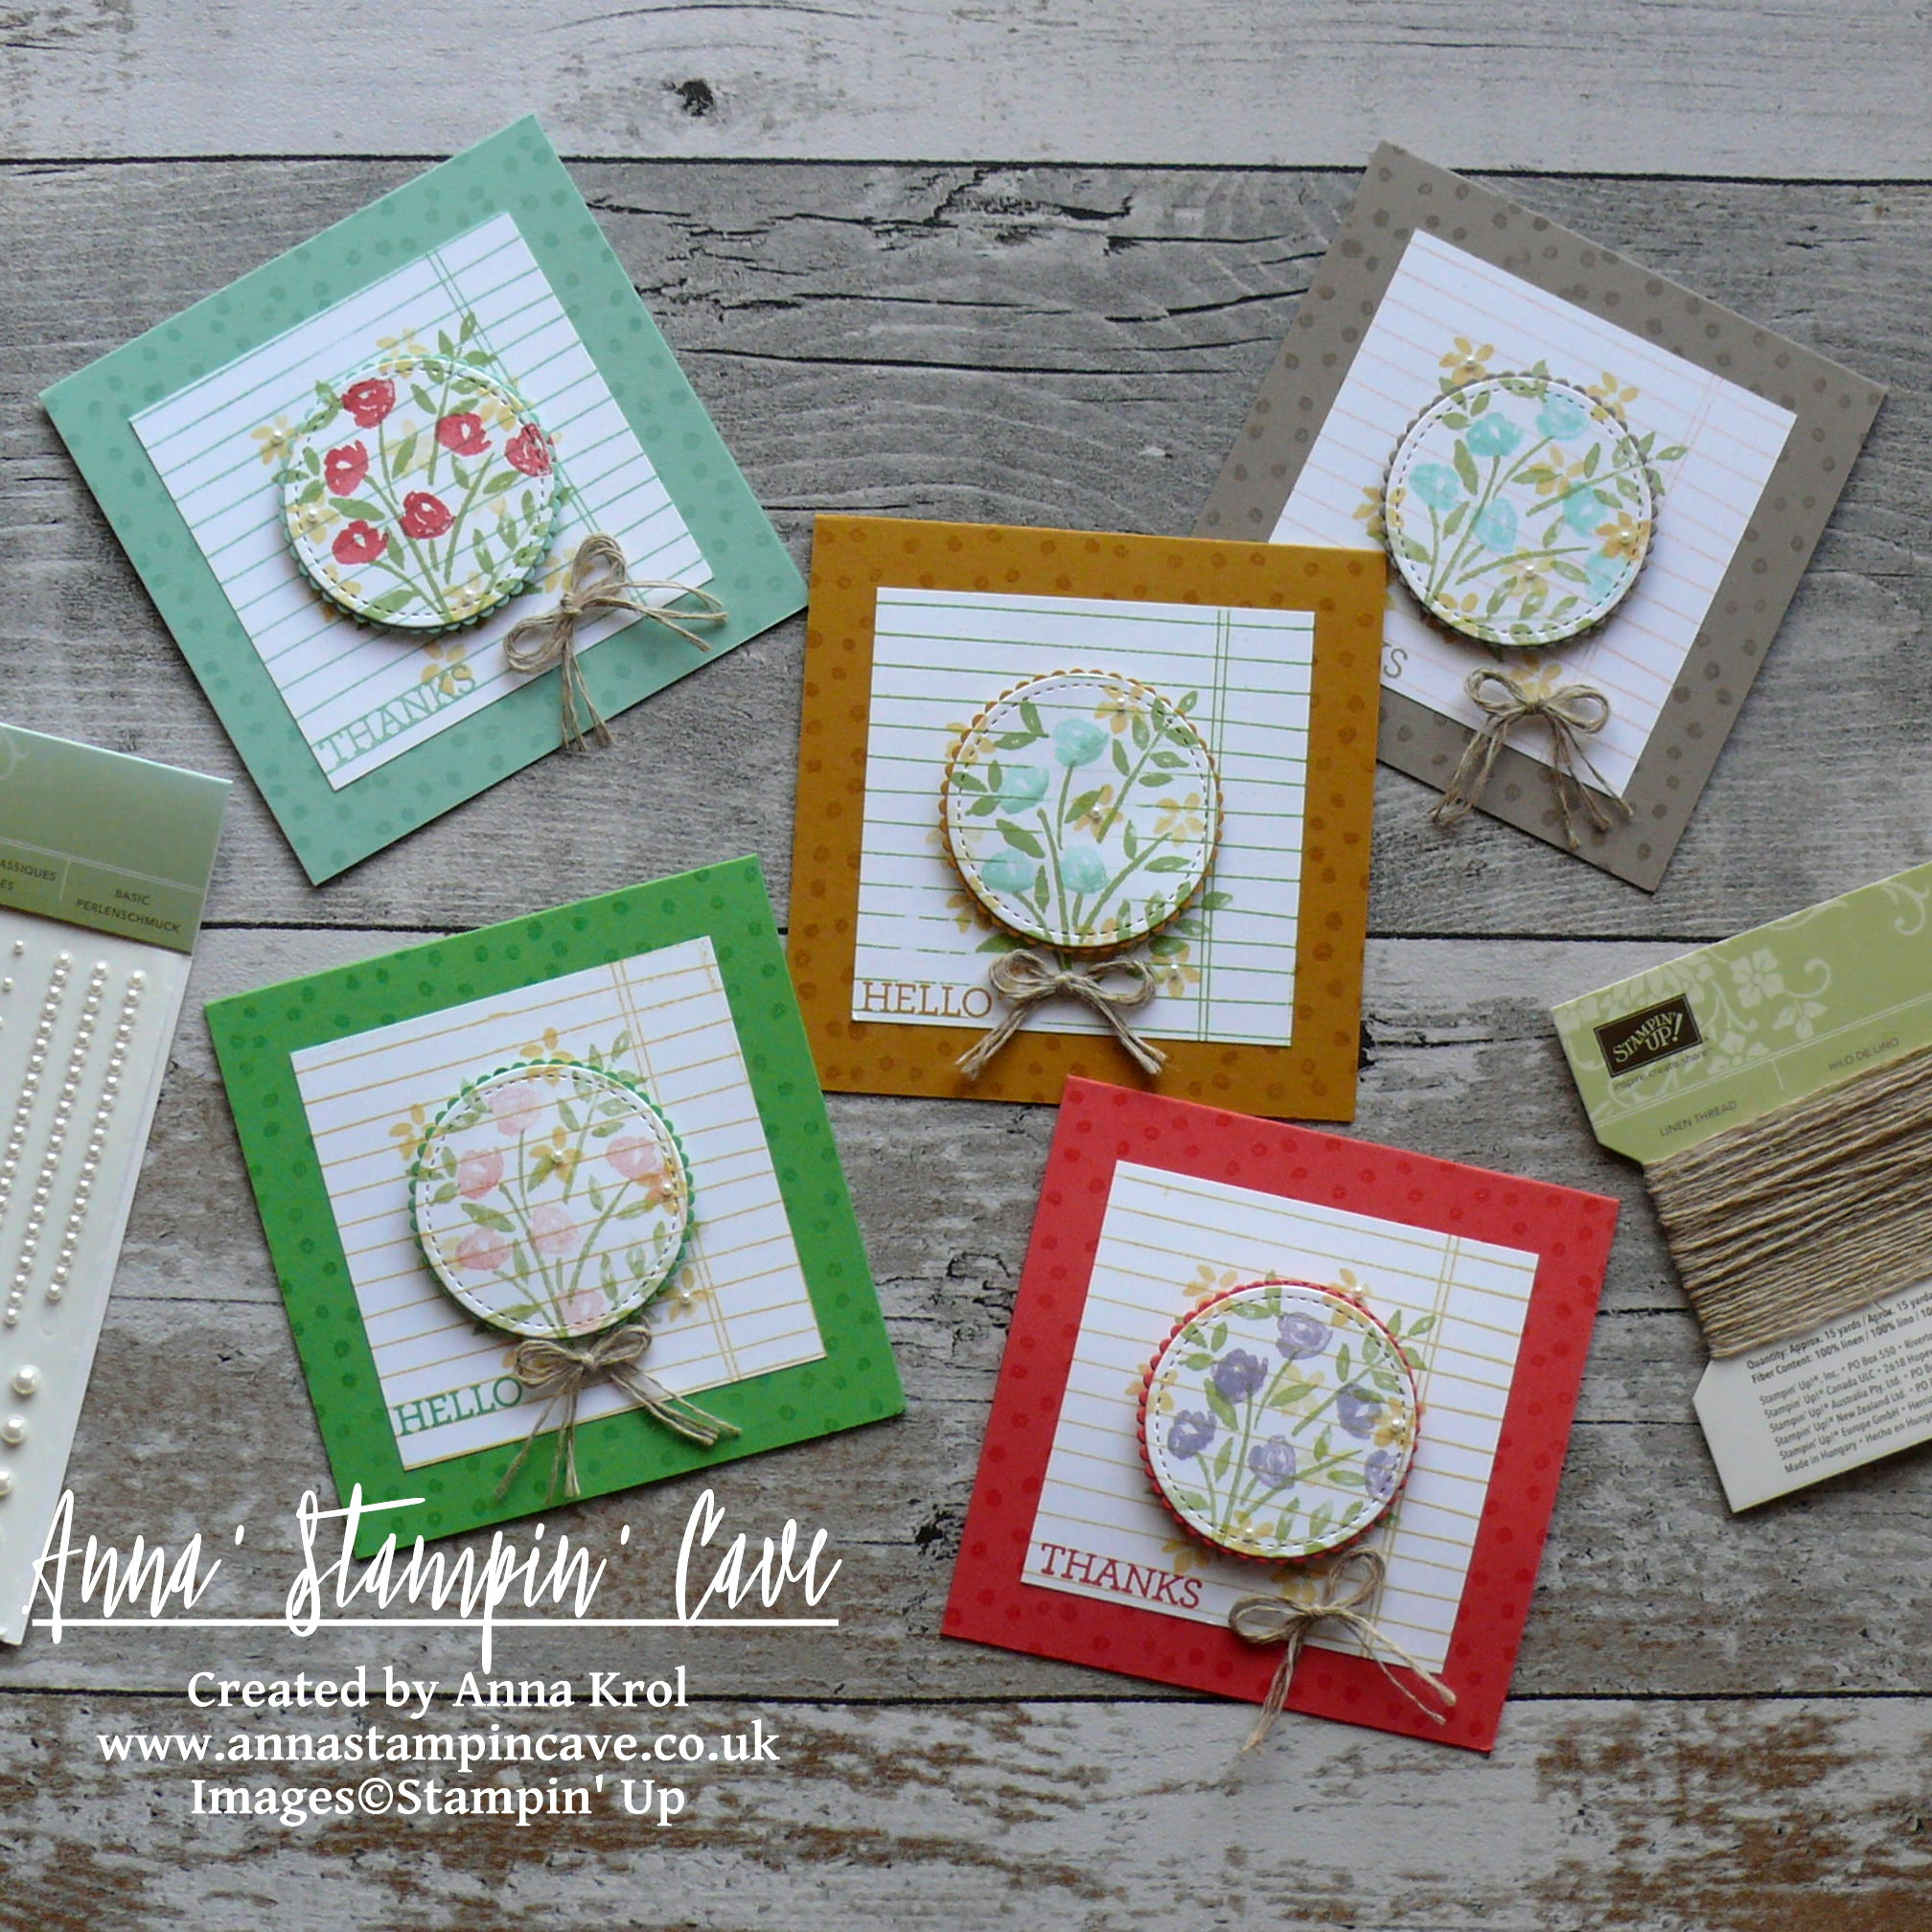
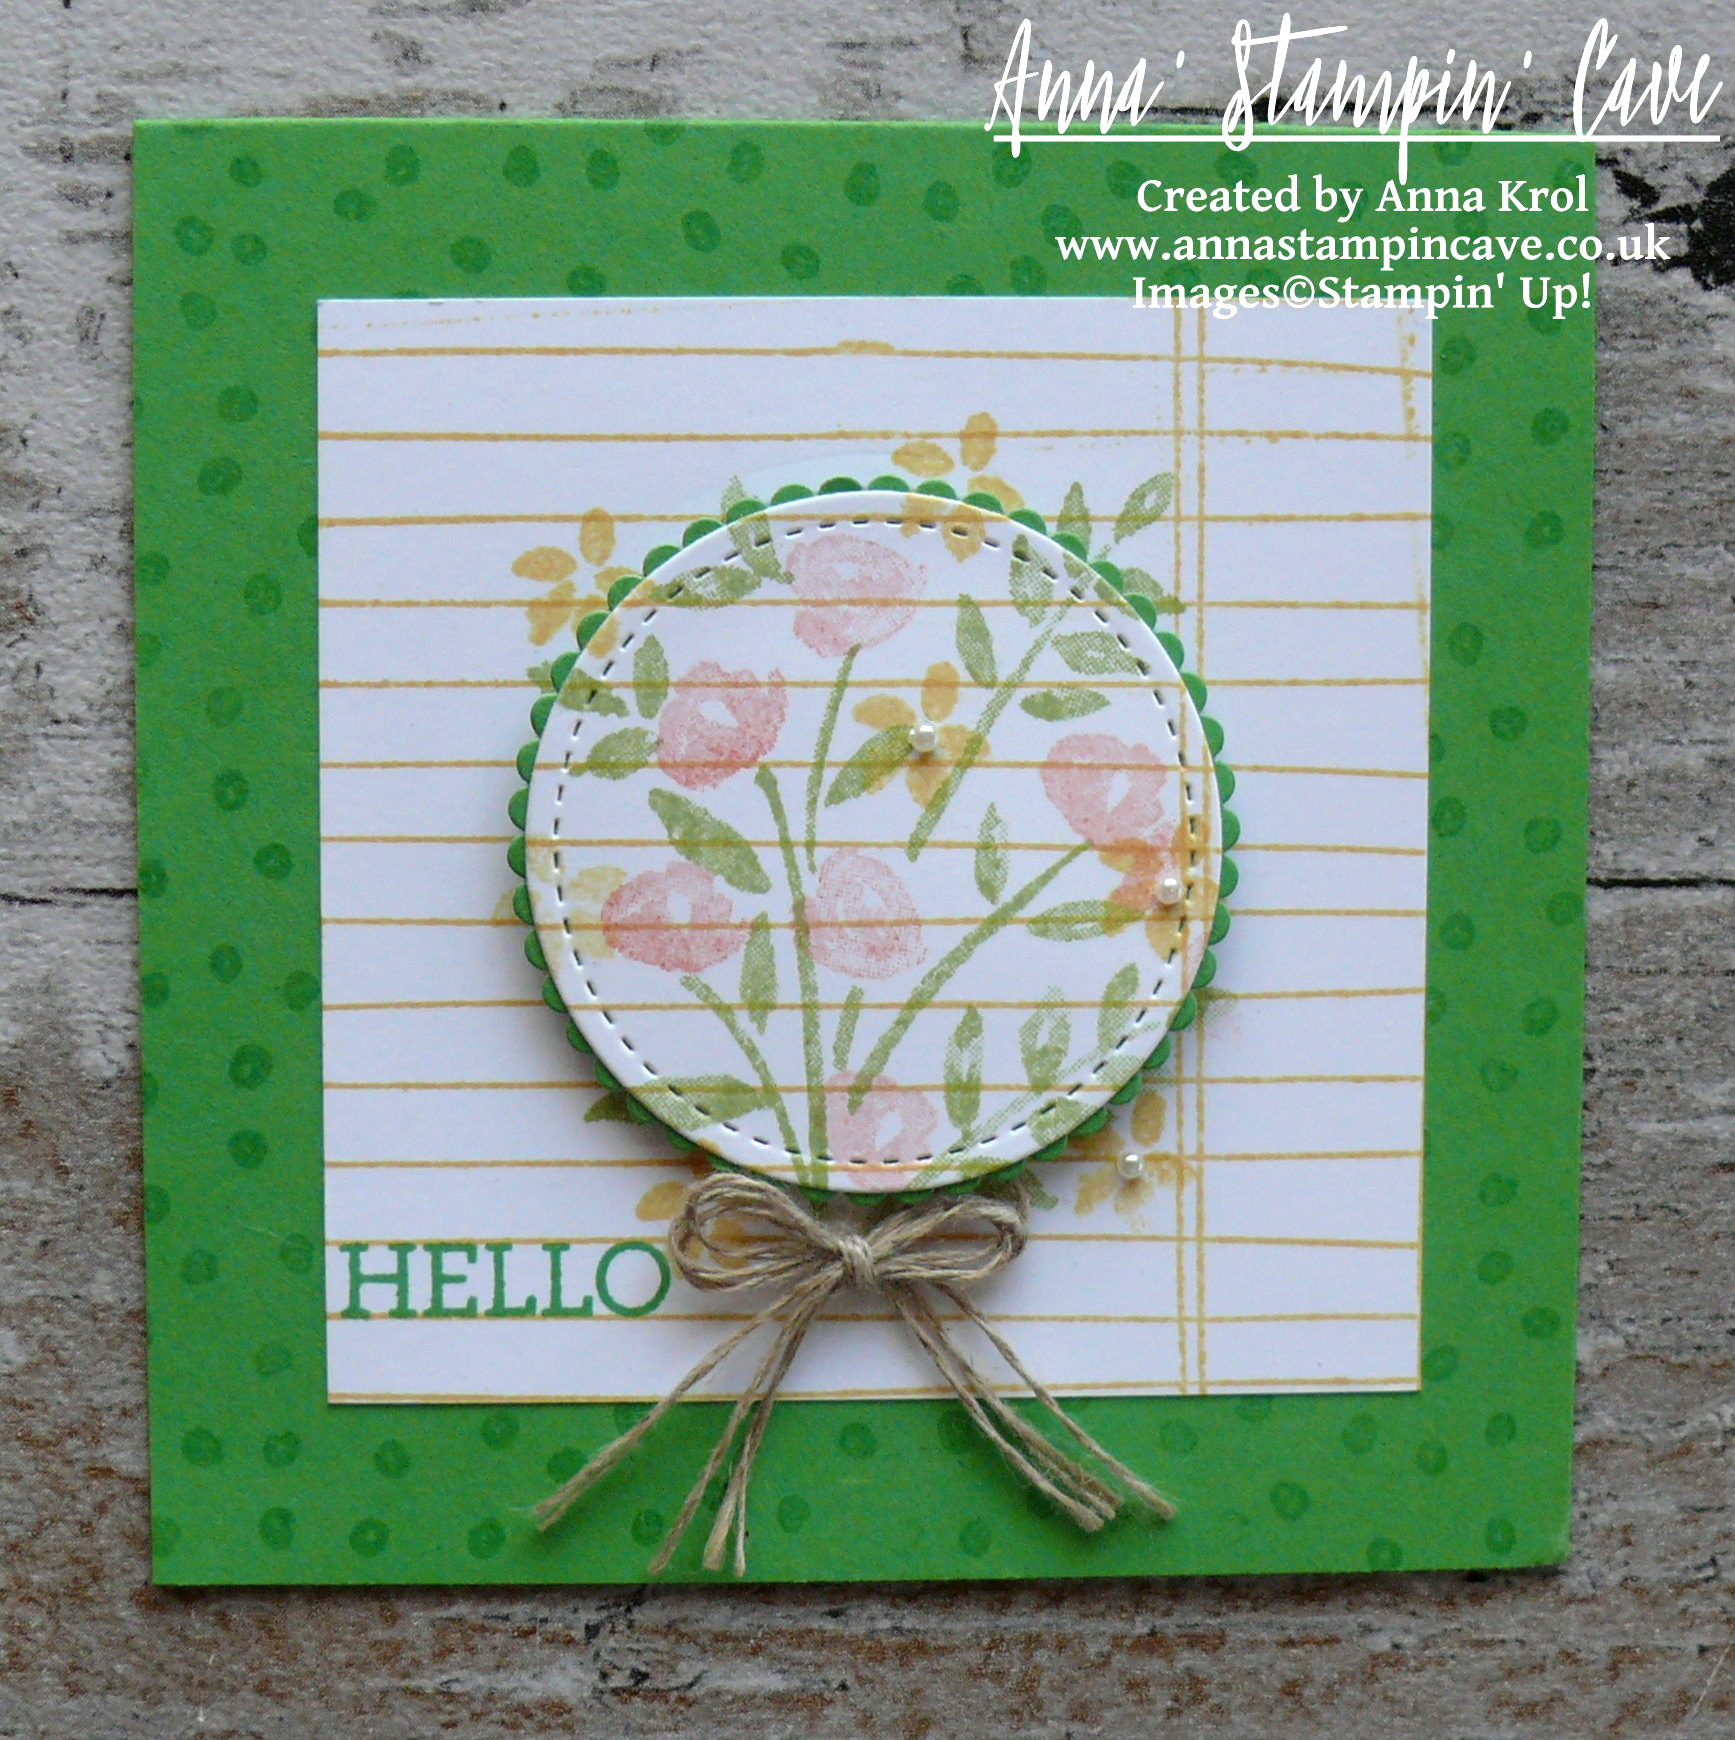
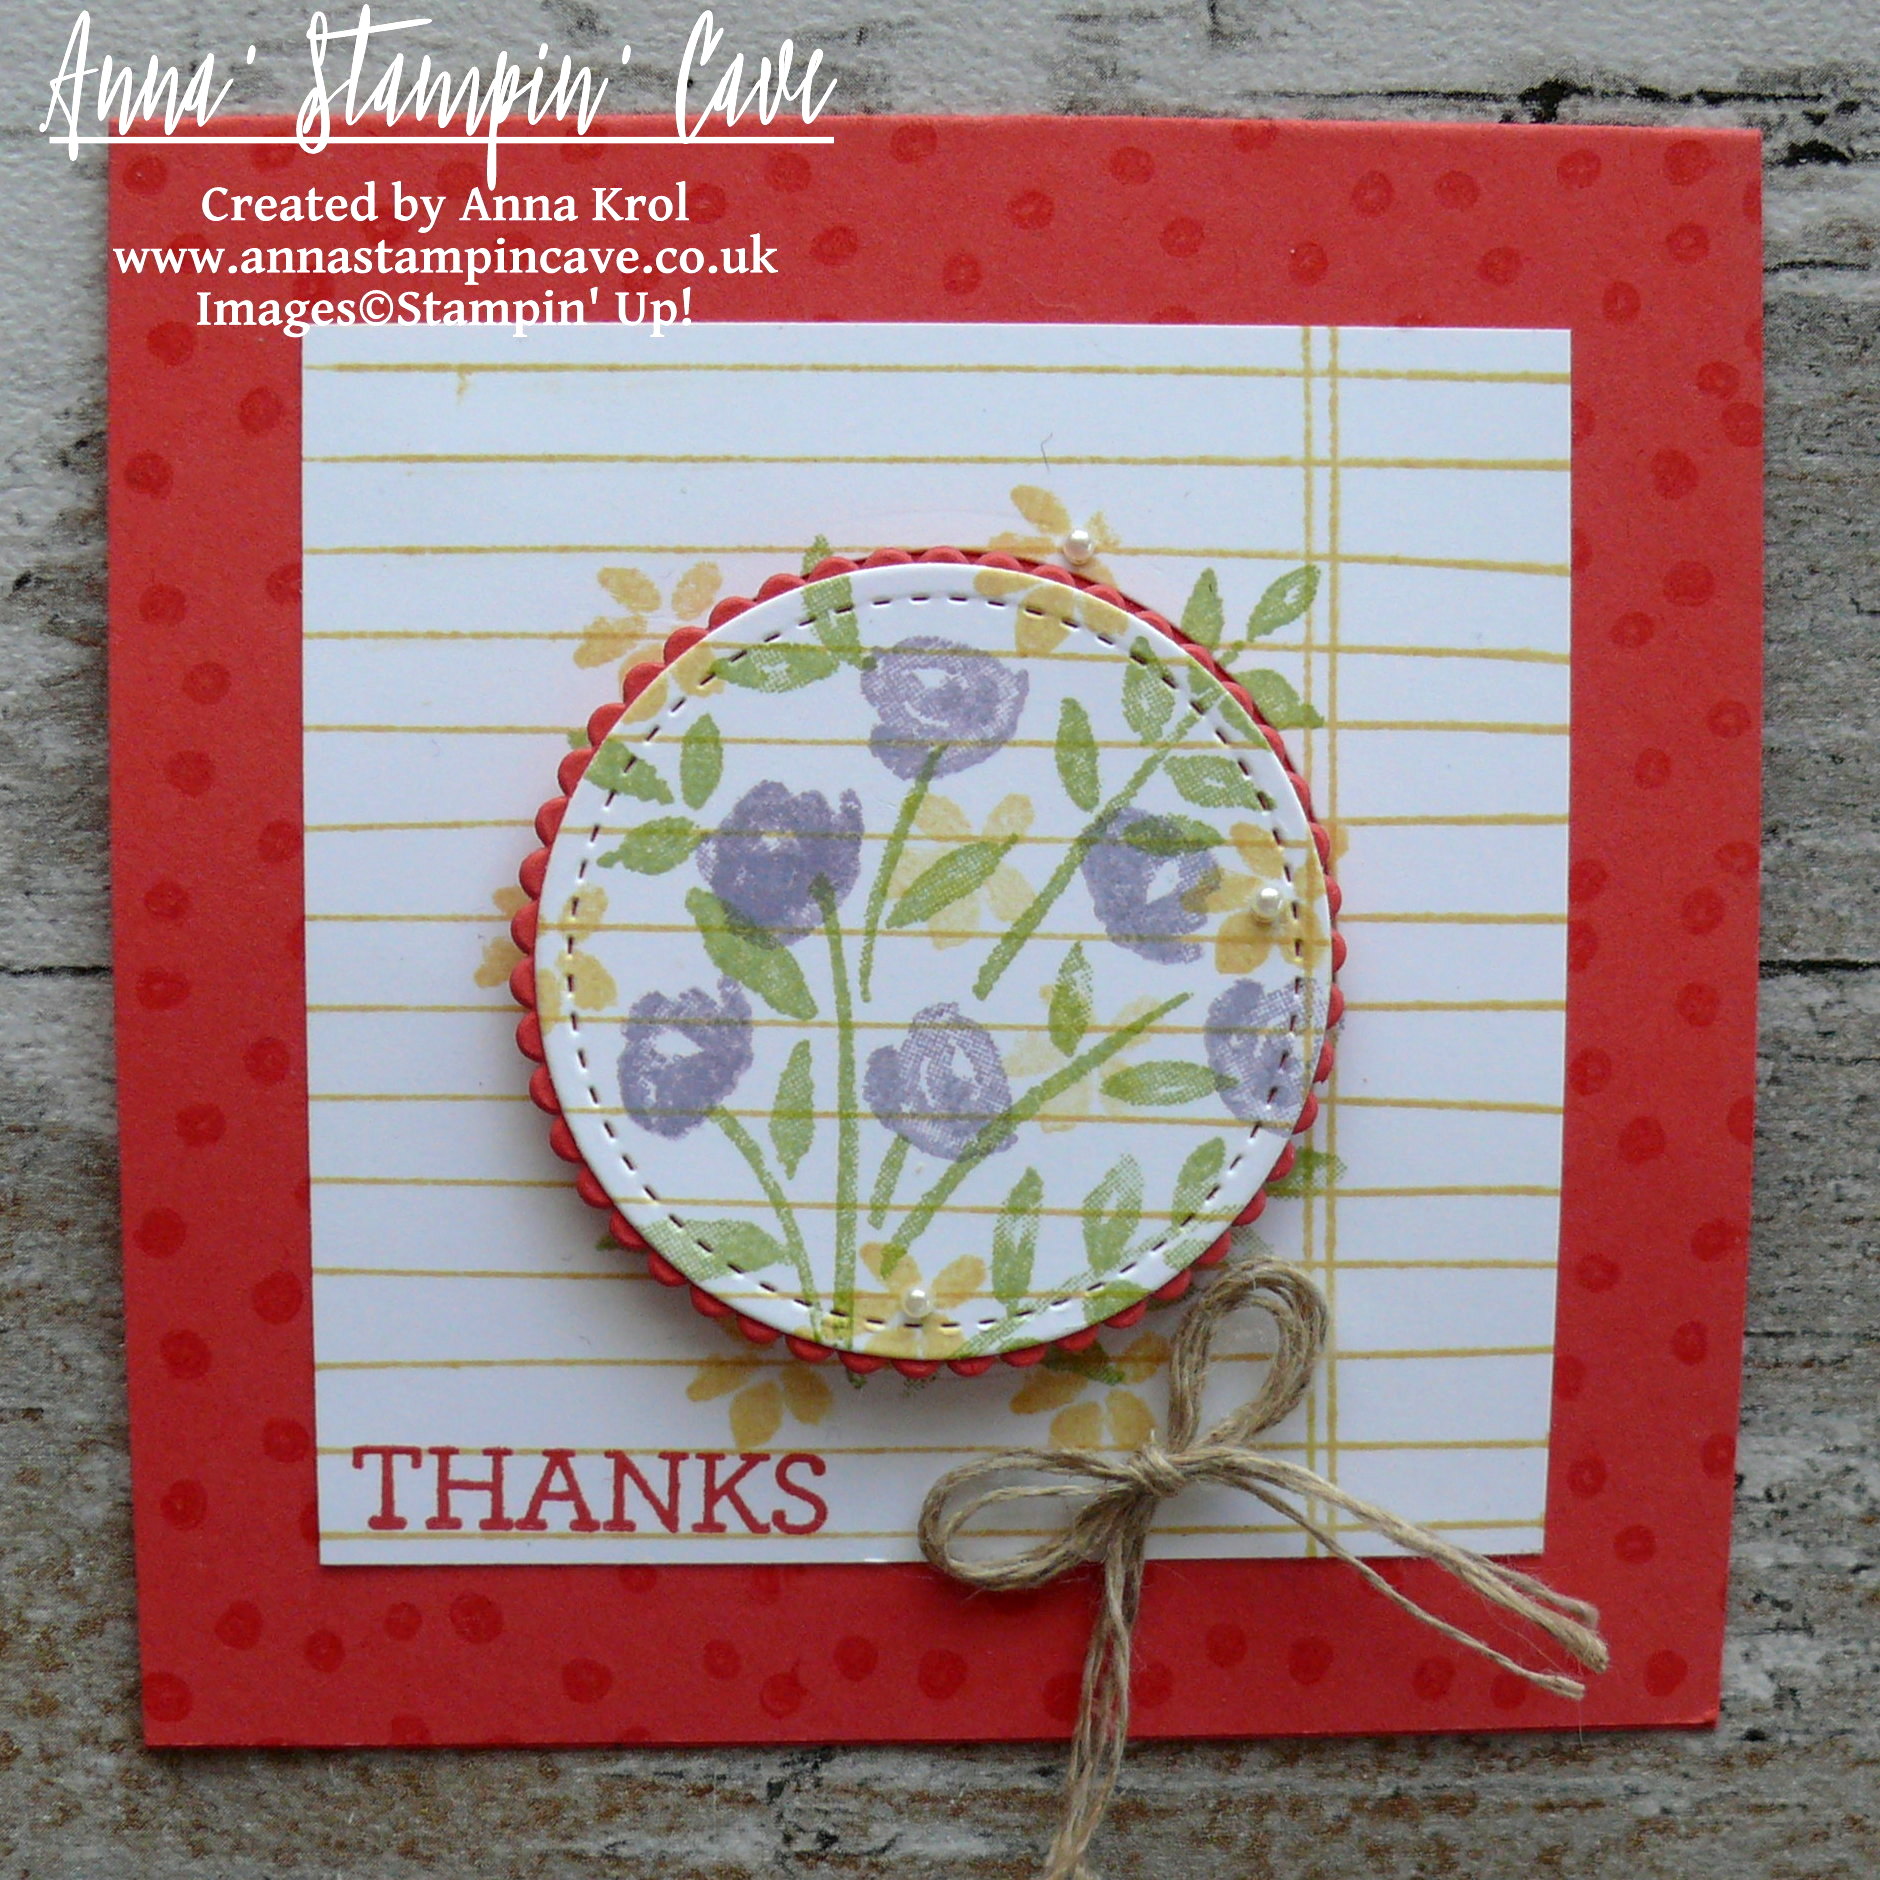
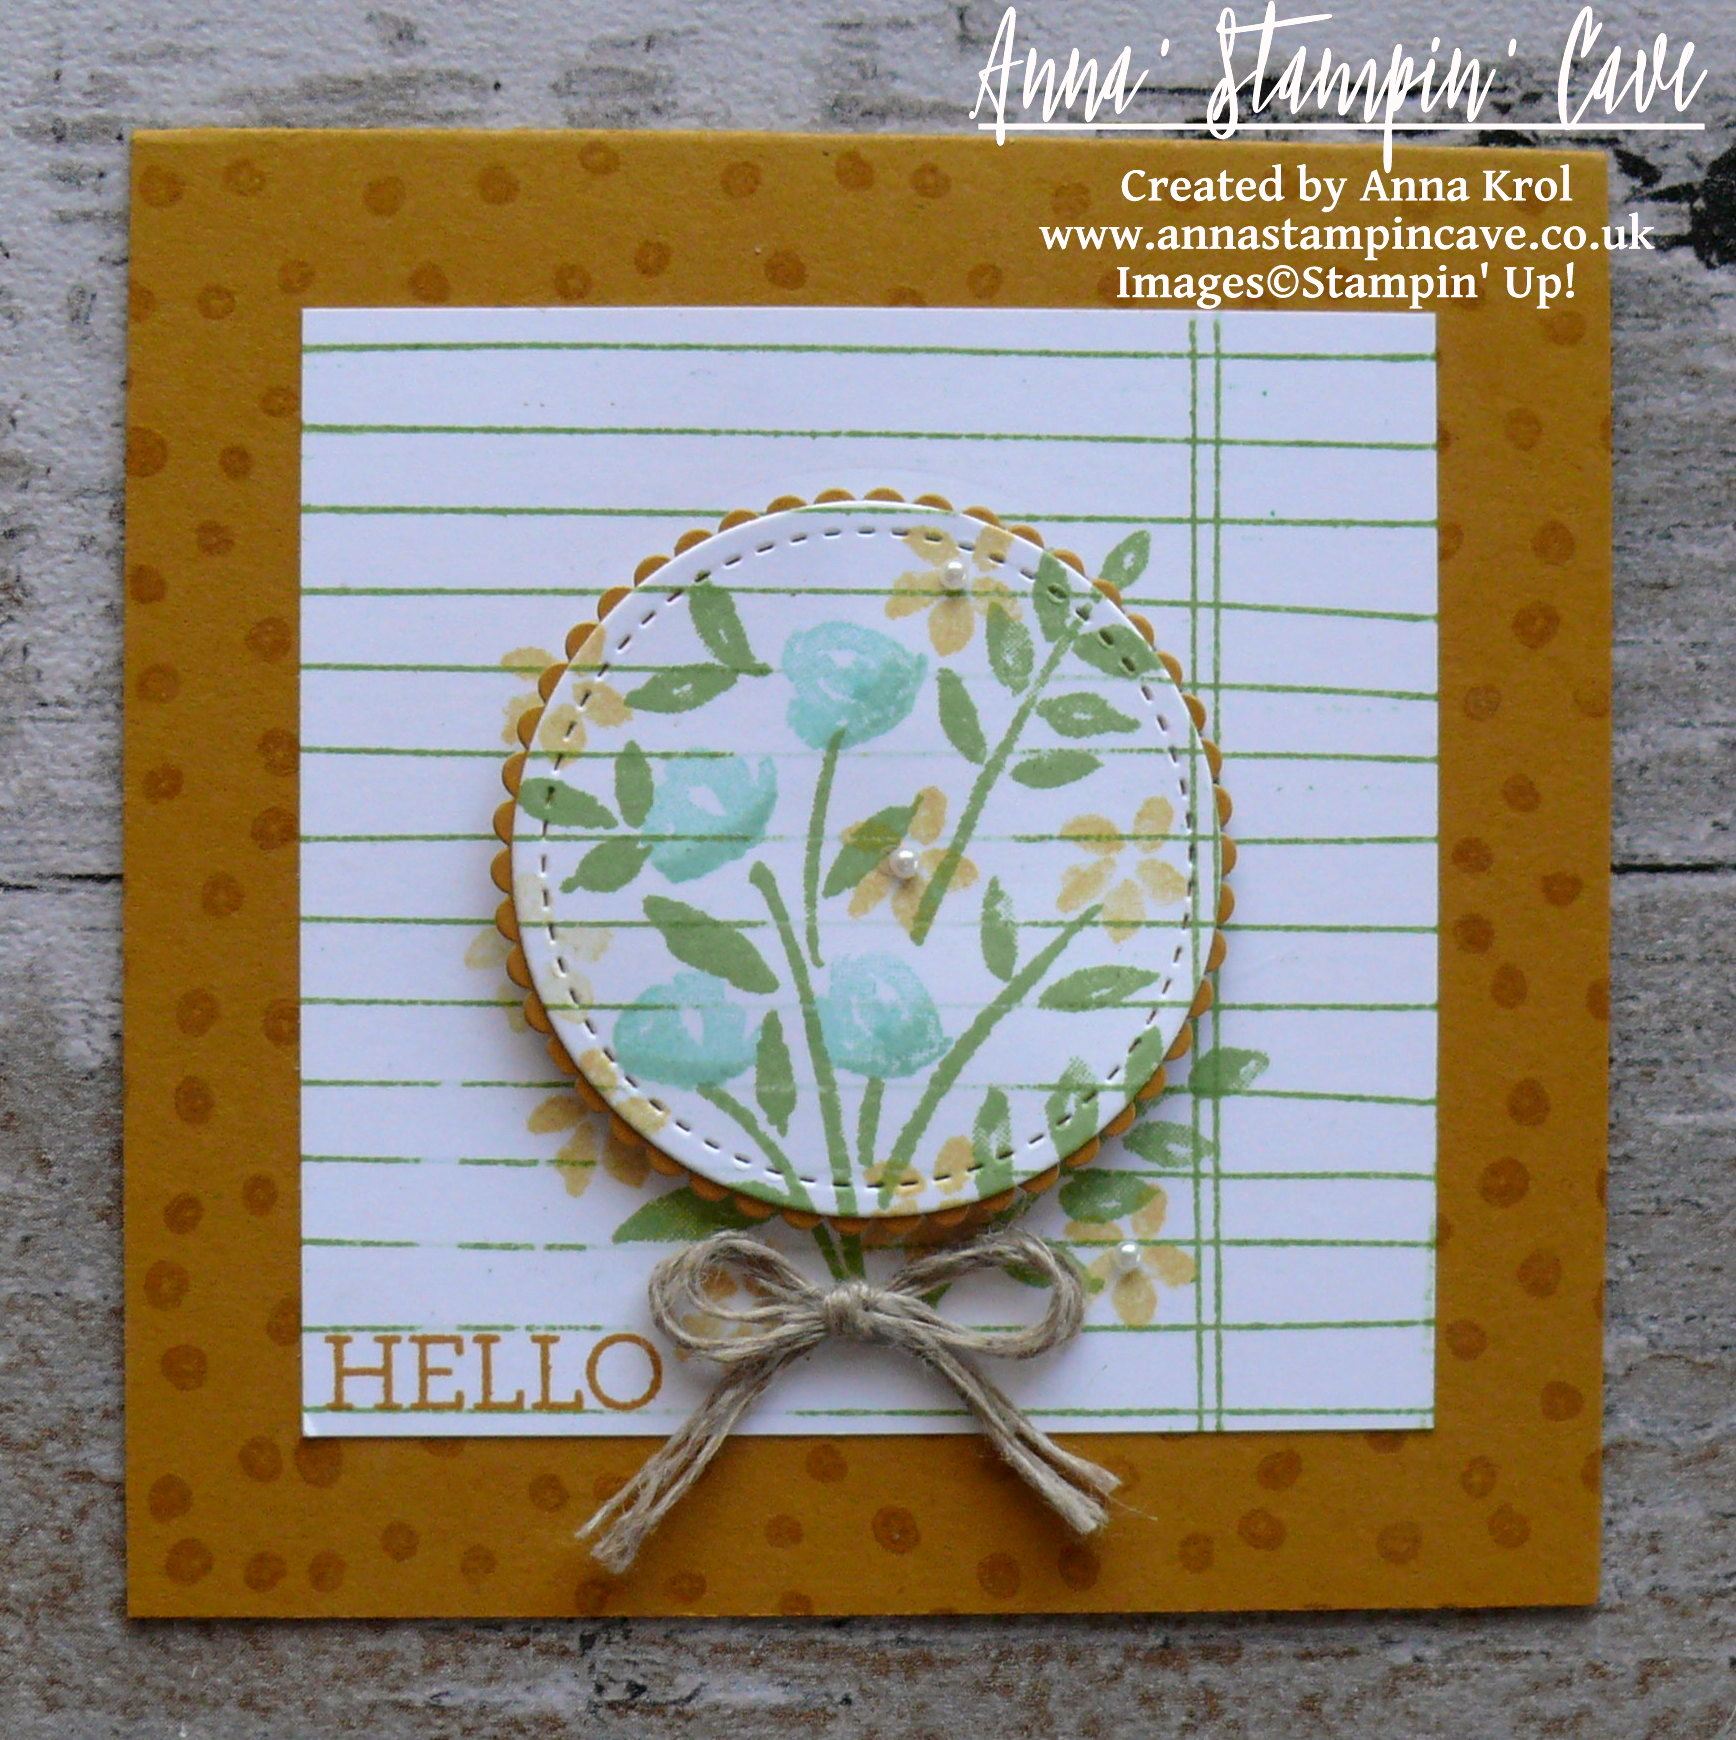
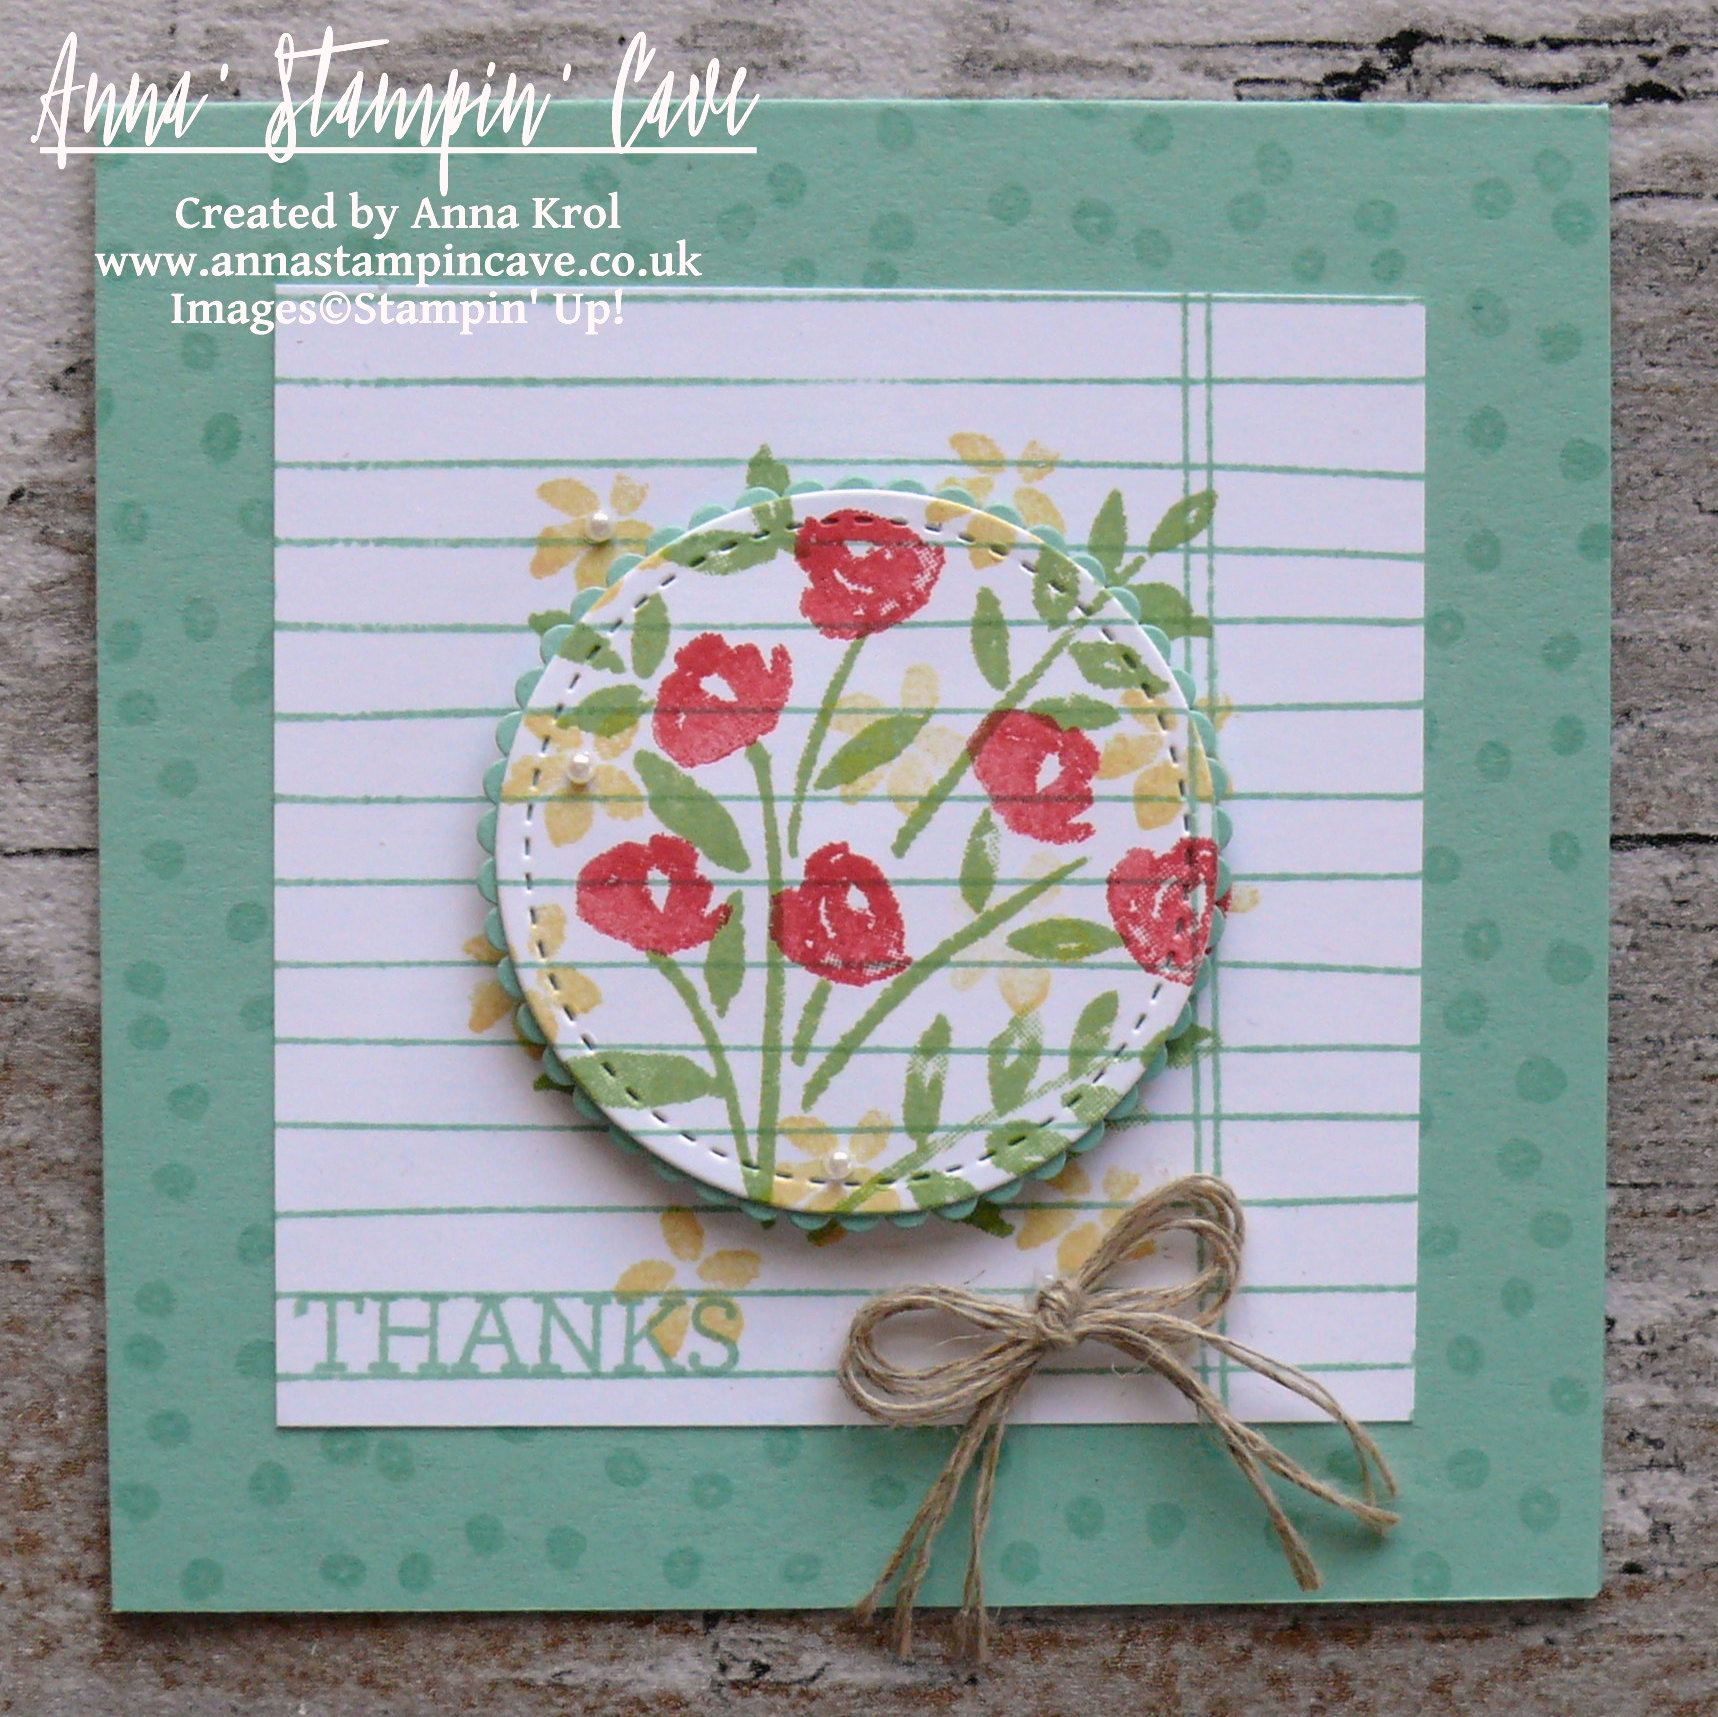
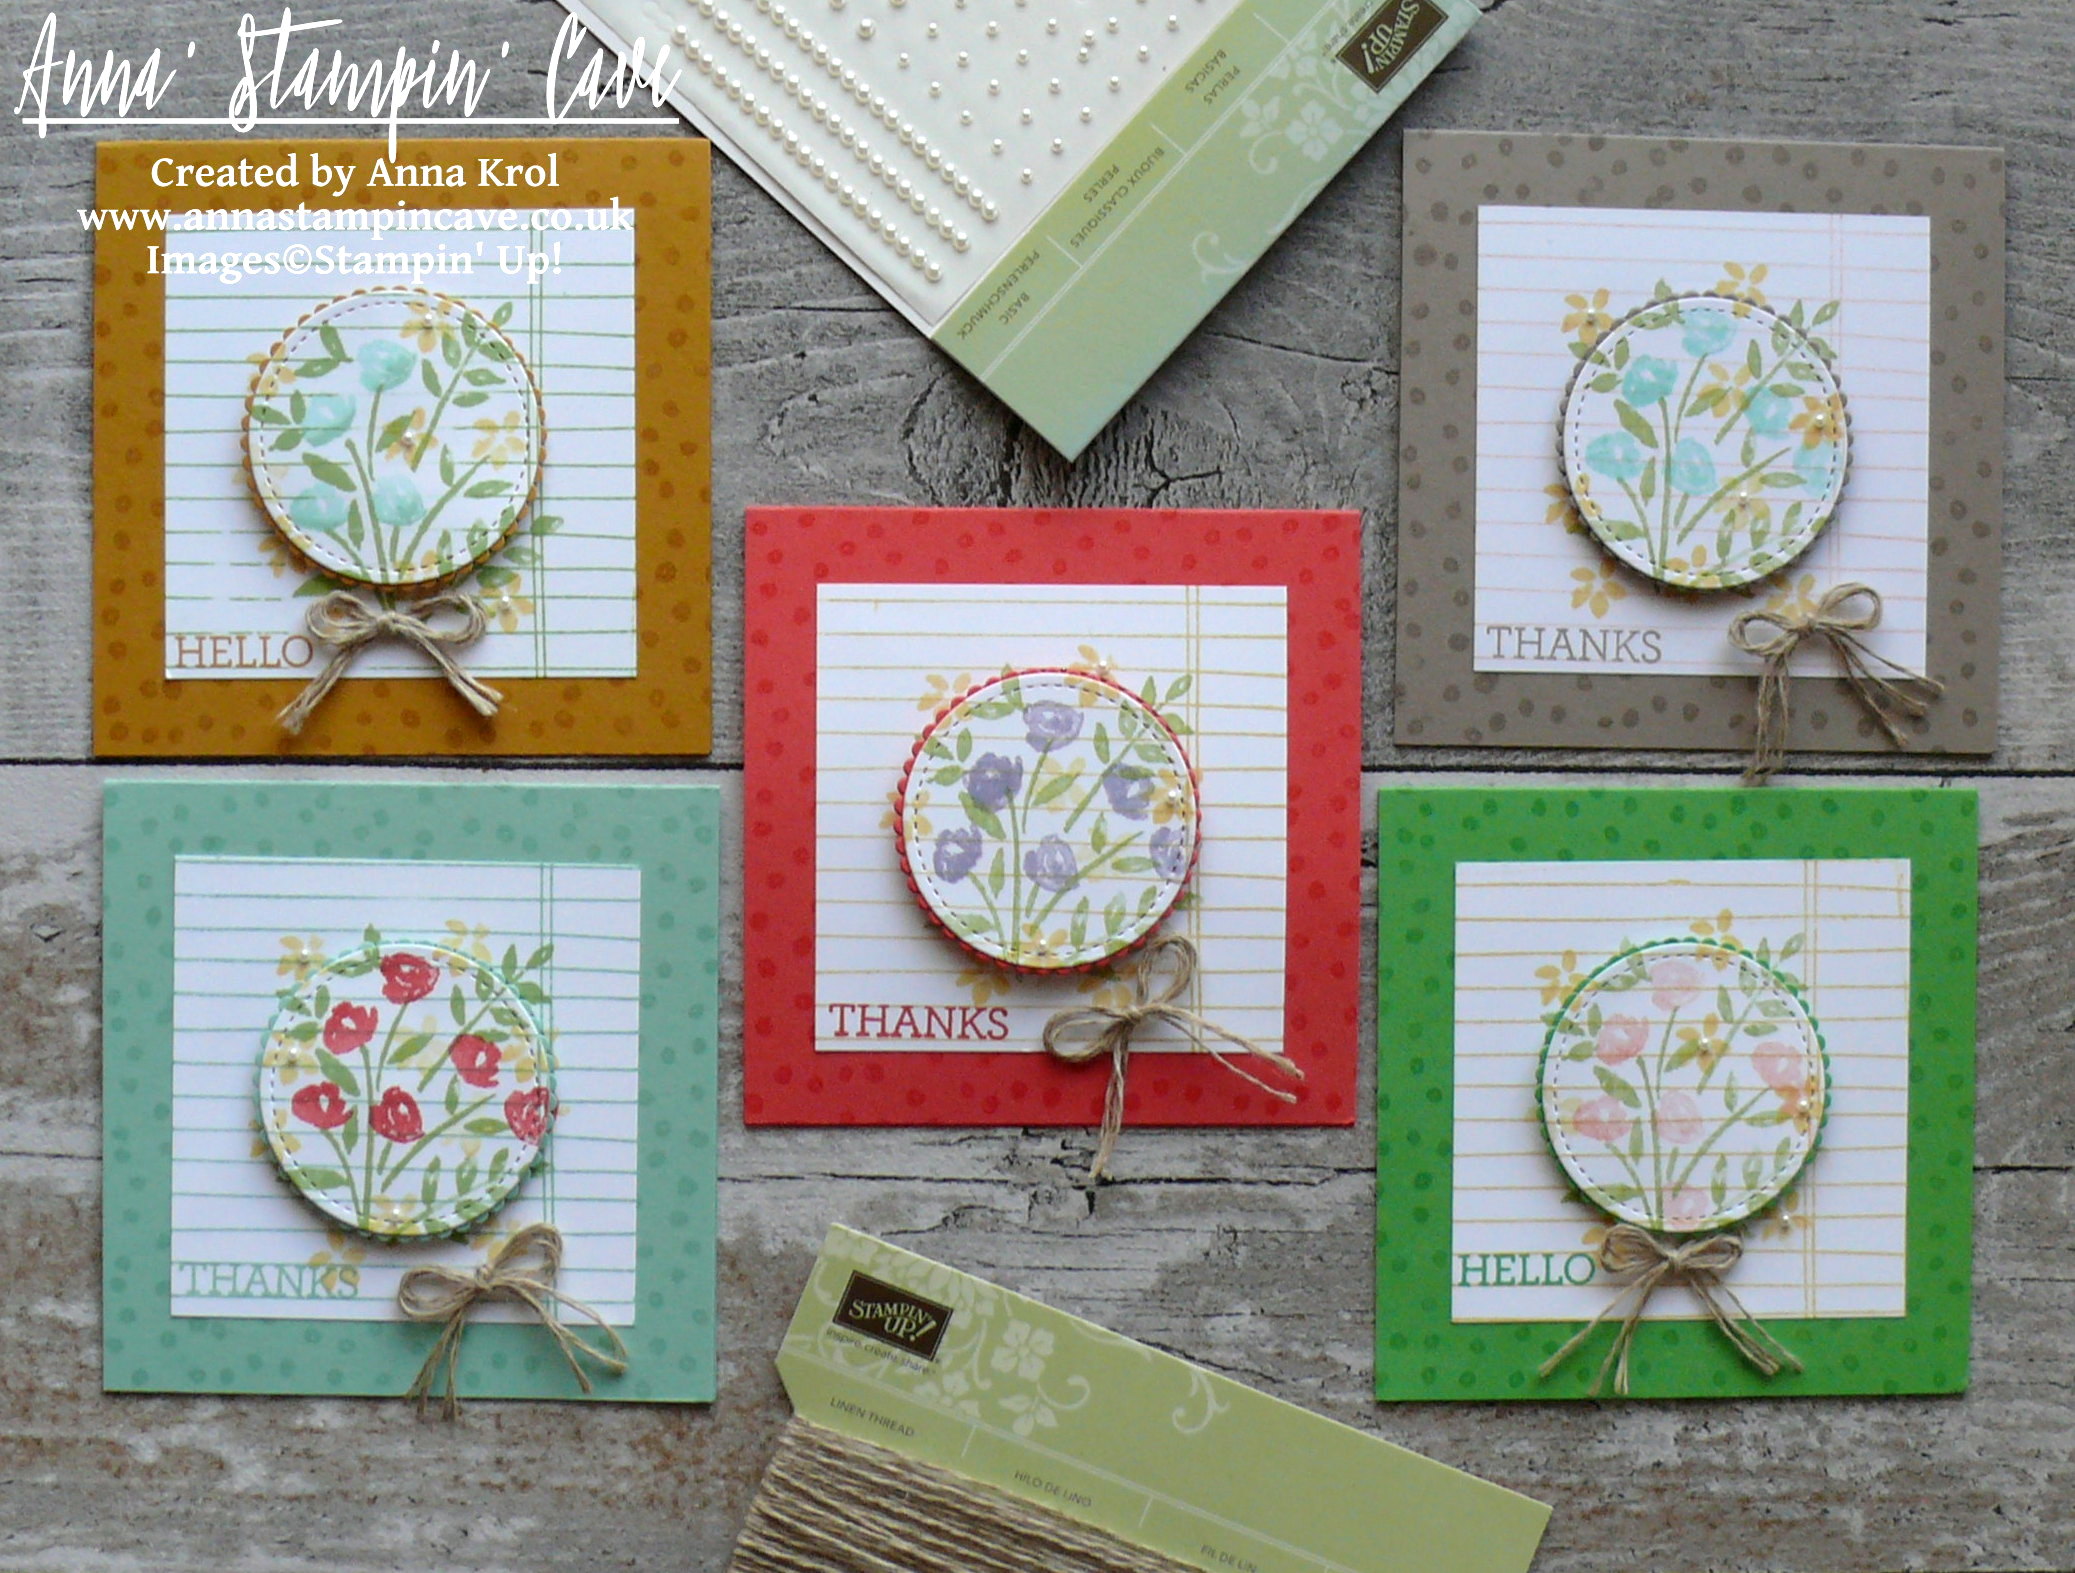
I don’t know about you, but for me, nothing says ‘spring’ more than flowers. So today I’ve got for you a set of super cute, 4 x 4″ notecards.

Anna' Stampin' Cave - Stampin' Up! Number Of Years Stamp Set - Hello Spring Set of Notecards 2.JPG

Spring notecards dimensions:

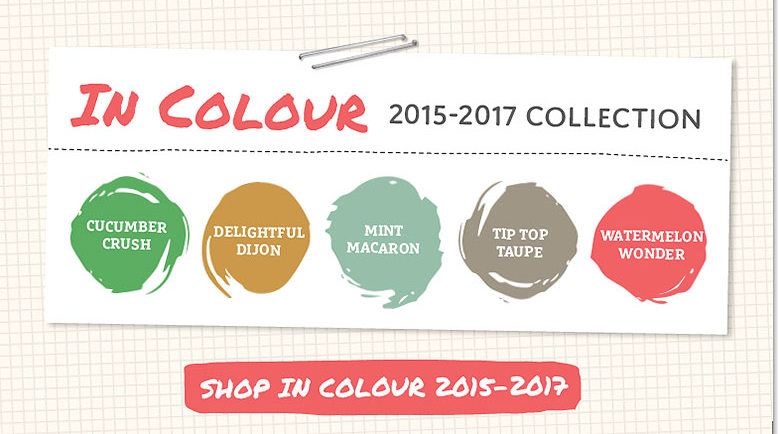
  • In Colour cardstock: five pieces, one of each colour, 4″ x 8 ” scored in half at 4″ (20,3cm x 10,1cm scored in half at 10,1cm) + scraps for die cutting
  • Whisper White cardstock: five panels 3″ x 3″ (7cm x 7cm)
  • Linen Thread five pieces, 20″ length each
  • Pearls: 15 mini pearls, 3 for each notecard

For the base of my little notecards I decided to use, soon retiring, 2015-2017 In Colours. I stamped each card base with a ‘dotty’ stamp from Number Of Years Stamp Set in Versamark.

Anna' Stampin' Cave - Stampin' Up! Number Of Years Stamp Set - Hello Spring Tip Top Taupe Notecard

Anna' Stampin' Cave - Stampin' Up! Number Of Years Stamp Set - Hello Spring Cucumber Crush Notecard

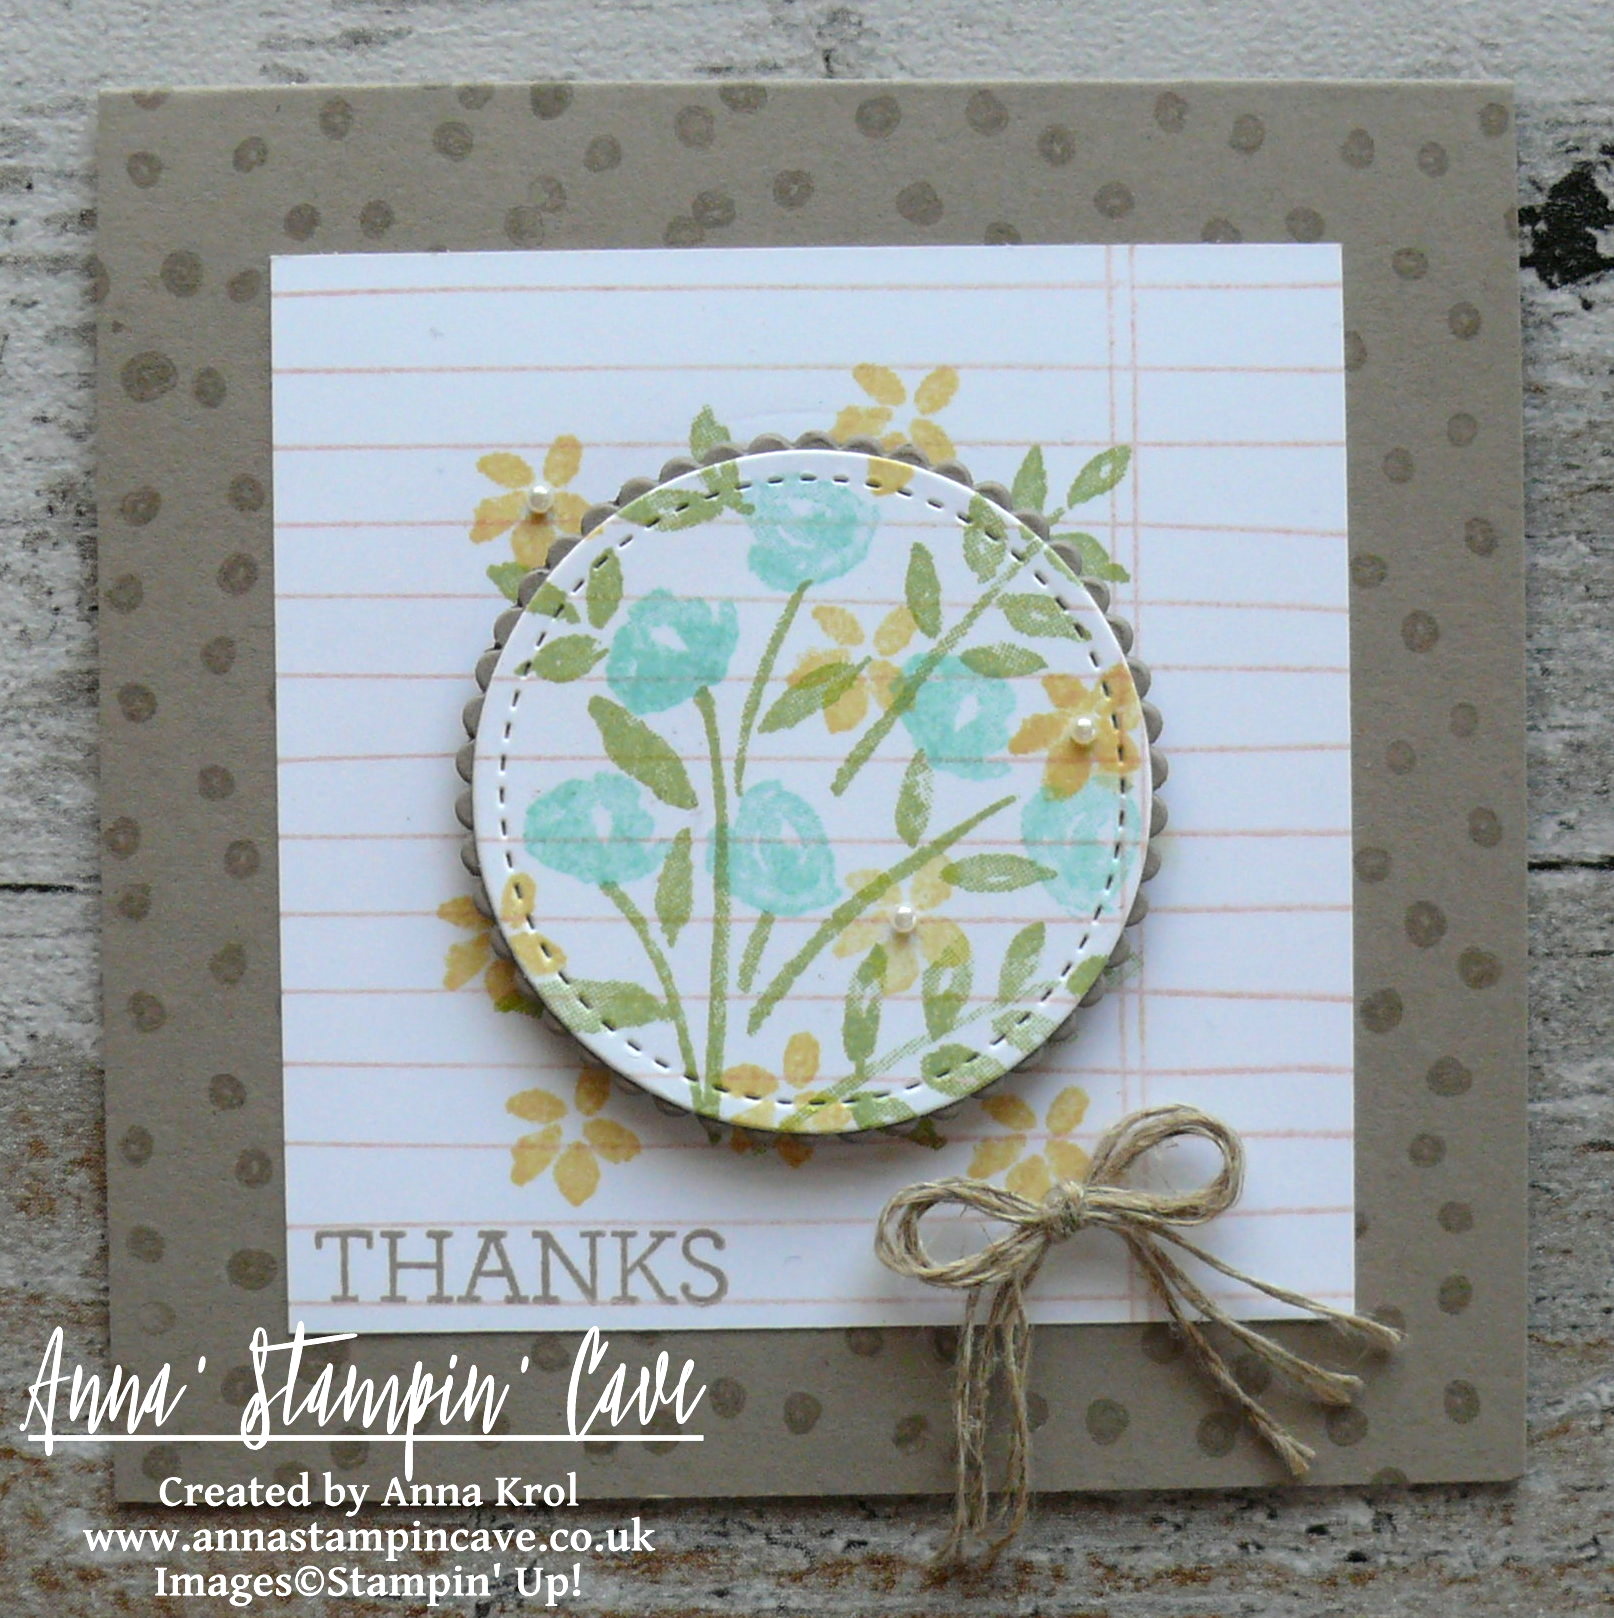
I stamped each 3 x3″ Whisper White panel using Writing Notes background stamp. I’ve used Cucumber Crush, Mint Macaron, Blushing Bride and So Saffron x2. Next, in the middle of each panel, I stamped a little bouquet of flowers, from Number Of Years Stamp Set. This is a two-step stamping set, so I first stamped the foliage using Pear Pizzazz and Wild Wasabi ink pads, and next I added the flowers in So Saffron, Pool Party, Watermelon Wonder, Blushing Bride and Wisteria Wonder.

Anna' Stampin' Cave - Stampin' Up! Number Of Years Stamp Set - Hello Spring Watermelon Wonder Notecard

Anna' Stampin' Cave - Stampin' Up! Number Of Years Stamp Set - Hello Spring Delightful Dijon Notecard.JPG

I die-cut my bouquets with stitched circle die and adhered a leftover piece to the card base. I also die-cut five scalloped circles: one in each In Colour. Next, I layered each bouquet with a scalloped circle and adhered them to the card base with dimensionals.

Anna' Stampin' Cave - Stampin' Up! Number Of Years Stamp Set - Hello Spring Mint Macaron Notecard

Sentiments come from Crazy About You Stamp Set and I stamped them in coordinating colours once my cards were assembled. For the final touch, I added mini pearls to some of the flowers. I also created cute little bows using Linen Thread and added them to the cards using glue dots.

Anna' Stampin' Cave - Stampin' Up! Number Of Years Stamp Set - Hello Spring Set of Notecards 3.JPG

I’m really pleased with my little notecards and I think they fit the theme perfectly. But just a little reminder that In Colours 2015-2017 will retire soon (end of May) so if you love them I would really advise you to stock up on cardstock, Designer Series Paper, and ink refills as they surely will be sold out way before the end of May. Click the picture below to check the entire collection.
In Colours 2015-2017

Now be sure to hop along to see more inspiring projects. Your next stop is lovely and talented Jerim.

Thank you for stopping by and have a blessed day