
Anna’ Stampin’ Cave – How-To: Partial Die-Cutting To Extend Your Square Dies
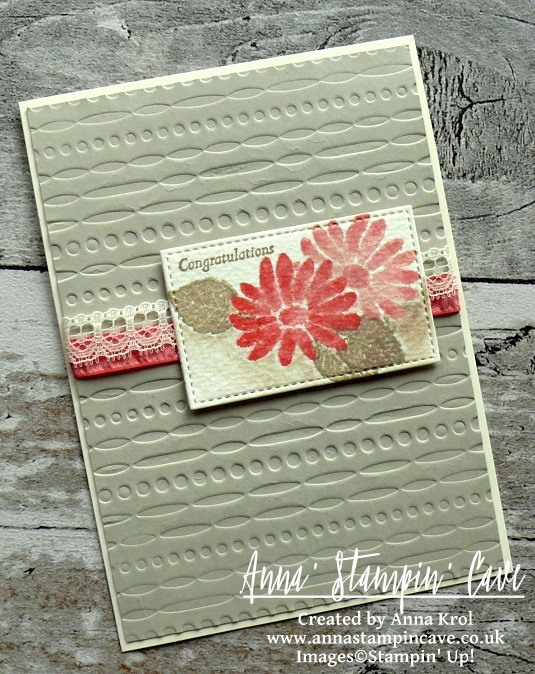
Couple of weeks ago I posted on my blog this lovely card and I had an enormous response, and questions on how I turned a square from Stitched Shapes Framelits Dies into the rectangle.
I hoped to post it earlier but as always life got in the way. But finally, I got around to show you how I did it. The technique is called partial die-cutting.
By no means, I didn’t invent this technique. It’s been around for a long time and is usually used to create pop-up elements or intricate borders.
To create a rectangle I took a piece of cardstock and my square die. I’ve used Stitched Shapes Framelits Dies, but you can use any thin square dies for this technique.
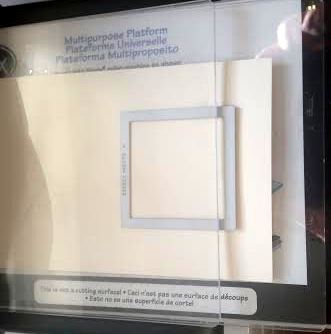
I placed the die, with the cutting edge down, on a piece of cardstock. I set the top plate of my cutting sandwich so that is only partially over the die. The portion that is under the top plate is the part that will get cut out. I run it through the Big Shot.
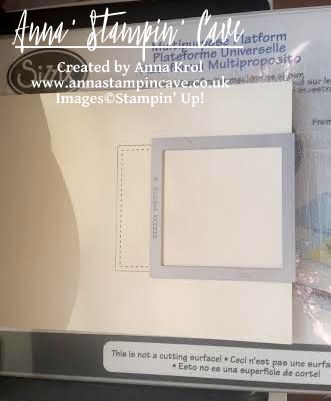
Now I lined up my die with this partially die-cut piece. It’s not difficult at all, as cutting edge of the die slip right into the grove.
And again I placed the top plate so that it’s only partially over the die. Just this time my partially die-cut piece and is on the side that won’t be cut. I run it through the Big Shot.
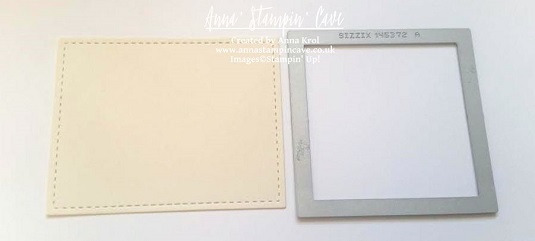
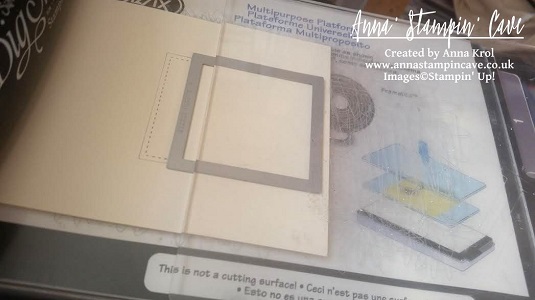
And voila, you have a stitched rectangle! But as I mentioned before you can use any thin square dies for this technique.
I hope you liked my short ‘how to’ post and that you’ll use this technique to stretch your dies.
Thank you for stopping by and have a blessed day,
