Anna’ Stampin’ Cave – Mother’s Day Card plus using watercolour pencils as on-the-go paint
Hello everyone! Thank you for stopping by my blog today!
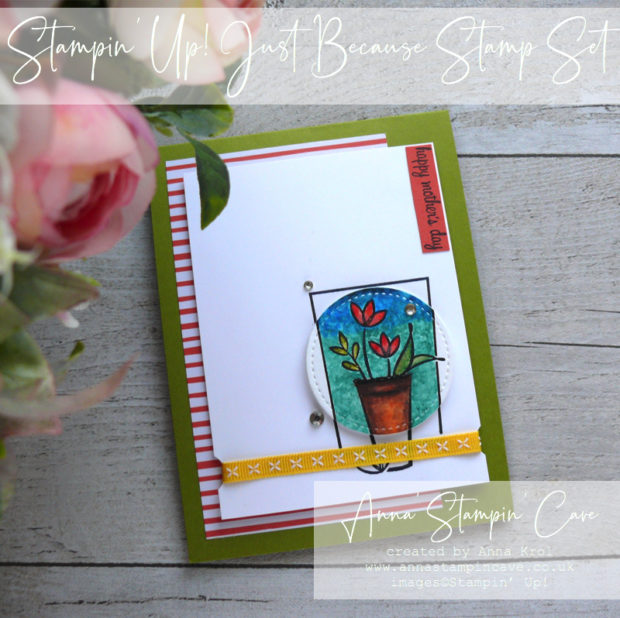
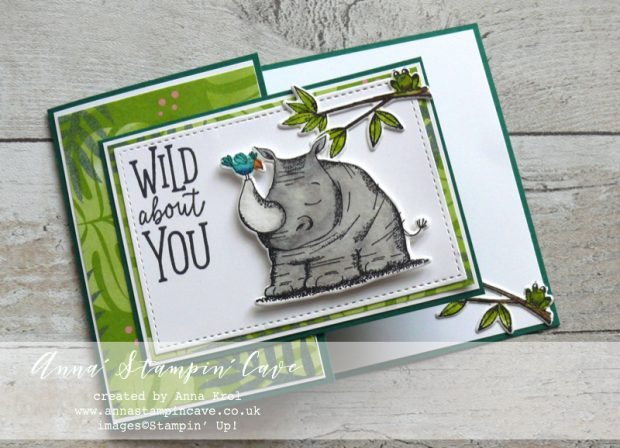
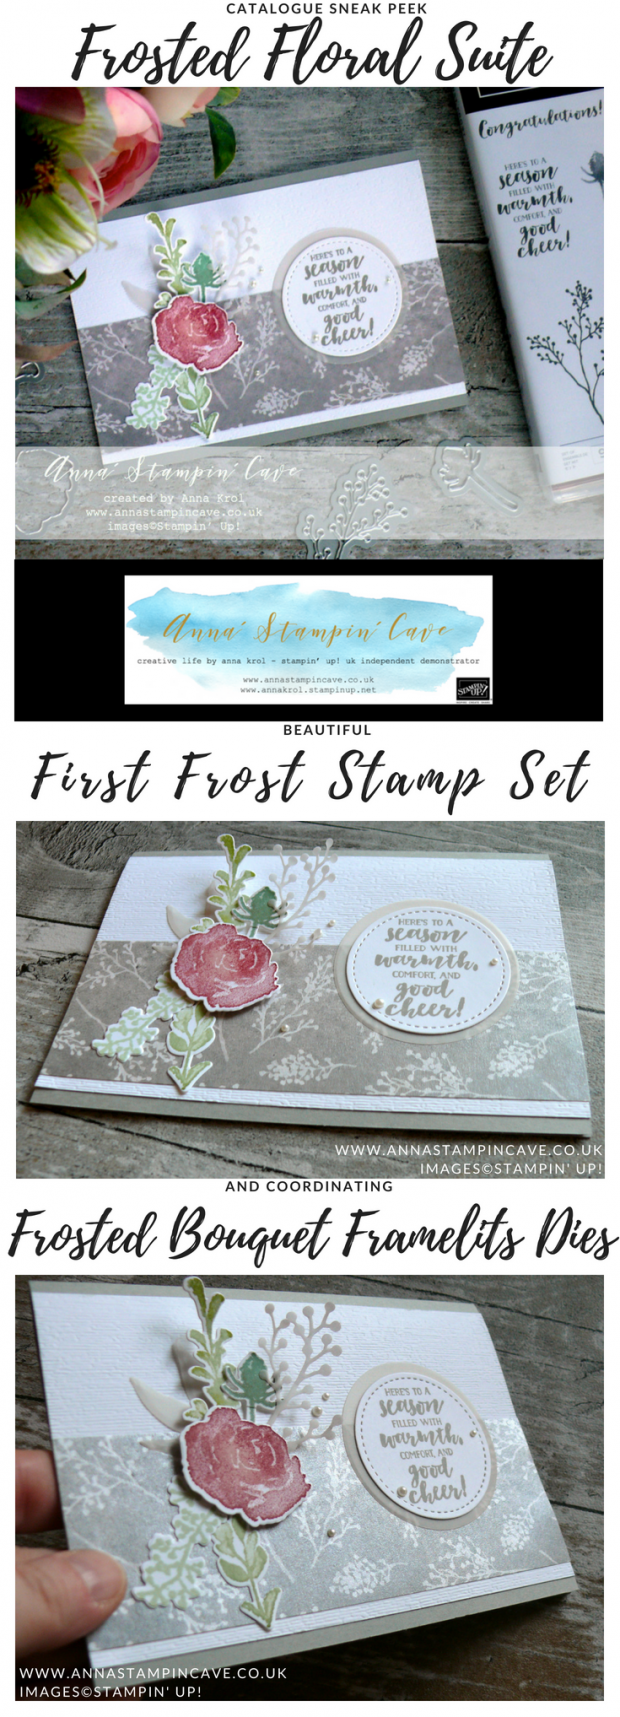
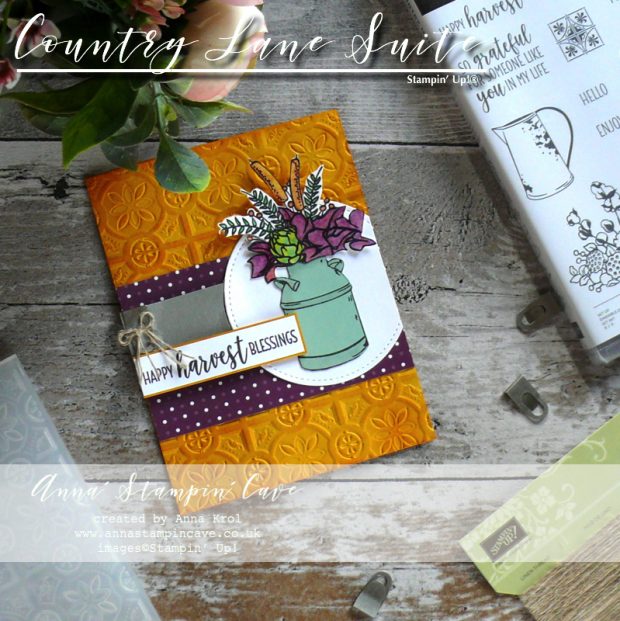
I wanted to share with you this super cute and cheerful card I created for my husband to give to his mum for Mother’s Day (polish Mother’s Day is on 26 May). She’s visiting the UK (my hubby’s sister and us) and has been here nearly a month. But she is heading back home tomorrow afternoon so it was like perfect timing.
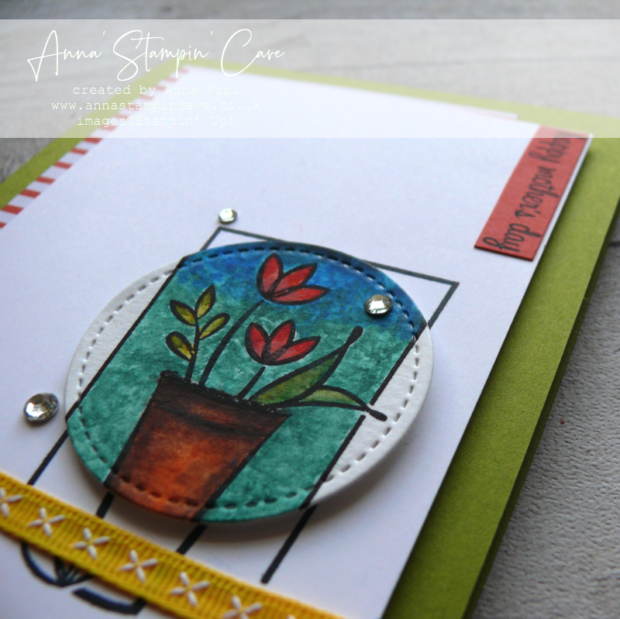
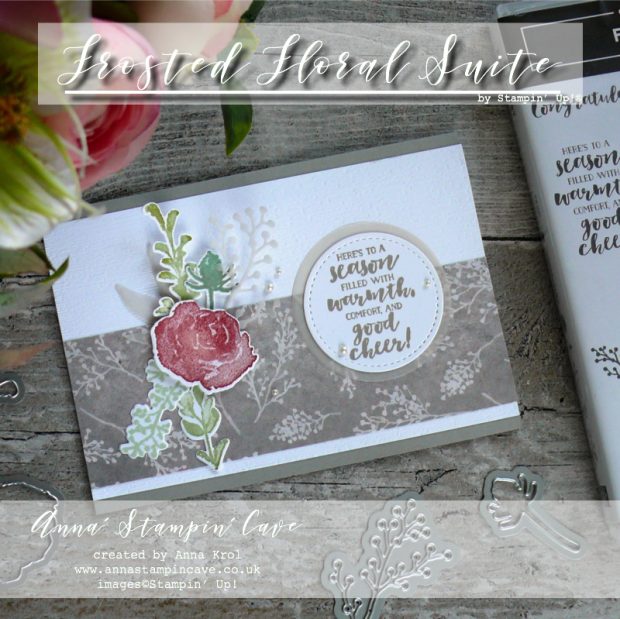
What’s special about this card is the technique I’ve used to colour in my focal point image. But first thing first, here’s my card:
Mother’s Day card dimensions:
- Granny Apple Green cardstock: 11″ x 4-1/8″ scored at 5-1/2″ (28 x 10.5 cm scored at 14 cm)
- Whisper White cardstock: 3-3/8″ x 4-1/2″ (8.5 cm x 11.6 cm)
- Whisper White cardstock for the inside: 4″ x 5-1/8″ (9.6 cm x 13 cm)
- Subtles Designer Series Paper in Calypso Coral: 3″ x 5″ (7.6 cm x 12.7 cm)
- Calypso Coral cardstock for the sentiment
- Daffodil Delight 1/4″ Double-Stitched Ribbon approx. 4″ (10.3 cm)
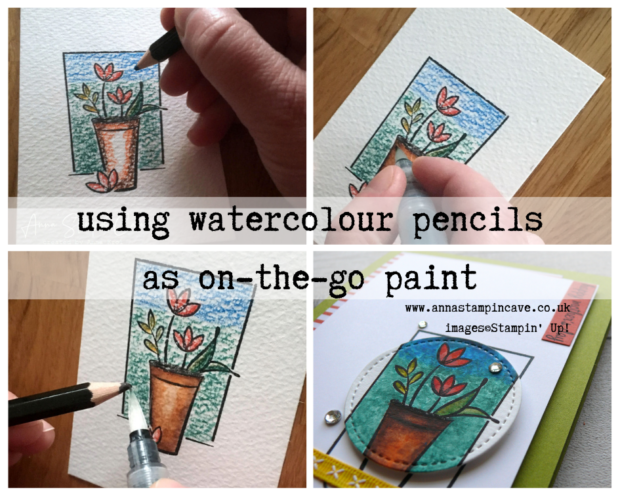
Using watercolour pencils as on-the-go paint
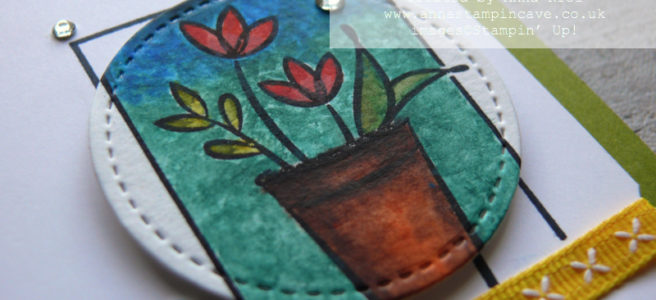
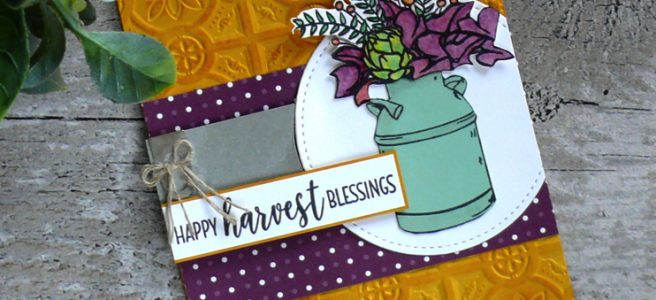
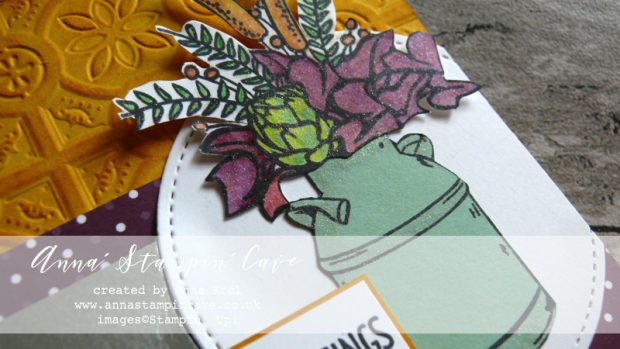
First thing I did I masked off the original sentiment and stamped the image onto Whisper White panel. Next, I stamped this very same image onto a watercolour paper and coloured it roughly with Watercolour Pencils.
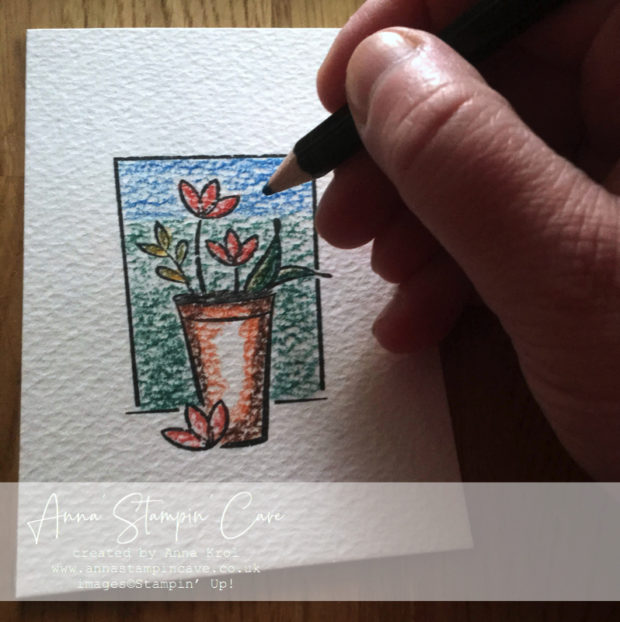 First, I coloured my image, very roughly, with watercolour pencils, leaving some empty space on the flower pot for highlights.
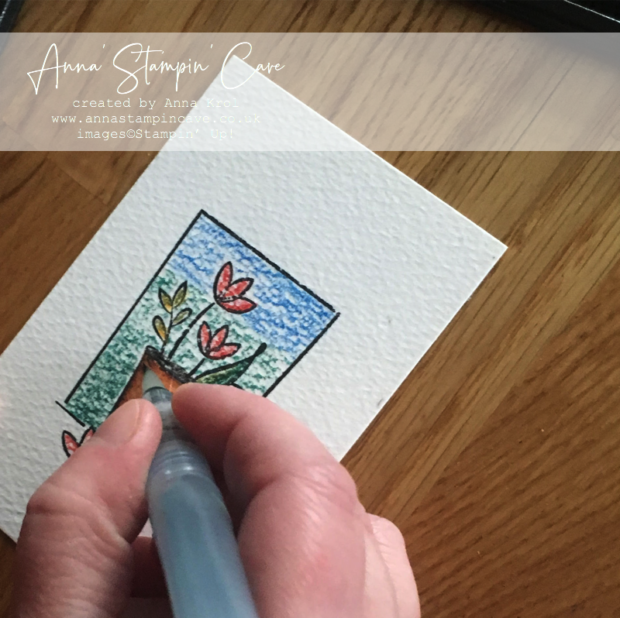 Next, using an aqua painter I brush it with water. I did it slowly, with a brush that was hardly wet, one area at a time, making sure I don’t over-mix all of the colours used.
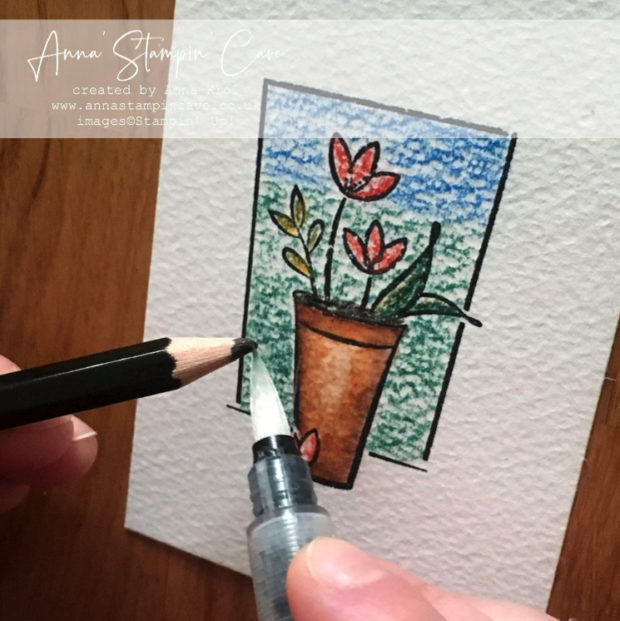 To intensify some colours, I rubbed my aqua painter’s brush directly against the tip of the pencil, before adding the pigment to a designated area.
It was time-consuming but well worth the effort.
Under construction
This card, even if for some looks complicated, was very straightforward to make.
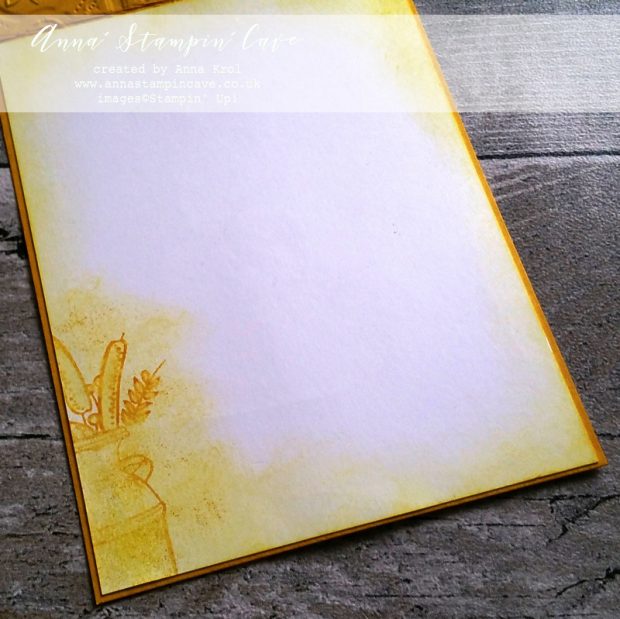
I started by adding a Whisper White panel to the inside of my card so hubby could later jolt in some heartfelt Mother’s Day wishes.
Next, I adhered a piece of DSP to the card front, slightly to the left. I took my stamped Whisper White panel and punched out two semi-circles at the very bottom of the panel, to add the ribbon. Once the ribbon was secured, I popped it to the card front with dimensionals.
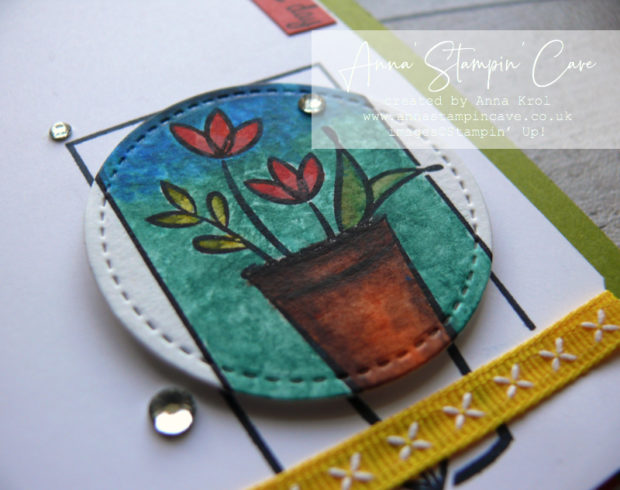 Creating Focal Point
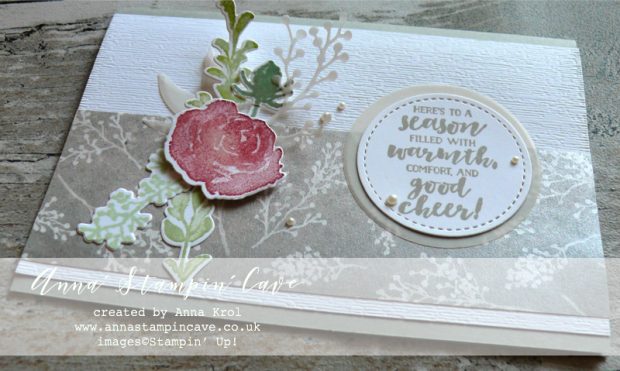
Using a second smallest circle die from Stitched Shapes Framelits Dies, I die cut a circle from my watercolour piece and add it with dimensionals to the card front where it “belonged”.
On a scrap of Calypso Coral cardstock, I stamped the “happy mother’s day” sentiment from Itty Bitty Greetings. I trimmed it into a narrow strip and added it flush to the top right corner of the front Whisper White panel.
Few, more or less randomly added rhinestones finish off the look.
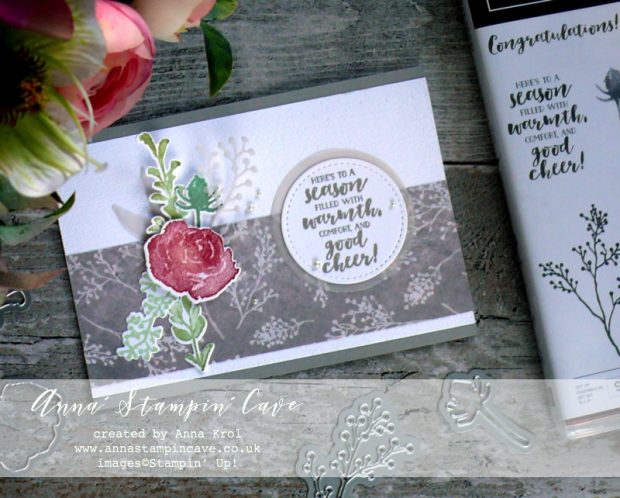
I am delighted how this card turned out: such a happy and cheerful little make!! And I really hope my mother-in-law will love it too.
I add ut to the Simon Says Stamp Wednesday Challenge: For A Special Lady
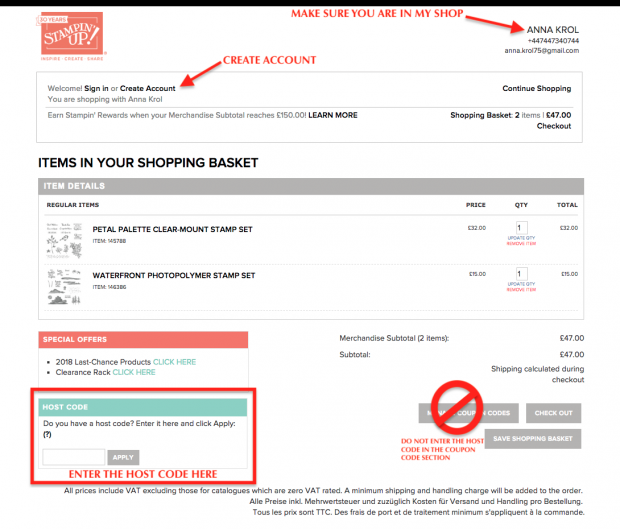
As always, if you wish to purchase any of the products I have used, simply click the images below to go directly to my online store.

HOST CODE for the month of May is 4EYUYEU2. Use this code to receive special rewards from me.

Product List


 Designer Series Paper")


Pin me
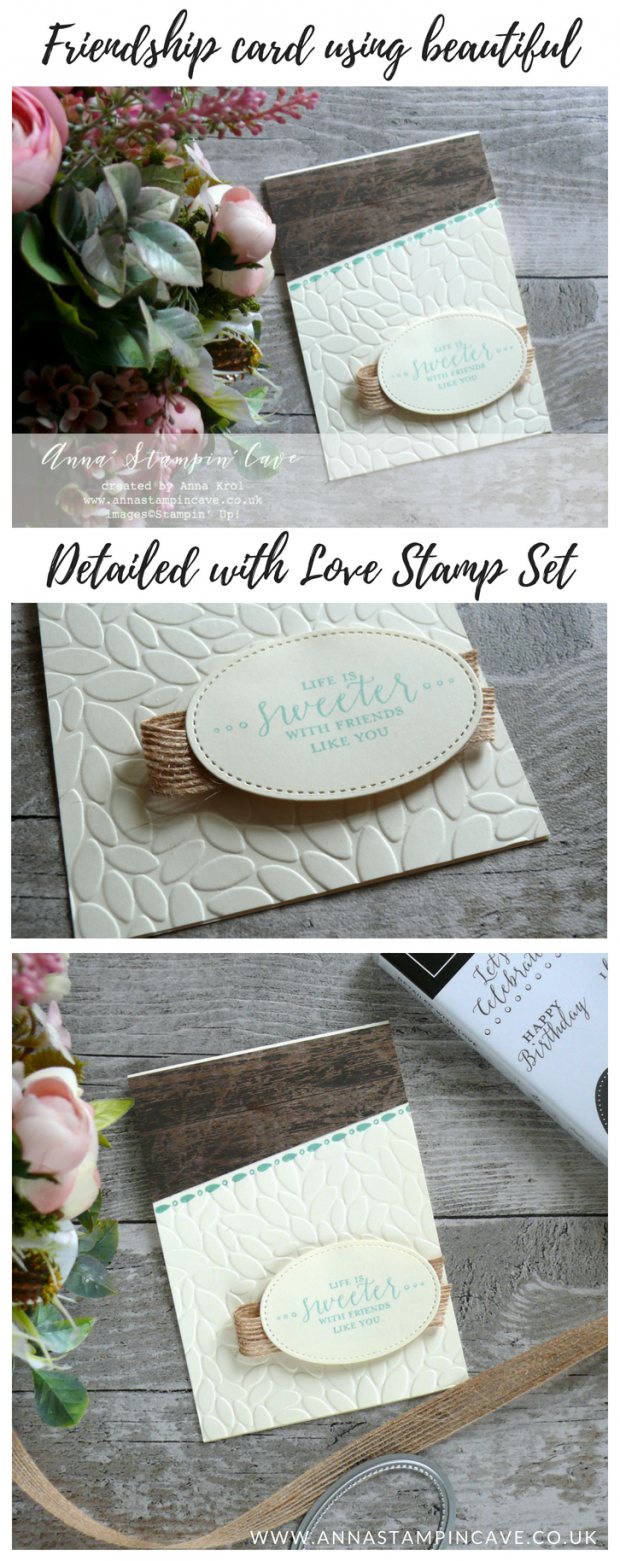
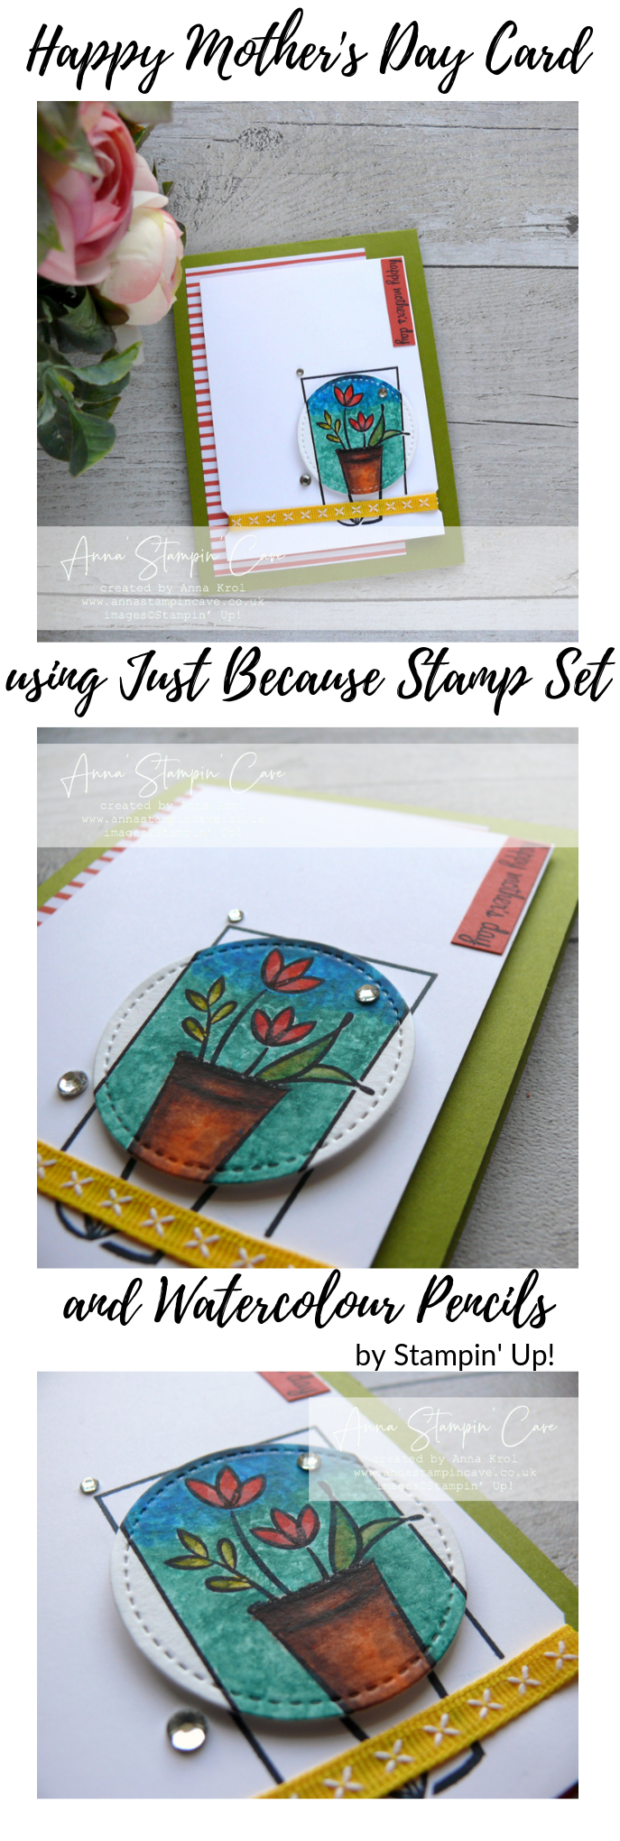
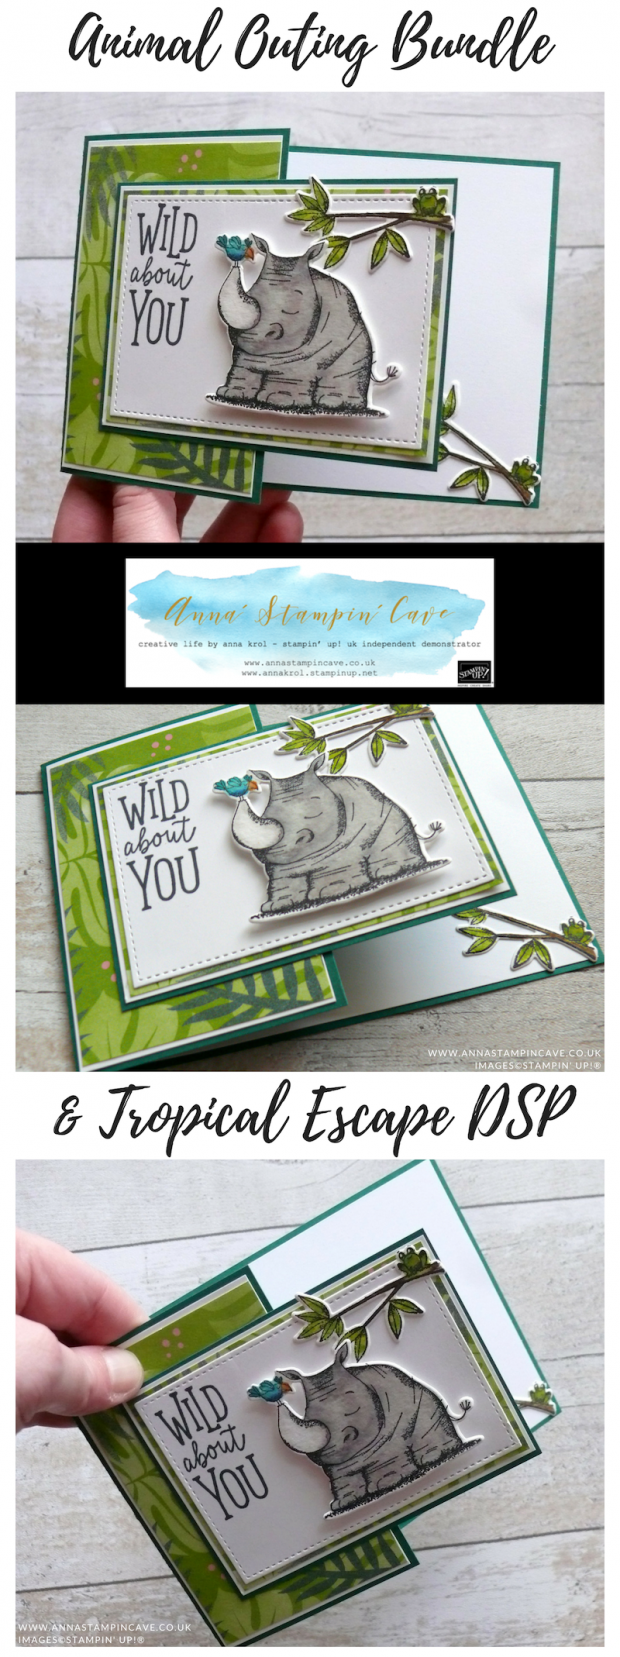
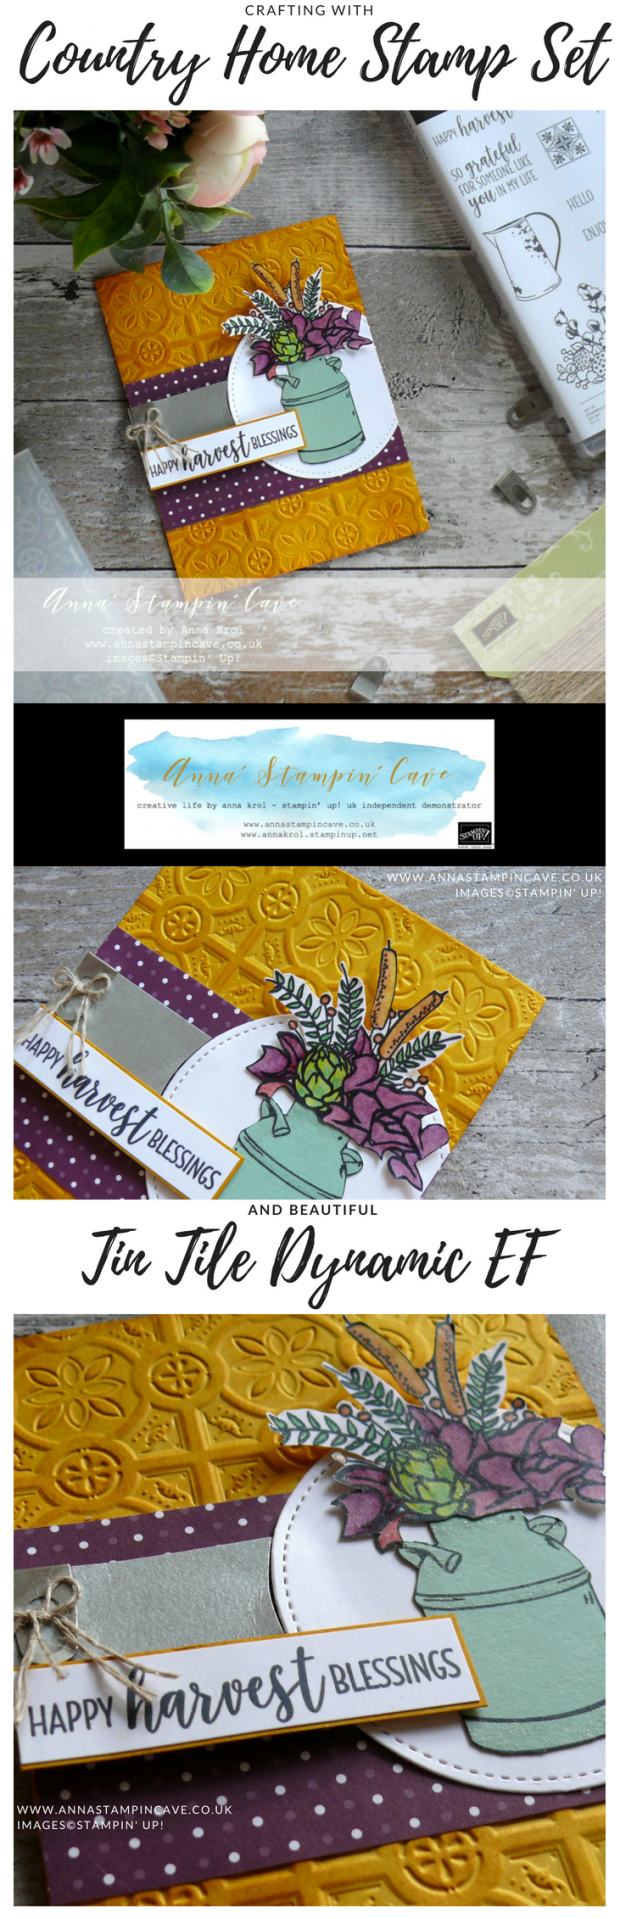
Summary of the project which gives all the views of the card in one photo. I’d love if you pinned and called by on Pinterest xx
And today I have even two images for you to PIN away!


 Designer Series Paper")


 Specialty Designer Series Paper")


 My exclusive special offer this month only: FREE Stampin’ Up! Pearlised Doilies
 Earn in August – redeem in September –>


 Designer Series Paper")


 Burlap Ribbon")