Roses & Dragonfly No°2 – Inlaid & Partial Die-cutting Birthday Card

Anna’ Stampin’ Cave – Roses & Dragonfly No°2 – Inlaid & Partial Die-cutting Birthday Card

And here I am again with Rose Wonder and Detailed Dragonfly Thinlits Dies!

My little sister (well not that little, she’s nearly 22 y.o. But hey! she will always be my little sister) came to last week and said she and her friends wanted me to make a birthday card for their girlfriend.

They really liked this card I’ve made a few weeks back…

anna-stampin-cave-stampin-up-dragonfly-dreams-bundle-and-rose-garden-thinlits-dies-inlaid-partial-die-cutting-technique

…and wanted something similar hence No°2 in the title 🙂

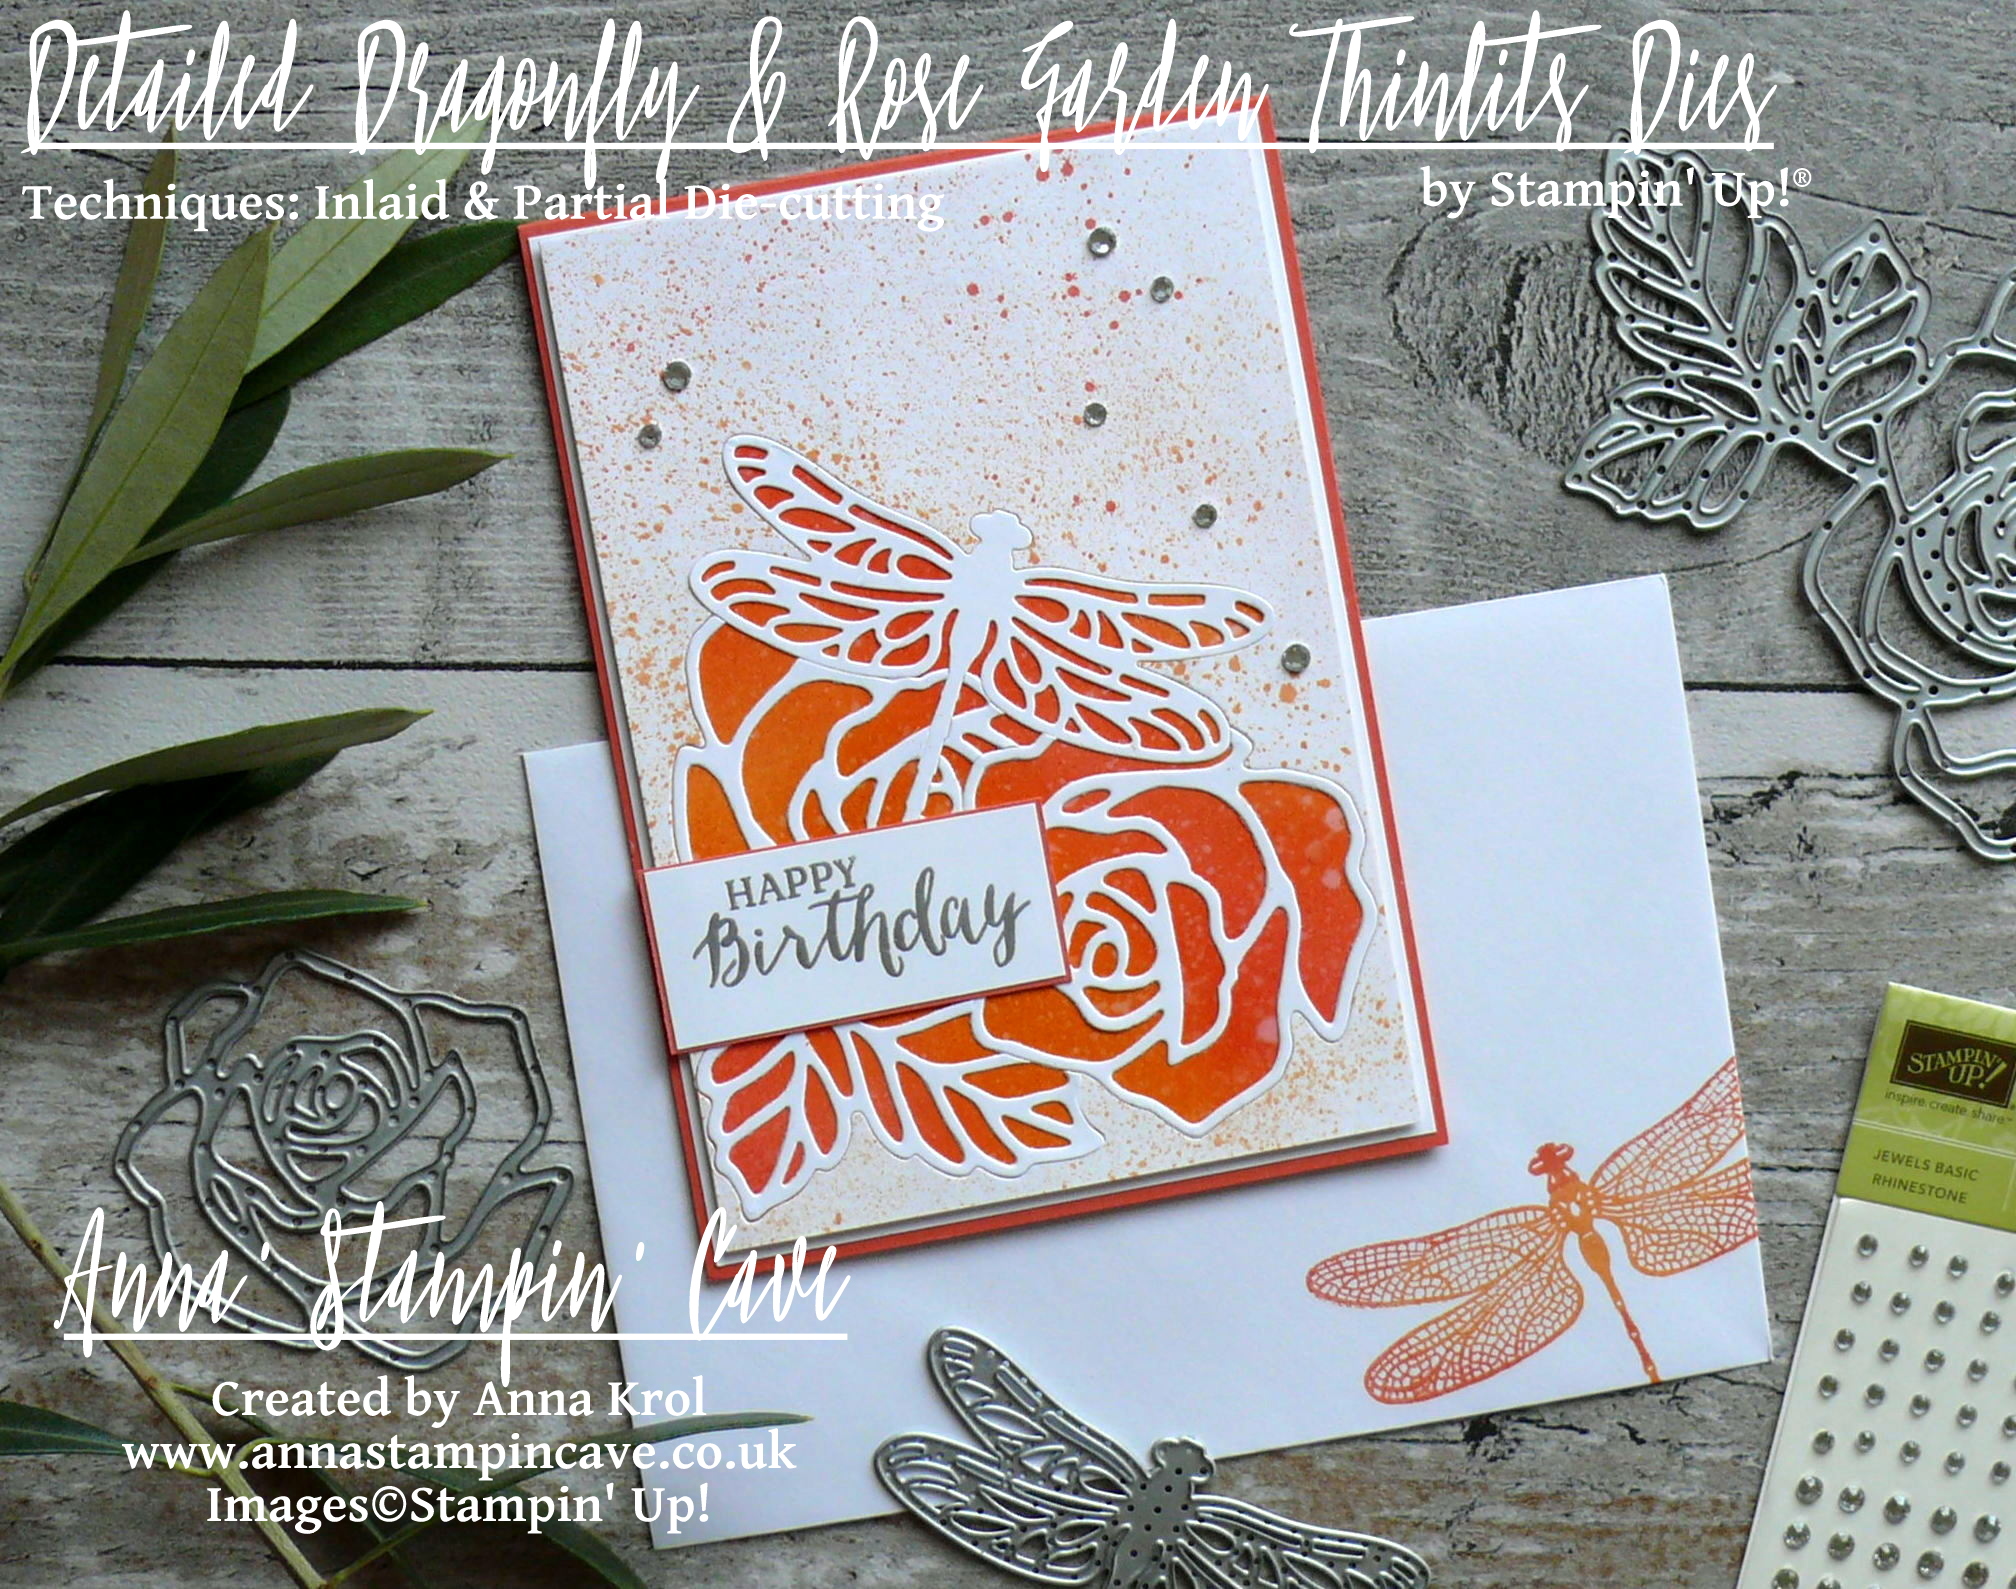
The base colour they wanted was orange with silver details, as these are the colours their friend loves. So fun and challenging as I don’t create much in orange! But I love challenges. I love to sit down and design, create something unusual; not just grab a card, two or three colours one stamp and bah! – five minutes later the card is done! I do clean & simple sometimes but that’s not my concept of creativity 🙂 I am an artist at heart. It have to be a process, it have to be messy and a little bit crazy too; so when I’m done my soul sings…

…and this is exactly how this card came to life
Anna' Stampin' Cave - Roses And Dragonfly Birthday Card using Inlaid Partial Die Cutting_Stampin' Up! Rose Garden Thinlits Dies_Detailed Dragonfly Thinlits Dies

Roses & Dragonfly No°2 card dimensions:

  • Calypso Coral cardstock card base: 11-6/8″ x 4-1/8″ scored in half at 5-7/8″ (29.7 x 10.5 cm scored in half at 14.8 cm)
  • Whisper White cardstock: 5-6/8″ x 4″ (14.6 cm x 10.2 cm)
  • Whisper White cardstock: 2 panels 5-5/8″ x 3-7/8″ each (14.3 cm x 9.8 cm); one for blending and one for die-cutting
  • strips of Calypso Coral and Whisper White cardstock for sentiment

First I adhered panel of Whisper White cardstock to the card base using snail adhesive. Next, I took one of the smaller panels and using ink pads and sponges I created a backing panel for the die-cut piece.
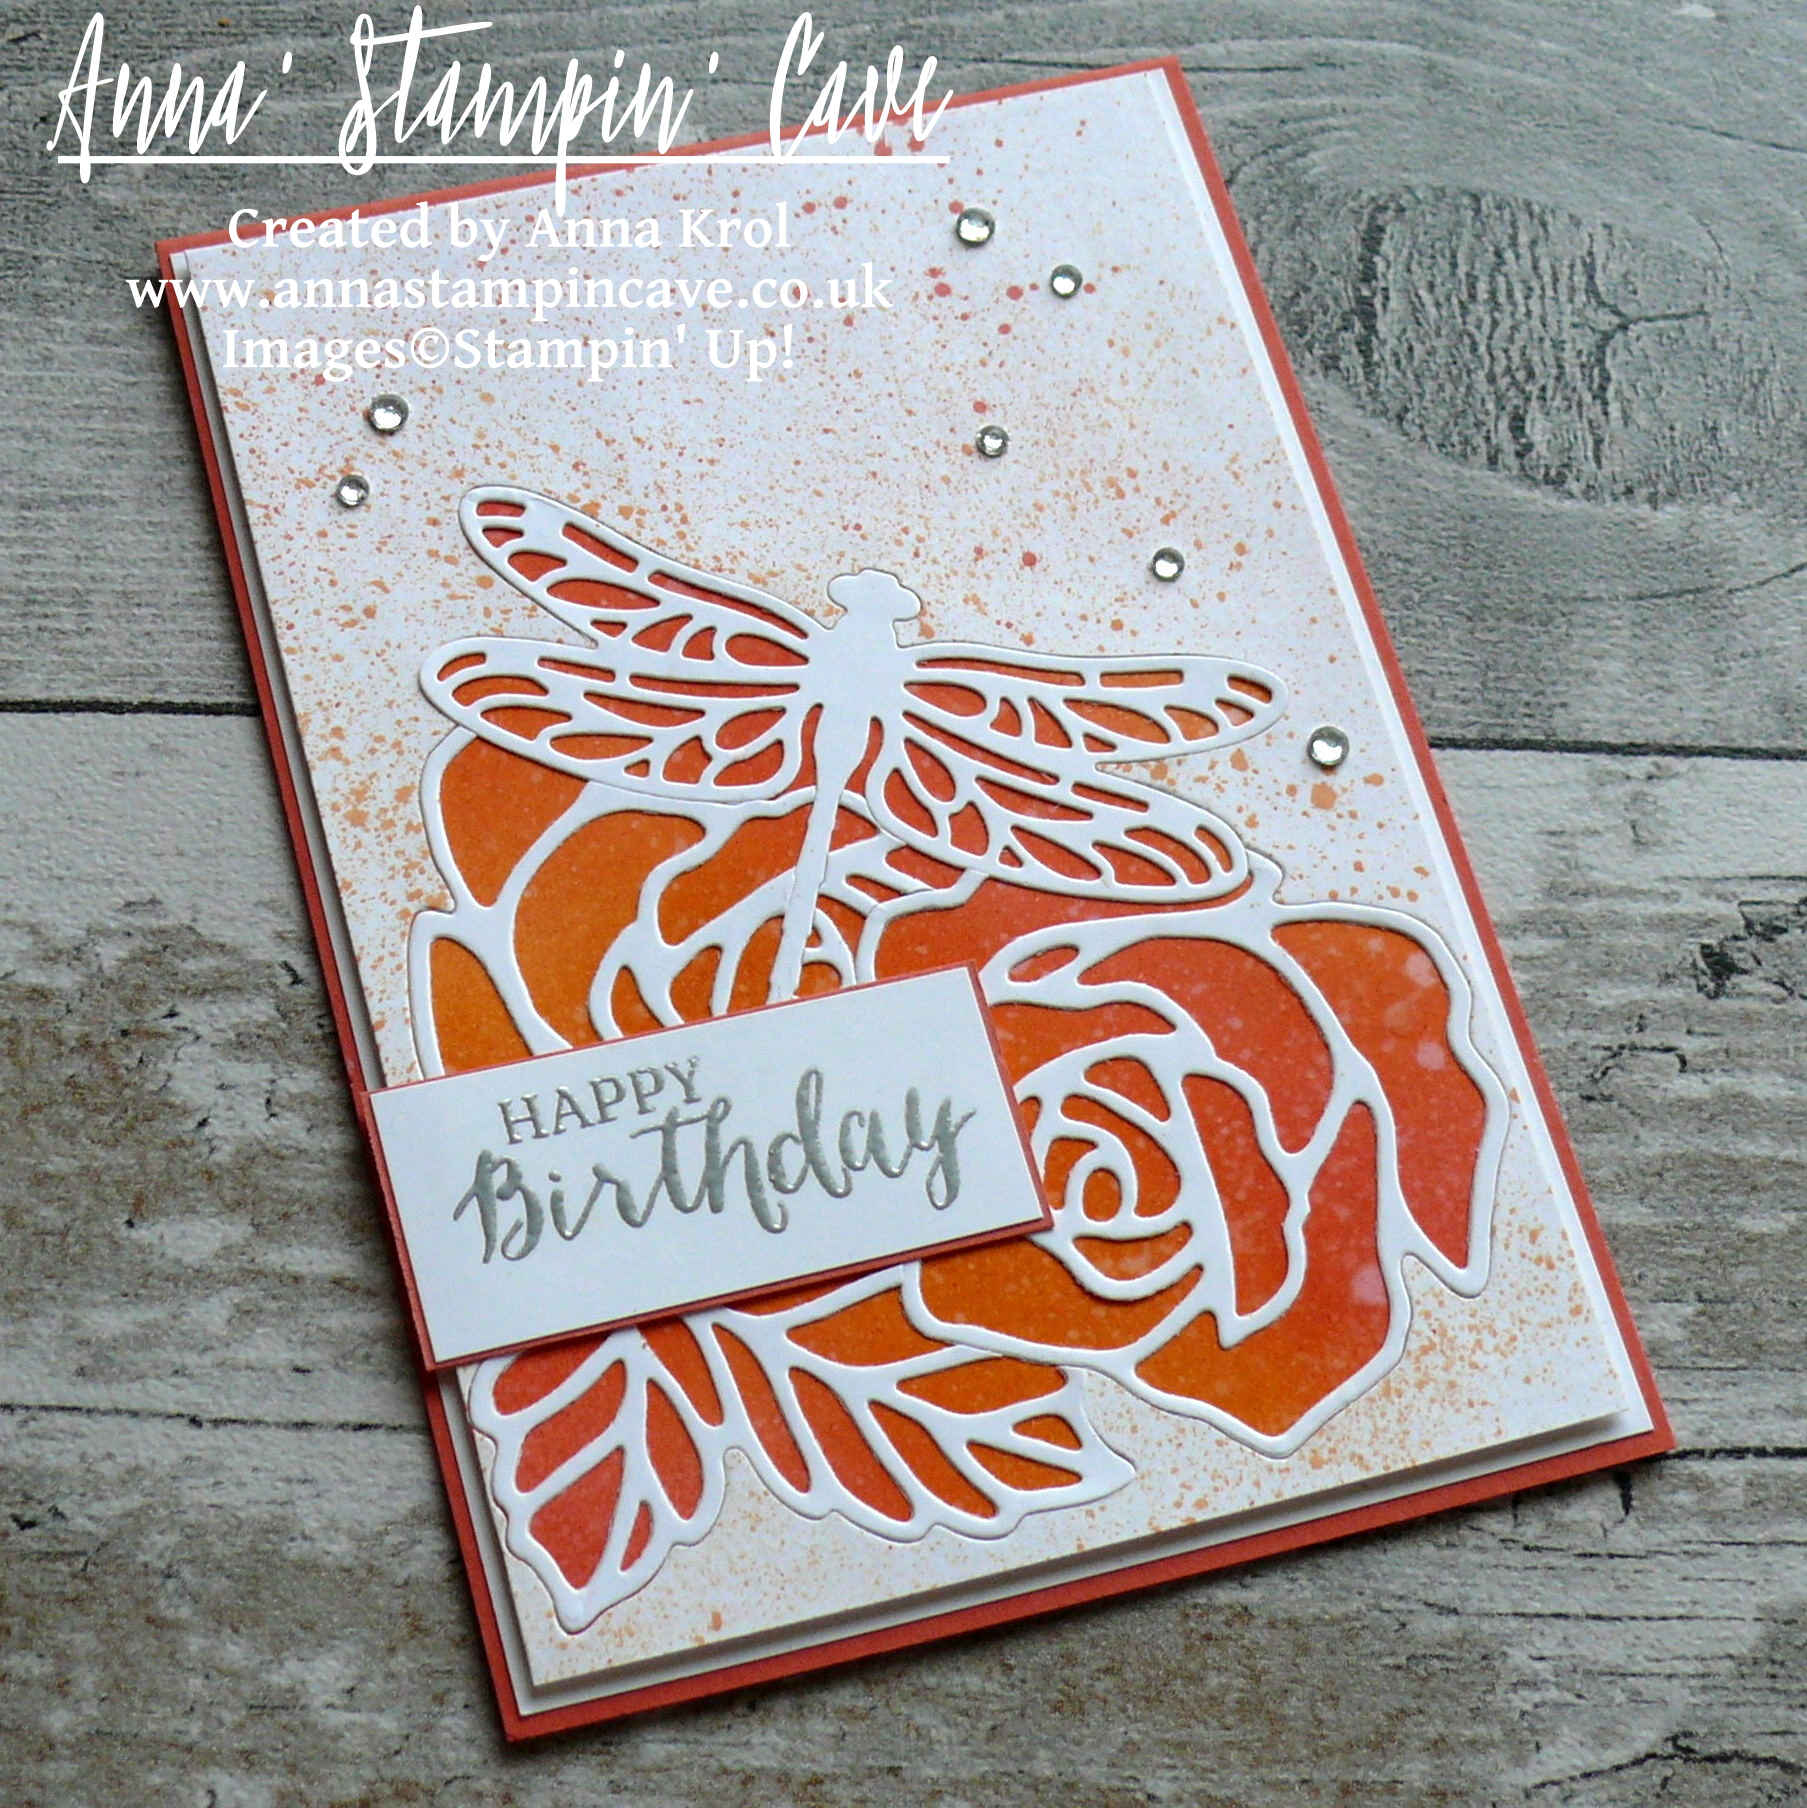
Anna' Stampin' Cave - Roses And Dragonfly Birthday Card using Inlaid Partial Die Cutting_Stampin' Up! Rose Garden Thinlits Dies_Detailed Dragonfly Thinlits Dies 4

As first, I blended in my darkest colour, Calypso Coral, followed by Pumpkin Pie and Peekaboo Peach. But you can start with the lightest shade first, it doesn’t really matter. I continued adding more colour until I was happy with the depth. To add more interest I flicked few droplets of water to my panel.

Water react with ink creating this beautiful, distressed look. Bear in mind that for the best results you have to do it when the ink is freshly blended.

I took the second Whisper White panel and arranged the dies how I wanted them to go. Next, I die-cut all elements, one at a time and put them away on a flat surface so I don’t lose any of the small pieces. Once everything been die-cut I adhered what’s left of the panel to the orange background. I’ve added some splatters of ink all over it and inlaid all my die-cut pieces back in. More detailed explanation can be found here ->

I added this panel to the card base with Foam Adhesive Strips for extra dimension.
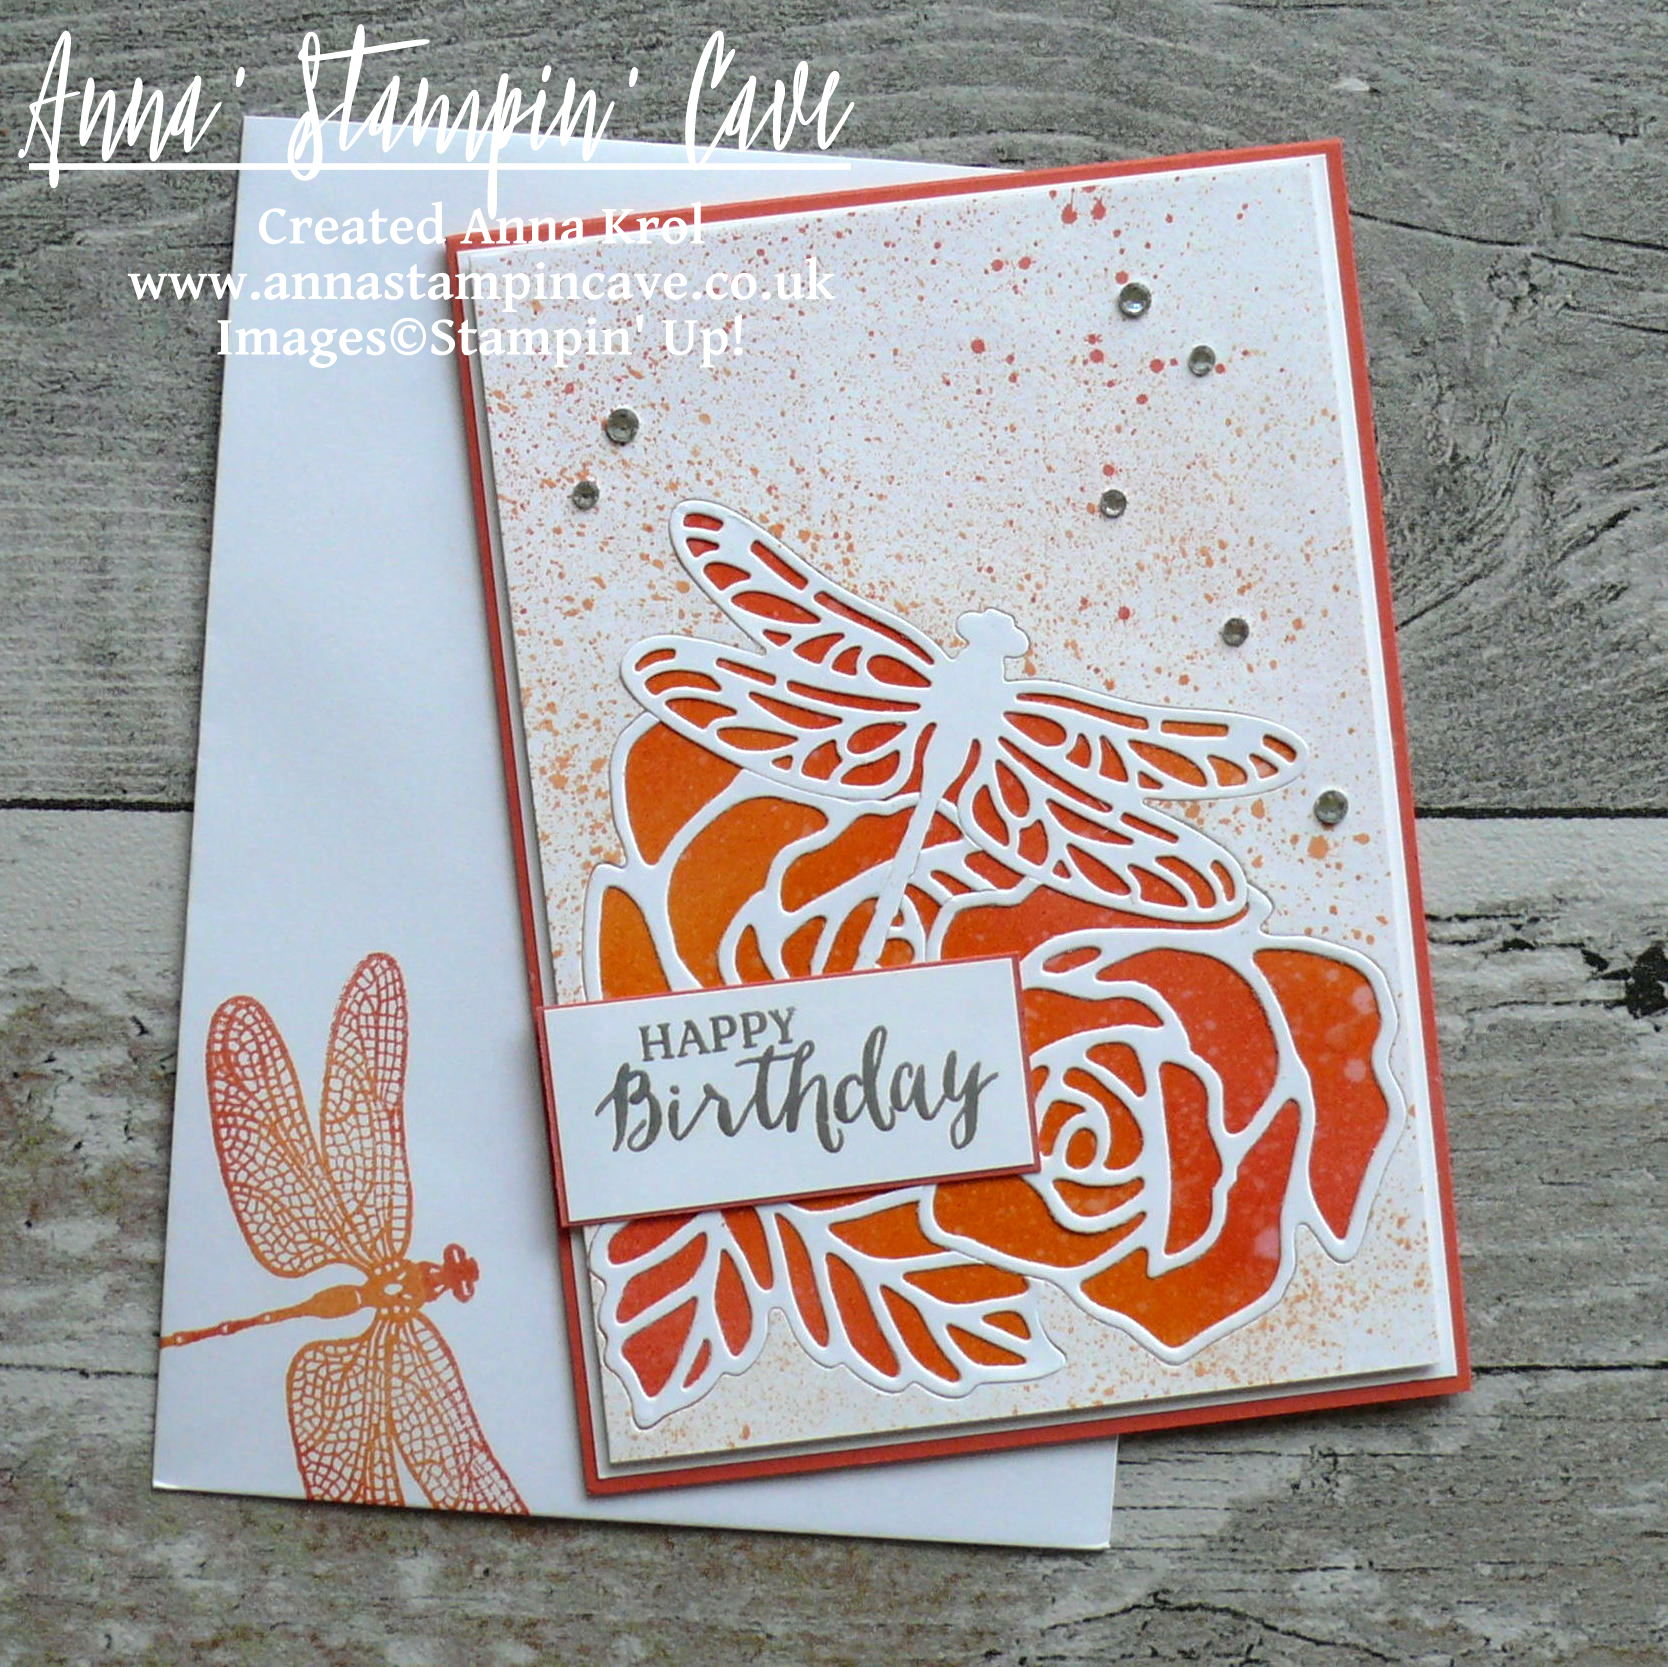
Anna' Stampin' Cave - Roses And Dragonfly Birthday Card using Inlaid Partial Die Cutting_Stampin' Up! Rose Garden Thinlits Dies_Detailed Dragonfly Thinlits Dies 3

The sentiment I’ve used comes from Rose Wonder Stamp Set. I stamped it on Whisper White cardstock with Versamark ink. I heat embossed it in silver, mounted on a slightly wider piece of Calypso Coral cardstock and add it to the card.

To make the card looks even more pretty, I scattered rhinestones all over the panel. To wrap it up, I stamped dragonfly image inside the card and on the envelope. It’s hard to see but I’ve used all three colours of ink on this little creature.

The card has been given already and I know the girl loved it to bits. That is my biggest reward 🙂 But I hope you like it too. Would love to hear your opinion it the comments below.

If you wish to purchase any of products I have used, simply click the images below to go directly to my online store and don’t forget to enter the hostess code for the month of April XMAJ4CYX to receive a gift from me.

Thank you for stopping by and have a blessed day,

Just a note: the Dragonfly Dreams as a Bundle at 10% discount is available only until 31 May. After that date, you will be able to purchase Dragonfly Dreams Stamp Set and Detailed Dragonfly Thinlits Dies only separately, not as a bundle.

Don’t forget to check:

Stampin’ Up! Spring Summer & Annual Catalogue 2016 2017 Retiring List

Anna' Stampin' Cave Stampin' Up! Retiring Products 2017

It’s that time of the year again, when Stampin’ Up! is getting ready to retire stamps and accessories from both the Annual and Spring Summer catalogues. As sad as it is to see these products go, there’s still time for you to get them before they’re gone. Retiring products will only be available until 31 May, or while supplies last. So if there’s something from retiring products on your wishlist, don’t wait until last day – once they’re gone, they’re gone. And they are selling fast! Click here for more details ->

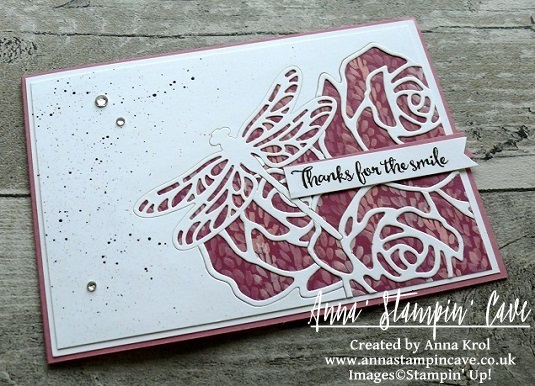
Roses and Dragonfly Thank You For A Smile Card for GDP#075

Anna’ Stampin’ Cave – Roses and Dragonfly Thank You For A Smile Card for GDP#075

gdp075

Hello and welcome everyone! Today I’ve got for you a card I created for this week’s Global Design Project theme challenge: Winged Creatures. I’m bit late to the party but thankfully not too late.

I’m a big fan of detailed die-cutting and had this idea bouncing around in my head for a while now, just never had enough time to try it.

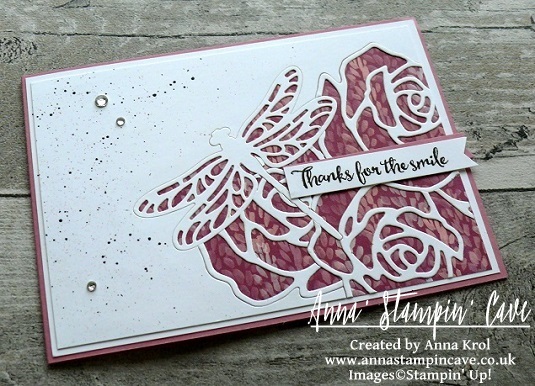
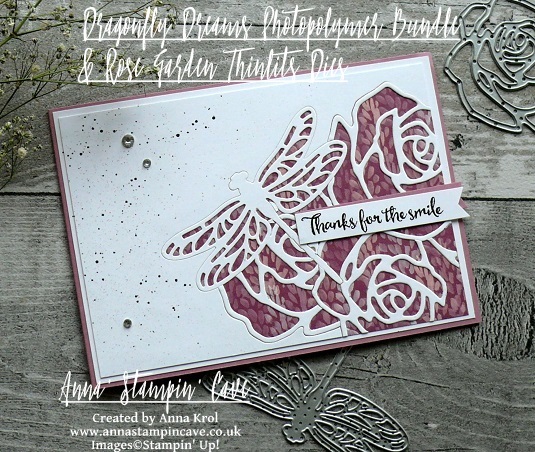
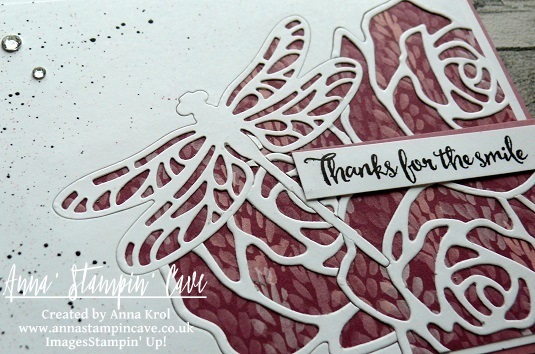
In this card, I’ve incorporated two die-cutting techniques – inlaid die-cutting and partial die-cutting – using a couple of detailed die sets: Rose Garden Thinlits Dies and Detailed Dragonfly Thinlits Dies.

anna-stampin-cave-stampin-up-dragonfly-dreams-bundle-and-rose-garden-thinlits-dies-inlaid-partial-die-cutting-technique

Roses and Dragonfly Thank You For A Smile Card dimensions:

  • Sweet Sugarplum cardstock: 11-6/8″ x 4-1/8″ scored in half at 5-7/8″ (29.7 x 10.5 cm scored in half at 14.8 cm)
  • Whisper White cardstock cut into two panels: bottom one measure 5-6/8″ x 4″ (14,5 x 10,2 cm) and top one 5-1/2″ x 3-7/8″ (14 cm x 9,8 cm)
  • Blooms & Bliss Designer Series Paper: 5-1/2″ x 3-7/8″ (14 cm x 9,8 cm)

anna-stampin-cave-stampin-up-dragonfly-dreams-bundle-rose-garden-thinlits-dies-inlaid-partial-die-cutting-technique

To create my card I started with die-cutting.

I wanted this small dragonfly to be in the foreground of my die-cut panel so  I run it through my Big Shot first.

For this technique, you first want to die-cut the image you want to have in the foreground of your card and you work your way backwards. Everything you die-cut later will appear to be ‘behind’ this first image.

Once it has been die-cut, I removed the dragonfly die and die-cut and I placed the rose die on the panel. I placed it the way that some parts of the die overlapped the negative space where dragonfly was die-cut previously from.

anna-stampin-cave-stampin-up-dragonfly-dreams-bundle-and-rose-garden-thinlits-dies

Again, I run it through the Big Shot and very carefully removed my rose die-cut from the die, being careful not to lose all the separate pieces as I will need them all to inlaid them back to my panel. I die-cut two more partial roses (one at a time) from the same panel, every time making sure they overlap the space of a previously die-cut image and saving all the little die-cut pieces. I arranged all my die-cut on the desk, so I knew

Once all the images were die-cut, I adhered what was left of the panel to the Blooms & Bliss DSP piece. And now the fun began: I had to inlay all the die-cut outlines where they came from.

anna-stampin-cave-stampin-up-dragonfly-dreams-bundle-and-rose-garden-thinlits-dies-inlaid-partial-die-cutting-technique

The easiest part was to inlay the dragonfly outline. From there, I worked my way through the roses in the same order I die-cut them. Once I was done, I matted my detailed panel with slightly bigger Whisper White piece and next mounted it onto my Sweet Sugarplum card base.

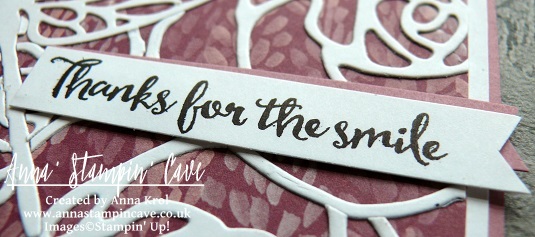
I masked bottom part of the sentiment ‘Thanks for the smile and everything else’, stamped it on a strip of Whisper White cardstock in Basic Black Archival Ink and cut it into a banner. I also cut a banner from Sweet Sugarplum cardstock and adhered them both to my card, offsetting slightly.

anna-stampin-cave-stampin-up-dragonfly-dreams-bundle-and-rose-garden-thinlits-dies-inlaid-partial-die-cutting-technique

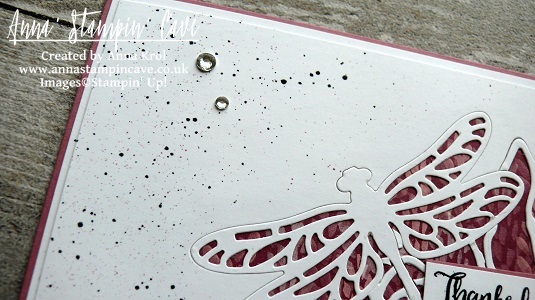
I was pretty happy with the outcome but I had a feeling that something was missing. So I masked the detailed part and all the edges of my card, and I added some tiny speckles in Basic Black and Sweet Sugarplum. Few rhinestones wrap up my card.

I hope you feel inspired and that you give this technique a go. Thank you for stopping by and have a blessed day,