Using Watercolour Pencils As On-the-go Paint

Anna’ Stampin’ Cave – Mother’s Day Card plus using watercolour pencils as on-the-go paint

Hello everyone! Thank you for stopping by my blog today!

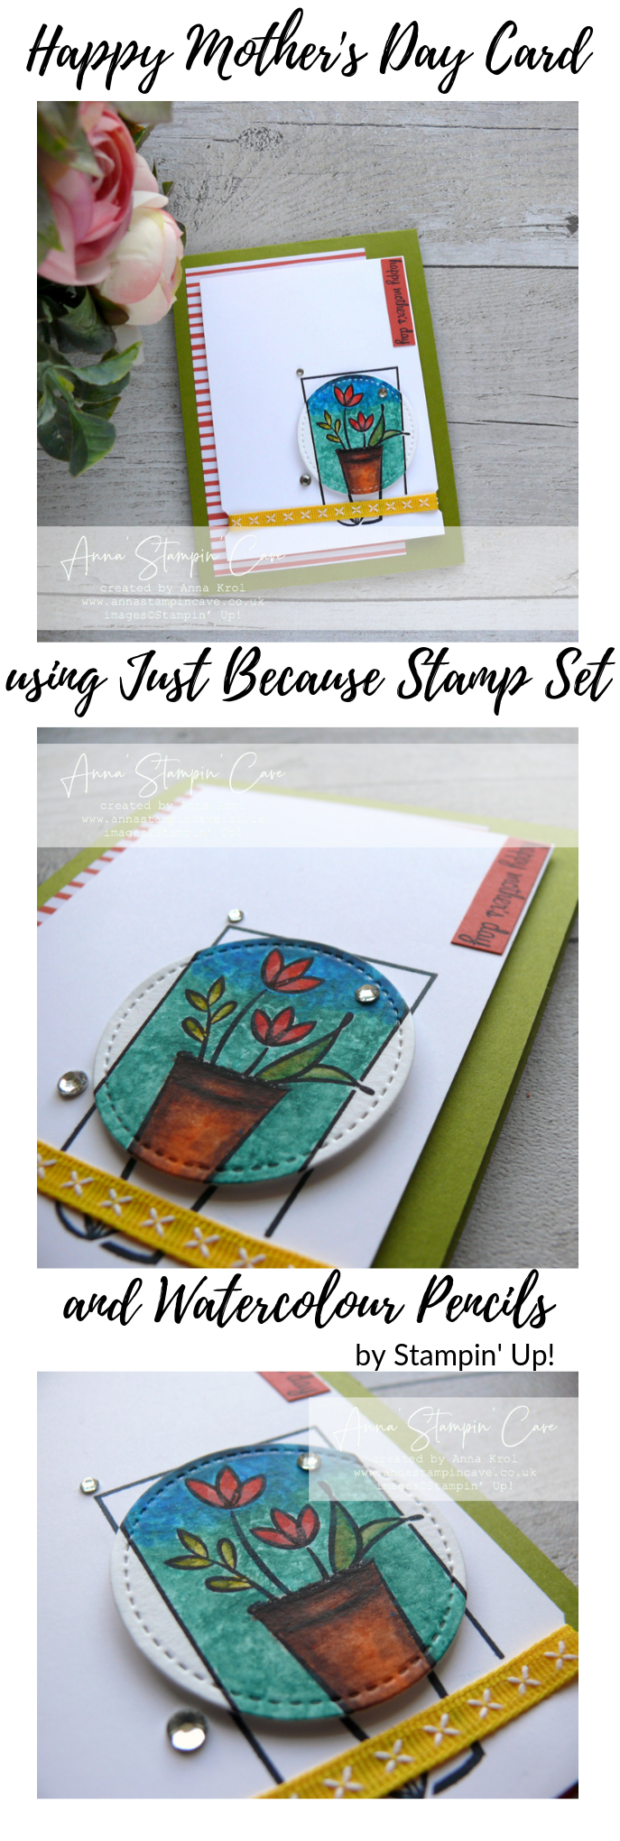
I wanted to share with you this super cute and cheerful card I created for my husband to give to his mum for Mother’s Day (polish Mother’s Day is on 26 May). She’s visiting the UK (my hubby’s sister and us) and has been here nearly a month. But she is heading back home tomorrow afternoon so it was like perfect timing.

What’s special about this card is the technique I’ve used to colour in my focal point image. But first thing first, here’s my card:

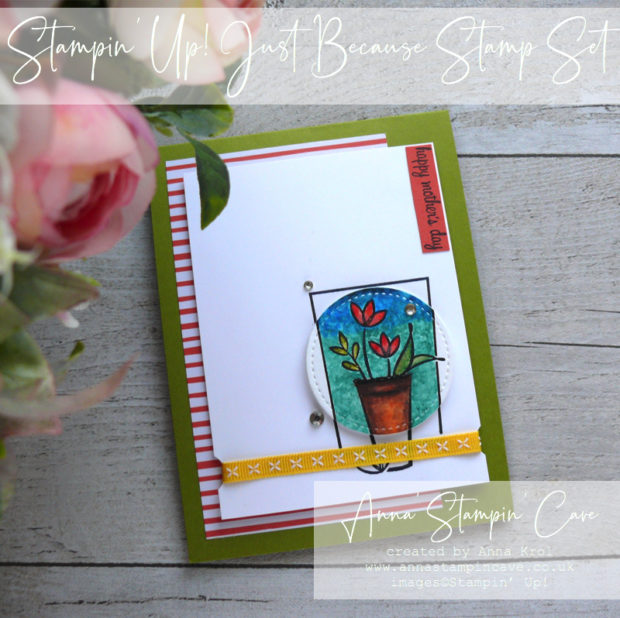
Anna' Stampin' Cave - Mother's Day card using watercolour pencils and Just Because Stamp Set by Stampin' Up!

Mother’s Day card dimensions:

  • Granny Apple Green cardstock: 11″ x 4-1/8″ scored at 5-1/2″ (28 x 10.5 cm scored at 14 cm)
  • Whisper White cardstock: 3-3/8″ x 4-1/2″ (8.5 cm x 11.6 cm)
  • Whisper White cardstock for the inside: 4″ x 5-1/8″ (9.6 cm x 13 cm)
  • Subtles Designer Series Paper in Calypso Coral: 3″ x 5″ (7.6 cm x 12.7 cm)
  • Calypso Coral cardstock for the sentiment
  • Daffodil Delight 1/4″ Double-Stitched Ribbon approx. 4″ (10.3 cm)

Using watercolour pencils as on-the-go paint

First thing I did I masked off the original sentiment and stamped the image onto Whisper White panel. Next, I stamped this very same image onto a watercolour paper and coloured it roughly with Watercolour Pencils.
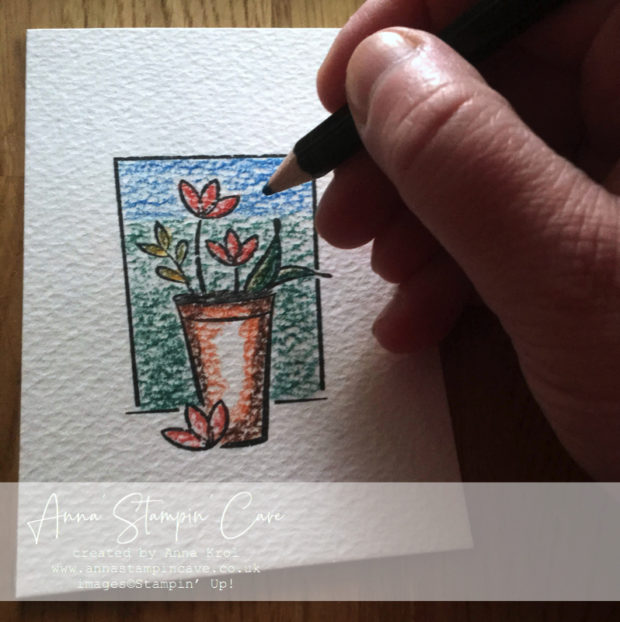
Anna' Stampin' Cave - Mother's Day Card plus using watercolour pencils as on-the-go paintFirst, I coloured my image, very roughly, with watercolour pencils, leaving some empty space on the flower pot for highlights.
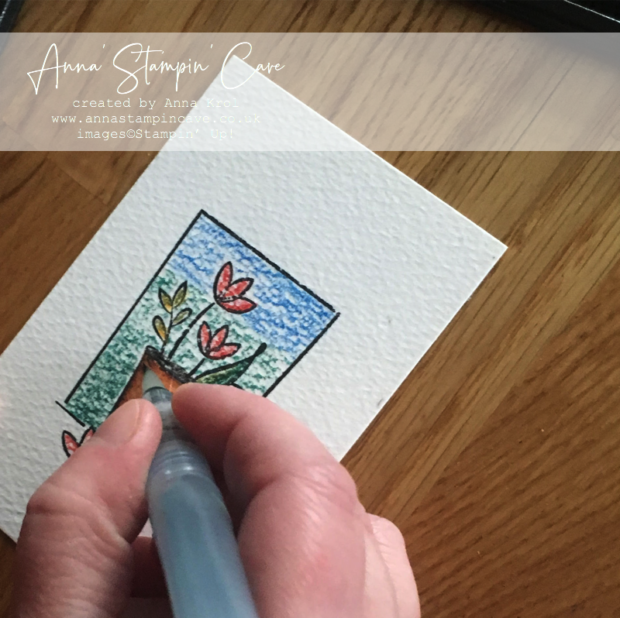
Anna' Stampin' Cave - Mother's Day Card plus using watercolour pencils as on-the-go paintNext, using an aqua painter I brush it with water. I did it slowly, with a brush that was hardly wet, one area at a time, making sure I don’t over-mix all of the colours used.
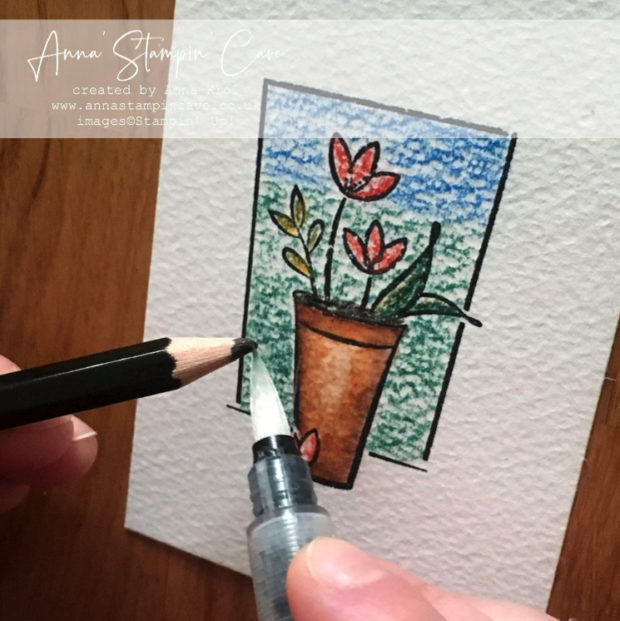
Anna' Stampin' Cave - Mother's Day Card plus using watercolour pencils as on-the-go paintTo intensify some colours, I rubbed my aqua painter’s brush directly against the tip of the pencil, before adding the pigment to a designated area.

It was time-consuming but well worth the effort.

Under construction

This card, even if for some looks complicated, was very straightforward to make.

I started by adding a Whisper White panel to the inside of my card so hubby could later jolt in some heartfelt Mother’s Day wishes.

Next, I adhered a piece of DSP to the card front, slightly to the left. I took my stamped Whisper White panel and punched out two semi-circles at the very bottom of the panel, to add the ribbon. Once the ribbon was secured, I popped it to the card front with dimensionals.
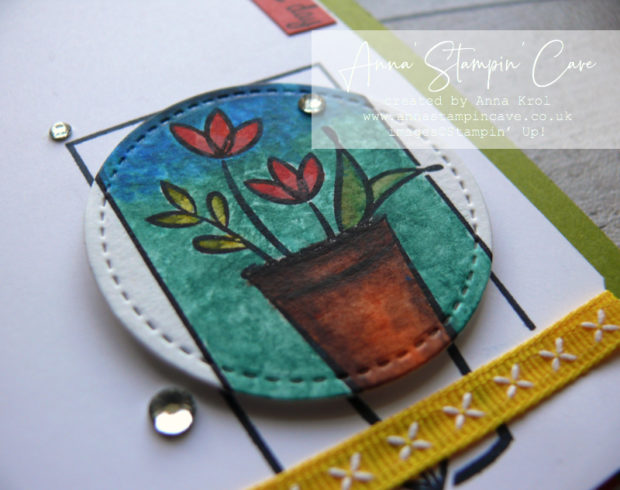
Anna' Stampin' Cave - Mother's Day card using watercolour pencils and Just Because Stamp Set by Stampin' Up!Creating Focal Point

Using a second smallest circle die from Stitched Shapes Framelits Dies, I die cut a circle from my watercolour piece and add it with dimensionals to the card front where it “belonged”.

On a scrap of Calypso Coral cardstock, I stamped the “happy mother’s day” sentiment from Itty Bitty Greetings. I trimmed it into a narrow strip and added it flush to the top right corner of the front Whisper White panel.

Few, more or less randomly added rhinestones finish off the look.
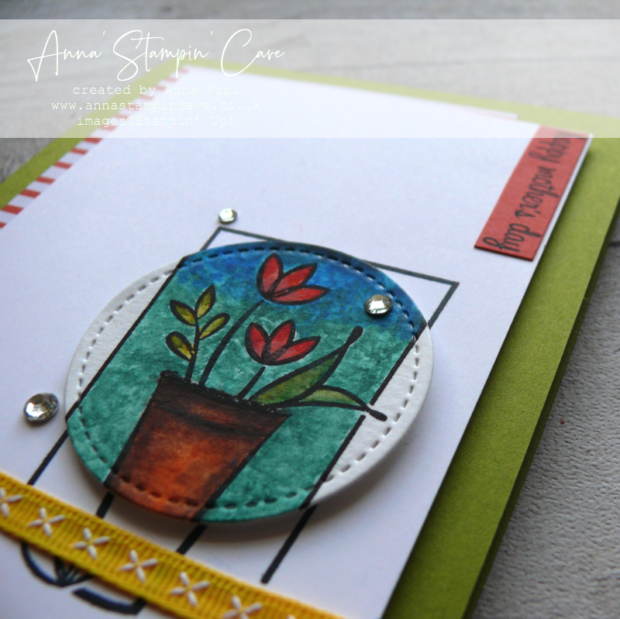
Anna' Stampin' Cave - Mother's Day card using watercolour pencils and Just Because Stamp Set by Stampin' Up!

I am delighted how this card turned out: such a happy and cheerful little make!! And I really hope my mother-in-law will love it too.

I add ut to the Simon Says Stamp Wednesday Challenge: For A Special Lady

As always, if you wish to purchase any of the products I have used, simply click the images below to go directly to my online store.
HOST CODE for the month of May is 4EYUYEU2. Use this code to receive special rewards from me.

Product List


Pin me

Summary of the project which gives all the views of the card in one photo. I’d love if you pinned and called by on Pinterest xx

And today I have even two images for you to PIN away!
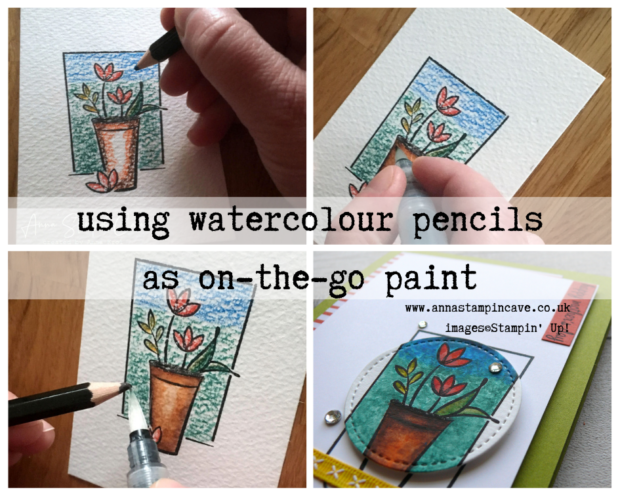
Anna' Stampin' Cave - Mother's Day Card plus using watercolour pencils as on-the-go paint

Anna' Stampin' Cave - Mother's Day Card plus using watercolour pencils as on-the-go paint

Creating Kindness Design Team Blog Hop – Guest Designer

Anna’ Stampin’ Cave – Creating Kindness Design Team Blog Hope – Guest Designer

Creating Kindness Design Team Blog Hop TEAMWORK

Oh my!! I’m so thrilled, and still can’t believe it: I’ve been asked to join absolutely amazing artists from the Creating Kindness Design Team in their November Blog Hop as a guest designer.

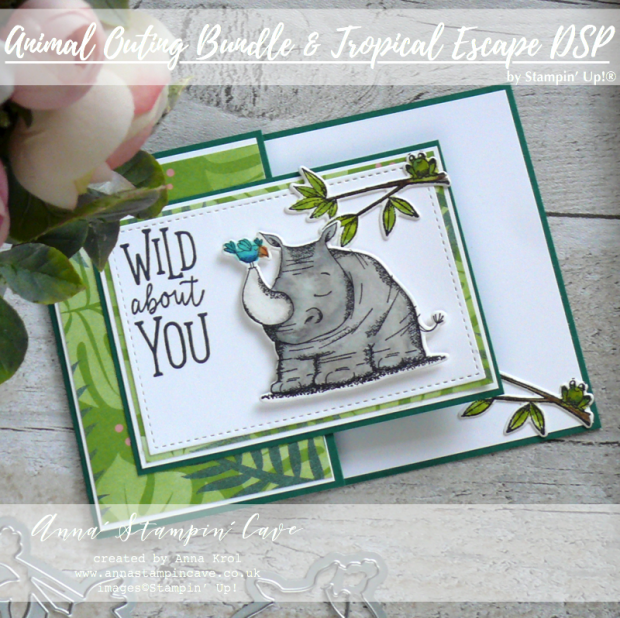
Our theme this month is TEAMWORK. Teamwork can go many ways and I decided to team up a few products:

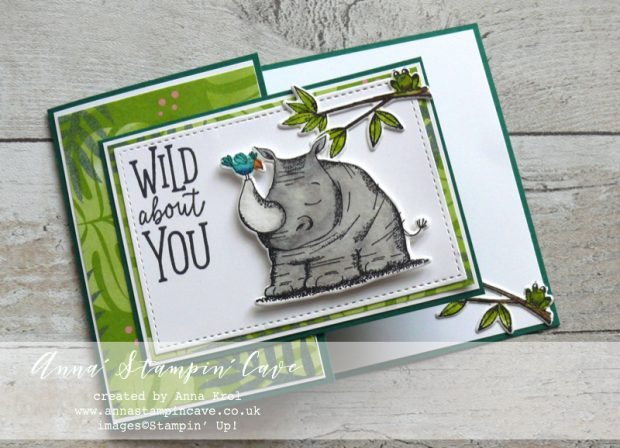
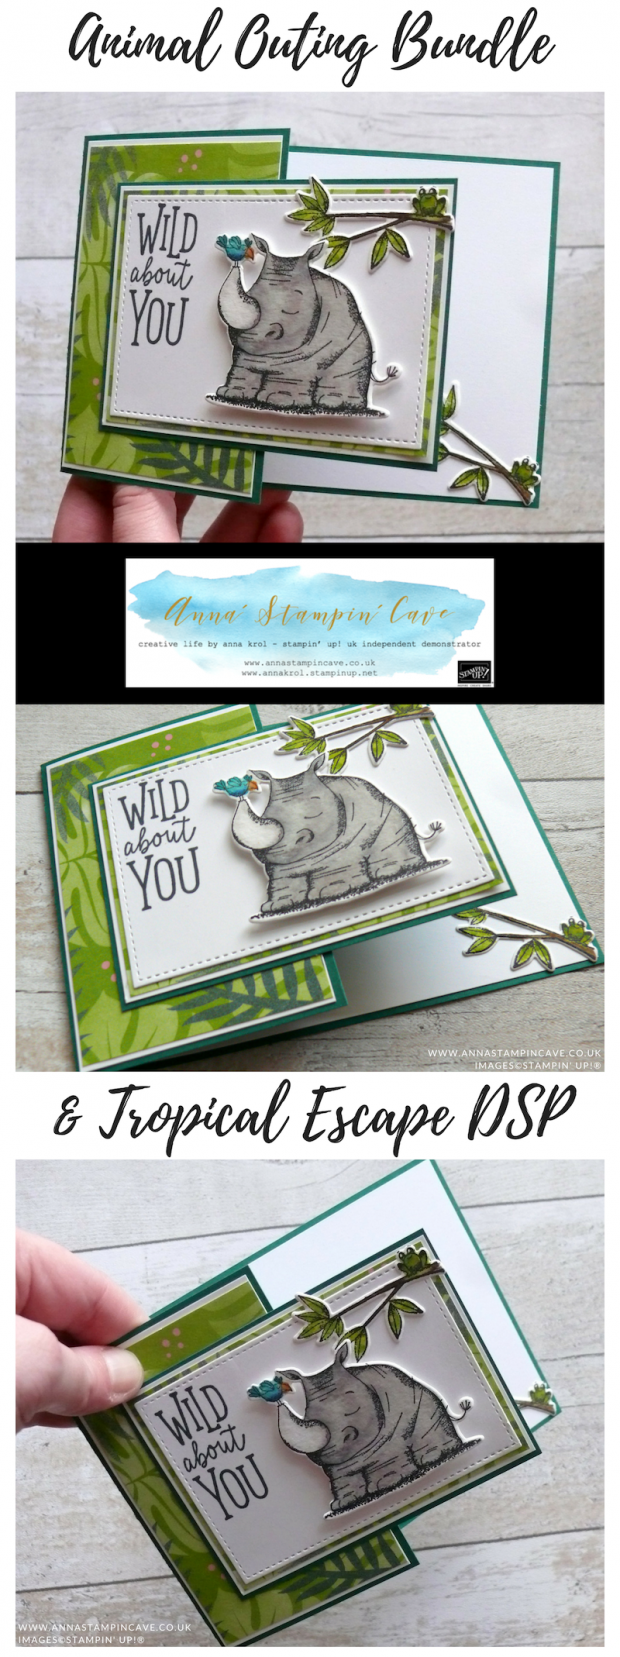
  • Animal Outing Bundle with super fun and elegant Tropical Escape DSP. I think they are a perfect fit!
  • I also teamed up Stampin’ Write Markers with an Aqua Painter & acrylic block for a controlled water colouring.

Anna' Stampin' Cave - Creating Kindness Design Team Blog Hop. Animal Outing Bundle with Tropical Escape DSP from Stampin' Up!

Wild About You card dimensions:

  • Shaded Spruce cardstock: 11-6/8″ x 4-1/8″ scored in half at 5-7/8″ & cut the bottom of the card front for the extra panel at 3″ x 4-1/8″
  • Whisper White reg. cardstock: 4″ x 5-6/8″ panel for the inside; for the mats: 2-5/8″ x 4″, 2-7/8″ x 4″ and for the sentiment a rectangle 3-6/8″ x 2-5/8″
  • Tropical Escape DSP for the mats (leafy/foliage design): 2-9/16″ x 3-7/8″ and 3-15/16″ x 2-6/8″
  • Watercolour Paper for stamping critters

Anna' Stampin' Cave - Creating Kindness Design Team Blog Hop. Animal Outing Bundle with Tropical Escape DSP from Stampin' Up!

Watercolouring

For my card, I decided to use two images: an utterly cute rhino and a branch with an equally adorable tree frog. I stamped the branch twice to use one for the inside of my card.

I stamped all my images onto watercolour paper using black Stazon Ink.  Watercolour paper has a quite porous surface, so Stamparatus came with help to make sure all the images were stamped perfectly.

TIP: Stazon is the best ink to work with water/watercolour.

I watercolour all my critters using an aqua painter and Stampin’ Write Markers. I simply scribbled some colour onto an acrylic block and using it as a palette I picked the ink with an Aqua Painter. I love to watercolour and with this technique, there’s nearly no waste.

Colours I’ve used:

  • Rhino: Smoky Slate, Gray Granite and Basic Gray
  • the bird: Bermuda Bay, Pacific Point, Pumpkin Pie and Daffodil Delight
  • branches with frog:  Soft Suede, Early Espresso, Old Olive and Granny Apple Green

When all critters were to thoroughly dry, I die-cut them with coordinating dies from Animal Friends Thinlits Dies.

How-to: Partial die-cutting

For the large stitched rectangle I’ve used the largest square from the Stitched Shapes Framelits Dies and a partial die-cutting. You can find it explained here.

I stamped the sentiment in the top left corner of my die-cut rectangle. For the ease, I’ve used Black Memento Ink and Stamparatus. Why? Well, who else would want to mess up the stamping at this point?! lol

Anna' Stampin' Cave - Creating Kindness Design Team Blog Hop. Animal Outing Bundle with Tropical Escape DSP from Stampin' Up!

I assembled the card laying all mats together with the liquid glue. Also, my tree frogs on branches I adhered with liquid glue: one inside of the card and one just above the rhino on the front. And the rhino is the star of the card! I raised him with dimensionals in the centre of the front panel.

And that’s it from me for today. I hope you’ve enjoyed visiting my blog and that you like the card I created? I would love to hear your thoughts.

Below is the list of the fantastic Creating Kindness Team who organized this hop. So please, jump on and check all the fantastic inspiration. Honestly, you don’t want to miss it!

The next on the hop is amazingly talented Jenny Hall!! To visit her blog click the button below or just use the list!


As always, if you wish to purchase any of the products I have used, simply click the images below to go directly to my online store.

HOST CODE for the month of November is 326DJQHJ. Use this code to receive special rewards from me.


Product List

Aqua Painters

£16.00

Stamparatus

£46.00

Big Shot

£102.00

Pin me

Summary of the project which gives all the views of the card in one photo. I’d love if you pinned and called by on Pinterest xx

Anna' Stampin' Cave - Creating Kindness Design Team Blog Hop. Animal Outing Bundle with Tropical Escape DSP from Stampin' Up!


International Highlights Winners Hop: You Are The Greatest

Anna’ Stampin’ Cave – International Highlights Winners Hop: You Are The Greatest

Hello and welcome to my stampin’ cave today.

First of all, I wanted to say a massive THANK YOU to all my followers and visitors to my blog for VOTING on my project for this month’s International Project Highlights! My little fridge magnet and card took the 5th place. I’m so humbled!

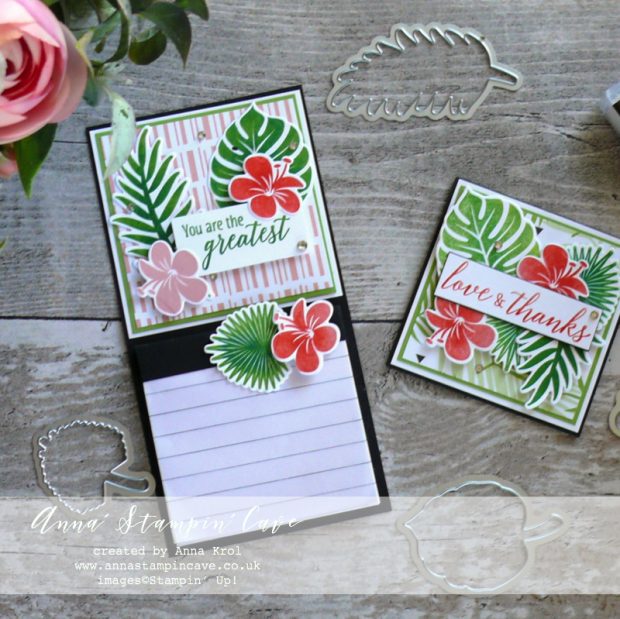
Anna' Stampin' Cave - Teacher's Thank You Gift Fridge Magnet and Thank You card using Tropical Chic Stamp Set and Tropical Thinlits Dies from Stampin' Up!

Every month, the ‘top ten’ get to blog hop with Kylie, using the same theme, which was a “Teachers Gifts”.

You Are The Greatest

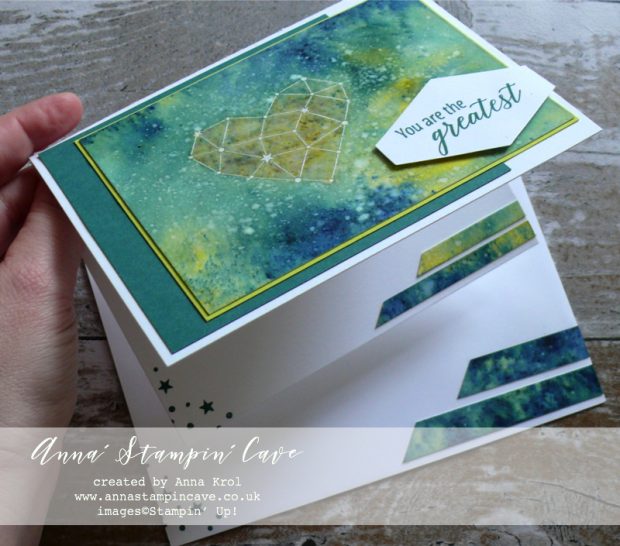
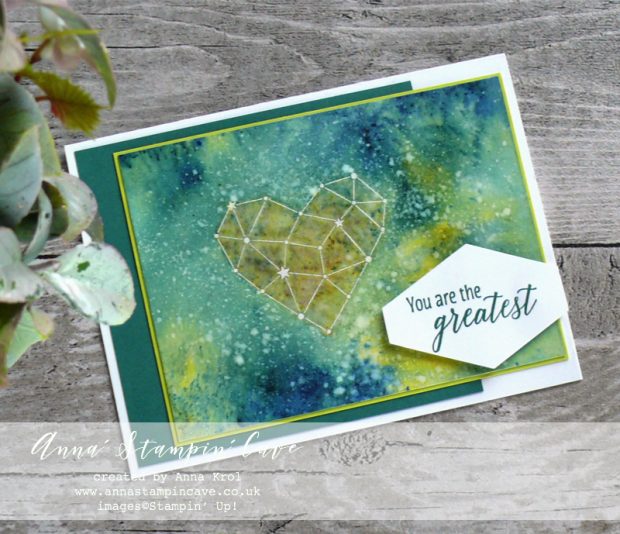
For today’s project, I decided to go back to one of my favourite products and techniques – watercolour with Brusho® Crystal Colour.

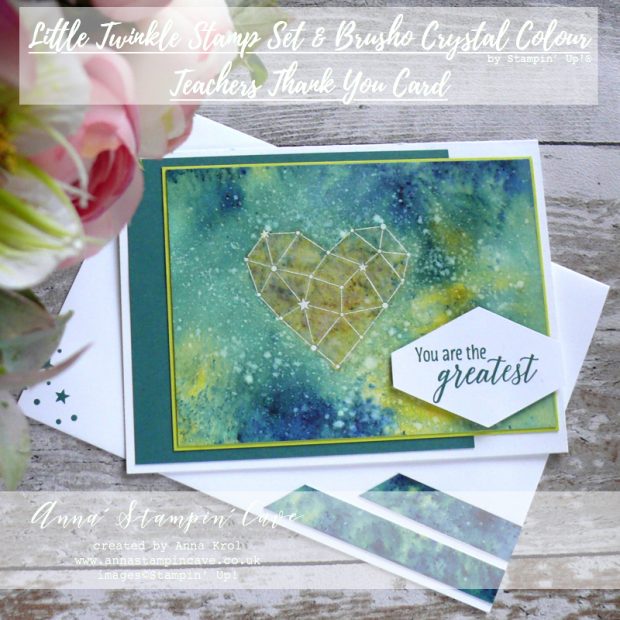
Here’s my card –

Anna' Stampin' Cave - Teachers Thank You Card with Watercolour Wash using Brusho Crystal Colour, Little Twinkle Stamp Set & Tropical Chic Stamp Set from Stampin' Up!

Card dimensions:

  • Whisper White Thick cardstock: 11-6/8″ x 4-1/8″ scored in half at 5-7/8″ (29.7 x 10.5 cm scored in half at 14.8 cm)
  • Tranquil Tide cardstock panel: 3-7/8″ x 4-1/4″ (9.8 cm x 10.6 cm)
  • Lemon Lime Twist cardstock panel: 3-5/8″ x 5-13/16″ (9.2 cm x 12.2 cm)
  • Watercolour Paper panel: 3-1/2″ x 5-3/4″ (9 cm x 12 cm)
  • Whisper White cardstock for sentiment

My thought behind this card was to create one that could be suitable either for a female or male teacher.

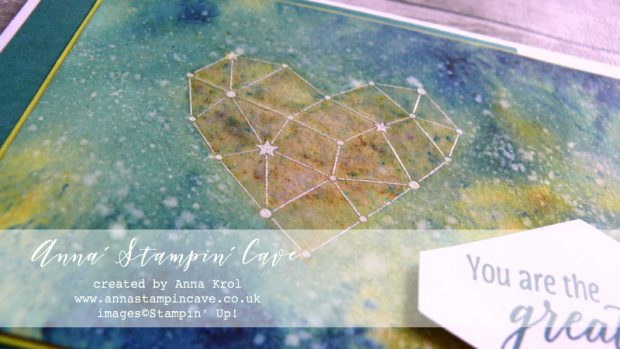
I prepared my watercolour panel – it was bit larger than what I needed – with embossing buddy and stamped the ‘heart constellation’ using Versamark ink. I sprinkled it with a White Emboss Powder and heat set it with my Heat Tool.

When heat embossing on Watercolor Paper, because it’s a quite porous surface, you need to make sure all the image has transferred very well. It can take a little bit longer for the embossing powder to melt, so be patient.

Anna' Stampin' Cave - Teachers Thank You Card with Watercolour Wash using Brusho Crystal Colour, Little Twinkle Stamp Set & Tropical Chic Stamp Set from Stampin' Up!

Brusho Crystal Colour

They are high quality and highly pigmented paint powders. They are water-based and most of all completely non-toxic. For my card, I chose two colours to work with: Prussian Blue and Moss Green.

I added my water to the embossed heart, sprinkled it with Moss Green and using the aqua painter I moved the water around.

Before adding Prussian Blue I wet the panel under a running water. I wasn’t too concerned and didn’t worry too much that the Mossy Green will run. Once my panel was really wet I sprinkled it richly with Prussian Blue.

I moved the colour tilting the panel in each direction dabbing off any colour that got into the heart – I wanted to keep it green. Once my panel was dry I spritz it with water (very selectively avoiding the heart) and added more Prussian Blue with a few Moss Green areas for the contrast and moved it around with aqua painter again. Once happy with results, and when the panel was still slightly damp, I sprinkled some more of Prussian Blue and let it dry without moving the paper. I love the effect it left on the panel.

Anna' Stampin' Cave - Teachers Thank You Card with Watercolour Wash using Brusho Crystal Colour, Little Twinkle Stamp Set & Tropical Chic Stamp Set from Stampin' Up!

Assembling the card

For the final touch, I took a Whisper White Craft Ink Refill and with a help of clear block and aqua painter, I splashed white all over the panel.

Once my panel was dry I cut it to the size but I saved my colourful off cuts to use them later for some accents.

I adhered Tranquil Tide panel to the card base with liquid glue. Next, I mounted watercolour piece onto a Lemon Lime Twist panel and adhered them both to the base.

The sentiment comes from Tropical Chic Stamp Set. I stamped it in Tranquil Tide ink and punched out with Tailored Tag Punch. I have added it to my card with few dimensionals.

Final touches

For some interest, I stamped a cluster of stars inside of my card, in a bottom left corner. Besides that, I also took one of the watercolour strips that left, cut it at an angle and add it to the inside as well. I think it looks pretty cool.

Anna' Stampin' Cave - Teachers Thank You Card with Watercolour Wash using Brusho Crystal Colour, Little Twinkle Stamp Set & Tropical Chic Stamp Set from Stampin' Up!

I also decided to decorate the envelope with the same elements as the inside of my card: clusters of stars and another watercolour strip cut at an angle.

And that’s it from me for today. I hope you’ve enjoyed visiting my blog. Do you like the card I created? I would love to hear your thoughts.

Below is the list of all the winners, so be sure to hop along. Your next stop is lovely and very talented Janneke de Jong from the Netherlands  go and see her beautiful project.

As always, if you wish to purchase any of the products I have used, simply click the images below to go directly to my online store.

I add this card to:

HOST CODE for the month of AUGUST is U6KK4ACY. Orders of £50+ (excl. p&p) will receive a pack of Stampin’ Up! Pearlised Doilies!

Product List

Bone Folder

£6.25

Aqua Painters

£15.50

Pin me

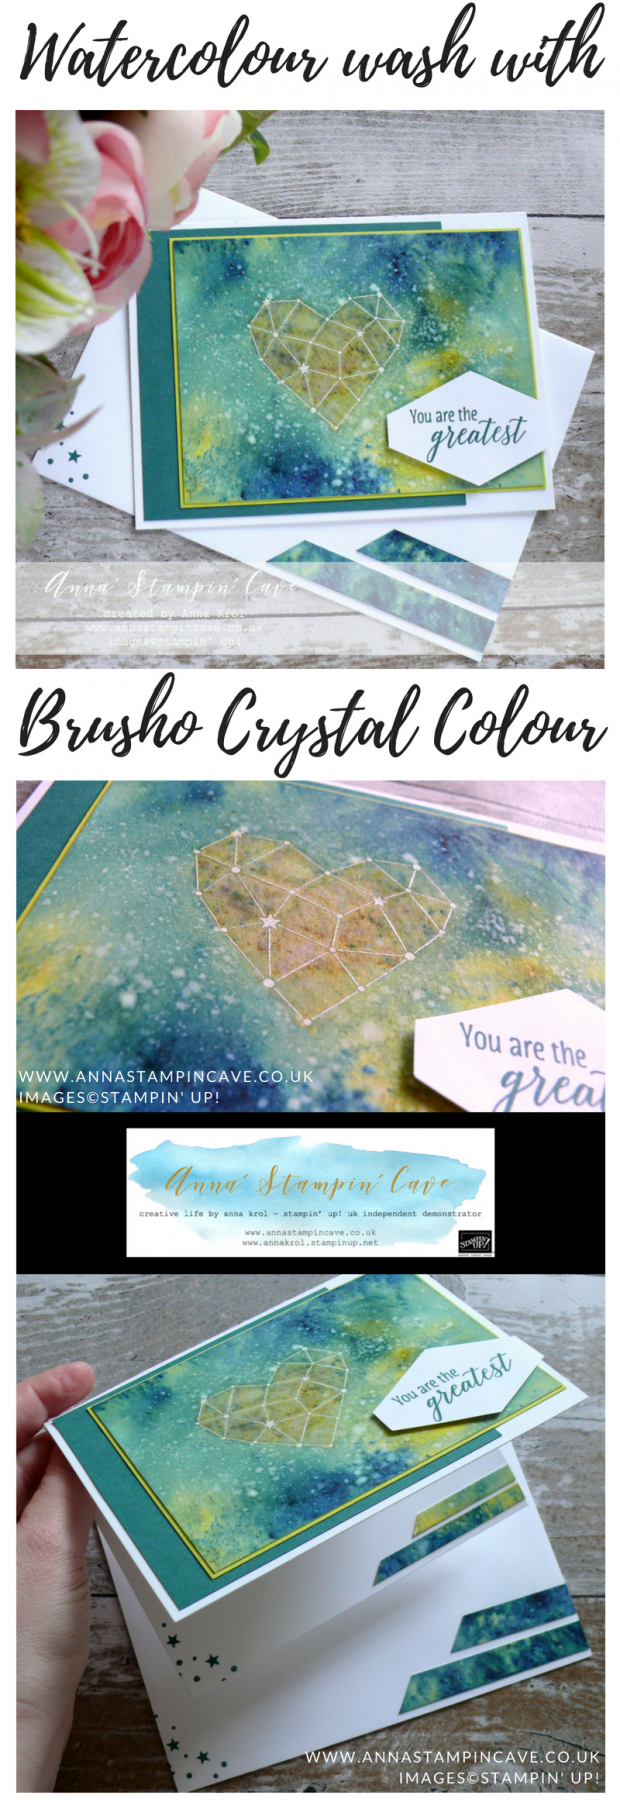
Summary of the project which gives all the views of the card in one photo. I’d love if you pinned and called by on Pinterest xx

Anna' Stampin' Cave - Teachers Thank You Card with Watercolour Wash using Brusho Crystal Colour, Little Twinkle Stamp Set & Tropical Chic Stamp Set from Stampin' Up!


Don’t forget to check:

My exclusive special offer this month only: FREE Stampin’ Up! Pearlised Doilies

How it works…

  • Place a product order of £50 or more (excl. shipping) in my online store in the month of August. 
  • Add Host Code U6KK4ACY. To claim your reward you must include this code in your ordering process.
  • This August Special Offer will be applied to all qualifying orders placed through my shop using Host Code U6KK4ACY between 1 August – 31 August.
  • If your order is £150 or more do not use Host Code. You will earn your own Host Rewards to spend.
  • IMPORTANT:  My FREE Special Host Gift giveaways are mailed separately from any order and will arrive mid-September.

    Request Autumn/Winter Catalogue

    Stampin' Up! Autumn Winter 2018 Catalogue


    Earn in August – redeem in September –> click here for more details


    All-new, limited-time Colour Your Season products – Products available while supplies last or until 31 August 2018 – order yours today –> click here

International Highlights Winners Blog Hop

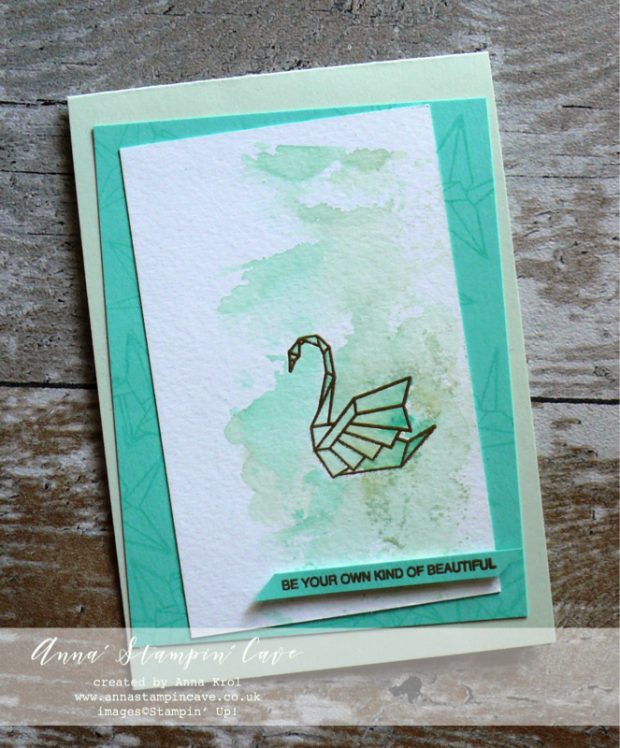
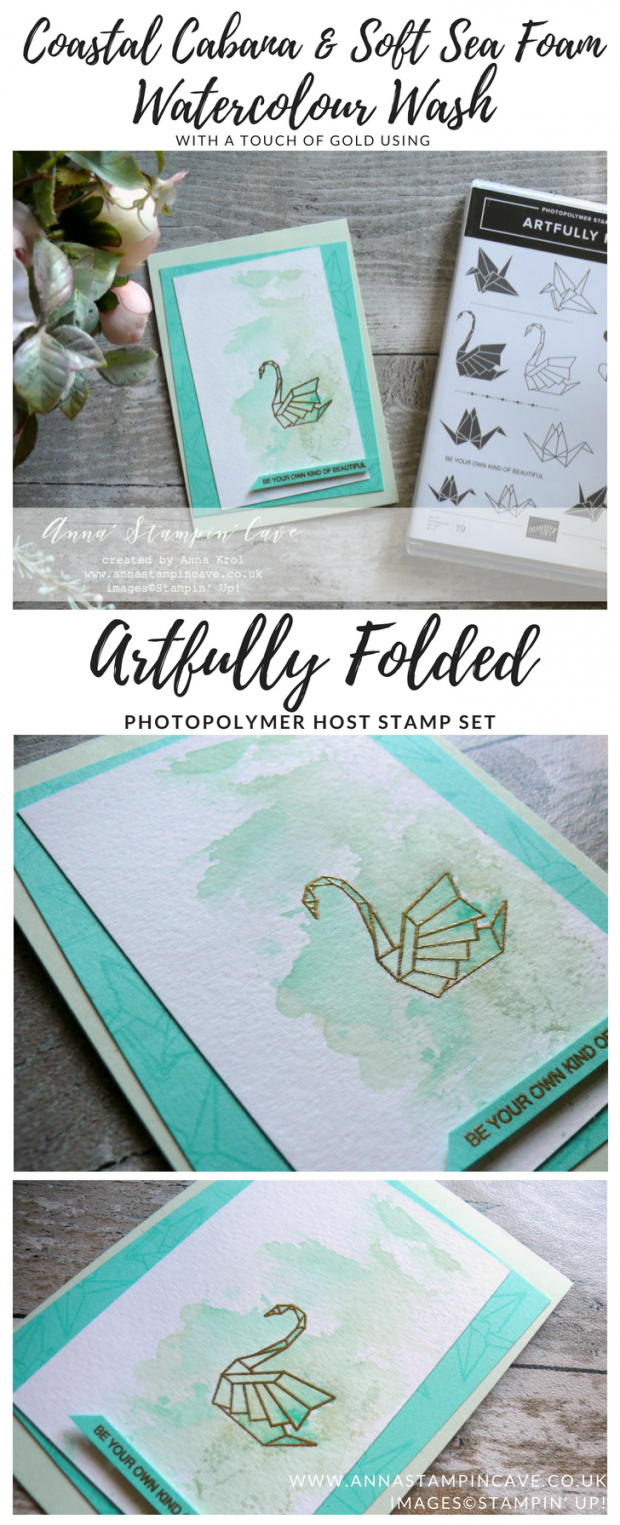
Anna' Stampin' Cave - Soft Sea Foam & Coastal Cabana Watercolour Wash with a touch of gold using Artfully Folded Stamp Set by Stampin' Up!

Anna’ Stampin’ Cave – International Highlights Winners Blog Hop

I was so absolutely thrilled that Kylie Bertucci has chosen me to hop amongst the top ten winners of her International Blog Highlight from June.

Every month, the ‘top ten’ get to blog hop with Kylie, using the same theme, and this time the theme was Friendship.

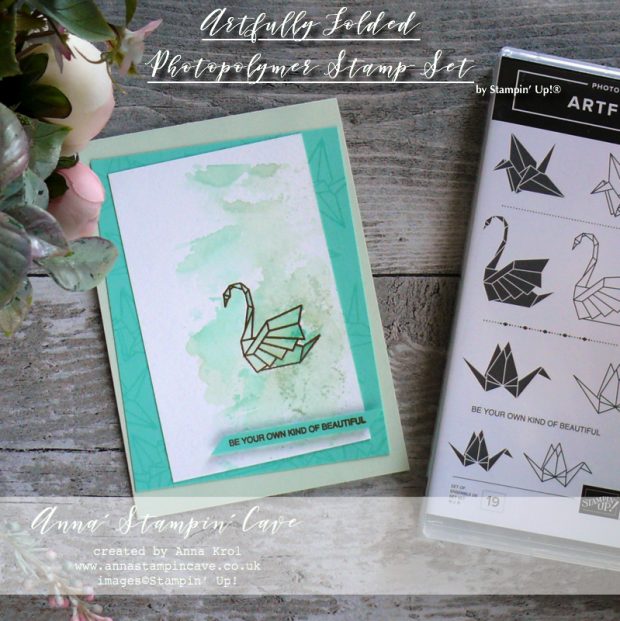
A month ago I’ve used Detailed With Love Stamp Set. This time, however, I decided to use beautiful host stamp set called Artfully Folded.Anna' Stampin' Cave - Soft Sea Foam & Coastal Cabana Watercolour Wash with a touch of gold using Artfully Folded Stamp Set by Stampin' Up!

Artfully Folded card dimensions:

  • Soft Sea Foam: 11-6/8″ x 4-1/8″ scored in half at 5-7/8″ (29.7 x 10.5 cm scored in half at 14.8 cm)
  • Coastal Cabana cardstock: 3-3/4″ x 5″ (9.6 cm x 12.7 cm)
  • Watercolour Paper: 3″ x 4-3/4″ (7.6 cm x 12 cm)
  • Coastal Cabana strip for the sentiment: 1/4′ x 2-3/4″ (0.6 cm x 7 cm)

Anna' Stampin' Cave - Soft Sea Foam & Coastal Cabana Watercolour Wash with a touch of gold using Artfully Folded Stamp Set by Stampin' Up!

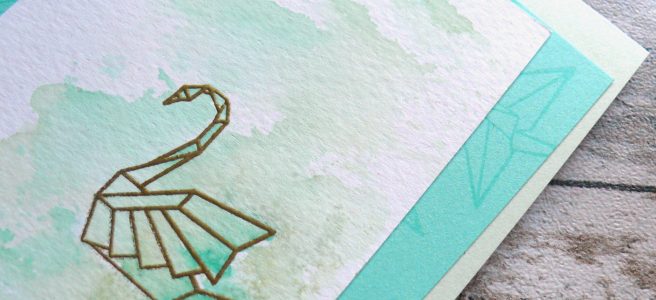
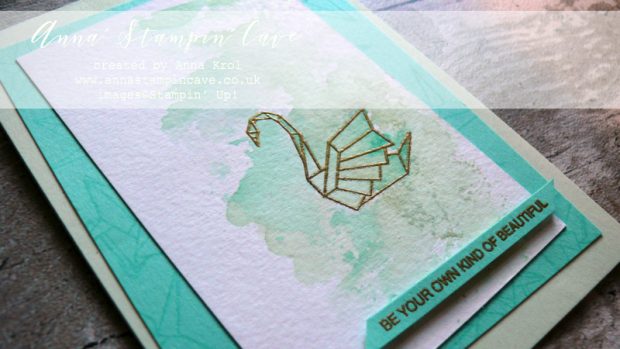
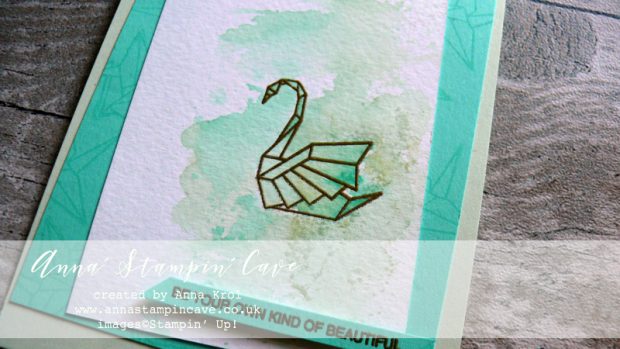
First I heat embossed the image from Artfully Folded Stamp Set on watercolour paper, using Gold Stampin’ Emboss Powder.

Once the image was heat embossed, I took an Aqua Painter and using Soft Sea Foam ink pad I started adding the colour to my image. I also added some of the Coastal Cabana ink to the image.

Anna' Stampin' Cave - Soft Sea Foam & Coastal Cabana Watercolour Wash with a touch of gold using Artfully Folded Stamp Set by Stampin' Up!

Next, I took a transparency sheet that comes with photopolymer stamps and used it as my palette: I squashed some of both colours onto it, added some water from Aqua Painter and pressed it to my watercolour panel. I love how it turned out.

Anna' Stampin' Cave - Soft Sea Foam & Coastal Cabana Watercolour Wash with a touch of gold using Artfully Folded Stamp Set by Stampin' Up!

I took the Coastal Cabana panel and stamped it with various images from the set using Versamark ink and adhered it to the base at a wonky angle. Next, I also added my watercolour panel.

On a strip of Coastal Cabana, I heat embossed a sentiment from this same stamp set (be your own kind of beautiful) and added to the card with dimensionals.

Anna' Stampin' Cave - Soft Sea Foam & Coastal Cabana Watercolour Wash with a touch of gold using Artfully Folded Stamp Set by Stampin' Up!

I really hope you enjoyed visiting my blog today and I would love to encourage you to hop along with us and see the rest of beautiful projects designed by amazing artists.

Below is a list of the top ten winners participating in this hop, all very talented demonstrators from all around the world!

As always, if you wish to purchase any of products I have used, simply click the images below to go directly to my online store.

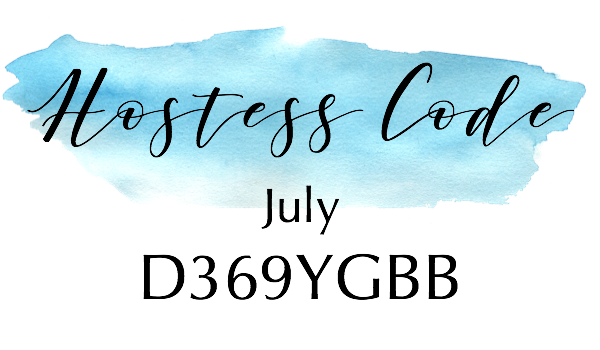
HOST CODE for the month of JULY is D369YGBB. Orders of £50+ (excl. p&p) will receive a Surprise Thank You Gift from me. You won’t be disappointed!

Thank You Gifts will be shipped in the first 2 weeks of the following month they were earned (mid-August).

Aqua Painters

£15.50

Stamparatus

£46.00


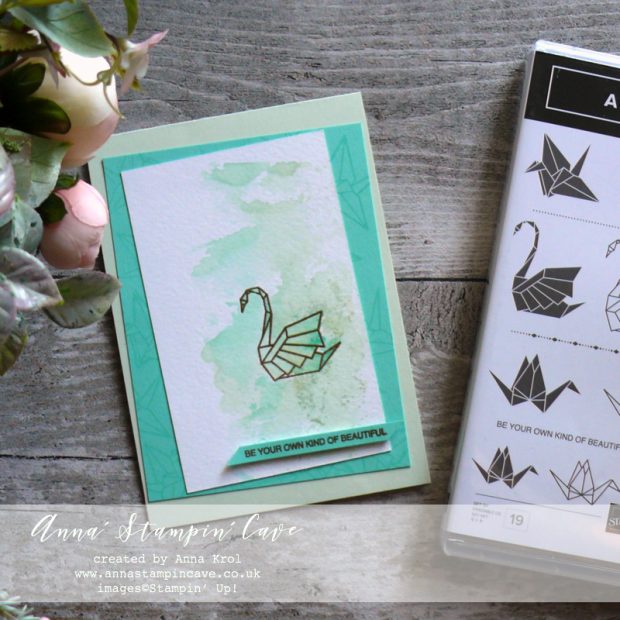
Pin me

Summary of the project which gives all the views of the card in one photo. I’d love if you pinned and called by on Pinterest xx

Anna' Stampin' Cave - Soft Sea Foam & Coastal Cabana Watercolour Wash with a touch of gold using Artfully Folded Stamp Set by Stampin' Up!


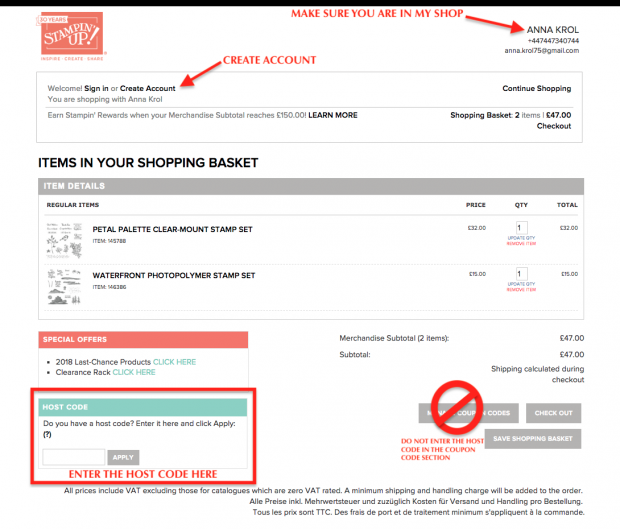
HOW TO USE HOSTESS CODE


DON’T FORGET TO CHECK

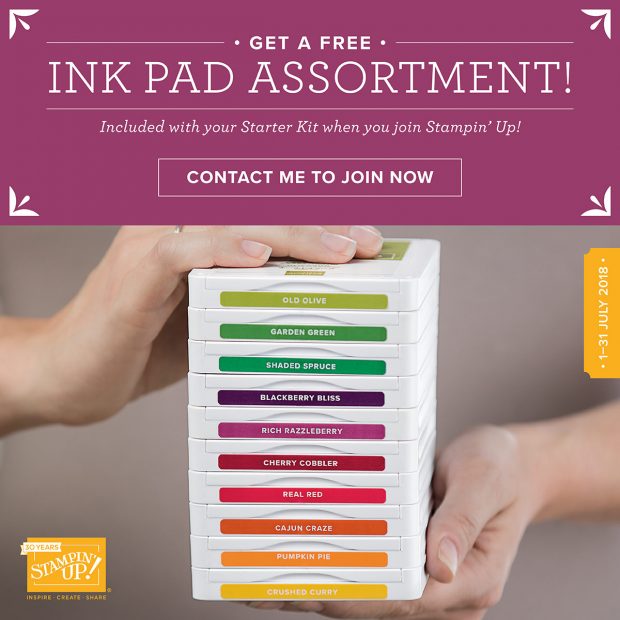
1-31 July – GET 10 FREE INK PADS (up to a £63 added value) with the £99 Starter Kit.  Choose one of the five colour collections (In Color, Brights, Neutrals, Regals or Subtles). For the full details on the Stampin’ Up! July Special Joining Offer –> click here

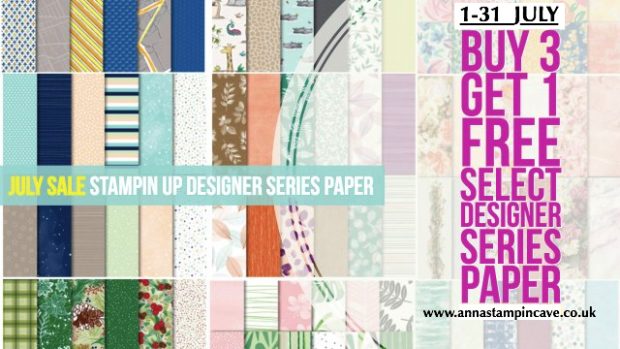
1-31 July Stampin’ Up! BUY 3 GET 1 FREE on select Designer Series Paper –> click here

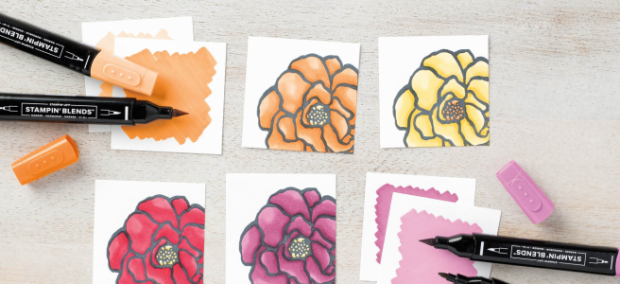
The New Stampin’ Blends Marker Colours Are Now Available –> click here

Celebrate You with Go For Greece Training Group Blog Hop

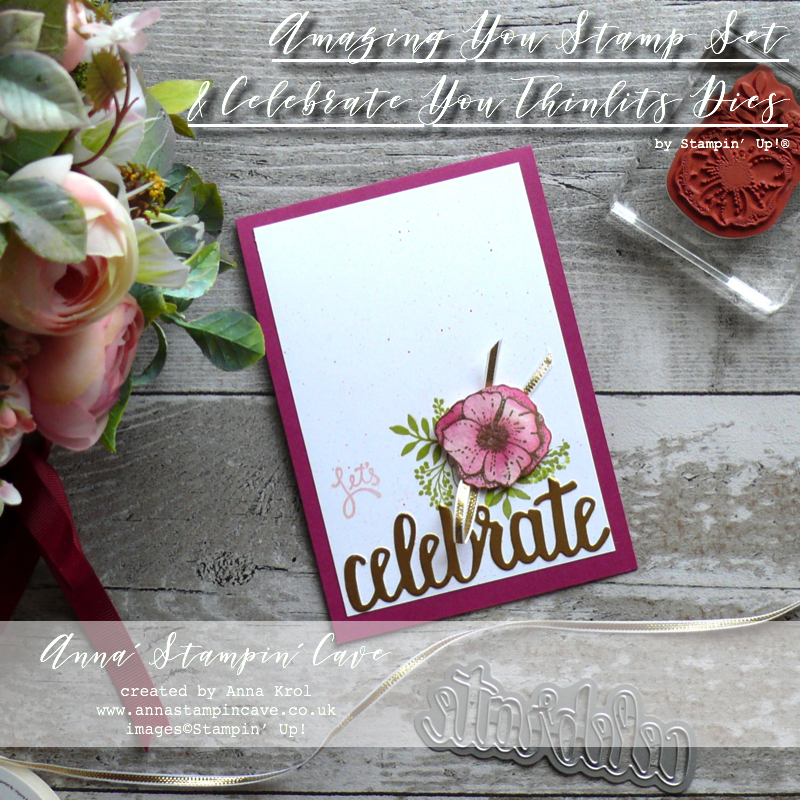
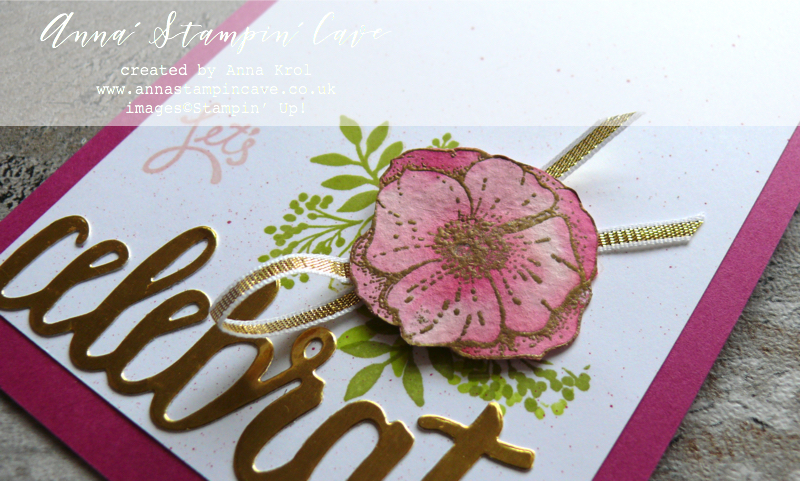
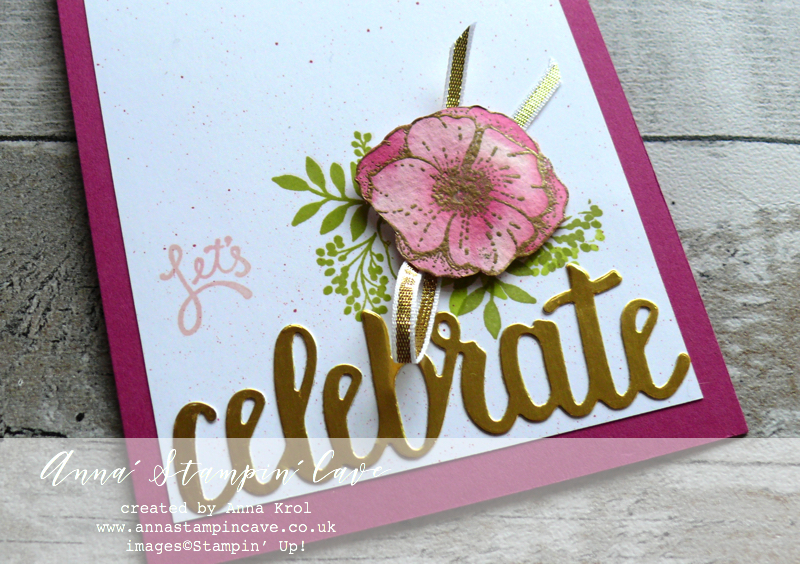
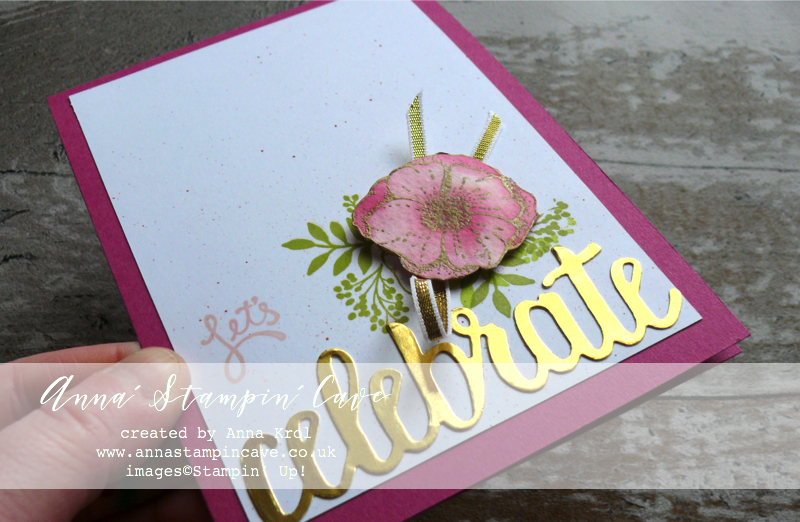
Anna' Stampin' Cave - Let's Celebrate Clean &  Simple Card using Stampin' Up! Amazing You Stamp Set - Powder Pink, Berry Burst & Gold Foil

Anna’ Stampin’ Cave – Celebrate You with Go For Greece Training Group Blog HopAnna' Stampin' Cave - Let's Celebrate Clean &  Simple Card using Stampin' Up! Amazing You Stamp Set - Powder Pink, Berry Burst & Gold FoilHello everyone and welcome to my blog. We are super excited to share with you an array of creations showcasing products from Stampin’ Up! Annual and Occasions (Spring-Summer in the UK) catalogues (and Sale-A-Bration freebies too). We hope you find great inspiration from our projects. You are currently visiting Anna Krol from the United Kingdom. 

Sale-a-bration is coming to an end and today I’ve got for you beautiful, clean &  simple card using Amazing You Stamp Set and Celebrate You Thinlits Dies – both of which you can still earn FREE (Sale-a-bration ends on 31st March).

But there’s also something you may don’t know about Celebrate You Thinlits Dies – they are carrying over to the new Stampin’ Up! 2018-2019 Annual Catalogue!! But why pay for something if you can gave it for FREE, right?

Anna' Stampin' Cave - Let's Celebrate Clean &  Simple Card using Stampin' Up! Amazing You Stamp Set - Powder Pink, Berry Burst & Gold FoilLet’s Celebrate card dimensions:

– Berry Burst cardstock: 11-6/8″ x 4-1/8″ scored in half at 5-7/8″ (29.7 x 10.5 cm scored in half at 14.8 cm)
– Whisper White cardstock: 3-5/8″ x 5-3/8″ (9.3 cm x 13.6 cm)
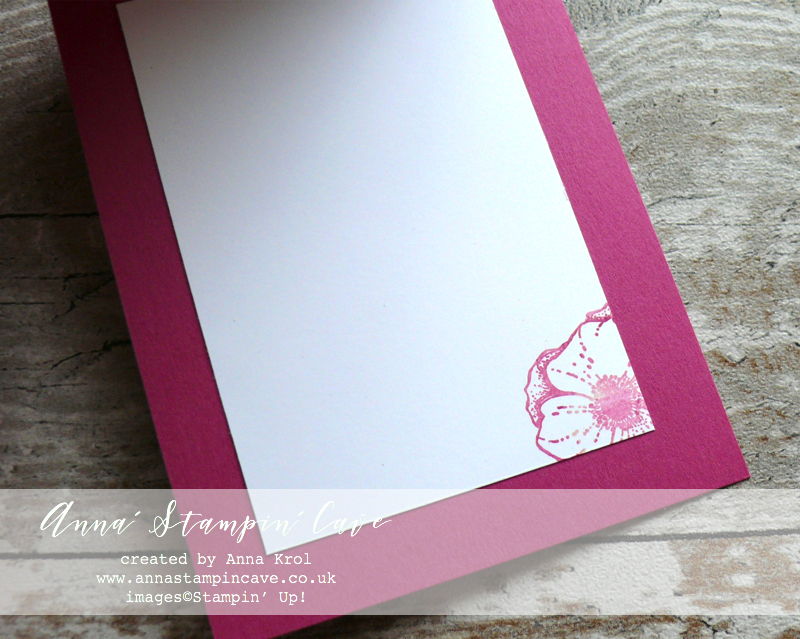
– Whisper White cardstock (for inside): 3″ x 4-5/8″ (7.6 cm x 11.7 cm)
– A piece of watercolour paper for Stamping
– A strip of Gold Foil cardstock for die cutting
– Gold 1/8″ Ribbon: 8″ approximately
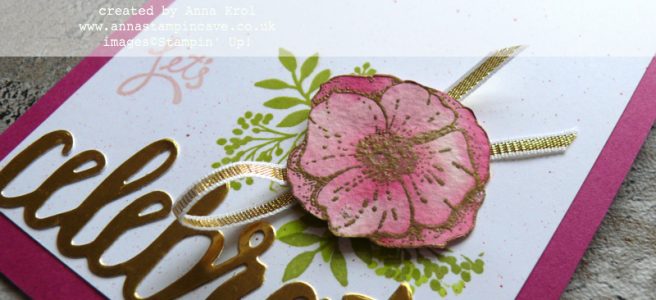
Anna' Stampin' Cave - Let's Celebrate Clean &  Simple Card using Stampin' Up! Amazing You Stamp Set - Powder Pink, Berry Burst & Gold FoilFirst, I stamped my flower on a piece of watercolour paper in Versamark, heat embossed it in gold, and fussy cut it (without leaves).
To paint the flower I’ve used aqua painter. For the first layer of colour I chose Powder Pink ink pad. Once it dried, I’ve used Berry Burst ink pad to add more depth to the petals.

Anna' Stampin' Cave - Let's Celebrate Clean &  Simple Card using Stampin' Up! Amazing You Stamp Set - Powder Pink, Berry Burst & Gold FoilI took a Whisper White panel, decided where my flower will be placed, and using Stamp-a-ma-jig I stamped leaves in Lemon Lime Twist. Next, I stamped over them with Pear Pizzazz to darken them a bit and also stamped more leaves in Pear Pizzaz.

Anna' Stampin' Cave - Let's Celebrate Clean &  Simple Card using Stampin' Up! Amazing You Stamp Set - Powder Pink, Berry Burst & Gold Foil

Using dry brush I picked some of that Berry Burst ink, flicked it over the Whisper White panel and assembled my card before adding the flower.
I cut a piece of Gold 1/8″ Ribbon (briefly 8″), added it underneath the flower and adhered it to the card base with dimensionals.

Anna' Stampin' Cave - Let's Celebrate Clean &  Simple Card using Stampin' Up! Amazing You Stamp Set - Powder Pink, Berry Burst & Gold Foil

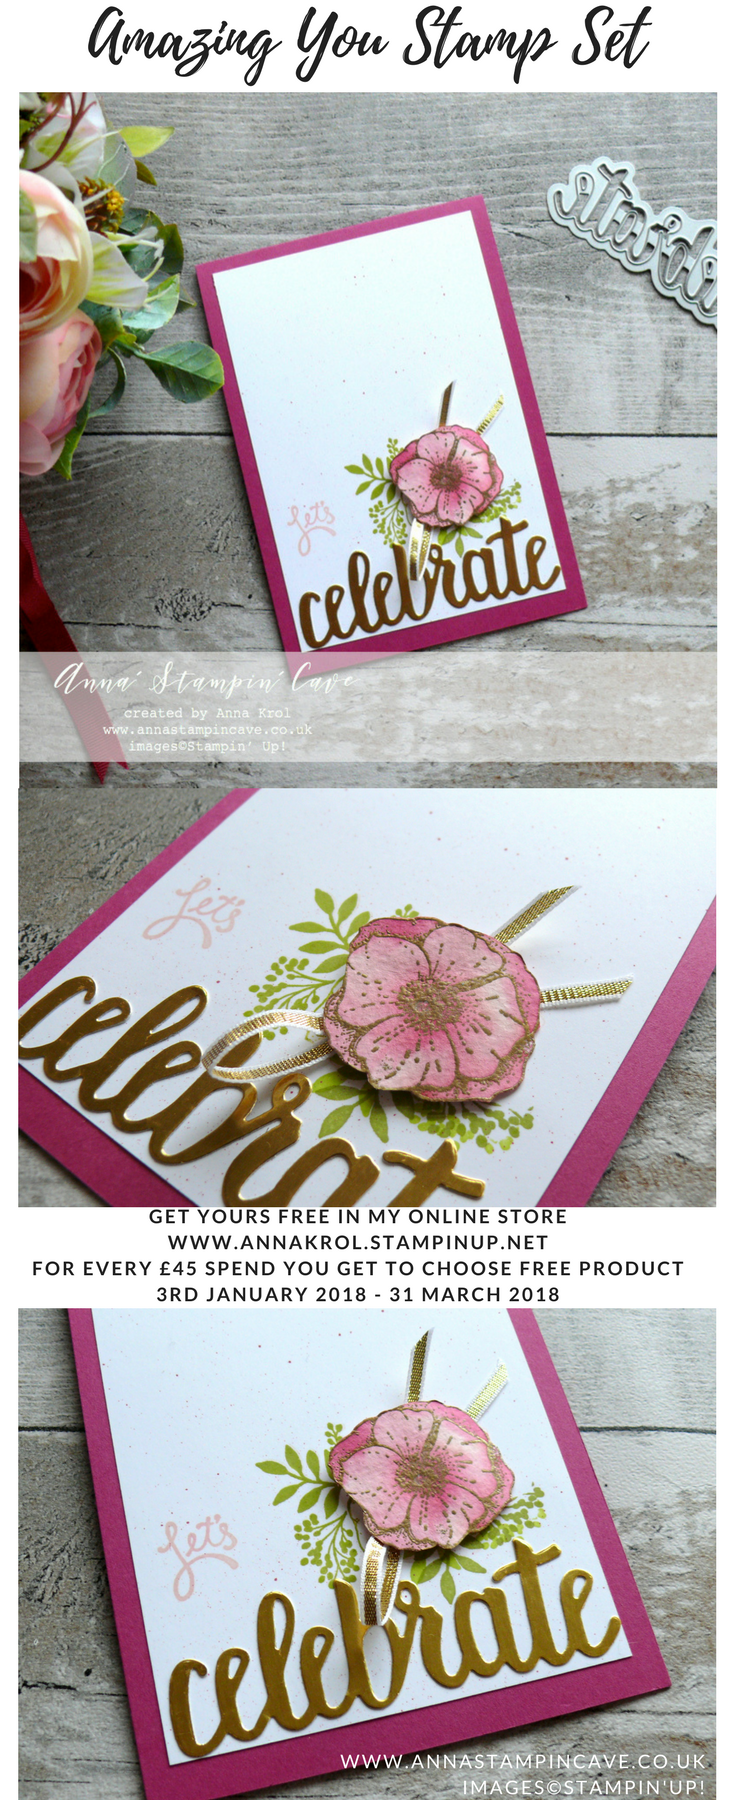
For the sentiment I die cut the word “celebrate” from Celebrate You Thinlits Dies in gold foil and also stamped “Let’s” from Amazing You Stamp Set in Powder Pink next to the flower. And that’s my card for today.

I really hope you enjoyed visiting my blog today and I would love to encourage you to hop along with us and see the rest of beautiful projects designed by amazing artists. Please be sure to continue to hop using the list below. You don’t want to miss any!

Thank you for stopping by and have a blessed day

Hostess Code for a month of March: CWKGWDD7 – Use this code in the month of March and receive a gift from me. Spend £25 or more and use the code, and you will receive a Sweet Soiree Suite embellishments sample: one Silver Mini Gable Box + samples of ribbon and ‘shreddies’ (pink, silver or white) + a handmade gift from me.
 Special Notes:

1) Make sure you select Anna Krol as your demonstrator;
2) If you select “No Contact” box I do not have access to your name and can’t send you a gift;
3) If your order is £150 or more do not use the code and grab your own Stampin’ Rewards + gift from me

Aqua Painters

£15.50

Big Shot

£99.00

Pin me

Summary of the project which gives all the views of the card in one photo. I’d love if you pinned and called by on Pinterest xx

Anna' Stampin' Cave - Let's Celebrate Clean & Simple Card using Stampin' Up! Amazing You Stamp Set - Powder Pink, Berry Burst & Gold Foil


Don’t forget to check:

New Sale-a-bration release is LIVE. Click here for more details –>

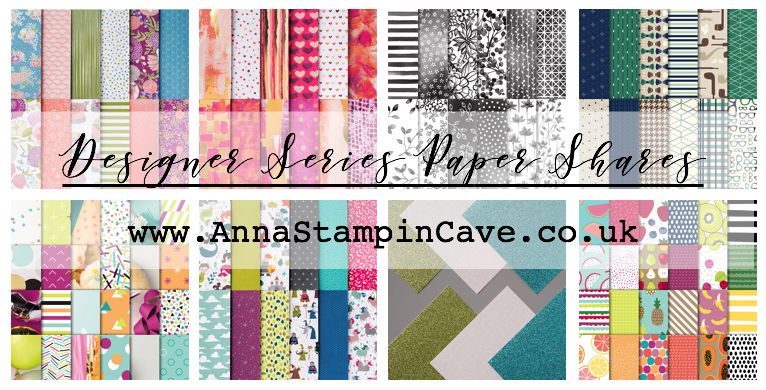
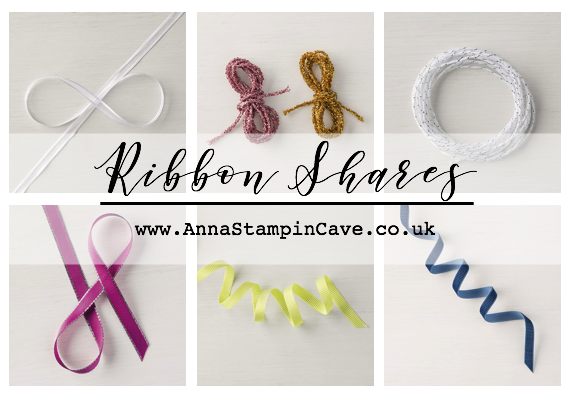
Spring Summer Catalogue Paper & Ribbon Shares. Shares are open to Austria, France, Germany, Netherlands & United Kingdom. 102 sheets of DSP & 2 yards of each type of ribbon from Spring/Summer Catalogue. Click here for more details —>

The New Stampin’ Up! Spring/Summer 2017 Catalogue and Sale-A-Bration are LIVE and it’s AMAZING! For every 60 €/£45, you spend either from Spring Summer Catalogue or Annual Catalogue, you will get to choose one FREE  level 1 product from SAB brochure! If you spend 120 €/£90, you get one FREE level 2 product, OR, you can choose two level 1 items. If you spend 180 €/£135, you have the option to choose three level 1 items or one level 1 item and one level 2 item. Click here for more details —>

Ever wondered what it’s like to join Stampin’ Up!’s community? I may have few answers for you. Click here for more details –>