Simply Sketched Saturday Challenge #9 – Time To Split!
Thank you for joining us for another Simply Sketched Saturday Challenge! We’re so excited to be sharing this hop with you. The products used are all available in the current Annual, or seasonal, Stampin’ Up!® Catalogues*. Simply use the buttons at the bottom of the post to keep hopping!
Today’s sketch was designed by talented Karen from Lilliputcrafts.
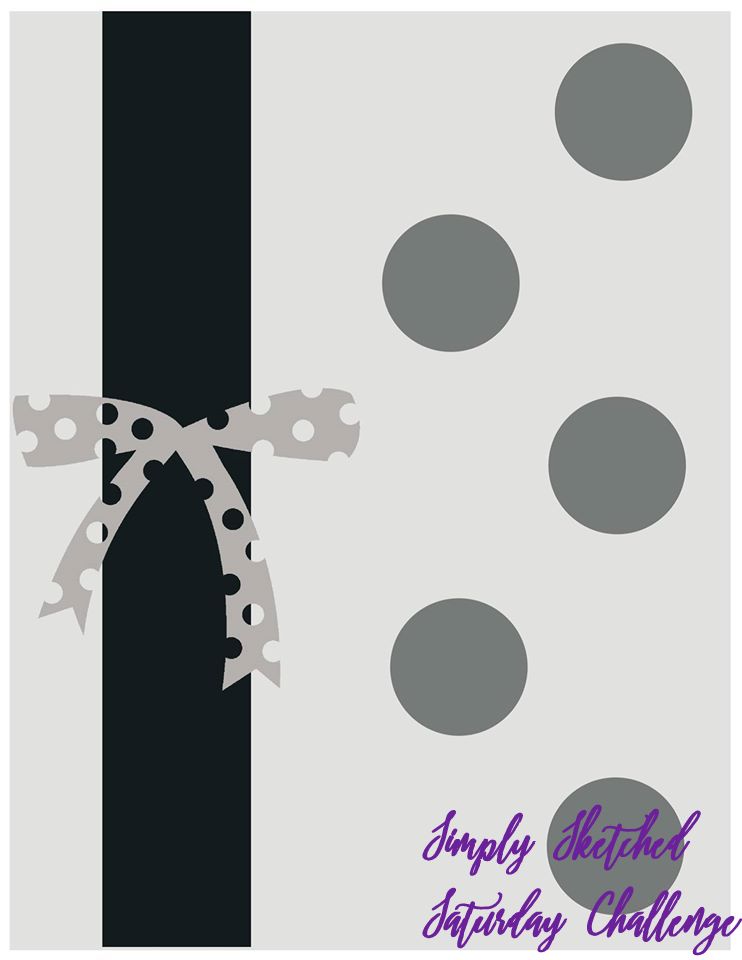
I have to admit I was stumped when I saw this sketch, and my mind just went blank. Like mo ideas at all!! But two days ago? Eureka! A lightbulb moment! So here’s my take on the sketch:
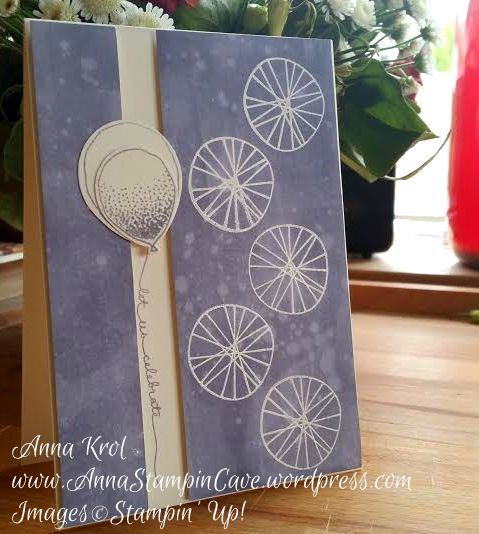
I don’t know if this technique has any name, but I’ve noticed that splitting your card fronts is quite a big trend lately. And I really wanted to give it a go. And as unusual for me, I only used one stamp set to make my card: Balloon Celebration. Shock, right?! 😉
The base of my card is A6 top folded Very Vanilla because I run out of Whisper White when making my swaps for OnStage…oops 😉 Actually the last piece of WW (4″ x 5-6/8″) I’ve used to create panel for this card., seriously haha
First, I stamped the circles (quite overlooked stamp in Balloon Celebration set) in Versamark and heat embossed them in white. Next, I took Wisteria Wonder ink pad and swoosh it through the panel until it was all covered in beautiful lavender colour. This technique seems to add texture to the card as it’s not flat solid colour.
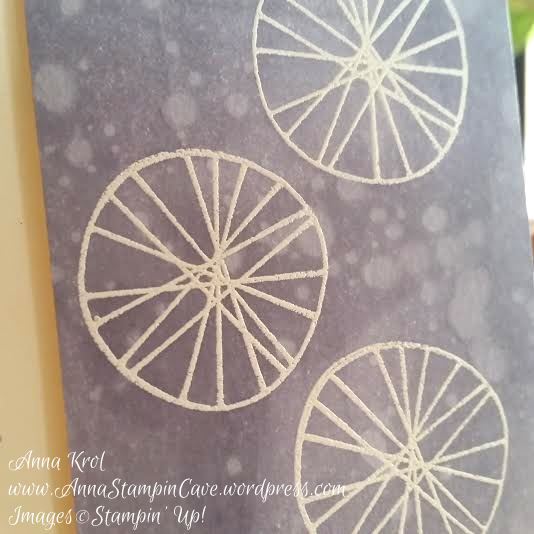
To add even more texture I sprinkled some water on my panel. I love to watch how ink reacts with water. Remember, for this cool effect, you have to sprinkle your water as soon as possible. And you have to immediately wipe off the water with paper towel. Otherwise, you will ruin your panel (ask me how do I know lol). When my panel was dry I cut it: the wider piece, with circles, measures 4″ x 2-1/2″ and the other piece measures 4″ x 1″.
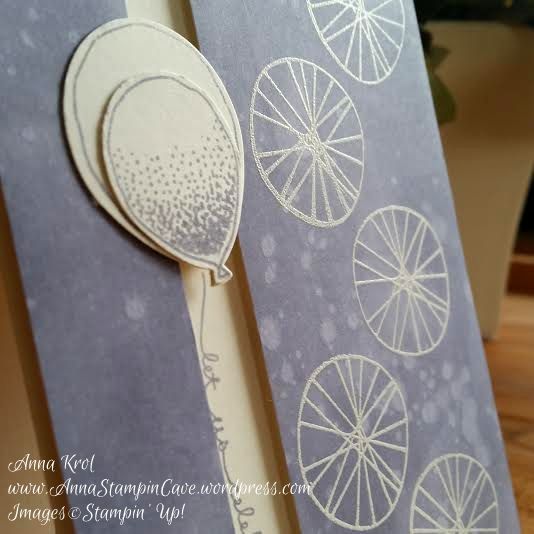
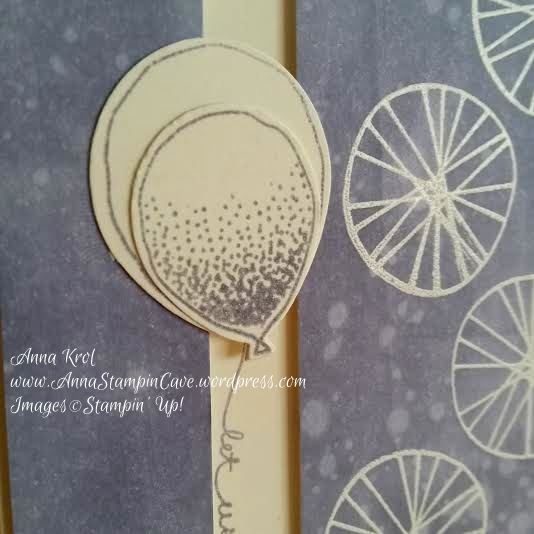
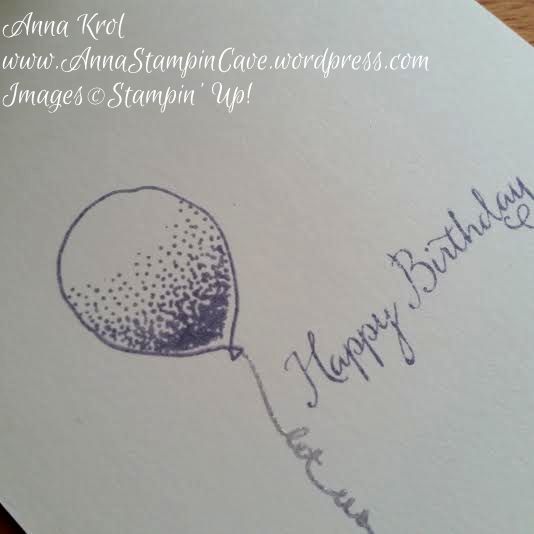
The split we’ve got left is the perfect spot for our sentiment. I’ve used this cool “let us celebrate” balloon string. I attached the panels with dimensionals. Next, I stamped and punched two balloons from a piece of Very Vanilla (one small and one large), glued them together, and add them above the split. So it looks like the sentiment is actually a string hanging from balloons. I love it! I stamped the inside of my card too.
Do you like my project?! If so please leave me a comment. I would love to hear from you!
Now, be sure to hop along and see more inspiring projects. Your next stop is Suzanne’s blog – go and see what she has made for you.
Thank you for stopping by and have a blessed day!

Very Nice Anna, I’ve been playing with split cards this week too. lol I keep forgeting about the balloon strings there really cute.
Thank you Angelina xx I absolutely love this set. Wised I could play more 🙂
Very clever! Love the card Anna.
Thank you Keren xx
Love your inking technique! Definitely going to try that. I love the split front card style too, and your card demonstates it beautifully.
Kathleen x
Thank you, Kathleen. Really glad you like it xx I love this “splitting” trend 😉 Might use this technique again soon x
Lovely card Anna x
Thank you Lisa xx
I love this card, Anna – I like how yours is a ‘reverse’ effect with the panel to the side with you using a split technique. Fabulous xx
Thank you Karen xx I’m glad you like it 🙂
Stunning card Ania xx
Thank you Jillian xx
Lovely card Ania. Really like the ‘split’ front. Great.xx
Thank you, Sally xx
Beautiful Card Ania xx
Thank you, Justyna xx
Lovely card Anna, I need to use this set more xx
Thank you Sam xx This is truly lovely set 🙂
Lovely card Anna – I love Very Vanilla its my favourite as card bases.
Thank you, Fiona xx Glad you like it 🙂
I adore this card!! I am definitely going to give this technique a go xx
Thank you Louise xx You should, it’s very easy, yet effective 🙂
Great card Anna! I love the spilt panel effect, might have to give it another go shortly 🙂
x
Thank you Hannah xx THey are very easy and quick to make 🙂