Anna’ Stampin’ Cave – Creating Kindness Design Team Blog Hope – Guest Designer
Oh my!! I’m so thrilled, and still can’t believe it: I’ve been asked to join absolutely amazing artists from the Creating Kindness Design Team in their November Blog Hop as a guest designer.
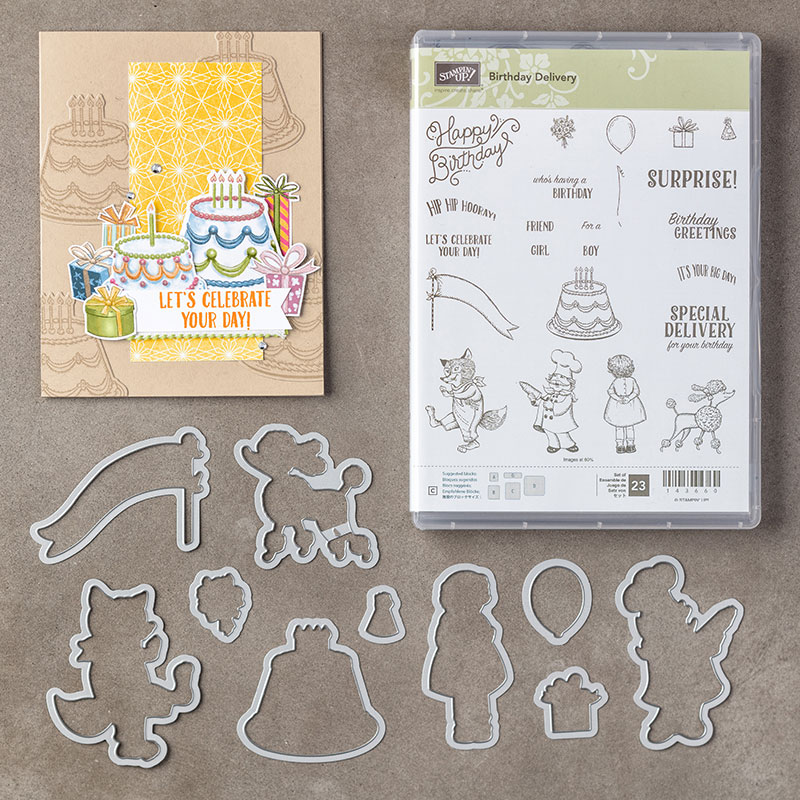
Our theme this month is TEAMWORK. Teamwork can go many ways and I decided to team up a few products:
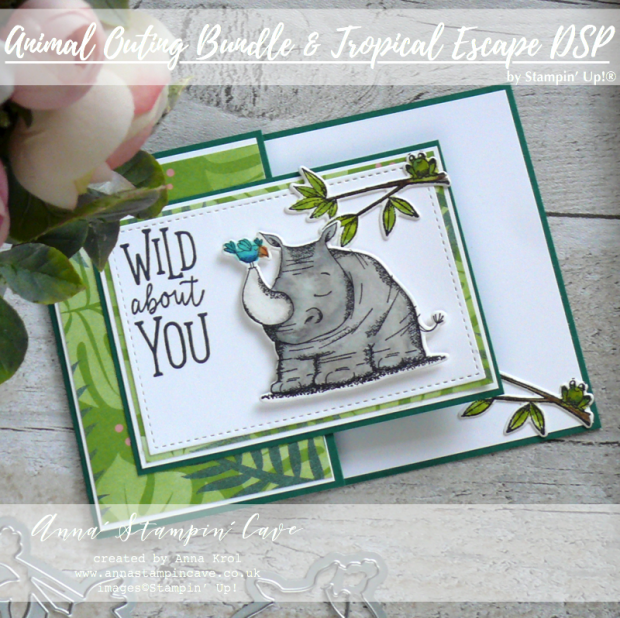
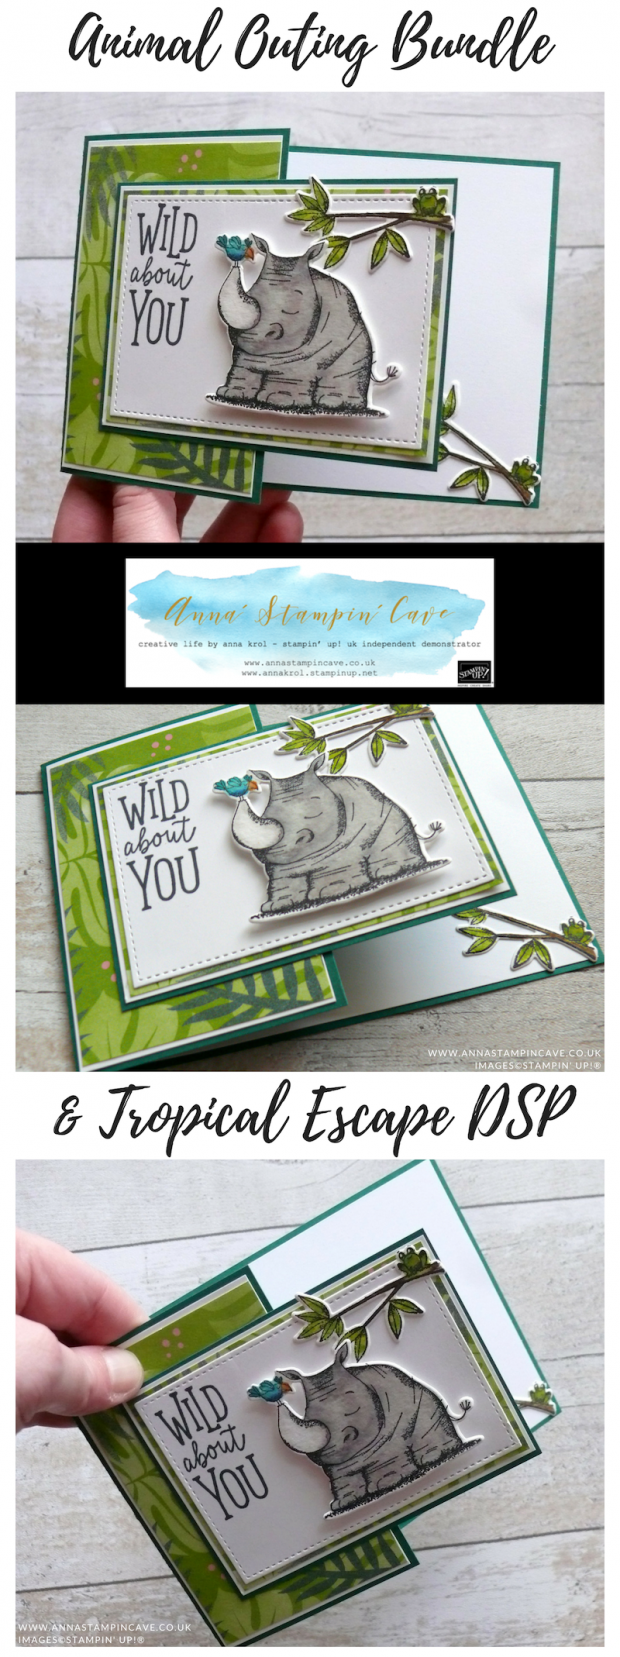
- Animal Outing Bundle with super fun and elegant Tropical Escape DSP. I think they are a perfect fit!
- I also teamed up Stampin’ Write Markers with an Aqua Painter & acrylic block for a controlled water colouring.
Wild About You card dimensions:
- Shaded Spruce cardstock: 11-6/8″ x 4-1/8″ scored in half at 5-7/8″ & cut the bottom of the card front for the extra panel at 3″ x 4-1/8″
- Whisper White reg. cardstock: 4″ x 5-6/8″ panel for the inside; for the mats: 2-5/8″ x 4″, 2-7/8″ x 4″ and for the sentiment a rectangle 3-6/8″ x 2-5/8″
- Tropical Escape DSP for the mats (leafy/foliage design): 2-9/16″ x 3-7/8″ and 3-15/16″ x 2-6/8″
- Watercolour Paper for stamping critters
Watercolouring
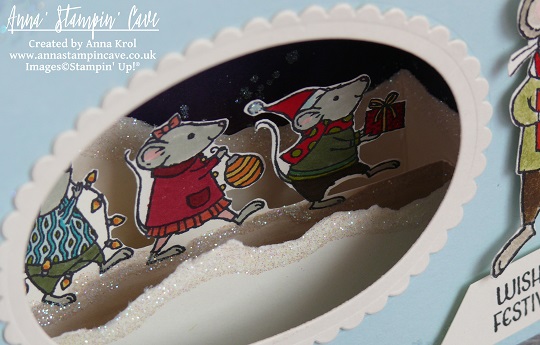
For my card, I decided to use two images: an utterly cute rhino and a branch with an equally adorable tree frog. I stamped the branch twice to use one for the inside of my card.
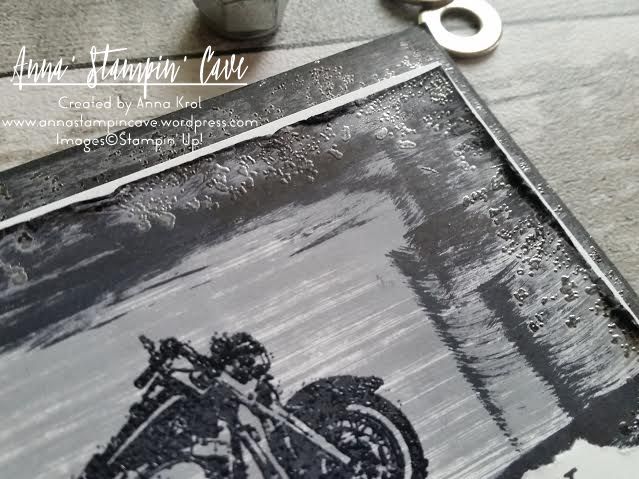
I stamped all my images onto watercolour paper using black Stazon Ink. Watercolour paper has a quite porous surface, so Stamparatus came with help to make sure all the images were stamped perfectly.
TIP: Stazon is the best ink to work with water/watercolour.
I watercolour all my critters using an aqua painter and Stampin’ Write Markers. I simply scribbled some colour onto an acrylic block and using it as a palette I picked the ink with an Aqua Painter. I love to watercolour and with this technique, there’s nearly no waste.
Colours I’ve used:
- Rhino: Smoky Slate, Gray Granite and Basic Gray
- the bird: Bermuda Bay, Pacific Point, Pumpkin Pie and Daffodil Delight
- branches with frog: Soft Suede, Early Espresso, Old Olive and Granny Apple Green
When all critters were to thoroughly dry, I die-cut them with coordinating dies from Animal Friends Thinlits Dies.
How-to: Partial die-cutting
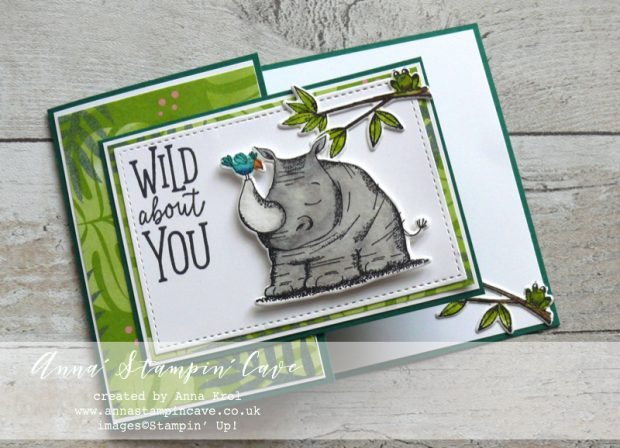
For the large stitched rectangle I’ve used the largest square from the Stitched Shapes Framelits Dies and a partial die-cutting. You can find it explained here.
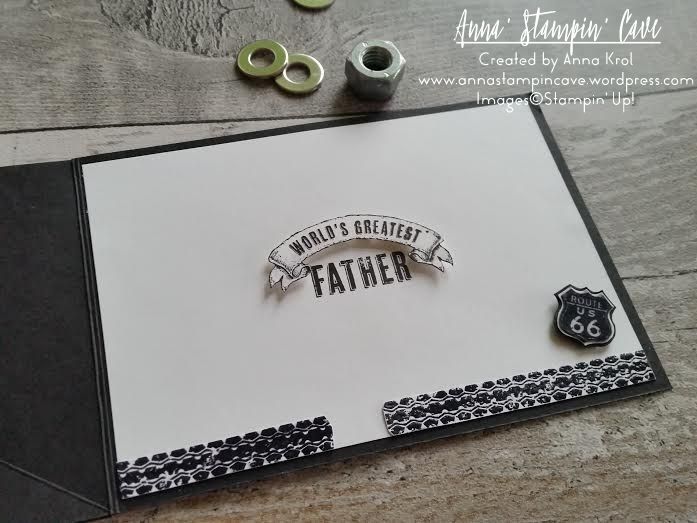
I stamped the sentiment in the top left corner of my die-cut rectangle. For the ease, I’ve used Black Memento Ink and Stamparatus. Why? Well, who else would want to mess up the stamping at this point?! lol

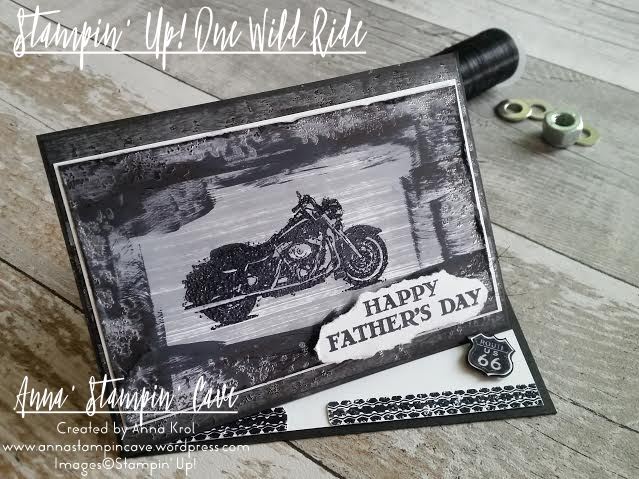
I assembled the card laying all mats together with the liquid glue. Also, my tree frogs on branches I adhered with liquid glue: one inside of the card and one just above the rhino on the front. And the rhino is the star of the card! I raised him with dimensionals in the centre of the front panel.
And that’s it from me for today. I hope you’ve enjoyed visiting my blog and that you like the card I created? I would love to hear your thoughts.
Below is the list of the fantastic Creating Kindness Team who organized this hop. So please, jump on and check all the fantastic inspiration. Honestly, you don’t want to miss it!
The next on the hop is amazingly talented Jenny Hall!! To visit her blog click the button below or just use the list!
As always, if you wish to purchase any of the products I have used, simply click the images below to go directly to my online store.

HOST CODE for the month of November is 326DJQHJ. Use this code to receive special rewards from me.

Product List
|
|
|
|
|
|
|
|
|
|
|
|
|
|
|
|
|
|
|
|
|
|
|


 Designer Series Paper")


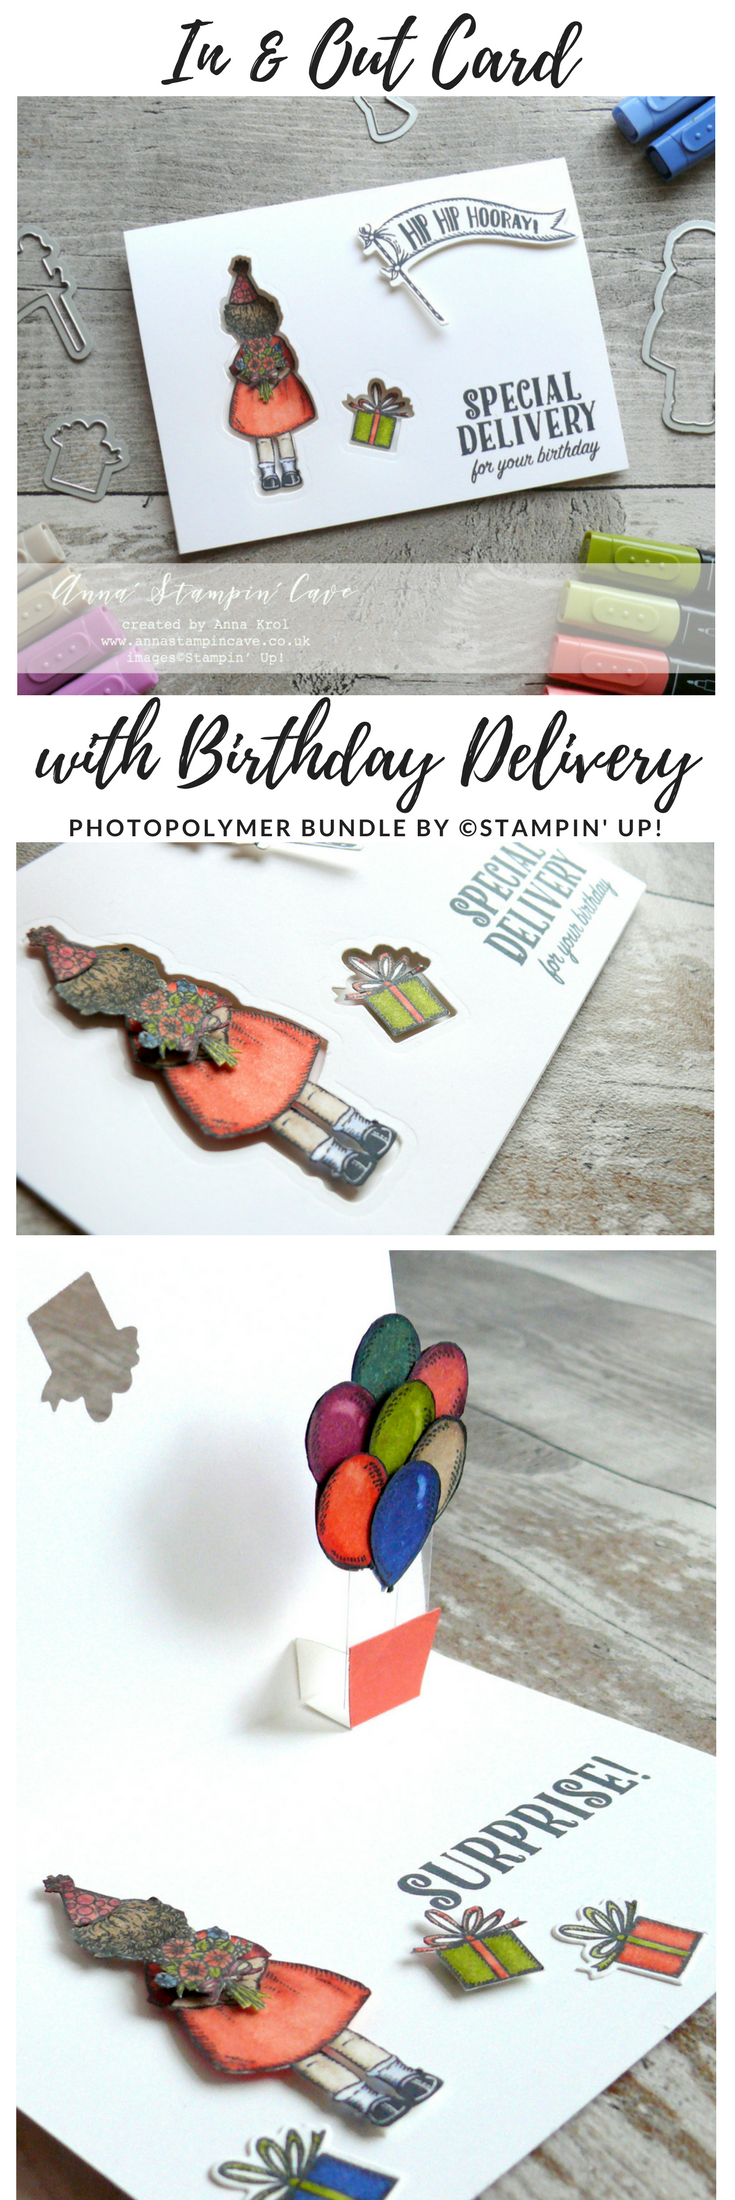
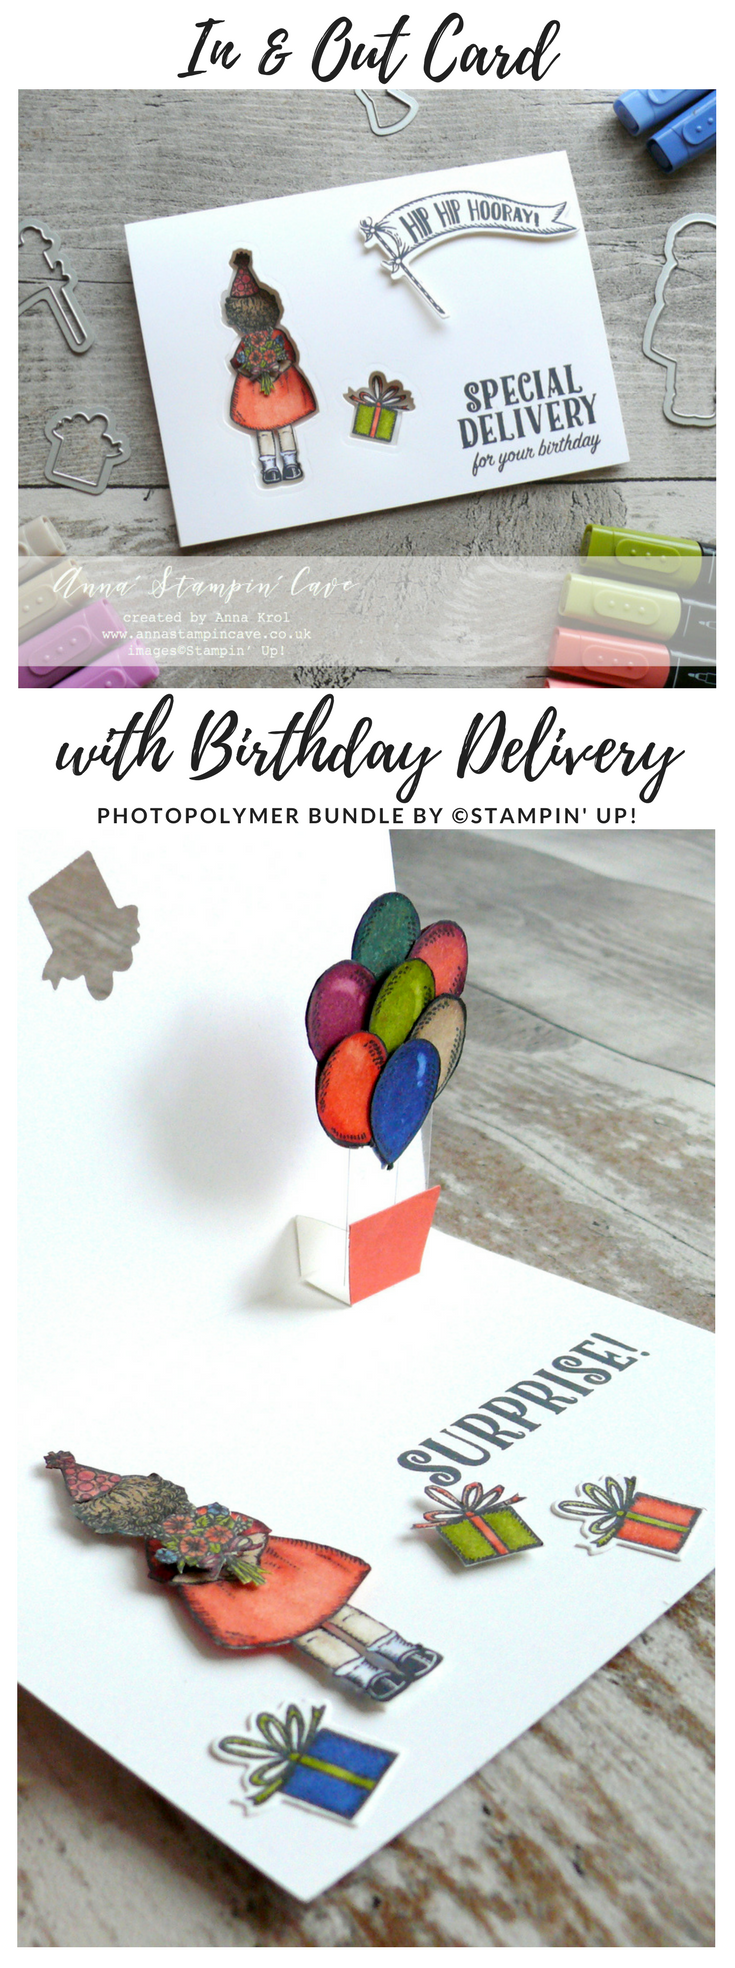
Pin me
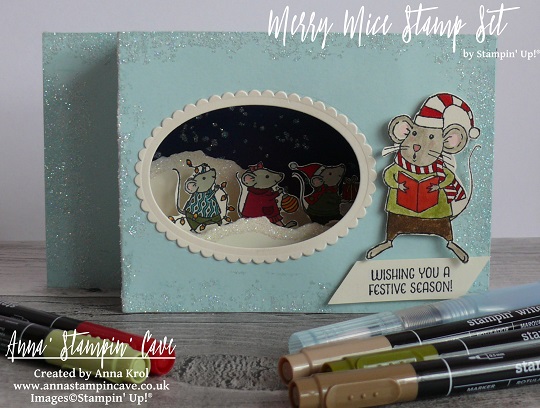
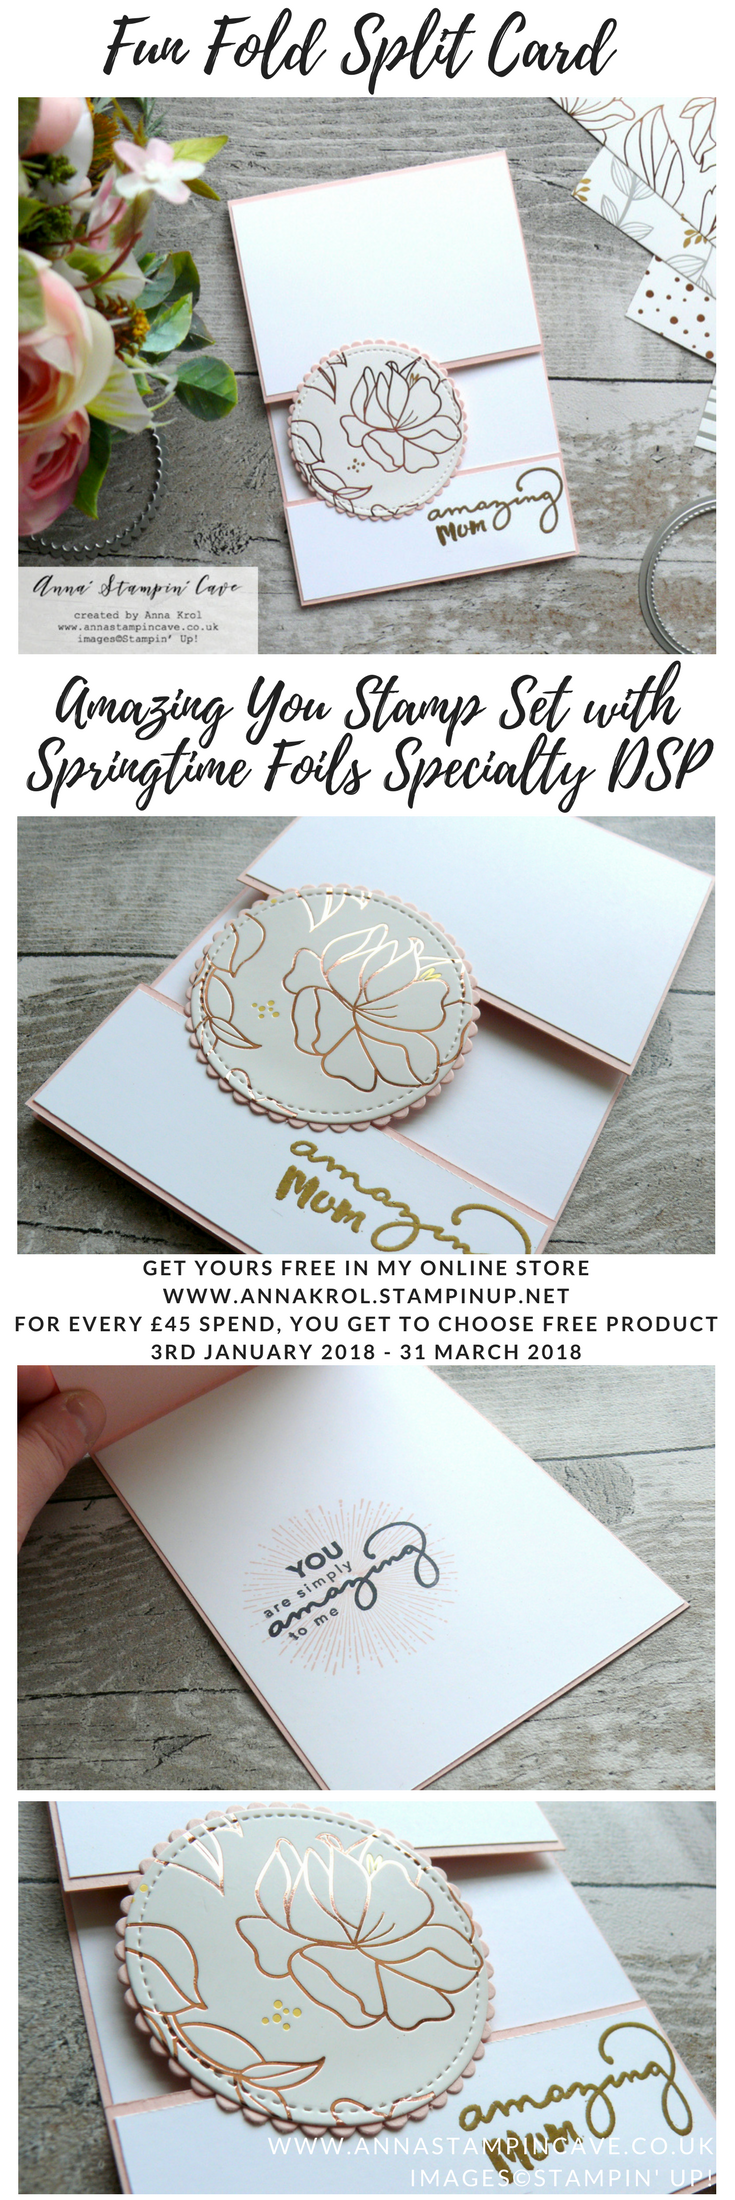
Summary of the project which gives all the views of the card in one photo. I’d love if you pinned and called by on Pinterest xx

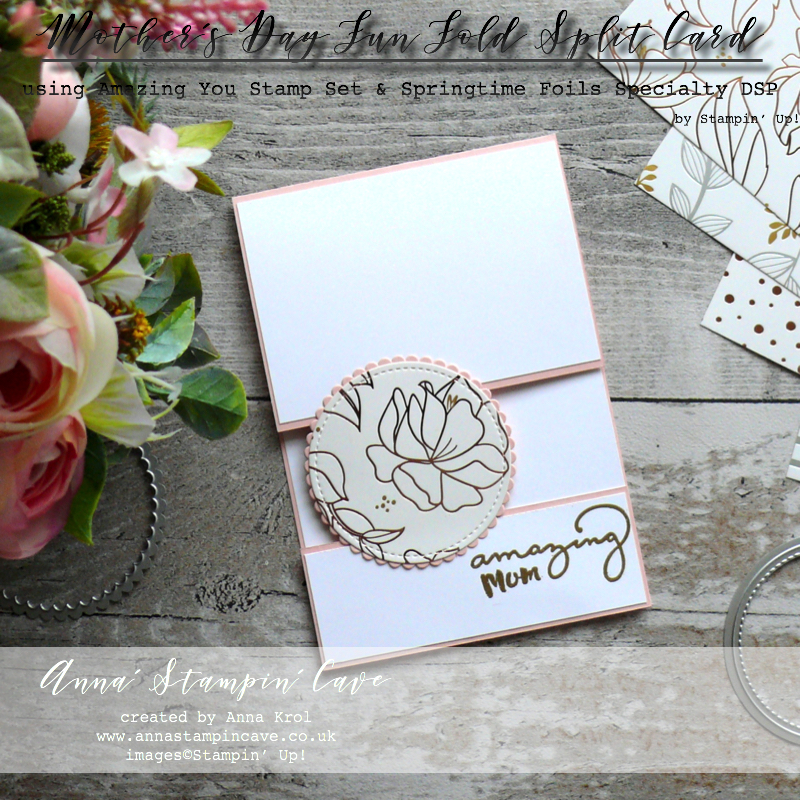
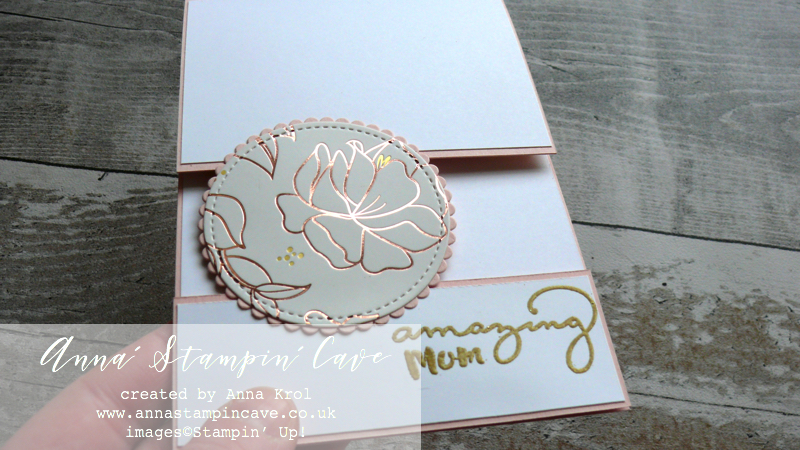
 I die-cut it using a 2nd largest circle die from Stitched Shapes Framelits Dies. Next, I die-cut slightly larger scalloped circle from a piece of Powder Pink cardstock and adhered DSP on top using liquid Tombow glue.
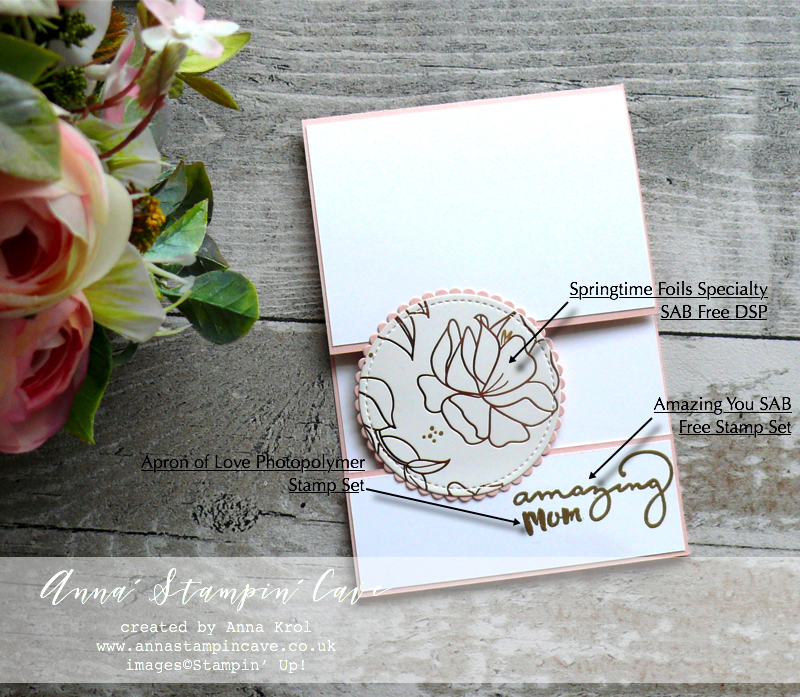


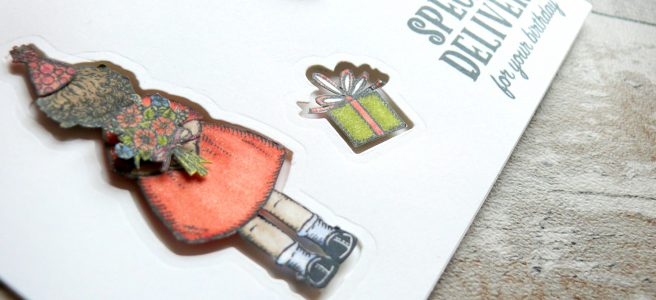
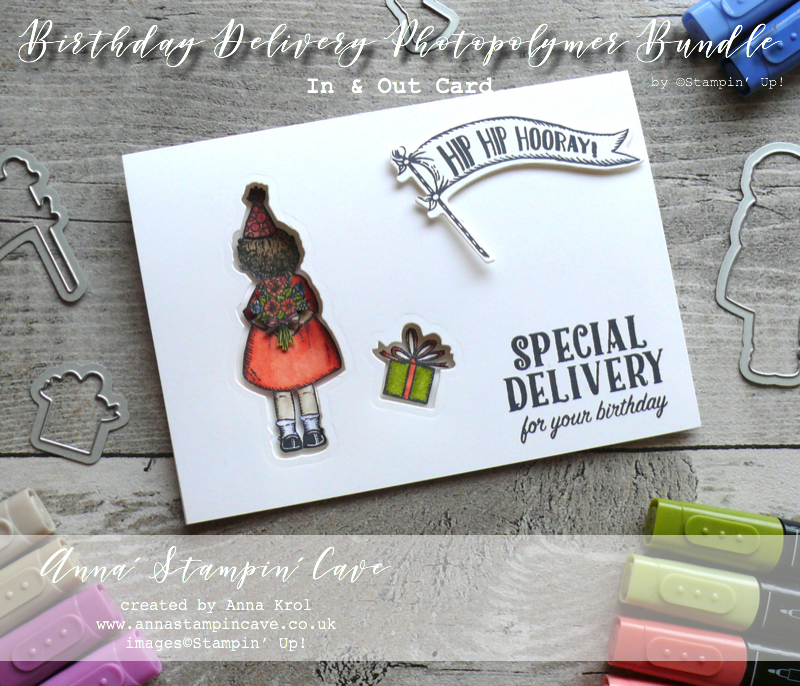
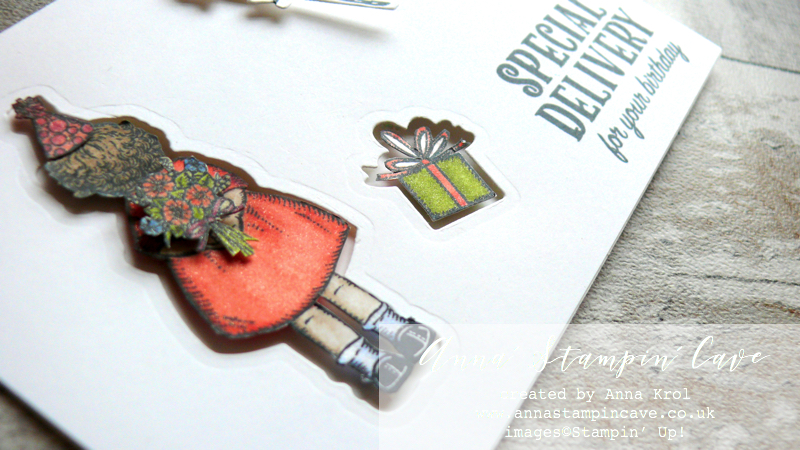
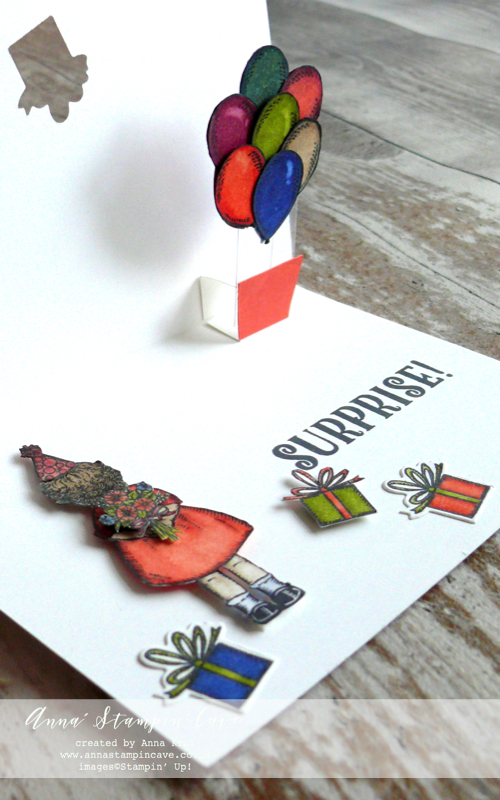
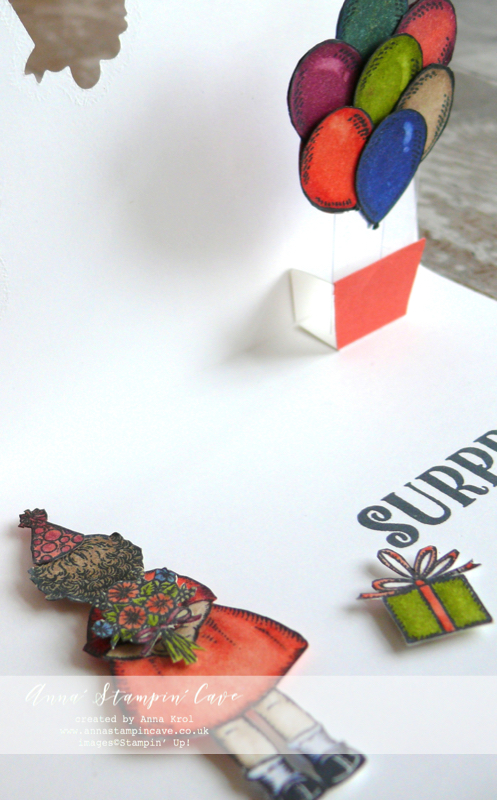
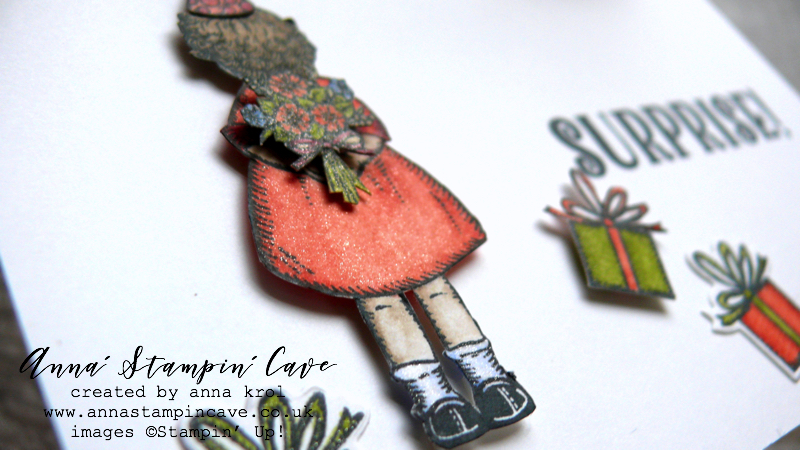 I adhered them through these openings, using dimensionals. Because these images are fussy cut, they fit snugly and don’t interfere with opening/closing the card. I also stamped, coloured and fussy cut the bouquet, And adhered it with dimensionals so it looks like my girl is carrying the flowers.