Simply Sketched Saturday Challenge – A Little Expression Of Love

Anna’ Stampin’ Cave – Simply Sketched Saturday Challenge – A Little Expression Of Love

Thank you for joining us for another Simply Sketched Saturday Challenge!  We are so excited to be sharing this hop with you. The products used are all available in the current Annual, or seasonal, Stampin’ Up!®  Catalogues*. Simply use the buttons at the bottom of the post to keep hopping!

Today’s sketch has been provided by lovely Sally Shaw from Sallystampers blog.

SSSC 18

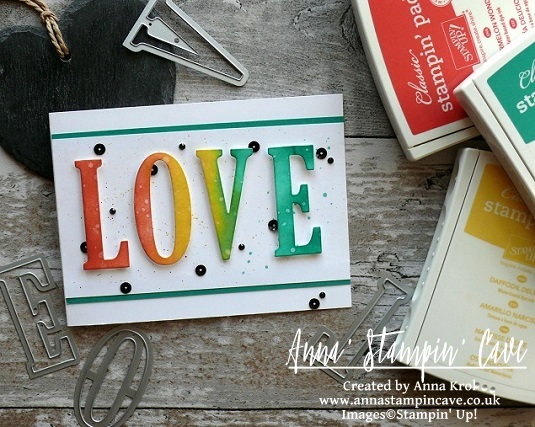
WOW! this sketch really sat me down for a moment. In a good way of course – great creative exercise for my grey cells. And here’s what I came out with:

Anna' Stampin' Cave - Stampin' Up! Painter's Palette - A Little Expression Of Love Card

A Little Expression of Love card dimensions:

  • Basic Black cardstock: 11-6/8″ x 4-1/8″ scored in half at 5-7/8″ (29.7 x 10.5 cm scored in half at 14.8 cm)
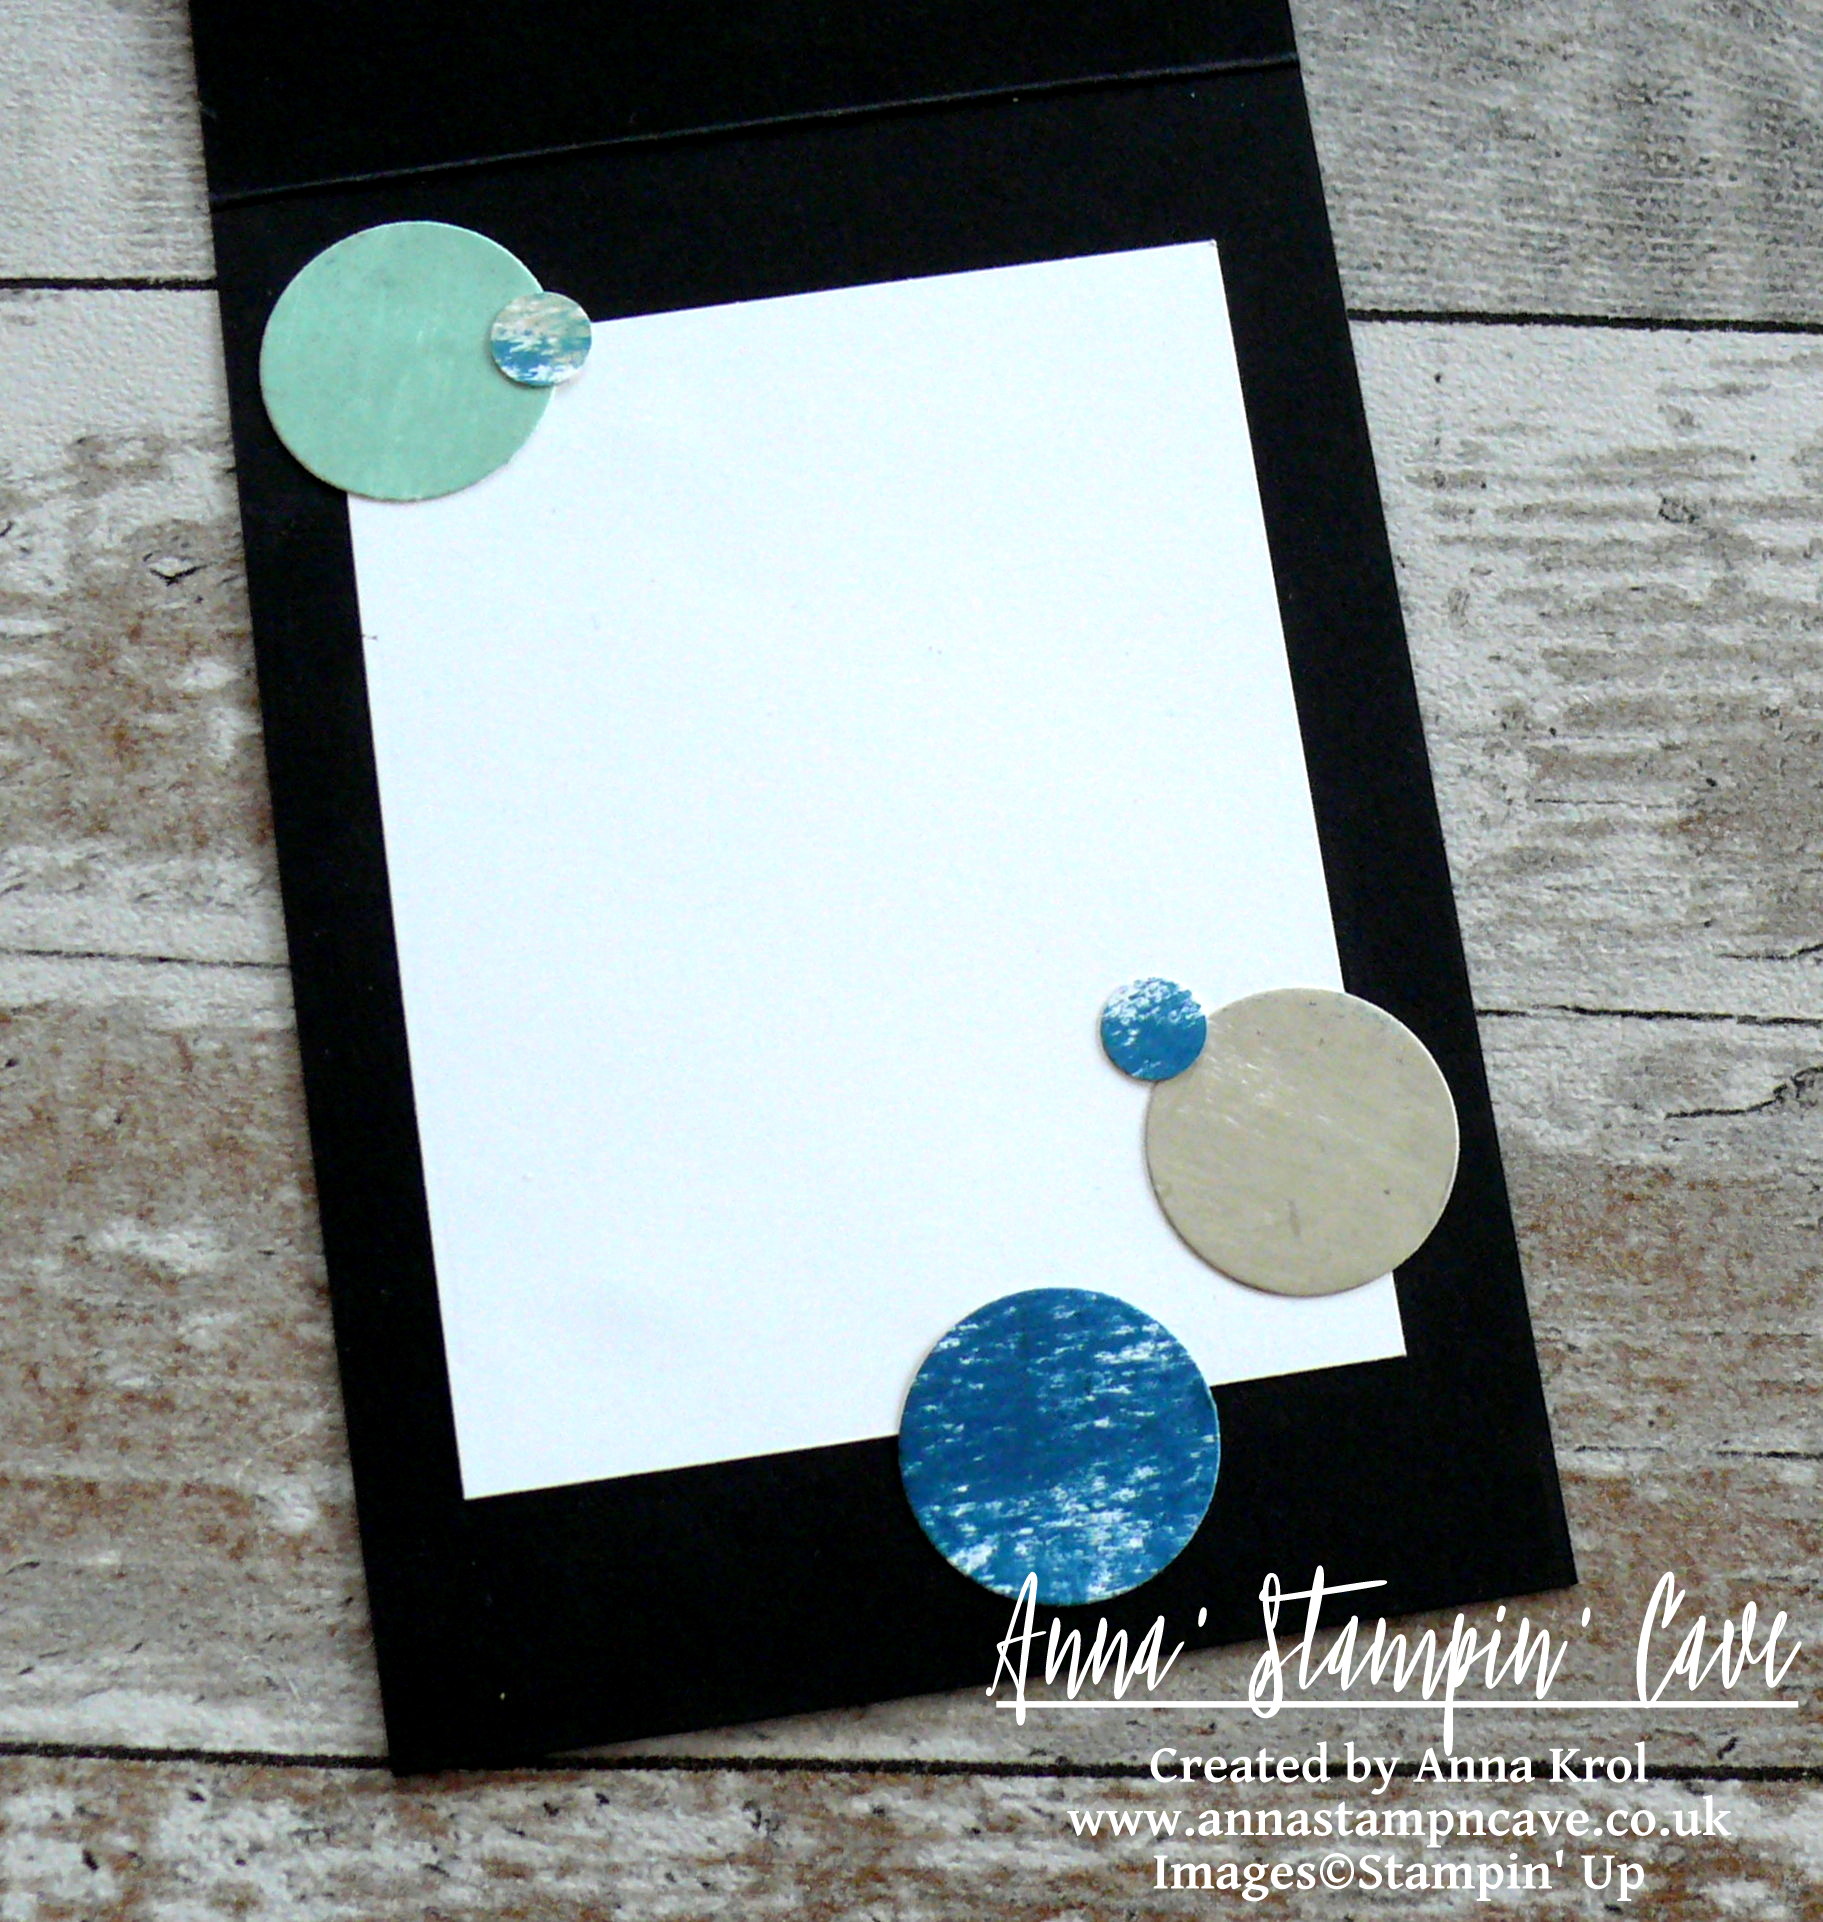
  • Whisper White cardstock for the inside: 3-2/8″ x 4-2/8″ (8,4cm x 10,7cm)
  • 3 strips of Blooms & Bliss Designer Series Paper: 4-6/8″ x 2″, 4-1/2″ x 1-1/2″ & 4″ x 1″ (12cm x 5cm; 11,4cm x 3,9cm & 10,2cm x 2,5cm )
  • scraps of Whisper White for stamping and die-cutting.

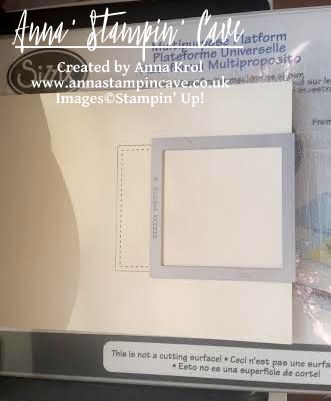
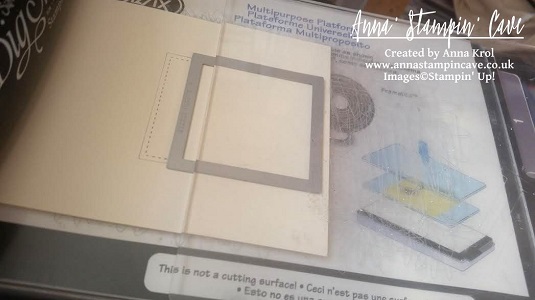
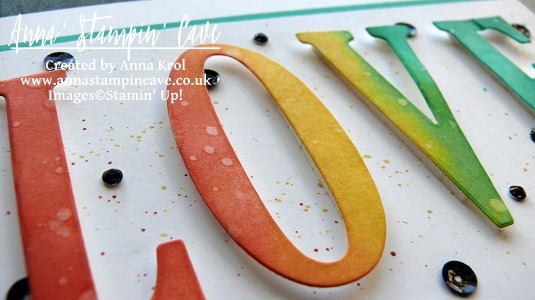
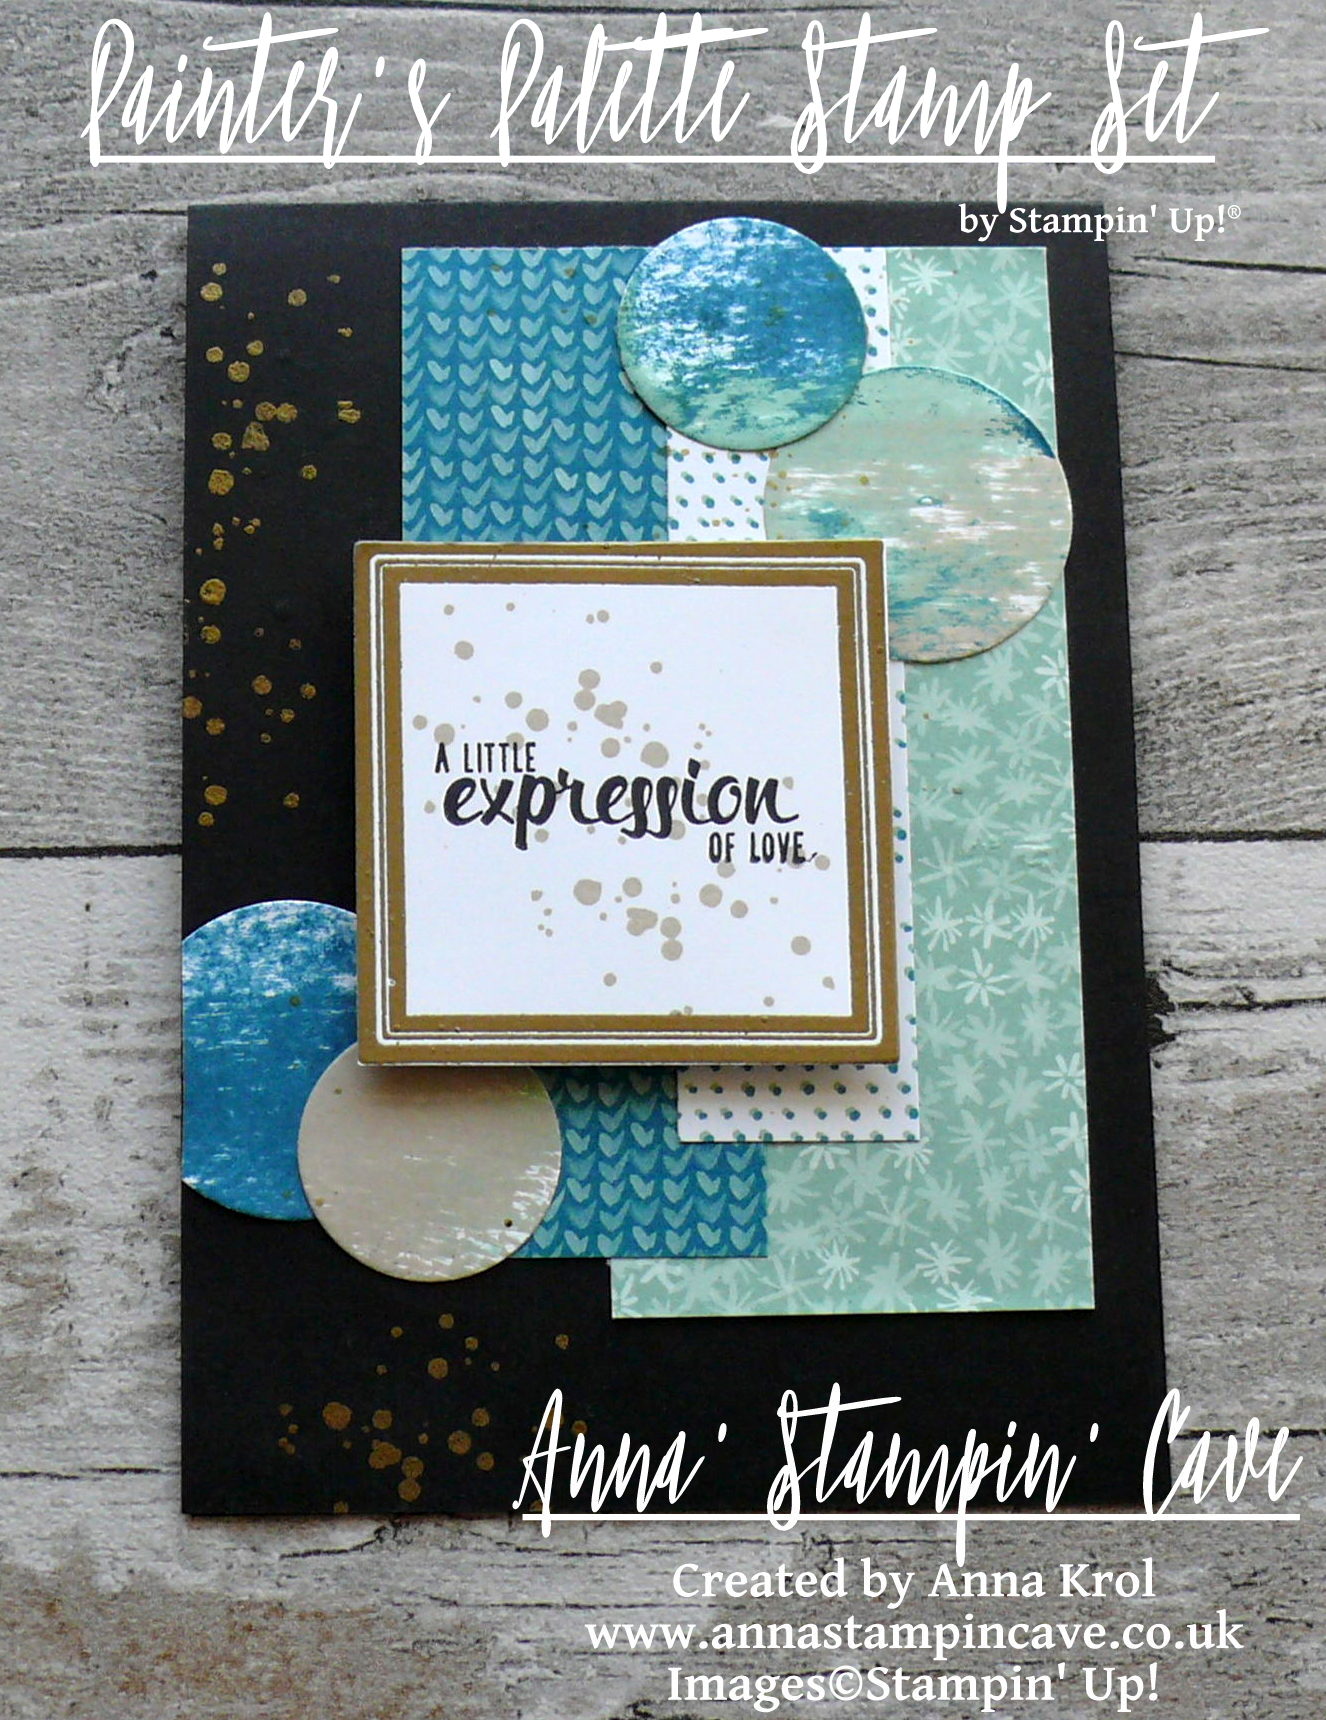
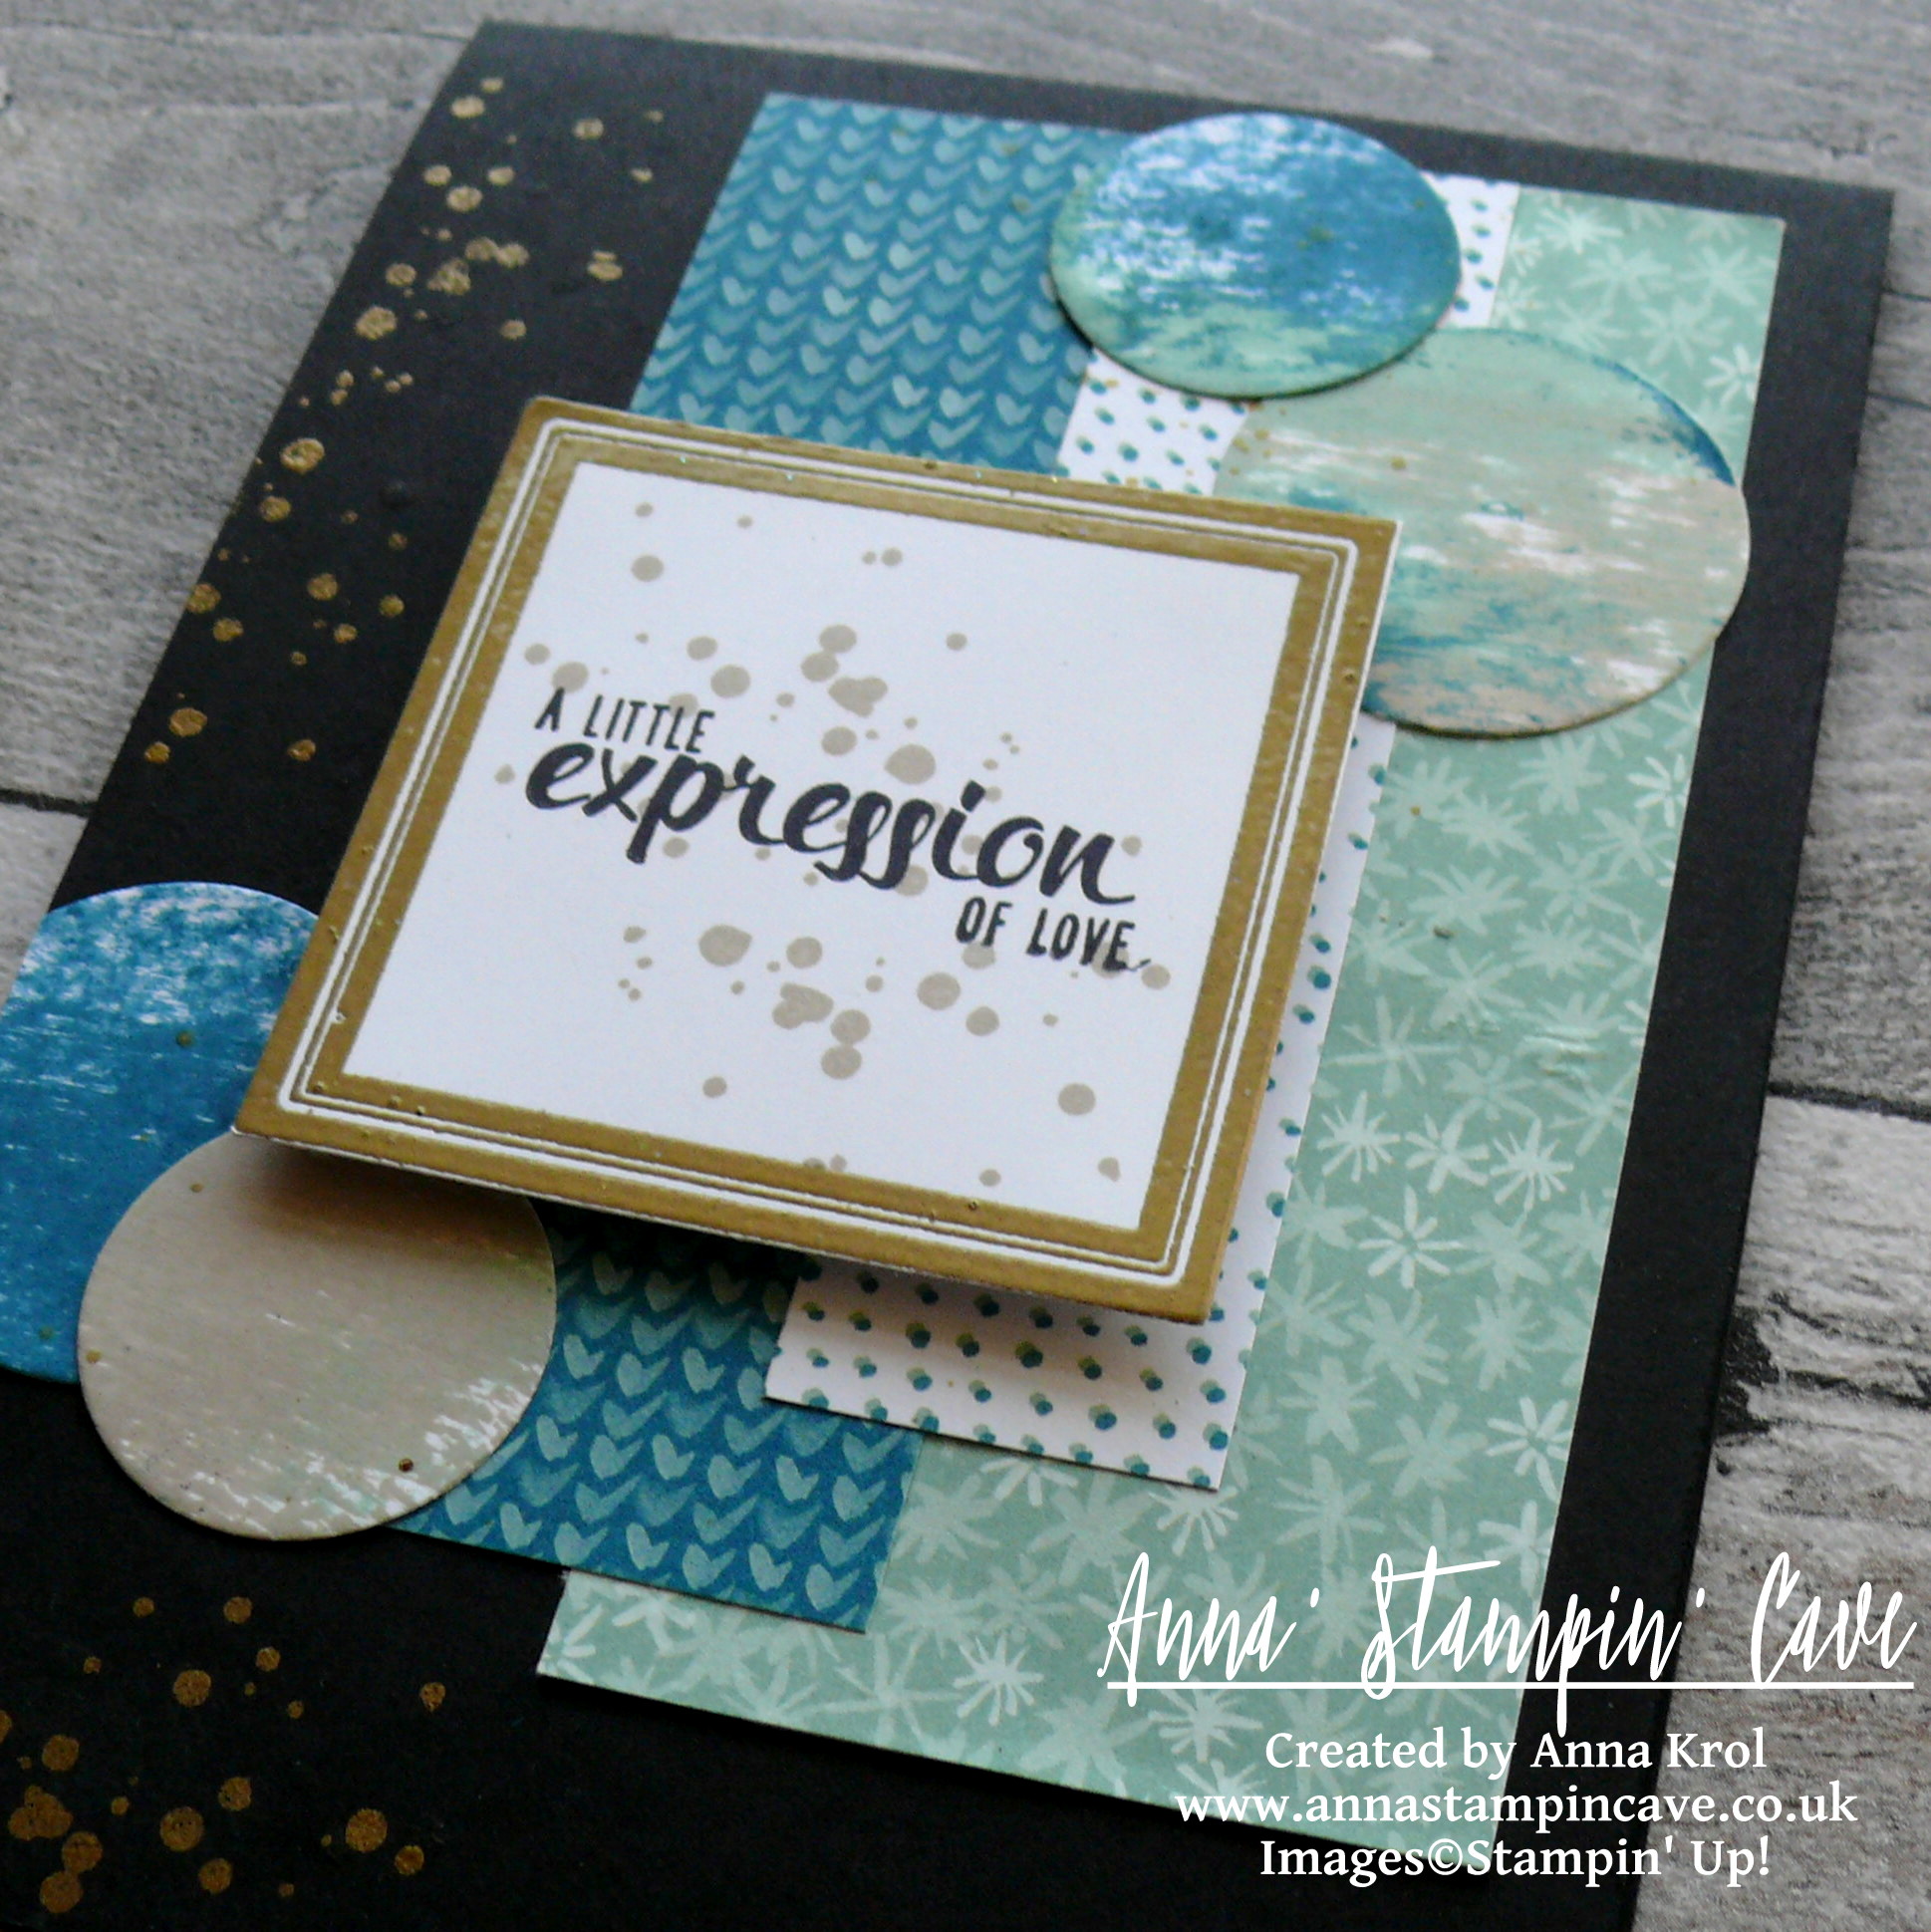
First, I stamped the palette image from Painter’s Palette Stamp Set on Whisper White cardstock in Versamark, and heat embossed it in gold. In the middle, using Stamp-a-ma-jig, I stamped the sentiment in Basic Black. Because I didn’t want all that white space around the sentiment, I took a ‘dotty’ stamp from the same set and stamped it a couple of times in Sahara Sand. I die cut my piece using Layering Squares Framelits Dies.

Anna' Stampin' Cave - Stampin' Up! Painter's Palette - Blooms and Bliss DSP - A Little Expression Of Love Card

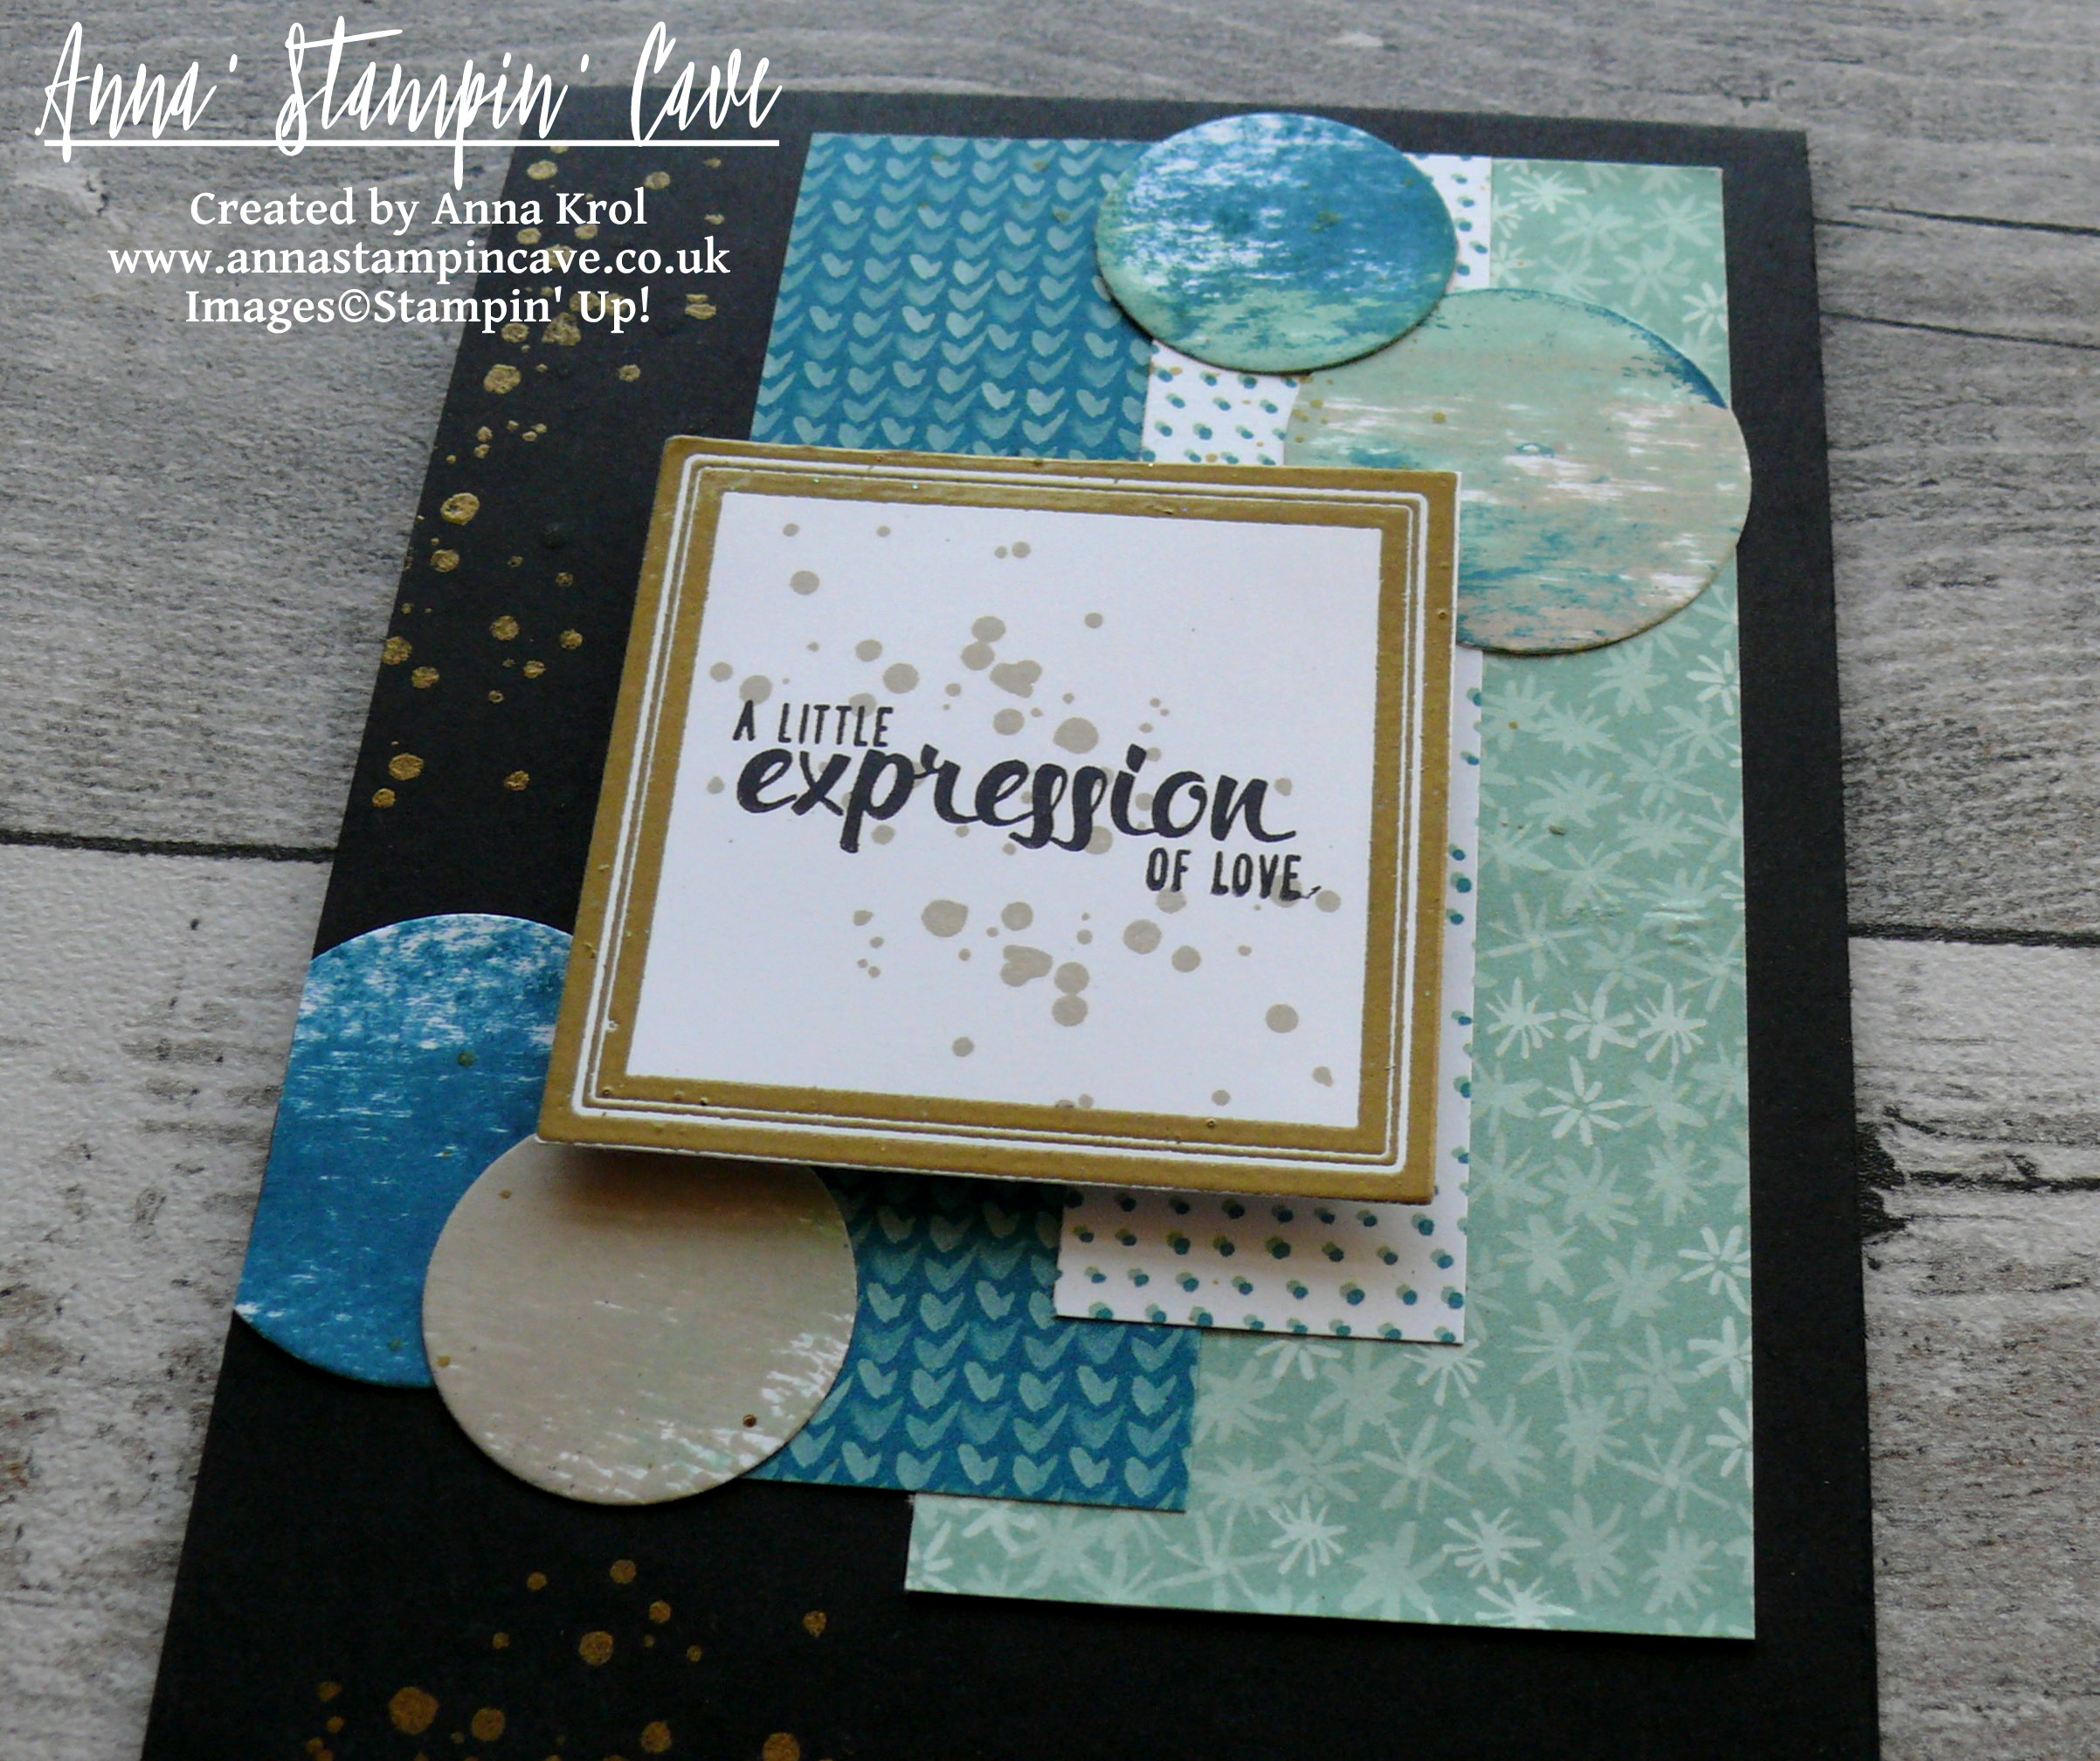
Next, I created my circles and I’ve used a really cool and easy technique to do so. I took a piece of Whisper White cardstock, clear stamping block H and three ink pads: Island Indigo, Mint Macaron, and Sahara Sand. First, I inked the clear block with Island Indigo ink and dragged it through the cardstock. I repeat it with other two ink pads, making sure some of the colours overlap, creating fun, distressed design. I die-cut various circles from my piece.

Card assembly. I adhered strips of DSP to the base using snail adhesive, followed by circles. The sentiment is popped up on dimensionals. For the inside, I added Whisper White panel and few leftover circles too.

Anna' Stampin' Cave - Stampin' Up! Painter's Palette and Blooms and Bliss DSP - A Little Expression Of Love Card - card inside

To wrap up my design together I wanted to add some extra golden accents to the card. I’ve used gold Wink of Stella to add some soft random splotches to the DSP and circles (I masked the sentiment for this step). Next, using same ‘dotty’ stamp as for the sentiment, I stamped it randomly on the card base in Versamark and heat embossed it in gold.

Anna' Stampin' Cave - Stampin' Up! Painter's Palette - A Little Expression Of Love Card

I have to tell you, I enjoyed the process of designing this card and watching how it comes together nicely. I hope you like it too.

Now be sure to hop along to see more inspiring projects. Your next stop is lovely and talented Jillian.

Thank you for stopping by and have a blessed day


You Are Amazing – Kylie Bertucci’s International Stampin’ Up! Blog Highlights

Anna’ Stampin’ Cave – You Are Amazing – Kylie Bertucci’s International Stampin’ Up! Blog Highlights

International-Highlights-header-vote-fav

Thanks for coming to my blog today! We are being highlighted internationally by Kylie Bertucci and you are able to VOTE on my project. The top ten winners will get to be part of an international blog hop so please vote for my project. You can do it here or use button at the end of my post.

Anna' Stampin' Cave - Stampin' Up! All Things Thanks Stamp Set CAS Card You Are Amazing

Our theme for this highlight is using the stamp set All Things Thanks! This is a Wonderful stamp set with so many gorgeous sentiments. We wanted to highlight how versatile it really is.

This is my first time taking part in Kylie Bertucci’s International Stampin’ Up! Blog Highlight so I’m a little bit nervous. For my card, I went with monochromatic clean and simple design.

Anna' Stampin' Cave - Stampin' Up! All Things Thanks Stamp Set Monochromatic CAS Card You Are Amazing.JPG

You Are Amazing Card dimensions:

  • Whisper White cardstock: 11-6/8″ x 4-1/8″ scored in half at 5-7/8″ (29.7 x 10.5 cm scored in half at 14.8 cm)
  • Basic Grey DSP from Neutrals DSP Stack: two pieces 3″x 3″ each (7.6 cm x 7.6 cm)
  • Basic Grey cardstock: 1/2″ x 3-3/6″ (1.2 cm x 9.5 cm)
  • for sentiment piece of Whisper White cardstock
  • Whisper White Thick Baker’s Twine: 12″

First, I stamped my sentiment in Basic Grey on a piece of Whisper White cardstock and die cut it using 2nd smallest oval from Stitched Shapes Framelits Dies. Next, I took my card base and adhered my squares of Designer Series Paper in the middle, offsetting them slightly.

I took Basic Gray strip of cardstock and created a fun banner using a dotted strip die from Mini Treat Bag Thinlits Dies.

I adhered the banner in in the centre of my card front and popped up the sentiment on top using dimensionals. I wrapped bakers twine around my card and tied a simple knot on the front. For the final touch, I added a rhinestone to the ‘i’ in the sentiment.

Anna' Stampin' Cave - All Things Thanks Stamp Set by Stampin' Up! Monochromatic CAS Card You Are Amazing.JPG

Thanks for visiting my blog today and make sure you head over to Kylie’s blog to check all lovely projects and vote for your favourites. Hope my project will be among them as I would love to be chosen to do an international blog hop.

Vote for me Kylie's Highlights Badge

Thank you for stopping by and have a blessed day,

New Adventure Card For GDP076 Case The Designer Challenge

Anna’ Stampin’ Cave – New Adventure Card For GDP076 Case The Designer Challenge

gdp076

Hello and welcome everyone! Today I’m back with my entry for Global Design Project. This week’s challenge is to CASE lovely and talented Kylie Bertucci. And oh, boy! What a brilliant card it is!

Phew, I did it! To be honest I really thought I won’t make it this week. Lately, I’m so exhausted it’s unbelievable. Living with MS alone isn’t easy, but working night shifts on top of that truly wreak a havoc in my body. And even though I only work two shifts per week, sometimes I am so drained I need to recover for a couple of days before I get back on track. Then I have to pick up on things at home that have to be done, spend some quality time with hubby and daughter…and by the time I’m ready to sit down and create, another week roll on…crazy vicious cycle isn’t it haha

But today I woke up with ‘this idea’ that I just had to turn it into a card. So I jumped out of bed, brew myself a cup of chicory coffee, done my Bible reading and sneaked straight into my ‘cave’. I’ve used a really fun technique called ‘layered embossing resist’.

anna-stampin-cave-layered-embossing-resist-using-perpetual-birthday-calendar-and-wild-about-flowers-stamp-sets

New Adventure Card dimensions:

  • Daffodil Delight cardstock: 11-6/8″ x 4-1/8″ scored in half at 5-7/8″ (29.7 x 10.5 cm scored in half at 14.8 cm)
  • Whisper White cardstock: 5-7/8″ x 2-1/2″ (14.8 cm x 6.4 cm)
  • Pumpkin Pie cardstock: 2 strips 5-7/8″ long and 1/2″ wide approx (14.8 cm x 1.3 cm)
  • Soft Sky cardstock: 3-1/2″ x 1″ (9 cm x 2.6 cm)
  • Whisper White Baker’s Twine: 6″

The bright colour combination I’ve used is inspired by this month’s Colour Your World Challenge.

colour-your-world-challenge

To create this fun background (and a focal point of my card) I decided to use the clusters of leaves from Perpetual Birthday Calendar Stamp Set.

For the first layer, I randomly stamped few clusters of leaves using Versamark ink on Whisper White panel and heat embossed them in clear. Once it’s done, I inked the panel using Soft Sky Ink Pad.

To create the second layer I stamped and heat embossed my leaves in clear again and sponged my panel in Tempting Turquoise. For the last layer, I stamped my leaves in Dapper Denim. Next, I used iron and regular copy paper to remove embossing from the panel.

anna-stampin-cave-layered-embossing-resist-using-perpetual-birthday-calendar-wild-about-flowers-stamp-sets

I added strips of Pumpkin Pie cardstock under my panel and adhered it all to the card base.

The sentiment is from Wild About Flowers Stamp Set. I stamped it in Dapper Denim on a piece of Soft Sky cardstock and cut one of the ends diagonally creating and wrapped white baker’s twine around the other end. I adhered it to the card base with dimensionals.

anna-stampin-cave-layered-embossing-resist-technique-using-perpetual-birthday-calendar-and-wild-about-flowers-stamp-sets

So this is it from me for today. Very simple card and so different from my usual style, but I quite like it. And I hope you like it too.

As always, I really want to encourage you to visit the Global Design Project challenge blog to see other beautiful projects from all around the world. Just click on their logo below to visit the website

Thank you for stopping by and have a blessed day,

How-To: Partial Die-Cutting To Extend Your Square Dies

Anna’ Stampin’ Cave – How-To: Partial Die-Cutting To Extend Your Square Dies

Couple of weeks ago I posted on my blog this lovely card and I had an enormous response, and questions on how I turned a square from Stitched Shapes Framelits Dies into the rectangle.

I hoped to post it earlier but as always life got in the way. But finally, I got around to show you how I did it. The technique is called partial die-cutting.

By no means, I didn’t invent this technique. It’s been around for a long time and is usually used to create pop-up elements or intricate borders.

To create a rectangle I took a piece of cardstock and my square die. I’ve used Stitched Shapes Framelits Dies, but you can use any thin square dies for this technique.

anna-stampin-cave-extending-your-stitched-shapes-framelits-dies-1

I placed the die, with the cutting edge down, on a piece of cardstock. I set the top plate of my cutting sandwich so that is only partially over the die. The portion that is under the top plate is the part that will get cut out. I run it through the Big Shot.

anna-stampin-cave-extending-your-stitched-shapes-framelits-dies-2

Now I lined up my die with this partially die-cut piece. It’s not difficult at all, as cutting edge of the die slip right into the grove.

anna-stampin-cave-extending-your-stitched-shapes-framelits-dies-3

And again I placed the top plate so that it’s only partially over the die. Just this time my partially die-cut piece and is on the side that won’t be cut. I run it through the Big Shot.

anna-stampin-cave-extending-your-stitched-shapes-framelits-dies-4

And voila, you have a stitched rectangle! But as I mentioned before you can use any thin square dies for this technique.

I hope you liked my short ‘how to’ post and that you’ll use this technique to stretch your dies.

Thank you for stopping by and have a blessed day,

The Creative Flow Blog Hop – No Red Romance With Large Letters Framelits Dies

Anna’ Stampin’ Cave – The Creative Flow Blog Hop – No Red Romance With Large Letters Framelits Dies

the-creative-flow-header

Thank you for joining us on our Creative Flow Blog Hop. Each month we are set a challenge to creatively stretch our imaginations. The products we have used are all available in the current Annual and/or seasonal Stampin’ Up!® catalogues. To hop along, please use the buttons at the bottom of the post to keep hopping.

Today’s challenge was to create no-red Valentines Day card, and for some time I wasn’t sure what colour scheme to use. But Global Design Project came to the rescue with their #073 Colour Challenge. I really love this unusual, bright and oh-so-not-valentine’s colour mash-up, so I decided to combine these two together 🙂

gdp_colour_challenge73_png

I know it supposed to be no-red, but Watermelon Wonder is rather orangy red right lol And here’s what I came up with: a perfect card to give to my hubby on that special day.

anna-stampin-cave-stampin-up-large-letters-framelits-dies-no-red-valentines-day-card

No-Red Romance card dimensions:

  • Whisper White cardstock: 11-6/8″ x 4-1/8″ scored in half at 5-7/8″ (29.7 x 10.5 cm scored in half at 14.8 cm)
  • Whisper White panel: 5-7/8″x 3″
  • Emerald Envy cardstock: 2 strips 5-7/8 long and briefly 2/8″wide
  • a piece of Whisper White for die-cutting

The first step was to die-cut word ‘LOVE’ using Large Letters Framelits Dies. I’ve used regular Whisper White cardstock for this. I’ve sponged the letters with my inks as follows: Watermelon Wonder first, Daffodil Delight next, and Emerald Envy as the last one creating ‘rainbow’ effect. I’ve paid special attention there’s smooth transition from one colour to another.

anna-stampin-cave-stampin-up-large-letters-framelits-dies-no-red-valentines-day-distressed-card

When I was done and happy with blending, I took a small paintbrush and flicked some water droplets all over the letters. I love how the water reactivates the ink. Such a simple step but add so much interest and texture to the (otherwise) flat surface.

Next, I took Whisper White panel and using the same small brush and my ink pads as a palette, I speckled some inks over the whole panel. I tried to keep my speckles somehow under control colour-wise, so the speckles match the letters that go over them.

Remember: The smaller is the brush, the smaller are the speckles.

When speckles dried, I adhered two strips of Emerald Envy cardstock underneath, one on top and one on the bottom of the panel.

anna-stampin-cave-stampin-up-large-letters-framelits-dies-no-red-valentines-card

Now to assemble the card. I adhered the panel to the card base using Fast Fuse adhesive. And I have to say I’m happy to say it seems I finally made friends with this adhesive haha.

I wanted to pop-out my letters so I’ve used Foam Adhesive Strips to adhere them to the panel. You could use any regular foam adhesive, but these strips are perfect for adhering die-cuts that are quite narrow in shape. They are long but you can easily cut them to the length you want/need.

I was really happy how nicely this card was coming together, but I was desperate to add some embellishments to it. Yes I know, a card for a hubby and embellishments?! I must have lost my mind, haha. But why not?

anna-stampin-cave-stampin-up-large-letters-framelits-dies-no-red-valentines-day-card

So I scattered black sequins from Metallics Sequin Assortment pack all over my card and tried to figure out the placing and how many I will use. Once I was happy I adhered them with Fine-Tip Glue Pen. For the final touch, I coloured some rhinestones with black Sharpie and added them to the card too.

That’s it from me for today. I really hope you enjoyed my step by step directions.

For those of you who asked about stretching your stitched dies using partial die-cutting – I will have a short how-to post for you soon. So watch this space.

Now be sure to hop along our tiny blog hop to see more inspiring projects. Your next stop is lovely and talented Helen.

Thank you for stopping by and have a blessed day,

the-creative-flow-previous-button the-creative-flow-next-button

Large Letters Framelits Dies

Large Letters Framelits Dies
[141712]
£89.00

Whisper White A4 Card Stock

Whisper White A4 Card Stock
[106549]
£8.25

Emerald Envy A4 Cardstock

Emerald Envy A4 Cardstock
[141420]
£7.25

Watermelon Wonder Classic Stampin' Pad

Watermelon Wonder Classic Stampin’ Pad
[138323]
£6.00

Daffodil Delight Classic Stampin' Pad

Daffodil Delight Classic Stampin’ Pad
[126944]
£6.00

Emerald Envy Classic Stampin' Pad

Emerald Envy Classic Stampin’ Pad
[141396]
£6.00

Stamping Sponges

Stamping Sponges
[141337]
£3.25

Metallics Sequin Assortment

Metallics Sequin Assortment
[138390]
£4.50

Rhinestone Basic Jewels Embellishments

Rhinestone Basic Jewels Embellishments
[119246]
£4.50

Fast Fuse Adhesive

Fast Fuse Adhesive
[129026]
£9.00

Foam Adhesive Strips

Foam Adhesive Strips
[141825]
£7.25

Fine-Tip Glue Pen

Fine-Tip Glue Pen
[138309]
£6.25

Stampin' Trimmer

Stampin’ Trimmer
[129722]
£27.00

Big Shot

Big Shot
[143263]
£99.00