Swirly Scribbles See-Through Window Shaker Card

Anna’ Stampin’ Cave – Simply Sketched Saturday Challenge – Swirly Scribbles See-Through Shaker Card
SSSC Header

Thank you for joining us for another Simply Sketched Saturday Challenge!  We’re so excited to be sharing this hop with you. The products used are all available in the current Annual, or seasonal, Stampin’ Up!®  Catalogues*. Simply use the buttons at the bottom of the post to keep hopping!

The sketch we’re working today with was designed by talented Keren Howell.
SSSC 11

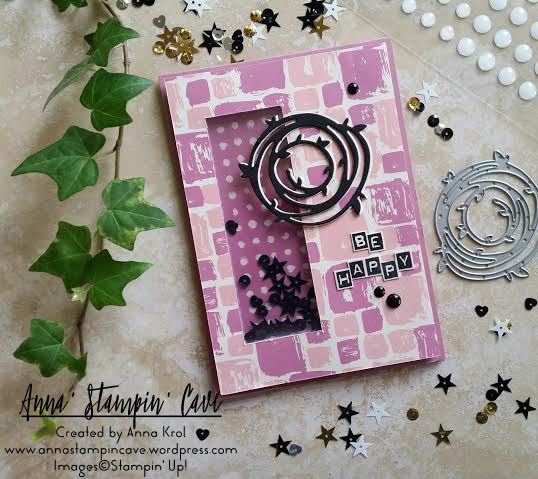
I really like this sketch. And funny how many cards I created recently could fit this sketch perfectly. But today I wanted to make something slightly different: a see-through window shaker card.
Swirly Ccribbles See-Through Window Shaker Card

Don’t you just love Playful Palette Designer Series Paper Stack?! 48 sheets of such fun designs! I couldn’t decide which one to choose. But because I wanted to use Sweet Sugarplum cardstock for my base, these fun, wonky squares were perfect.

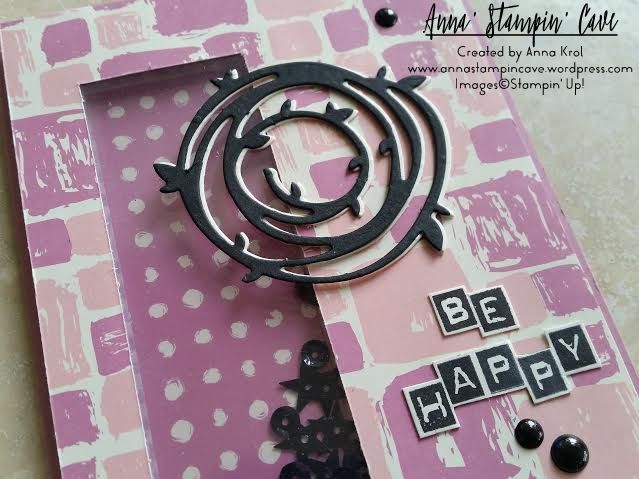
I cut out the window in my base first. Next, I traced the “window” on my DSP and cut it out too. Save that piece as you will need it later. I’ve used our new Foam Adhesive Strips to create the shaker. I added them around the window on the base and adhered a piece of acetate. I’ve used more foam strips around the base to adhere my piece of DSP. To finish my shaker window, I added black sequins and adhered another piece of acetate on the inside of the card.
Swirly Ccribbles See-Through Window Shaker Card 2

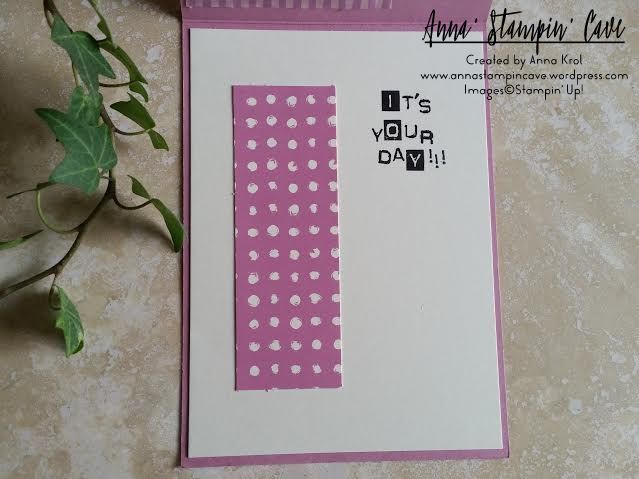
For the inside, I’ve used a Very Vanilla panel and a piece of DSP that I cut out when creating the window. But this time I’ve used the reverse side of that DSP. The placing is the key, so when the card is closed, you can see that piece through the window. The sentiment “It’s Your Day” was stamped in Basic Black Archival Ink, using Labeler Alphabet Stamp Set (which I truly love). And yes, I stamped it wonky on purpose 😉
Swirly Ccribbles See-Through Window Shaker Card inside

When the shaker bit and the inside of the card were done I could concentrate on the front. I die-cut two wreaths using Swirly Scribbles Thinlits Dies. One in Basic Black, and one in Very Vanilla. I glued them together slightly off-setting, so the Very Vanilla is peeking from underneath. I adhered it to the base with Multipurpose Liquid Glue. My sentiment, again, was stamped using Labeler Alphabet Stamp Set. I stamped it on a piece of Very Vanilla, and hand-cut it leaving a little border around the letters. Adhered it with liquid glue.
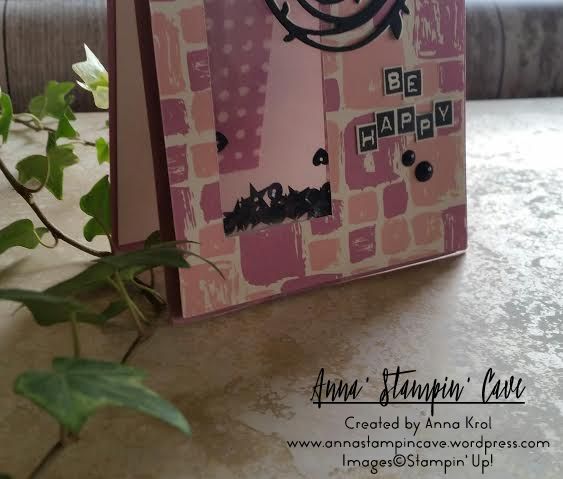
For embellishments, I’ve used White Perfect Accents, which I coloured black using a permanent marker. And that finish off my card.

Do you like my project?! If so please leave me a comment. I would love to hear from you!

Now, be sure to hop along and see more inspiring projects. Your next stop is Helen’s blog  go and see what she has made for you.

Thank you for stopping by and have a blessed day,


SSSC Previous   SSSC Next Blog

Simply Sketched Saturday Challenge #10 – Butterfly Birthday

Anna’ Stampin’ Cave – Simply Sketched Saturday Challenge #10 – Butterfly Birthday

SSSC Header

Thank you for joining us for another Simply Sketched Saturday Challenge!  We’re so excited to be sharing this hop with you. The products used are all available in the current Annual, or seasonal, Stampin’ Up!®  Catalogues*. Simply use the buttons at the bottom of the post to keep hopping!

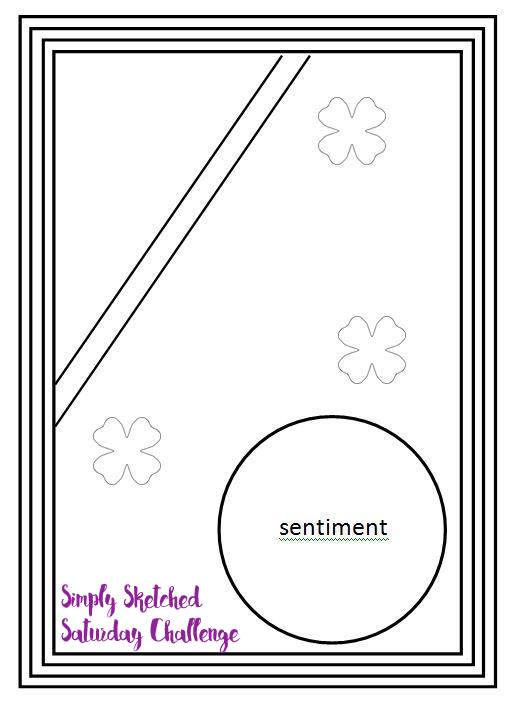
And today’s sketch was designed by lovely Kathleen from Lilypopcrafts.

SSSC 10

This is such a great sketch, with lots of layers, which I truly love. But I challenged myself to create CAS (clean and simple) card. And I think I did well.

butterfly birthday

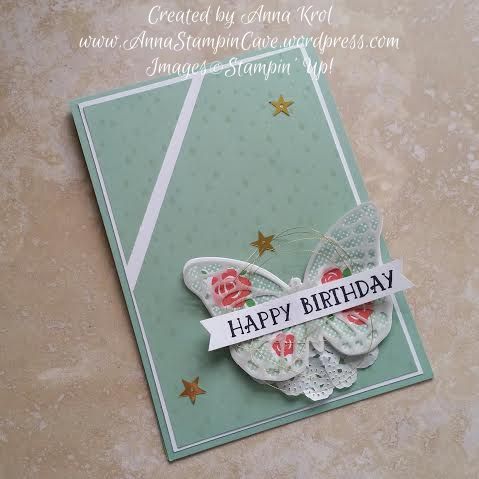
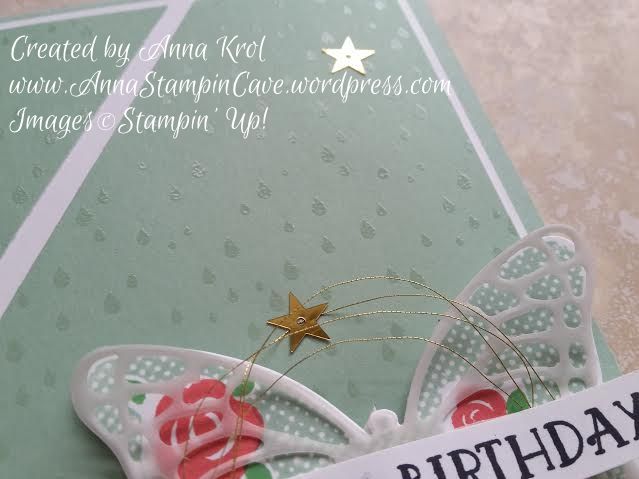
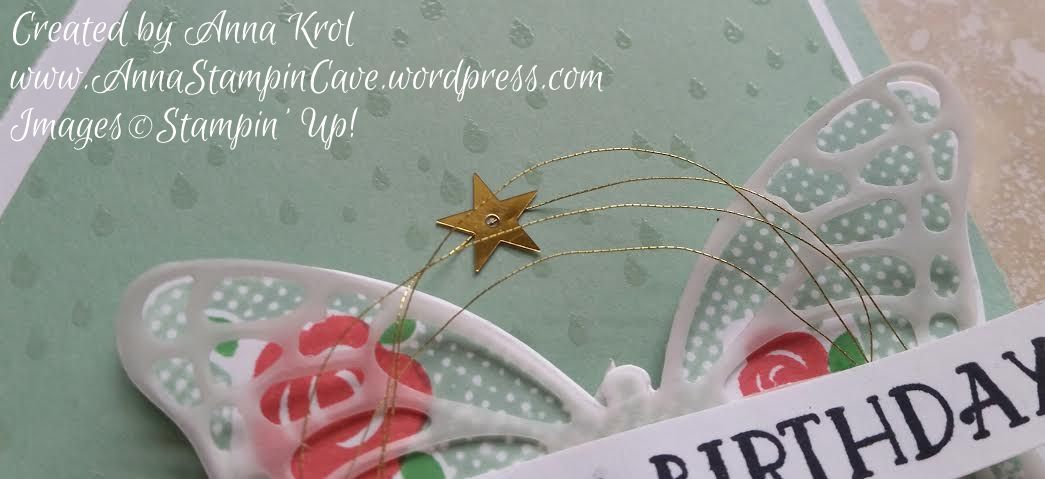
The base of my card is top folded A6 Mint Macaron, with layers of Whisper White and Color Me Irresistible Specialty DSP.

butterfly birthday 3

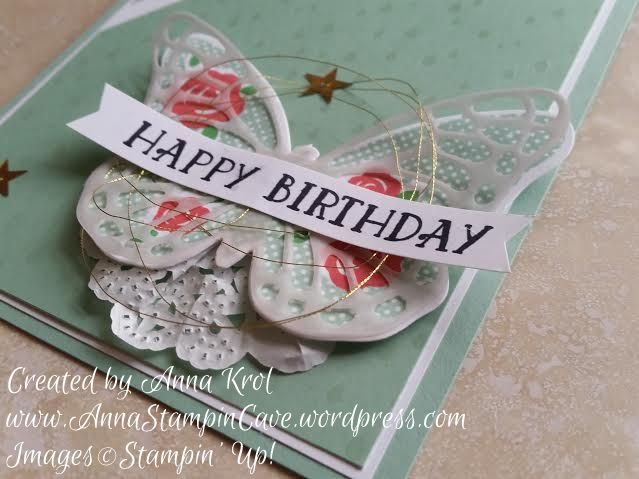
I decided to use beautiful (and retiring) stamp set Floral Wings. I stamped the butterfly in Mint Macaron, roses in Watermelon Wonder and leaves in Cucumber Crush. Next, I die cut the butterfly using Bold Butterflies Framelits and another one on vellum using a middle of Butterflies Thinlits and layered them together. I cut 1/4 of a Tea Lace Paper Doily and attached it underneath my butterfly and adhere it to the card base with dimensionals.

butterfly birthday 2

The sentiment comes from Number Of Years. I stamped it in Basic Black Archival Ink on a strip of Whisper White and punched both ends into banners using Banner Punch (also retiring).  I took Gold Metallic thread, created some messy loops and add it underneath the banner. Few gold sequins finished off the card.

butterfly birthday 4

Do you like my project?! If so please leave me a comment. I would love to hear from you!

Now, be sure to hop along and see more inspiring projects. Your next stop is Karen’s blog  go and see what she has made for you.

Thank you for stopping by and have a blessed day,
 

SSSC Previous   SSSC Next Blog

Simply Sketched Saturday Challenge #9 – Time To Split!

Simply Sketched Saturday Challenge #9 – Time To Split!

SSSC Header

Thank you for joining us for another Simply Sketched Saturday Challenge!  We’re so excited to be sharing this hop with you. The products used are all available in the current Annual, or seasonal, Stampin’ Up!®  Catalogues*. Simply use the buttons at the bottom of the post to keep hopping!

Today’s sketch was designed by talented Karen from Lilliputcrafts.

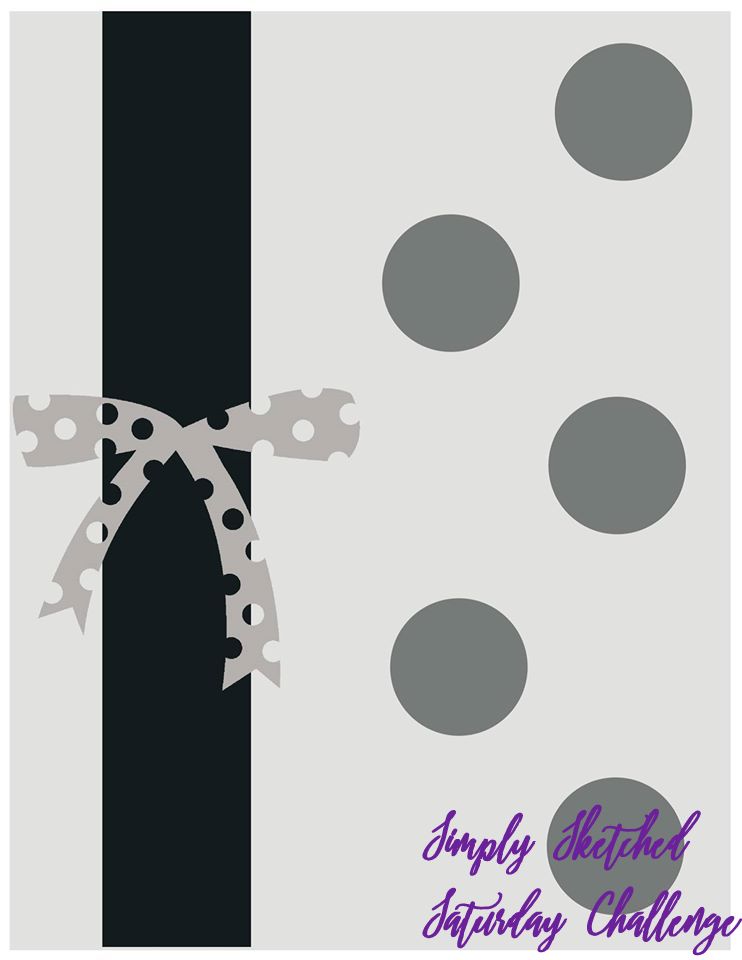
SSSC 9

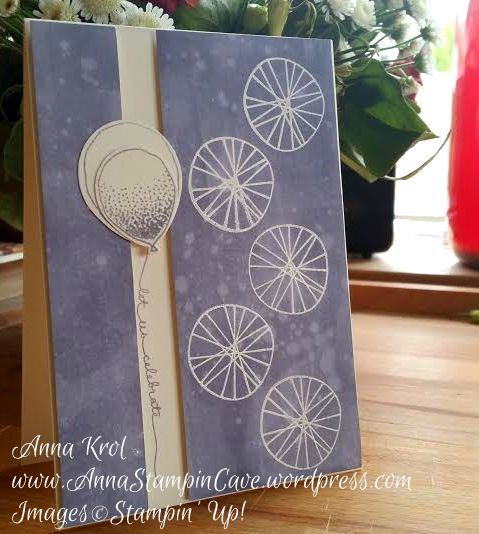
I have to admit I was stumped when I saw this sketch, and my mind just went blank. Like mo ideas at all!! But two days ago? Eureka! A lightbulb moment! So here’s my take on the sketch:

Balloon Celebration

I don’t know if this technique has any name, but I’ve noticed that splitting your card fronts is quite a big trend lately. And I really wanted to give it a go. And as unusual for me, I only used one stamp set to make my card: Balloon Celebration. Shock, right?! 😉

Balloon Celebration 2

The base of my card is A6 top folded Very Vanilla because I run out of Whisper White when making my swaps for OnStage…oops 😉 Actually the last piece of WW (4″ x 5-6/8″) I’ve used to create panel for this card., seriously haha

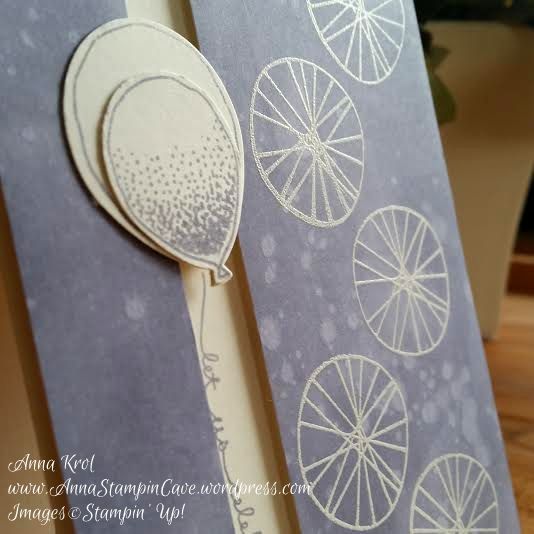
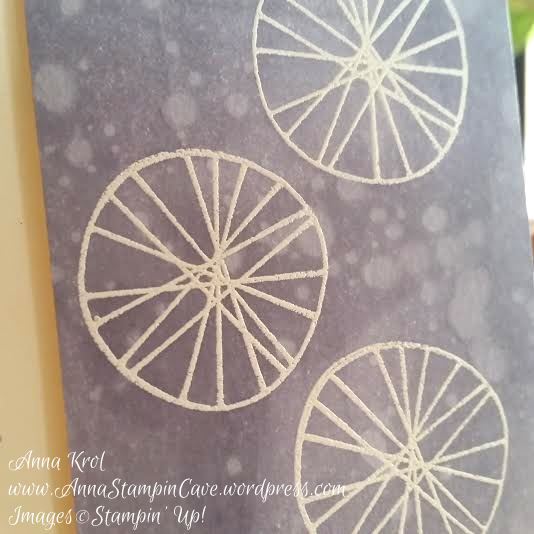
First, I stamped the circles (quite overlooked stamp in Balloon Celebration set) in Versamark and heat embossed them in white. Next, I took Wisteria Wonder ink pad and swoosh it through the panel until it was all covered in beautiful lavender colour. This technique seems to add texture to the card as it’s not flat solid colour.

Balloon Celebration 3

To add even more texture I sprinkled some water on my panel. I love to watch how ink reacts with water. Remember, for this cool effect, you have to sprinkle your water as soon as possible. And you have to immediately wipe off the water with paper towel. Otherwise, you will ruin your panel (ask me how do I know lol). When my panel was dry I cut it: the wider piece, with circles, measures 4″ x 2-1/2″ and the other piece measures 4″ x 1″.

Balloon Celebration 4

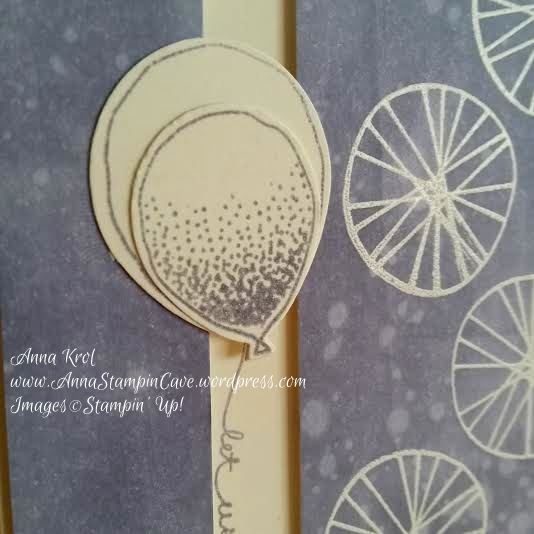
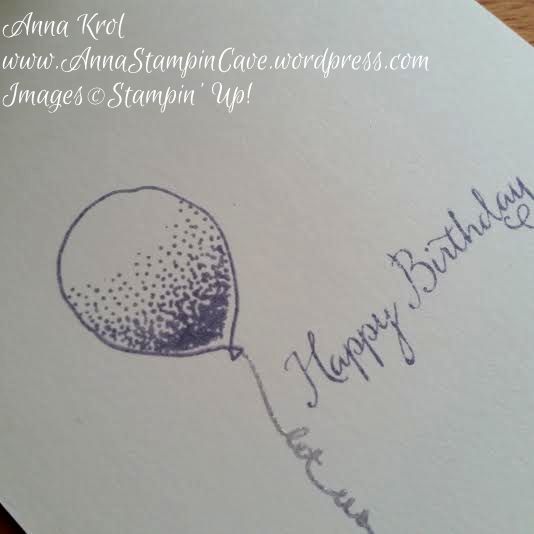
The split we’ve got left is the perfect spot for our sentiment. I’ve used this cool “let us celebrate” balloon string. I attached the panels with dimensionals. Next, I stamped and punched two balloons from a piece of Very Vanilla (one small and one large), glued them together, and add them above the split. So it looks like the sentiment is actually a string hanging from balloons. I love it! I stamped the inside of my card too.

Balloon Celebration 5.jpg

Do you like my project?! If so please leave me a comment. I would love to hear from you!

Now, be sure to hop along and see more inspiring projects. Your next stop is Suzanne’s blog  go and see what she has made for you.

Thank you for stopping by and have a blessed day!

SSSC Previous   SSSC Next Blog

Simply Sketched Saturday Challenge Blog Hop #8 – Easter Lamb At Wildflower Fields

Simply Sketched Saturday Challenge Blog Hop #8 – Easter Lamb At Wildflower Fields

SSSC Header

Thank you for joining us for another Simply Sketched Saturday Challenge!  We’re so excited to be sharing this hop with you. The products used are all available in the current Annual, or seasonal, Stampin’ Up!®  Catalogues*. Simply use the buttons at the bottom of the post to keep hopping!

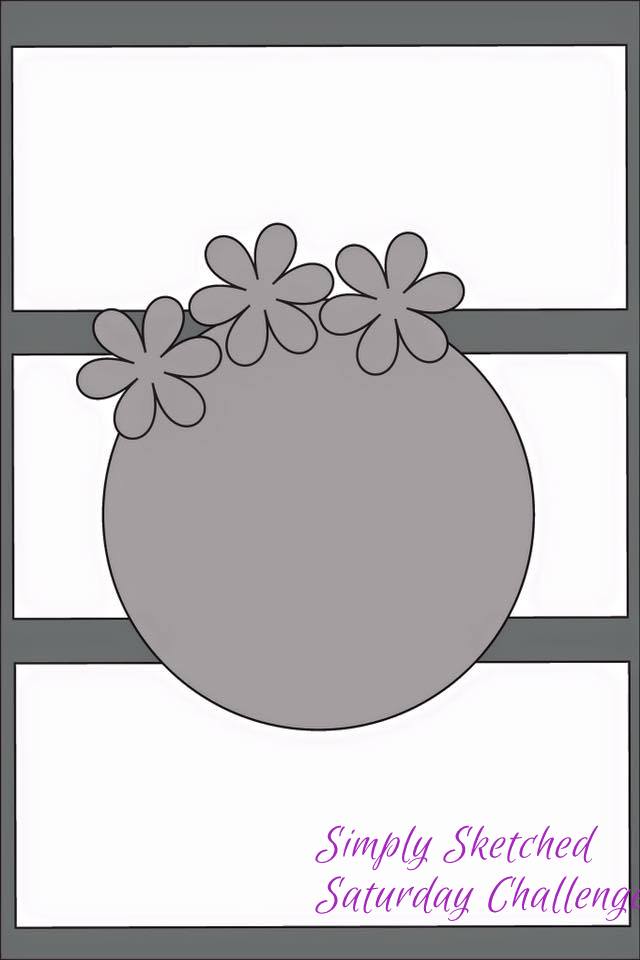
I really like today’s sketch designed by lovely Justyna from Perfect Crafts.

SSSC 8

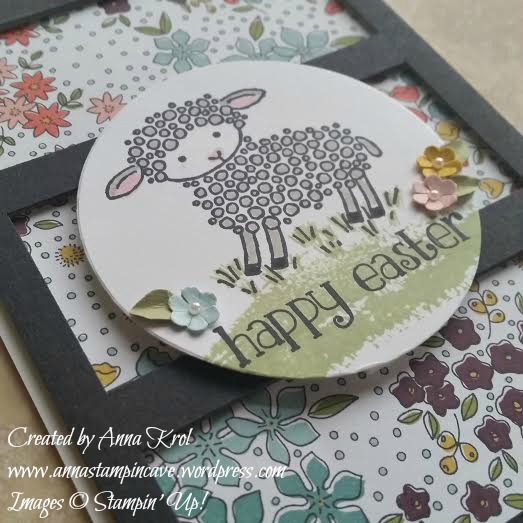
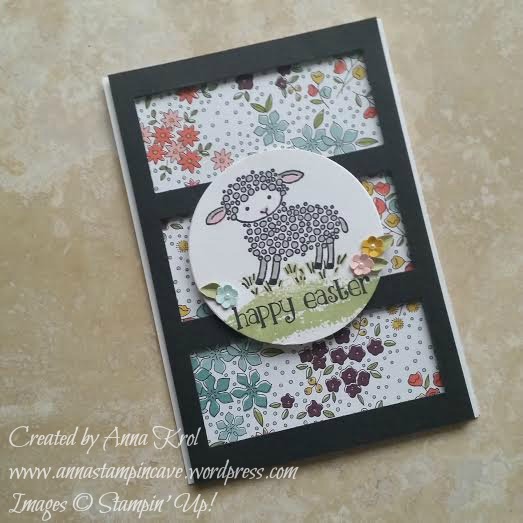
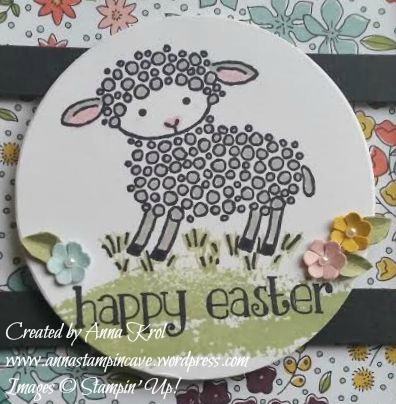
Don’t you just love it?! I had so many ideas for this sketch, I couldn’t decide which way to go. But I really wanted to use super cute Easter Lamb stamp as my focal point. So here’s my take on the sketch:

Easter Lamb

My very first idea for this sketch was to make a shaker card. So I created a frame for my card first. I’ve used foam adhesive at the back of my frame – you could use Stampin’ Dimensionals too. But because I only have the metallics sequins at this moment, and I really didn’t want to go into silver/gold colour theme, I gave up this idea. But then I thought: hey, you can still use the “frame” to create a dimensional layout.

Easter Lamb 2

I had some leftover pieces of Wildflower Fields DSP, so I cut three strips and adhered them to the card base, beneath my frame. I stamped Easter Lamb in Stampin’ Up! Black Archival ink on a piece of Whisper White, and die-cut it using the middle circle from Circles Collection Framelits. I’ve used Stampin’ Write Markers to add some colour to my little cutie: Pink Pirouette for ears, nose and cheeks, Sahara Sand for wool and Pear Pizzazz for grass. I also stamped some grassland using swoosh stamp from Sheltering Tree.

Easter Lamb 3

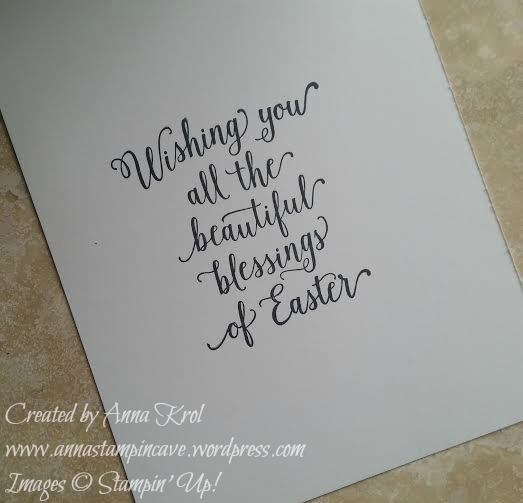
To make it even cuter I punched few tiny flowers in Blushing Bride, Daffodil Delight and Pool Party using Tree Builder Punch. I’ve made a little cut between each petal to add some extra dimension to my flowers. I also punched few raindrops using the same punch and Pear Pizzazz cardstock and turned them into tiny leaves for my flowers. To finish off my card I added smallest of the Pearl Basic Jewels to the centre of each flower. For the inside, I stamped beautiful sentiment from Suite Sayings.

Easter Lamb 4

I would love to hear from you. Do you like my take on the sketch?

Now, be sure to hop along and see more inspiring projects. Your next stop is Karen’s blog  go and see what she has made for you.

Thank you for stopping by and have a blessed day!

SSSC Previous   SSSC Next Blog

Simply Sketched Saturday Challenge Blog Hop #7 – A World Of Thanks

SSSC Header

Thank you for joining us for another Simply Sketched Saturday Challenge!  We’re so excited to be sharing this hop with you. The products used are all available in the current Annual, or seasonal, Stampin’ Up!®  Catalogues*. Simply use the buttons at the bottom of the post to keep hopping!

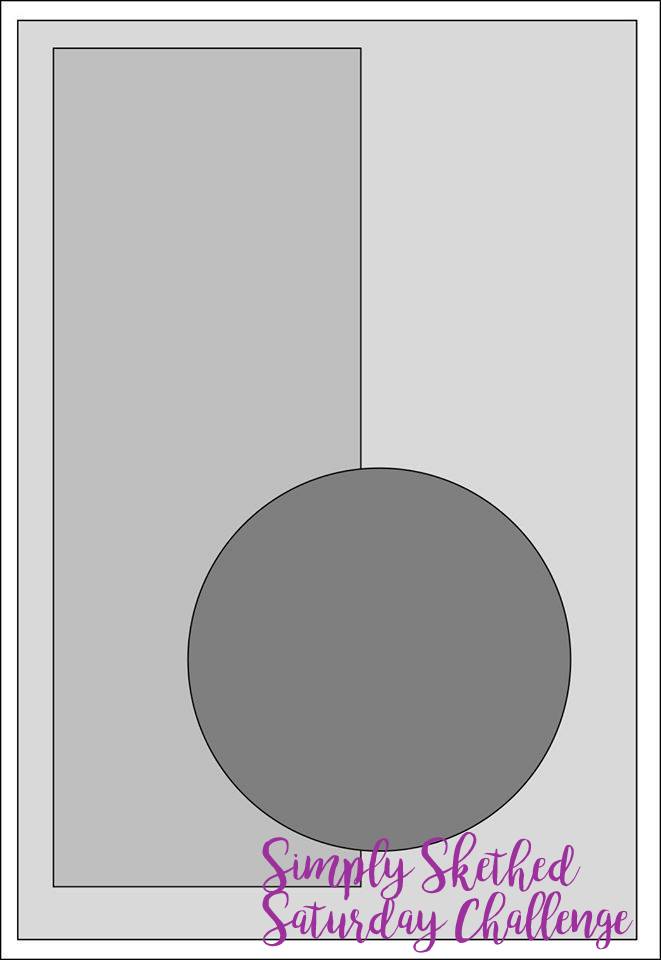
Today’s sketch was designed by Hannah, and I have to admit that for me it was the hardest of all sketches I’ve worked with. Even though it’s the simplest one, that for sure.

Simply-Sketched-Saturday-Challenge  And here’s my take on the sketch:

A-World-of-Thanks-stampin-up

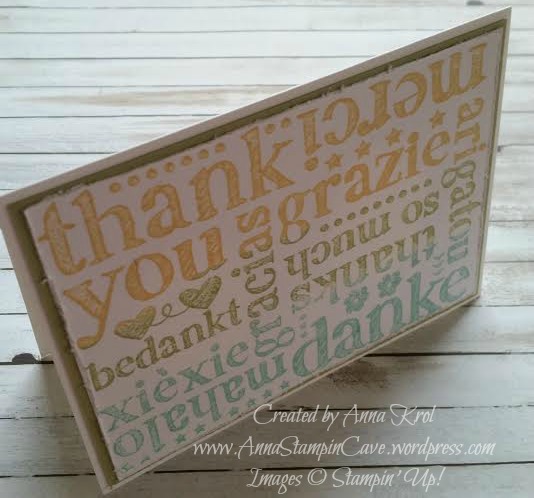
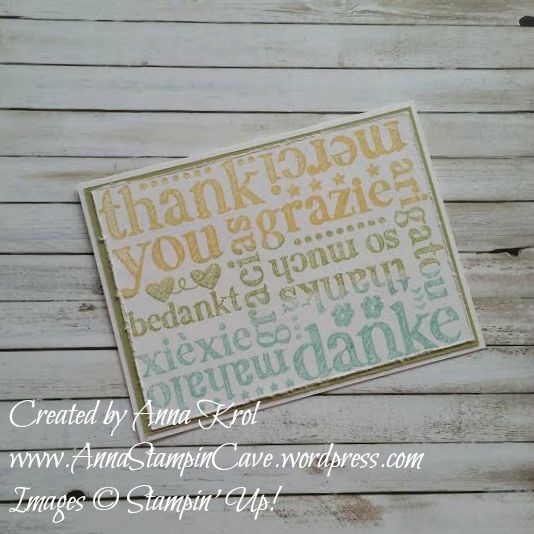
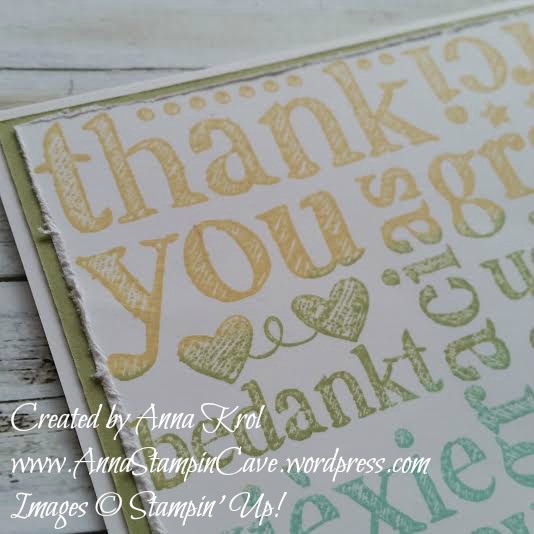
To create my card I’ve used Whisper White for the card base, Pear Pizzaz for the first layer and again Whisper White for stamping. The stamp I’ve used is called A World of Thanks and I love the grungy feel to it.

A-World-of-Thanks-stampin-up

I’ve used 3 different ink colours for my stamping: Daffodil Delight, Pear Pizzazz and Pool Party. I simply dabbed ink pads over the image, pressed the card on top and rubbed it well to make sure all ink was transferred. Next, I distressed the edges with scissors and attached my stamped image to Pear Pizzazz and next to card base.

A-World-of-Thanks-stampin-up

Now I would love to hear from you. Do you like my take on the sketch?

Now, be sure to hop along and see more inspiring projects. Your next stop is Karen’s blog  go and see what she has made for you.

Thank you for stopping by and have a blessed day!

SSSC Previous   SSSC Next Blog