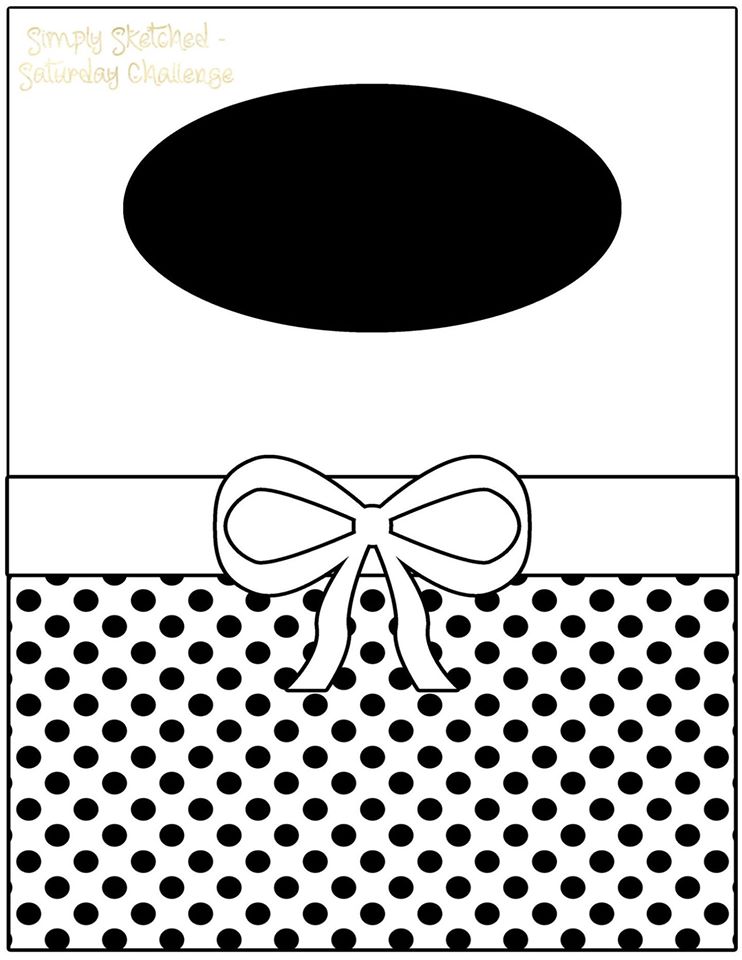
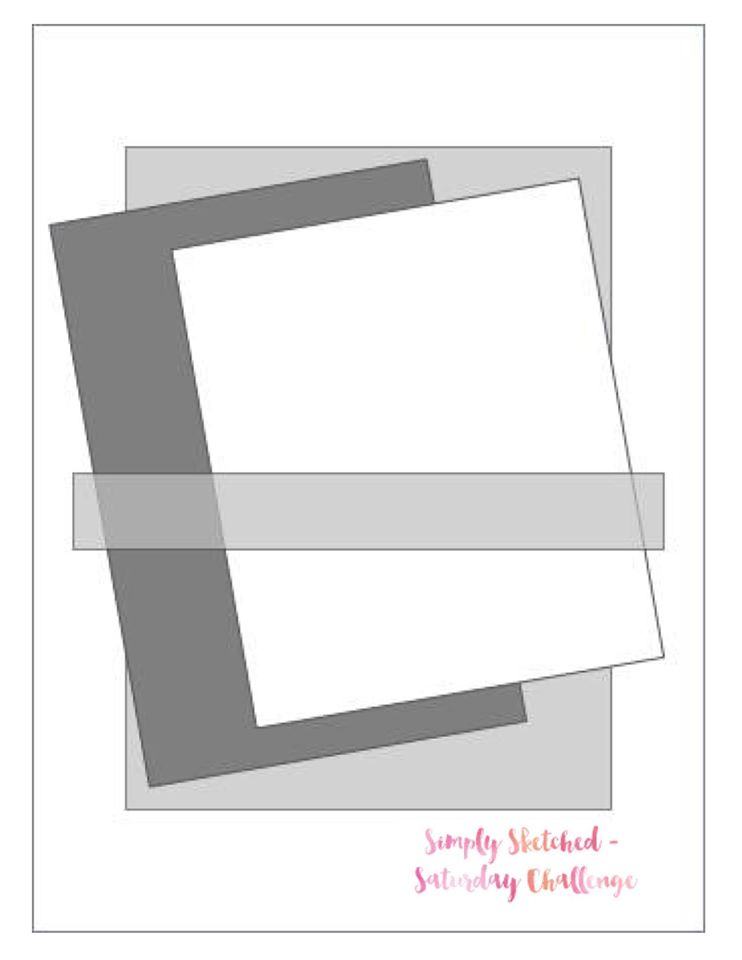
Thank you for joining us for another Simply Sketched Saturday Challenge! We’re so excited to be sharing this hop with you. The products used are all available in the current Annual, or seasonal, Stampin’ Up!® Catalogues*. Simply use the buttons at the bottom of the post to keep hopping!
Today’s sketch was designed by very talented Debbie who sadly couldn’t take a part in Hop today. But we’re all hoping she’ll be back with us soon. I also wanted to wish a very Happy Birthday to Sam from Sam’s Crafty Things as she’s celebrating today! Happy Birthday, Sam, have a good one!
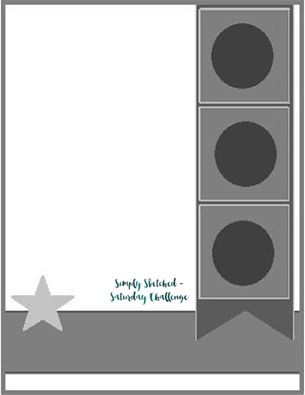
But now let’s get back to the sketch.

My card for today is pretty simple and created using few favourites from Annual Catalogue. As Valentine’s Day is just one day apart I wanted to create something in this theme. I’ve made this card purely with my husband in mind. He is my partner and best friend. He is my person. He is a true blessing in my life.
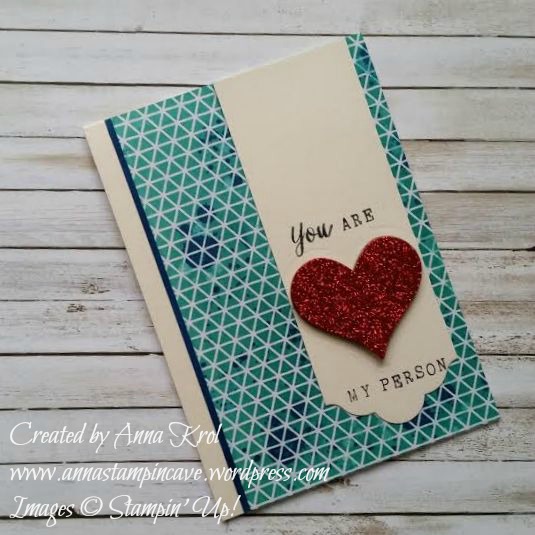
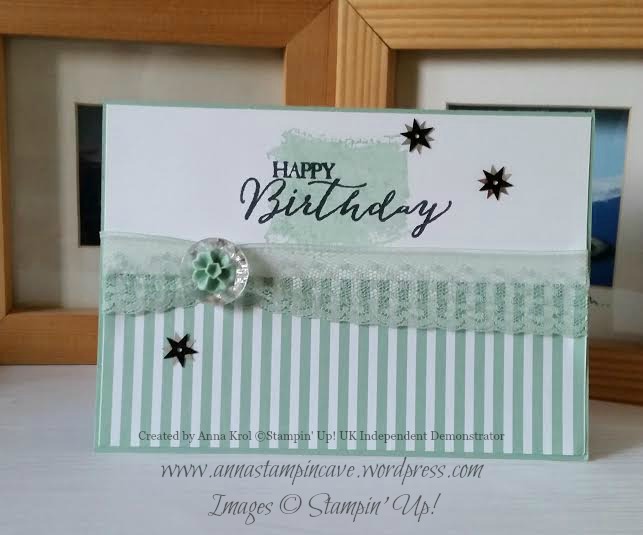
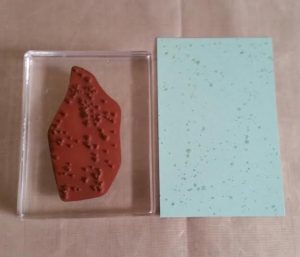
The base of my card is standard A6 in Very Vanilla. For the background, I chose Colour Me Irresistible Specialty DSP. I love this paper! Each pack contains 6 white sheets and 6 other colours sheets (one of each colour). And each sheet has a subtle embossing in various designs. For my card, I decided to use a white sheet with the geometrical design.
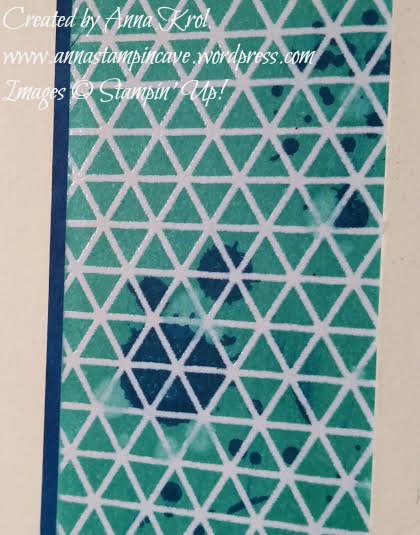
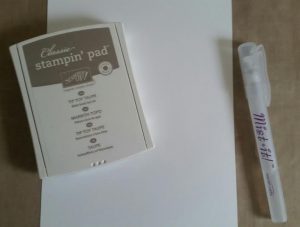
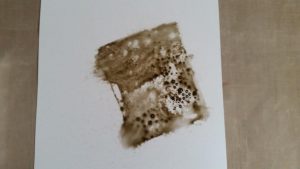
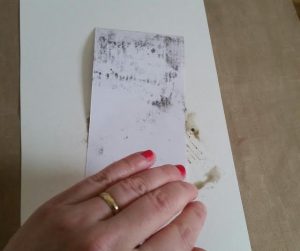
To add colour to my background I’ve used a brayer. I bought it recently (finally) and it was the perfect occasion to open it and have fun adding colour. It’s so easy! The ink I’ve used is Bermuda Bay. When I was happy with my background I decided to add some twist to it. First I sprinkled few water droplets on top to lift some of the colour. Next, I stamped few splotches from Gorgeous Grunge. For this. I’ve used Pacific Point. I trimmed my piece so once adhered to the base I would have nice, clean border. I also added a tiny strip of Pacific Point cardstock.
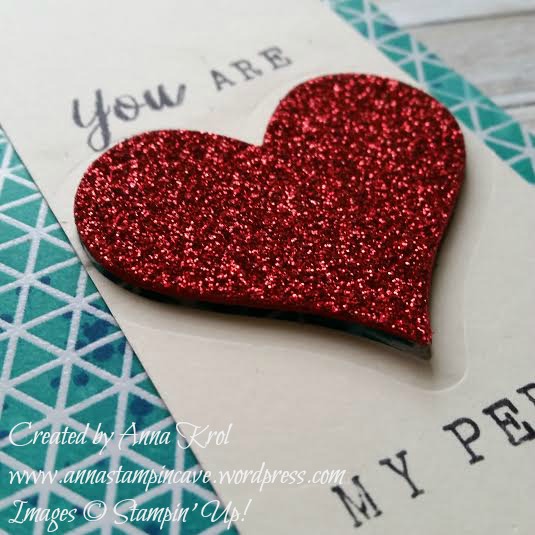
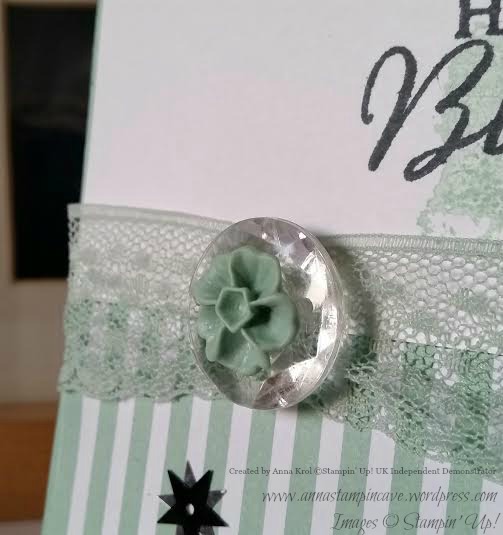
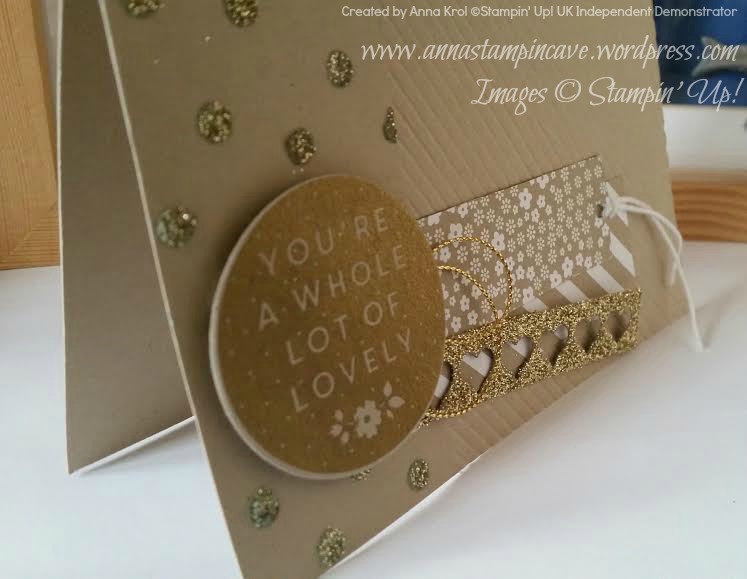
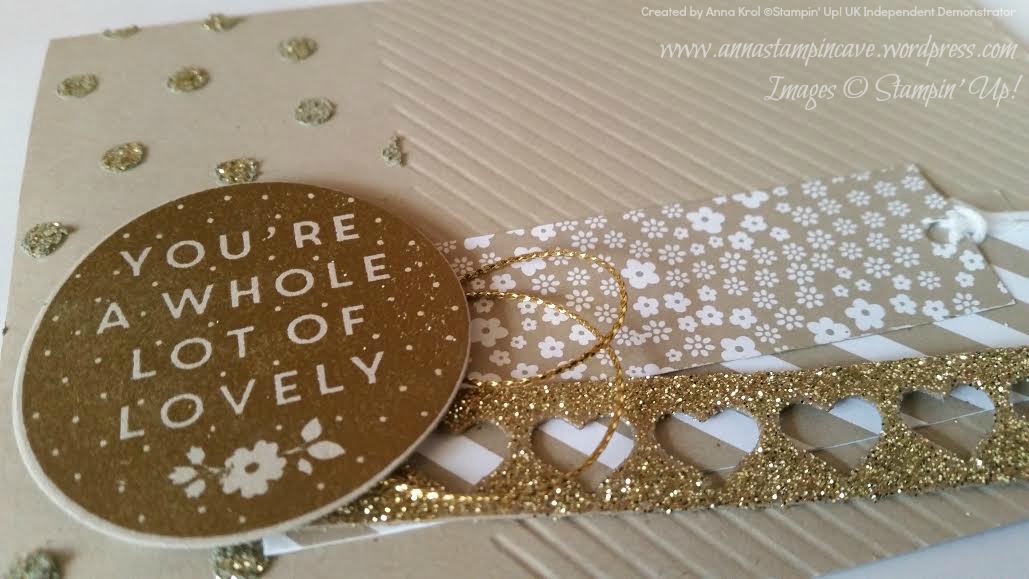
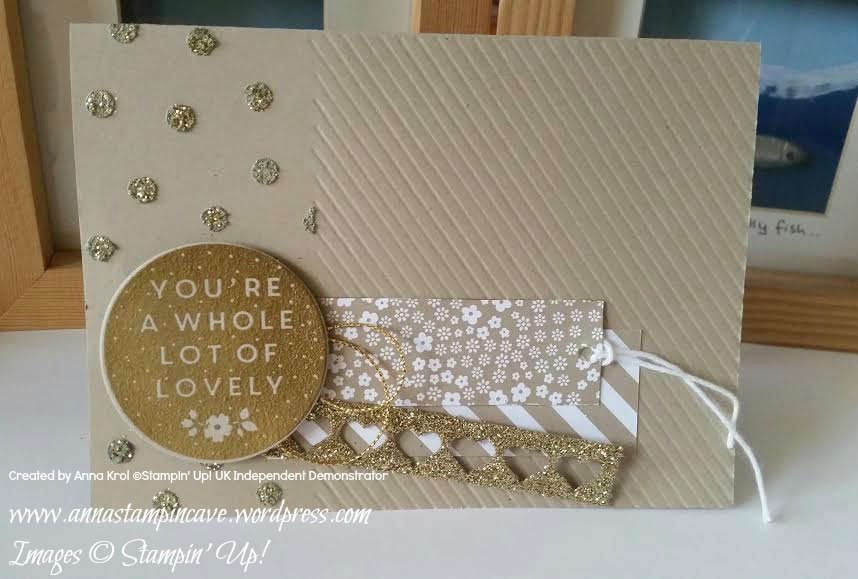
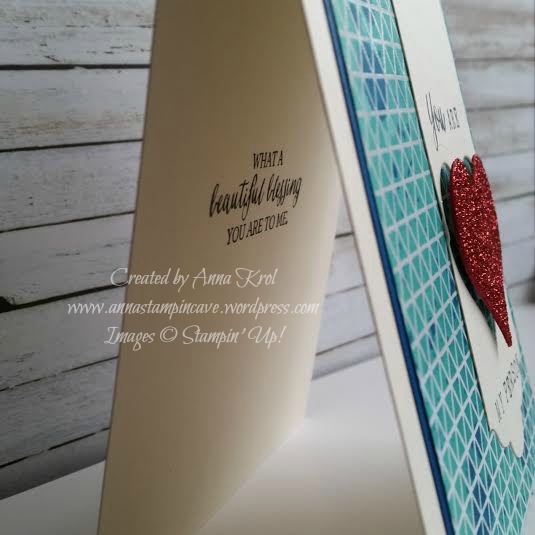
Next, I created the banner. I took a piece of Very Vanilla that measures 2 x 5-6/8″. To create this elegant edge I’ve used 3rd biggest of Lots Of Labels framelits dies. I die-cut a heart from Mini Treat Bag Thinlits Dies. And die-cut it twice: once from my banner and the second one from Red Glimmer Paper. I glued these two hearts together and traced the edge with Real Red Stampin’ Marker. Before I put my card together I stamped the sentiment. Word “you” comes from Rose Wonder stamp set. It’s actually “Thank You” sentiment, but it was very easy to ink just that one word. To create the rest of my sentiment I’ve used Alphabet Rotary Stamp. Oh, wish Stampin’ Up! had “You are my person” sentiment in their offering. It’s such a beautiful thing to say. Not only to your partner but also to a friend. I stamped inside of my card as well.

Now was the time to put the card together. I adhered the background and a strip of Pacific Point cardstock using Tombow glue to make sure it will hold the paper really well. I added the banner with snail adhesive and I popped my glittery heart with dimensionals.
And what do you think? Do you like my card? Please let me know in the comments below. I would love to hear from you.
Now, be sure to hop along and see more inspiring projects. Your next stop is lovely Karen – go and see what she has made using our cute sketch. It’s her first blog hop with us, so please show her some love.
Thank you for stopping by and have a blessed day!