![]()
Thank you for joining us on another Pinkies Blog Hop! We’re showcasing lots of gorgeous projects using products from the new Stampin’ Up!® Annual Catalogue. Simply use the buttons at the end of each post to keep hopping!
If you have arrived here from Alexandra, a big welcome to you and thank you for stopping by. I hope you enjoy seeing all these beautiful projects and inspirations.
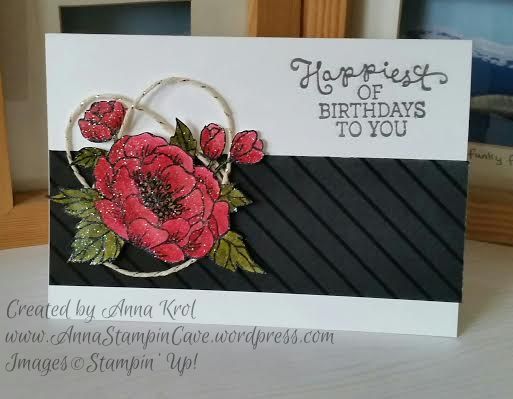
The products used today are products that we have been able to pre-order earlier this month (one of the perks of being a demonstrator). In my projects, I decided to showcase gorgeous Layering Love stamp set. And of course our beautiful new In Colours for 2016-2018:
- Dapper Denim
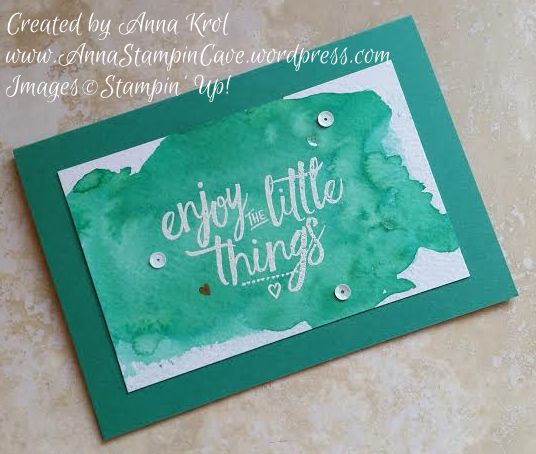
- Emerald Envy
- Flirty Flamingo
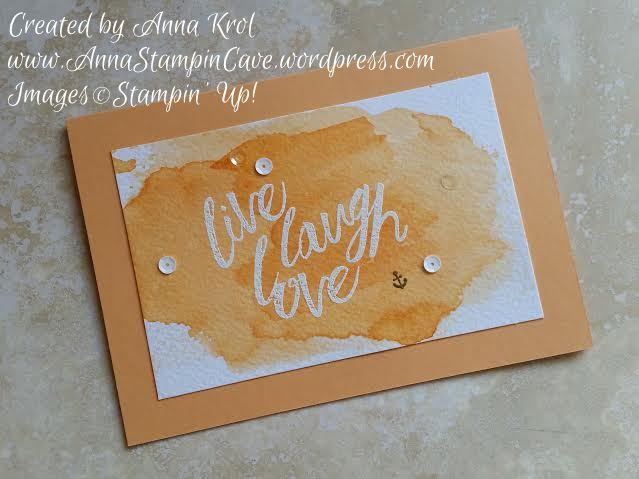
- Peekaboo Peach
- Sweet Sugarplum
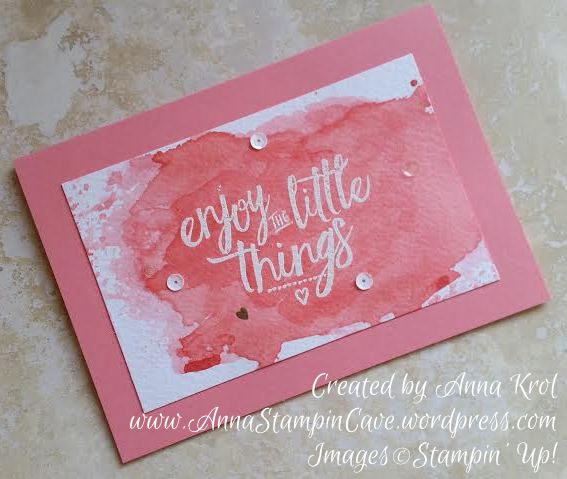
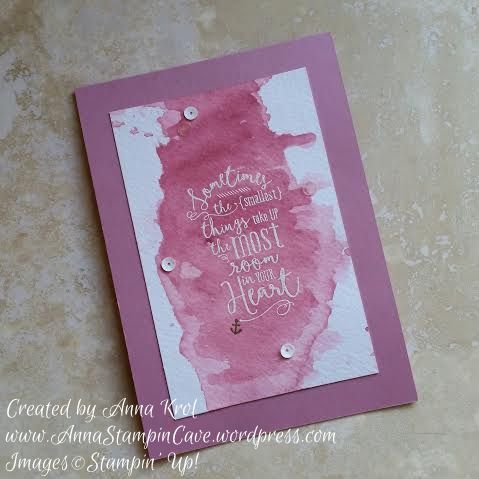
When I saw this stamps set I immediately fell in love. Beautiful, bold fonts – they were just screaming for watercolour 🙂
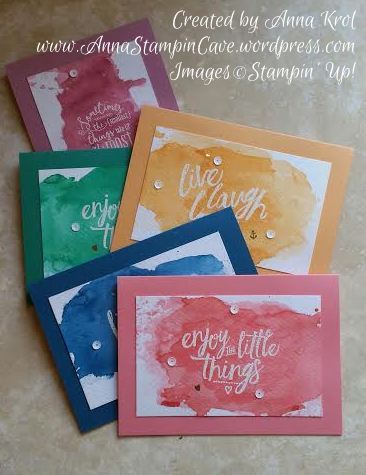
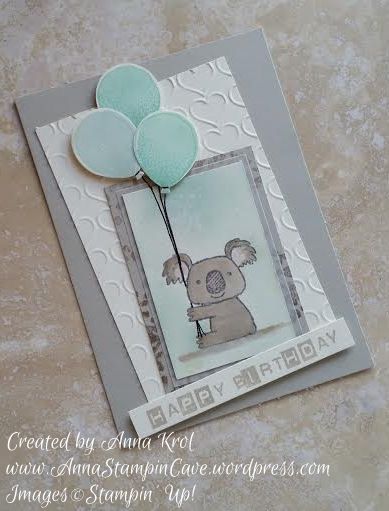
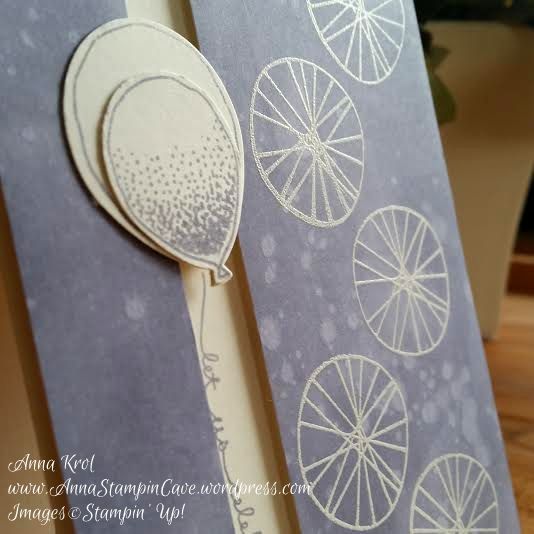
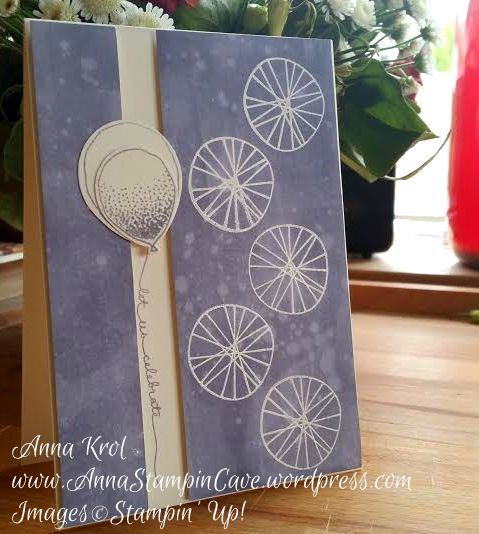
I created five cards: each one in one of the new In Colours. The technique I’ve used is called watercolour wash and there are many ways/schools to achieve the effect. I personally love to squash my ink pads into the stampin’ block, spritz it with water and then “stamp” it on my watercolour paper. You can use aqua painter to help move colour around.

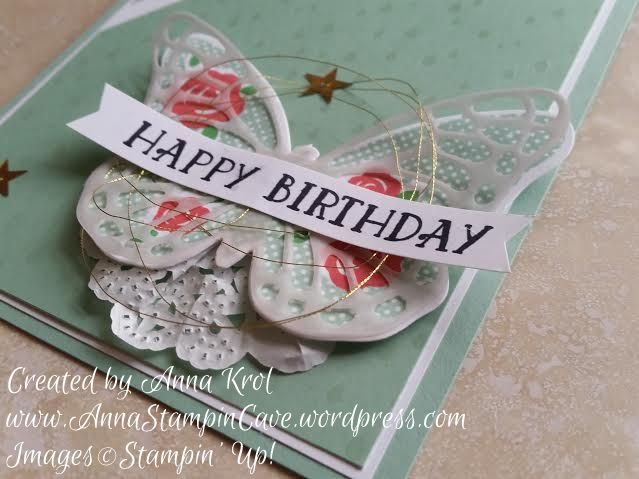
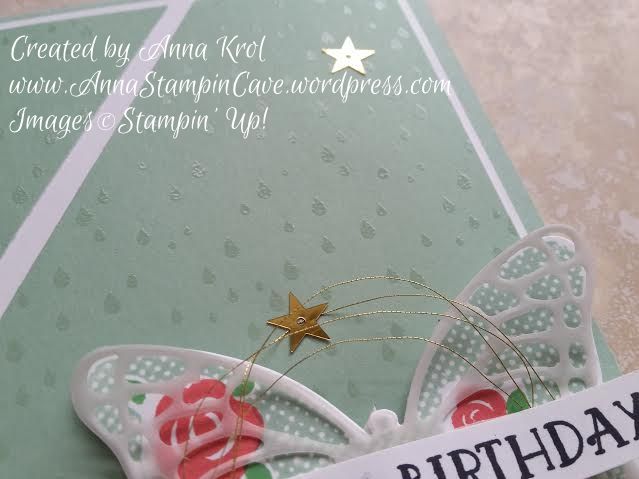
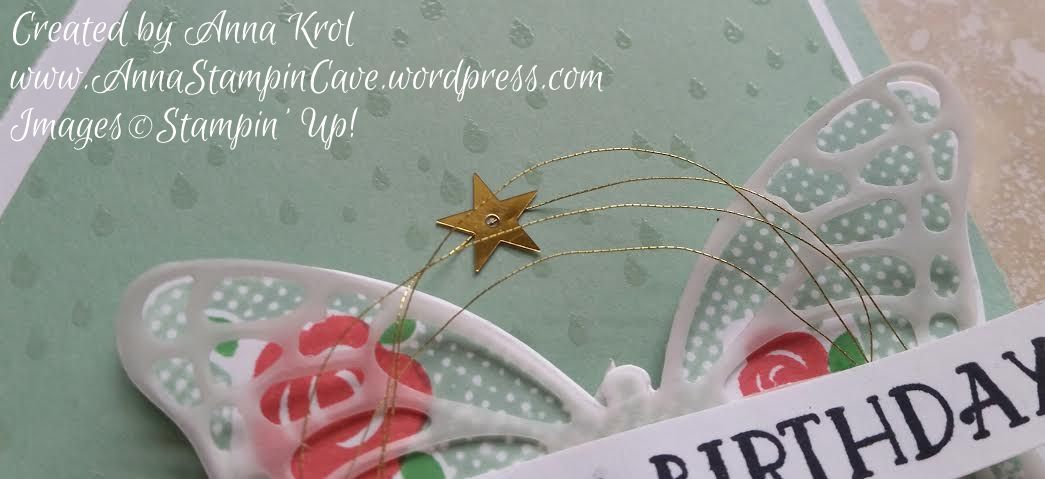
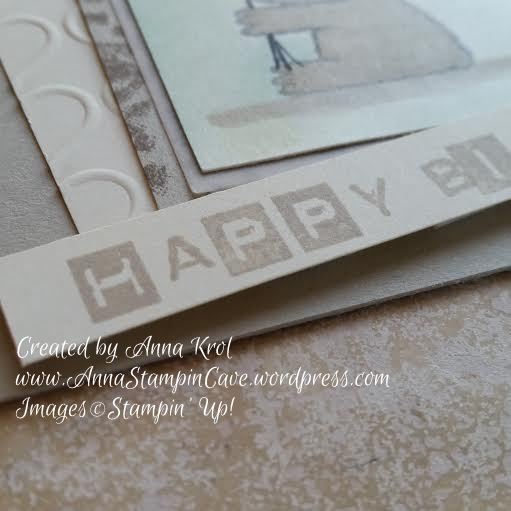
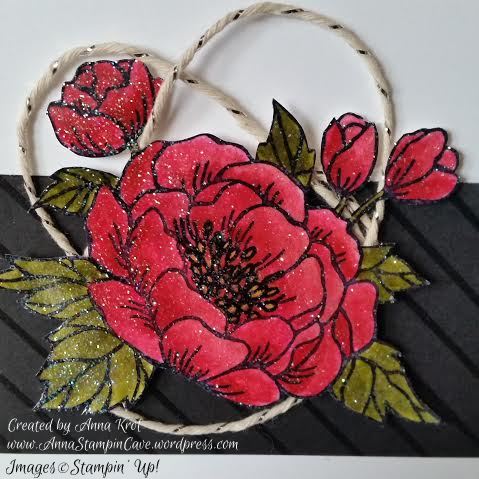
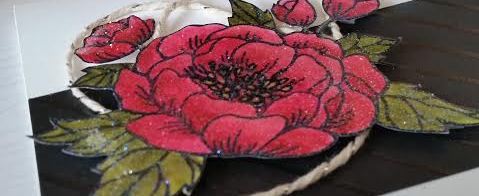
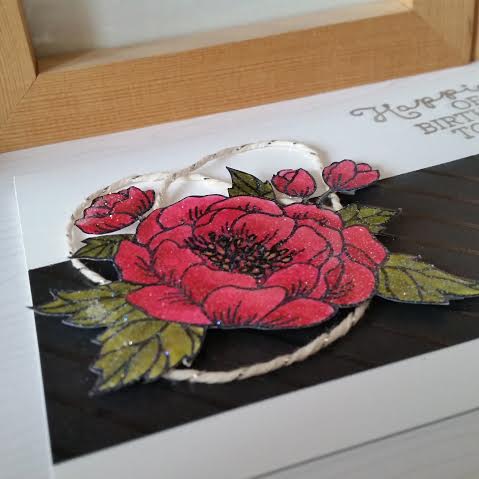
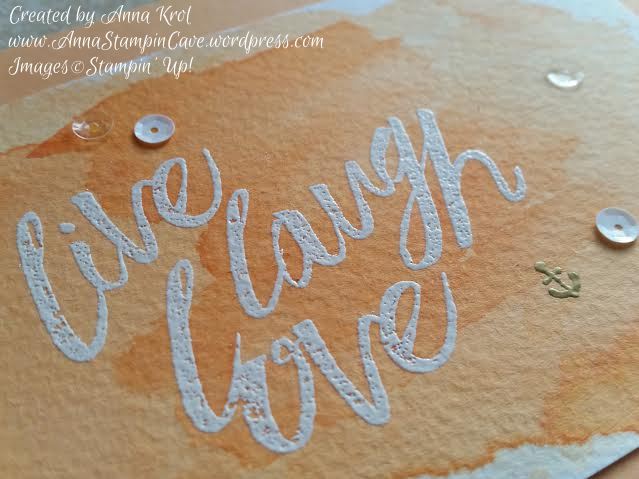
When my backgrounds were dry I stamped my sentiments in Versamark (don’t forget to use embossing buddy first) and heat embossed them in white. Next, I added small heart and anchor images from the same stamp set and heat embossed them in gold. To add some more texture to my cards I used Metallics Sequin Assortment. Fine-Tip Glue Pen came in handy with these.
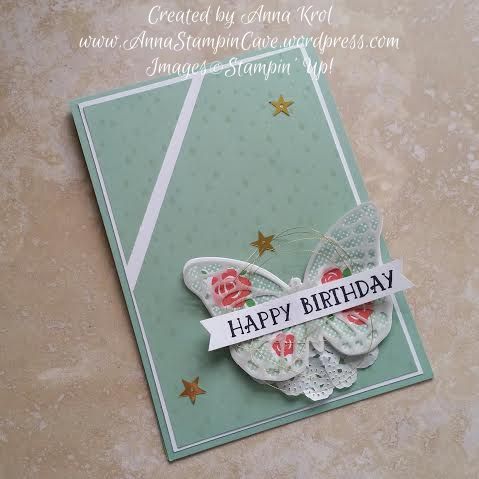
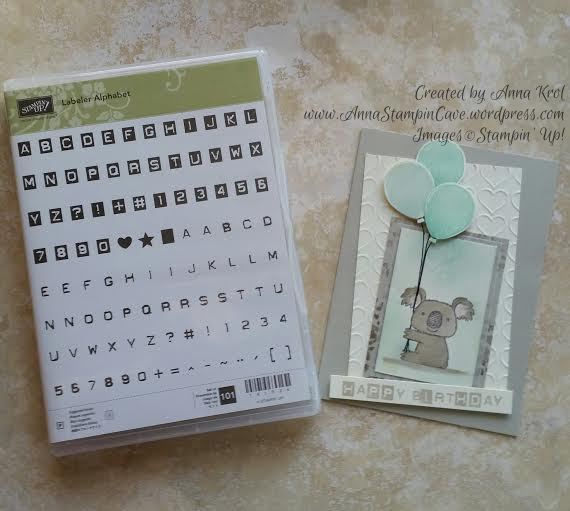
To assemble my cards I cut 5 card bases, one of each new In Colour, and adhered my watercolour panels using snail adhesive. Here’re all five cards:
I truly hope you enjoyed coming to my blog and see my cards.
Now, be sure to hop along and see more inspiring projects. Your next stop is lovely Swathi – go and see what she has made using the new products.
Thank you for stopping by and have a blessed day