Anna’ Stampin’ Cave – Stampin’ Dreams August Blog Hop

Welcome to our monthly blog hop! And today we have a real treat for you: a sneak peek of products from Stampin’ Up!®Autumn Winter Catalogue (also called a Holiday Catalog in other parts of the world). You are currently visiting Anna (me) and my Stampin’ Cave, up here in the UK. I hope you’ll enjoy coming to my blog today.
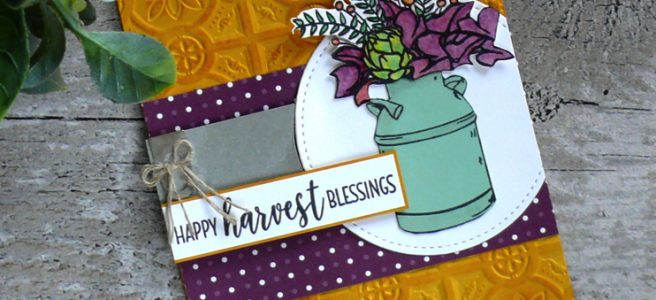
For today’s blog hop I decided to use products from one of my favourite suites from the catalogue, called Country Lane. Isn’t this bundle amazing!?
And here’s my card.
I’ve used Crushed Curry for the base.
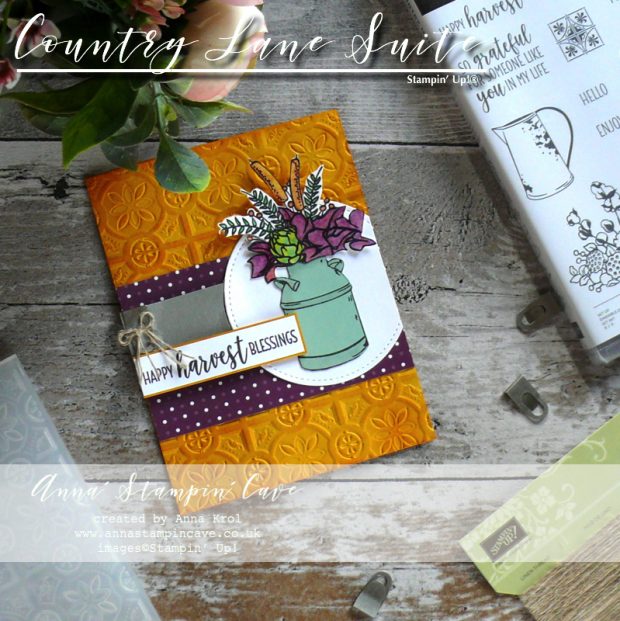
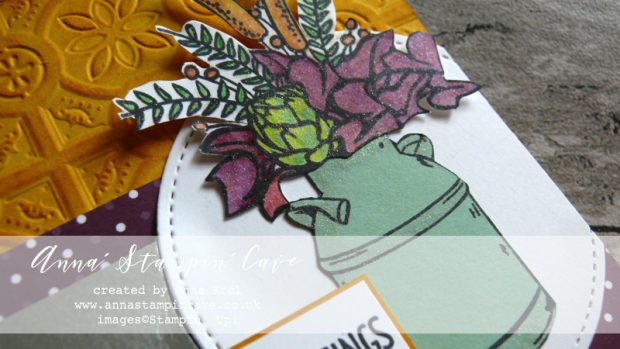
To create this card, first, I run card front through the Big Shot with brand new Tin Tile Dynamic Textured Impressions Embossing Folder. To bring out the beautiful detail of this folder, I used one of Stamping Sponges and a Crushed Curry ink pad and sponged the surface to add more dimension.
Watercolour Pencils Assortment 2
Next, I stamped my images: the milk can on a scrap of Mint Macaron cardstock, and flowers on a piece of Whisper White.
To colour in the flowers I’ve brand new Watercolour Pencils Assortment 2 and also added some shimmer to them with Clear Wink of Stella.
These pencils are available for purchase this month only as a part of Colour Your Seasons promotion (but we’ve heard they may come back in a future catalogue).
Fussy cutting
For the focal composition, I fussy cut the flowers and milk can. Next, I cut a piece of Country Lane DSP (with Blackberry Bliss polka dot design) and mount it flat on my card base.
I die-cut the biggest of four circles from Stitched Frames Framelits Dies from a Whisper White cardstock, cut off a slice and adhered it to patterned paper with a straight edge to the right.
Galvanized
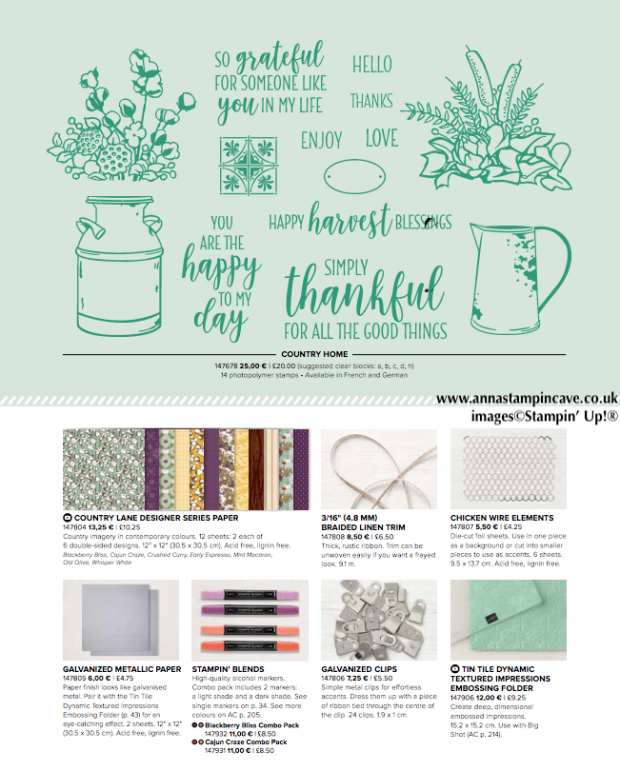
There was one product or I should rather say a family of products that I was especially happy about – new ‘galvanized line. Galvanized Clips and Galvanized Buttons will soon join our embellishment assortment. But we will also have a new paper in our speciality papers assortment – Galvanised Metallic Paper. It’s just gorgeous in a real life and most importantly it’s double-sided!! Yay! I just had to use it
So I took a 1″ strip of Galvanised Metallic Paper, lay it flat over the card front, marked where the circle begins and using paper snips I cut out the concave shape. I slide in one of the Galvanised Clips to the edge of my strip. A tiny bow created using Linen Thread adds to the rustic theme of the card. I adhered it, to the left from the stitched circle, using dimensionals.

To finish assembling the card, I mounted my fussy-cut elements in the middle of a Whisper White circle. I’ve used liquid glue for the can and dimensionals for the flowers.
I stamped ‘Happy Harvest Blessings’ on a piece of Whisper White cardstock, cut it to the thin strip backed it with a piece of Crushed Curry and adhered it to the card just below the galvanized clip.
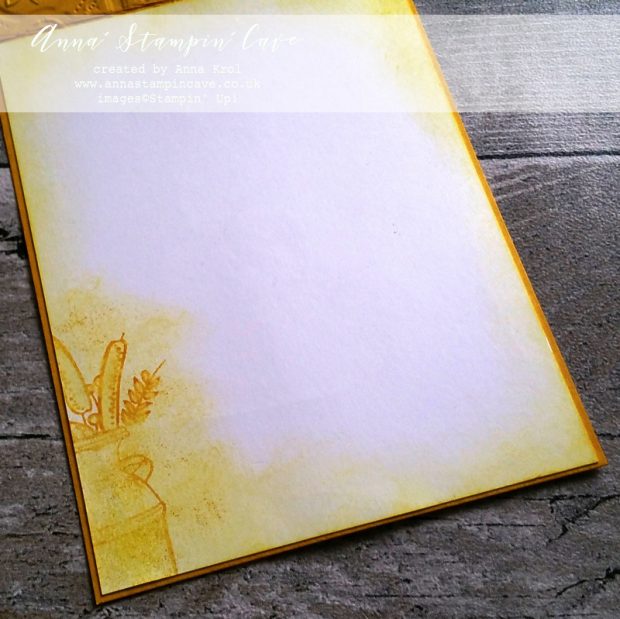
The inside
For the inside of the card, I decided to stamp the milk can and part of the bouquet. I stamped them off first with Crushed Curry ink pad. Using aqua painter I slightly washed out my images and once dry I sponged the inside of the card around all edges.
I really hope you enjoyed visiting my blog today and I would love to encourage you to hop along with us and see the rest of beautiful projects designed by amazing artists. Please be sure to continue to hop using the list below. You don’t want to miss any!
Blog Hop List:
As always, if you wish to purchase any of the products I have used, simply click the images below to go directly to my online store.
HOST CODE for the month of AUGUST is U6KK4ACY. Orders of £50+ (excl. p&p) will receive a pack of Stampin’ Up! Pearlised Doilies!


Shopping List
|
|
|
|
||
|
|
|
|
||
|
|
|
|
|
|
|
|
|
|
|


 Designer Series Paper")


Pin me
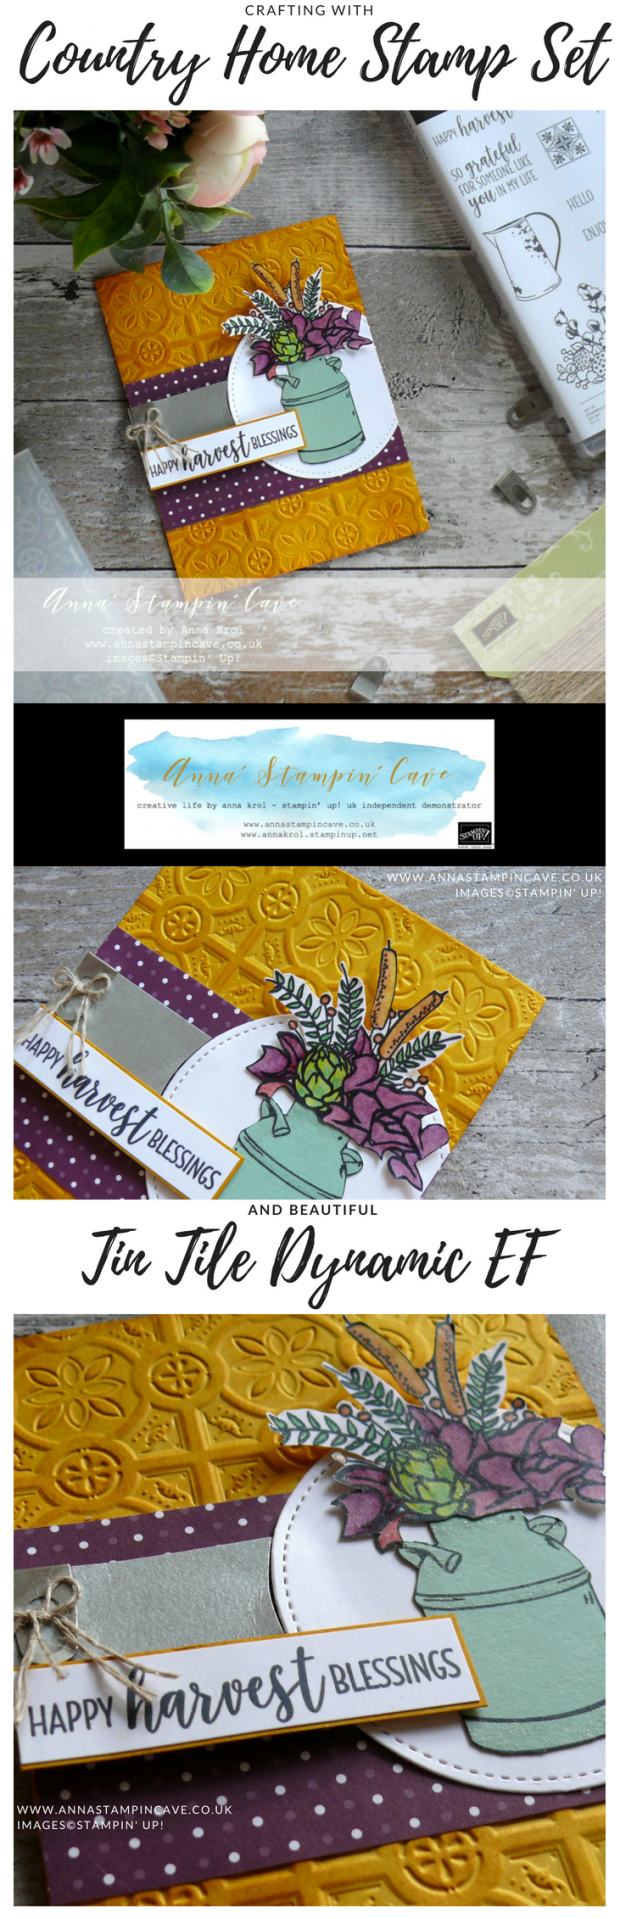
Summary of the project which gives all the views of the card in one photo. I’d love if you pinned and called by on Pinterest xx
Don’t forget to check:
 My exclusive special offer this month only: FREE Stampin’ Up! Pearlised Doilies
How it works…
- Place a product order of £50 or more (excl. shipping) in my online store in the month of August.
- Add Host Code U6KK4ACY. To claim your reward you must include this code in your ordering process.
- This August Special Offer will be applied to all qualifying orders placed through my shop using Host Code U6KK4ACY between 1 August – 31 August.
- If your order is £150 or more do not use Host Code. You will earn your own Host Rewards to spend.
- IMPORTANT: My FREE Special Host Gift giveaways are mailed separately from any order and will arrive mid-September.
Request Autumn/Winter Catalogue
 Earn in August – redeem in September –> click here for more details
All-new, limited-time Colour Your Season products – Products available while supplies last or until 31 August 2018 – order yours today –> click here


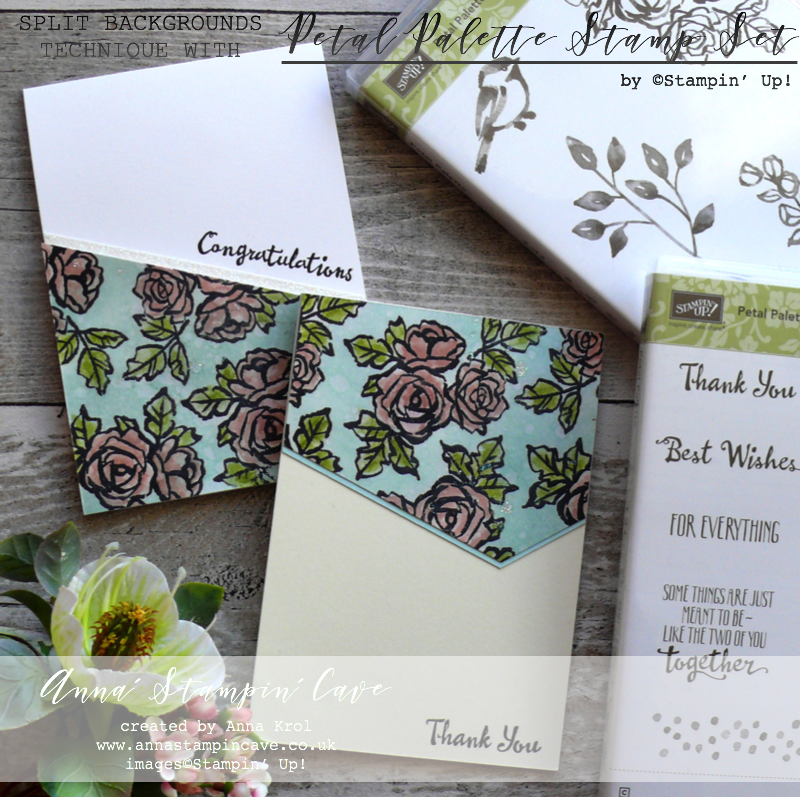
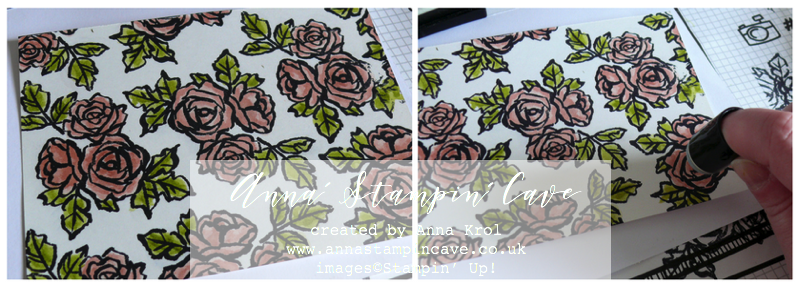
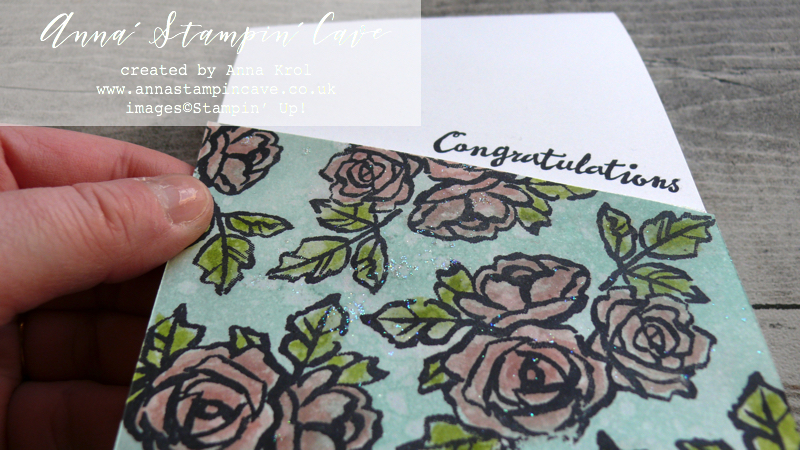
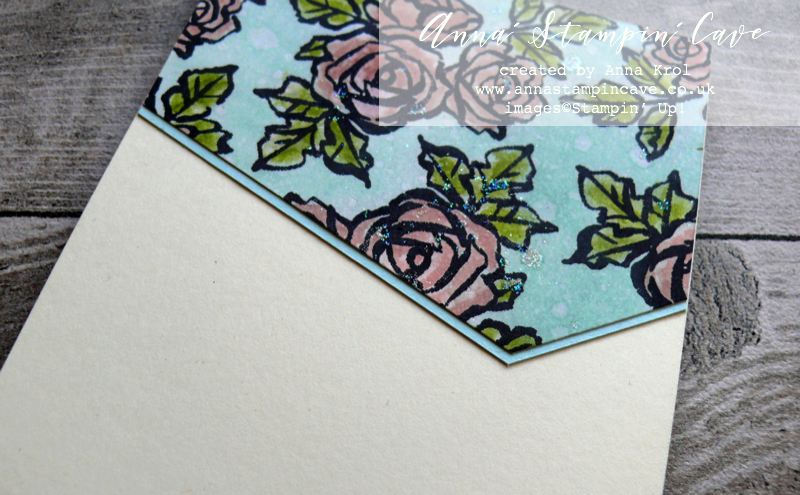
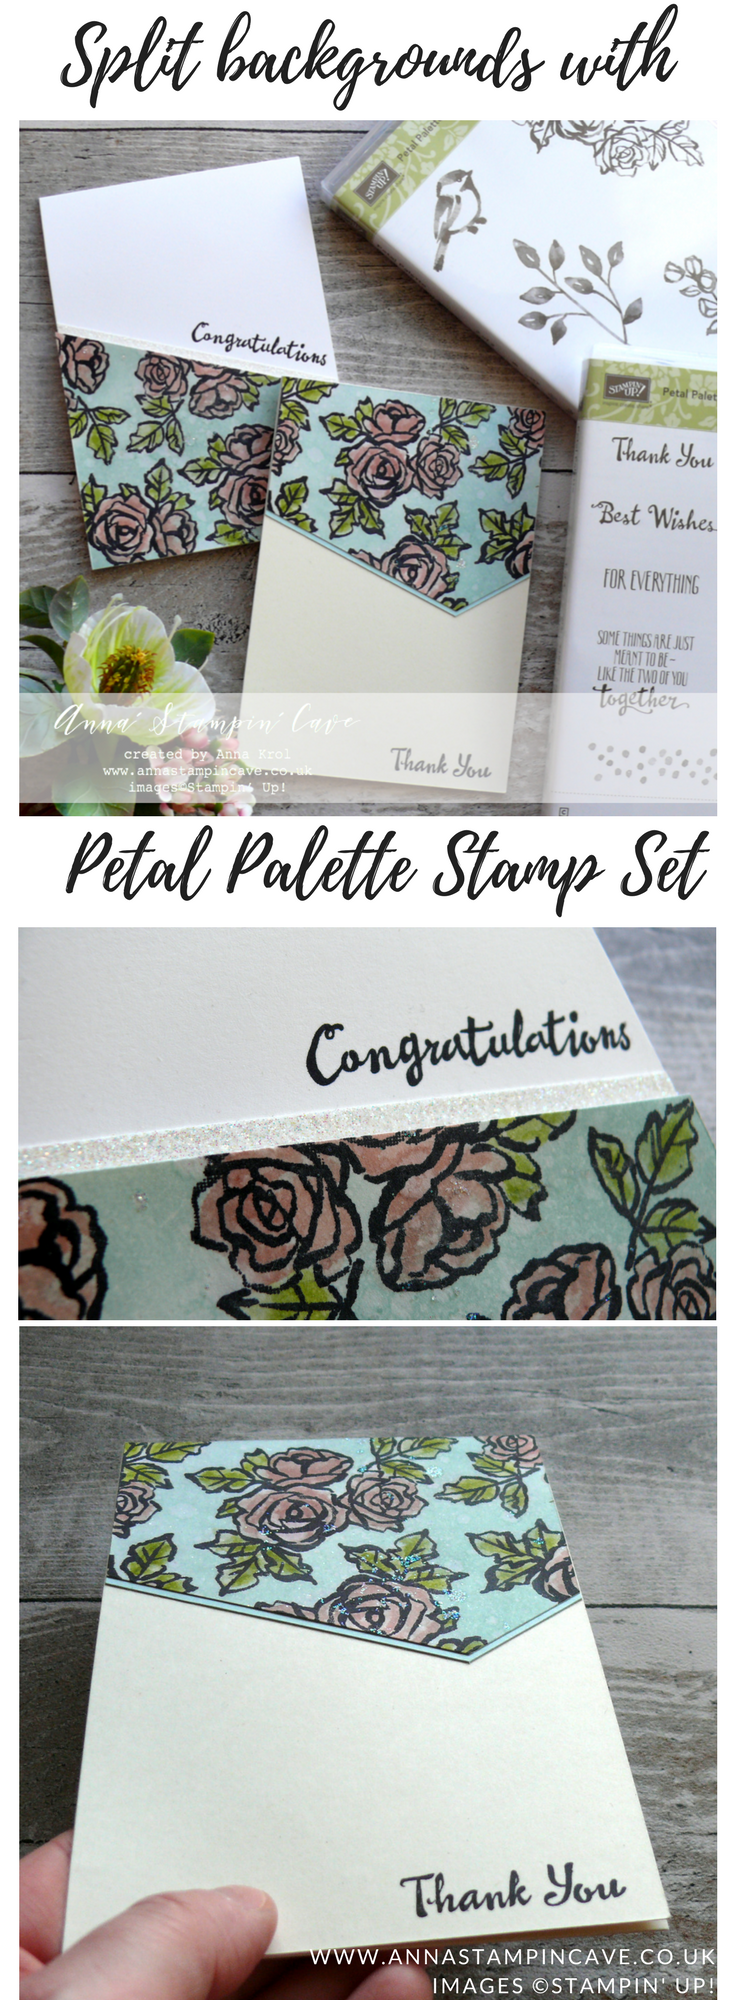
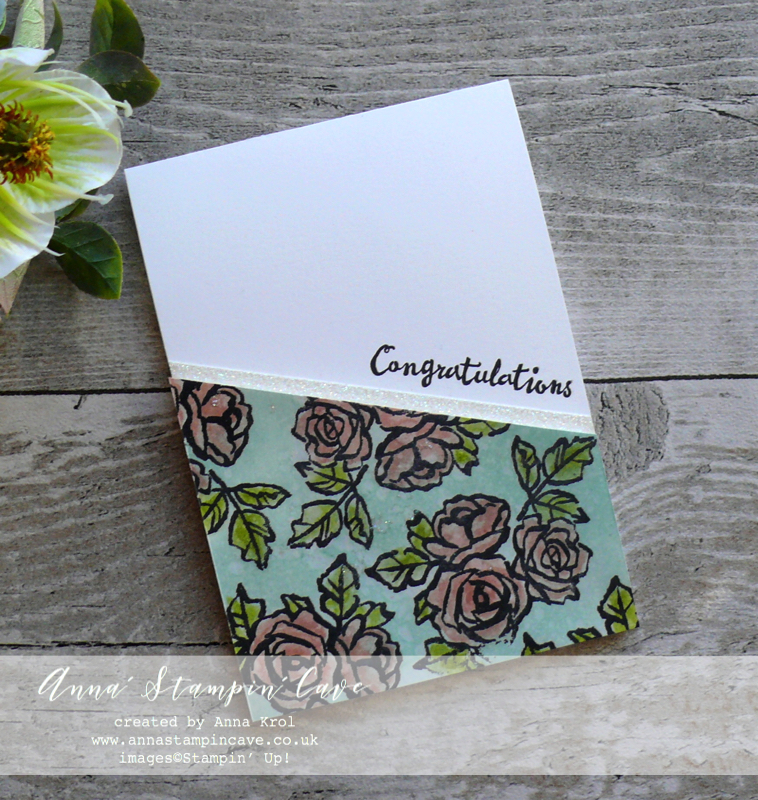 For first card, I decided to mount my diagonal piece at the very bottom of the card. But first, I stamped the sentiment, with help of Stamp-a-ma-jig, in Basic Black Archival ink.
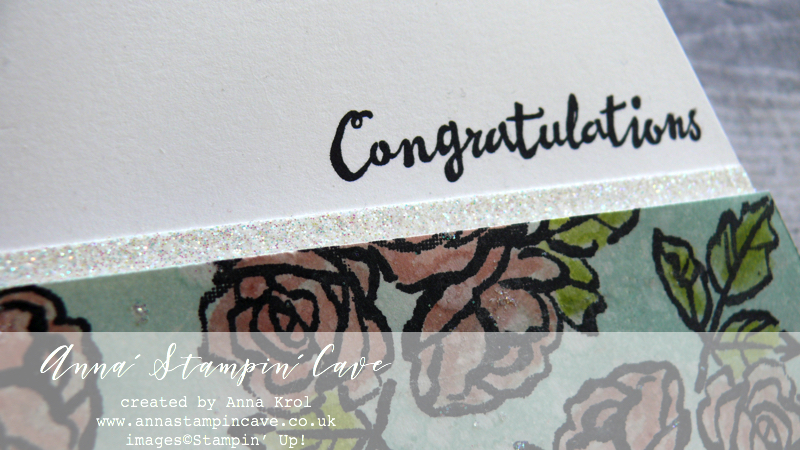
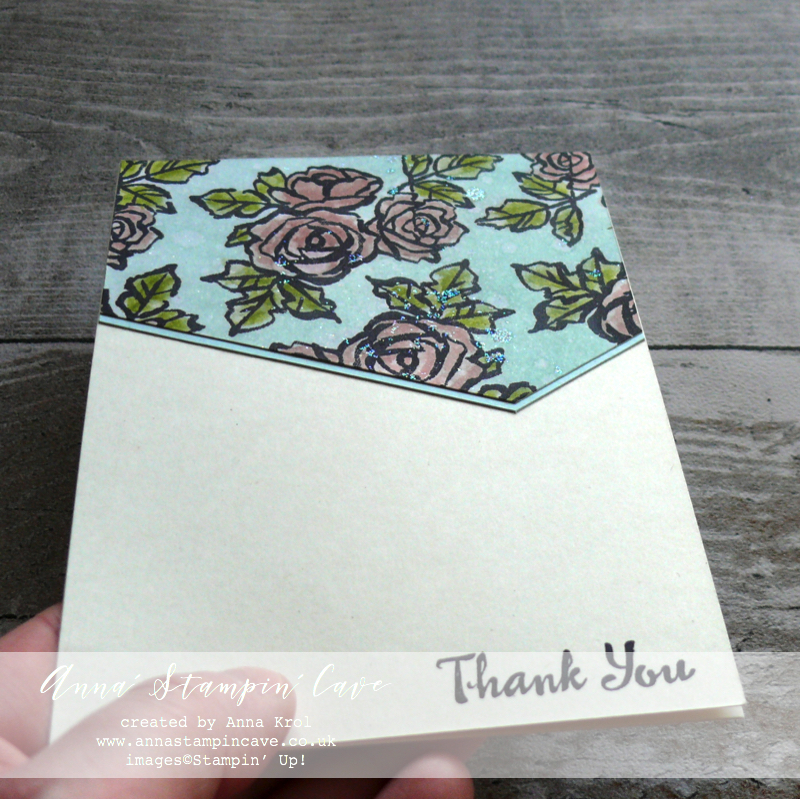
 For the second card’s card base I’ve used Very Vanilla thick cardstock and I tweaked the layout slightly.
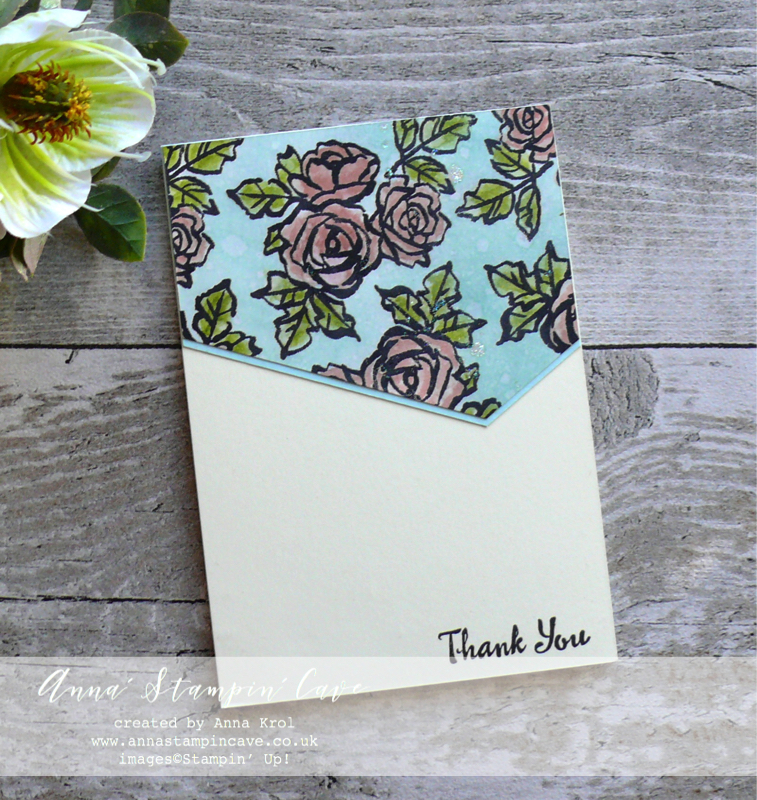


 Organza Ribbon")