Stampin’ Up! Spring Summer Catalogue Paper & Ribbon Shares

Anna’ Stampin’ Cave – Spring Summer Catalogue Paper & Ribbon Shares

Shares are open to Austria, France, Germany, Netherlands & United Kingdom
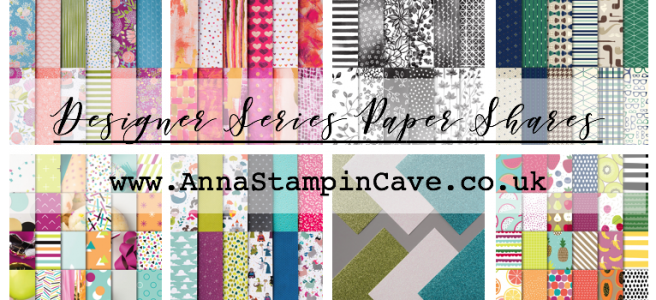
Paper Shares

You will get 1/4 of each pack of Designer Series paper from Spring Summer 2018 Catalogue:

  • 12 6×6″ sheets (2 of each design) of Sweet Soirée Specialty DSP
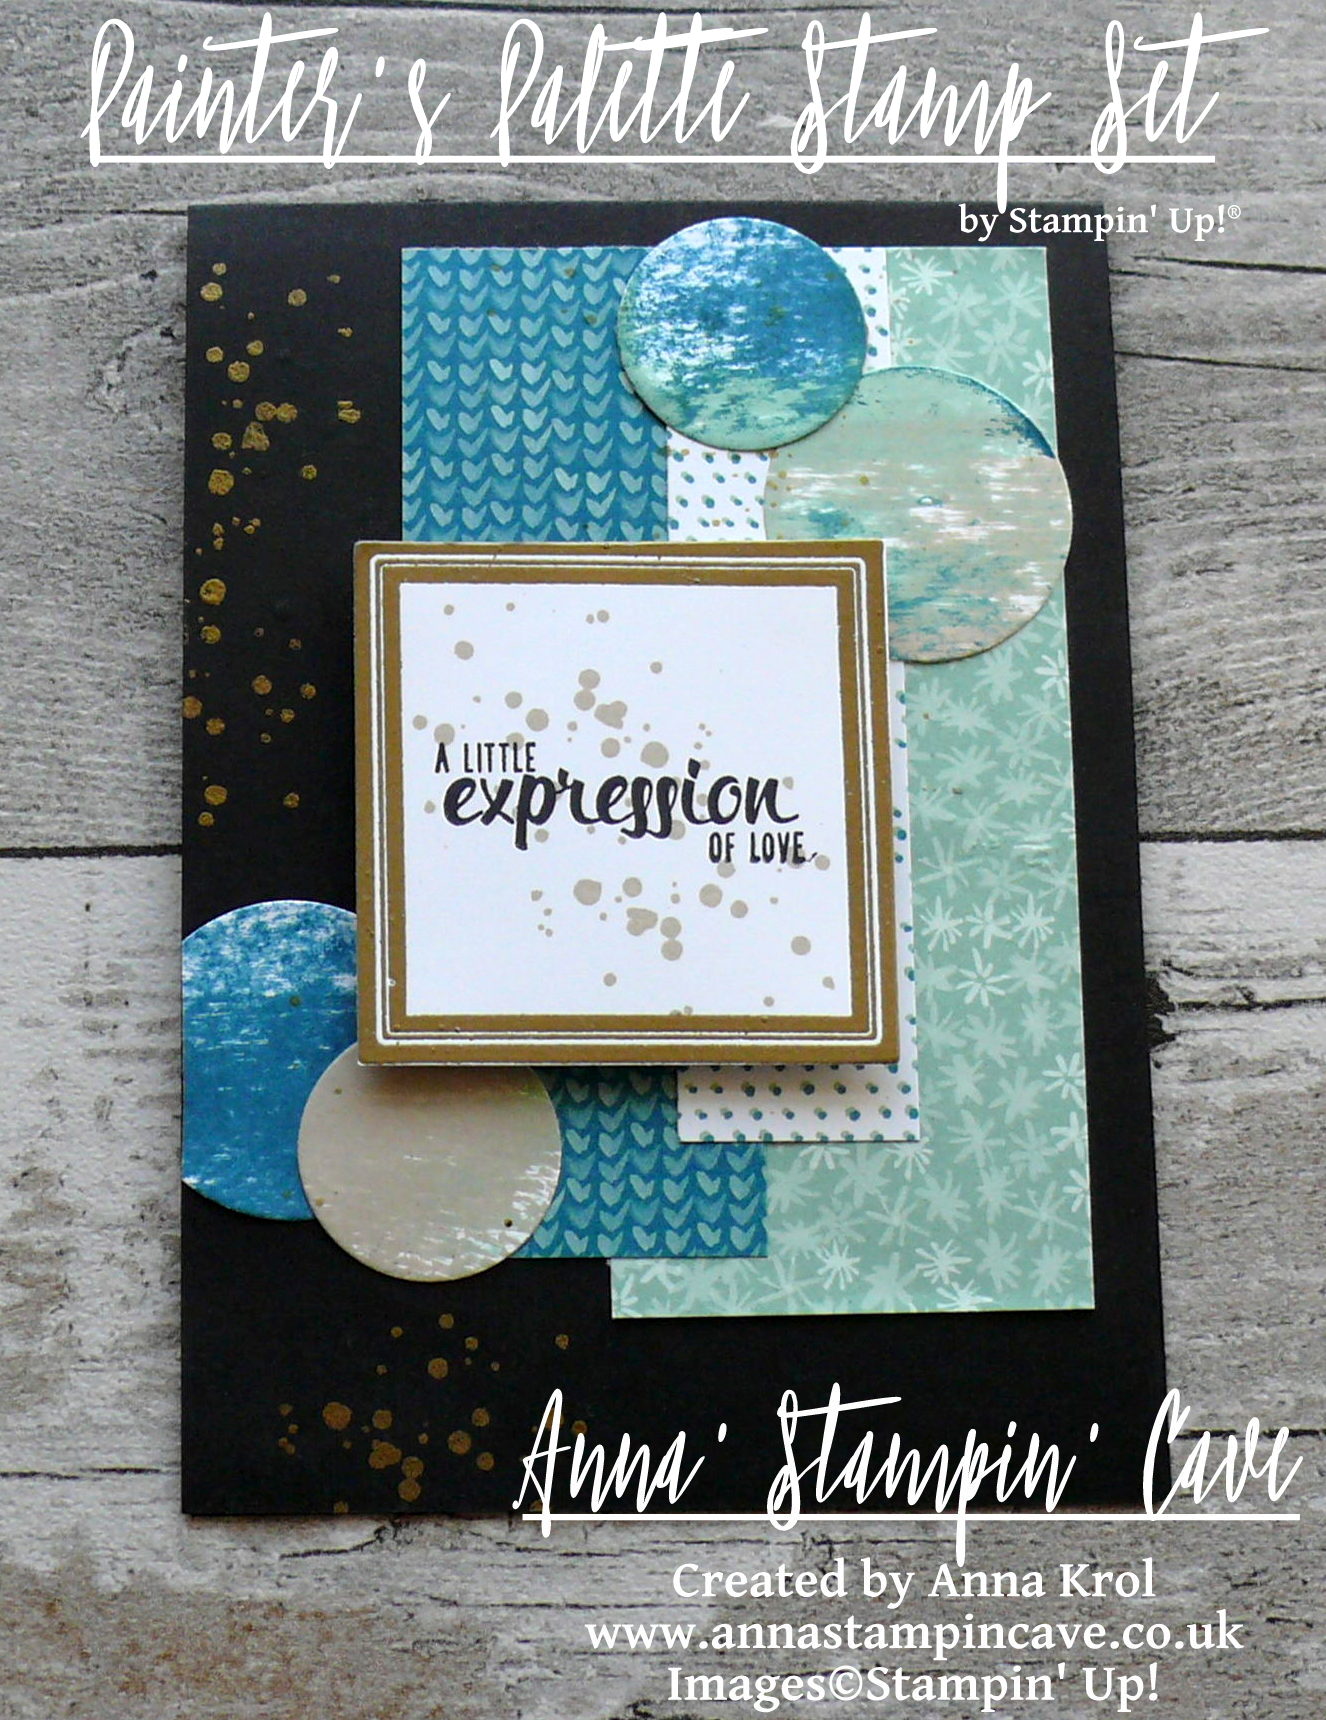
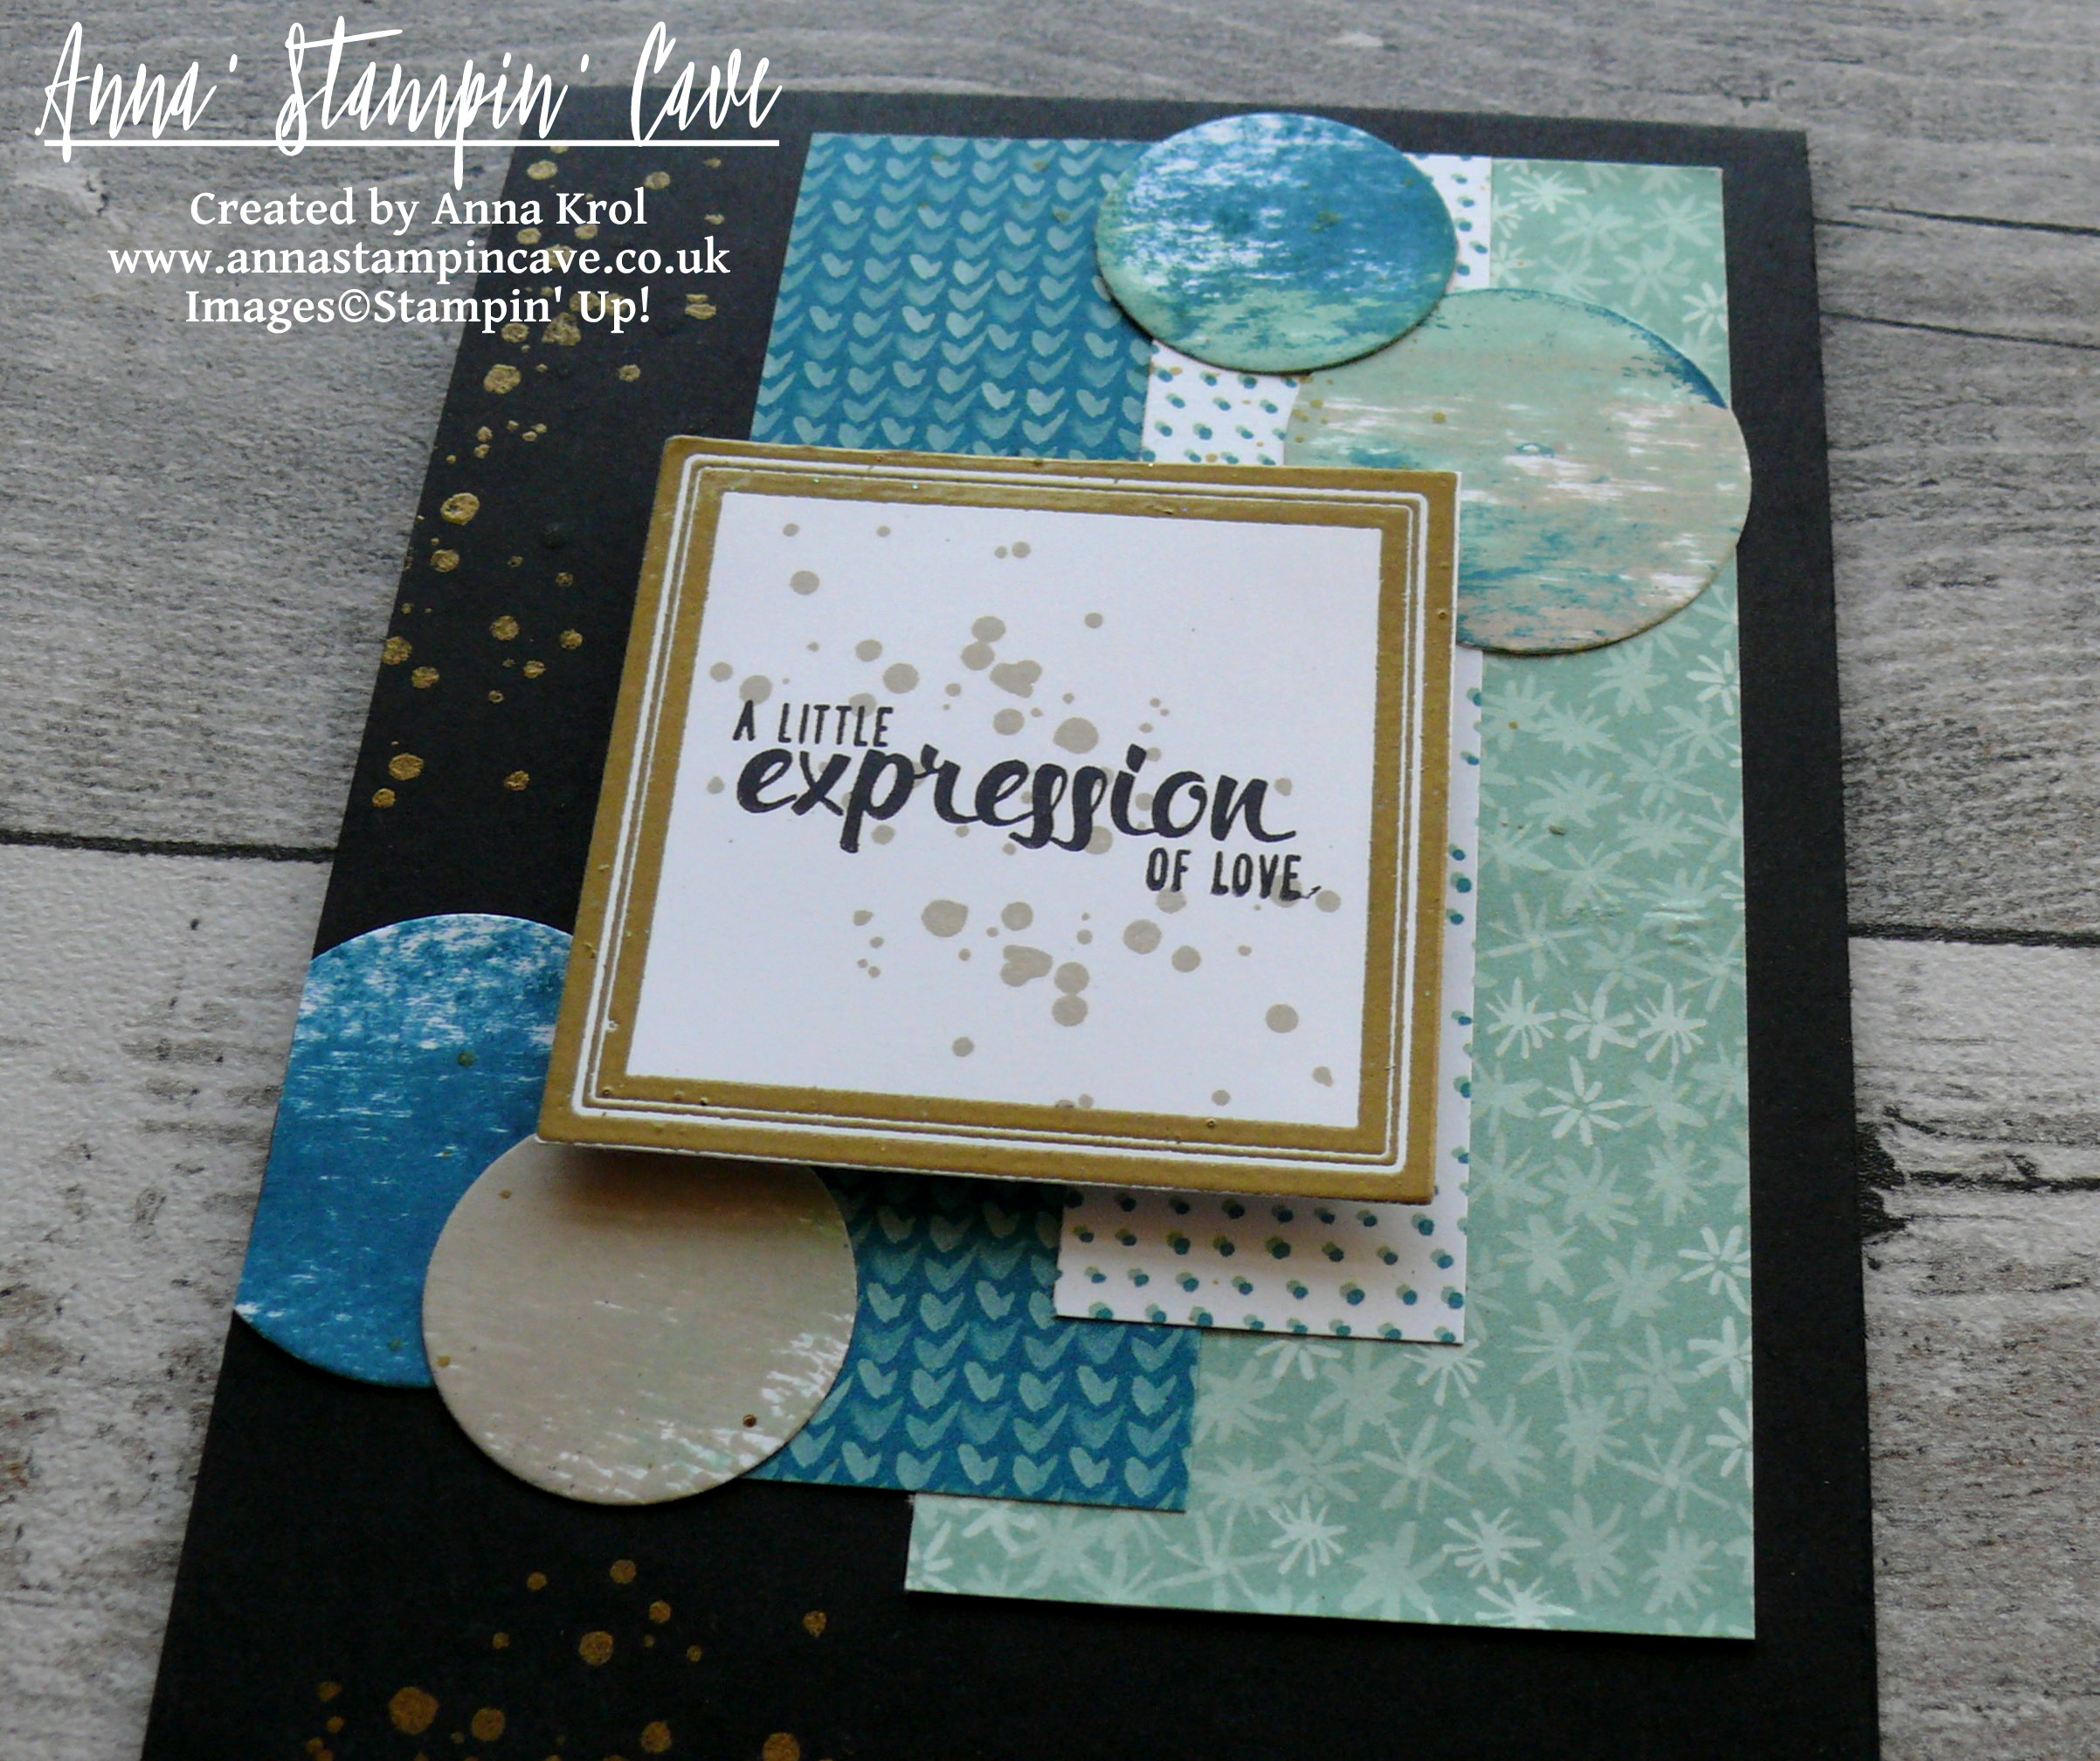
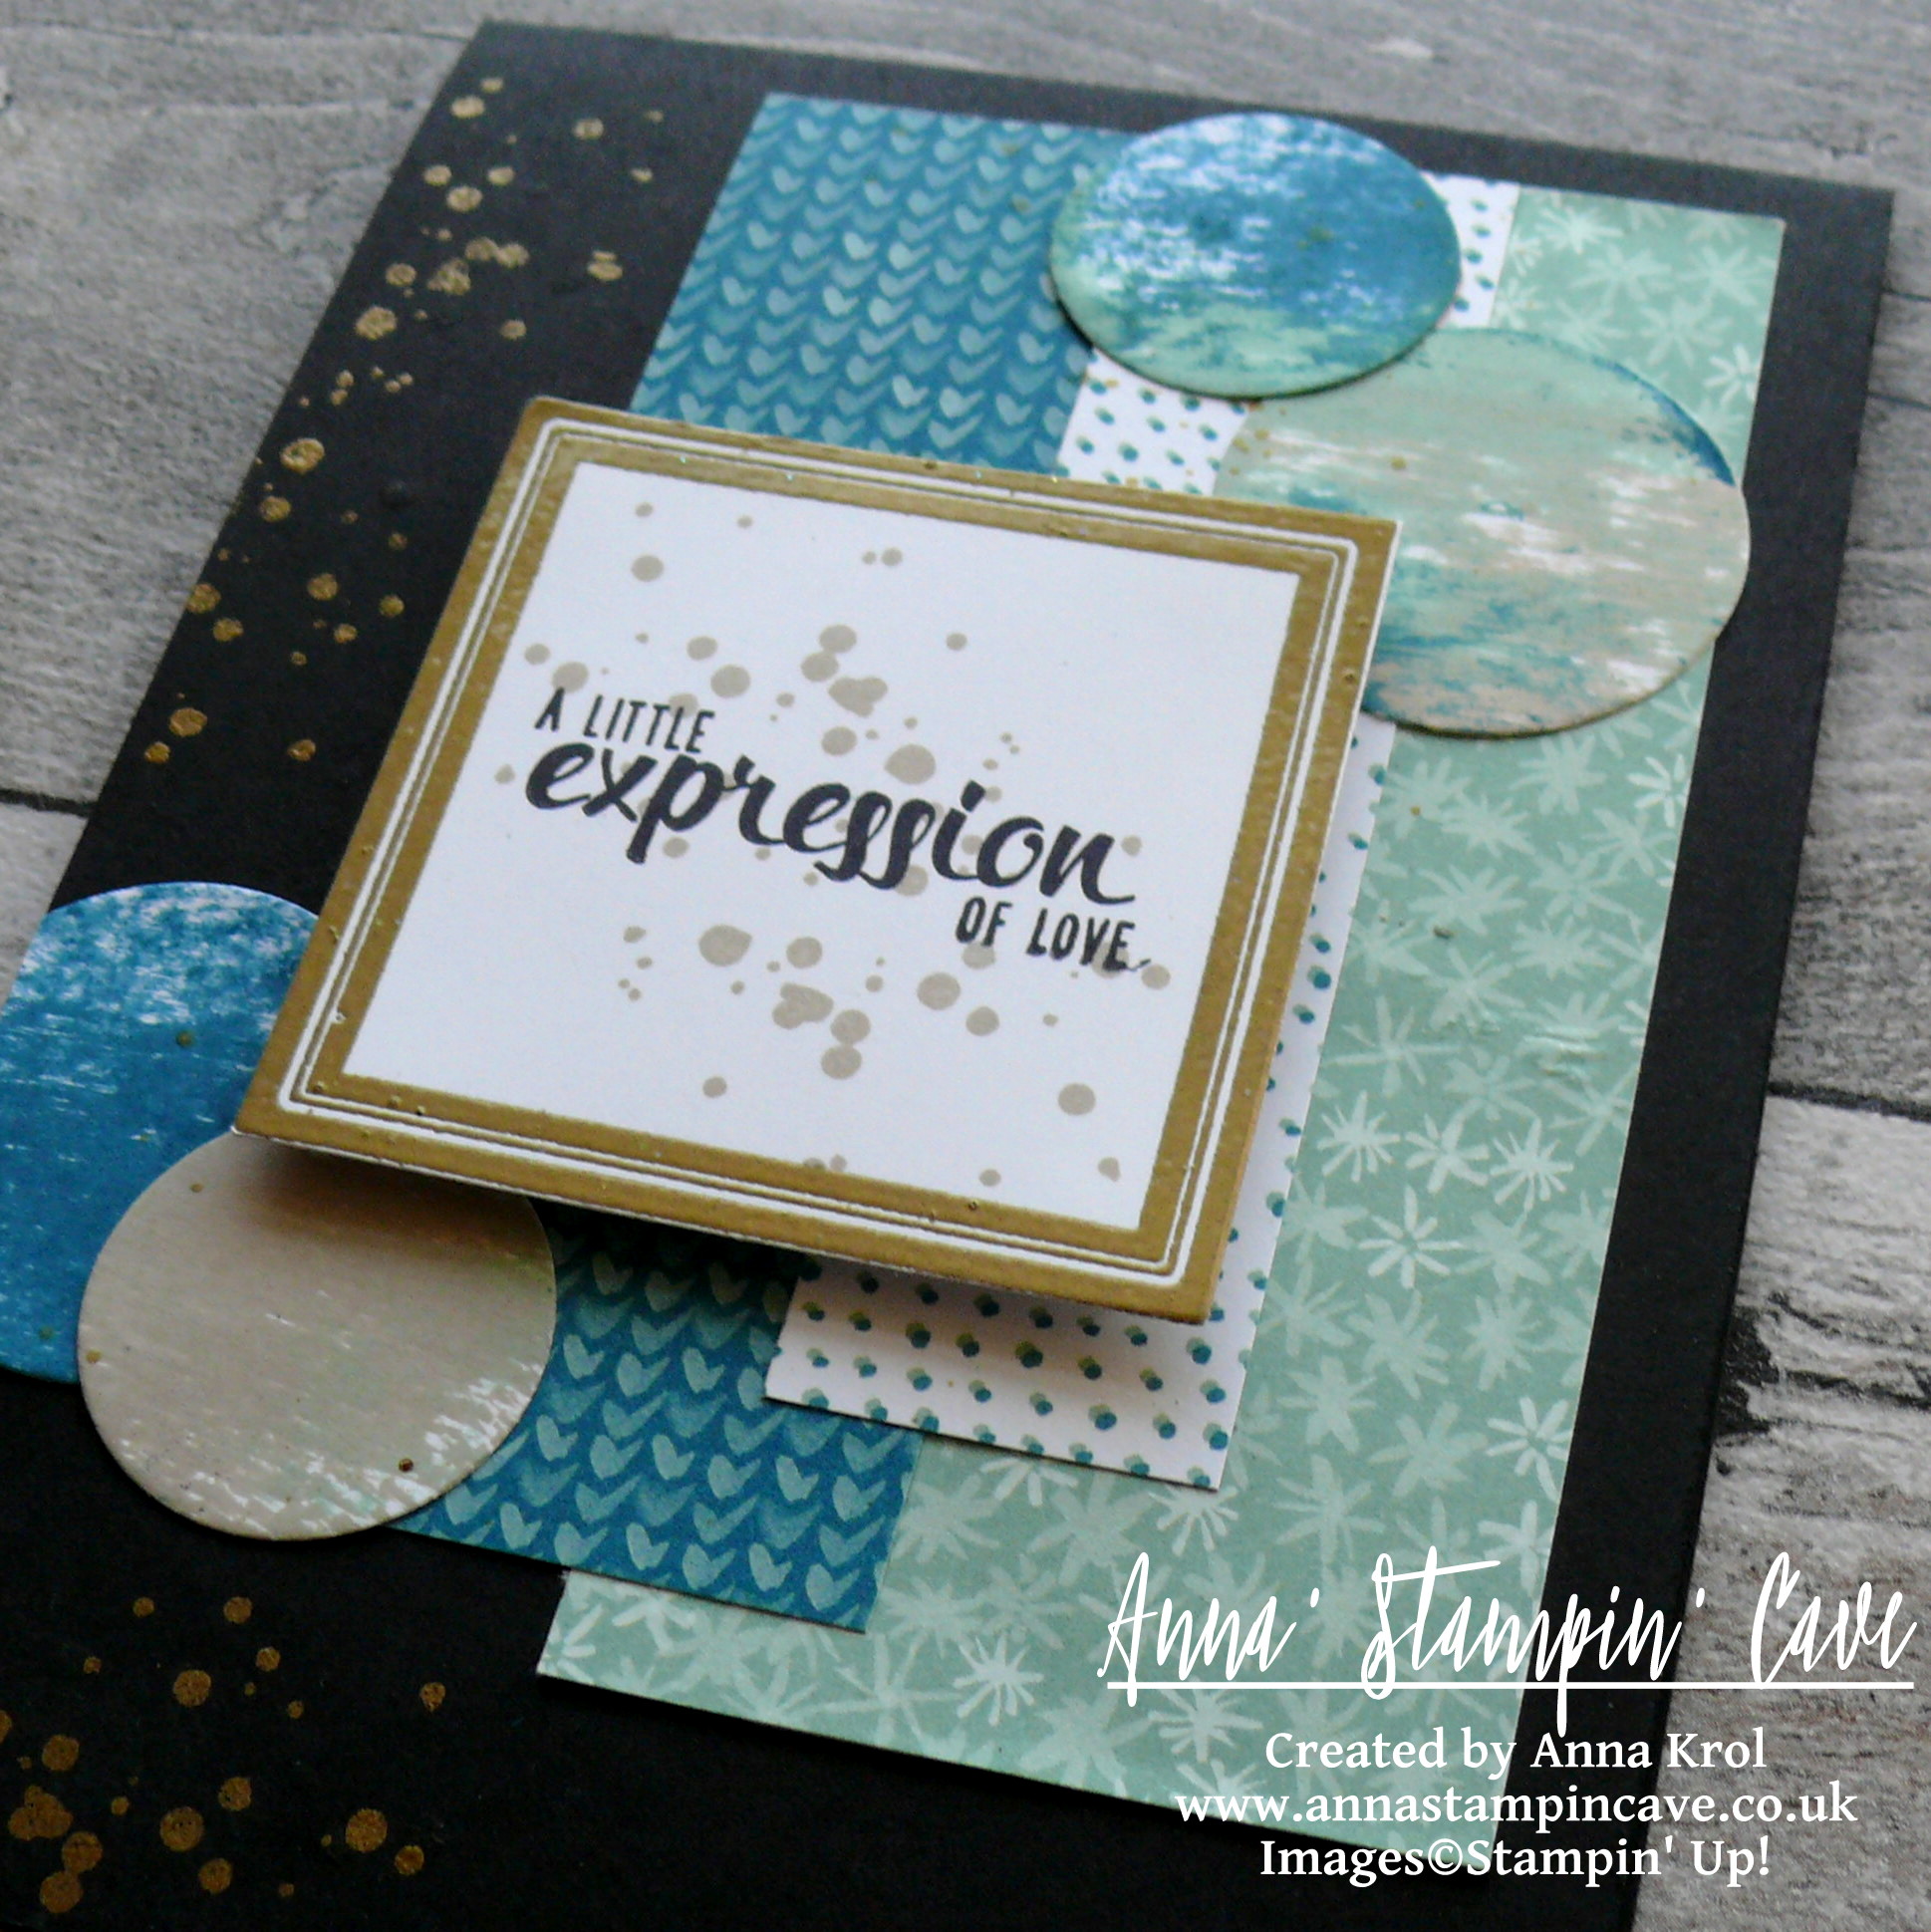
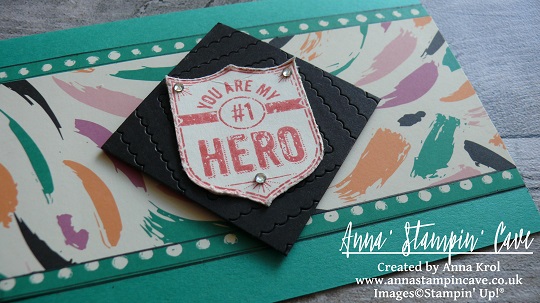
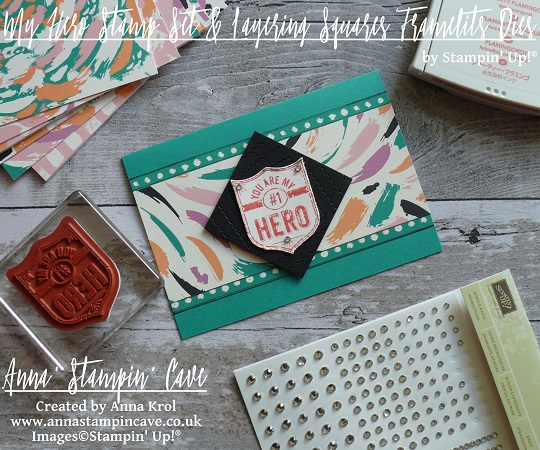
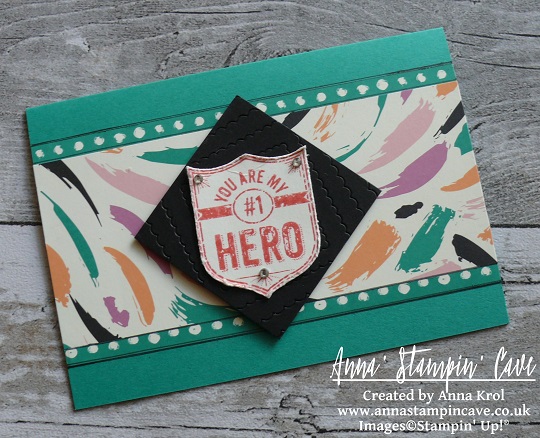
  • 12 6×6″ sheets (2 of each design) of Painted With Love Specialty DSP
  • 12 6×6″ sheets (1 of each design) of Picture Perfect Party DSP
  • 12 6×6″ sheets (2 of each design) of Myths & Magic Specialty DSP
  • 12 6×6″ sheets (2 of each design) of Petal Passion DSP
  • 12 6×6″ sheets (2 of each design) of True Gentleman DSP
  • 12 6×6″ sheets (1 of each design) of Tutti-Frutti DSP
  • 6 6×6″ sheets (2 of each colour) of Myths & Magic Glimmer Paper

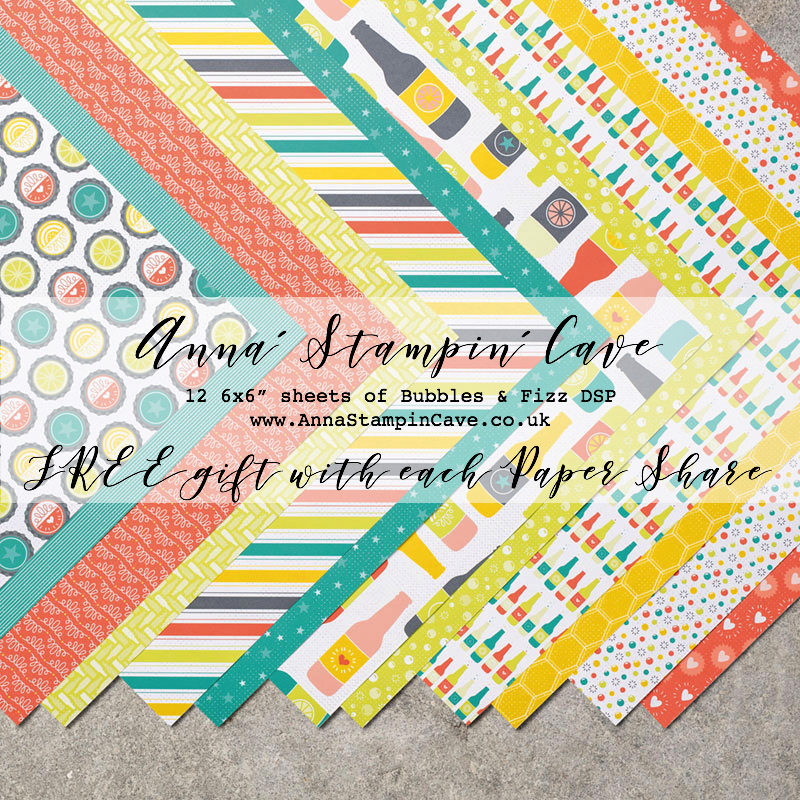
You will also receive a FREE gift from me: 12 6×6″ sheets of Sale-a-bration’s Bubbles & Fizz  Designer Series Paper!!

That’s 102 sheets of paper!!

Ribbon Shares

You will get 2 yards of each type of ribbon from Spring Summer 2018 Catalogue:

  • 2 yards of Berry Burst 3/8″ (1 cm) Metallic-Edge Ribbon
  • 2 yards of Lemon Lime Twist 3/8″ (1 Cm) Mini Striped Ribbon
  • 2 yards of Love Mini Tinsel Trim Combo Pack ( 1 yard of each colour)
  • 2 yards of Night Of Navy 3/8″ (1 Cm) Corduroy Ribbon
  • 2 yards of Silver Baker’s Twine
  • 2 yards of Whisper White 1/4″ (6.4 Mm) Organza Ribbon

DSP Share – £25 including UK postage.
Ribbon Share – £10 including UK postage.
DSP & Ribbon Share – £33 including UK postage.
DSP and Ribbon Share – £36 including postage to Austria, France, Germany & The Netherlands
How to reserve your shares?
Fill out the form below to register. I will add you to the share list and send a PayPal invoice to you. Once payment has been made, I will order all shares and send them through.
Reserve your shares now:

The cut-off date for paper shares is 31 January 2018. I will tabulate all of the information and place the order that night based on how many groups of 4 I have. As soon as the paper is received, I will cut the paper, add labels and send it out to you.

Thank you for stopping by and have a blessed day

Hostess Code for January 2018 GK3G3AR3 Use this code in the month of January and receive a gift from me.

Special Notes:1) Make sure you select Anna Krol as your demonstrator;
2) If you select “No Contact” box I do not have access to your name and can’t send you a gift;
3) If your order is £150 or more do not use the code and grab your own Stampin’ Rewards + gift from me

Don’t forget to check:

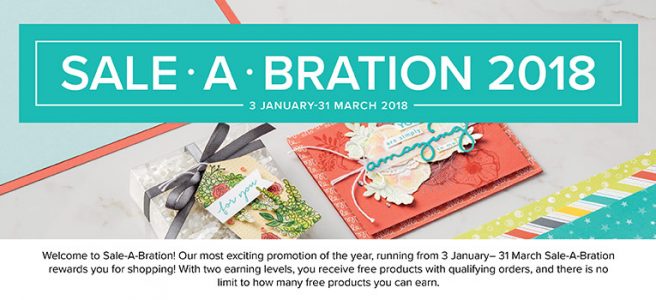
The New Stampin’ Up! Spring/Summer 2017 Catalogue and Sale-A-Bration is LIVE and it’s AMAZING! For every 60 €/£45, you spend either from Spring Summer Catalogue or Annual Catalogue, you will get to choose one FREE  level 1 product from SAB brochure! If you spend 120 €/£90, you get one FREE level 2 product, OR, you can choose two level 1 items. If you spend 180 €/£135, you have the option to choose three level 1 items or one level 1 item and one level 2 item. Click here for more details —>

It’s a Sale-A-Bration Time!

The Sale-A-Bration is in full swing and you can order now from the new Stampin’ Up! Spring/Summer 2018 Catalogue.

click HERE to download your FREE copy

You will be blown out at all the amazing new products Stampin’ Up! have in store for us! Click below to view this fun, live-action video of new products:

Once you flick through the catalogue, you can check out Stampin’ Up!’s new product videos all in one place HERE.  They will provide helpful tips and details for many of the new Spring Summer Catalogue and Sale-A-Bration products!

click HERE to download your FREE copy

There are few ways for you to make the most of this amazing promotion!

SHOP!

During the Sale-A-Bration for every 60 €/£45, you spend (before shipping), you get to choose one FREE Sale-A-Bration product from a Sale-A-Bration Brochure. It’s the perfect time to purchase those products you’ve had your eye on while earning more products for free.

For anyone who has enjoyed Sale-A-Bration in the past, we have an exciting new announcement for this year: We now have a new reward level, giving you more flexibility and options for your free items.

Let’s break it down:

  • If you spend 60 €/£45, you get one free level 1 product.
  • If you spend 120 €/£90, you get one free level 2 product, OR, you can choose two level 1 items.
  • If you spend 180 €/£135, you have the option to choose three level 1 items or one level 1 item and one level 2 item.

This new option allows everyone to create a personalised Sale-A-Bration experience! JUST LOOK FOR THESE IMAGES IN YOUR SAB BROCHURE:


HOST & EARN!

As you will know, there are ‘benefits’ when you place an order over £150. For this time only, if you place one single order of 275 € | £200 or more, during Sale-A-Bration, you will earn 27 € | £20 more in Stampin’ Rewards!* These rewards can even be applied towards a Starter Kit, allowing you to join and become a demonstrator.

*Additional Stampin’ Rewards can also be earned by an individual purchase or order of 275 € | £200 or more.

12.01.17_HOSTCHART_SAB_PRE-EARN_UK
 JOIN!
Sale-A-Bration it’s the best time of year to join Stampin’ Up!
Have a big wish list and want it ALL? I’m not surprised! But if you want the most product for your money, I highly recommend purchasing the £99 Starter Kit. It’s the ULTIMATE BUNDLE
01.03.17_JOIN_SAB_UK

For a limited time (Sale-A-Bration 3 January – 31 March):

1.Purchasing the £99 Starter Kit during Sale-A-Bration gets you £130 in your choice of Stampin’ Up! Products. In addition, you can select TWO FREE STAMP SETS* of your choice extra. Plus Business Pack on top of that! (*excludes bundles and Sale-A-Bration sets.)

2. The Starter Kit ships FREE

3. You’ll become part of the Stampin’ Up! family and enjoy demonstrator discounts (20% or more) and benefits through at least July 31, 2016.

4. Do it for YOU! There’s no risk and no obligation to purchase anything further. £270 in quarterly sales is required to renew after 30 June. However, there’s no penalty to drop. You don’t lose anything!

5. Access exclusive virtual resources at Stampin’ University and become a member of my team when you purchase the kit and join through me.

Want to join only for a discount? – that’s brilliant! I welcome hobby stampers from across the UK, The Netherlands. Germany, France & Austria. That’s how I started! So what are you waiting for? CLICK HERE to join my team.

If you have got any questions, please do not hesitate and drop me a message. I am here to help.

Thank you so much for stopping by. Have a blessed day


Hostess Code for January 2018 GK3G3AR3 Use this code in the month of January and receive a gift from me.

Special Notes:1) Make sure you select Anna Krol as your demonstrator;
2) If you select “No Contact” box I do not have access to your name and can’t send you a gift;
3) If your order is £150 or more do not use the code and grab your own Stampin’ Rewards + gift from me


Simply Sketched Saturday Challenge – A Little Expression Of Love

Anna’ Stampin’ Cave – Simply Sketched Saturday Challenge – A Little Expression Of Love

Thank you for joining us for another Simply Sketched Saturday Challenge!  We are so excited to be sharing this hop with you. The products used are all available in the current Annual, or seasonal, Stampin’ Up!®  Catalogues*. Simply use the buttons at the bottom of the post to keep hopping!

Today’s sketch has been provided by lovely Sally Shaw from Sallystampers blog.

SSSC 18

WOW! this sketch really sat me down for a moment. In a good way of course – great creative exercise for my grey cells. And here’s what I came out with:

Anna' Stampin' Cave - Stampin' Up! Painter's Palette - A Little Expression Of Love Card

A Little Expression of Love card dimensions:

  • Basic Black cardstock: 11-6/8″ x 4-1/8″ scored in half at 5-7/8″ (29.7 x 10.5 cm scored in half at 14.8 cm)
  • Whisper White cardstock for the inside: 3-2/8″ x 4-2/8″ (8,4cm x 10,7cm)
  • 3 strips of Blooms & Bliss Designer Series Paper: 4-6/8″ x 2″, 4-1/2″ x 1-1/2″ & 4″ x 1″ (12cm x 5cm; 11,4cm x 3,9cm & 10,2cm x 2,5cm )
  • scraps of Whisper White for stamping and die-cutting.

First, I stamped the palette image from Painter’s Palette Stamp Set on Whisper White cardstock in Versamark, and heat embossed it in gold. In the middle, using Stamp-a-ma-jig, I stamped the sentiment in Basic Black. Because I didn’t want all that white space around the sentiment, I took a ‘dotty’ stamp from the same set and stamped it a couple of times in Sahara Sand. I die cut my piece using Layering Squares Framelits Dies.

Anna' Stampin' Cave - Stampin' Up! Painter's Palette - Blooms and Bliss DSP - A Little Expression Of Love Card

Next, I created my circles and I’ve used a really cool and easy technique to do so. I took a piece of Whisper White cardstock, clear stamping block H and three ink pads: Island Indigo, Mint Macaron, and Sahara Sand. First, I inked the clear block with Island Indigo ink and dragged it through the cardstock. I repeat it with other two ink pads, making sure some of the colours overlap, creating fun, distressed design. I die-cut various circles from my piece.

Card assembly. I adhered strips of DSP to the base using snail adhesive, followed by circles. The sentiment is popped up on dimensionals. For the inside, I added Whisper White panel and few leftover circles too.

Anna' Stampin' Cave - Stampin' Up! Painter's Palette and Blooms and Bliss DSP - A Little Expression Of Love Card - card inside

To wrap up my design together I wanted to add some extra golden accents to the card. I’ve used gold Wink of Stella to add some soft random splotches to the DSP and circles (I masked the sentiment for this step). Next, using same ‘dotty’ stamp as for the sentiment, I stamped it randomly on the card base in Versamark and heat embossed it in gold.

Anna' Stampin' Cave - Stampin' Up! Painter's Palette - A Little Expression Of Love Card

I have to tell you, I enjoyed the process of designing this card and watching how it comes together nicely. I hope you like it too.

Now be sure to hop along to see more inspiring projects. Your next stop is lovely and talented Jillian.

Thank you for stopping by and have a blessed day


Elegant Monochromatic With Pop Of Colour

Anna’ Stampin’ Cave – Elegant Monochromatic With Pop Of Colour

Wow! It’s hard to believe, but today is last day with My Hero Stamp Set from Stampin’ Up! Yep, 5 weeks have passed!

For my final project, I’ve created this striking yet elegant, almost monochromatic card, in shades of grey but with a pop of colour in form of dainty orange flowers.

stampin-up-botanical-builder-framelits-my-hero-stamp-set

For the base of my card I took an A4 sheet of Smoky Slate cardstock, cut it in half at 4-1/8″ and folded in half at 5-7/8″. I run the front of the base through Big Shot with Festive Embossing Folder. The panel is a piece of Basic Grey cardstock that measures 2″ x 5-7/8″. I adhere it to the base with Multipurpose Liquid Adhesive.

Next, I created my floral composition using Botanical Builder Framelits Dies. I die cut a couple of leaves from vellum and six flowers: three tiny flowers and three small 3D flowers from a scrap of Whisper White cardstock.

Savvy Tip: Don’t know what to do with random off cuts that are to small to use on cards or to punch anything out of them? Don’t throw them away! I save all my off cuts and use them up when need to die cut small elements, flowers, etc using framelits dies

To add a little bit of colour to my flowers I sponged the edges of the tiny flowers with Watermelon Wonder. For 3D flowers, I decided for more ‘dramatic’ look I sponged entire flowers using Pumpkin Pie ink pad and a dab of Watermelon Wonder to the centres. I also added a large rhinestone to each centre. You can’t really tell from the photos (blame the awful English weather) but I’ve added a touch of shimmer using Clear Wink Of Stella Glitter Brush to each flower (tiny ones too).

stampin-up-botanical-builder-framelits-my-hero-stamp-set

Next, I took a strip of vellum ( 1/2″ x 4-1/8″) and stamped a ‘Celebrate’ from My Hero Stamp Set in Versamark. Of course, I’ve used an Embossing Buddy prior to stamping. I heat embossed the sentiment with Silver Stampin’ Emboss Powder.

Tip: For best results with heat embossing always treat your cardstock, dsp, vellum, etc with embossing buddy. I takes off the statick from the surface of your paper, and makes the powder stick only to the areas you stamped.
Tip 2: If you don’t have an embossing buddy or any other antistatic tool you can use cornflour instead. Just sprinkle a little amount of flour over the surface of your cardstock, spread it with fingers or paint brush, and shake off the excess. Now you can stamp and heat emboss.

I assembled my composition using Glue Dots and liquid adhesive. Two tiny flowers on the vellum banner are hiding adhesive that I’ve used to adhere the banner to the card base.

stampin-up-botanical-builder-framelits-my-hero-stamp-set

I really like how this card turned out. I love the monochromatic, cold look of greys with a pop of bright orange. And what do you think about this colour combination? Do you like it? I would love to hear from you in comments below.

Thank you for stopping by and have a blessed day,

You Are My Hero

Anna’ Stampin’ Cave – You Are My Hero


Another week has passed by, and it’s that time again when our little group of demonstrators is showcasing you this lovely stamp set called ‘My Hero’. I love the versatility of this set, as it covers all major holidays/occasions throughout the year. But not only that. This is Ronald McDonald House Charities stamp set, which means for every set purchased, Stampin’ Up! donates £2 to the RMHC. Visit www.stampinup.com/giving_uk to learn how you can help too.

For today’s project, I’ve chosen ‘You are my #1 hero’ sentiment. I’ve seen many beautiful samples using this stamp. It’s perfect for all those oh-so-hard-to-make masculine cards. But I decided to make a card with a feminine twist. After all, women can be heroes too.

stampin-up-my-hero-stamp-set-you-are-my-1-hero

This is a very simple card. For the card base, I chose beautiful and very vibrant Emerald Envy cardstock (standard A6 size). Next layer is a piece of DSP from Playful Palette Designer Series Paper Stack. I took half of the sheet of my chosen design ( 3″x 6″) and trimmed 1/4″ from both sides. I adhered the larger piece to the base first and next, those tiny strips on each side of the panel, but reverse side up. Because the base is smaller than 6″ wide, I trimmed any overhanging paper using my scissors. It’s easier, and for sure you won’t end up with a too small panel. Unfortunately, my strips slightly ‘disappeared’, when adhered to the card base. So I draw few black lines along the edges using Project Life Journaling Pens.

Tip: learn from my mistakes! If, like me, you chose a design that has a kinda symmetrical pattern on the reverse, make sure you trim your panel so you have the same pattern on both strips you’ve trimmed.

stampin-up-my-hero-stamp-set-you-are-my-1-hero

Now to the focal point. I stamped my sentiment in Flirty Flamingo, on a piece of Very Vanilla cardstock and fussy cut it. It’s an easy shape to do so. I distressed the edges slightly. To make the sentiment ‘pop’ I decided to add a square Basic Black cardstock underneath. I could dry emboss it but instead, I decided to create a fun panel using Layering Squares Framelits. I’ve seen this idea just recently, on Carolyn Bennie blog and just had to try it myself. Carolyn is an amazing Australian demo. You should definitely check her out.

I arranged five scalloped squares dies on a piece of Basic Black cardstock, but offset them slightly. I secured dies to the paper with washi tape and run it through the big shot. Before I removed my dies, I’ve added washi tape underneath of the panel, to keep the squares together. I took another piece of Basic Black cardstock and adhered my die cut squares to that panel. I trimmed it to the 2-3/8″ square.

stampin-up-my-hero-stamp-set-you-are-my-1-hero

I adhered my fun square to the card base with a couple of dimensionals. Next, I’ve added my sentiment on top of it, with regular snail adhesive. Few rhinestones on the corners of the badge finish off my card.

Thank you for stopping by and have a blessed day,