Wildflower Fields Fridge Mini Calendars
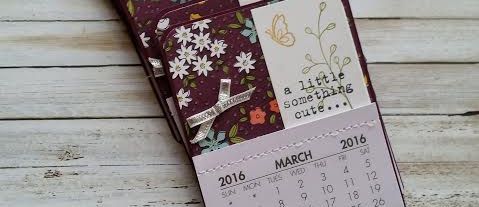
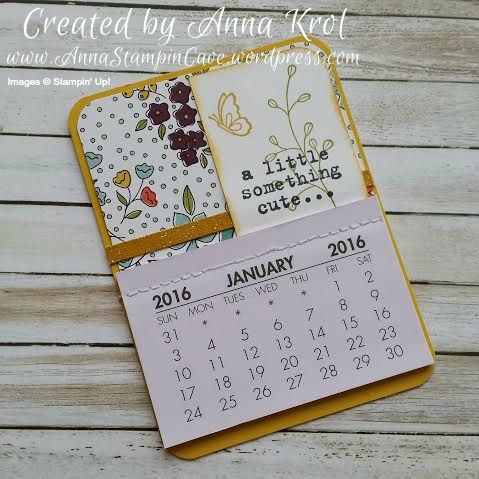
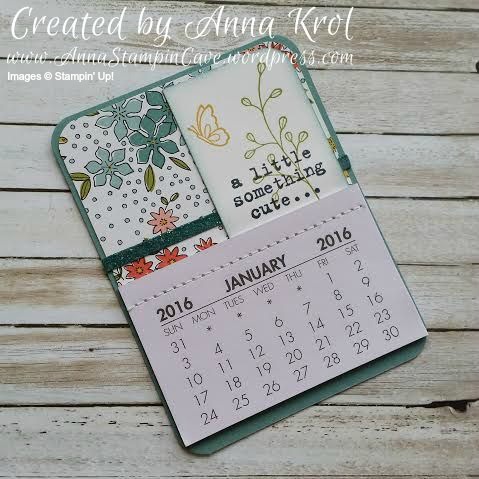
Wildflower Fields Fridge Mini Calendars

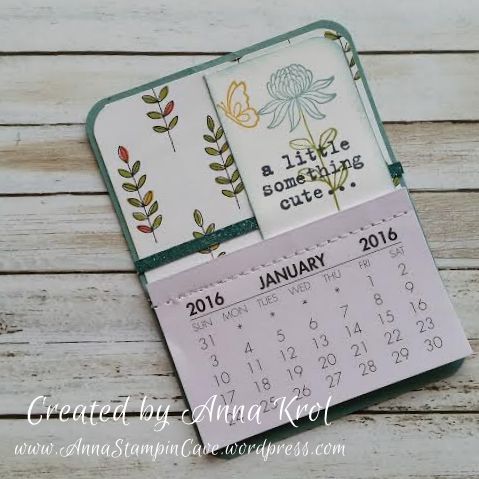
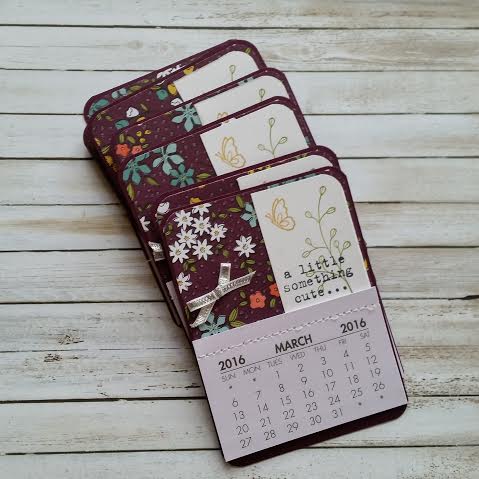
Wildflower Fields Fridge Mini Calendars - Blackberry Bliss

Good evening everyone. A few days ago, on my facebook page,  I’ve posted some fridge mini calendars I’ve made as a thank you gifts for my customers. But they were such a hit that I thought I will make a blog post, to show how to make them. Just a warning, it’s gonna be picture heavy 😉
Wildflower Fields Fridge Mini Calendars - Blackberry Bliss 2

I’ve bought these mini calendars on eBay while ago, but due to chronic fatigue I just couldn’t push myself to sit down and craft – maybe except for the cards once in a while. But I was wondering about customers gifts the other day and had a lightbulb moment – why not make cute magnetic fridge calendars?! Each calendar measures approx 2-7/8″ x 1-7/8″, and on their size, I’ve based my design.
Wildflower Fields Fridge Mini Calendars - Instructions 1

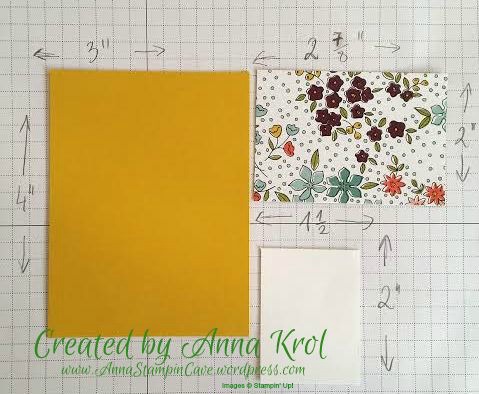
The base for my calendar measures 3″x 4″ – here I’ve used Hello Honey. Designer Series Paper measures 2-7/8″x 2″ and Whisper White piece for stamping measures 1-1/2″x 2″. I rounded all the edges of my base, top edges of DSP and right top corner of Whisper White. I’ve used my Envelope Punch Board to do so, but you could use the corner rounder punch if you have one.
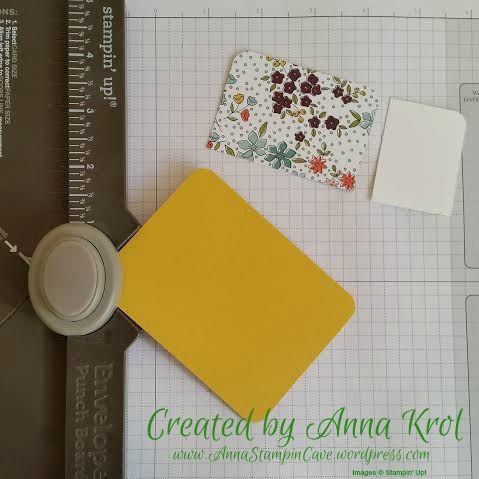
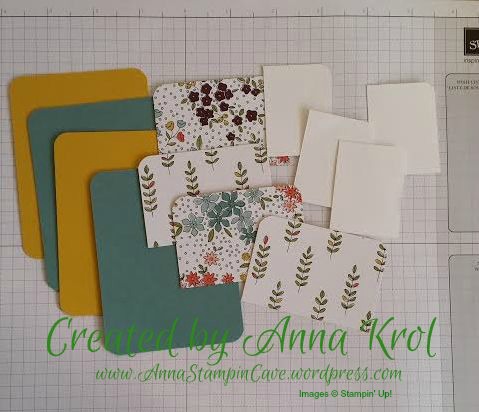
Wildflower Fields Fridge Mini Calendars - Instructions 2 Wildflower Fields Fridge Mini Calendars - Instructions 3

I stamped “a little something cute…” sentiment from Something To Say stamp set on my Whisper White pieces. Next, I stamped floral images from Flowering Fields stamp set. I just love this set! Don’t forget that this beautiful stamp set you can earn free with every £45 purchase during Sale-a-bration.
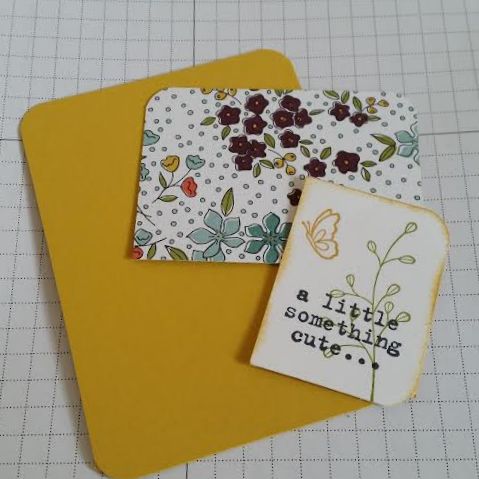
instrukcje

I’ve used Hello Honey for butterflies, Old Olive for stems and leaves, and Lost Lagoon and Calypso Coral for flowers. I’ve used ink pads as well as Stampin’ Markers to do my stamping. I have to say here, I love that all Stampin’ Up’s Designer Series Papers got all coordinating colours listed at the back of the paper pack. It makes creating so much easier if you don’t have to work out which colours to use. I also sponged stamped panels, so they stand out nicely from the background.
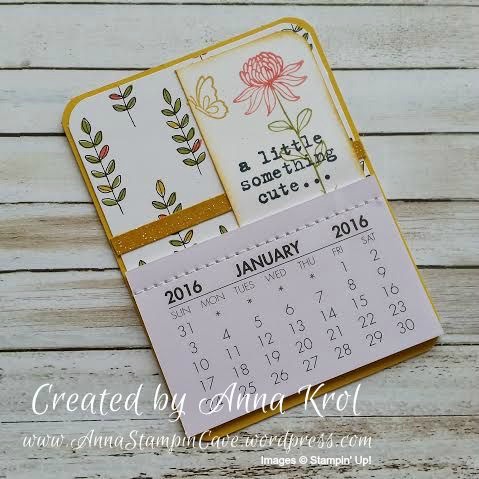
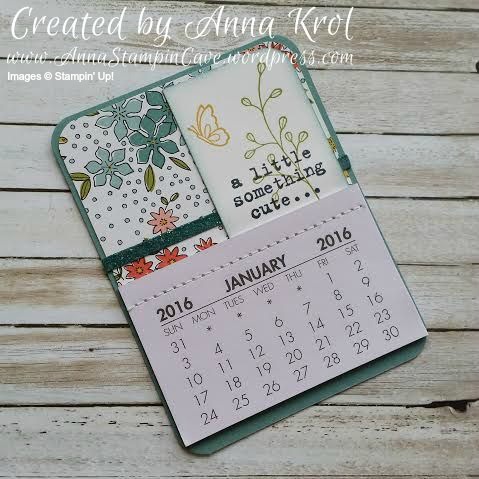
Wildflower Fields Fridge Mini Calendars - Hello Honey 2 Wildflower Fields Fridge Mini Calendars - Lost Lagoon

Wildflower Fields Fridge Mini Calendars - Lost Lagoon 2 Wildflower Fields Fridge Mini Calendars - Hello Honey

To embellish my Blackberry Bliss calendars I’ve used Silver 1/8″ Ribbon as it looked pretty neat on a dark background. But it didn’t work as good on the light one. So I cut “skinny” strips of cardstock in Lost Lagoon and Hello Honey, smooshed Versamark over them and heat embossed with Iridescent Ice Embossing Powder. I love this gentle shimmer.
Wildflower Fields Fridge Mini Calendars - Instructions 5

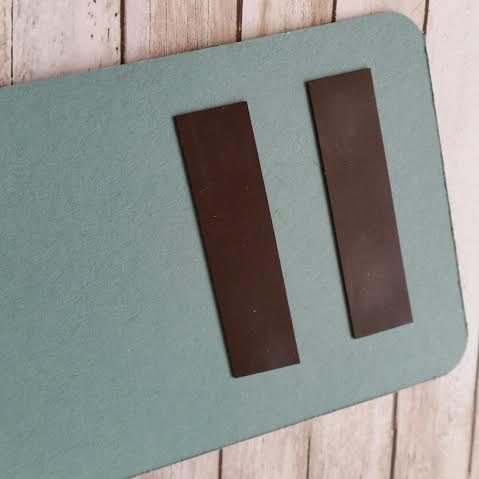
I assembled my calendars using Tombow glue. I also added two strips of a magnet at the back of each one.
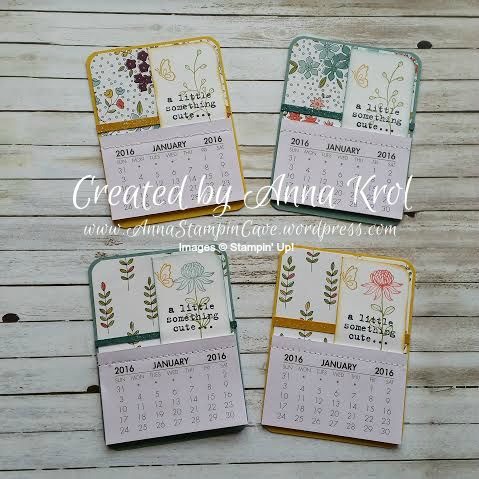
Wildflower Fields Fridge Mini Calendars - Lost Lagoon & Hello Honey

I really hope you like my little project and that you give them a go. Or maybe you have different ideas to use these little calendars for? I would love to hear from you!

Have a blessed day,

Simply Sketched Saturday Challenge Blog Hop #6 – You Are My Person

SSSC Header

Thank you for joining us for another Simply Sketched Saturday Challenge!  We’re so excited to be sharing this hop with you. The products used are all available in the current Annual, or seasonal, Stampin’ Up!®  Catalogues*. Simply use the buttons at the bottom of the post to keep hopping!

Today’s sketch was designed by very talented Debbie who sadly couldn’t take a part in Hop today. But we’re all hoping she’ll be back with us soon. I also wanted to wish a very Happy Birthday to Sam from Sam’s Crafty Things as she’s celebrating today! Happy Birthday, Sam, have a good one!

But now let’s get back to the sketch.

#6

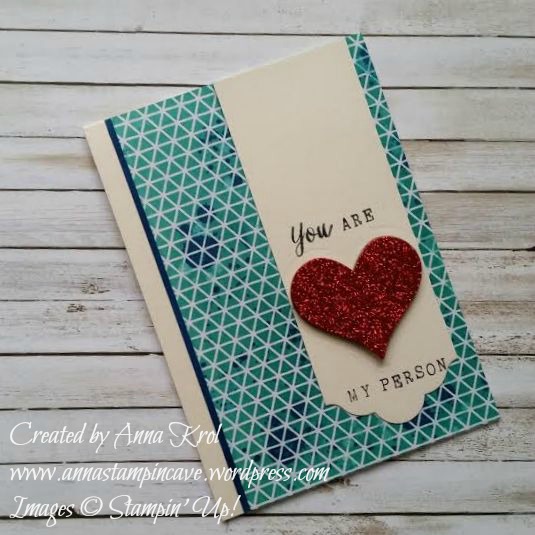
My card for today is pretty simple and created using few favourites from Annual Catalogue. As Valentine’s Day is just one day apart I wanted to create something in this theme. I’ve made this card purely with my husband in mind. He is my partner and best friend. He is my person. He is a true blessing in my life.

You Are My Person 5

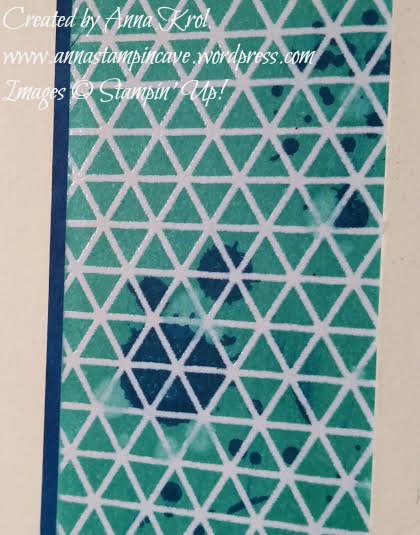
The base of my card is standard A6 in Very Vanilla. For the background, I chose Colour Me Irresistible Specialty DSP. I love this paper! Each pack contains 6 white sheets and 6 other colours sheets (one of each colour). And each sheet has a subtle embossing in various designs. For my card, I decided to use a white sheet with the geometrical design.

You Are My Person 2

To add colour to my background I’ve used a brayer. I bought it recently (finally) and it was the perfect occasion to open it and have fun adding colour. It’s so easy! The ink I’ve used is Bermuda Bay. When I was happy with my background I decided to add some twist to it. First I sprinkled few water droplets on top to lift some of the colour. Next, I stamped few splotches from Gorgeous Grunge. For this. I’ve used Pacific Point. I trimmed my piece so once adhered to the base I would have nice, clean border. I also added a tiny strip of Pacific Point cardstock.

You Are My Person 4

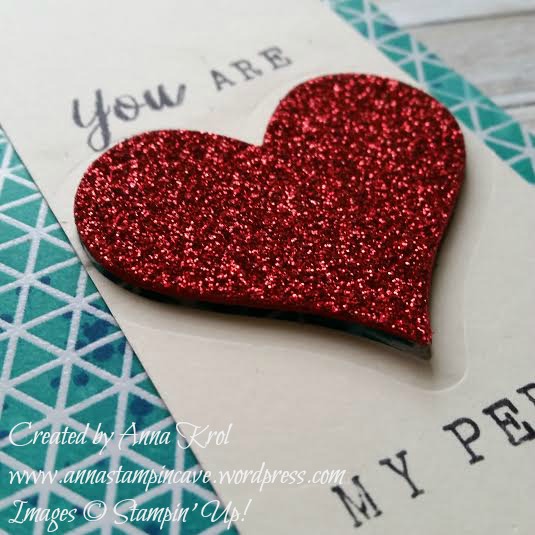
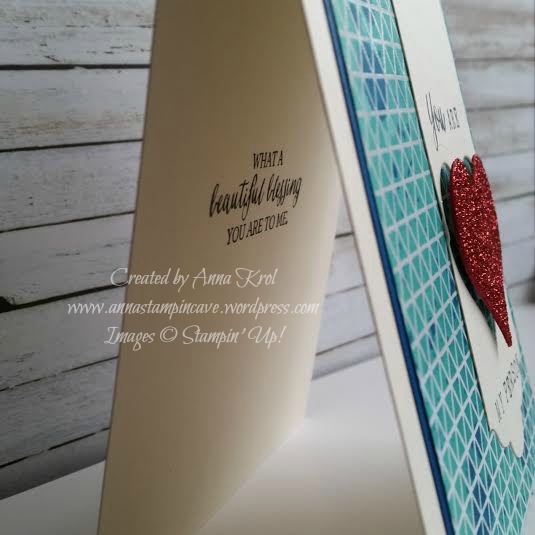
Next, I created the banner. I took a piece of Very Vanilla that measures 2 x 5-6/8″. To create this elegant edge I’ve used 3rd biggest of Lots Of Labels framelits dies. I die-cut a heart from Mini Treat Bag Thinlits Dies. And die-cut it twice: once from my banner and the second one from Red Glimmer Paper. I glued these two hearts together and traced the edge with Real Red Stampin’ Marker. Before I put my card together I stamped the sentiment. Word “you” comes from Rose Wonder stamp set. It’s actually “Thank You” sentiment, but it was very easy to ink just that one word. To create the rest of my sentiment I’ve used Alphabet Rotary Stamp. Oh, wish Stampin’ Up! had “You are my person” sentiment in their offering. It’s such a beautiful thing to say. Not only to your partner but also to a friend. I stamped inside of my card as well.

Now was the time to put the card together. I adhered the background and a strip of Pacific Point cardstock using Tombow glue to make sure it will hold the paper really well. I added the banner with snail adhesive and I popped my glittery heart with dimensionals.

And what do you think? Do you like my card? Please let me know in the comments below. I would love to hear from you.

Now, be sure to hop along and see more inspiring projects. Your next stop is lovely Karen  go and see what she has made using our cute sketch. It’s her first blog hop with us, so please show her some love.

Thank you for stopping by and have a blessed day!

SSSC Previous   SSSC Next Blog

Bloomin’ Love Valentine’s Day Gift Set

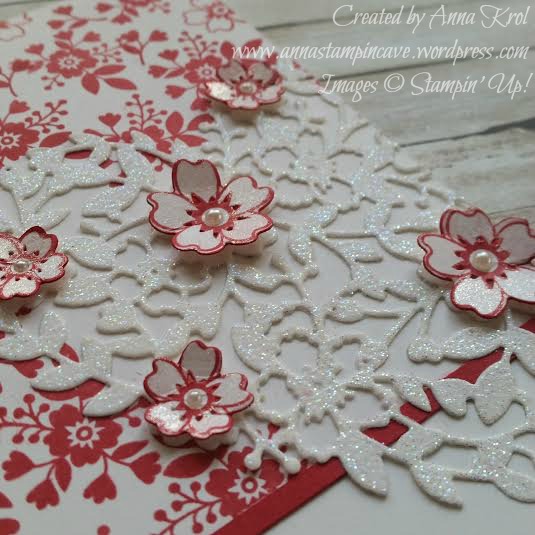
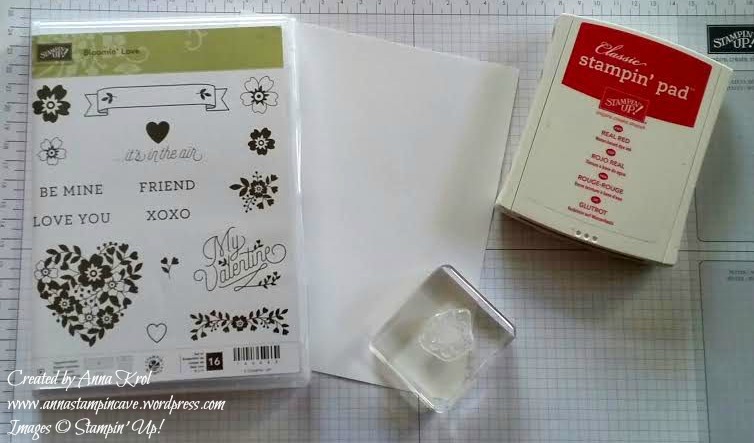
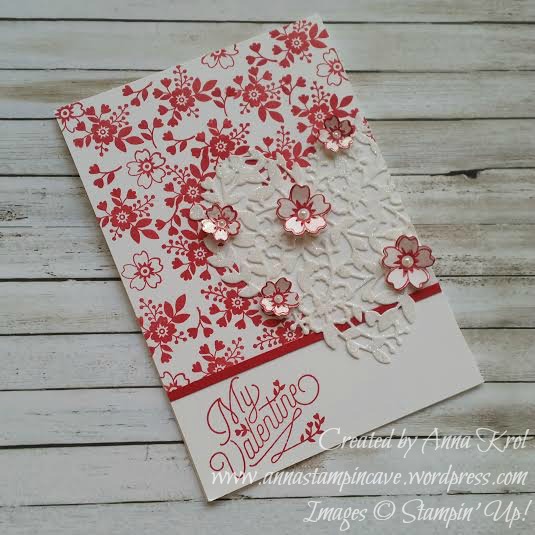
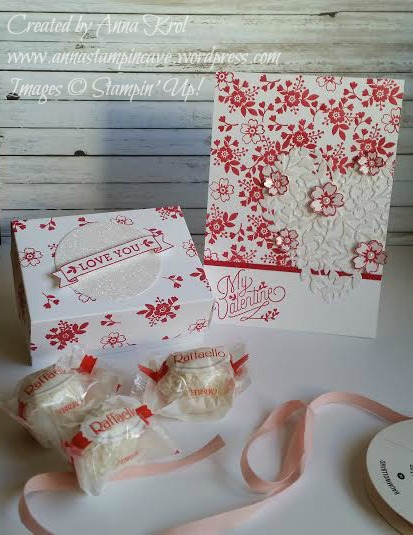
Today I’ve got for you beautiful Valentine’s Day card I’ve made to match cute Valentine’s Day gift box I posted two weeks ago. Again I’ve used Bloomin’ Love stamp set and Real Red Stampin’ Pad. This time I also used matching Bloomin’ Heart Thinlit Dies.

The card is a standard A6 top folded card. Because I didn’t want the stamping underneath the heart, I die-cut my heart first and used it as a stencil to lightly mark where the heart will be. I also masked around 1-1/2″ of the bottom of the card base using post-it notes. I wanted to keep it clean for the sentiment.

Valentines Day card 8

I stamped the base carefully around the marked line first, and then just filled in the rest of the space. Next, I stamped the sentiment. I cut a tiny strip of Real Red cardstock and adhered it just above the sentiment to hide where the stamping ends.

Valentines Day card 2

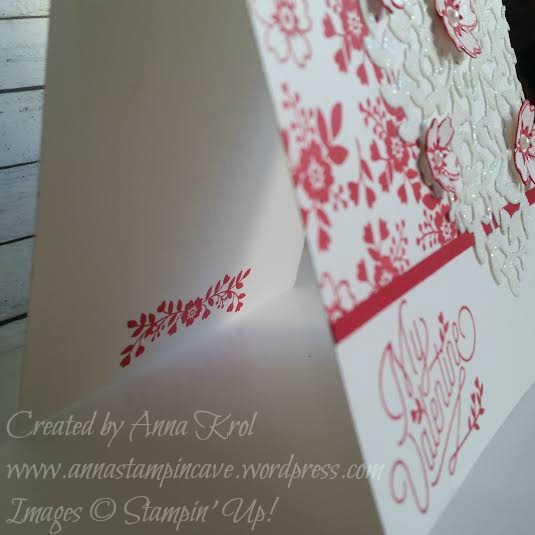
I also stamped the inside of the card using this cute floral stamp.

Valentines Day card 6

When I put my card together I decided to add some pop to it.

I stamped 3 small and 2 large flower outlines on the piece of Whisper White and die-cut them. I sponged their edges and attached them to the heart with glue dots. Just a little touch of Clear Wink of Stella glitter pen and few mini pearls and the card was ready.

Valentines Day card 3

I love how this card turned out and how it matches the box. Perfect little gift for Valentine’s Day.

Thank you for stopping by and have a blessed day,
Simply Sketched Saturday Challenge Blog Hop #5 – Valentine’s Day Gift Box

SSSC Header

Thank you for joining us for another Simply Sketched Saturday Challenge!  We’re so excited to be sharing this hop with you. The products used are all available in the current Annual, or seasonal, Stampin’ Up!®  Catalogues*. Simply use the buttons at the bottom of the post to keep hopping!

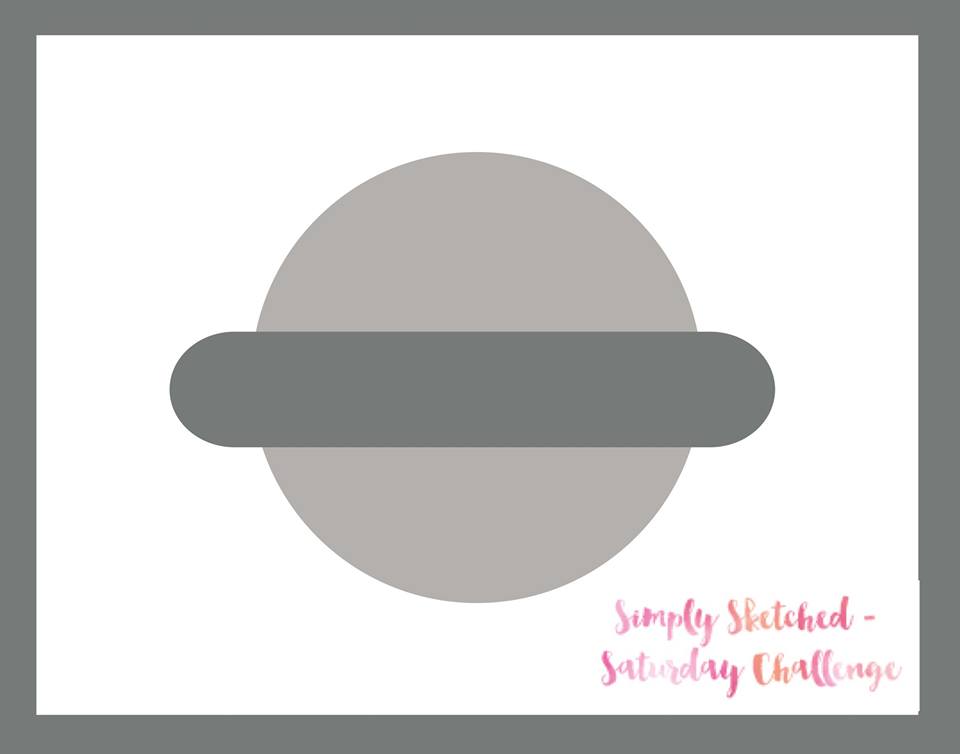
Wow! It’s been long since we’ve played with our challenge last time. Did you missed us?! But we’re back with a new sketch and lots of fabby projects to bring you endless ideas and inspirations. So welcome to our 5th sketch challenge! And today’s sketch has been created for us by lovely Cat.

January 16

I love this sketch! And the moment I saw it I had this idea popped into my head. It’s a little bit out of my comfort zone because I don’t do boxes usually. But I was just dying to make my idea into a project. So here it is:

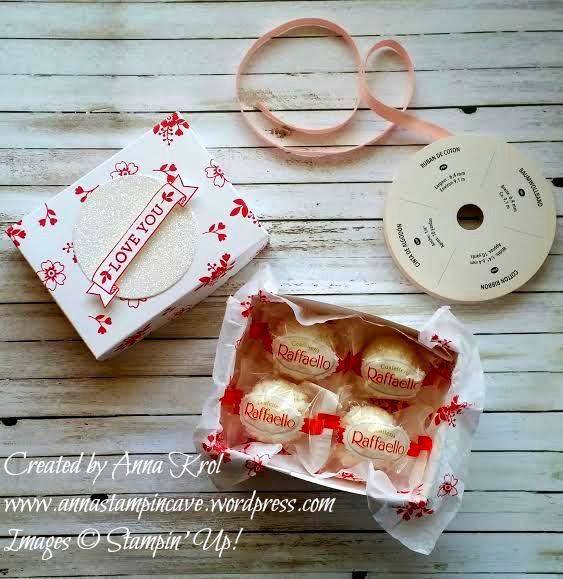
Isn’t it cute?! This box measures 4 x 3″ and make perfect “home” for Raffaello chocolates

To create my box I took 2 pieces of whisper white that measured: for the lid 7 x 6″ (I trimmed it later slightly) and for the base 6-7/8 x 5-7/8″. I stamped the top piece randomly using a Real Red ink pad and flowery stamps from Bloomin’ Love stamp set. When it was done I scored both pieces at 1-1/2″ on each side. After I assembled the base I’ve decided I want my lid to be slightly shorter than the base so I trimmed it 1/2″ on each side.

stamping on tissue paper

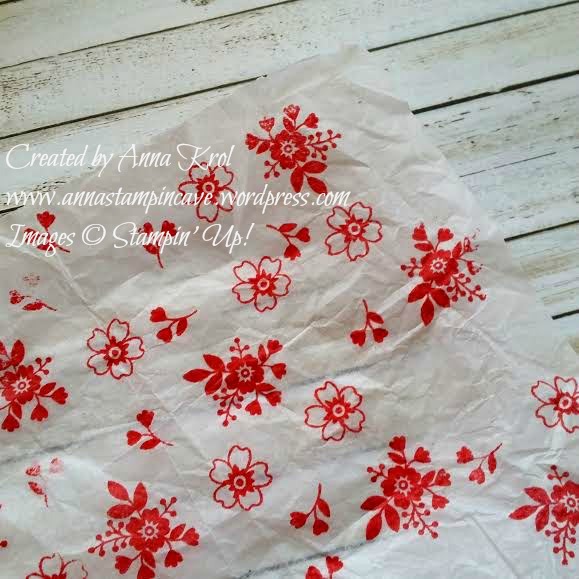
I also stamped same design on a piece of white tissue paper, to put it inside of my box. As for the sentiment, I’ve stamped it in Real Red again and fussy cut it. But because it would disappear in a “busy” background I die cut a circle from Dazzling Diamonds Glimmer Paper. I attached it to my box with Tombow adhesive and added my sentiment on top using dimensionals.

Valentines Day favour box 2

Taa-daah! The box is done! And it’s perfect little box for delicious chocolates. Or maybe for a piece of jewellery? What do you think?

I hope you enjoyed my little project today. I would love hearing from you.

Now, be sure to hop along and see more inspiring projects. Your next stop is lovely Karen  go and see what she has made using our cute sketch. Thank you for stopping by and have a blessed day!

SSSC Previous   SSSC Next Blog

Tag-tastic Festival of Trees by Stampin’ Up!

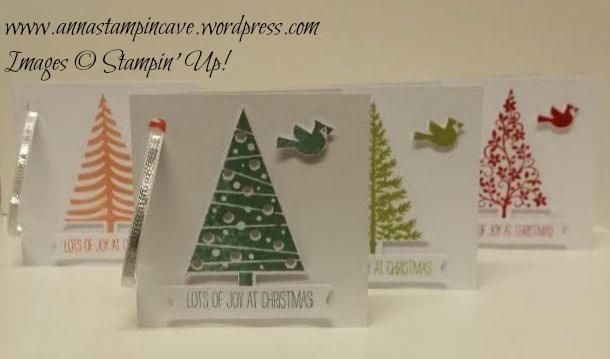
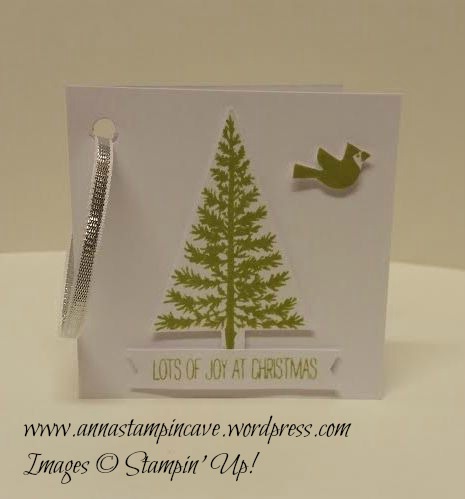
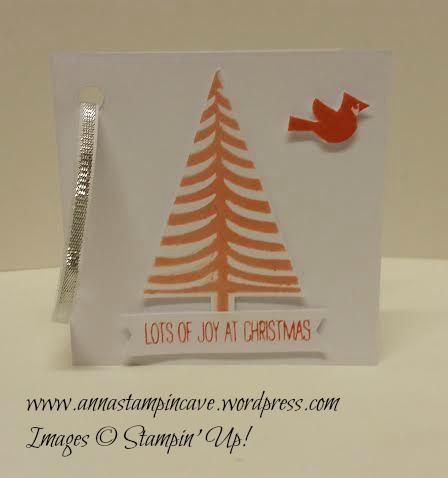
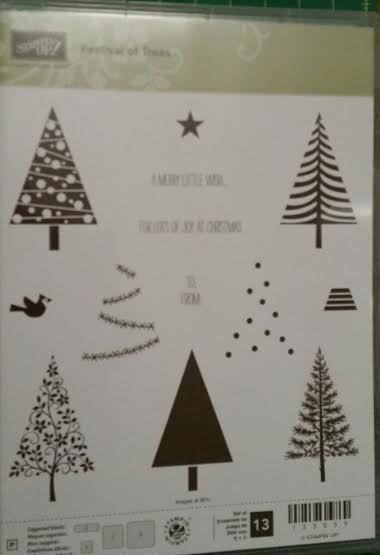
Hello everyone! A quick post from me today – or tonight I shall say 😉 I’ve been playing with Festival of Trees stamp set lately and I have to tell you I’m addicted!!! In a positive way of course 😉 I think this stamp set is very versatile and I’m sure I’m gonna use it many more times. But today I wanted to show you some tags.

lovely 7

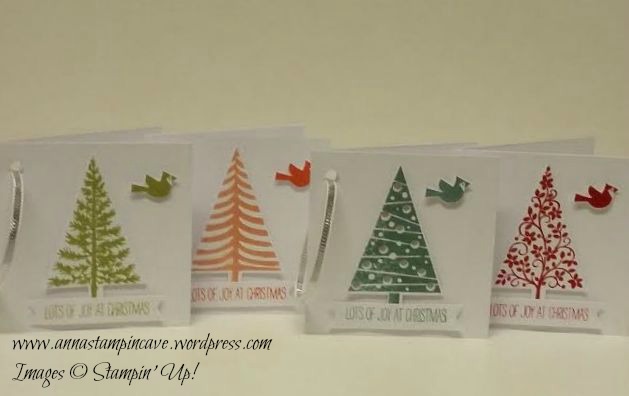
Aren’t they darn cute??!! To make them you don’t need any fancy equipment. All you need is a piece of card stock, ink pad, pair of scissors, Festival of Trees stamp set and coordinating punch, some dimensionals and ribbon.

lovely 3

For the base of each tag you need a piece of card stock that measure 2 6/8 x 5 4/8″ which is 7 x 14 cm. You can use any colour you like but I have used Whisper White.

lovely 5

When it comes to stamping possibilities are endless with this set. For the tags I show you today I’ve used not typical christmas colours:  Pear Pizzazz, Crisp Cantaloupe, Real Red and Lost Lagoon. And for each one I’ve used different stamp from Festival of Trees. This set consist 13  stamps and is fabulous 🙂

fe

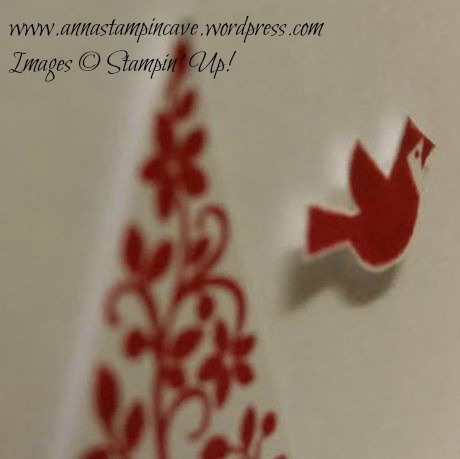
Now you only need to punch the trees out. If you don’t have a punch you can use scissors, but trust me the punch will make your life way much easier 🙂 To jazz up my tags a little bit I’ve stamped the sentiment and a bird that comes with a set using the same colours I’ve used with a trees. I fussy cut the birds…

lovely 2

…and sentiments turned into nice tiny banners 🙂

Lovely 1

I’ve assembled tags using dimensionals, but if you want everything more flat you can use any adhesive. But I really wanted them to stand out. Now just punch a little hole, tread some ribbon and tags are done! For mine I’ve used a piece of silver 1/8″ ribbon.

lovely 8

I really hope you like my little project. It really doesn’t take much time to put a bunch of these together. So if you like it please live a comment. Or maybe you want to try them yourself? Please share your pictures with me on my facebook page

Thank you for stopping by,