Creating Kindness Design Team Blog Hop – Guest Designer

Anna’ Stampin’ Cave – Creating Kindness Design Team Blog Hope – Guest Designer
Creating Kindness Design Team Blog Hop TEAMWORK

Oh my!! I’m so thrilled, and still can’t believe it: I’ve been asked to join absolutely amazing artists from the Creating Kindness Design Team in their November Blog Hop as a guest designer.

Our theme this month is TEAMWORK. Teamwork can go many ways and I decided to team up a few products:

  • Animal Outing Bundle with super fun and elegant Tropical Escape DSP. I think they are a perfect fit!
  • I also teamed up Stampin’ Write Markers with an Aqua Painter & acrylic block for a controlled water colouring.
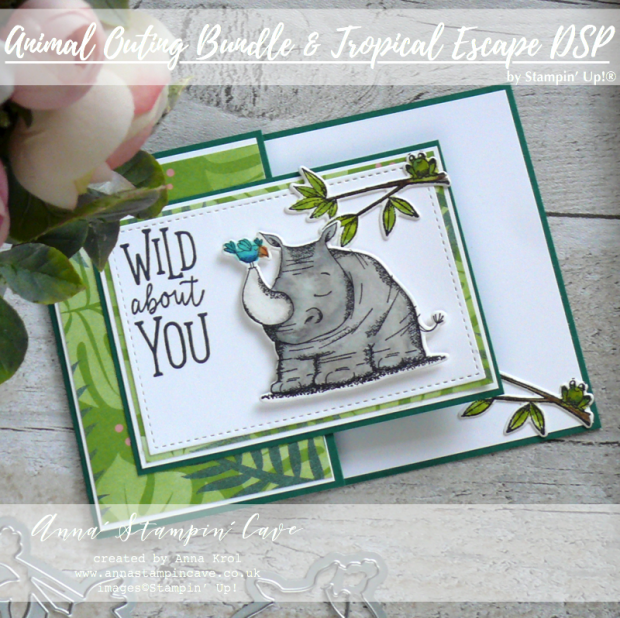
Anna' Stampin' Cave - Creating Kindness Design Team Blog Hop. Animal Outing Bundle with Tropical Escape DSP from Stampin' Up!

Wild About You card dimensions:

  • Shaded Spruce cardstock: 11-6/8″ x 4-1/8″ scored in half at 5-7/8″ & cut the bottom of the card front for the extra panel at 3″ x 4-1/8″
  • Whisper White reg. cardstock: 4″ x 5-6/8″ panel for the inside; for the mats: 2-5/8″ x 4″, 2-7/8″ x 4″ and for the sentiment a rectangle 3-6/8″ x 2-5/8″
  • Tropical Escape DSP for the mats (leafy/foliage design): 2-9/16″ x 3-7/8″ and 3-15/16″ x 2-6/8″
  • Watercolour Paper for stamping critters
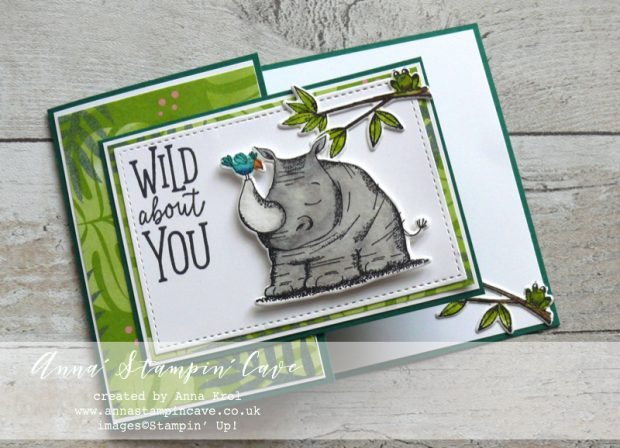
Anna' Stampin' Cave - Creating Kindness Design Team Blog Hop. Animal Outing Bundle with Tropical Escape DSP from Stampin' Up!

Watercolouring

For my card, I decided to use two images: an utterly cute rhino and a branch with an equally adorable tree frog. I stamped the branch twice to use one for the inside of my card.

I stamped all my images onto watercolour paper using black Stazon Ink.  Watercolour paper has a quite porous surface, so Stamparatus came with help to make sure all the images were stamped perfectly.

TIP: Stazon is the best ink to work with water/watercolour.

I watercolour all my critters using an aqua painter and Stampin’ Write Markers. I simply scribbled some colour onto an acrylic block and using it as a palette I picked the ink with an Aqua Painter. I love to watercolour and with this technique, there’s nearly no waste.

Colours I’ve used:

  • Rhino: Smoky Slate, Gray Granite and Basic Gray
  • the bird: Bermuda Bay, Pacific Point, Pumpkin Pie and Daffodil Delight
  • branches with frog:  Soft Suede, Early Espresso, Old Olive and Granny Apple Green

When all critters were to thoroughly dry, I die-cut them with coordinating dies from Animal Friends Thinlits Dies.

How-to: Partial die-cutting

For the large stitched rectangle I’ve used the largest square from the Stitched Shapes Framelits Dies and a partial die-cutting. You can find it explained here.

I stamped the sentiment in the top left corner of my die-cut rectangle. For the ease, I’ve used Black Memento Ink and Stamparatus. Why? Well, who else would want to mess up the stamping at this point?! lol

Anna' Stampin' Cave - Creating Kindness Design Team Blog Hop. Animal Outing Bundle with Tropical Escape DSP from Stampin' Up!

I assembled the card laying all mats together with the liquid glue. Also, my tree frogs on branches I adhered with liquid glue: one inside of the card and one just above the rhino on the front. And the rhino is the star of the card! I raised him with dimensionals in the centre of the front panel.

And that’s it from me for today. I hope you’ve enjoyed visiting my blog and that you like the card I created? I would love to hear your thoughts.

Below is the list of the fantastic Creating Kindness Team who organized this hop. So please, jump on and check all the fantastic inspiration. Honestly, you don’t want to miss it!

The next on the hop is amazingly talented Jenny Hall!! To visit her blog click the button below or just use the list!


As always, if you wish to purchase any of the products I have used, simply click the images below to go directly to my online store.
HOST CODE for the month of November is 326DJQHJ. Use this code to receive special rewards from me.


Product List

Aqua Painters

£16.00

Stamparatus

£46.00

Big Shot

£102.00

Pin me

Summary of the project which gives all the views of the card in one photo. I’d love if you pinned and called by on Pinterest xx
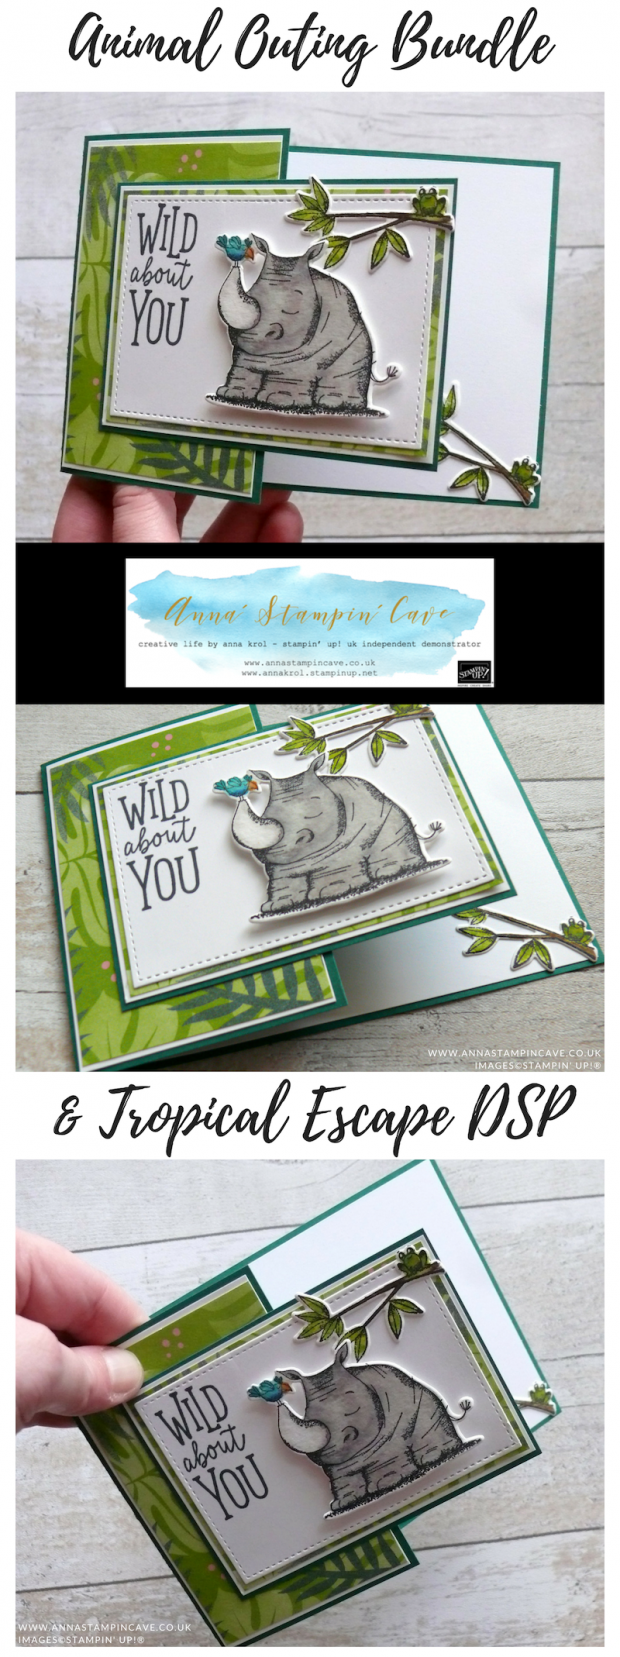
Anna' Stampin' Cave - Creating Kindness Design Team Blog Hop. Animal Outing Bundle with Tropical Escape DSP from Stampin' Up!


Colourful Striped Background For Global Design Project – I am Guest Designer

Anna’ Stampin’ Cave – Colourful Striped Background For Global Design Project – I am Guest Designer

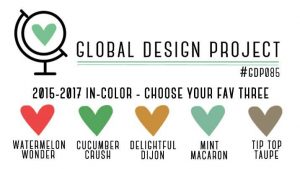
Hello, my friends! I am so excited as today I am a Guest Designer for Global Design Project. How amazing is that?! I’m so humbled and honoured that GDP team has chosen me to join them for this week’s Colour Challenge. And boy, what a great colours we have to play with!

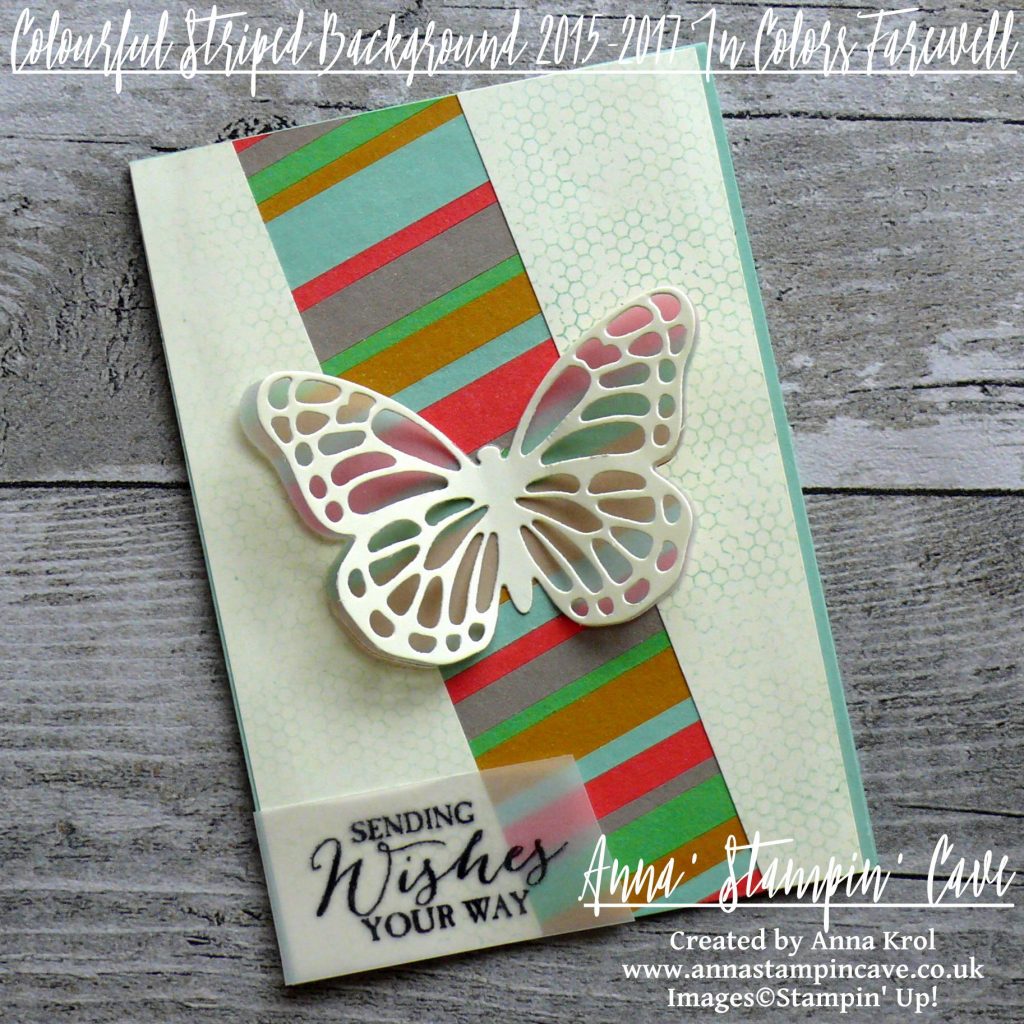
Choose your fav three wasn’t an option for me because I love all of these and wouldn’t know which to choose, to be honest. So I decided to be a rebel and for my project today I’ve used all five. Let’s say this post is a farewell to these beautiful In Colours.

Colourful Striped Background card dimensions:

  • Mint Macaron cardstock: 11-6/8″ x 4-1/8″ scored in half at 5-7/8″ (29.7 x 10.5 cm scored in half at 14.8 cm)
  • Very Vanilla cardstock: two panels, one for the card front, one for the inside of the card 5-7/8″ x 4″ (14.8 cm x 10.2 cm) each
  • cardstock for building the background: 5-7/8″ x 3-1/2″ (14.8 cm x 8.9 cm)
  • scraps of cardstock in colours: Mint Macaron, Delightful Dijon, Watermelon Wonder, Cucumber Crush and Tip Top Taupe
  • White Vellum for stamping and die-cutting

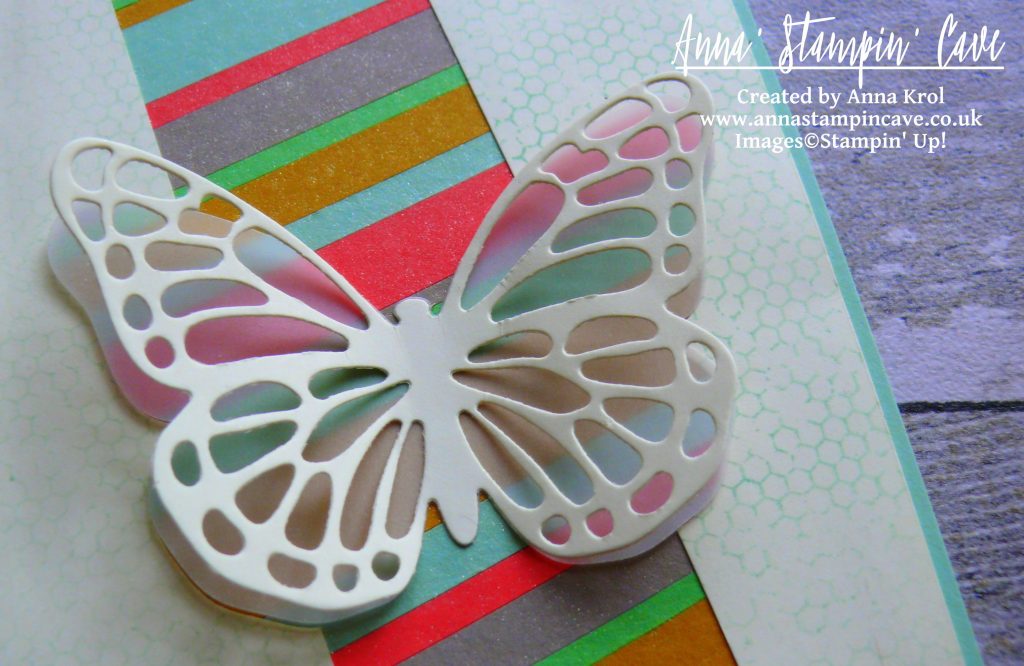
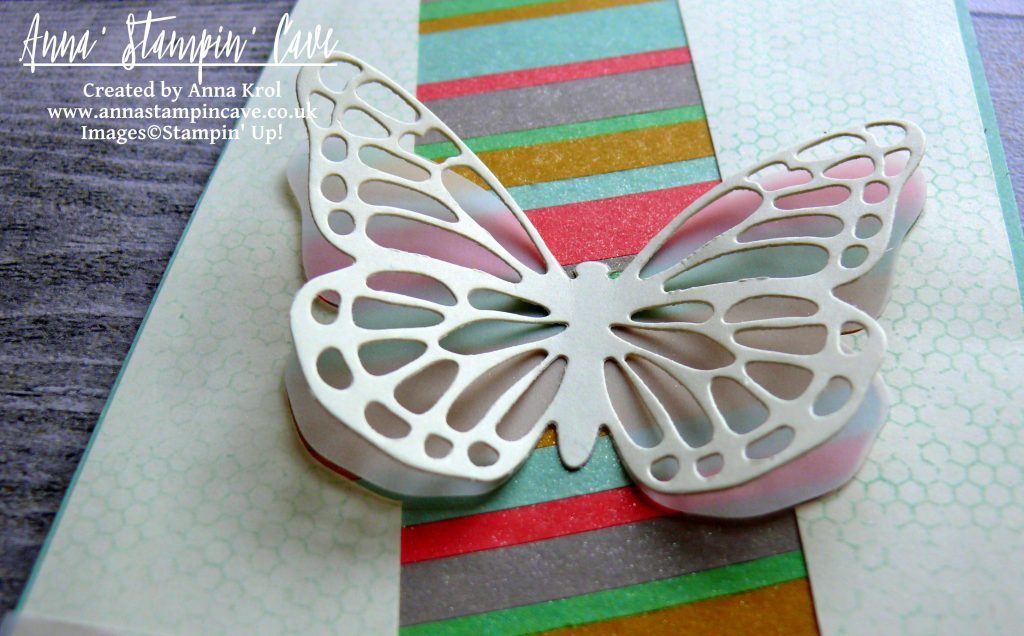
I started my card by creating this fun and colourful striped background. I took my scraps of cardstock of 2015-2017 In Colours and I cut it into strips of different widths. Next, I took a piece of cardstock (random colour as it won’t be seen anyway), covered it in glue,  using snail adhesive, and adhered my strips diagonally, mixing colours and widths, making sure there’s no space left in-between the strips. When the whole panel was covered, I trimmed any overhanging stripes.

Can you see the shimmer on this panel? I took empty spritzer bottle and fill it with water. Next, I took Clear Wink of Stella Glitter Brush and squeezed pretty few drops of it into the spritzer. I shake it really well, spritz my entire panel with this glittery mist and let it dry.

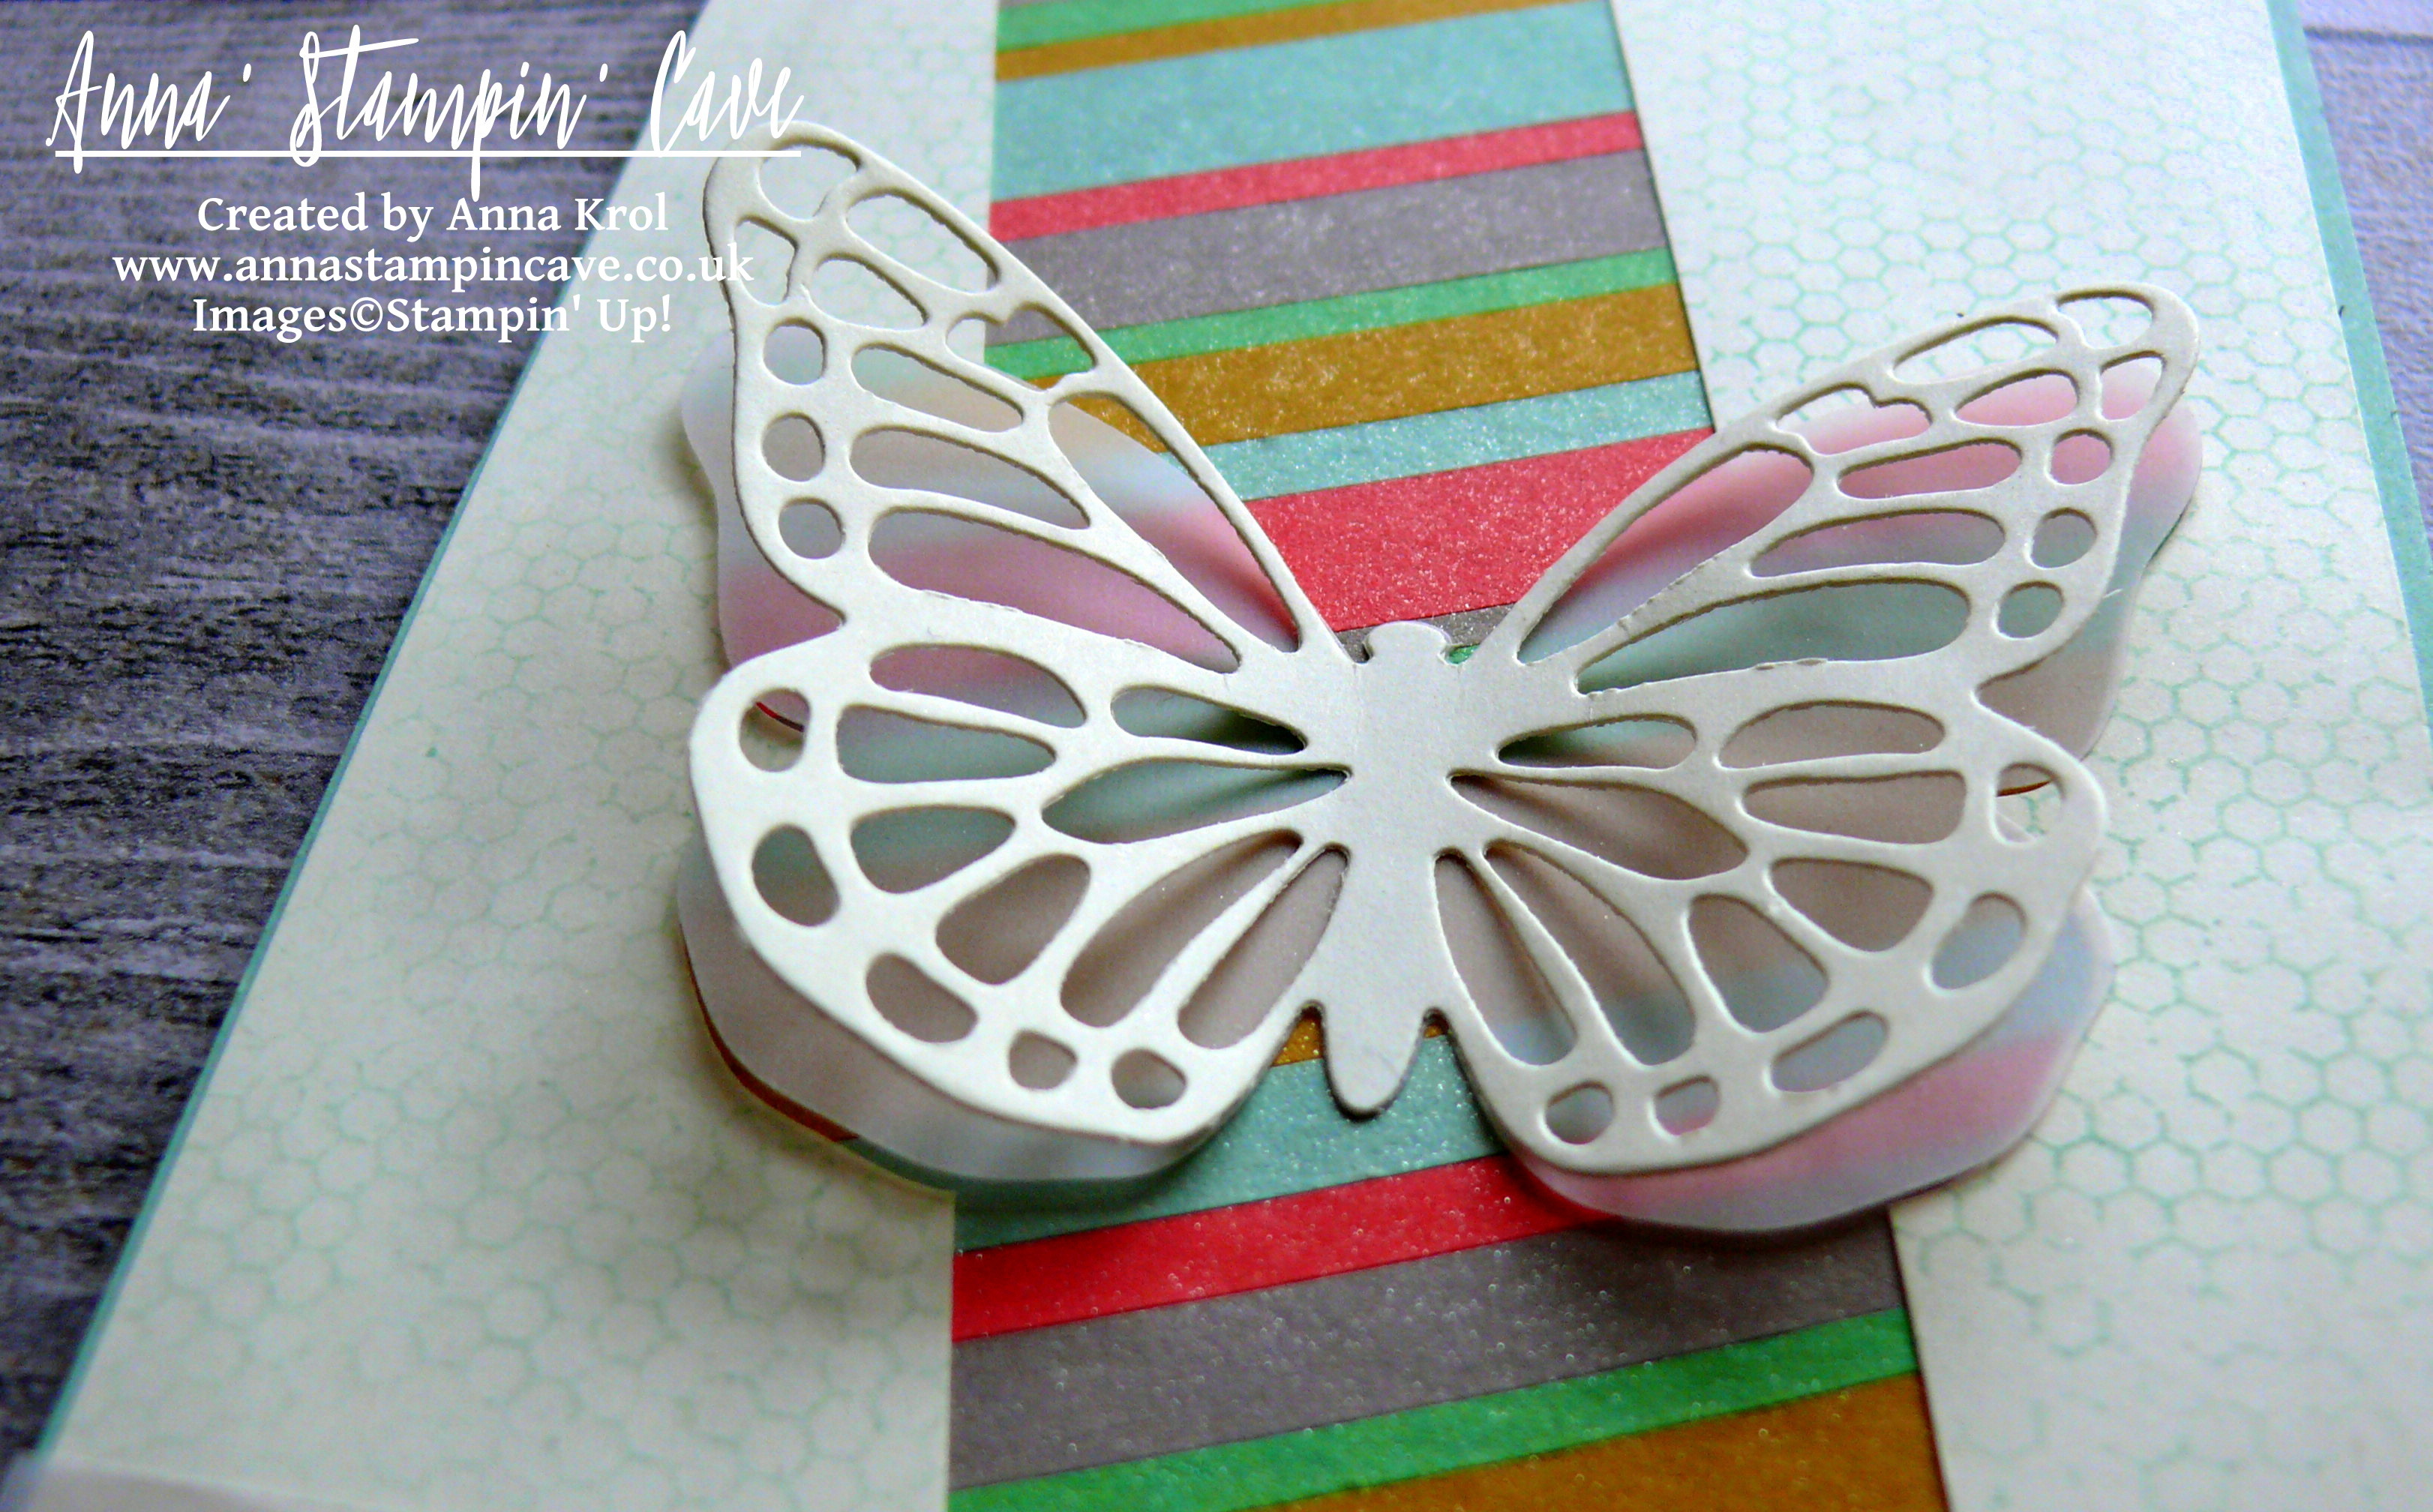
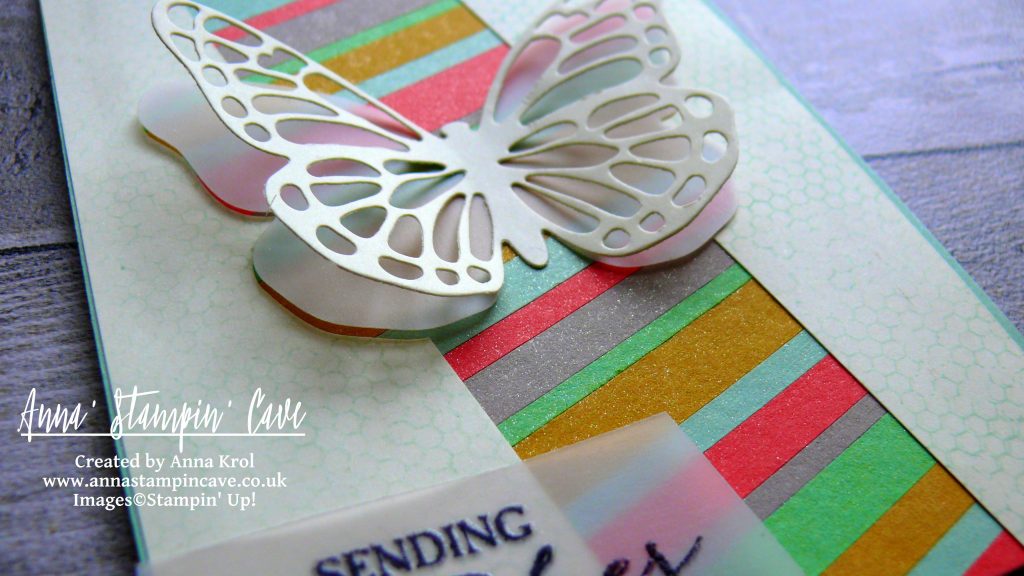
I took the Very Vanilla panel and die-cut this intricate butterfly from Butterflies Framelits Dies in the middle of it. I also die-cut solid butterfly from vellum using Bold Butterfly Framelit Dies.

Using t-ruler, I draw two diagonal (and parallel) lines at the back of my panel. Using these lines as guides, I cut my panel into three and discarded the middle piece. Next, I stamped this lovely chicken wire (kinda) pattern from Butterfly Basics Stamp Set all over the other two pieces. I stamped it in Mint Macaron and to create this faded look I stamp off twice before I stamped on the cardstock.

I adhered my Very Vanilla pieces to the background panel, with butterflies inlaid between them: vellum butterfly at the bottom and vanilla one on the top, and added the whole panel to the card base with liquid adhesive.

For the sentiment, I chose “Sending Wishes Your Way”, also from Butterfly Basics Stamp Set. I prepared vellum with embossing buddy, dabbed my stamp in Versamark and straight away in Basic Black Archival ink, and stamped it onto vellum. Sprinkled it with clear embossing powder and heat set it.  Adhered it to the card with few tiny drops of Fine-Tip Glue Pen. All that’s left was to add second Very Vanilla panel inside of the card. Done!

Once again I wanted to thank amazing GDP team for this opportunity and privilege, that I could showcase my project alongside such wonderful artists. Thank you from the bottom of my heart.

As always, I really want to encourage you to visit the Global Design Project challenge and play along. You too have a chance to be the next Guest Designer

Thank you for stopping by and have a blessed day,