Ink Smooshing With Bloomin’ Hearts Thinlits Dies

I have to say when I first saw Bloomin’ Hearts Thinlits Dies in new Stampin’ Up! Spring Summer Catalogue I couldn’t wait to put my hands on them and try ink smooshing technique.
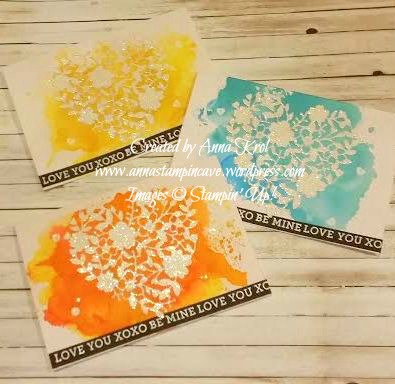
bloomin love 2

Aren’t these awesome?! And ink smooshing is childishly easy. All you need is a piece of acetate or craft mat, you can use a plastic packaging too (any sleek surface works really).
bloomin love yellow 2

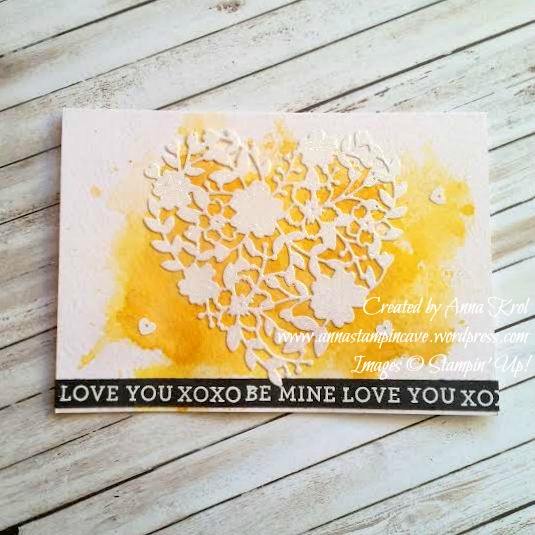
Then you choose the colours you want to use on your card and you simply smoosh them onto your surface. Spritz it with water and dip your card into the ink droplets. Let your card dry completely before you add more colour.
bloomin love yellow

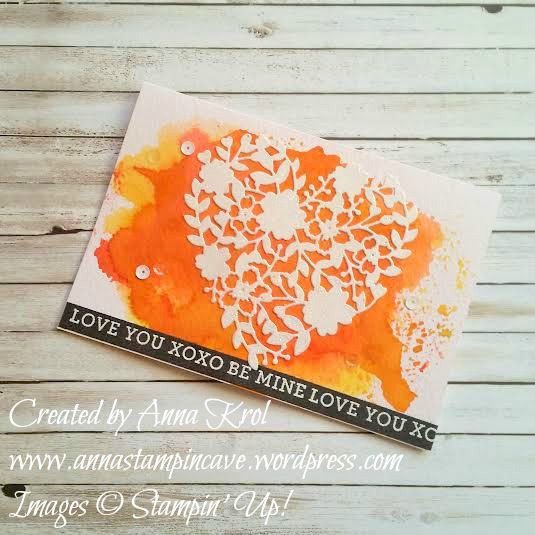
For my cards, I decided for really bright, intense colours. But you can make it as soft as you wish just add less ink and more water. And I have to say here I highly recommend using watercolour paper with this technique.
bloomin love orange 2

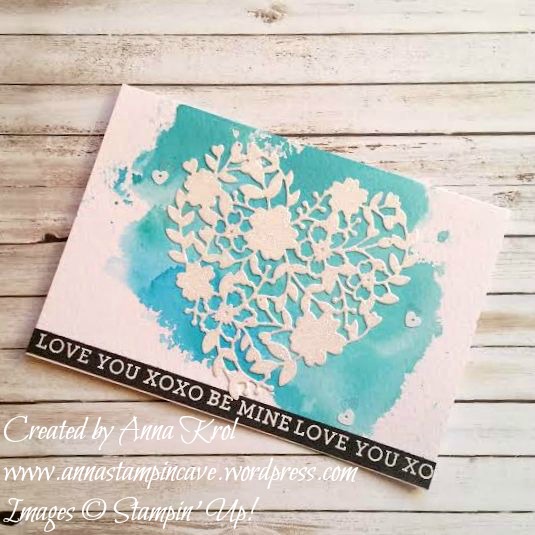
I’ve used the same design for all my cards. I die-cut hearts from a piece of Whisper White cardstock using Precision Base Plate. Trust me you need this plate! It’s perfect for more detailed thinlits dies to give you extra fine cuts. I saved the negatives (not tiny bits just “frames”) for another project.
bloomin love orange

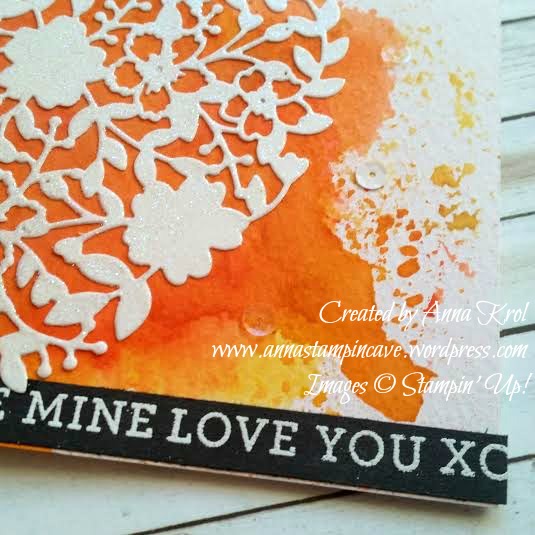
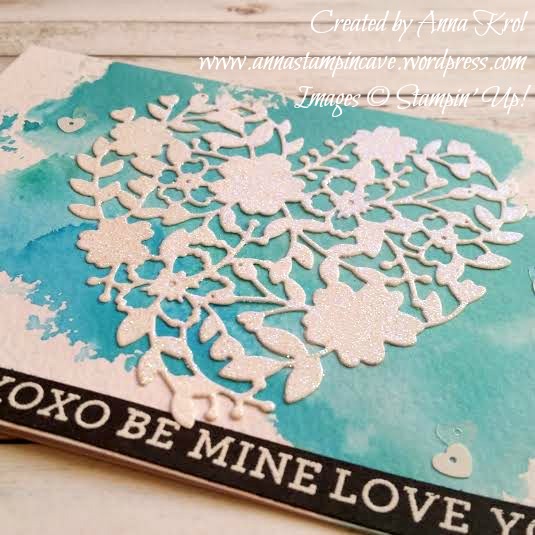
I then dabbed my die-cuts in Versamark and heat-embossed it with Iridescent Ice embossing powder. I love the gentle bling/shimmer it gives.
bloomin love blue 2

I wanted the sentiment to really stand out so I took a strip of Basic Black c/s and stamped my sentiments in Versamark and heat embossed them in white.
bloomin love blue

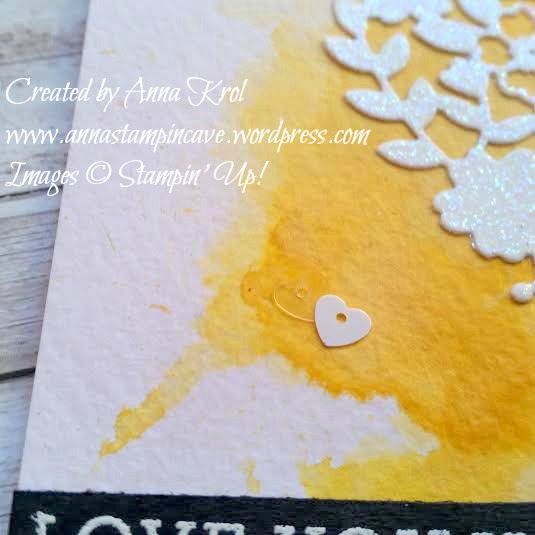
To finish off my cards I added few white and clear sequins from Metallics Sequin Assortment.

I love how these turned out,  really pleased! I know these are not typical cards you would think off for Valentine’s Day, but I love the unusual.

Thank you for stopping by,

Snow Friends For The Holidays!

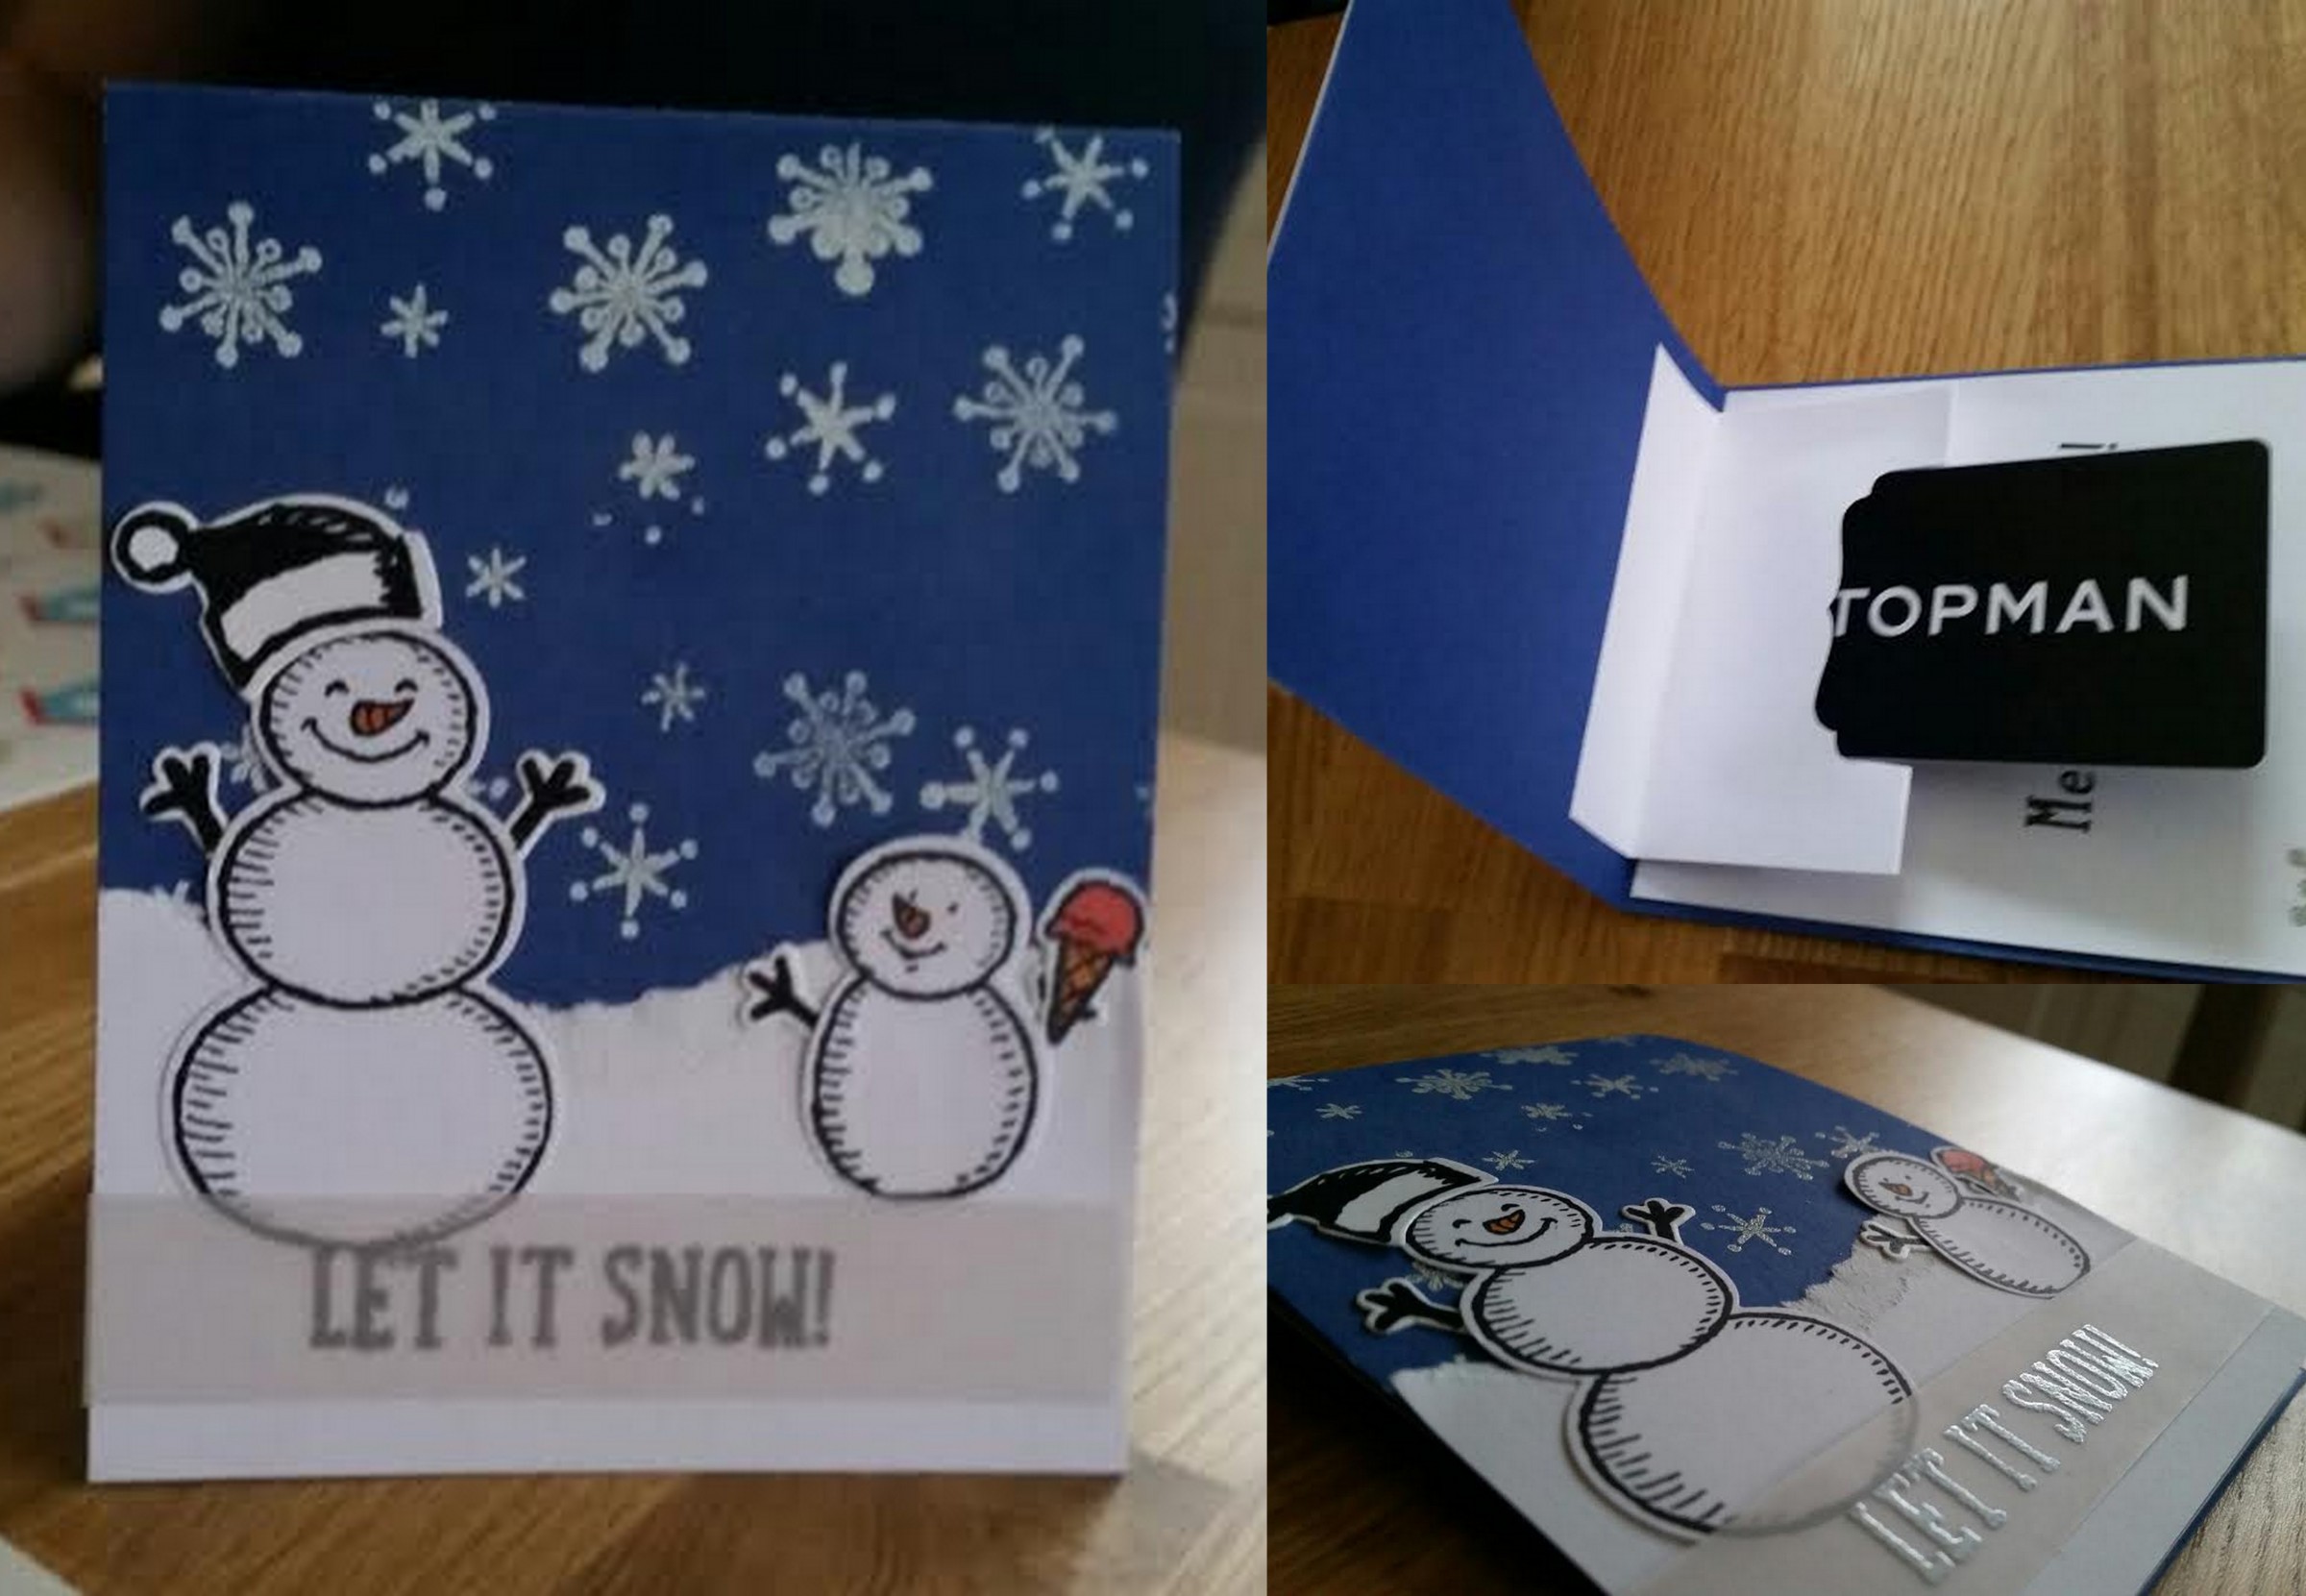
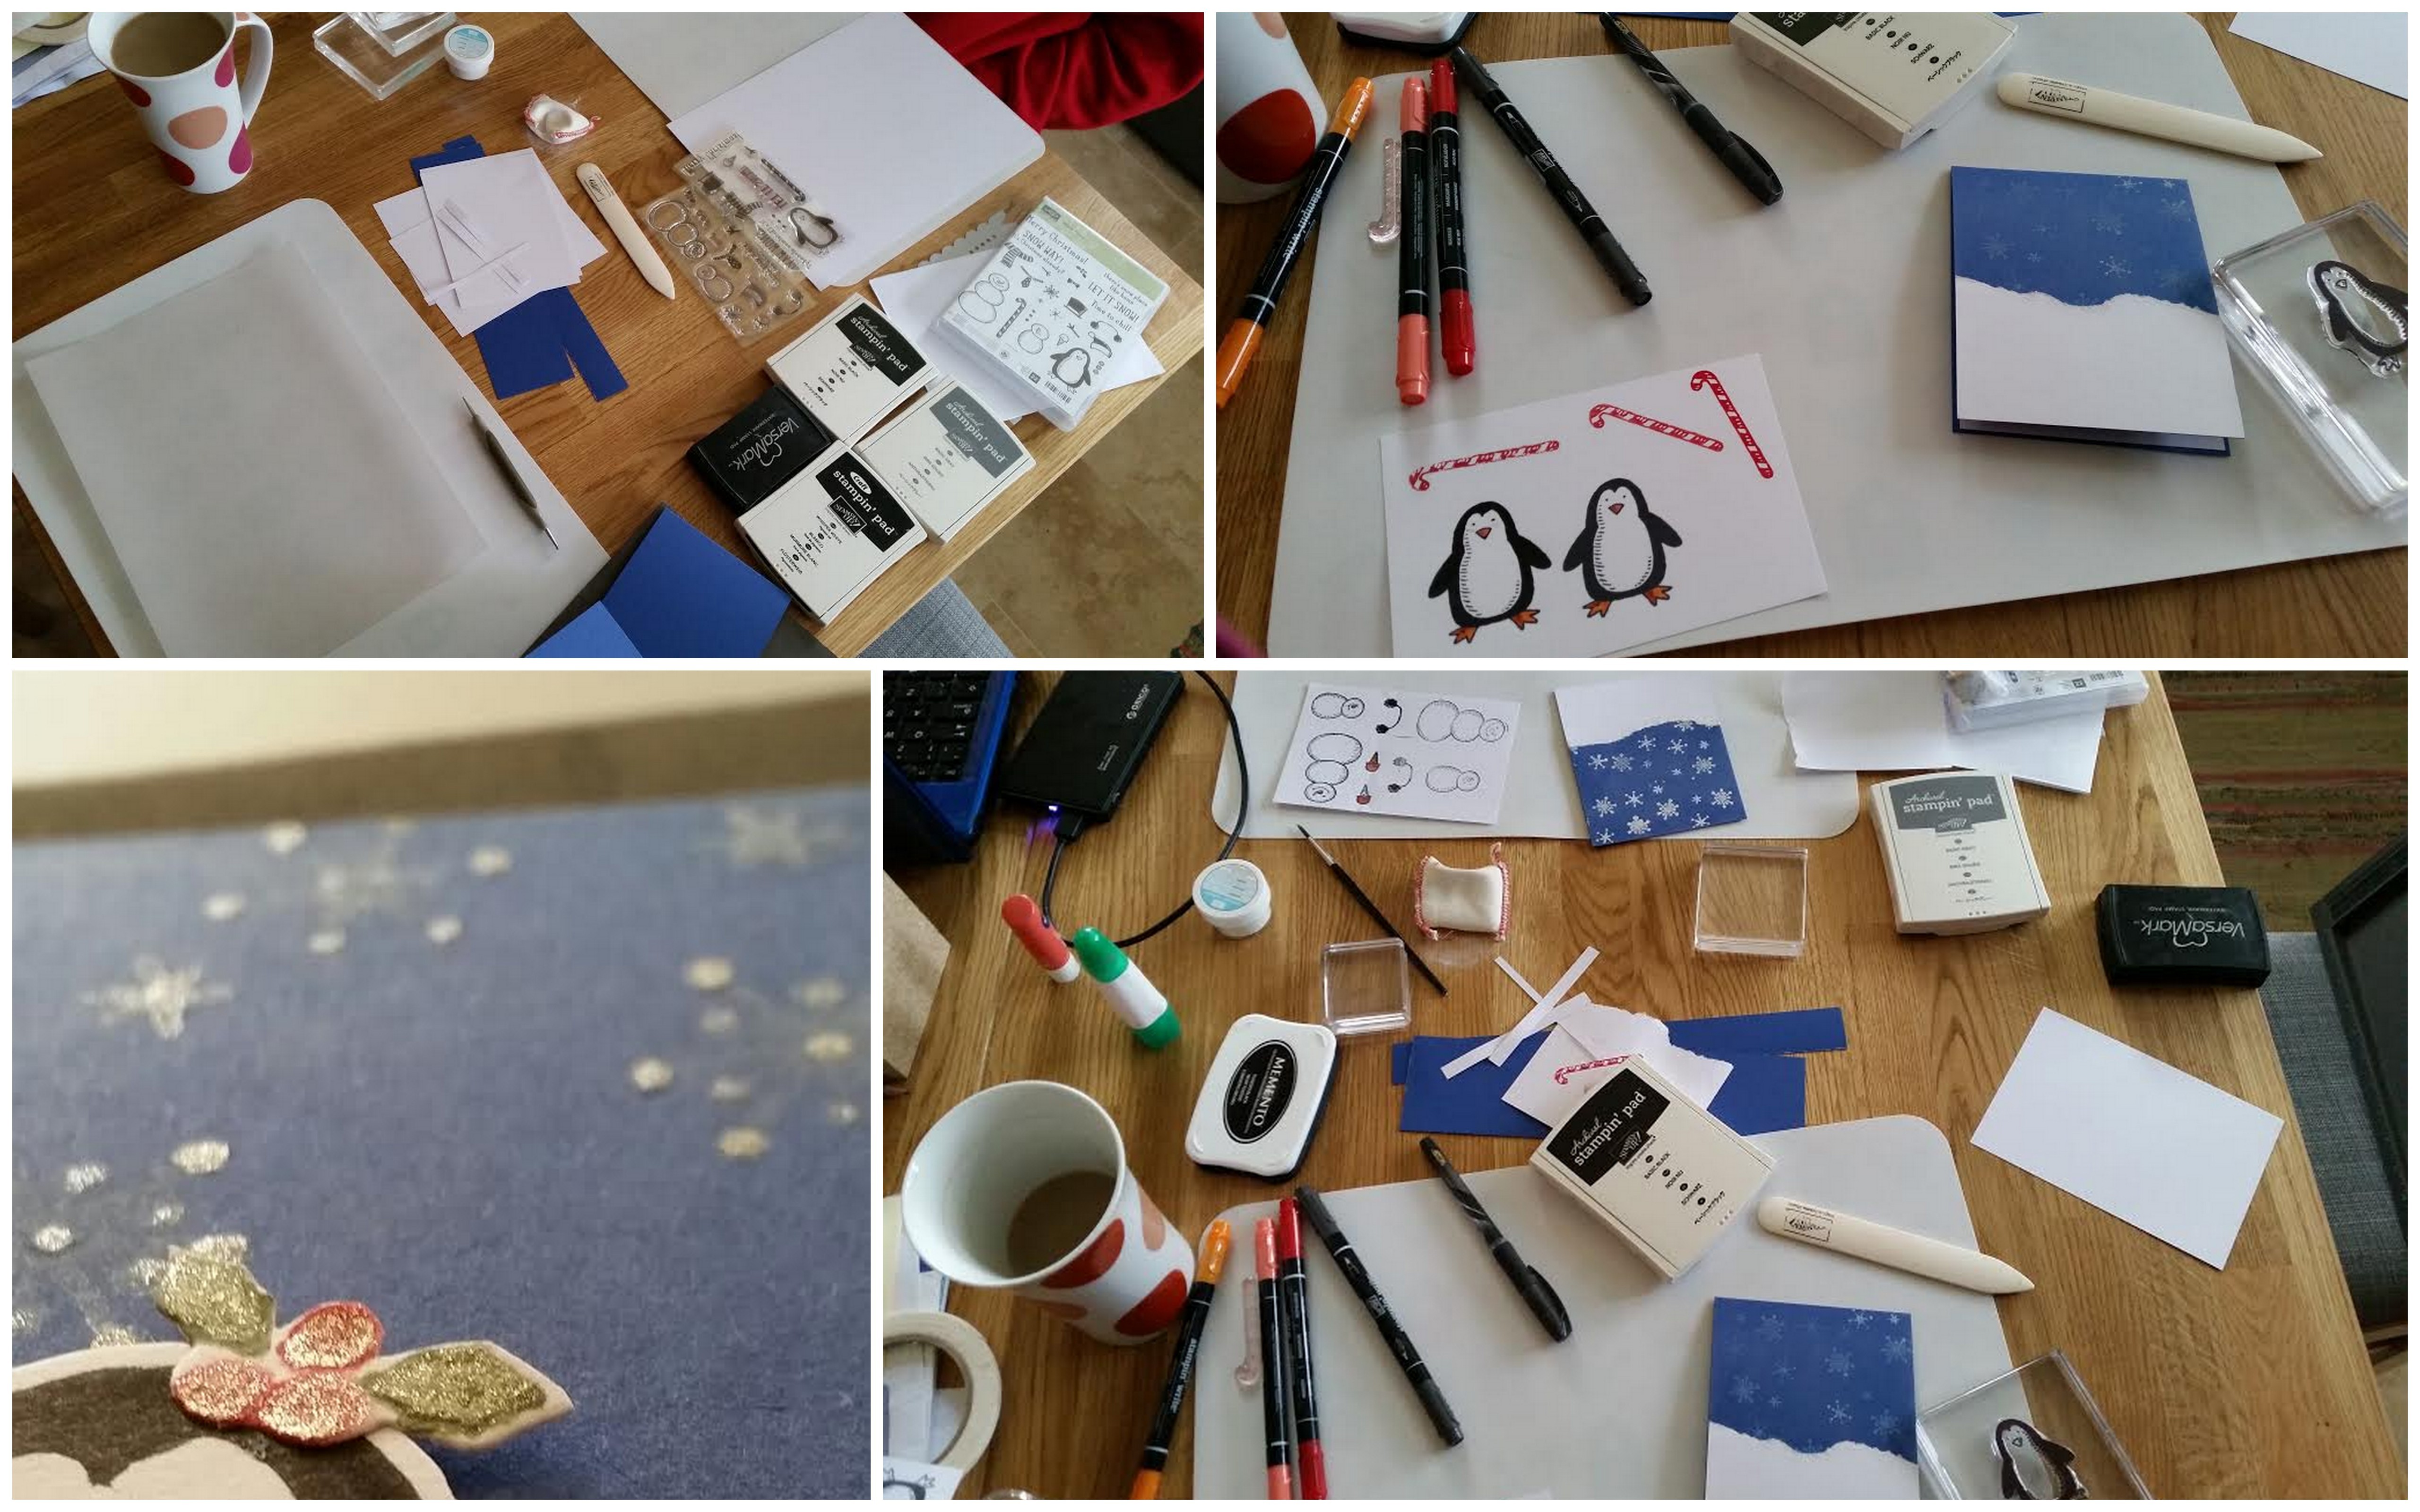
Howdy friends! How’s your weekend going? I had a lovely and quick crafty session with my little sister on Friday morning. She badly wanted to play with Snow Place bundle from Stampin’ Up before back home for a half term break at uni. So I sorted out some time to make a little crafty mess at my kitchen table.

Snow Friends Collage

Last time I used cute little snowmen so this time I decided to use Mr Penguin, or shall I say Mr & Mrs Penguin? haha Yep, I decided to make cute Mrs for our handsome friend, so he’s not feeling lonely at a Christmas time.

Snow Friends by Stampin' Up!

The card layout is pretty straightforward: top-folded base and a piece of the white panel inside for your writing. You also need a piece of white card for snow bank at the front of your card. You can die-cut it or use your scissors, but I just simply tear it. It adds some fun texture to the card.

Snow Friends by Stampin' Up!

You also need a piece of card for your stamping. And I have to mention here that there’s a lot of black in penguin, and it’s not that easy to get perfect impression/coverage. I tried two black ink pads I have: Memento Black and new Archival Stampin’ Up! Basic Black to get the best possible image. And although I love my Memento Black the best black and the really crisp impression I got while using Basic Black Archival ink.

Snow Friends by Stampin' Up!

When we had all of our images stamped we took it to my studio to die cut it with matching framelits. If you don’t have framelits or die-cutting machine fear not. Images are so simple that you can easily cut them by hand with a pair of good scissors. I actually hand-cut leaves with berries that Mrs Penguin has in her hair lol

I also used clear Wink Of Stella Glitter Brush to add shimmer to snowflakes, berries and leaves, Mrs Penguin’s beak and cheeks as well as white stripes on the candy cane.

Now just wanted to show you a project that my sister created. Firstly she wanted to make a cute card for her boyfriend. But when the card was finished she asked if there’s a way to make it into gift card holder, haha But hey, everything is possible! So I made a pocket to hold a gift card and attached it inside of her card. It may not be perfect but it’s made with love and that is what really matters.

That’s it from me for today. I really hope you like our cute little projects. We definitely had lots of fun crafting, getting inky and making a mess.

Have a blessed day,

Framelits Art Easter Bunny Card Using Hearts Collection Framelits Dies

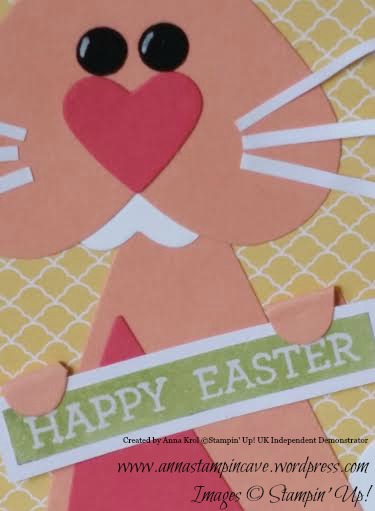
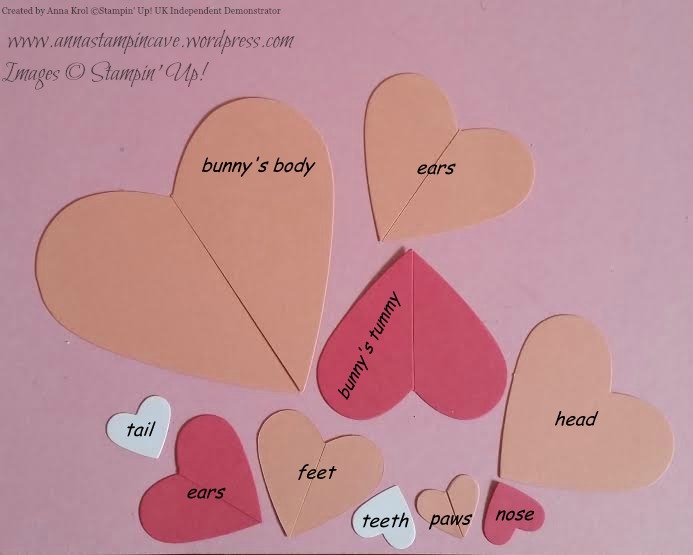
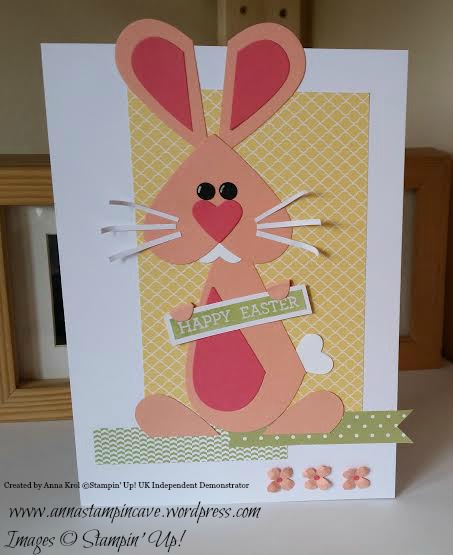
I usually don’t post everyday but today I felt well enough to spend some time in my *atelier* 😉 and made this fun and super easy Easter card. You all probably know what punch art is – you take various punches, punch different shapes, and then put them together to create some funny critter. My card today is framelits art. The idea isn’t mine – I’ve found it on sizzix blog. To make this adorable bunny you need various heart sizes. I used Hearts Collection Framelits Dies from Stampin’ Up! And you don’t have to figure out which sizes you need – I did all the work for you 😉

easter bunny

Here’s the list of the hearts/colours you need:

– smallest heart: 2 x whisper white, 1 x crisp cantaloupe, 1 x strawberry slush

– 2nd smallest: 1 x crisp cantaloupe, 1 x strawberry slush

– 3rd smallest: 2 x crisp cantaloupe, 1 x strawberry slush

– 5th heart: 1 x crisp cantaloupe

My card base is A5. I guess it’s possible to downsize it to A6, where the smallest heart would be from itty bitty accents punches. But I like it big 🙂 I assembled my bunny first, before put my card together (except paws and feet). For eyes I punched two medium circles from owl punch. I love his “bright”eyes 😉 I also cut few tiny strips of paper for whiskers.

easter bunny 4

For sentiment I stamped Happy Easter from Crazy About You in Versamark, heat embossed in clear and sponged with Pear Pizzazz. Then trimmed it and backed with slightly bigger piece of Whisper White. I adhered paws so it looks like a banner held by bunny.

easter bunny 2

To assemble my card I layered my card base with So Saffron DSP and two stripes/banners of Pear Pizzazz. I adhered my bunny, his feet and added paws with sentiment. Also added wee flowers in the right bottom corner and card was done.

I love this card and had lots of fun creating it 🙂 Hope you like it too. As always thank you for stopping by,
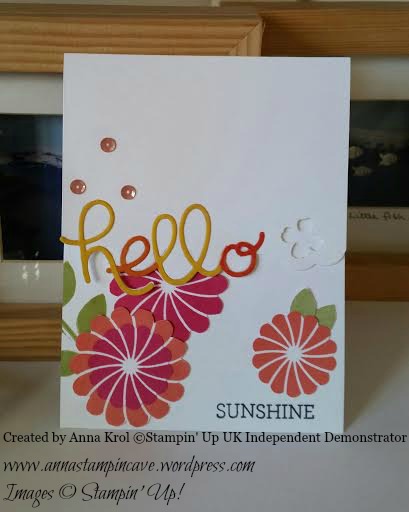
Hello Sunshine Card Using Crazy About You Stamp Set & Matching Dies By Stampin’ Up!

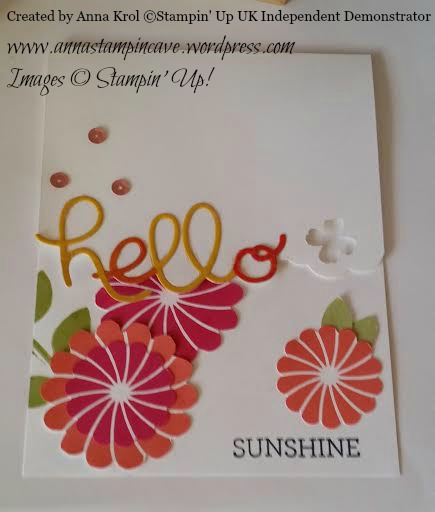
Hello everyone! Today I’ve got for you a card made using cool technique called partial diecuting. This technique I learned from Jennifer McGuire. You can check her YouTube Channel. So when I saw Crazy About You stamp set and matching Hello You thinlits in Spring/Summer catalogue I knew I have to try this technique! This stamp set is absolutely amazing! 


hello sunshine 2

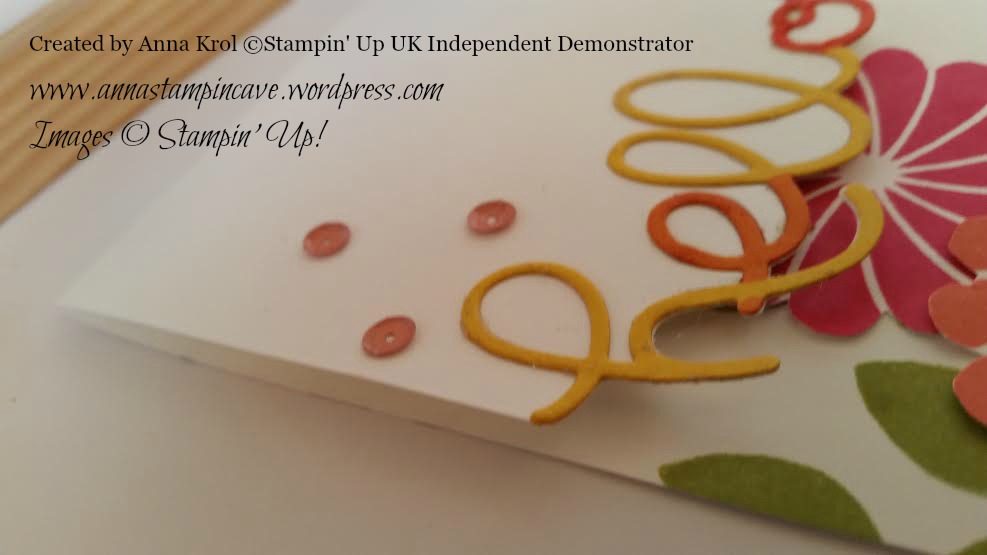
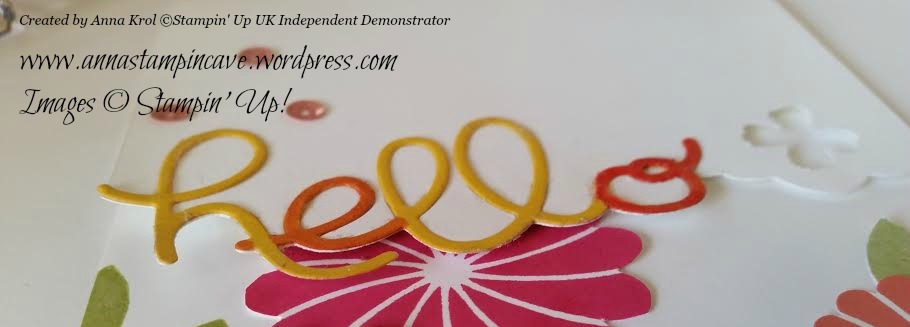
As you can see I partially diecut word hello, then I diecut whole word from Daffodil Delight and adhere it to the front of my card.

hello sunshine 1

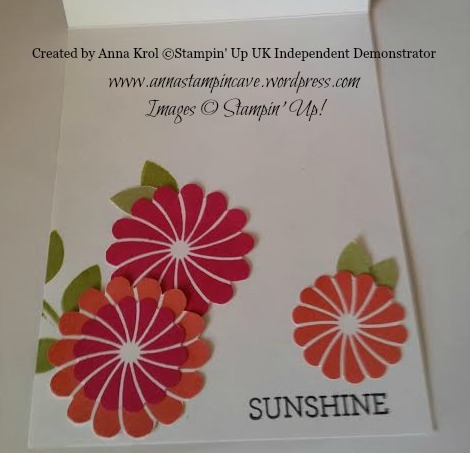
Large flowers are cut by hand with scissors, as I don’t have that punch yet (1 3/4″ Scallop Circle). Small flowers are punched with 1 1/4 Scallop Circle Punch.

hello sunshine 5

To add some definition to the flowers I stamped twig with leaves on some scrap piece of cardstock. I hand cut few of them and adhered them here and there.

hello sunshine 3

Letters e and o are coloured with Blendabilities I get for FREE as my Sale-A-Bration freebie 🙂 If you want to choose something different as you free SAB items you can purchase Blendabilities in our store. I will add links at the end of this post.

hello sunshine 4

I added few sequins and voila! – card is done! Really hope you like today’s project!

Thank you for stopping by!