Anna’ Stampin’ Cave – Global Design Project #082 Sketch Challenge Beautiful Message
Hello, everyone! Today I’m playing again with Global Design Project Sketch Challenge. But before I show you my take on the sketch I want to share with you some exciting news. My cards were among the winners at the last GDP Colour Challenge! Woo hoo! But that’s not all. I have also been chosen to be a Guest Designer in the next colour challenge! How cool and what a privilege?!

Totally unexpected; I’m still pinching myself 🙂 If you have not seen my winning cards, just click the button above.
But now let’s go back to today’s project.
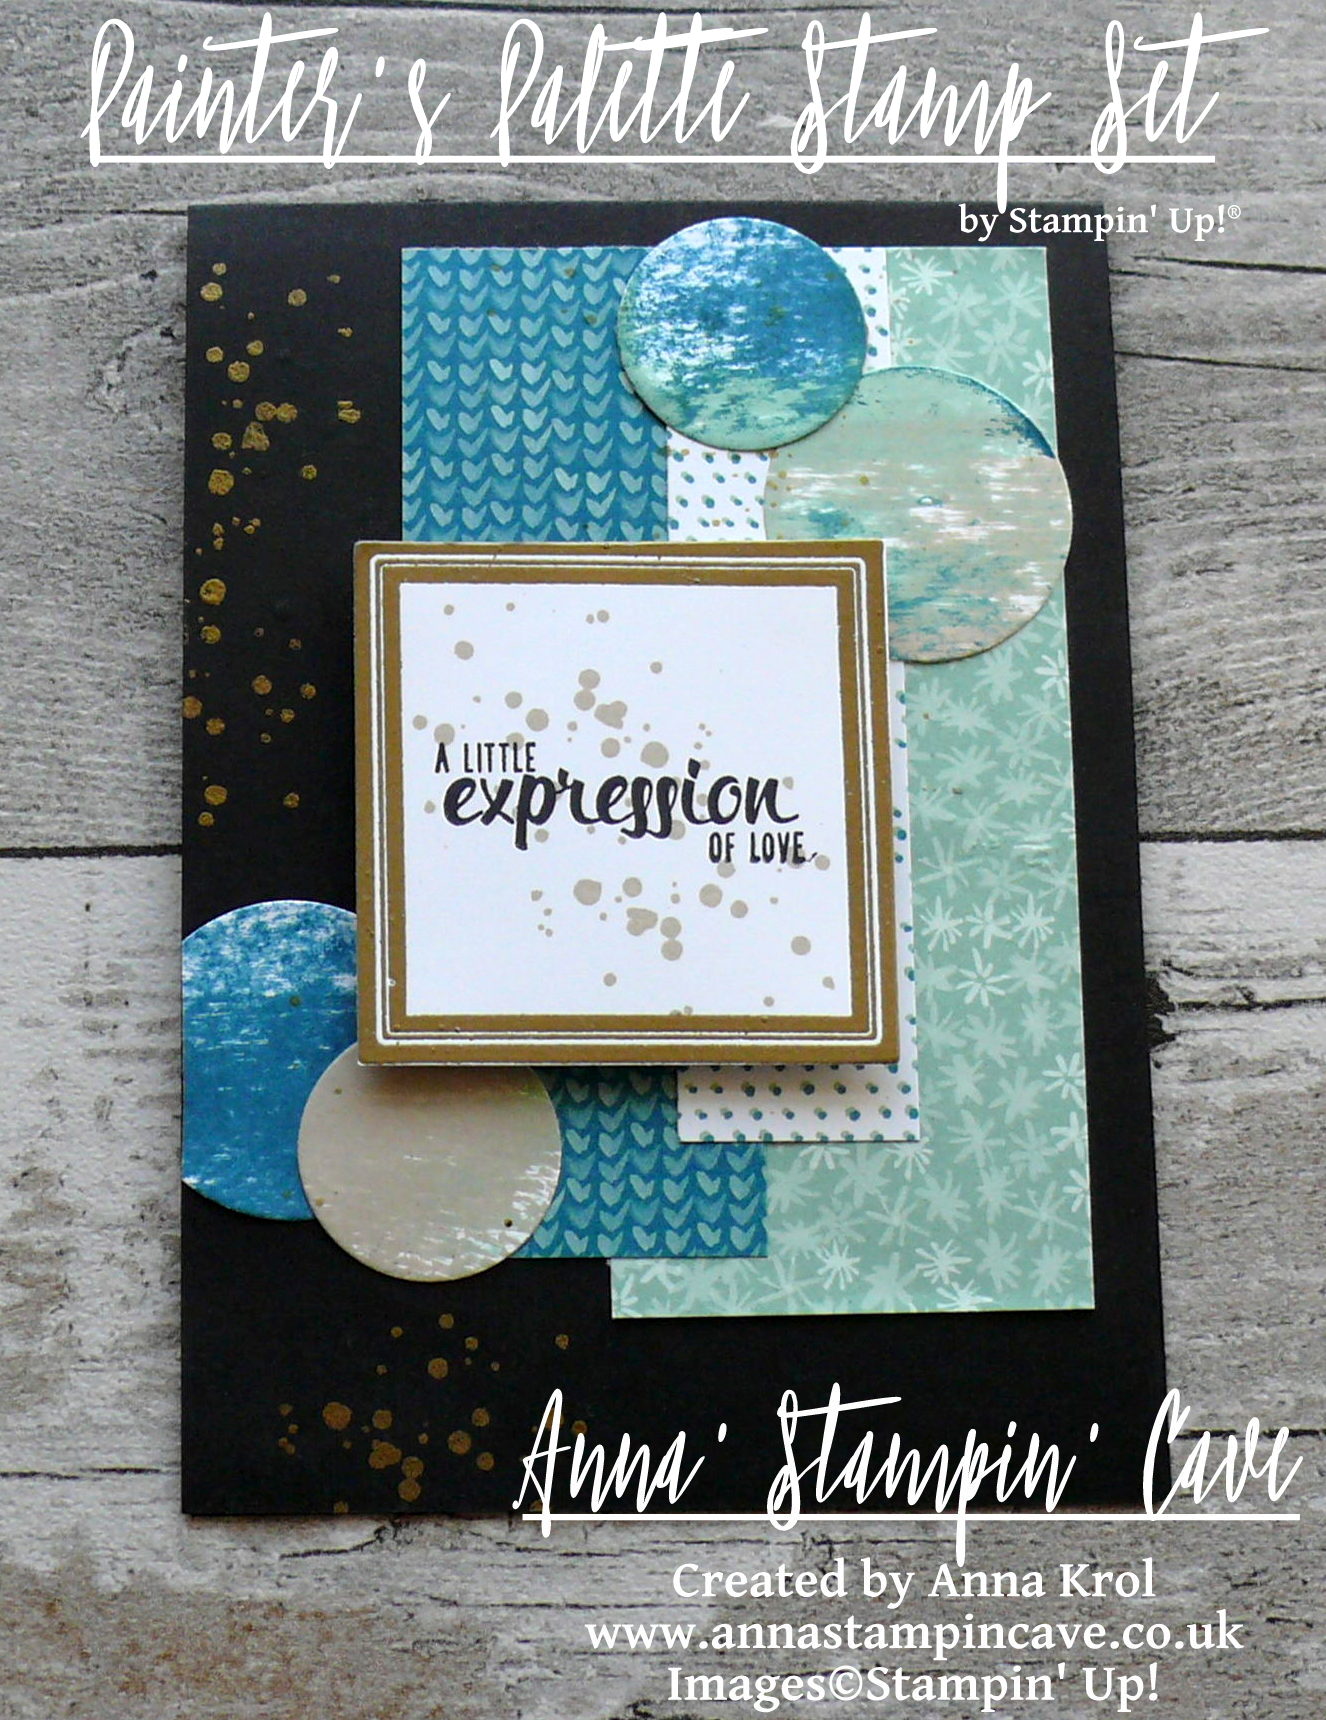
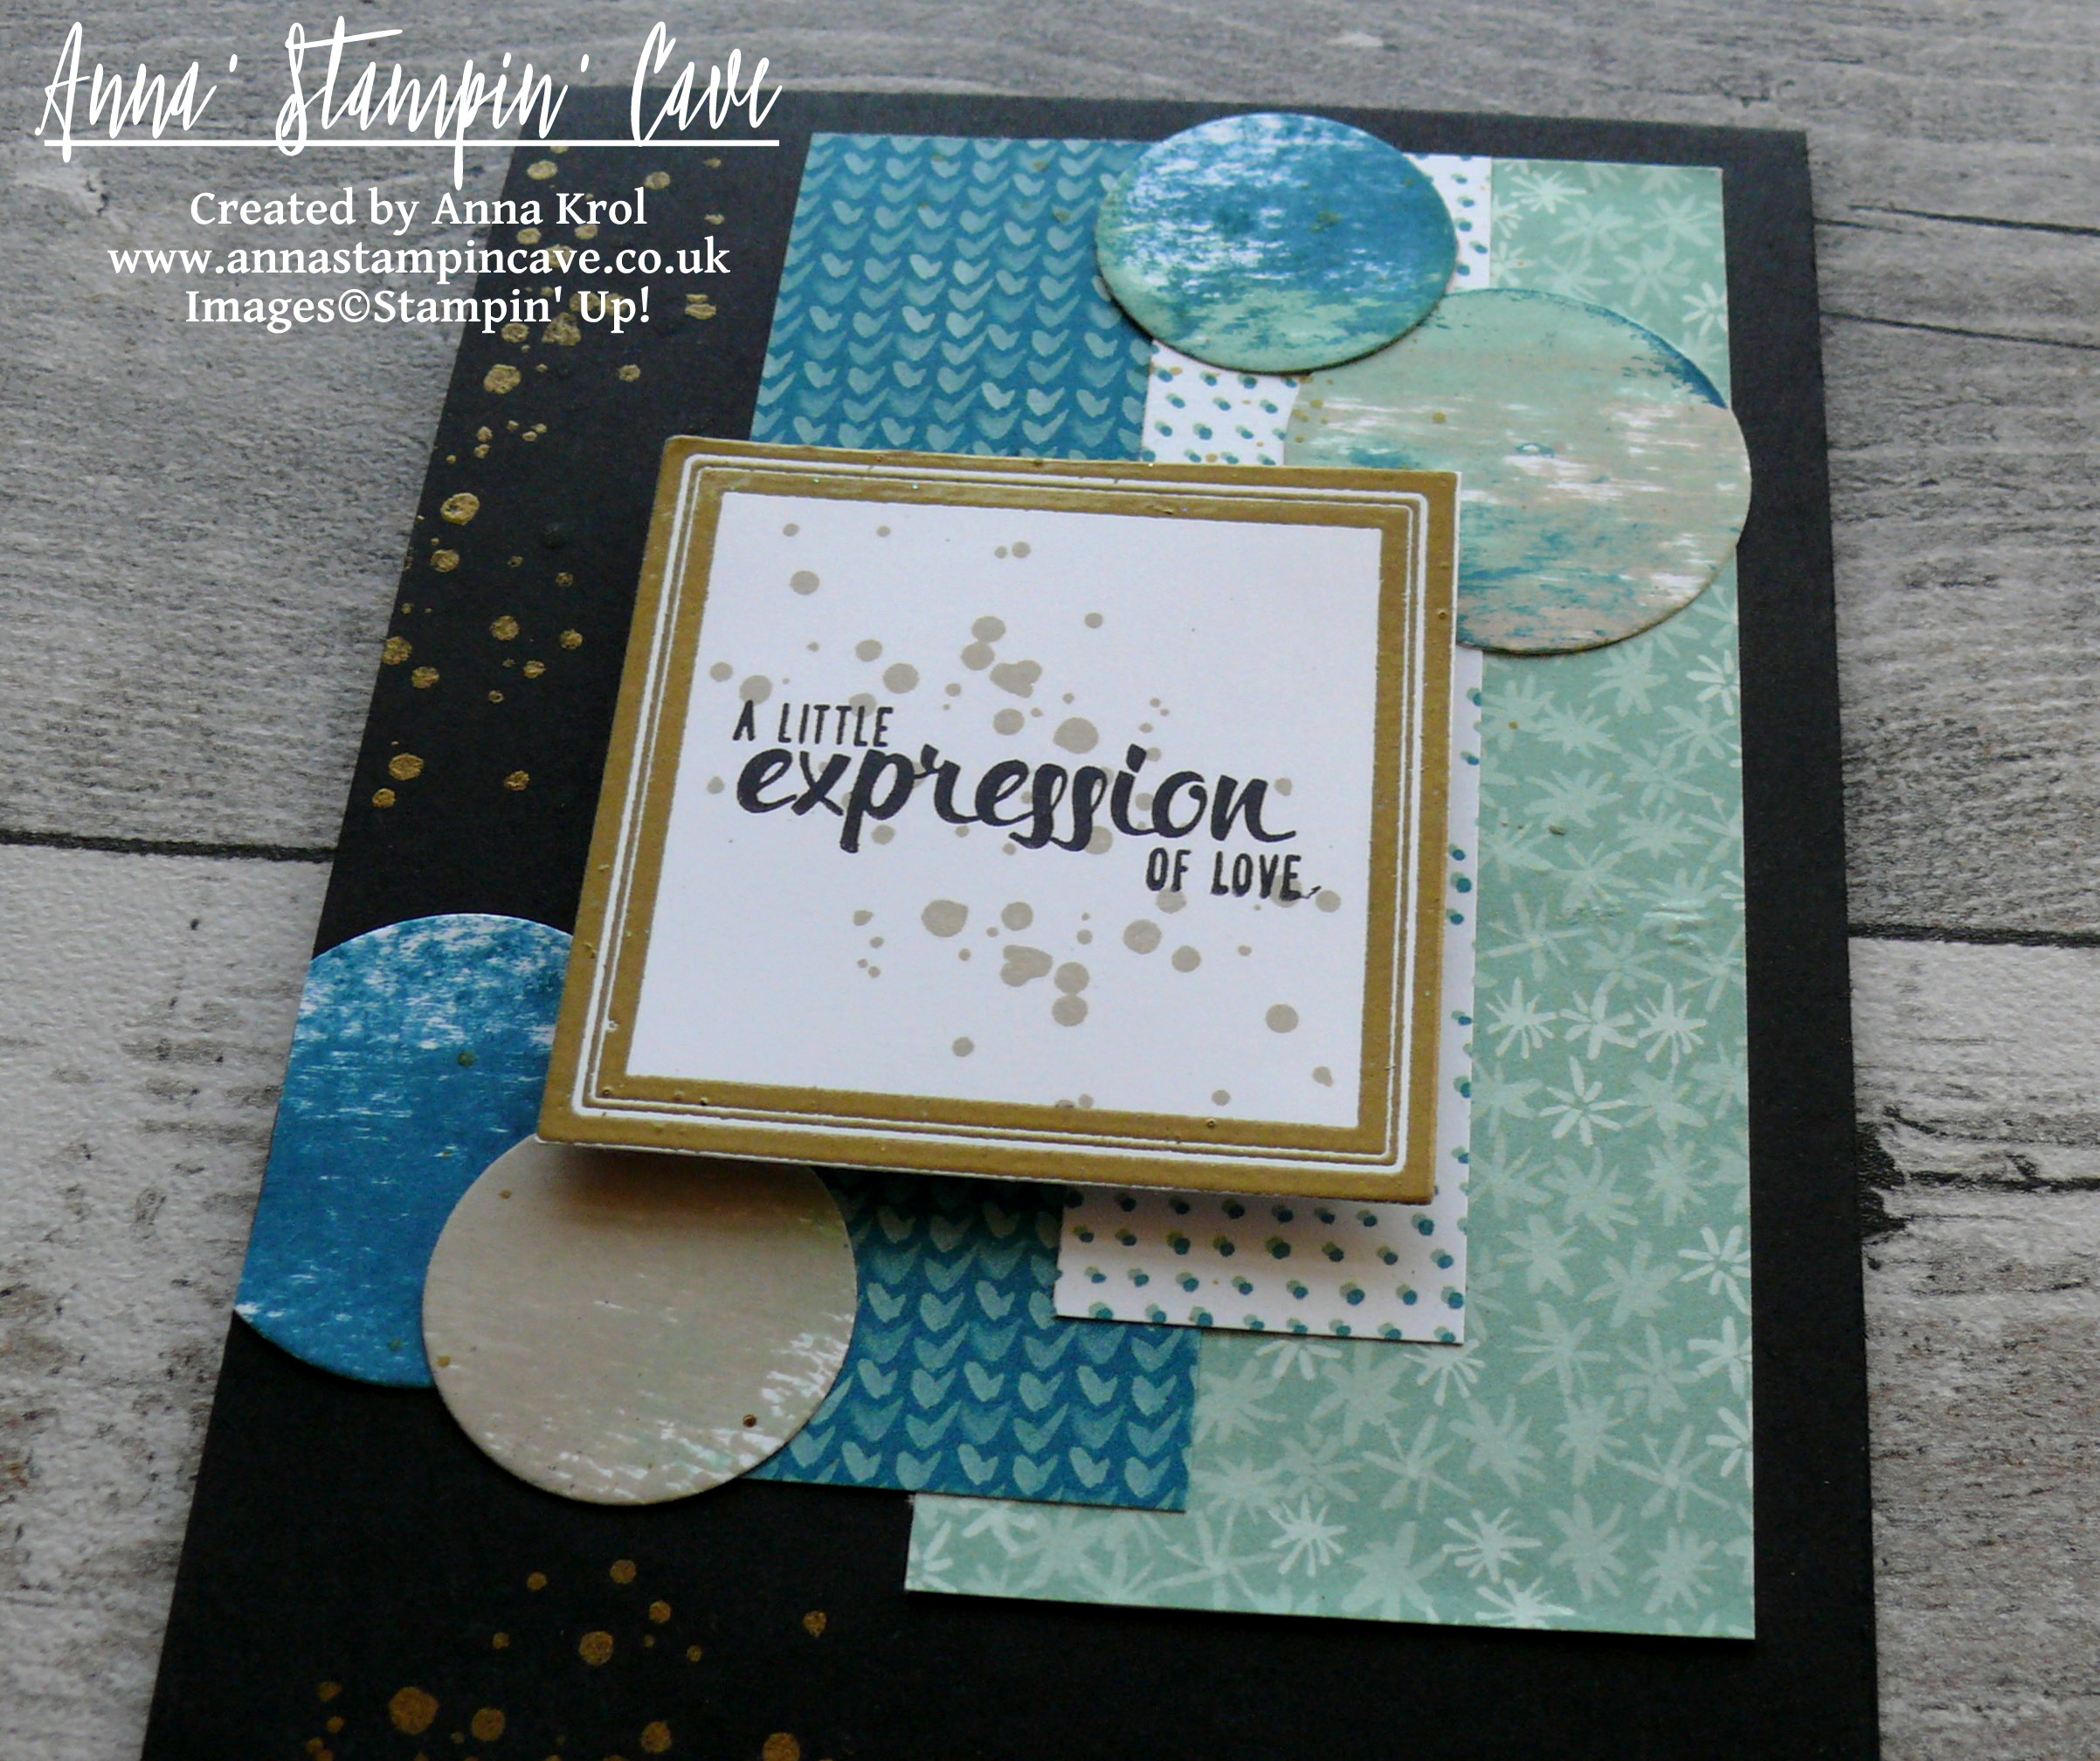
Today I’ve got for you this beautiful, clean & simple card with an amazing message from the Bible.
Beautiful Message card dimensions:
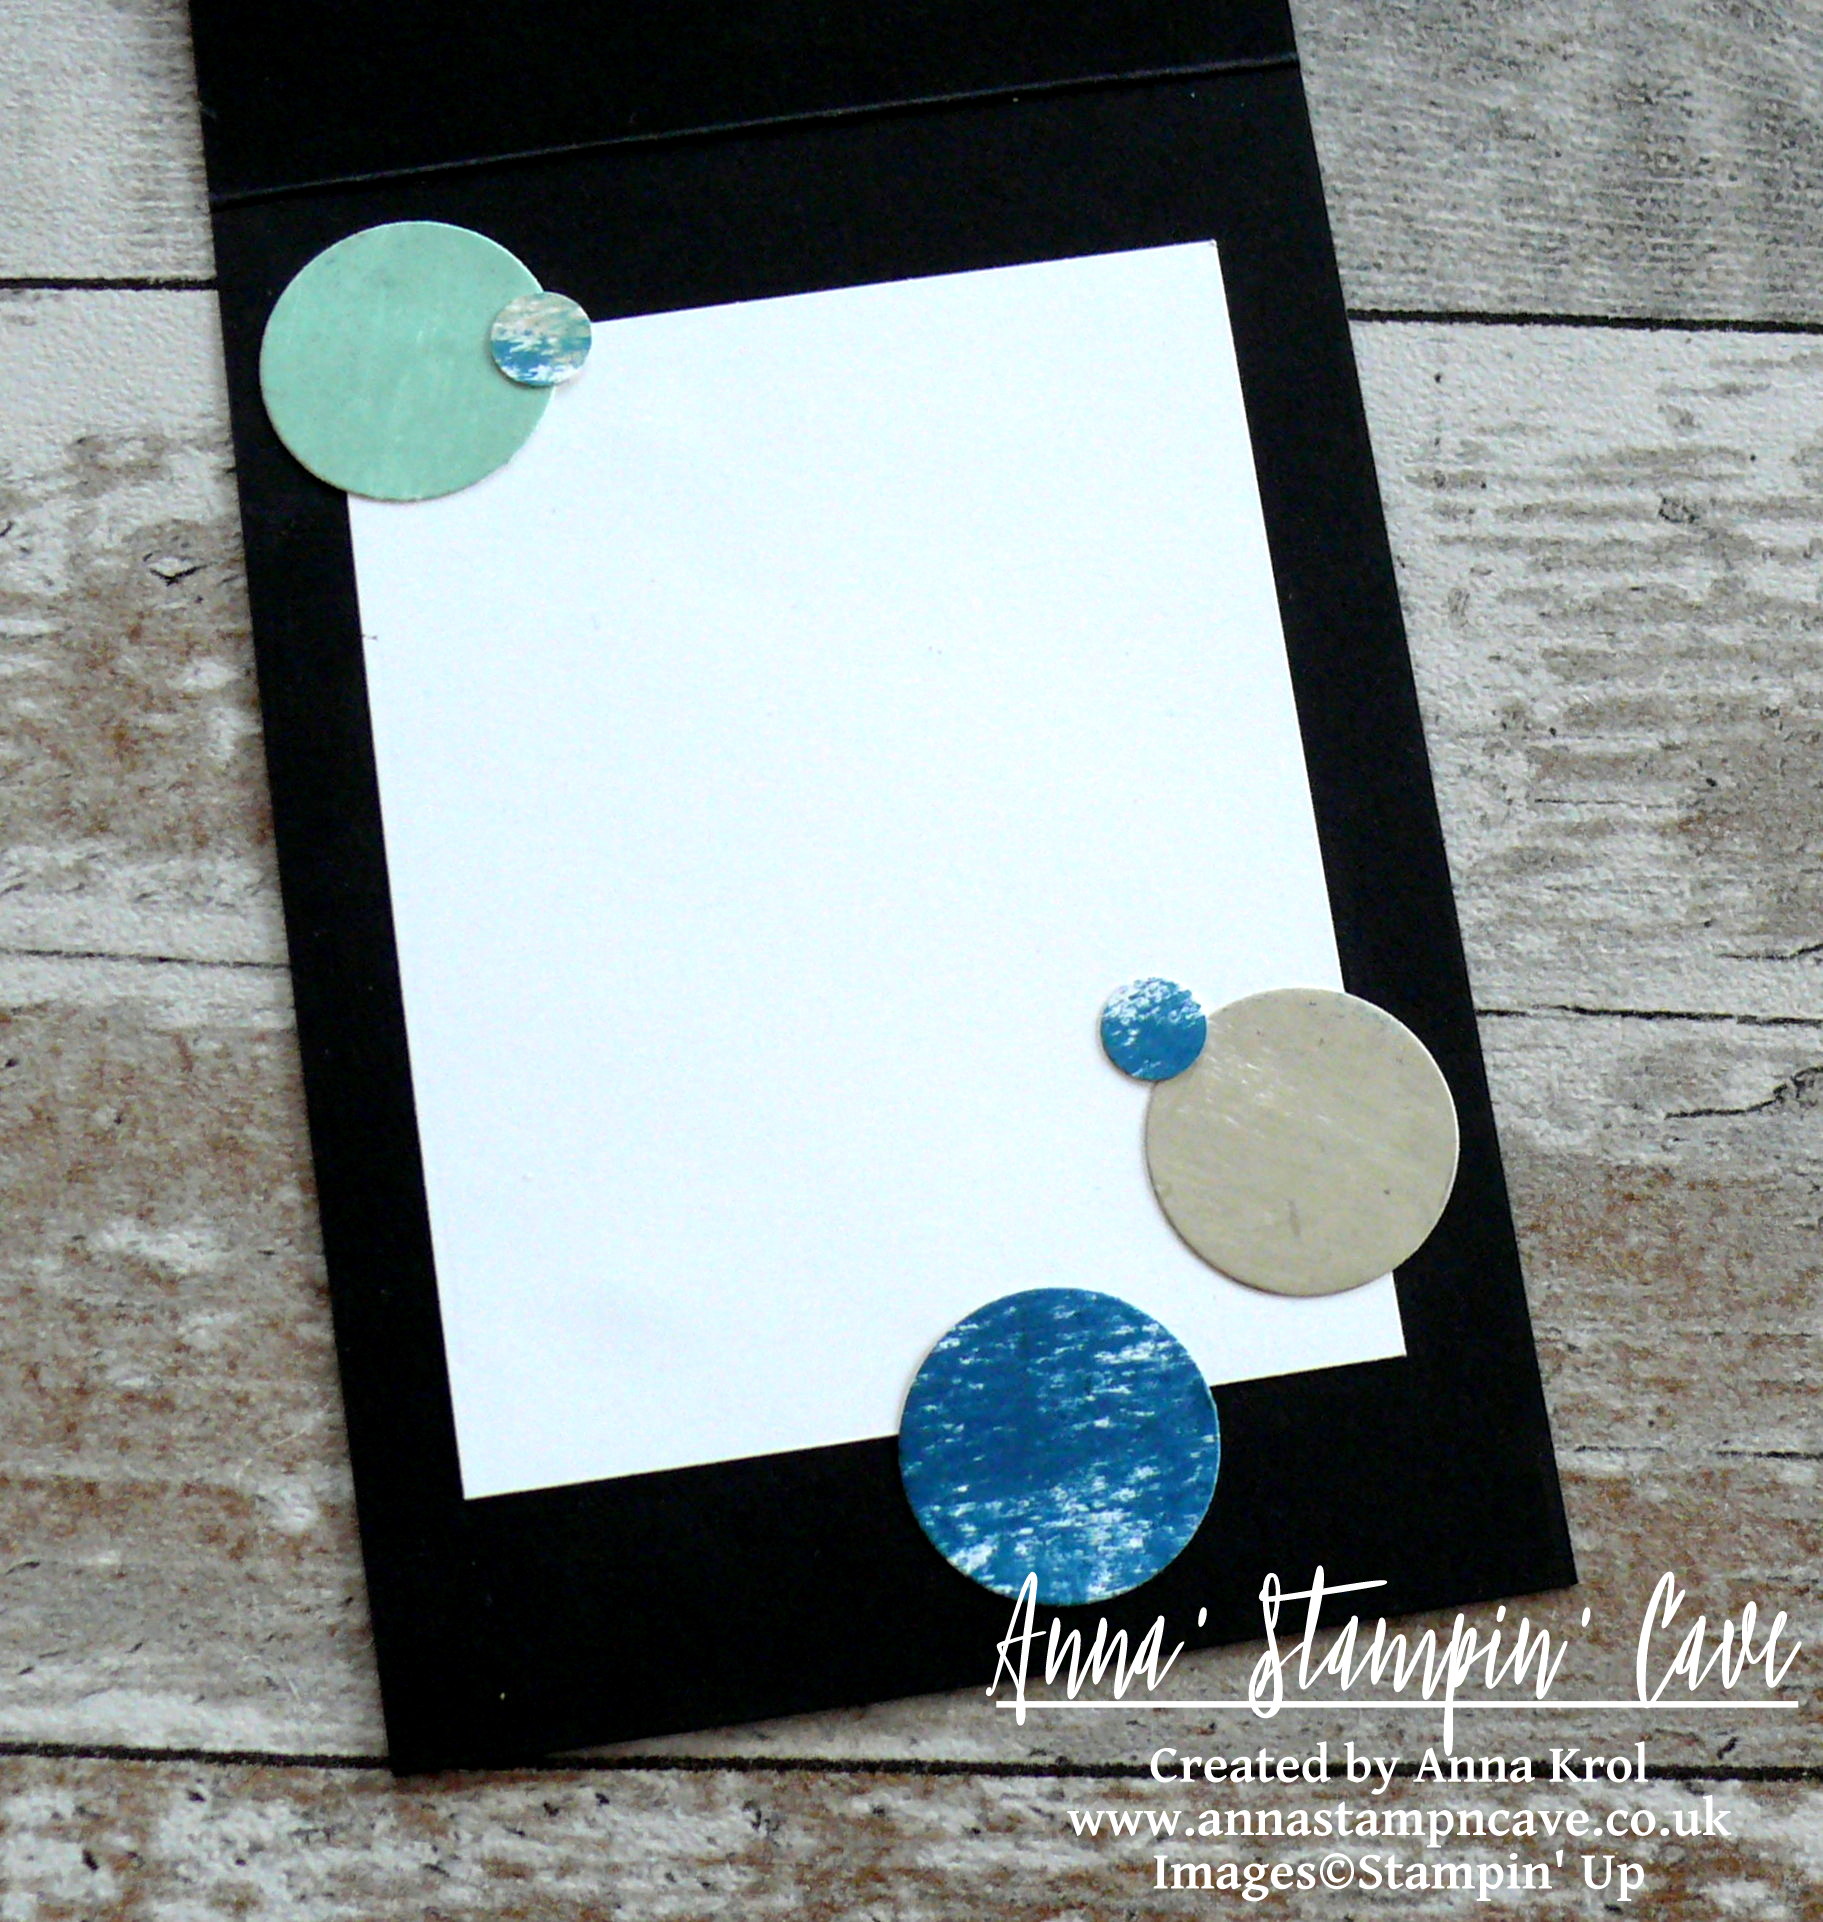
- Whisper White Thick cardstock: 11-6/8″ x 4-1/8″ scored in half at 5-7/8″ (29.7 x 10.5 cm scored in half at 14.8 cm)
- Mint Macaron cardstock: 5-7/8″ x 4″ (14.8 cm x 10.2 cm)
- Whisper White cardstock: 4-1/8″ x 2-2/8″ (10.4 cm x 5.7 cm)
- Gold Foil: 5-7/8″ x 1″ (14.8 cm x 2.5 cm)
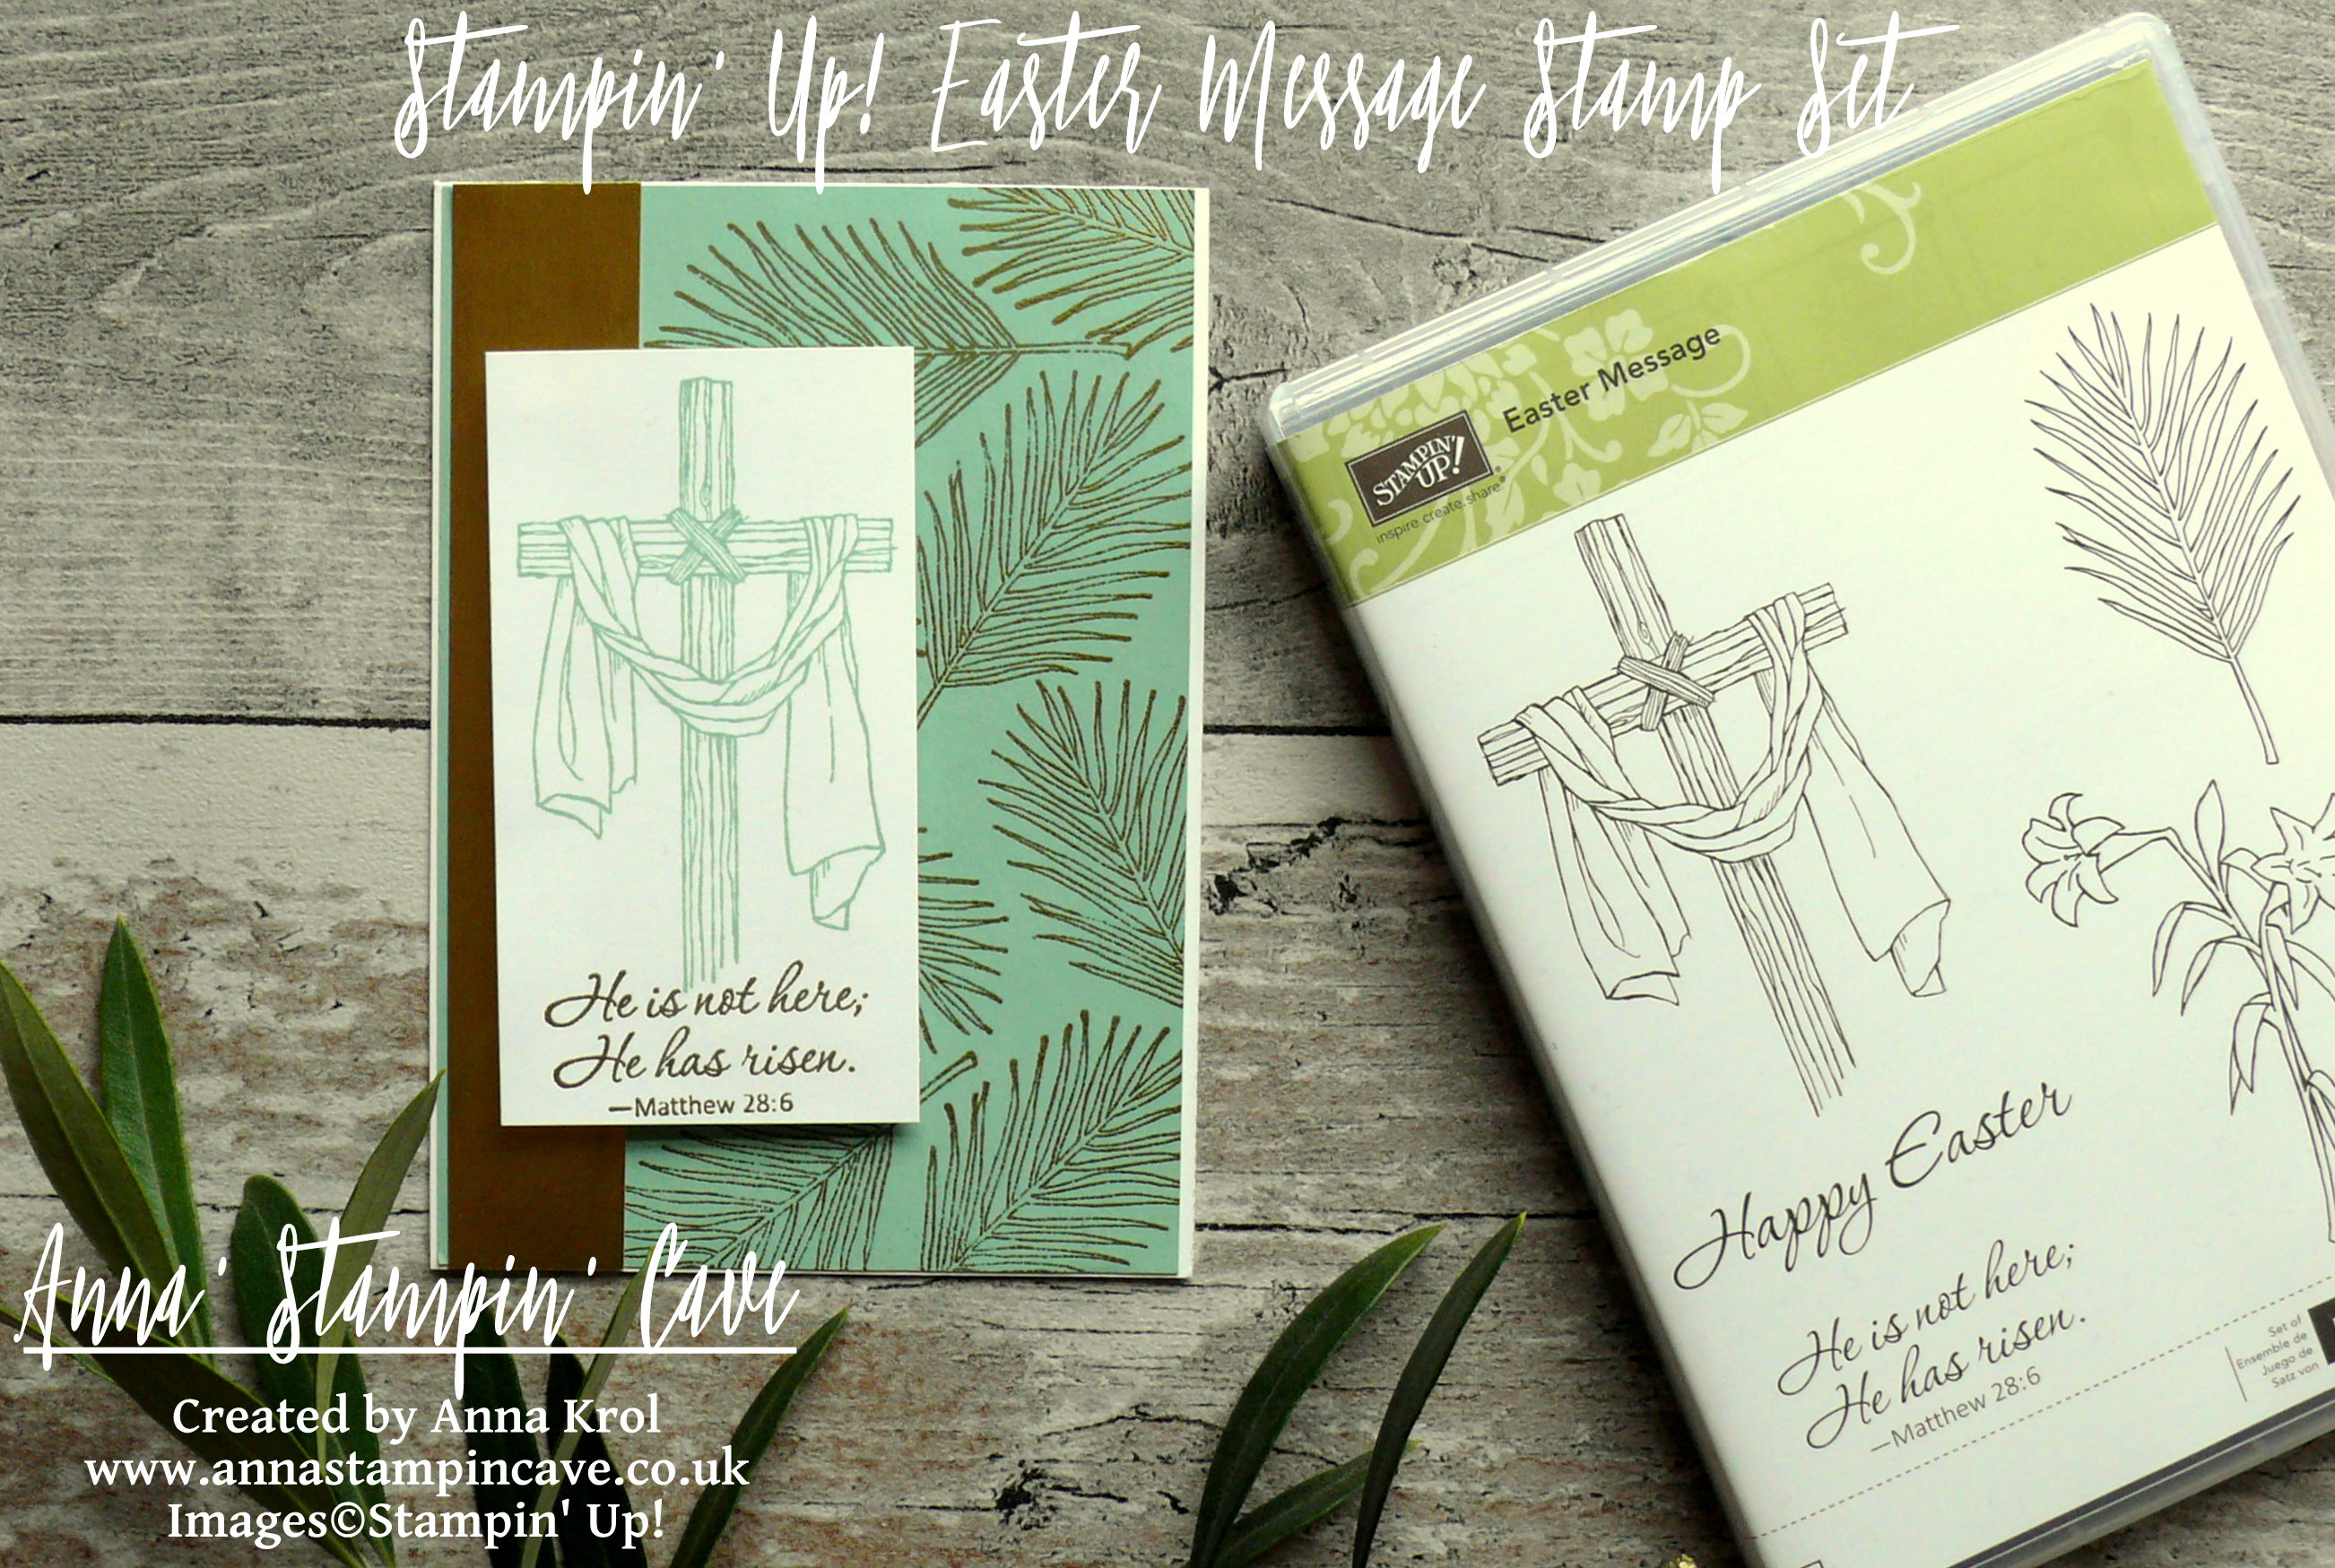
I was really eager to put my hands on this beautiful stamp set ‘Easter Message’ the moment I saw it. But I was able to order it only just recently.
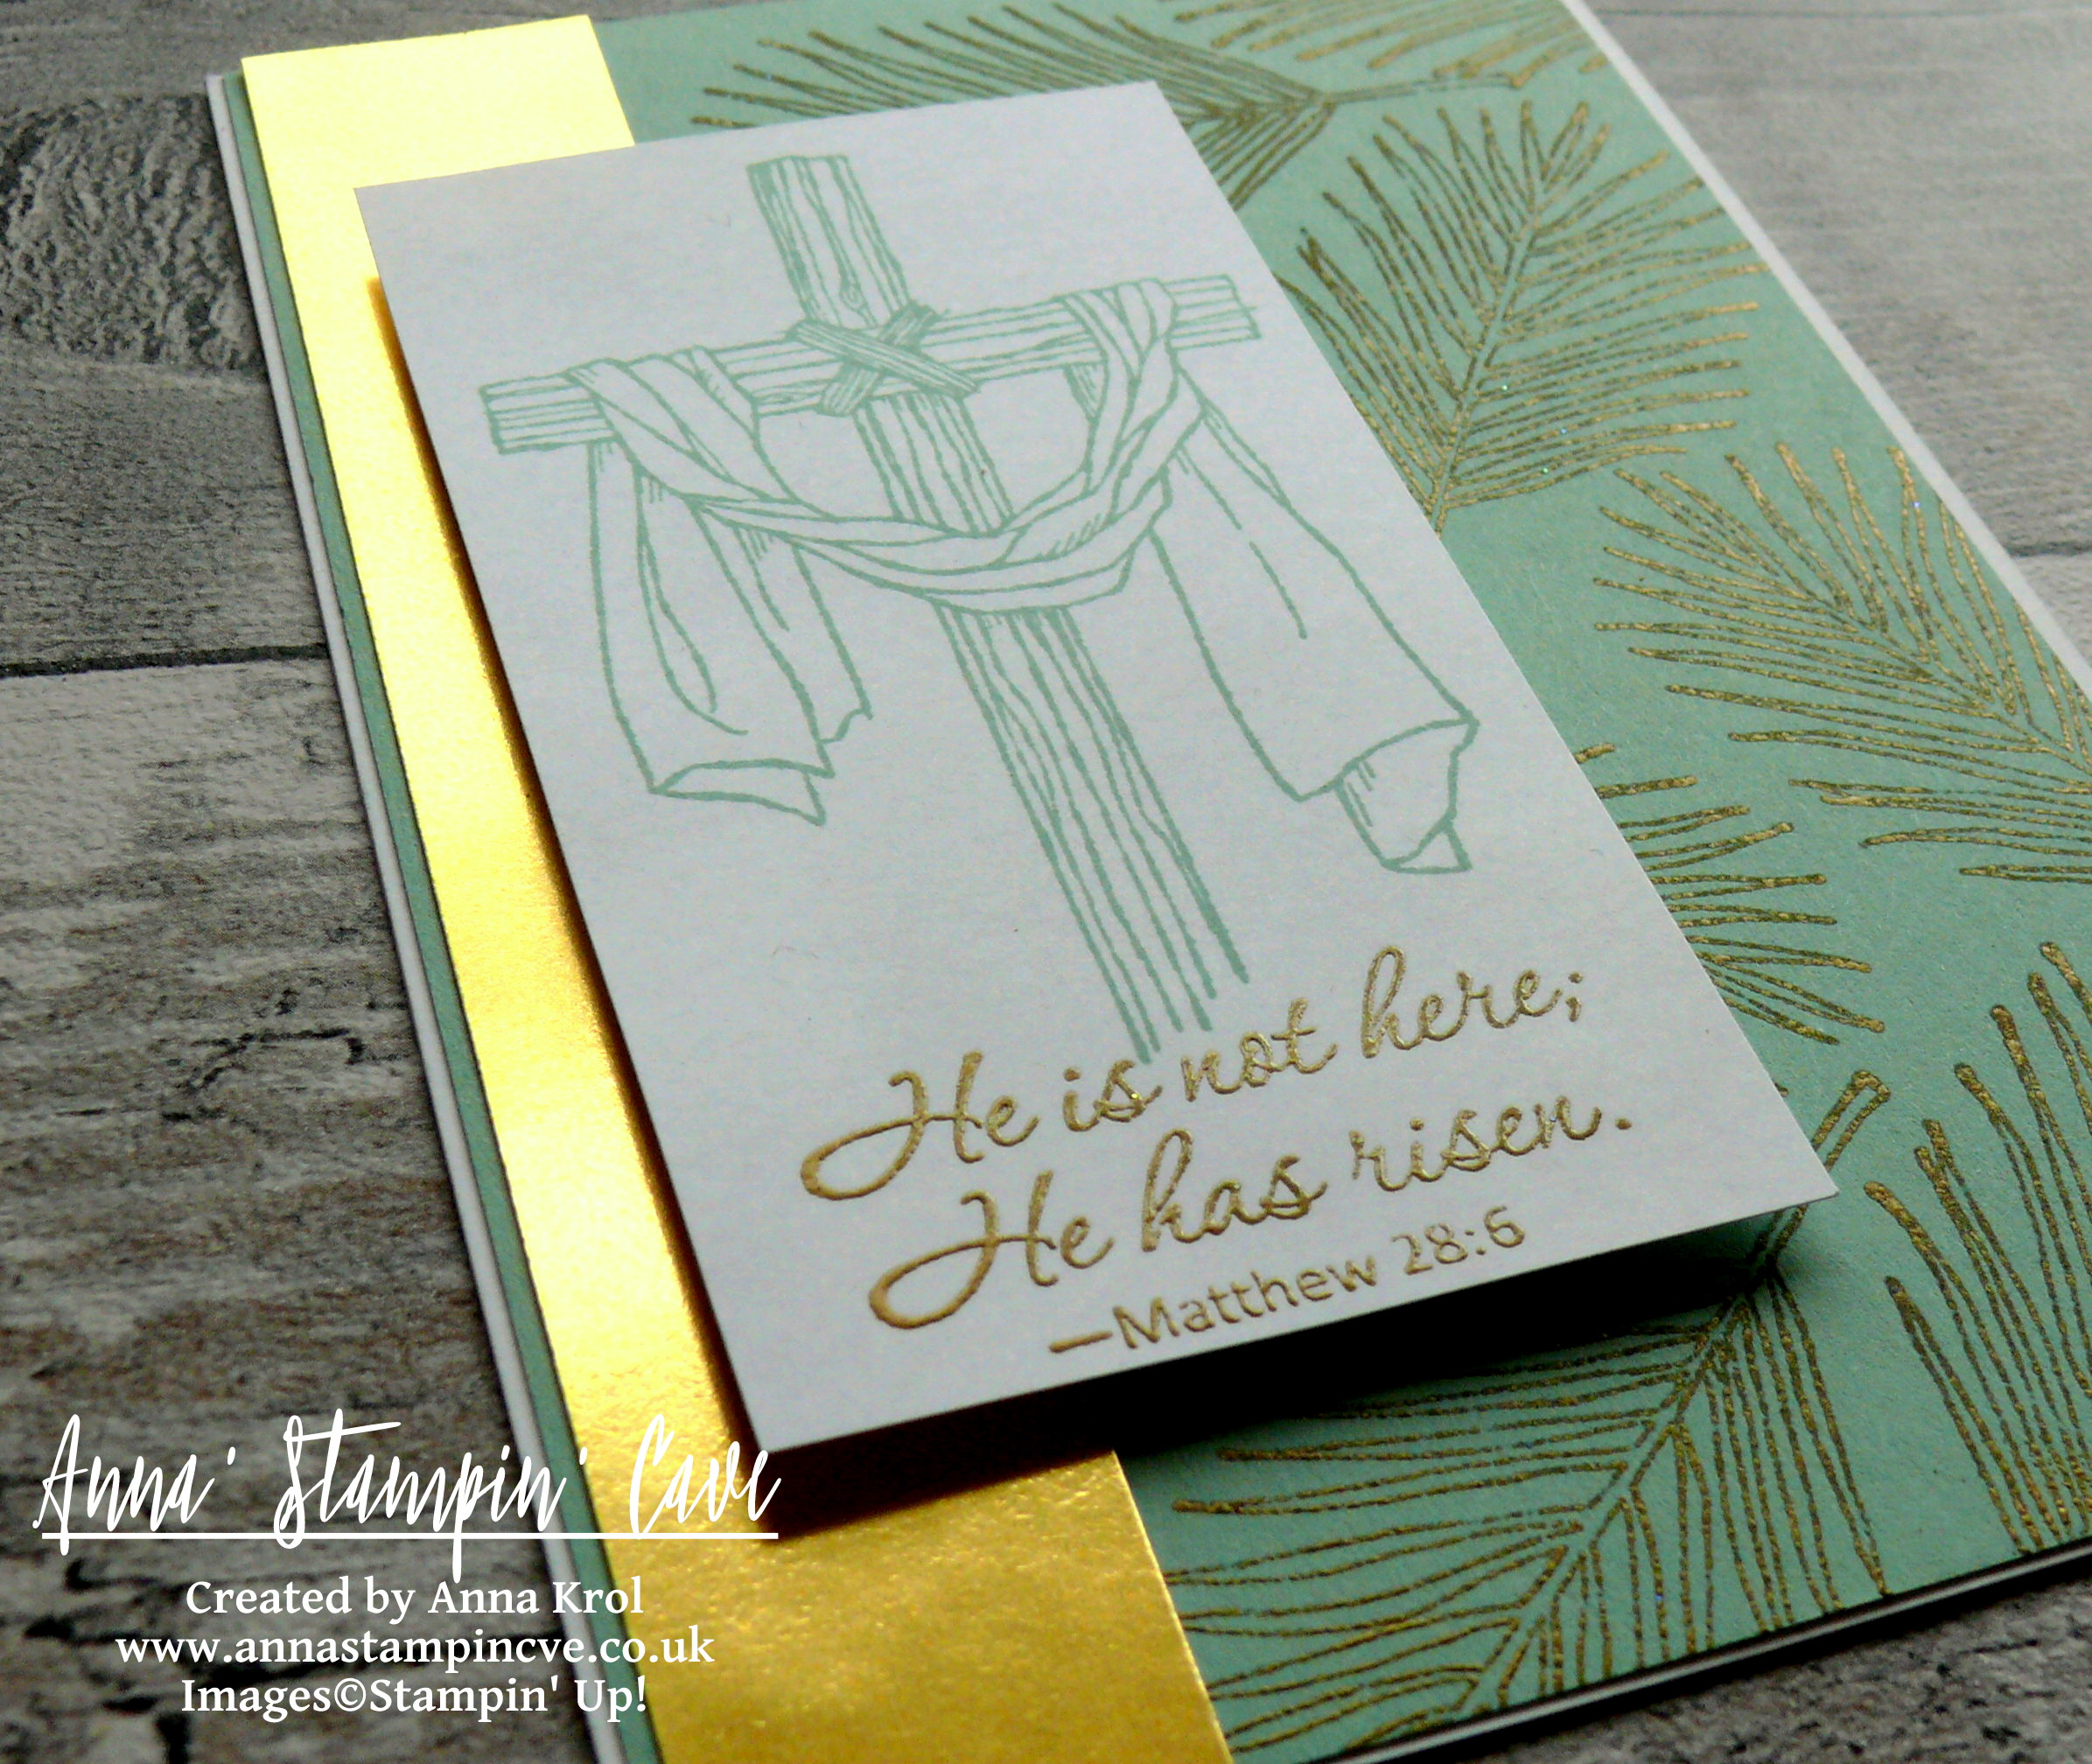
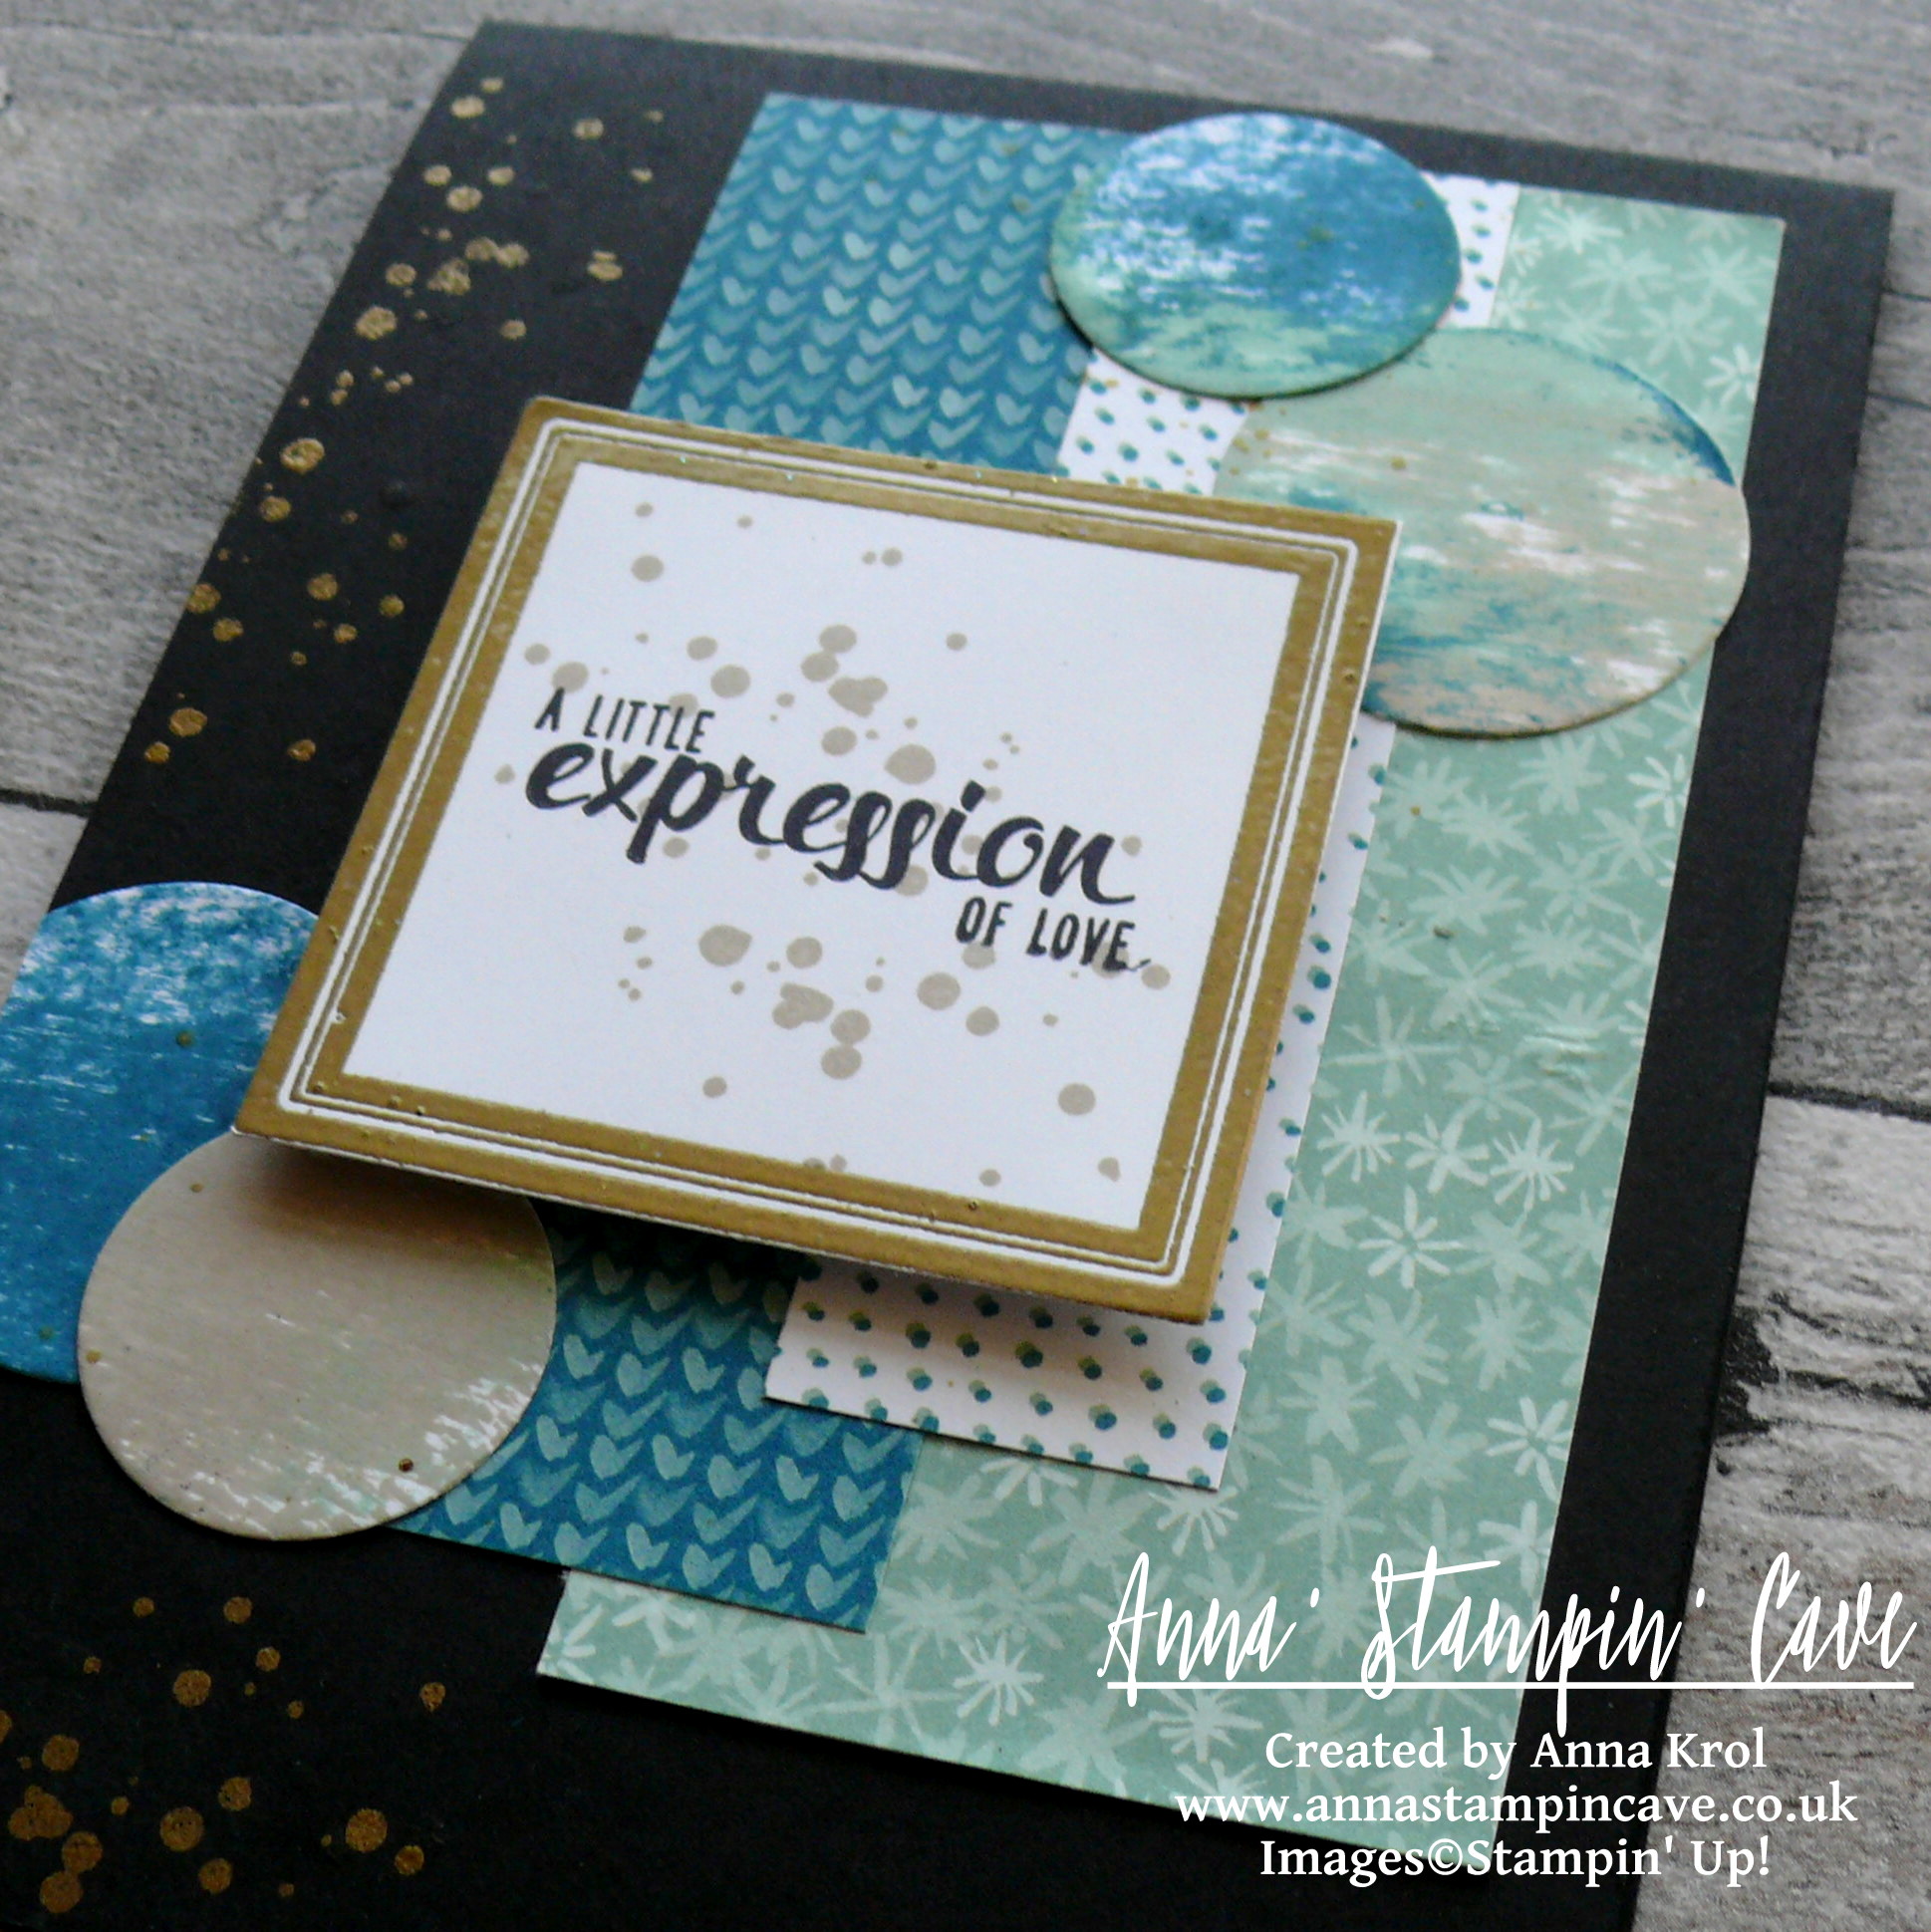
To create this beautiful card I first took Mint Macaron panel and randomly stamped palm tree all over it, using Versamark inkpad, and heat embossed it in gold.
To make sure none of the embossing powder sticks to the cardstock where unwanted, I rubbed my embossing buddy across the paper before application.
To slightly ‘dull’ golden embossing I rubbed my piece with a dry cloth. I think it creates unique, dramatic effect.
I adhered Mint Macaron panel to the card base, followed by a piece of gold foil.
Next, I took my piece of regular Whisper White cardstock and I stamped cross image in Mint Macaron on the top of my piece, so I still had a room for a sentiment below the cross.
For the sentiment I chose this beautiful, life-giving verse from a Bible: Matthew 28:6 ‘He is not here; He has risen’. I’m short for words to say how much this little verse mean for me.
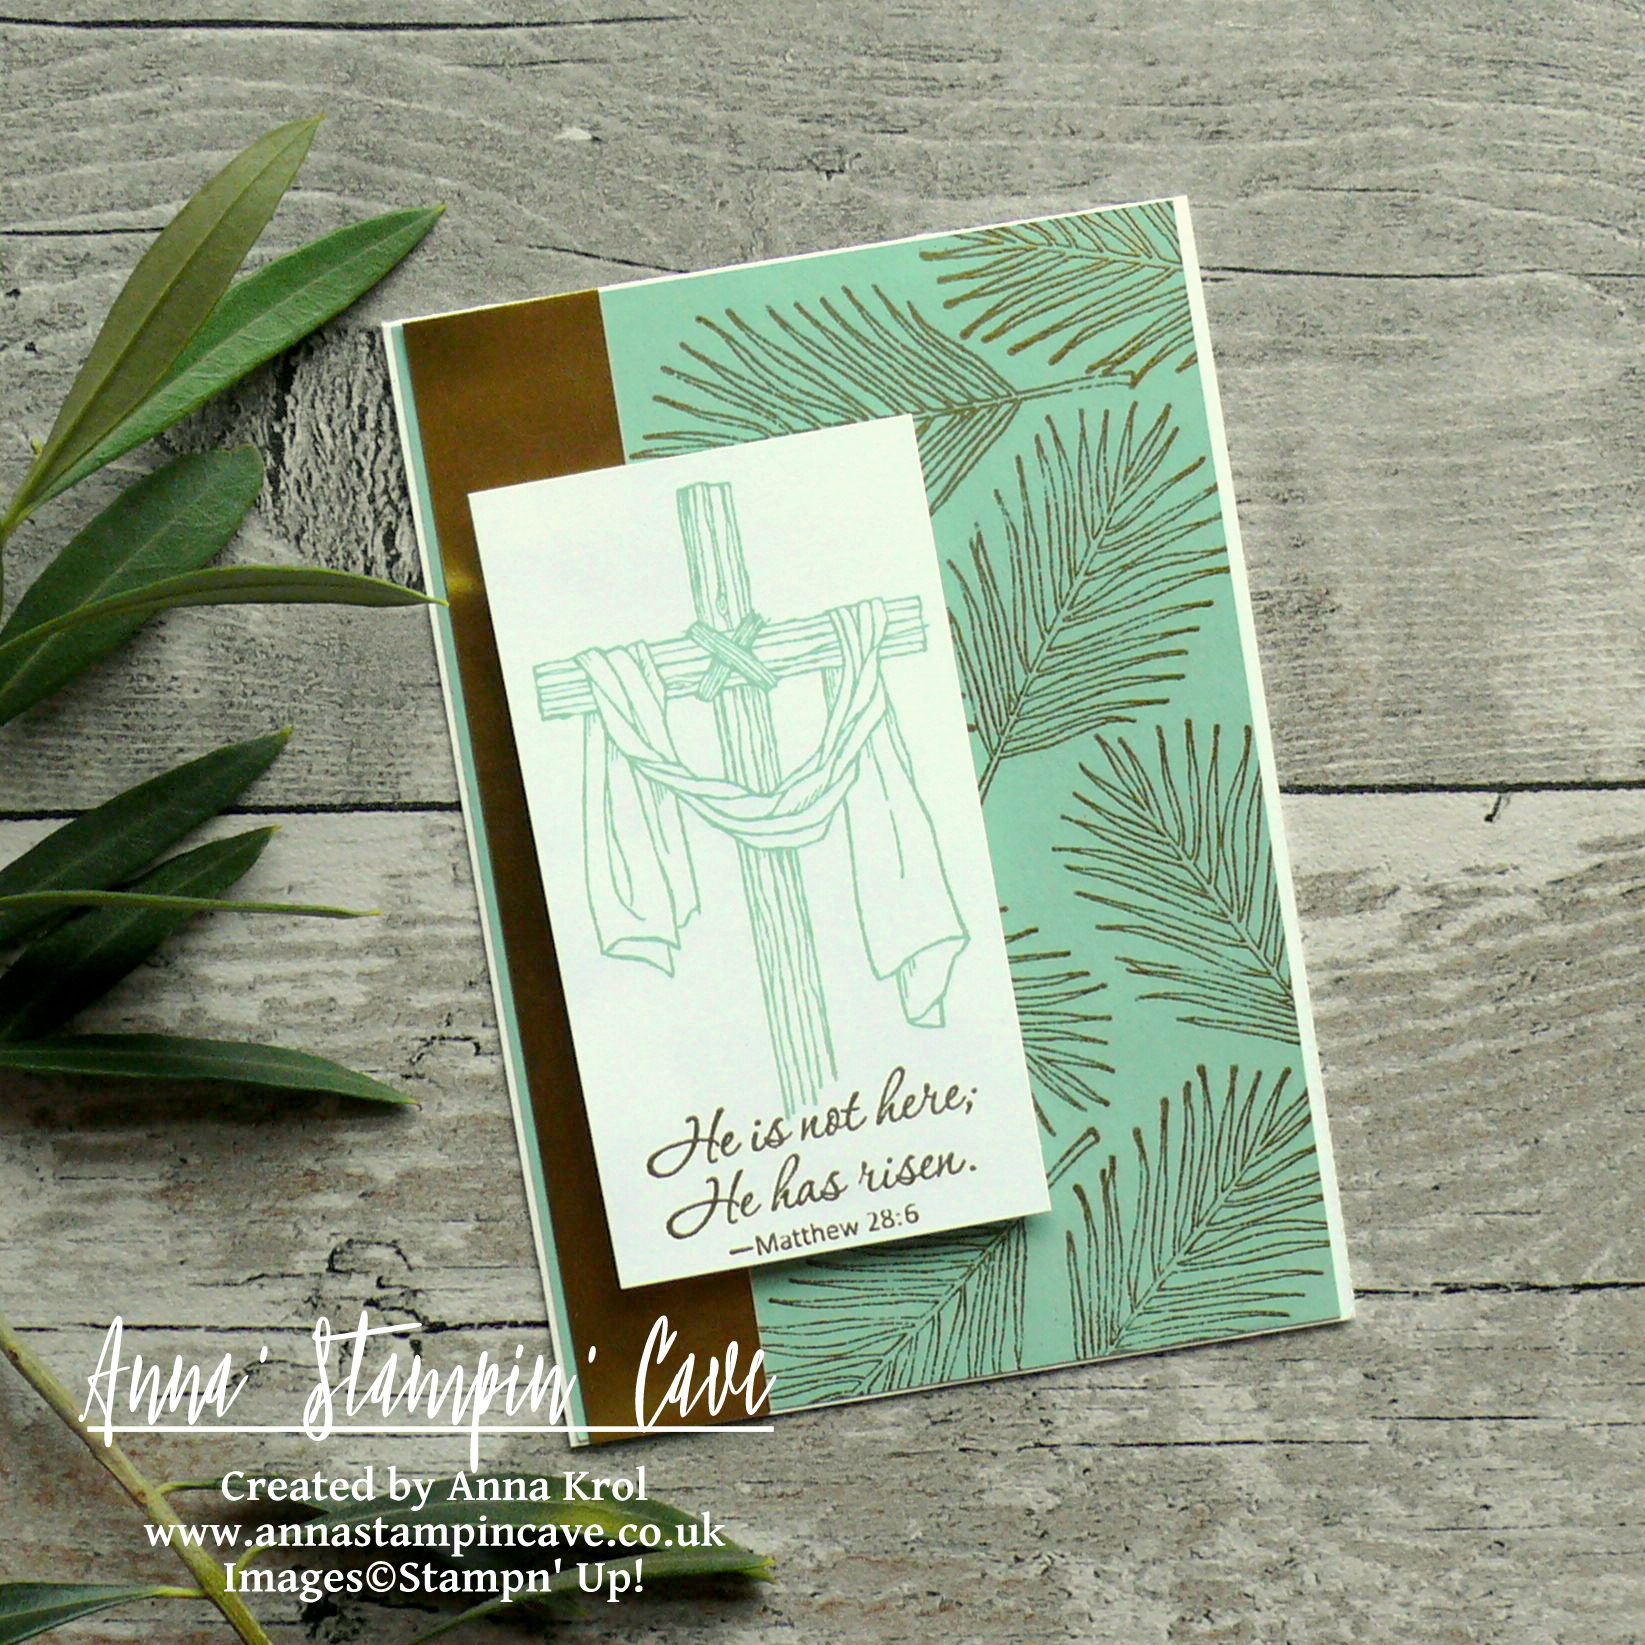
I stamped my sentiment in Versamark and heat embossed using Gold Stampin’ Emboss Powder again. To stamp it and not ruin my panel, I’ve used good ole stamp-a-ma-jig, so it’s straight and exactly where it should be.
I mount my piece onto the card base using dimensionals.
I may not be an expert if it comes to clean & simple cards. I’m not good at using a minimal number of supplies either. But I’m working on it, and I have to say I’m really happy how this card came out. I hope you like it too. Gold and mint make such an amazing colour combination.
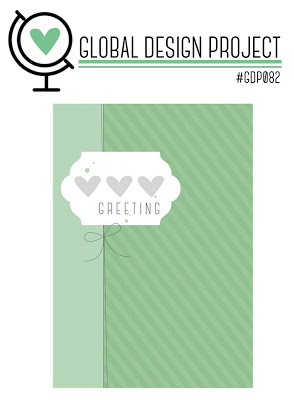
As always, I really want to encourage you to visit the Global Design Project challenge blog to see other beautiful projects from all around the world. Just click on their logo below to visit the website

If you wish to purchase any of products I have used, simply click the images below to go directly to my online store and don’t forget to enter the hostess code for the month of April XMAJ4CYX to receive a gift from me.
Thank you for stopping by and have a blessed day,


Don’t forget to check:
Stampin’ Up! Spring Summer & Annual Catalogue 2016 2017 Retiring List

It’s that time of the year again, when Stampin’ Up! is getting ready to retire stamps and accessories from both the Annual and Spring Summer catalogues. As sad as it is to see these products go, there’s still time for you to get them before they’re gone. Retiring products will only be available until 31 May, or while supplies last. So if there’s something from retiring products on your wishlist, don’t wait until last day – once they’re gone, they’re gone. And they are selling fast! Click here for more details ->