Double Layer Stamping With Painted Seasons Stamp Set

Anna' Stampin' Cave - Painted Seasons Stamp Set double layer stamping technique, Coastal Cabana, Soft Sea Foam, So Saffron

Hello everyone! Long time no see, hey?

I’ve been MIA due to multiple sclerosis (that’s a surprise, right hahaha). I had a major MS relapse two months ago when I lost control over my body, or I should rather say over the right-hand side of my body. I couldn’t walk, write (I am right-handed) or brush my teeth. Thank God for hubby and electric toothbrushes! I didn’t even feel my right cheek, seriously.

After a few series of steroids (5 days) and time, time and more time, I can finally do most of the things on my own. Maybe except walking outside – still need hubby’s hand in that matter. But I can finally create! Woohoo! I so missed my inks and stamps. And I have some serious delays in sending customers ‘thank yous’. In sorting ATM!

There’s one thing that MS has thought me for sure: PATIENCE!

I know it’s with a slight delay, as Sale-a-bration just ended. But I really wanted to share with you these two beauties I created using a free stamp set from SAB exclusive Painted Seasons Bundle.
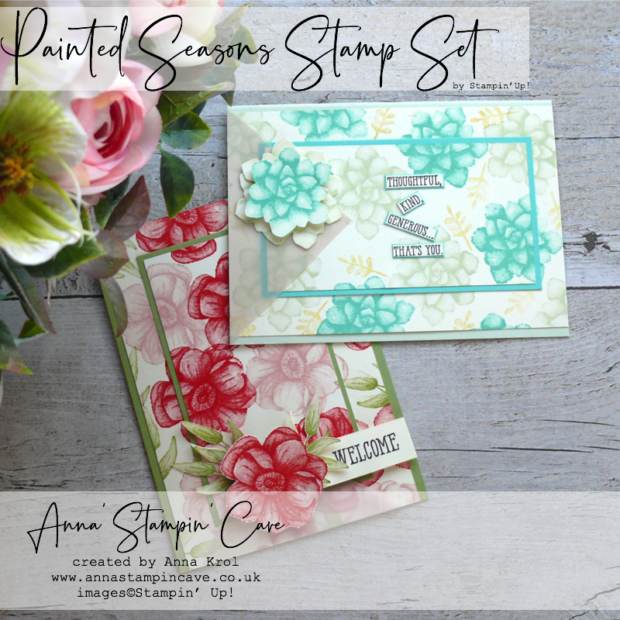
Anna' Stampin' Cave - Painted Seasons Stamp Set double layer stamping technique

How cute are these, right? And so easy to make. Both are created with a double layer stamping technique and involved some fussy-cutting.

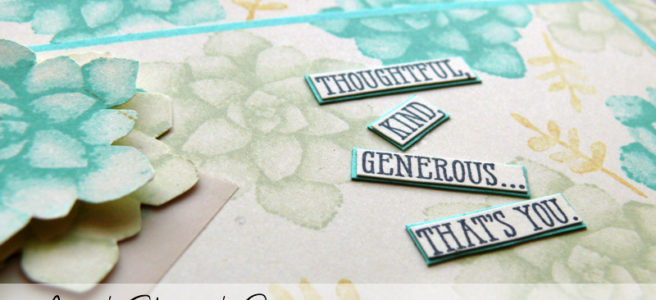
First, I prepared my Very Vanilla double layers and stamped them with my chosen ink pads: Poppy Parade with Pear Pizzazz for a floral card, and Coastal Cabana, Soft Sea Foam and So Saffron ink pads for a succulent one.
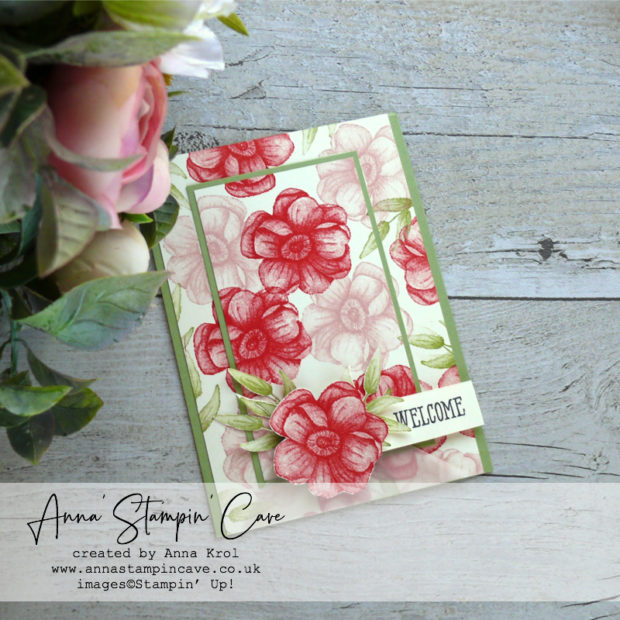
Anna' Stampin' Cave - Painted Seasons Stamp Set double layer stamping technique with bright Poppy Parade and Pear Pizzazz

Once my double layers were stamped I mount them on to coordinating cardstock panels: Pear Pizzazz and Coastal Cabana.

Next, I adhered them to the card bases. For the floral card, I’ve used the same cardstock for a card base: Pear Pizzazz.

But for a succulent card, I decided to use Soft Sea Foam cardstock for a base instead of Coastal Cabana.
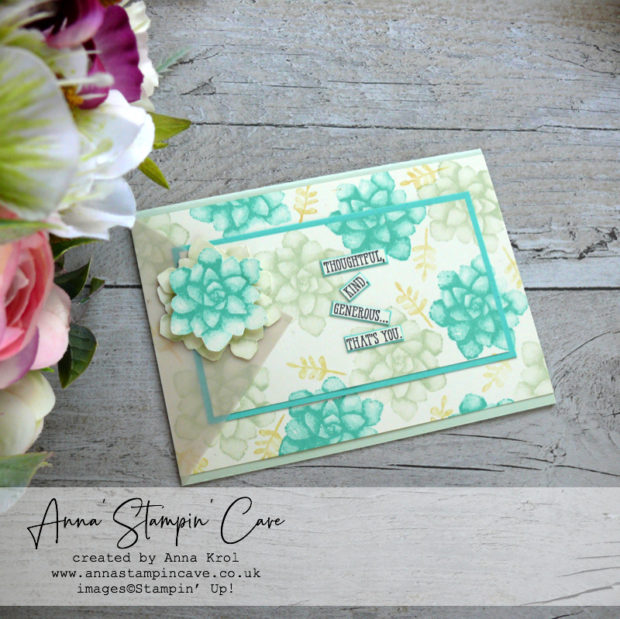
Anna' Stampin' Cave - Painted Seasons Stamp Set double layer stamping technique with Coastal Cabana blue and Soft Sea Foam pastel green

Vellum to the rescue

Because I’ve made some ‘booboos’ while stamping my panels, as my hands are not fully working yet,  I needed to ‘hide’ these. So I cut a square from vellum, briefly 4″ x 4″, cut it in half, and when assembling both cards, I adhered these vellum triangles where needed. Mistakes? What mistakes?! haha
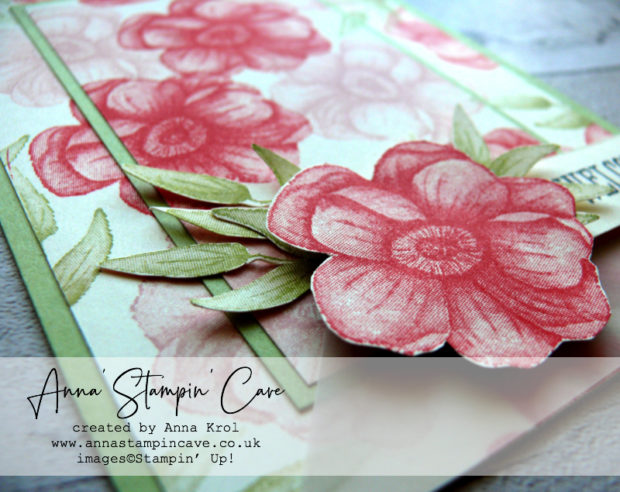
Anna' Stampin' Cave - Painted Seasons Stamp Set double layer stamping technique with bright Poppy Parade and Pear Pizzazz

Adding more details

I took a scrap of Very Vanilla cardstock stamped few flowers, leaves and succulents in corresponding colours and fussy-cut all my florals and foliage with paper snips.  Quite easy and fun, and great exercise for my hands too.
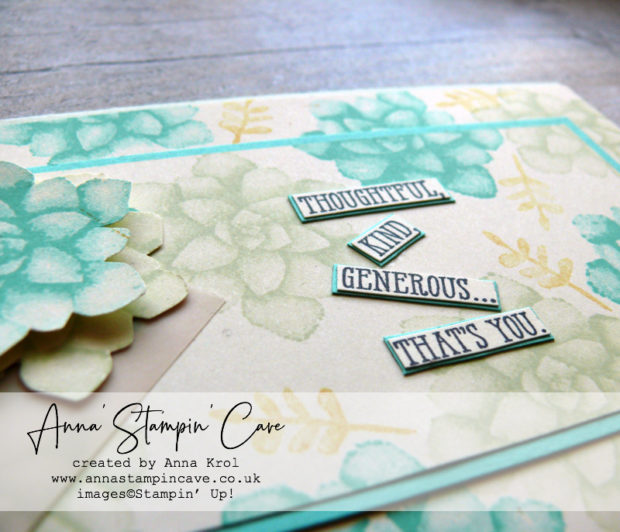
Anna' Stampin' Cave - Painted Seasons Stamp Set double layer stamping technique with Coastal Cabana blue and Soft Sea Foam pastel green

Because the Painted Seasons Stamp Set comes with images only it opens up endless possibilities as to what sentiment stamps to use.

For my cards, I decided to use Well Said Cling Stamp Set.
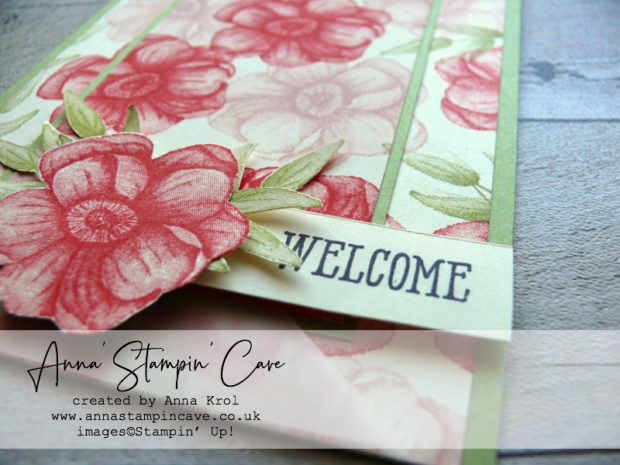
Anna' Stampin' Cave - Painted Seasons Stamp Set double layer stamping technique with bright Poppy Parade and Pear Pizzazz

Assembling the cards

First, I took my vellum triangles and my fussy-cut florals and tried few arrangments before I decided where to stuck things down permanently.

I adhered vellum pieces, flush to the edges of my cards, and placed the adhesive strategically where I knew it will be covered by my fussy-cut elements.
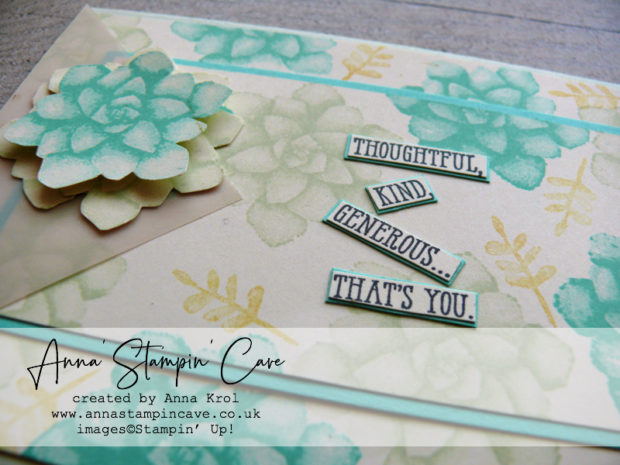
Anna' Stampin' Cave - Painted Seasons Stamp Set double layer stamping technique with Coastal Cabana blue and Soft Sea Foam pastel green

Next, I adhered each of the elements and my sentiments, and I call it done. I have to admit, I’m quite pleased with these cards.

As always, if you wish to purchase any of the products I have used (except for Painted Seasons bundle), simply click the images below to go directly to my online store.
HOST CODE for the month of April is CD6WHE36. Use this code to receive special rewards from me.

Product List

Glue Dots

£5.00

Pin me

Summary of the project which gives all the views of the card in one photo. I’d love if you pinned and called by on Pinterest xx

January Host Code, Tutorials Bundle and Special Gift

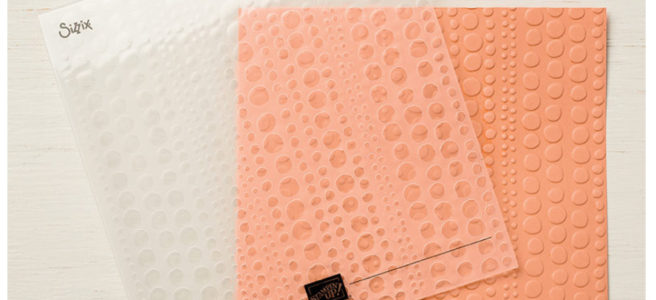
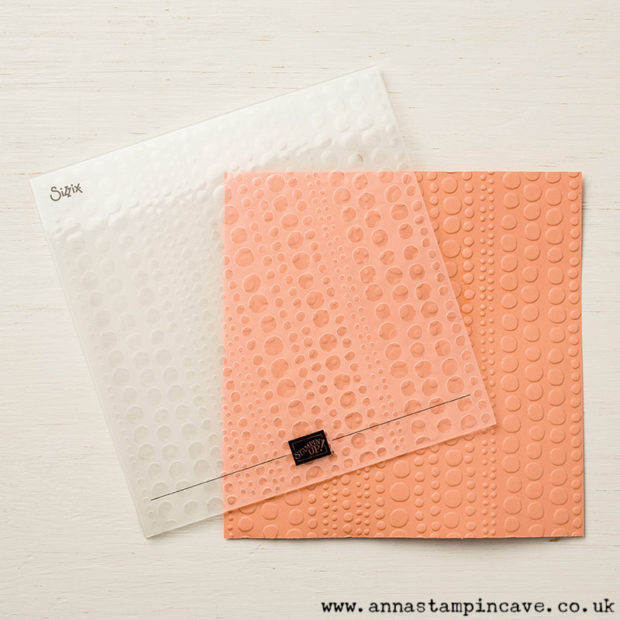
Earn Stampin' Up! Dot to Dot Textured Impressions Embossing Folder for free with Anna' Stampin' Cave

Anna’ Stampin’ Cave – January Host Code, Tutorials Bundle and January Special Gift

Earn Stampin' Up! Dot to Dot Textured Impressions Embossing Folder for free with Anna' Stampin' Cave

The new month has started and it means new Host Code and new exclusive gifts from me.

Did you know that each month we have brand new tutorials bundle for you? You really don’t want to miss them!

To receive  our Exclusive PDF Tutorials bundle for this month you have to place an order of £25 + through my shop

January’s special gift:Earn Stampin' Up! Dot to Dot Textured Impressions Embossing Folder for free with Anna' Stampin' Cave

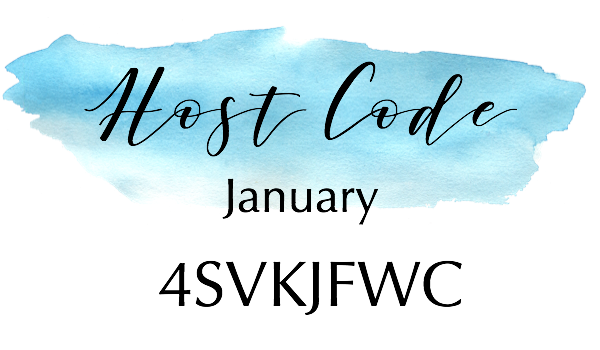
HOST CODE for the month of January is 4SVKJFWC

Orders of £75+ (excl.p&p) will receive from me:

  1. A brand new Dot To Dot Textured Impressions Embossing Folder 
  2. Exclusive PDF Tutorials – bundle for the month of January
  3. A beautiful handcrafted card with envelope

How it works –

  • Place a product order of £75 or more (excl. shipping) in my online store in the month of January. 
  • Add Host Code 4SVKJFWC  To claim your reward you must include this code in your ordering process.
  • This January Special will be applied to all qualifying orders placed through my shop using Host Code 4SVKJFWC between 1 – 31 January.
  • If your order is £150 or more please do not use Host Code. You will earn your own Host Rewards to spend.
  • IMPORTANT:  My FREE Monthly Special Host Gift is mailed separately from any order and will arrive mid-February
  • PDF’s will include the photos of the finished cards, a list of products used and step by step instructions.

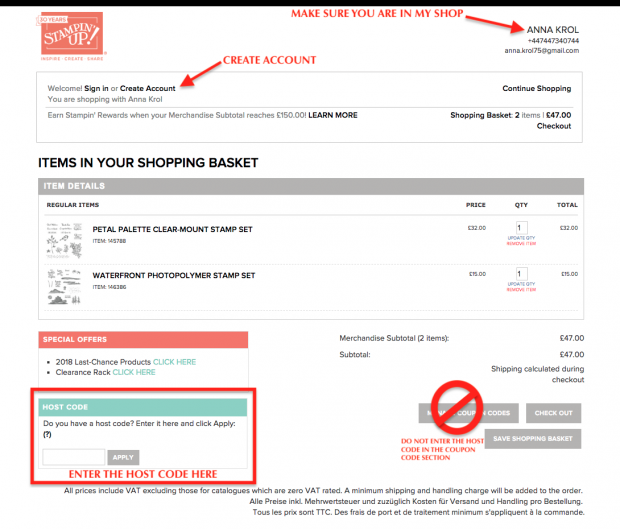
HOW TO USE HOST CODE

How to use HOST CODE

Thank you for stopping by and have a blessed day,

Creating Kindness Design Team Blog Hop – Guest Designer

Anna’ Stampin’ Cave – Creating Kindness Design Team Blog Hope – Guest Designer

Creating Kindness Design Team Blog Hop TEAMWORK

Oh my!! I’m so thrilled, and still can’t believe it: I’ve been asked to join absolutely amazing artists from the Creating Kindness Design Team in their November Blog Hop as a guest designer.

Our theme this month is TEAMWORK. Teamwork can go many ways and I decided to team up a few products:

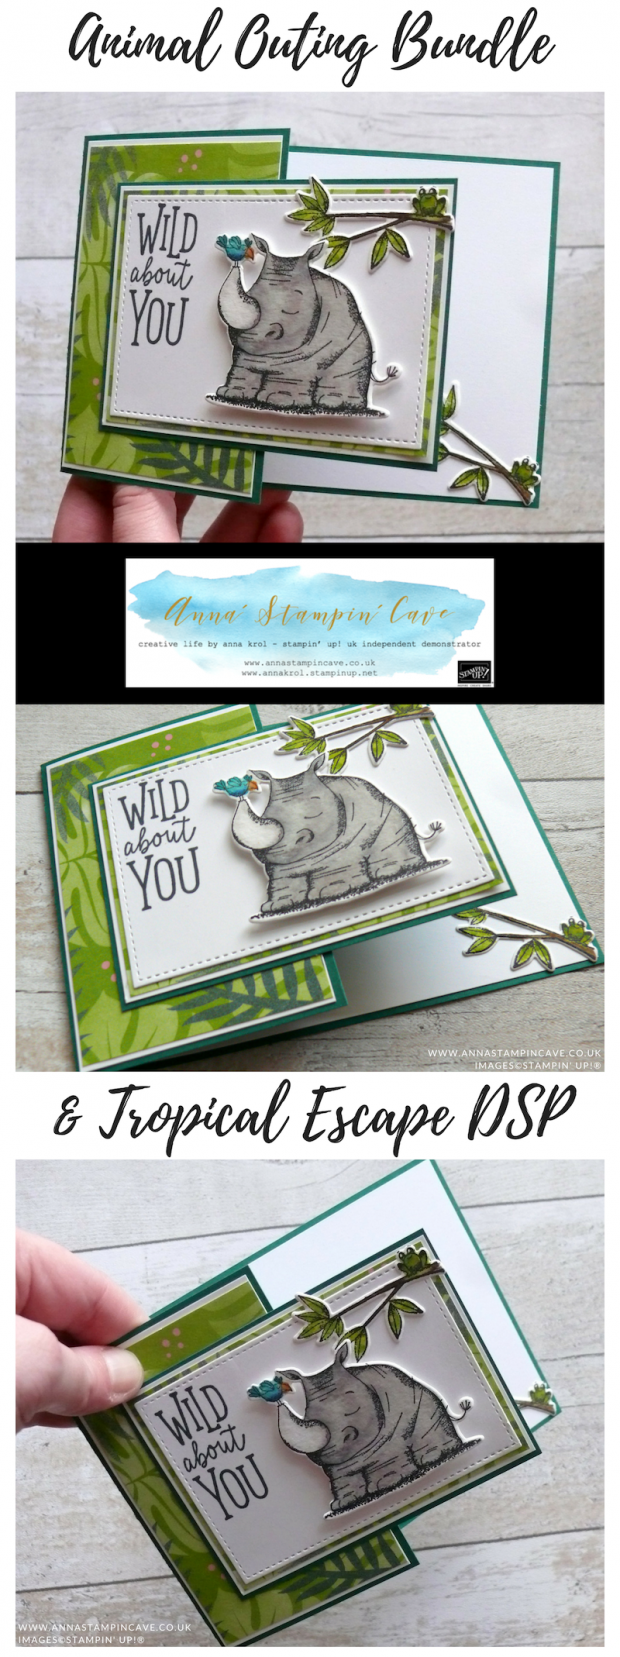
  • Animal Outing Bundle with super fun and elegant Tropical Escape DSP. I think they are a perfect fit!
  • I also teamed up Stampin’ Write Markers with an Aqua Painter & acrylic block for a controlled water colouring.

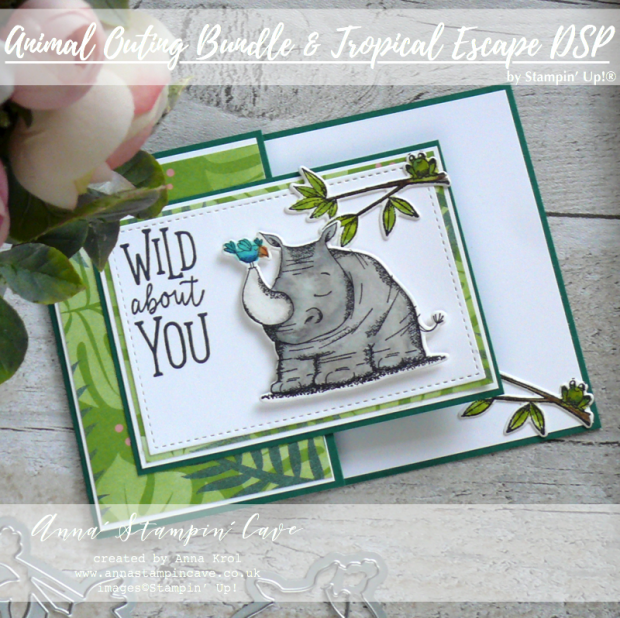
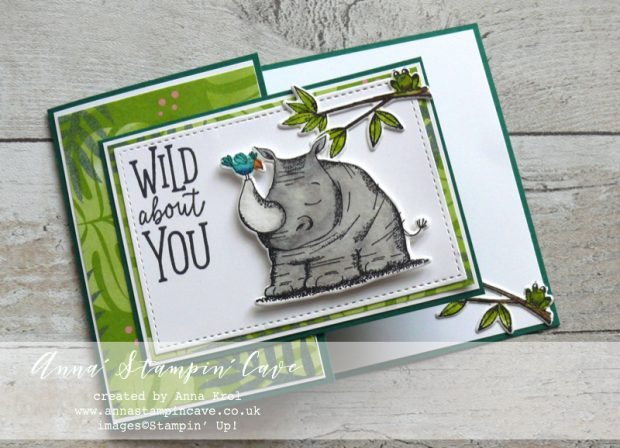
Anna' Stampin' Cave - Creating Kindness Design Team Blog Hop. Animal Outing Bundle with Tropical Escape DSP from Stampin' Up!

Wild About You card dimensions:

  • Shaded Spruce cardstock: 11-6/8″ x 4-1/8″ scored in half at 5-7/8″ & cut the bottom of the card front for the extra panel at 3″ x 4-1/8″
  • Whisper White reg. cardstock: 4″ x 5-6/8″ panel for the inside; for the mats: 2-5/8″ x 4″, 2-7/8″ x 4″ and for the sentiment a rectangle 3-6/8″ x 2-5/8″
  • Tropical Escape DSP for the mats (leafy/foliage design): 2-9/16″ x 3-7/8″ and 3-15/16″ x 2-6/8″
  • Watercolour Paper for stamping critters

Anna' Stampin' Cave - Creating Kindness Design Team Blog Hop. Animal Outing Bundle with Tropical Escape DSP from Stampin' Up!

Watercolouring

For my card, I decided to use two images: an utterly cute rhino and a branch with an equally adorable tree frog. I stamped the branch twice to use one for the inside of my card.

I stamped all my images onto watercolour paper using black Stazon Ink.  Watercolour paper has a quite porous surface, so Stamparatus came with help to make sure all the images were stamped perfectly.

TIP: Stazon is the best ink to work with water/watercolour.

I watercolour all my critters using an aqua painter and Stampin’ Write Markers. I simply scribbled some colour onto an acrylic block and using it as a palette I picked the ink with an Aqua Painter. I love to watercolour and with this technique, there’s nearly no waste.

Colours I’ve used:

  • Rhino: Smoky Slate, Gray Granite and Basic Gray
  • the bird: Bermuda Bay, Pacific Point, Pumpkin Pie and Daffodil Delight
  • branches with frog:  Soft Suede, Early Espresso, Old Olive and Granny Apple Green

When all critters were to thoroughly dry, I die-cut them with coordinating dies from Animal Friends Thinlits Dies.

How-to: Partial die-cutting

For the large stitched rectangle I’ve used the largest square from the Stitched Shapes Framelits Dies and a partial die-cutting. You can find it explained here.

I stamped the sentiment in the top left corner of my die-cut rectangle. For the ease, I’ve used Black Memento Ink and Stamparatus. Why? Well, who else would want to mess up the stamping at this point?! lol

Anna' Stampin' Cave - Creating Kindness Design Team Blog Hop. Animal Outing Bundle with Tropical Escape DSP from Stampin' Up!

I assembled the card laying all mats together with the liquid glue. Also, my tree frogs on branches I adhered with liquid glue: one inside of the card and one just above the rhino on the front. And the rhino is the star of the card! I raised him with dimensionals in the centre of the front panel.

And that’s it from me for today. I hope you’ve enjoyed visiting my blog and that you like the card I created? I would love to hear your thoughts.

Below is the list of the fantastic Creating Kindness Team who organized this hop. So please, jump on and check all the fantastic inspiration. Honestly, you don’t want to miss it!

The next on the hop is amazingly talented Jenny Hall!! To visit her blog click the button below or just use the list!


As always, if you wish to purchase any of the products I have used, simply click the images below to go directly to my online store.

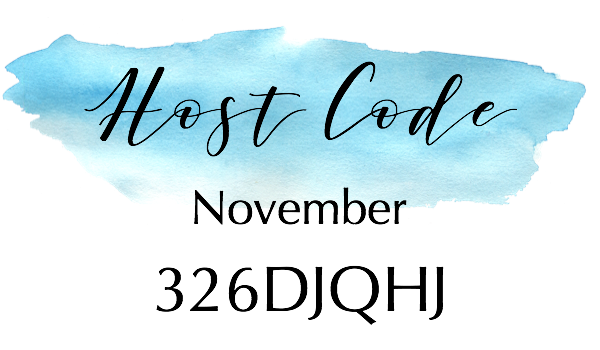
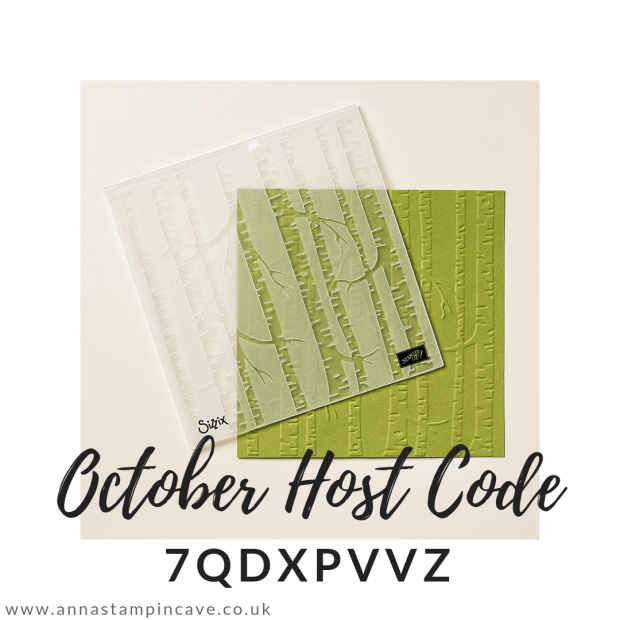
HOST CODE for the month of November is 326DJQHJ. Use this code to receive special rewards from me.


Product List

Aqua Painters

£16.00

Stamparatus

£46.00

Big Shot

£102.00

Pin me

Summary of the project which gives all the views of the card in one photo. I’d love if you pinned and called by on Pinterest xx

Anna' Stampin' Cave - Creating Kindness Design Team Blog Hop. Animal Outing Bundle with Tropical Escape DSP from Stampin' Up!


New Stamparatus Accessories!!

Anna’ Stampin’ Cave – New Stamparatus Accessories

Owning a Stamparatus means it was love at first sight, and we wanted to give you, even more, to love about this versatile tool by introducing Stamparatus accessories!

Stamparatus Accessories

The new accessories are Small Grid Paper, Stamparatus Plates, and Stamparatus Foam Mats. We will continue to offer Stamparatus magnets too. They will make your Stamparatus experience even more amazing!

Now that these accessories are here, they aren’t going anywhere! They will be rolling into next year’s 2019–2020 annual catalogue.

Stamparatus

£46.00

Thank you for stopping by and have a blessed day,


Don’t forget to check:

October Special and Exclusive PDF Tutorials – read more about it here

With A Little Delay…

Anna’ Stampin’ Cave – With A Little Delay…

As you may know, I’ve been really sick, you can ready about it here, and couldn’t get to update my blog for a long time. You can read about it here. But today I feel well enough to hop in and catch up.

Autumn-Winter Catalogue launched on 5th September so it’s in a full swing right now. If you’re one of my regular customers you’ve received your paper copy of a catalogue a month ago.

If you’ve never shopped with me, below you can find a link to a digital copy. You can still request a copy of Winter-Autumn Catalogue – there’s nothing like flicking through the pages of paper copy.

Click HERE to download your FREE copy

Here are my “must-have” resources for placing your order and updating your supplies:

Below you can find a few video tutorials using some of the products from the Autumn-Winter Catalogue. Enjoy watching!

VIDEO TUTORIALS

Peaceful Noel Bundle by Stampin’ Up!

Falling for Leaves Bundle by Stampin’ Up!

Merry Christmas to All Bundle by Stampin’ Up!

Thank you for stopping by and have a blessed day,


Don’t forget to check:

October Special and Exclusive PDF Tutorials – read more about it here