Something Old, Something New…Kind Koala Birthday Card

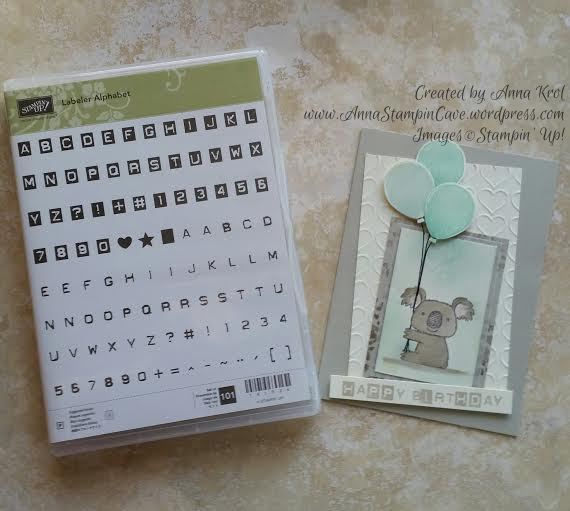
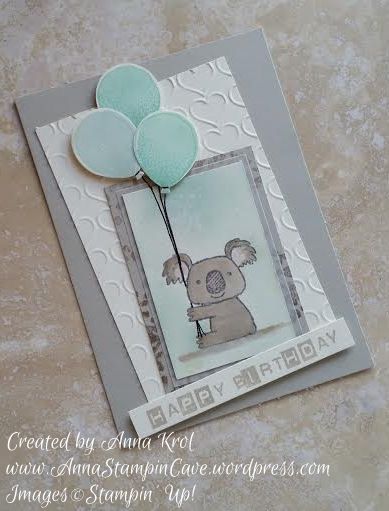
Hello, everyone! Something old, something new…Today I’ve got for you really adorable birthday card using sadly retiring Kind Koala stamp, and also a sneak peek at new Labeler Alphabet stamp set.
 

Kind koala

Isn’t this little koala cutest ever!? The base of my card is standard, top folded A6 in Sahara Sand. For the background, I’ve used Very Vanilla and dry embossed it with Happy Heart embossing folder.

Because I wanted this card to be a birthday card I used washi tape to cover the flower and a sentiment on my stamp before I inked it up in Basic Grey Archival Ink. Next, I stamped my cute koala on a piece of Very Vanilla. Just remember to take off the washi tape first or you will have a disaster. Guess how I know lol I also stamped him on a scrap of paper to create a mask I will need later.
Kind koala 4

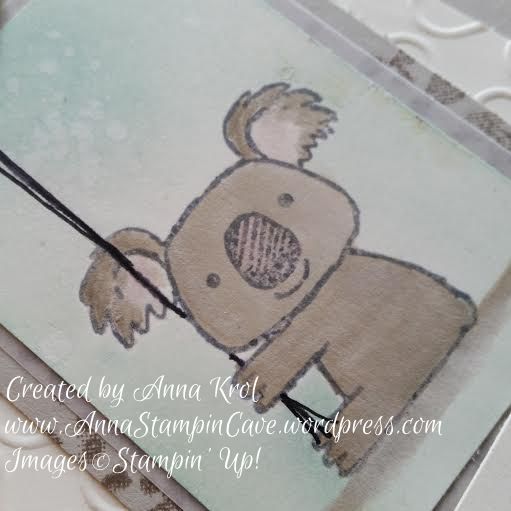
I watercolour my little fella in Sahara Sand and added some shadow underneath him. I also added a touch of Blushing Bride to his nose and inside of his ears. When I was happy with the results I masked my koala and sponged the background with Soft Sky and Pool Party. Then I used the aqua painter to add few droplets of water to the background and took off a little bit of the colour.
Kind koala 2

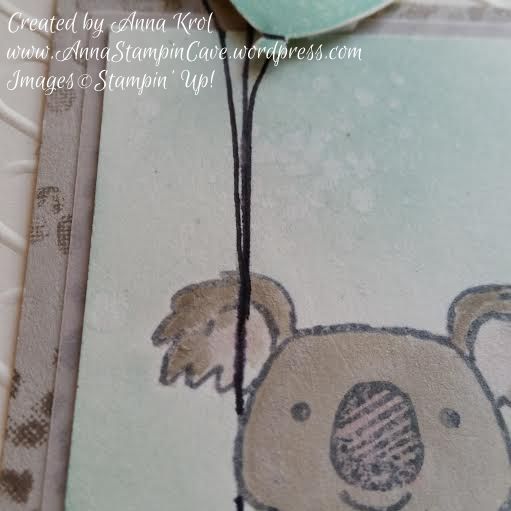
Next, I matted my koala panel with a piece of vellum and a slightly bigger piece of Sahara Sand. But to add some more interest to this panel I stamped it with Tip Top Taupe using the foliage stamp from Sheltering Tree. I assembled all my panels.Now was time for balloons!
Kind koala 5

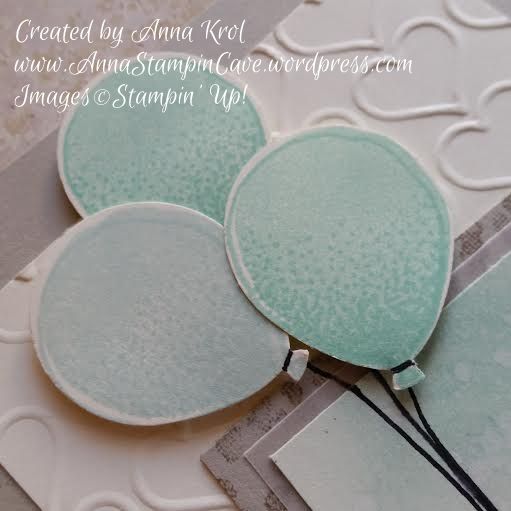
I stamped three smaller balloons from Balloon Celebration, two in Pool Party and one in Soft Sky, punch them with Balloon Bouquet punch and arrange them on the card using dimensionals. I also hand-drew balloon strings with Project Life pen (and yes, I know, I probably should have used a lighter colour, maybe Basic Grey or Smoky Slate marker) so it looks like koala is holding them in his paw.
kind koala 3

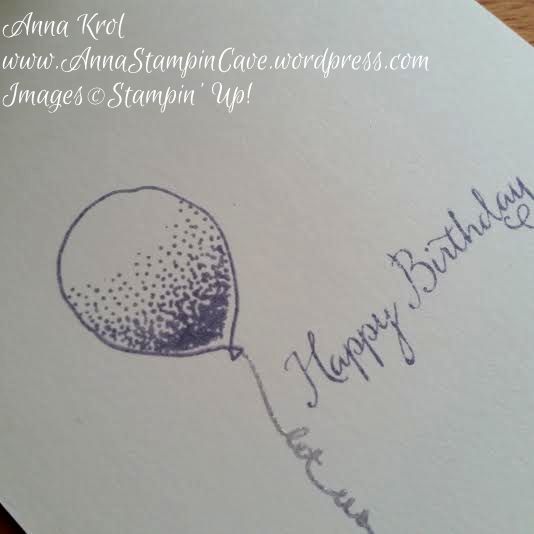
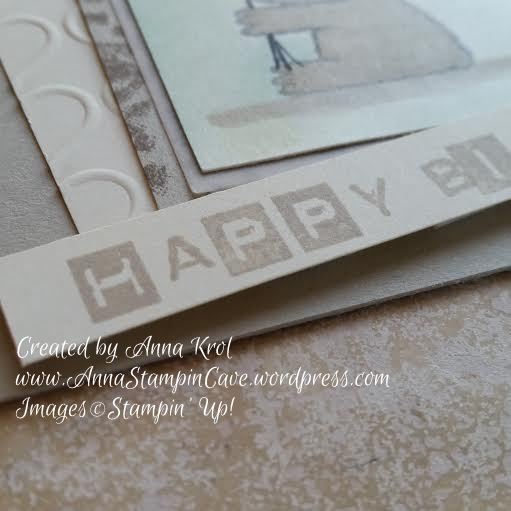
The card was busy enough so I kept the sentiment simple. I cut a strip of Very Vanilla and stamped my sentiment in Sahara Sand, using Labeler Alphabet stamp set. To keep it fun I mixed both types of letters and add it at wonky angle to my card.
Kind koala 6

Dimensions:

Very Vanilla:

  • 3-1/8 x 4-6/8″
  •  2 x 3-2/8″
  • 1/2 x 3-5/8″

Sahara Sand:

  • 2-2/8 x 3-4/8″

Vellum:

  • 2-1/8 x 3-3/8″

I’m adding my card to

Do you like my little card? I truly hope you do. Please let me know in the comments below.

Thank you for stopping by and have a blessed day,

Simply Sketched Saturday Challenge #9 – Time To Split!

Simply Sketched Saturday Challenge #9 – Time To Split!

SSSC Header

Thank you for joining us for another Simply Sketched Saturday Challenge!  We’re so excited to be sharing this hop with you. The products used are all available in the current Annual, or seasonal, Stampin’ Up!®  Catalogues*. Simply use the buttons at the bottom of the post to keep hopping!

Today’s sketch was designed by talented Karen from Lilliputcrafts.

SSSC 9

I have to admit I was stumped when I saw this sketch, and my mind just went blank. Like mo ideas at all!! But two days ago? Eureka! A lightbulb moment! So here’s my take on the sketch:

Balloon Celebration

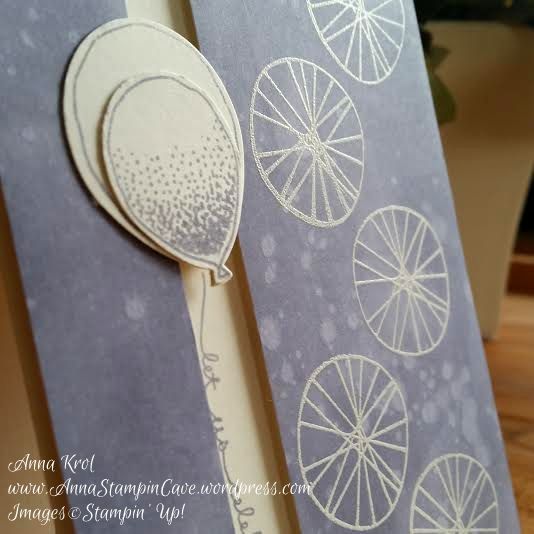
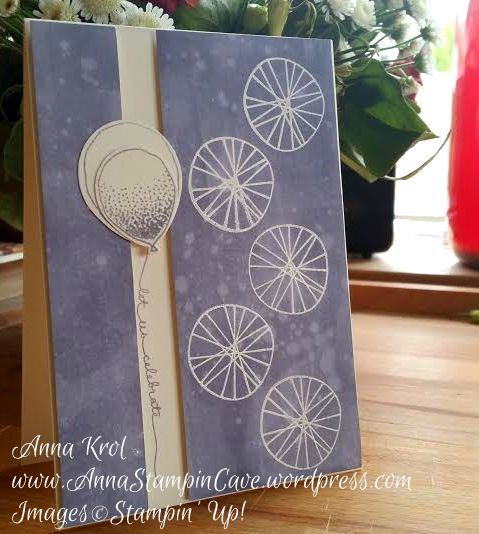
I don’t know if this technique has any name, but I’ve noticed that splitting your card fronts is quite a big trend lately. And I really wanted to give it a go. And as unusual for me, I only used one stamp set to make my card: Balloon Celebration. Shock, right?! 😉

Balloon Celebration 2

The base of my card is A6 top folded Very Vanilla because I run out of Whisper White when making my swaps for OnStage…oops 😉 Actually the last piece of WW (4″ x 5-6/8″) I’ve used to create panel for this card., seriously haha

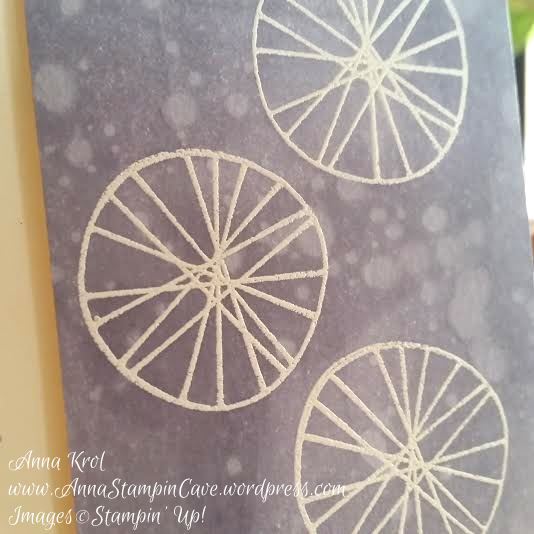
First, I stamped the circles (quite overlooked stamp in Balloon Celebration set) in Versamark and heat embossed them in white. Next, I took Wisteria Wonder ink pad and swoosh it through the panel until it was all covered in beautiful lavender colour. This technique seems to add texture to the card as it’s not flat solid colour.

Balloon Celebration 3

To add even more texture I sprinkled some water on my panel. I love to watch how ink reacts with water. Remember, for this cool effect, you have to sprinkle your water as soon as possible. And you have to immediately wipe off the water with paper towel. Otherwise, you will ruin your panel (ask me how do I know lol). When my panel was dry I cut it: the wider piece, with circles, measures 4″ x 2-1/2″ and the other piece measures 4″ x 1″.

Balloon Celebration 4

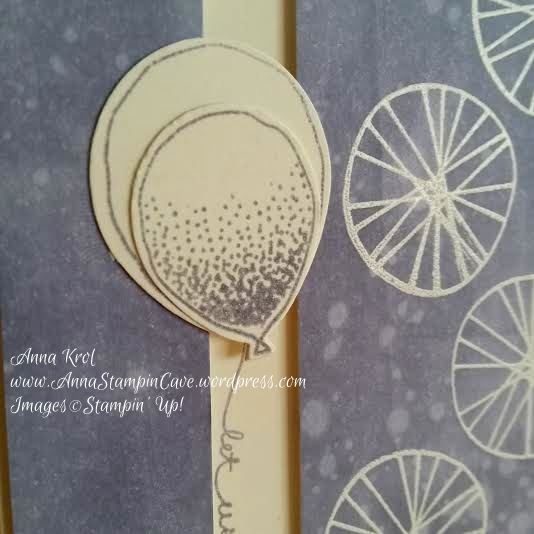
The split we’ve got left is the perfect spot for our sentiment. I’ve used this cool “let us celebrate” balloon string. I attached the panels with dimensionals. Next, I stamped and punched two balloons from a piece of Very Vanilla (one small and one large), glued them together, and add them above the split. So it looks like the sentiment is actually a string hanging from balloons. I love it! I stamped the inside of my card too.

Balloon Celebration 5.jpg

Do you like my project?! If so please leave me a comment. I would love to hear from you!

Now, be sure to hop along and see more inspiring projects. Your next stop is Suzanne’s blog  go and see what she has made for you.

Thank you for stopping by and have a blessed day!

SSSC Previous   SSSC Next Blog

Embossing Resist Technique With Corner Garden Background Stamp By Stampin’ Up!

Embossing Resist Technique With Corner Garden Background Stamp By Stampin’ Up!

Corner Garden Easter Card 4

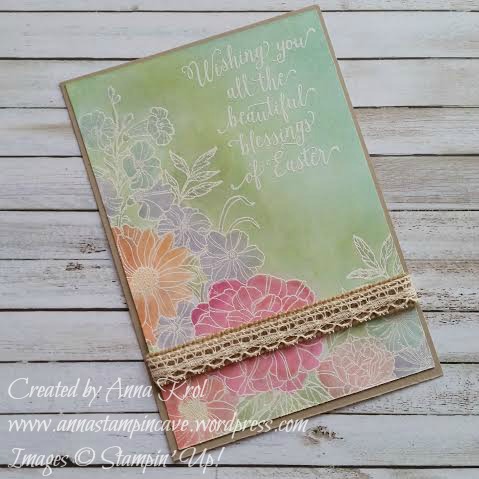
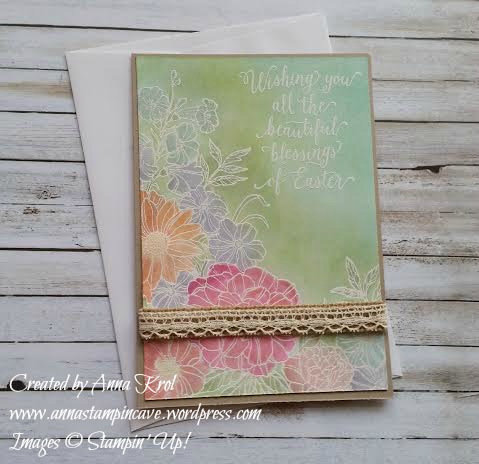
While Easter is just around the corner, today I’ve got for you beautiful Easter card using embossing resist technique. I love this technique as it has a real WOW factor to it! I love how the colours just POP on the card when sponged or water coloured over the heat embossing.

But first thing first – I wanted to apologise for being absent on the blog for a long time. I didn’t mean to neglect anyone of you but I’ve been struggling with a very nasty bacterial chest infection, which knocked me down, literally. I wasn’t able to do anything around the house, or even myself (not to mention crafting). So blessed to have a wonderful husband who took care of the house and our family, cooking, cleaning, etc and most of all – me.

The project I share today was made for our team swap at the end of February. But since the infection kicked in I wasn’t able to share it with you at all.

Corner Garden Easter Card

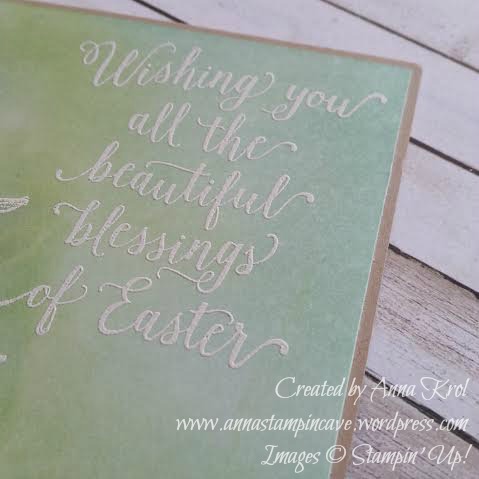
To create my card I stamped a beautiful image from Corner Garden background stamp in Versamark on the piece of regular Whisper White. Remember to always use an antistatic tool on your card before stamping your image if you want to heat emboss it, as it will take all the static from your card, and embossing powder will stick only to your stamped image. The sentiment is stamped in Versamak too. Both: flowers and sentiment are heat embossed in white.

Now the fun part starts – water colouring! You may think: oh no! You should use a watercolour paper. But to be honest, if you don’t plan to soak your cardstock in water, use your aqua painters gently, and your layer will be mounted on the base – you can add your water colouring on regular cardstock without any problem. Just like I did. Believe me or not, I coloured all my flowers and leaves using aqua painter. As they say, the devil is in the detail. You can’t allow aqua paint brush to carry lots of water, it needs to be slightly wet. You only use it to pick the colour from the lid of your ink pad ( to have some ink on your lid you have to squeeze you ink pad gently when it’s closed). And you pick more colour with every stroke or two. You can’t paint with water only as it will damage your paper if using regular Whisper White.

Corner Garden Easter Card 2

When all the colouring was done I sponged the background using Pear Pizzazz, Wild Wasabi and Pool Party. Any place of the background that I thought was too dark, I lightened with Whisper White Craft ink pad. I also lightened the look of some flowers, especially the Melon Mambo one, the large at the bottom of my card. I also added some Clear Wink of Stella to my flowers for a shimmer.

Corner Garden Easter Card 3

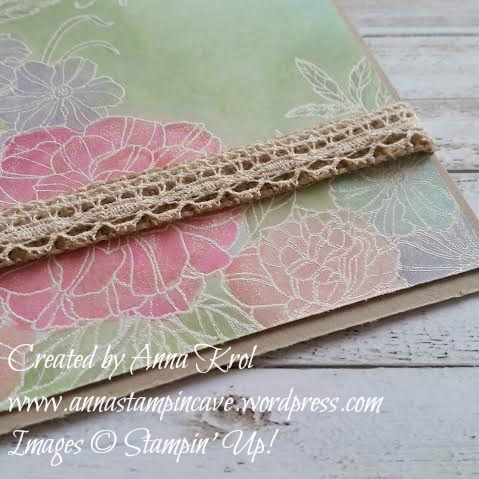
To embellish my card I cut a narrow strip of Burlap Ribbon, added Venetian Crochet Trim at the top and add it at the bottom of my layer. Next, I mount it on my Crumb Cake base.

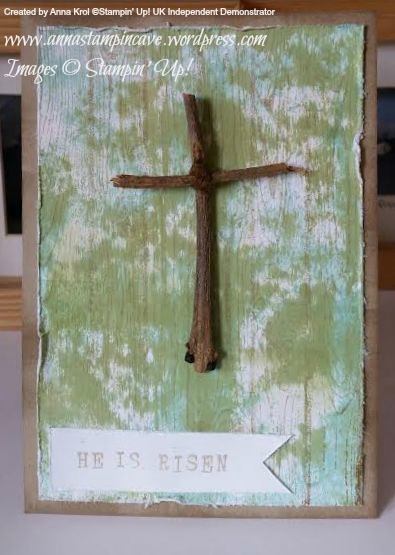
I love that slight rustic feel to my card, even though there’s lots of shimmer on the flowers from Wink of Stella. It may not be your traditional Easter card but I love it! And you can always change a sentiment and make it into the birthday card, get well or congratulations card maybe? Possibilities are endless. If it comes to Easter I personally prefer cards with the strong message like this one I’ve made last year:

he is risen 6

Now I would love to hear from you! Do you prefer more traditional Easter cards? Or maybe you’re a fan of fun and cheeky ones (I’ve seen lots of these lately)? Let me know in the comments below.

Have a blessed day,

Pootlers Spring / Summer Celebration Blog Hop

pootler's blog hop

Thank you for joining us on another Pootlers Blog Hop! We’re showcasing lots of gorgeous projects using products from the new Stampin’ Up!® Spring/Summer Catalogue. Simply use the buttons at the end of each post to keep hopping!

If you have arrived here from Jerim Dickins, a big welcome to you. To continue your journey simply use the buttons at the end of each post to keep hopping!

I hope you had a chance to look through our Spring/Summer catalogue and you’ve got your favourites already. I have chosen to use Rose Wonder Bundle from page 18.

Rose Wonder Bundle Watercolour

I know I said that many times but I will say it again: I love everything about this bundle. I’ve played with this stamp set many times, but in today’s project, I incorporated watercolour with inlaid die-cutting. And yes, I’ve used these two techniques with this bundle already in this project.

This time I stamped my image straight onto watercolour paper with Versamark and heat embossed it in white. I’ve added water to the rose petals first and used Calypso Coral and Blushing Bride as my watercolours.

Rose Wonder Bundle Watercolour 4

I let the flower dry completely before I moved to the leaves. And again I added water first. For the leaves, I choose Pear Pizzazz, Wild Wasabi and just a hint of Old Olive.

Rose Wonder Bundle Watercolour 3.jpg

When my rose and leaves were dry I added water to the background. I didn’t want it to be as intense as last time so I mixed Lost Lagoon with Mint Macaron. I love how these two colours complement each other.

When my background was dry I gave it a little spray with water, and “lifted” those water droplets with a paper towel. As you can see it lifted some colour from background too – beautiful effect.

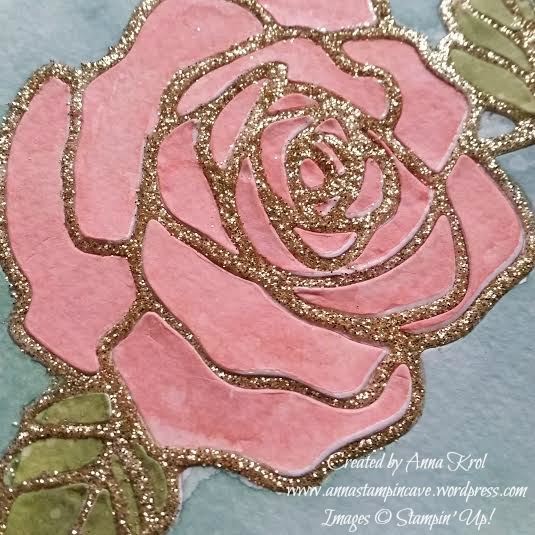
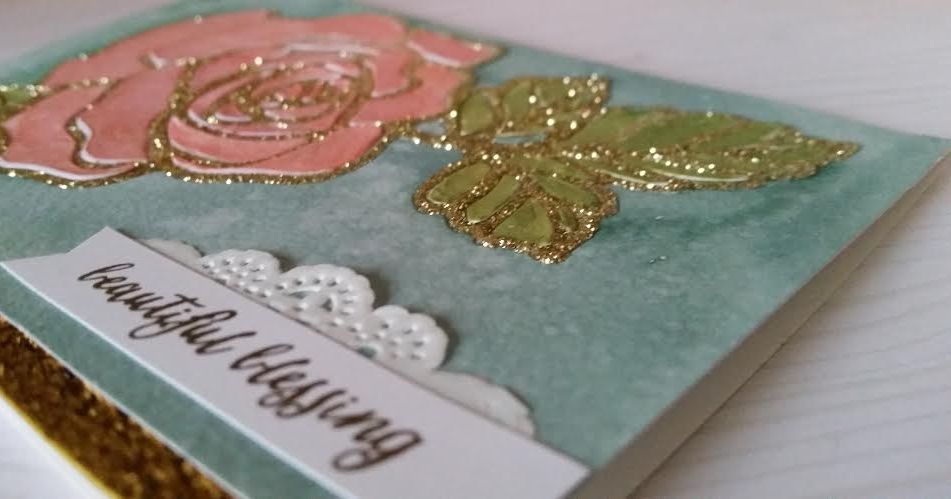
When my card was dry I’ve used Rose Garden Thinlits Dies to die-cut rose straight from my watercolour piece.

Rose Wonder Watercolour 4.jpg

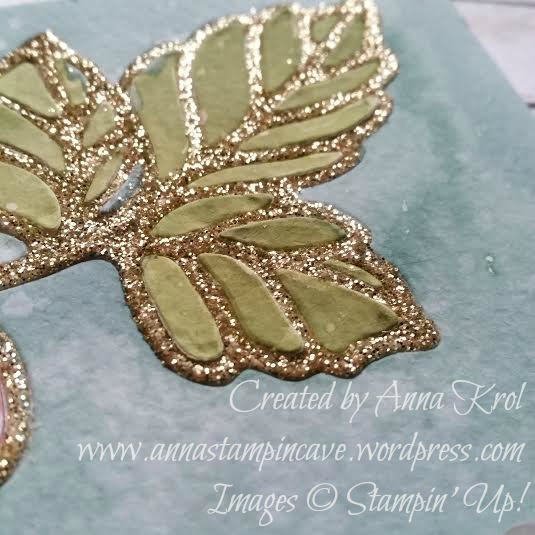
I separated the “frame” and put all these “inside” tiny pieces aside. I dabbed the frame in Versamark, added Heat & Stick powder and heat embossed it for a second. Enough to melt the powder. When it was nice and sticky I cover it with Gold Stampin’ Glitter and heat set it again.

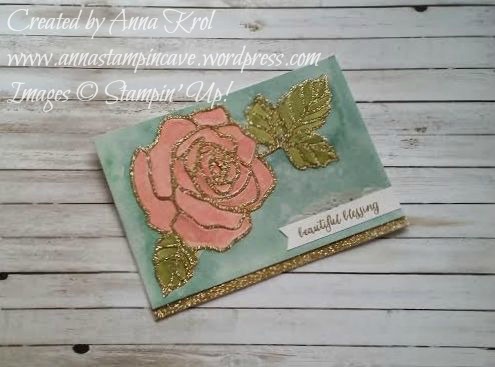
My base is Whisper White. I trimmed the watercolour piece to be slightly smaller than the base. I added Gold Glitter to the bottom of my WW base so this gold will peek a little from underneath the panel.

Now I could assemble the card. I added background panel first, then the frame and all the little die-cuts at the end. I have to say it was really time-consuming but well worth the effect.

Rose Wonder Watercolour bundle 5

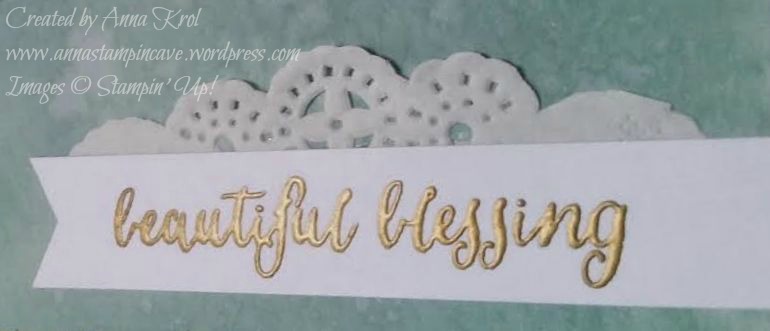
For the sentiment, I choose “What a  beautiful blessing you are to me” but decided to use only part of the sentiment. I heat embossed it in gold on a strip of Whisper White and finish it with a piece of a doily.

I truly hope you enjoyed coming to my blog and see my card. Now, be sure to hop along and see more inspiring projects. Below is the list of all the participants but you can also use the buttons to keep hopping. Your next stop is lovely Kathleen Rintoul-Waite  go and see what she has made using the new products.

Thank you for stopping by and have a blessed day!

next pootler blog

previous pootler blog

Full blog line up:

 Sam Hammond

Mandy Barton

Sandra Ronald

Camille Moriaty

Heidi Smith

Hannah McCurley

Louise Thomas

Karen Taylor

Jerim Dickins

Anna Krol –> you are here

Kathleen Rintoul-Waite

Angelina Clark

Ink Smooshing With Bloomin’ Hearts Thinlits Dies – Using Die-cut Negatives

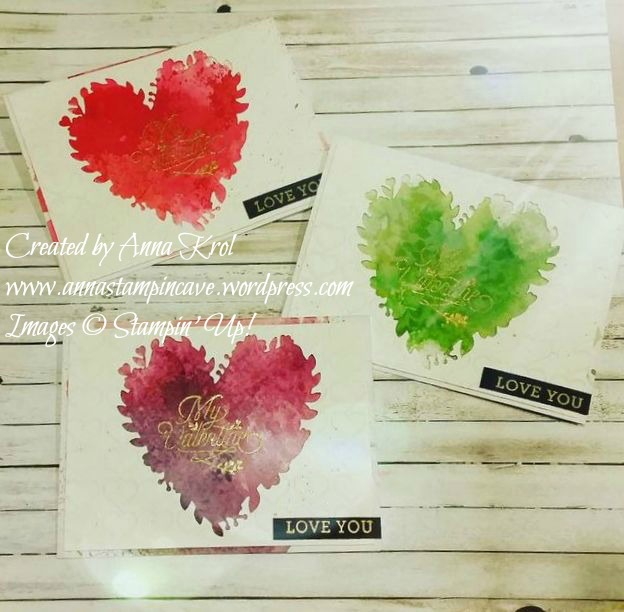
Hello guys! I’m back today with ink smooshing technique again. But this time I’ve used die-cut negatives I’ve saved from my previous project.

bloomin love

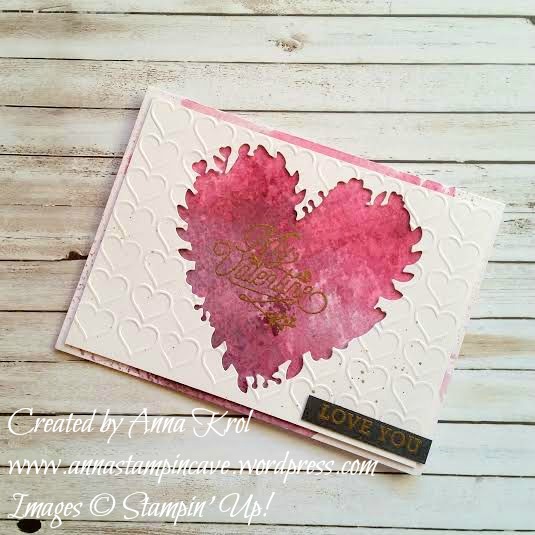
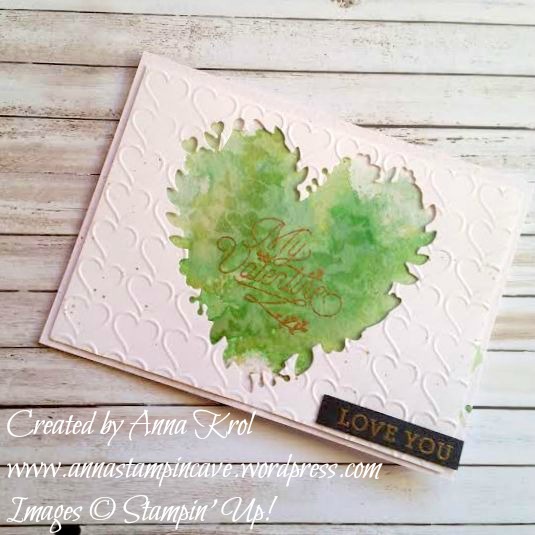
For these cards, I decided to choose different colours: shades of red, green and purple. The base of my cards is again a watercolour paper as it’s perfect for watercolour techniques. I explained ink smooshing technique in my post here.

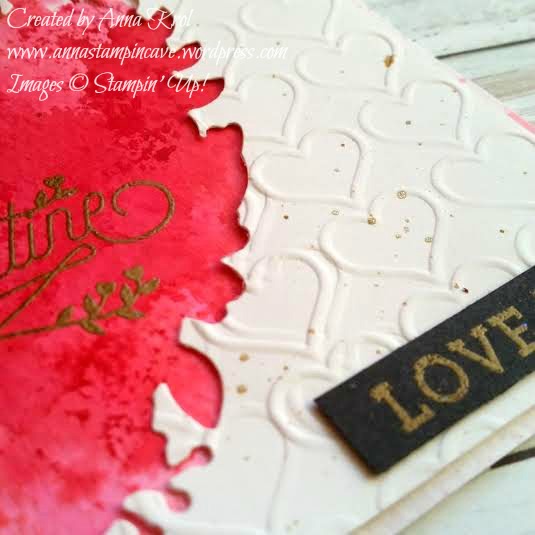
To add some more detail to the die-cut pieces I run them through my big shot with Happy Heart Embossing Folder. I love how they stand out from busy backgrounds.

bloomin love green

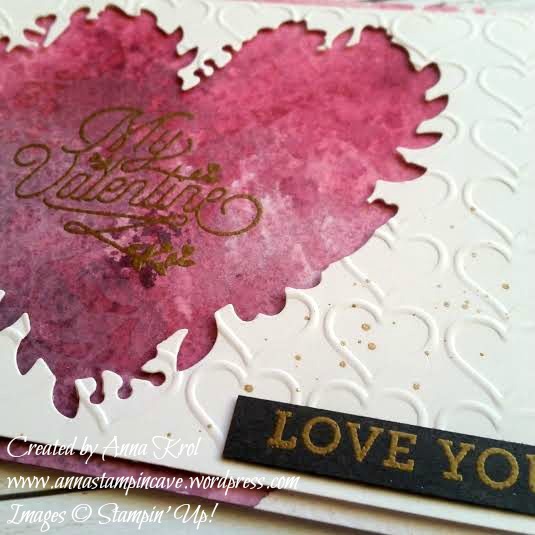
To stamp main sentiments I have used my die-cut as a guide to make sure I stamp it exactly in the middle of my card. I stamped it in Versamark and heat embossed in gold. Before adhering the panels I’ve made few “splotches” using Gold Wink Of Stella Glitter Brush.

To finish off my cards I took a strip of black cardstock and heat embossed “love you” sentiment in gold. My husband’s friend came over at the weekend and “nicked” one card for his girlfriend straight away haha Hope she will like it.

If you like my project or got any questions please let me know in the comments below.

Thank you for stopping by. Have a blessed day,