Ink Smooshing With Bloomin’ Hearts Thinlits Dies

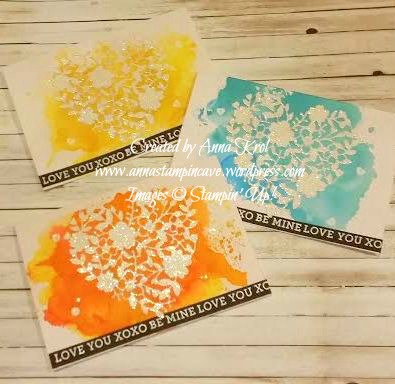
I have to say when I first saw Bloomin’ Hearts Thinlits Dies in new Stampin’ Up! Spring Summer Catalogue I couldn’t wait to put my hands on them and try ink smooshing technique.
bloomin love 2

Aren’t these awesome?! And ink smooshing is childishly easy. All you need is a piece of acetate or craft mat, you can use a plastic packaging too (any sleek surface works really).
bloomin love yellow 2

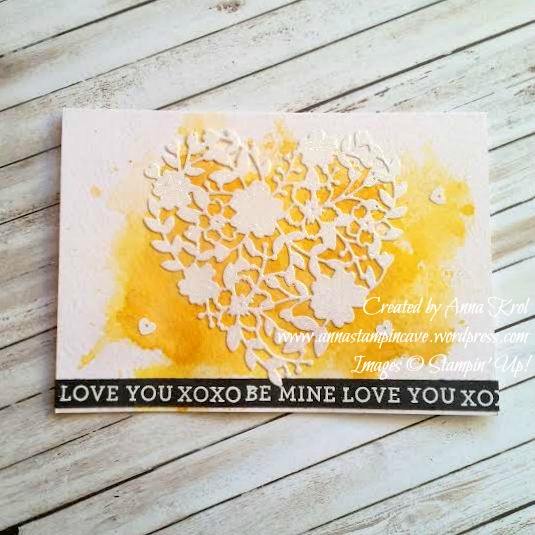
Then you choose the colours you want to use on your card and you simply smoosh them onto your surface. Spritz it with water and dip your card into the ink droplets. Let your card dry completely before you add more colour.
bloomin love yellow

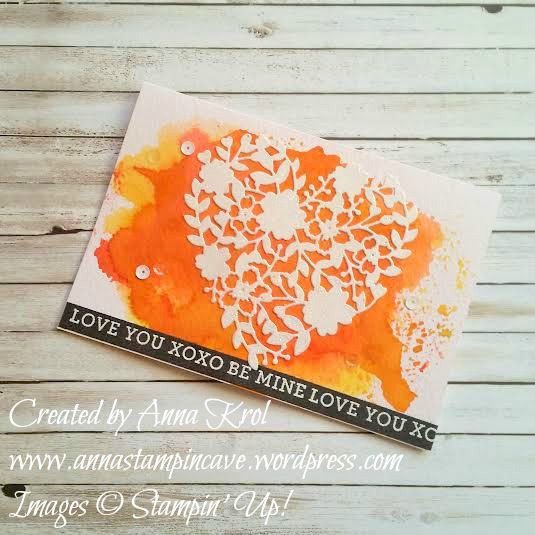
For my cards, I decided for really bright, intense colours. But you can make it as soft as you wish just add less ink and more water. And I have to say here I highly recommend using watercolour paper with this technique.
bloomin love orange 2

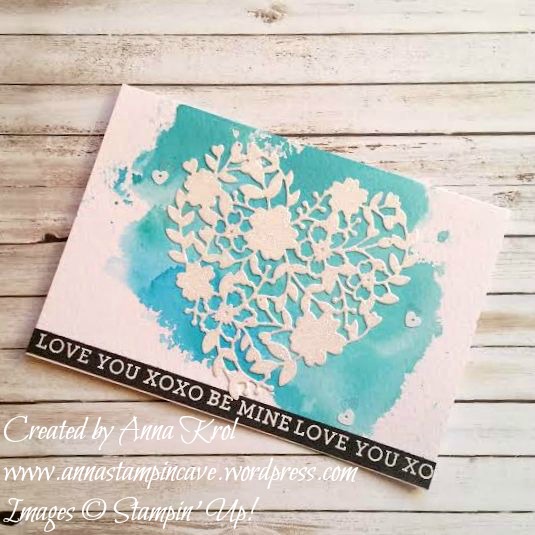
I’ve used the same design for all my cards. I die-cut hearts from a piece of Whisper White cardstock using Precision Base Plate. Trust me you need this plate! It’s perfect for more detailed thinlits dies to give you extra fine cuts. I saved the negatives (not tiny bits just “frames”) for another project.
bloomin love orange

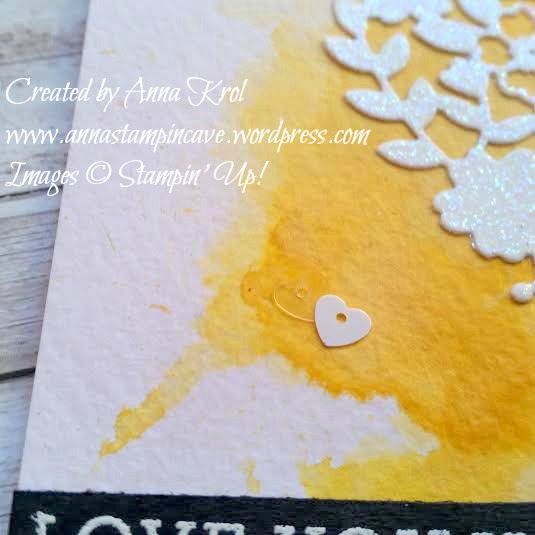
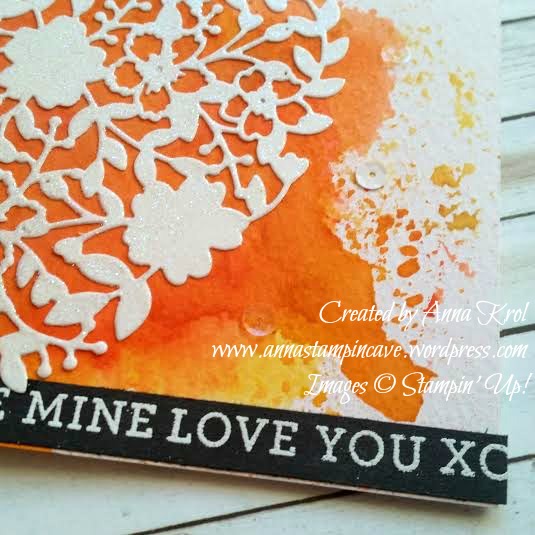
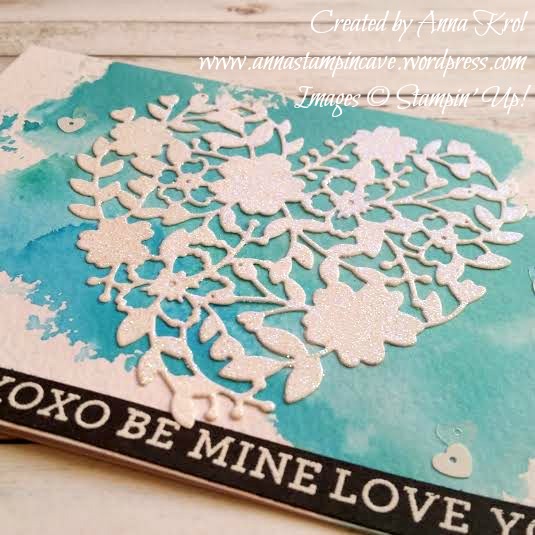
I then dabbed my die-cuts in Versamark and heat-embossed it with Iridescent Ice embossing powder. I love the gentle bling/shimmer it gives.
bloomin love blue 2

I wanted the sentiment to really stand out so I took a strip of Basic Black c/s and stamped my sentiments in Versamark and heat embossed them in white.
bloomin love blue

To finish off my cards I added few white and clear sequins from Metallics Sequin Assortment.

I love how these turned out,  really pleased! I know these are not typical cards you would think off for Valentine’s Day, but I love the unusual.

Thank you for stopping by,

Simply Sketched Saturday Challenge – Silver Contra Gold

SSSC Header

Thank you for joining us on the first Simply Sketched Saturday Challenge!  We’re a small group of Stampin’ Up!® Demonstrators who fancied a new challenge to share with you all. The products used are all available in the current Annual, or seasonal, Stampin’ Up!®  Catalogues*. Simply use the buttons at the bottom of the post to keep hopping!

If you have arrived here from Mandy’s blog thank you for stopping by. I hope you enjoy seeing the inspiration from our little group and continue hopping to see what everyone has made.

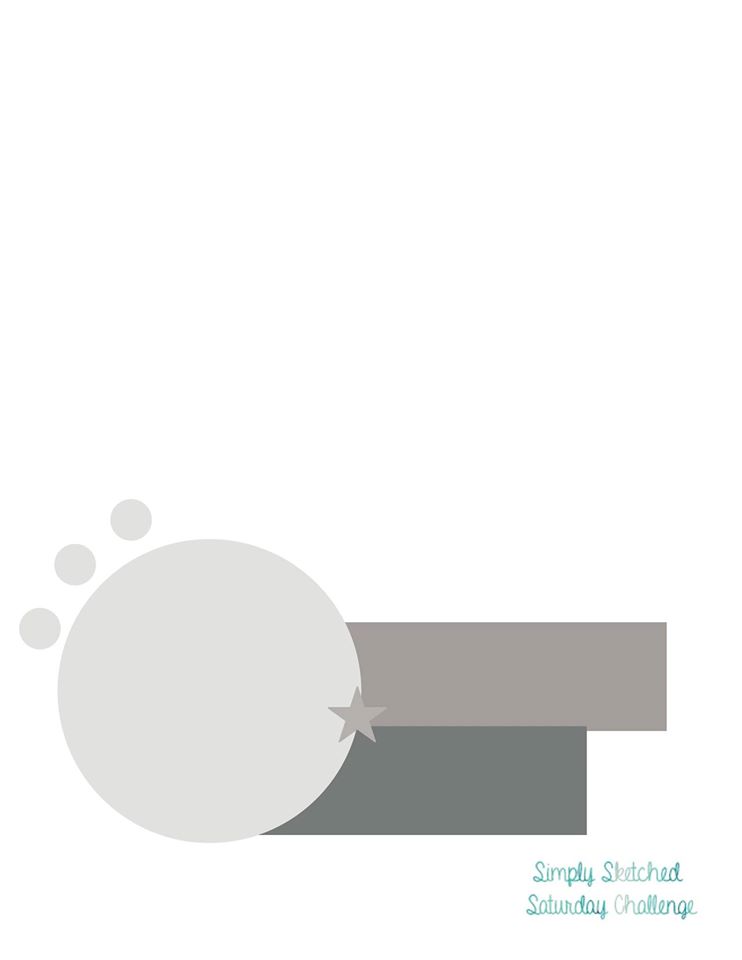
So here’s our very first sketch created by talented Sam Johnson:

SSSC 1

The moment I saw the sketch I loved it to bits. But then I thought: OMG I’m gonna over-think it and over-complicate it!  Yep, I am known for that haha Luckily it wasn’t that bad.

I created two samples one in silver and the other one in gold and meant to post one I like the most. But truly, I couldn’t decide which one, so I post both.

silver

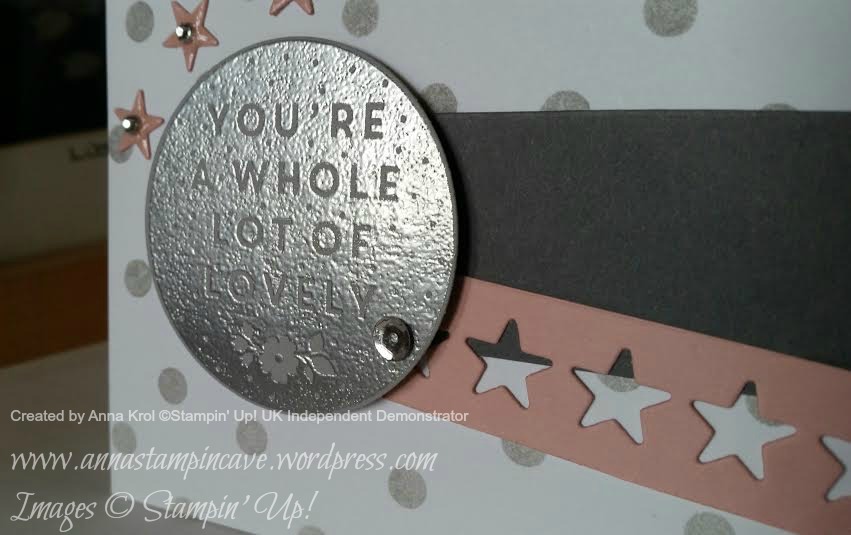
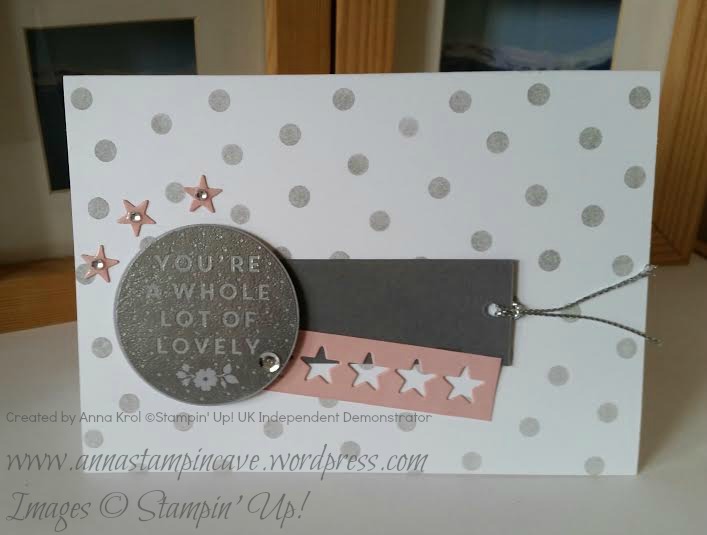
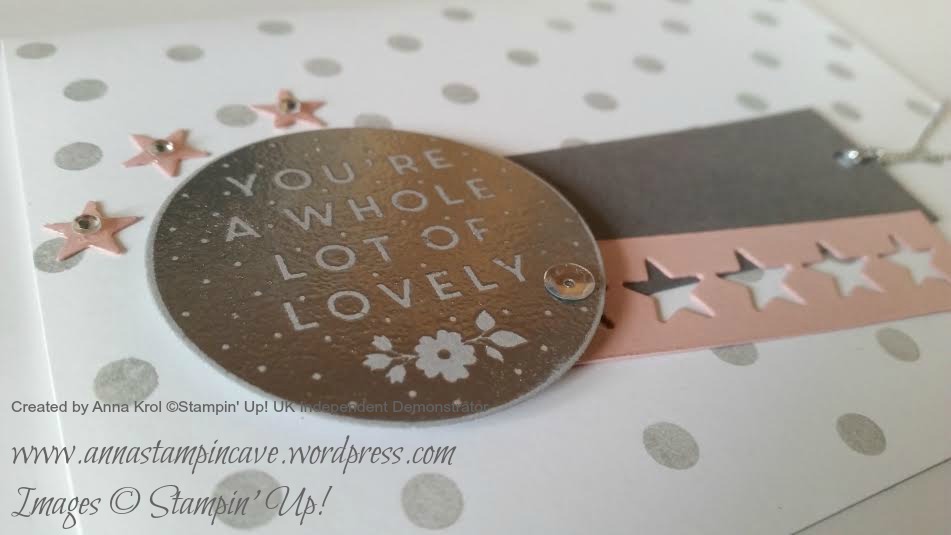
Card nr 1. The card base is Whisper White with Smoky Slate dots sponged over using one of Happy Patterns Decorative Masks. I cut two strips of paper: Basic Grey (1-1/8 x 3-1/2″) and Blushing Bride (5/8 x 3-2/8″) for a little splash of colour. I turned Basic Grey strip into a simple tag with a piece of Silver Cording Trim. For Blushing Bride piece: I run it through my Big Shot with “stars on stripe die” (however it’s called haha) from Mini Treat Bag Thinlits Die. Don’t throw these little stars away, you will use them later.

silver 3

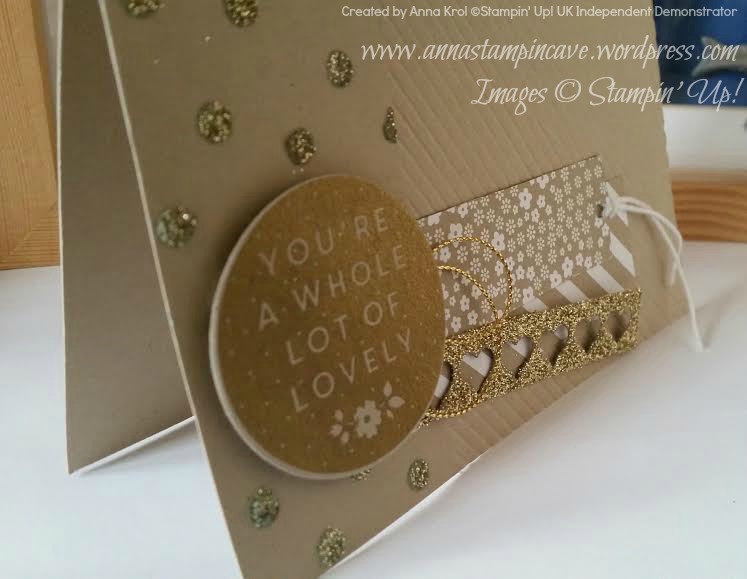
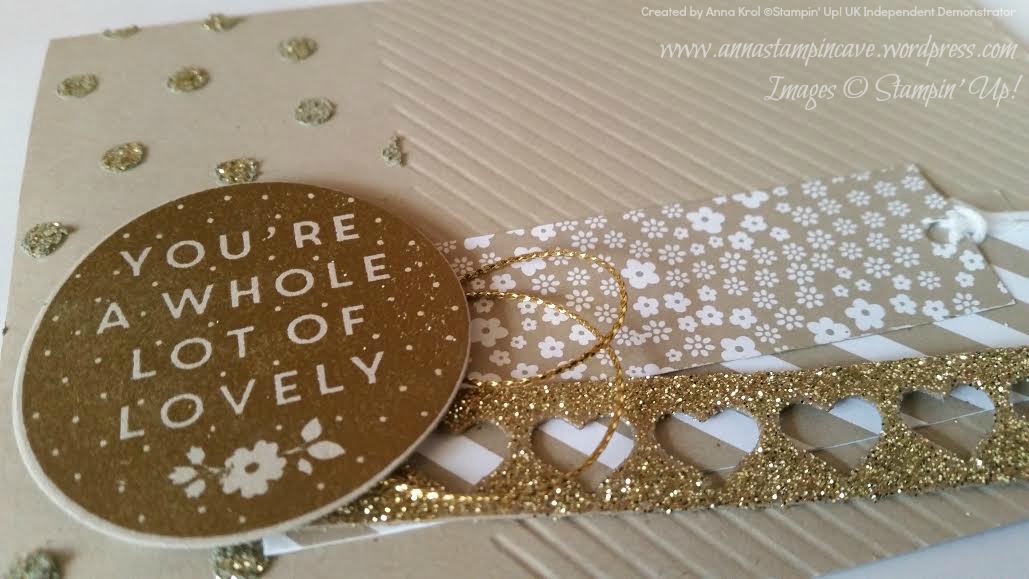
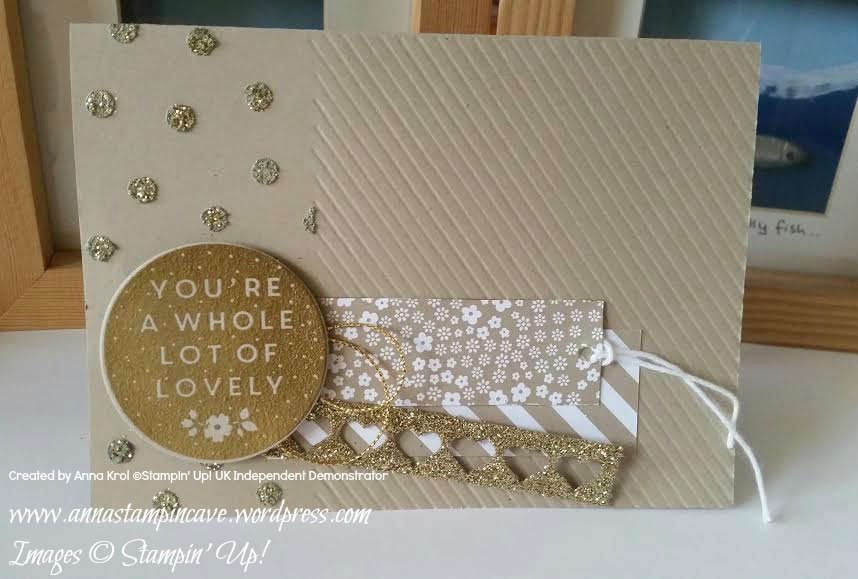
Sentiment comes from Whole Lots Of Lovely, gorgeous, hostess exclusive stamp set. I stamped it in Versamark on a piece of Smoky Slate, heat embossed in silver, die cut it using circle die and added silver sequin for a bling. Then I took three little stars, covered them in Crystal Effects and let them dry. Once dry, I attached one tiny rhinestone to each of the stars.

silver 2

Card nr 2. I really wanted to go into gold and use embossing paste (I’ve bought it while ago at Lidl). I embossed diagonal stripes on 2/3 of my card front (Crumb Cake) and used embossing paste (same mask as with the first card) on 1/3 of the card. I sprinkled some gold glitter while embossing paste was still wet.

gold 3

I cut two strips of patterned paper from Neutrals DSP Stack: 1″ x 3-2/8″ and 1-1/8″ x 3-6/8″. For third narrow stripe I could simply use Glimmer Paper, but I wanted to finally try my Heat and Stick Powder. I cut a strip of Crumb Cake that measure 5/8″ x 3-1/2″, die cut little hearts from it, covered my piece in Versamark and sprinkled Heat & Stick Powder over my piece (making sure it’s well covered). Then I heat it with my heat gun.

gold

When the powder melted I covered the whole piece with gold glitter and heat it again. The powder melts with glitter creating your own glimmer paper 🙂 I used the same sentiment for both cards, just this time I heat embossed it in gold.

gold 2

So? Which card is your favourite? Silver or gold? Let me know in the comments below.

Now, be sure to hop along and see more inspiring projects. Your next stop is lovely Debbie at Larli Crafts. Thank you for stopping by and have a blessed day!

 SSSC Previous  SSSC Next Blog

Easy Peasy Bokeh Technique And Tin Of Cards Stamp Set By Stampin’ Up!

Bokeh technique! Have you ever tried it?! I loved this technique “from aside” for a while but never get around to try it myself. Until now 🙂 And why oh! why I waited so long?! hahaha

This is such a cool and easy technique and you can achieve this effect in many different ways. But wait, what the bokeh effect is and means?! In photography bokeh (originally /ˈbkɛ/, /ˈbk/ boh-kay — also sometimes pronounced as /ˈbkə/ boh-kə is the aesthetic quality of the blur produced in the out-of-focus parts of an image produced by a lens. The term comes from the Japanese word boke (暈け or ボケ), which means “blur” or “haze”, or boke-aji (ボケ味), the “blur quality”. The Japanese term boke is also used in the sense of a mental haze or senility. The term bokashi (暈かし) is related, meaning intentional blurring or gradation.

pobrane

Cool, hey? 🙂

To achieve a similar effect on your card you can try the watercolour technique background which can be pretty amazing, and for the “blur” you simply add lighter “circles” with white pigment ink. And what’s cool about the pigment ink, you can make your circles as soft or as intense as you wish.

The first card I created is for my hubby’s 41st Birthday which happens to be today! HAPPY BIRTHDAY, BABY!!! I love you to the moon and back! You are such a blessing in my life xx

ja aaa

You must have noticed our ‘cheeky little thing’ photobomb the picture haha

And here’s the card –

Happy Birthday Card - Anna's Stampin' Cave

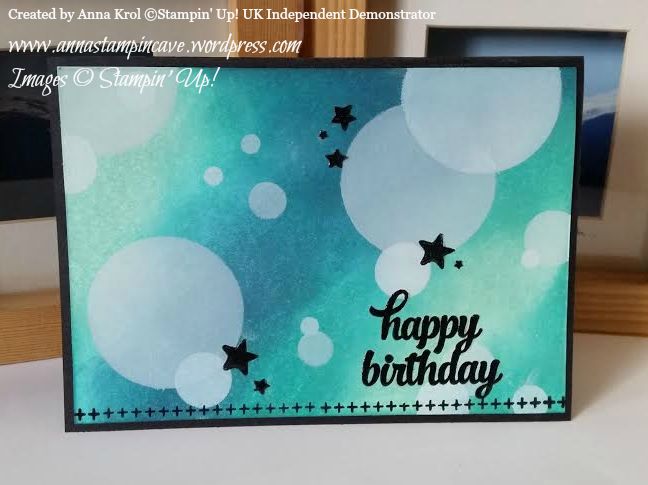
For the background, I’ve used three colours of ink: Pool Party, Bermuda Bay and Island Indigo. I’ve sponged the panel randomly, making sure all the colours are blended well. When I was happy with my background I started adding circles in various sizes with Whisper White Craft Ink and sponge.

Happy Birthday Card - Anna's Stampin' Cave

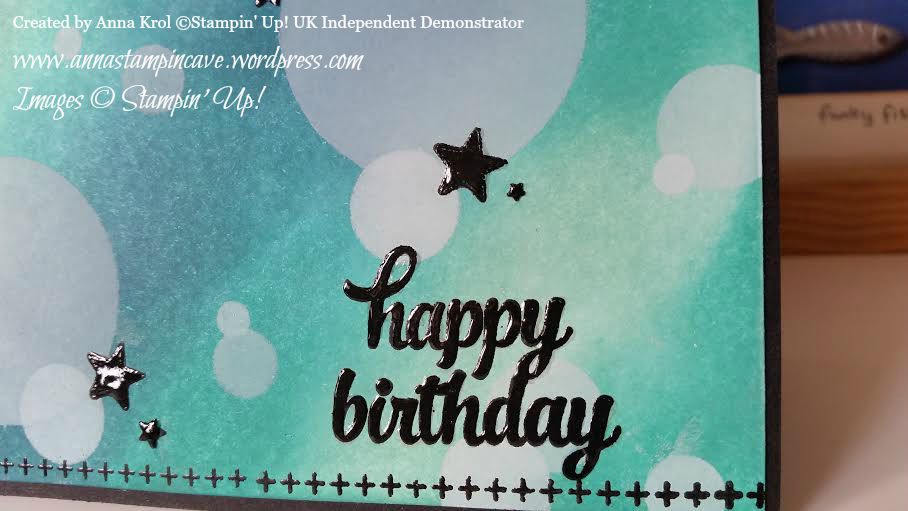
Sentiment and border come from Tin Of Cards stamp set that coordinates with Tin Of Cards Project Kit. But this set is so versatile with its bold images. Once you’ve created your beautiful kit you can use that stamp set over and over again on different occasions. I stamped the sentiment in Versamark and heat-embossed with black embossing powder. Stars are punched with Confetti Stars Punch. To add some WOW effect I added Crystal Effects to the sentiment and stars. I love how they “pop!” from the card.

But because I had all my supplies out, I’ve created three more cards using same technique and stamp set but different colours.

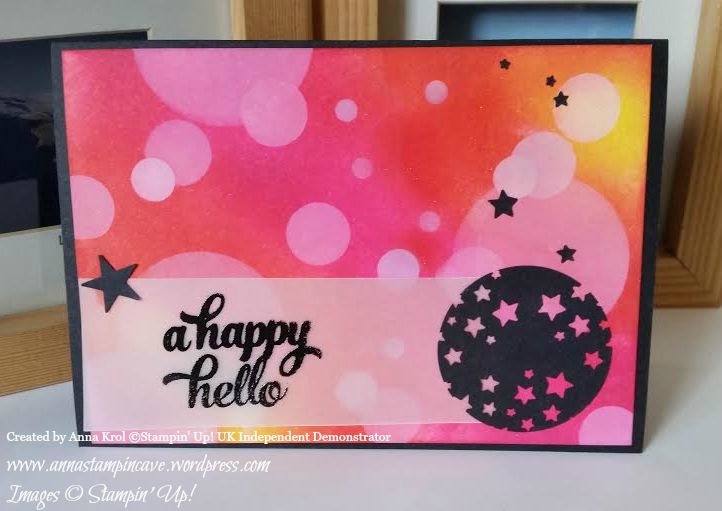
A Happy Hello Card - Anna's Stampin' Cave

For this one, I used Daffodil Delight, Watermelon Wonder and Melon Mambo. For a little twist, I stamped my sentiment onto vellum and added a circle full of punched out stars so the background is peeking from behind. I really love this effect. Larger star comes from Itty Bitty Accents punch pack and it holds vellum in place.

Thank You Card - Anna's Stampin' Cave

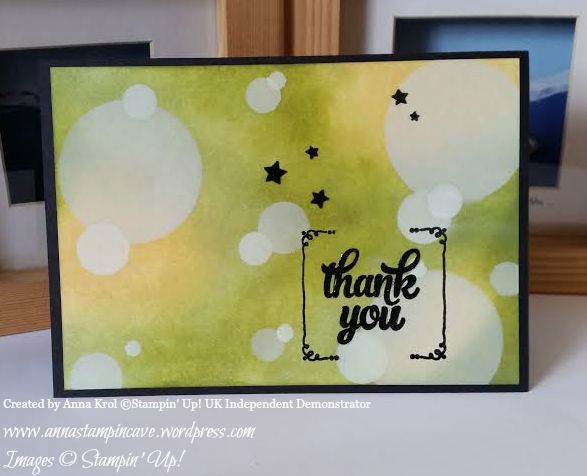
My third card is a Thank You card. And again same technique but different sentiment and colours: So Saffron, Pear Pizzazz and Old Olive. And again I used Crystal Effects on stars and sentiment.

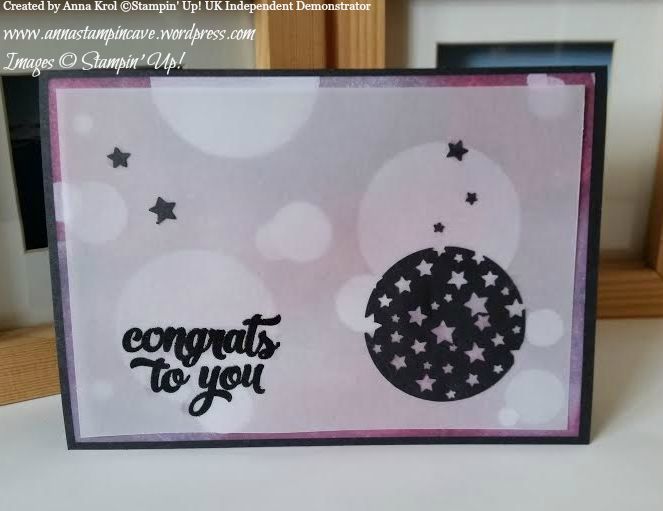
For my last card today I used Wisteria Wonder, Perfect Plum and Rich Razzleberry.

Congrats To You - Anna's Stampin' Cave

But this time I decided to add a vellum “screen” to my layout. Such an easy way to intensify the blur effect.

Hope you like my today’s cards and that I’ve inspired you to try bokeh technique yourself. Honestly, I had lots of fun creating these cards and would love to hear what you think about them. Please let me know in the comments below.

Thank you so much for stopping by,