Anna’ Stampin’ Cave – Petal Palette Split Background 1 For 2 for Kylie Bertucci’s International Project Highlights
 Thanks for coming to my blog today! We are being highlighted internationally by Kylie Bertucci and you are able to VOTE for my project. The top ten winners will get to be part of an international blog hop so please vote for my project. My project is under number 7! You can do it here or use a button at the end of my post.
Our theme for this highlight is, again, ‘Favourite Sale-a-bration Or Occasions Catalogue Products’ – because they are so amazing!! Last time I’ve used my ever favourite medium: Brusho Crystal Colour – you can check that post HERE.
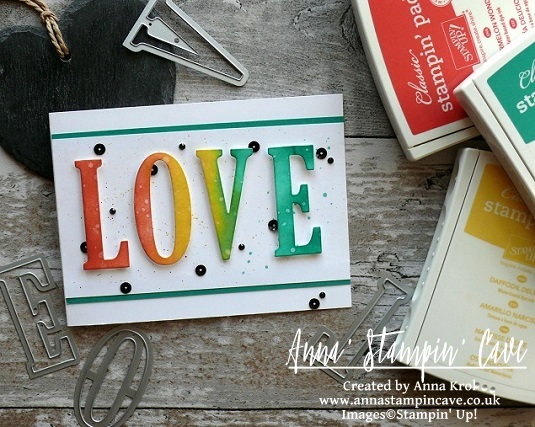
This time, however, I decided to use a stamp set I seem to be using a lot lately, called Petal Palette. And this is also my second project in ‘Bedazzled‘ series, as I have a thing (or two lol) for a glitter lately too haha 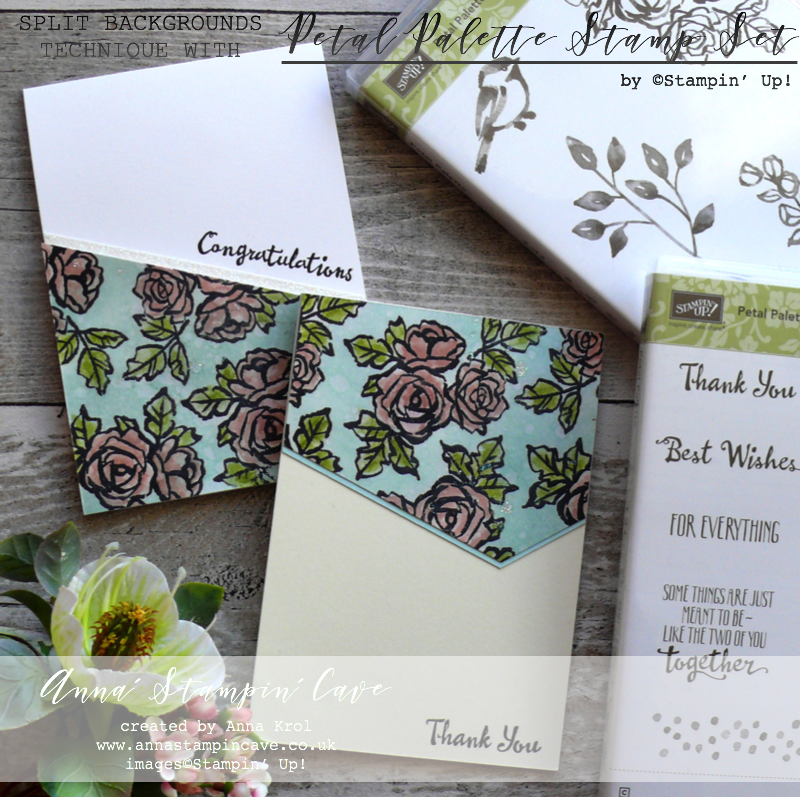
Dimensions for both cards:
- card base: 11-6/8″ x 4-1/8″ scored in half at 5-7/8″ (29.7 x 10.5 cm scored in half at 14.8 cm) – Whisper White Thick & Very Vanilla cardstock
- Shimmery White cardstock: 4-1/4″ x 5-3/4″ (10.8 cm x 14.6 cm)
- Soft Sky cardstock: 3-2/8″ x 4-1/8″ (8.26 cm x 10.5 cm)
- Dazzling Diamonds Glimmer Paper: narrow, long strip – 4-1/2″ x 1/2″ (11.4 cm x 1.3 cm) approx
First I created the background. I didn’t have a plan for my cards yet, I just played – but this is how many of projects start.
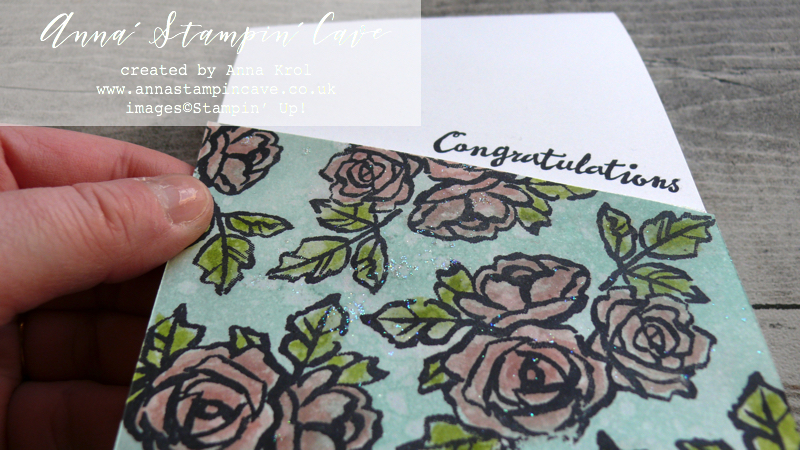
I stamped the cluster of roses from Petal Palettes Stamp Set all over the piece of Shimmery White cardstock using Basic Black Archival ink pad. Next, I watercoloured them. I’ve used my ink pads as palettes: Powder Pink with Blushing Bride for roses and Pear Pizzazz with Old Olive for leaves.
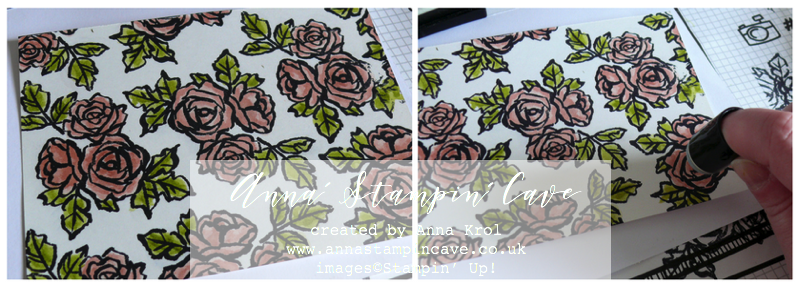
When my piece dried, I decided I want to add some colour to the background. I’ve used a sponge dauber to add Versamark ink to my flowers and let it dry. Next, I sponged Soft Sky ink over my piece. Versamark helped my roses not to be stained with blue ink, but it also allowed the blueish hue to make it’s ‘mark’ (hope you know what I mean).
Once happy with the background, I flicked some water droplets on and picked them up with a paper towel. I truly love subtle texture that those droplets create.
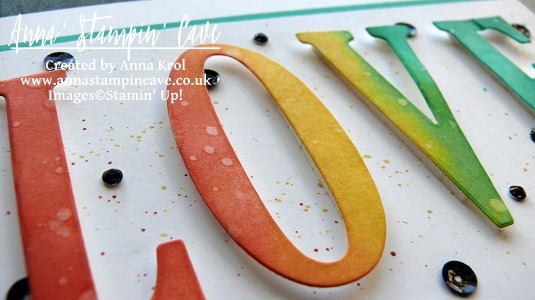
Now the ‘bedazzled’ part: I flicked some more water on my background, sprinkled with clear embossing powder and heat set it. Next, I re-heat it once again, added Dazzling Diamonds Stampin’ Glitter and heat set it again so the glitter stays put. And I cut my piece diagonally to create two cards.
Because of the bold design, I decided to keep the rest of my cards clean & simple.
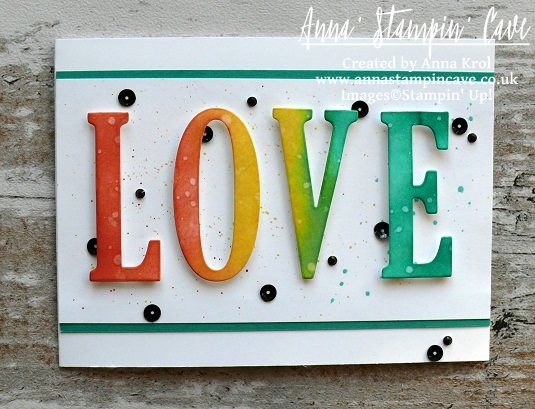
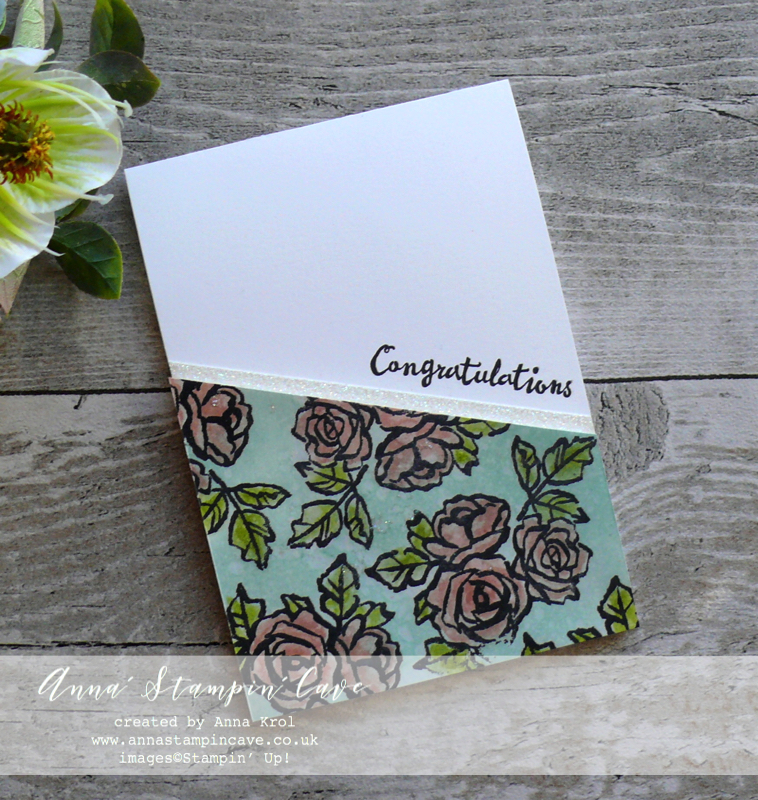 For first card, I decided to mount my diagonal piece at the very bottom of the card. But first, I stamped the sentiment, with help of Stamp-a-ma-jig, in Basic Black Archival ink.
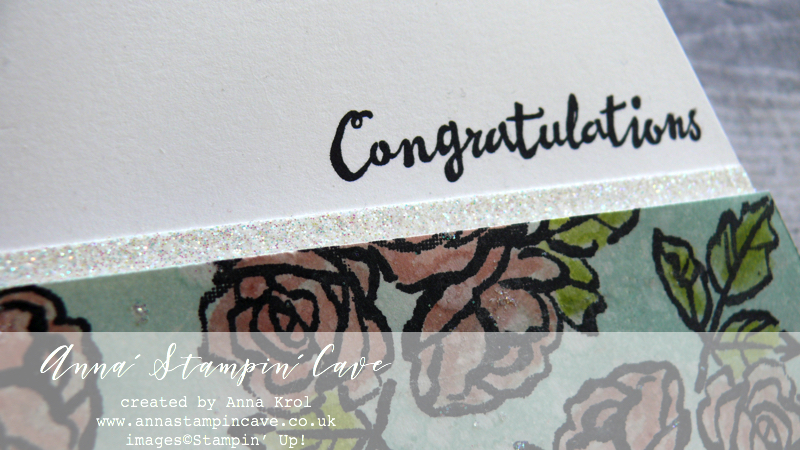
I stamped it diagonally, just above where the diagonal piece will go and I added a strip of Dazzling Diamonds Glimmer Paper just below my sentiment. Next, using Foam Adhesive Strips I adhered my background to the card base
 For the second card’s card base I’ve used Very Vanilla thick cardstock and I tweaked the layout slightly.
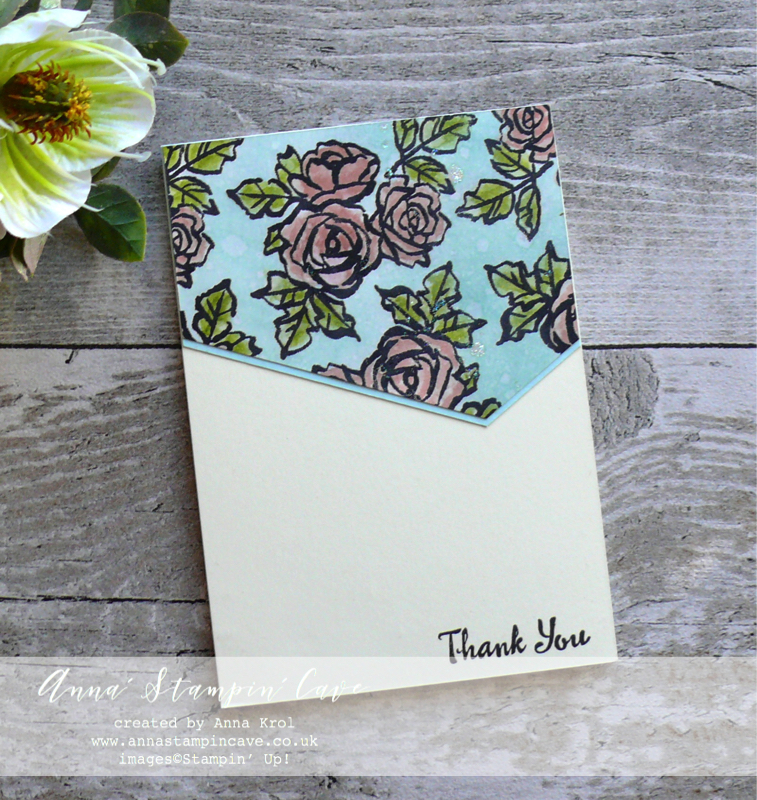
This time background landed on top of my card and I also cut off the end of my diagonal panel.
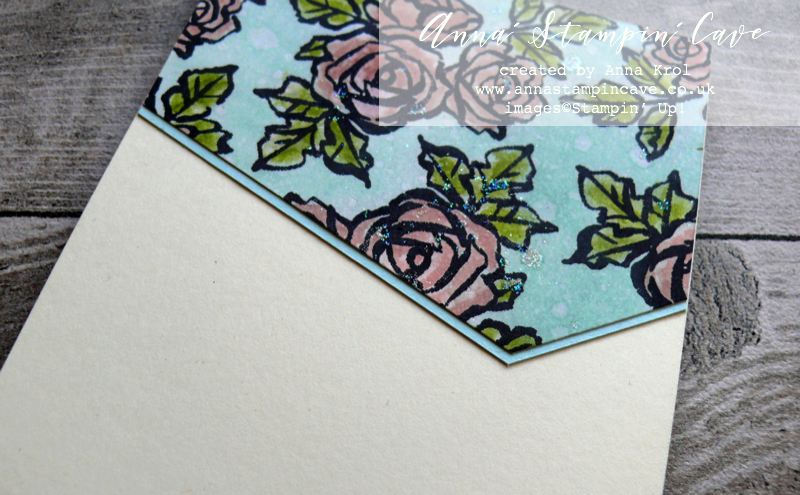
I backed it with a piece of Soft Sky cardstock and adhered it to the card base flat with snail adhesive.
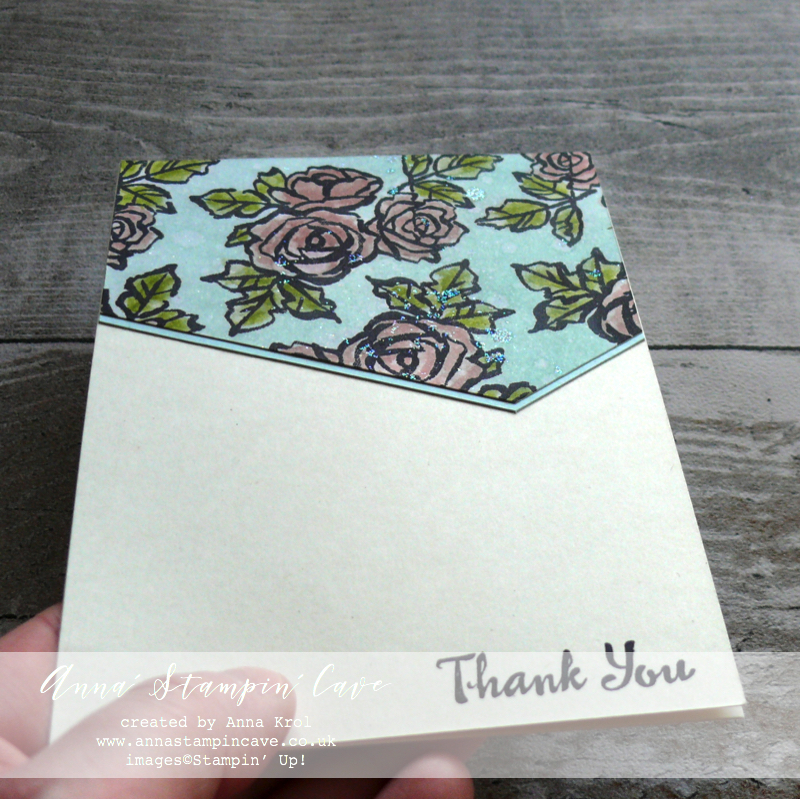
I stamped the sentiment at the bottom Right corner of the card base, in Basic Black Archival ink.
I really had fun creating these cards and I hope you like them too. And can you spot soft, blueish shiny speckles of Dazzling Diamond Stampin’ Glitter on my backgrounds? Just yummy!
Thank you so much for visiting my blog today! Make sure you head over to Kylie’s blog to check all lovely projects and vote for your favourites. Hope my project will be among them. My project is under number 7!
![]()
If you wish to purchase any of products I have used, simply click the images below to go directly to my online store and don’t forget to enter the hostess code RRMR76JH to receive a gift from me.
Thank you for stopping by and have a blessed day

Hostess Code for February: RRMR76JH – Use this code in the month of February and receive a gift from me. Spend £50 or more and use the code, and you will receive a Whisper White 1/4″ (6.4mm) Organza Ribbon + a handmade gift from me

Special Notes: 1) Make sure you select Anna Krol as your demonstrator;
2) If you select “No Contact” box I do not have access to your name and can’t send you a gift;
3) If your order is £150 or more do not use the code and grab your own Stampin’ Rewards + gift from m
|
|
|
|||
|
|
|
|||
|
|
|
|
||
|
|
|
|
|
|
|
|
|
|
|
|


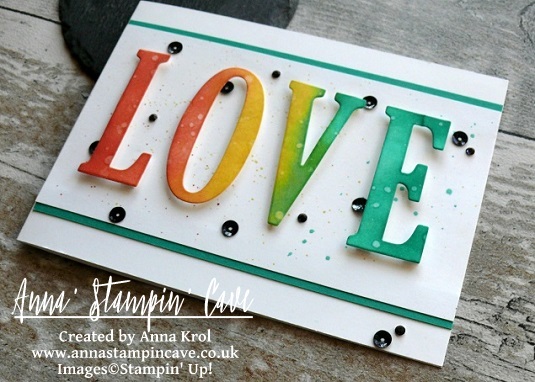
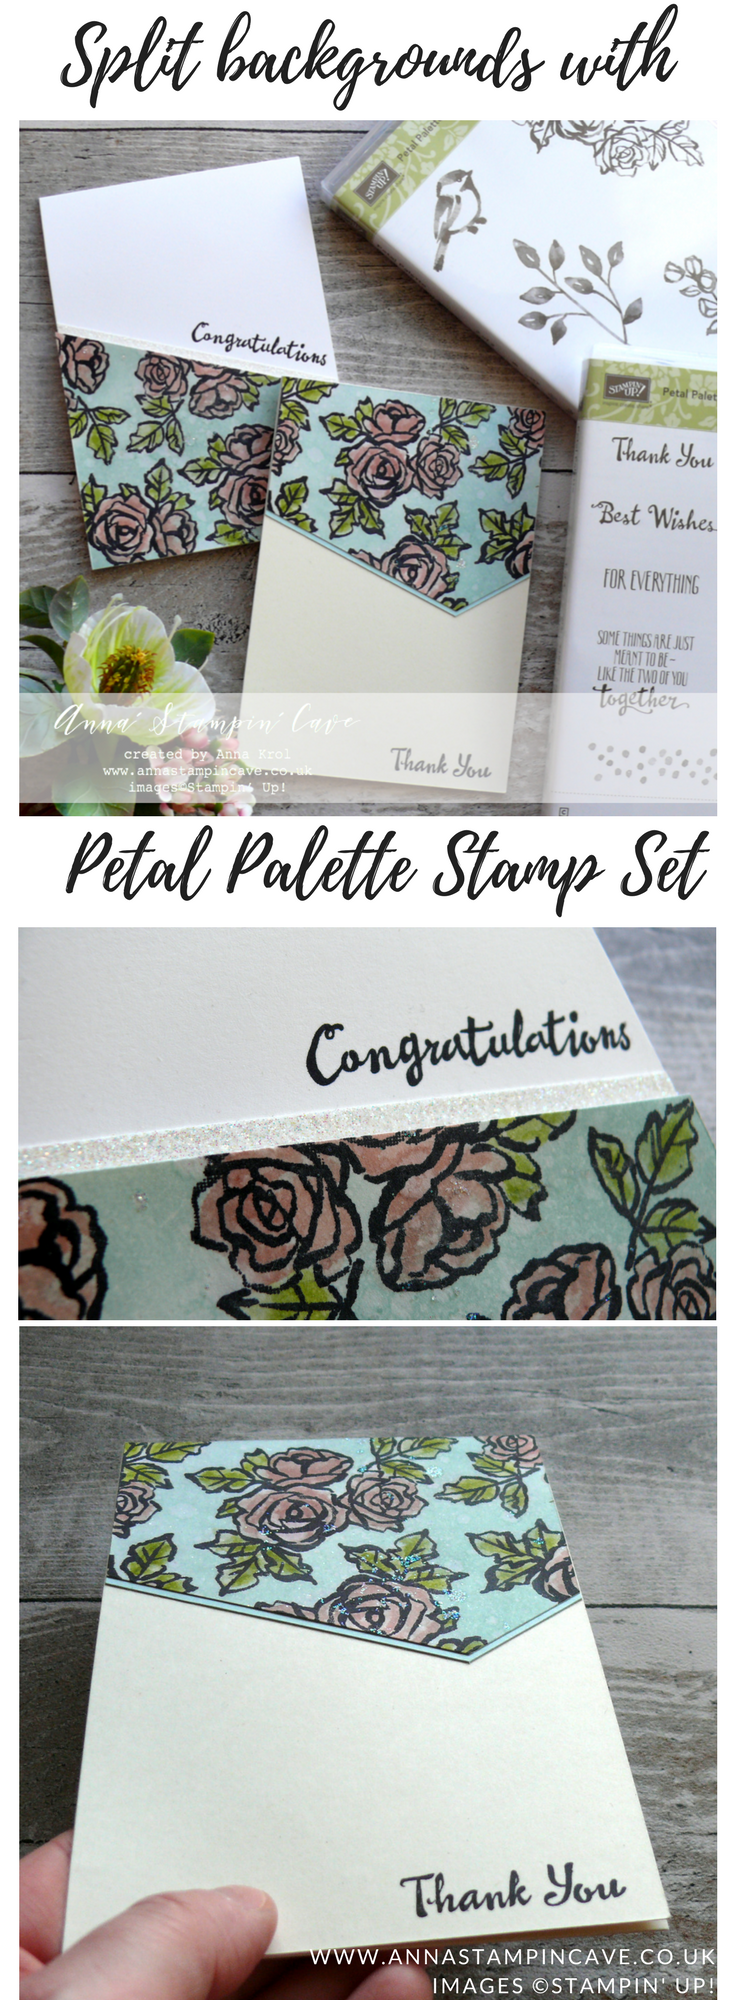
Pin me
Summary of the project which gives all the views of the card in one photo. I’d love if you pinned and called by on Pinterest xx
Don’t forget to check:
New Sale-a-bration release is LIVE. Click here for more details –>


Spring Summer Catalogue Paper & Ribbon Shares. Shares are open to Austria, France, Germany, Netherlands & United Kingdom. 102 sheets of DSP & 2 yards of each type of ribbon from Spring/Summer Catalogue. Click here for more details —>
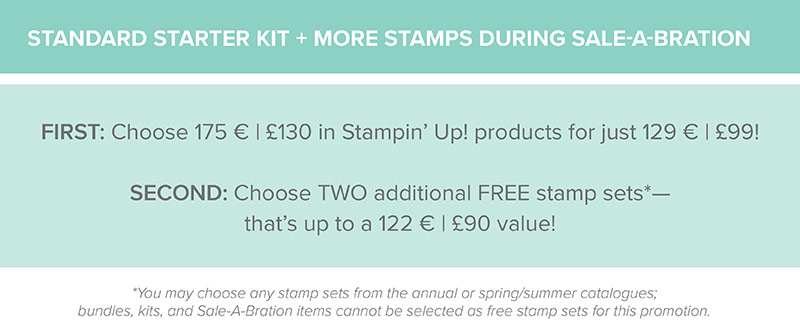
 The New Stampin’ Up! Spring/Summer 2017 Catalogue and Sale-A-Bration are LIVE and it’s AMAZING! For every 60 €/£45, you spend either from Spring Summer Catalogue or Annual Catalogue, you will get to choose one FREE level 1 product from SAB brochure! If you spend 120 €/£90, you get one FREE level 2 product, OR, you can choose two level 1 items. If you spend 180 €/£135, you have the option to choose three level 1 items or one level 1 item and one level 2 item. Click here for more details —>

Ever wondered what it’s like to join Stampin’ Up!’s community? I may have few answers for you. Click here for more details –>