Anna’ Stampin’ Cave – New Stitched Shapes Framelits Dies
Not only stitches are a classic trend, they illustrate the quality, precision, and extra care is taken when creating a piece. Giving a stitched gift shows just how much you value that relationship.
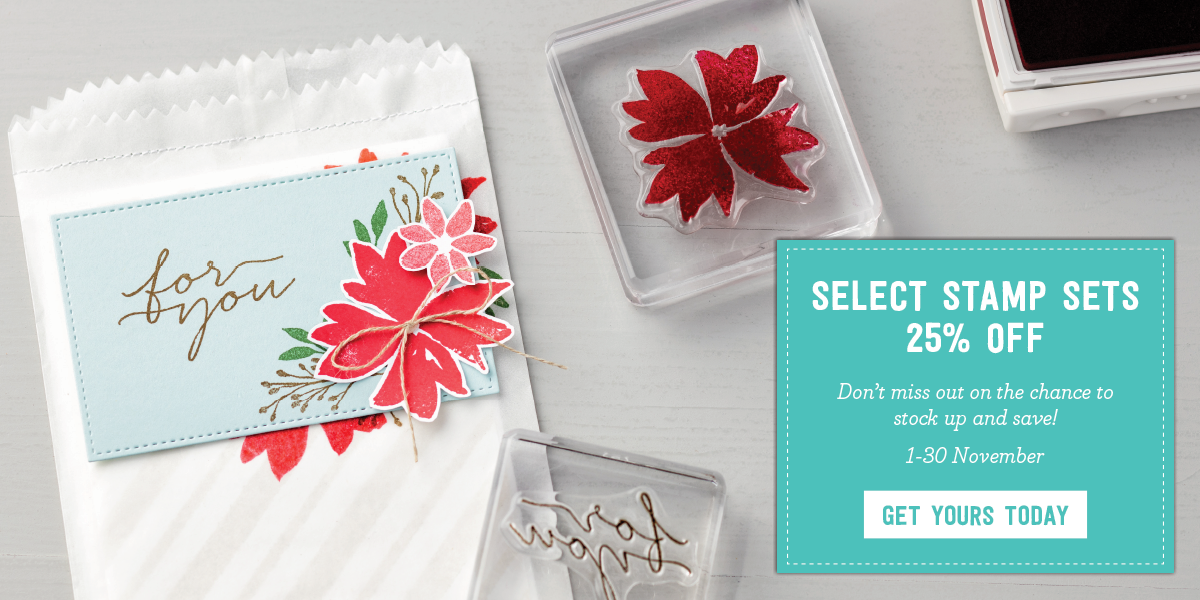
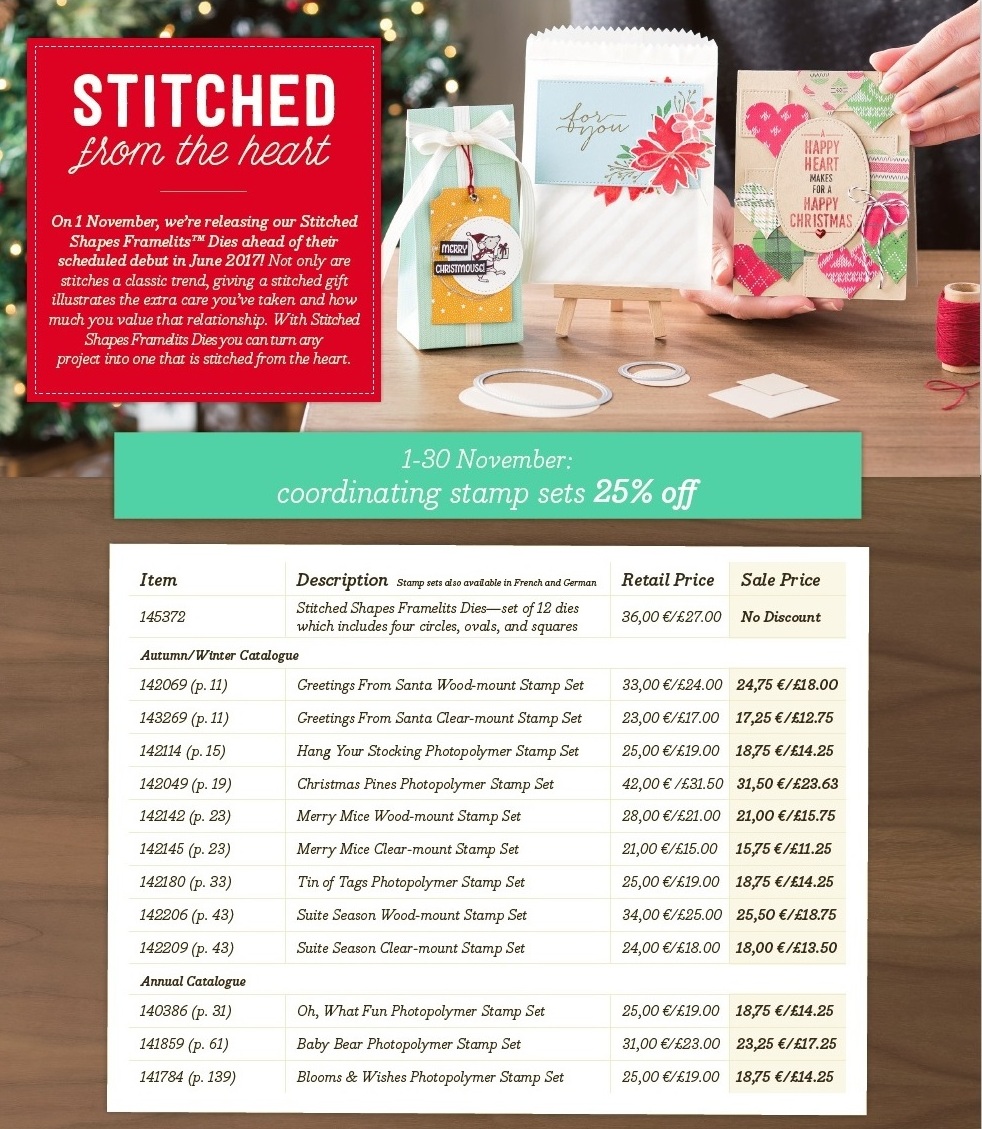
Now you have the opportunity to purchase Stitched Shapes Framelits ahead of their official release in the 2017-2018 annual catalogue and get 25% off coordinating stamp sets.
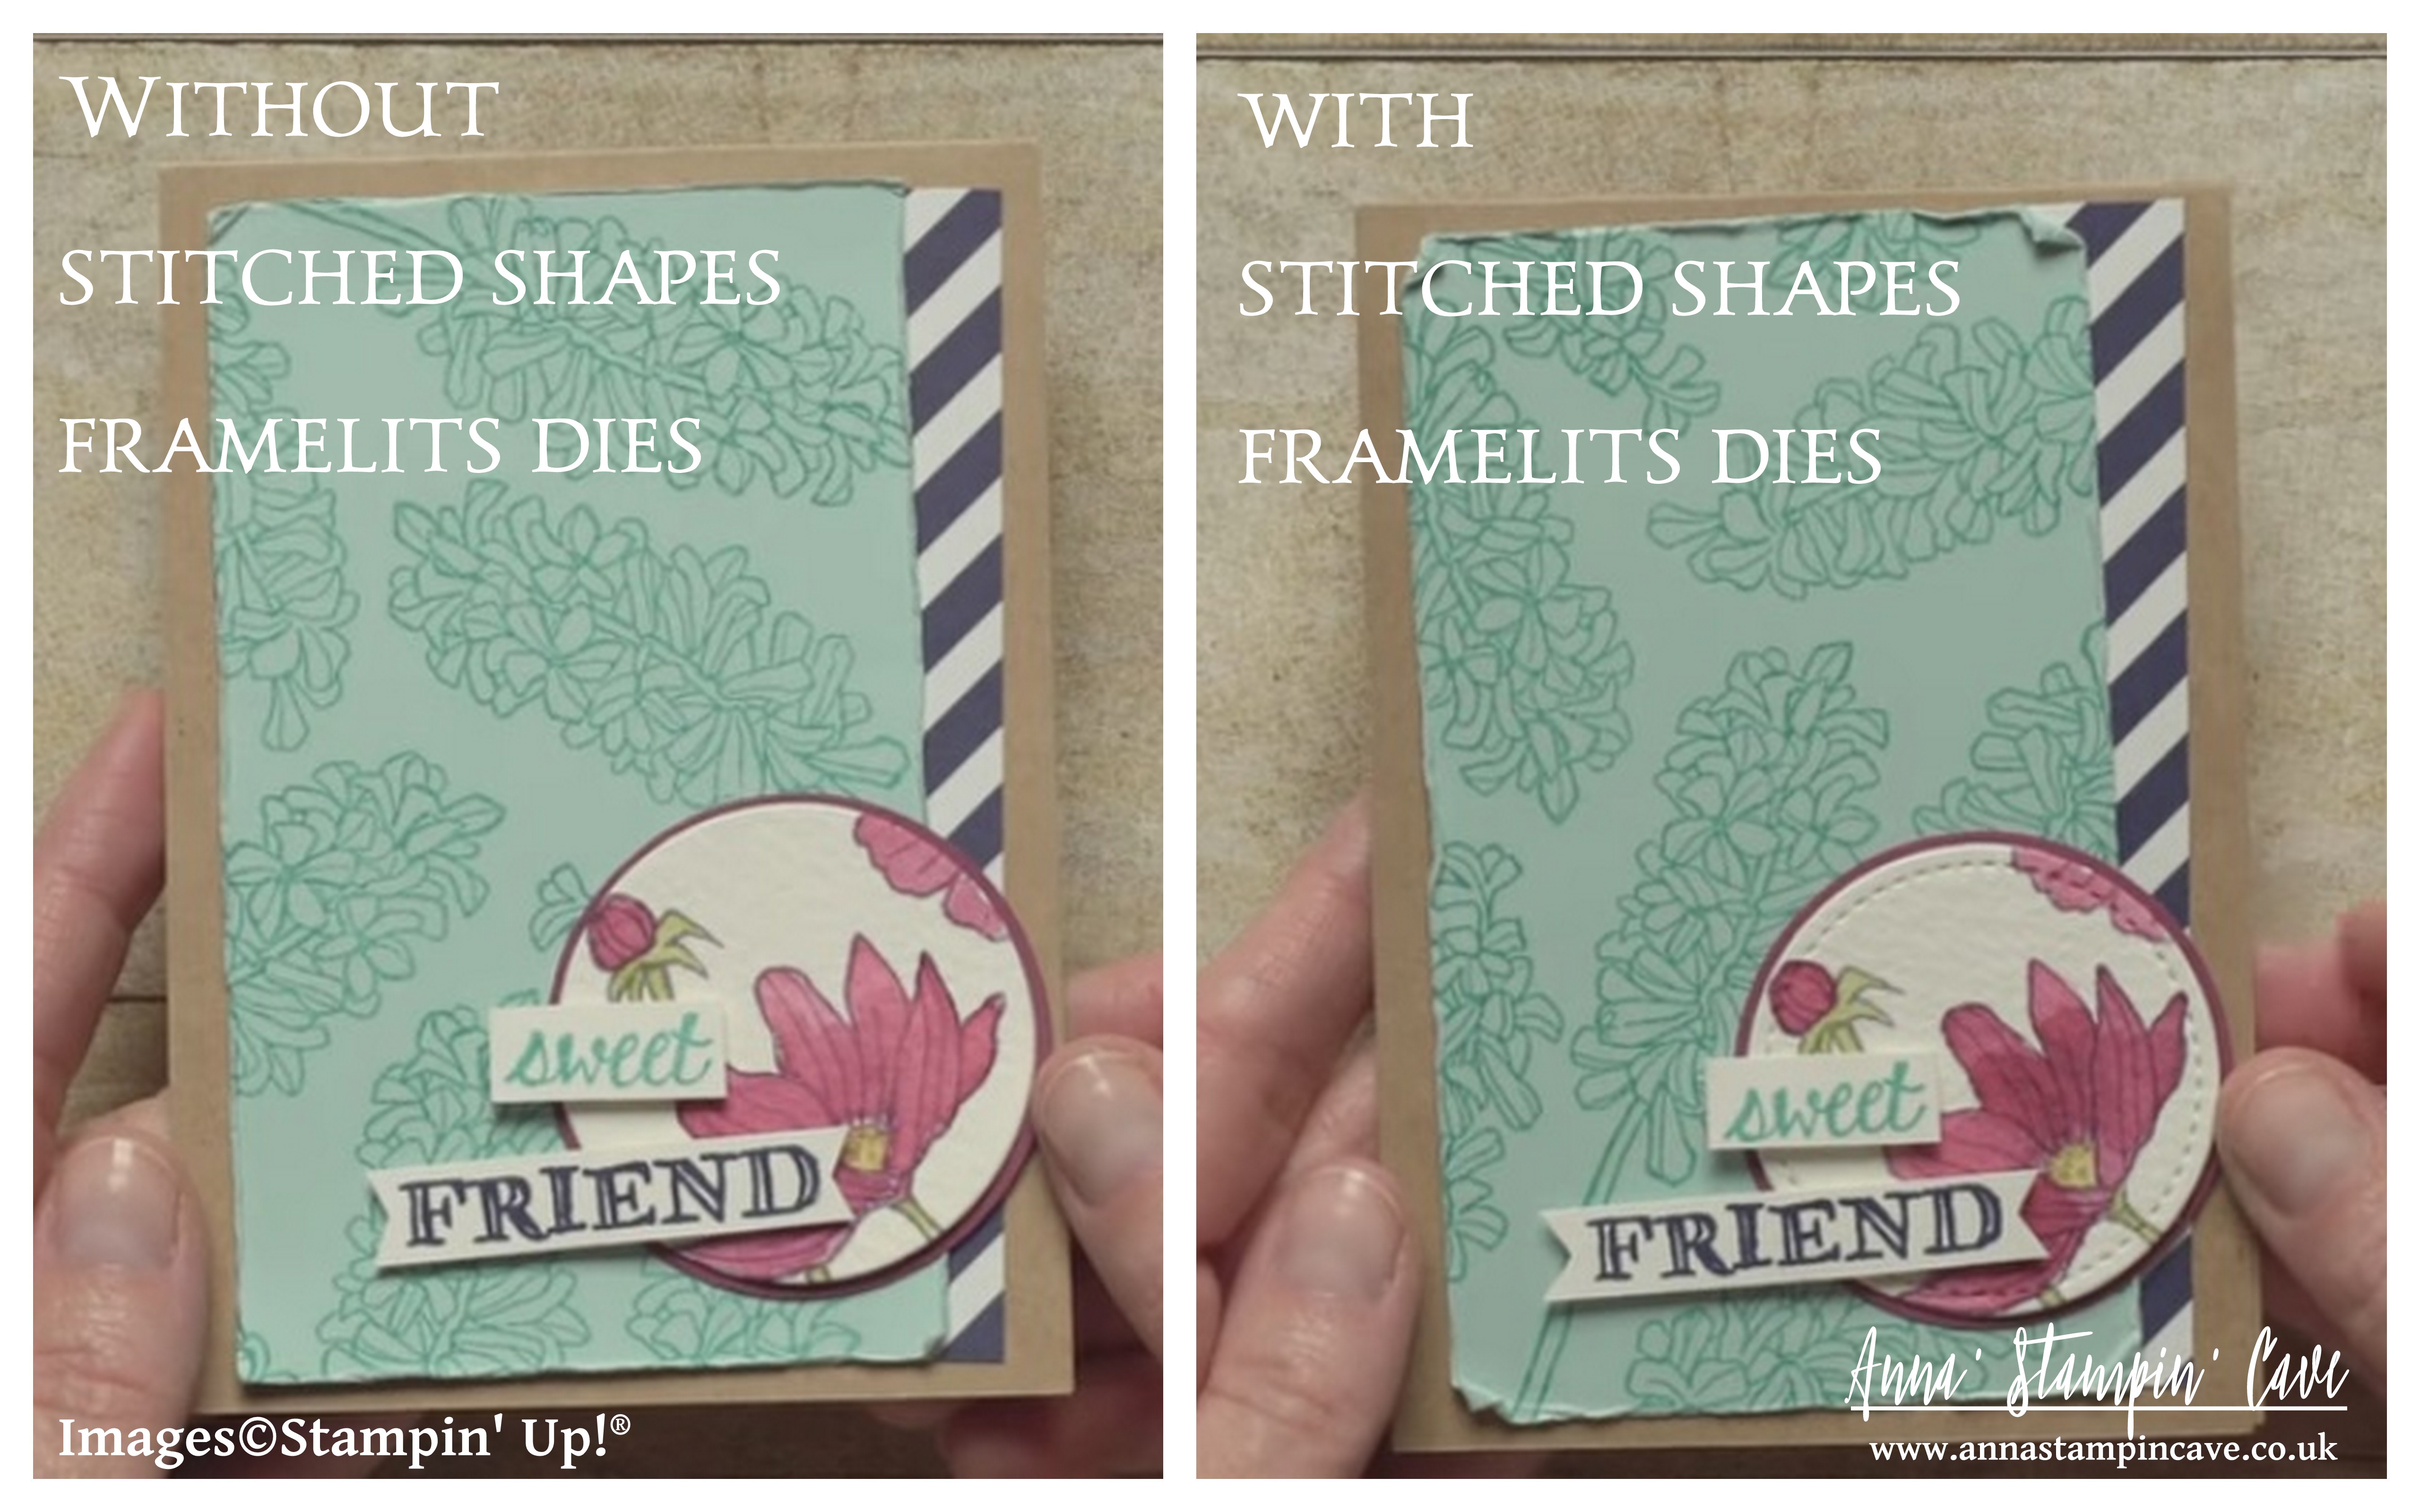
With Stitched Shapes Framelits you can make paper stitches in seconds, turning any project into one that is stitched from the heart.
And there’s more great news…although the 25% off stamps sets ends 30 November, you will still be able to get the Stitched Shapes Framelits after that date.
25% off stamps sets ends 30 November. I will post all the stamps sets with clickable images and links at the very end of this post
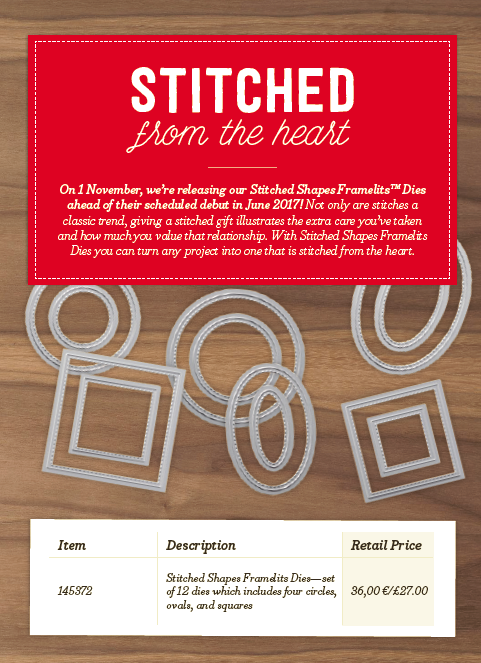
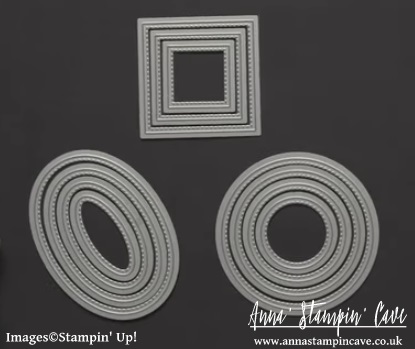
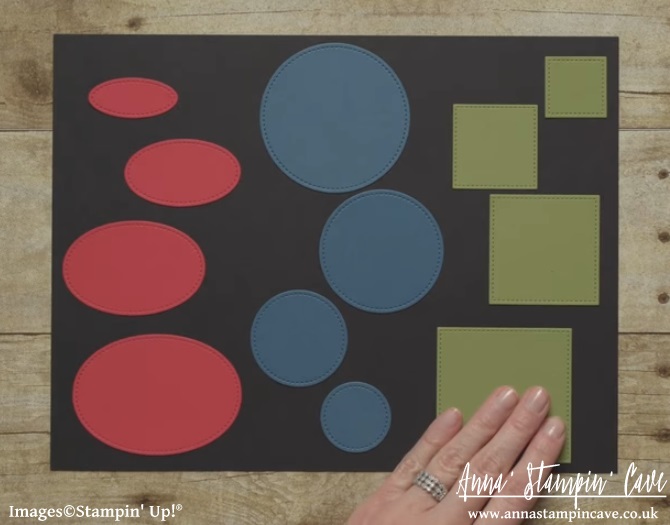
There are 12 pieces all together in the Stitched Shapes Framelits Dies. You get 4 each of the squares, circles, and ovals.
They are sized for the stamped images that you tend to use the most.
The stitched shape sits approximately 1/6″ from the edge of the cutout, making the stamp-able dimensions roughly 1/8″ smaller than the cut-out.
Here are all the sizes:
Squares
1-3/16”
1-5/8”
2-1/8”
2-5/8”
Circles
1-3/8”
1-7/8”
2-3/8”
2-7/8”
Ovals
1-3/4” x 13/16”
2-1/4” x 1-5/16”
2-3/4” x 1-13/16”
3-1/4” x 2-5/16”
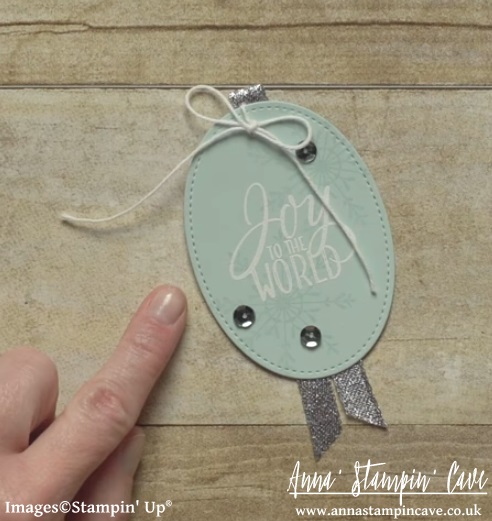
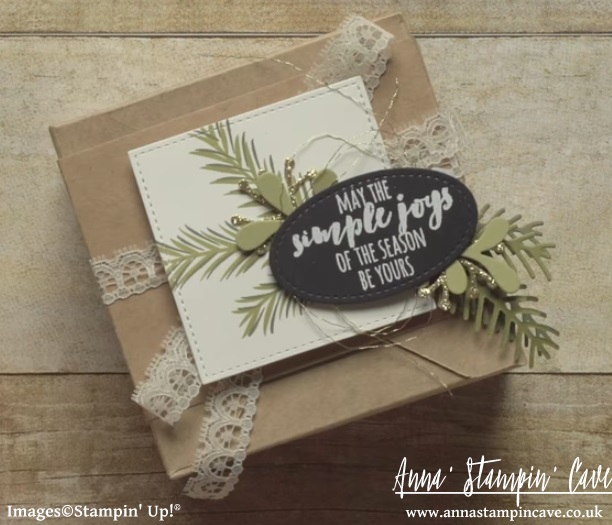
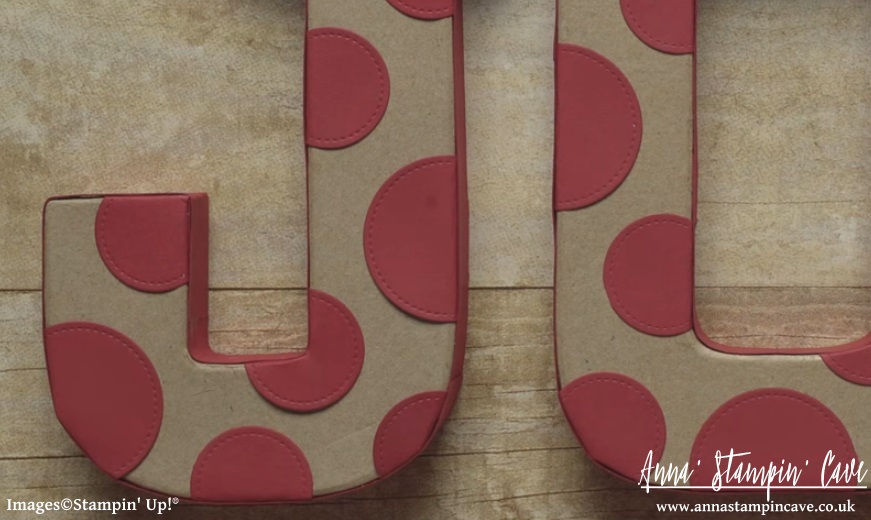
Here are few of the projects from Stampin’ Up! to showcase the versatility of Stitched Shapes Framelits Dies.
Stitched Shapes Framelits Dies are not reserved for cardmaking only…
Thank you for joining us for another Simply Sketched Saturday Challenge! We’re so excited to be sharing this hop with you. The products used are all available in the current Annual, or seasonal, Stampin’ Up!® Catalogues*. Simply use the buttons at the bottom of the post to keep hopping!
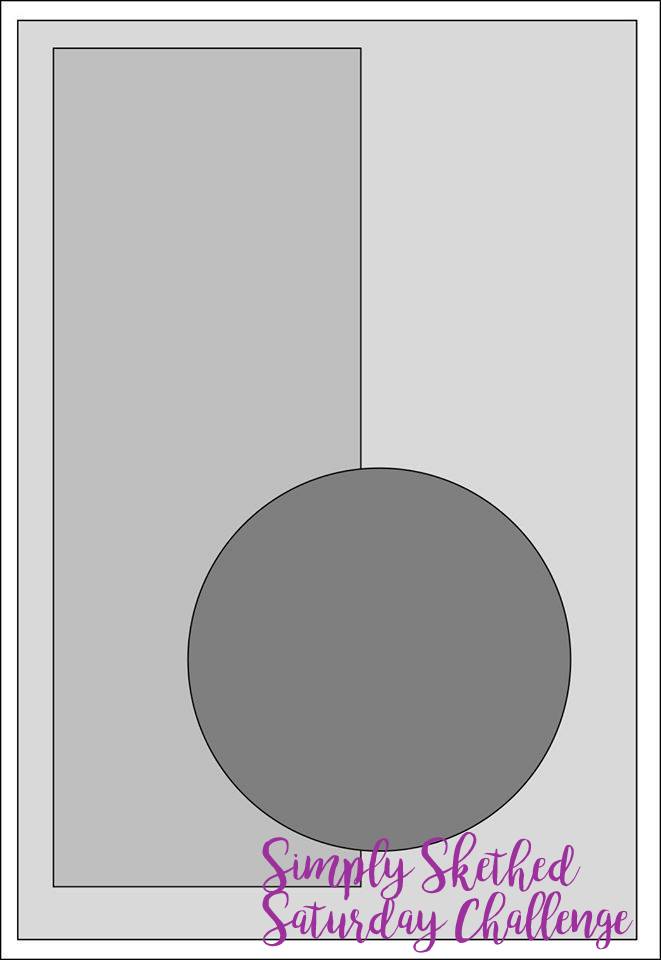
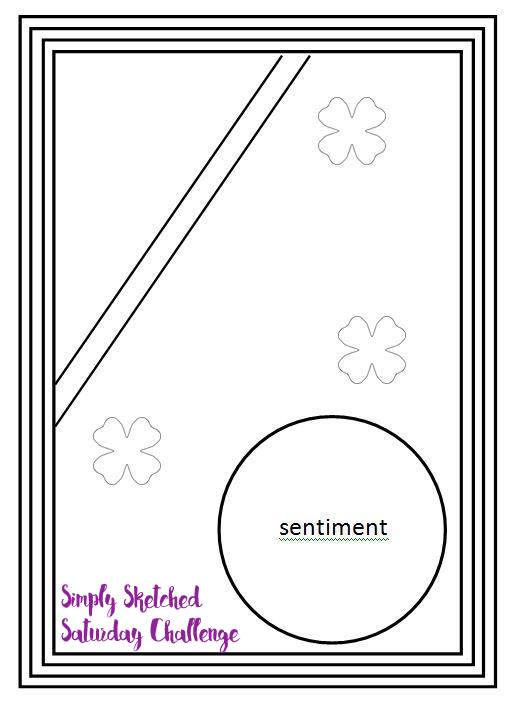
The sketch we’re working today with was designed by talented Keren Howell.
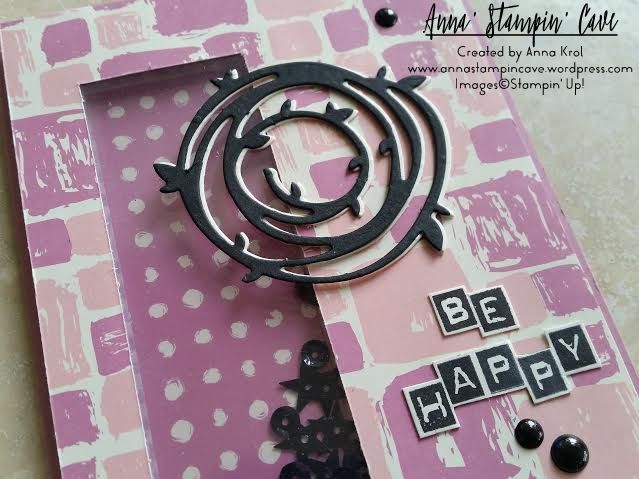
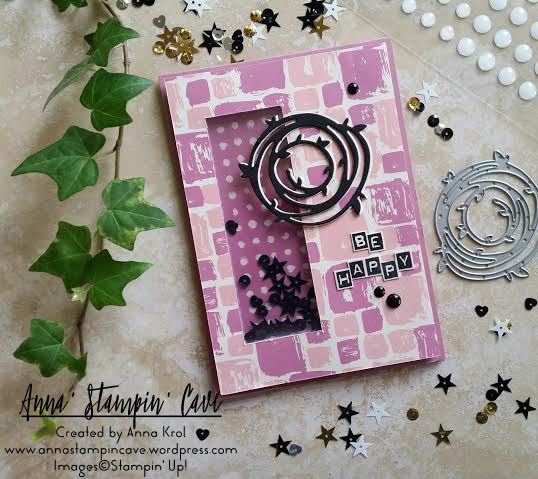
I really like this sketch. And funny how many cards I created recently could fit this sketch perfectly. But today I wanted to make something slightly different: a see-through window shaker card.
Don’t you just love Playful Palette Designer Series Paper Stack?! 48 sheets of such fun designs! I couldn’t decide which one to choose. But because I wanted to use Sweet Sugarplum cardstock for my base, these fun, wonky squares were perfect.
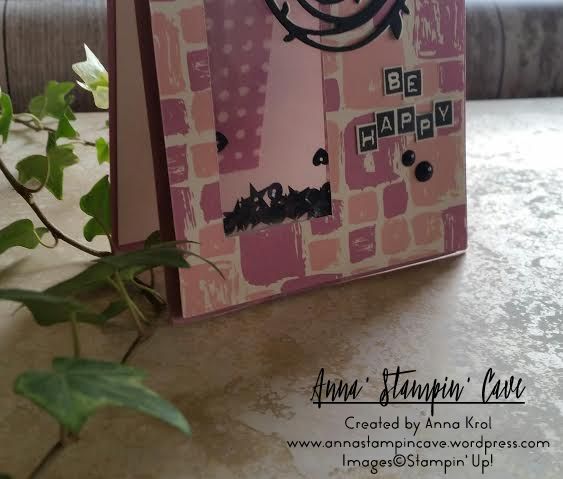
I cut out the window in my base first. Next, I traced the “window” on my DSP and cut it out too. Save that piece as you will need it later. I’ve used our new Foam Adhesive Strips to create the shaker. I added them around the window on the base and adhered a piece of acetate. I’ve used more foam strips around the base to adhere my piece of DSP. To finish my shaker window, I added black sequins and adhered another piece of acetate on the inside of the card.
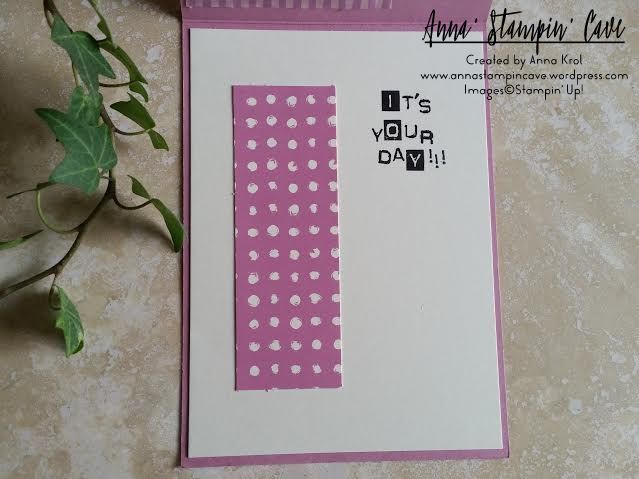
For the inside, I’ve used a Very Vanilla panel and a piece of DSP that I cut out when creating the window. But this time I’ve used the reverse side of that DSP. The placing is the key, so when the card is closed, you can see that piece through the window. The sentiment “It’s Your Day” was stamped in Basic Black Archival Ink, using Labeler Alphabet Stamp Set (which I truly love). And yes, I stamped it wonky on purpose 😉
When the shaker bit and the inside of the card were done I could concentrate on the front. I die-cut two wreaths using Swirly Scribbles Thinlits Dies. One in Basic Black, and one in Very Vanilla. I glued them together slightly off-setting, so the Very Vanilla is peeking from underneath. I adhered it to the base with Multipurpose Liquid Glue. My sentiment, again, was stamped using Labeler Alphabet Stamp Set. I stamped it on a piece of Very Vanilla, and hand-cut it leaving a little border around the letters. Adhered it with liquid glue.
For embellishments, I’ve used White Perfect Accents, which I coloured black using a permanent marker. And that finish off my card.
Do you like my project?! If so please leave me a comment. I would love to hear from you!
Now, be sure to hop along and see more inspiring projects. Your next stop is Helen’s blog – go and see what she has made for you.
Thank you for joining us on another Pootlers Blog Hop! We’re showcasing lots of gorgeous projects using products from the new Stampin’ Up!® Annual Catalogue. Simply use the buttons at the end of each post to keep hopping!
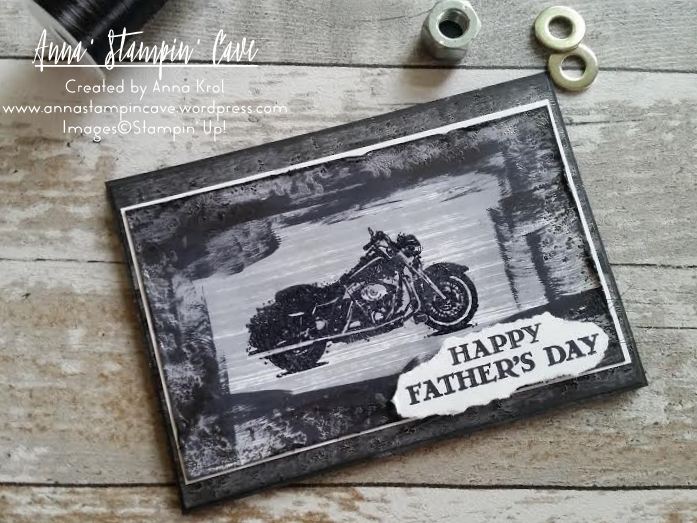
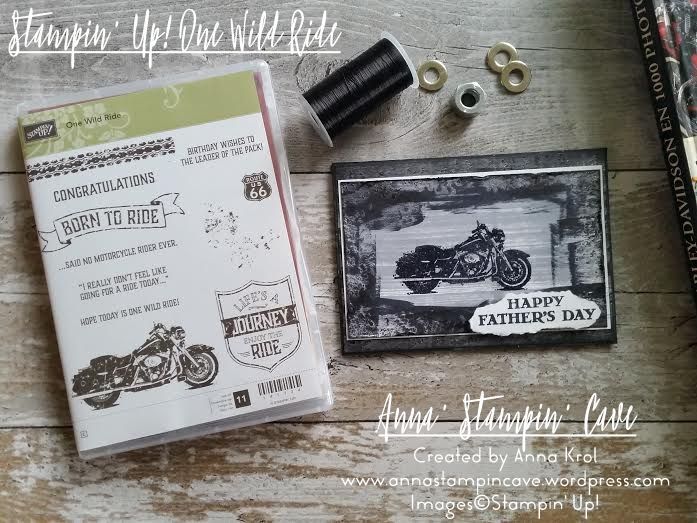
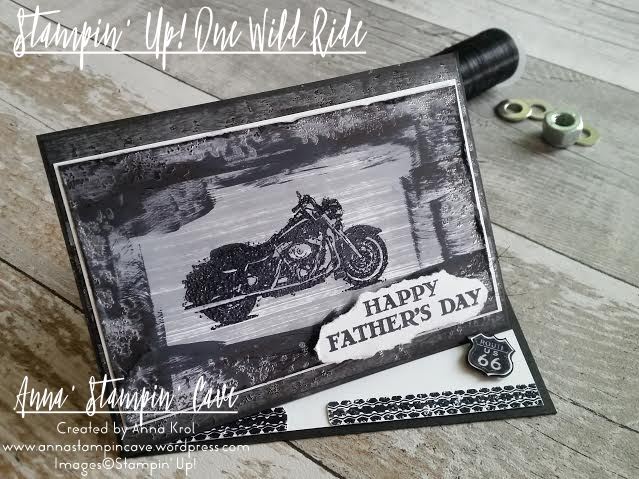
I hope you had a chance to look through our Annual Catalogue and you’ve got your favourites already. For today’s project, I’ve used One Wild Ride Stamp Set from page 115, to create a Father’s Day card for my hubby.
Why did I choose this set? As a teenager I was a rebel girl: I was listening to Gun’s N’ Roses, Aerosmith and other rock stars, wearing skinny jeans, long hair and combat boots, I always dreamed of having my own Harley-Davidson. Silly, I know, but who wasn’t those days 😉 No surprise then, this set was in my first order. And what can I say, hubby has a soft spot for Good Ol’ Harry too.
To really show off this stamp set I decided to create a twisted easel card, which sounds more complicated than it sounds. I have to admit I wanted this card to look really rough and distressed, so you could nearly feel motorcycle’s grease j/k 😉 (Chris loves distressed cards with lots of layers).
The base of my card is standard top folded A6 in Basic Black. And the “front” of the card is scored in half diagonally to create an easel. For the proper card front I’ve used a piece of Basic Black again, a slightly smaller piece of Basic Black and Whisper White for stamping.
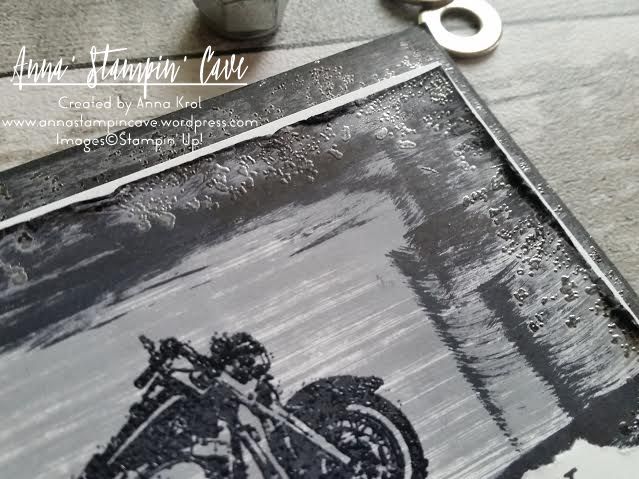
Basic Black panel I left intact. On Basic Grey, I stamped with this gravel-splatter -kinda stamp from the set, with Versamark, and heat embossed it in silver. Next, I took Basic Black Archival Ink and smooshed it across the panel, where the embossing was. It makes it look a little bit dull, but you can still see the Basic Grey card.
To add some shine and dimension to the motorcycle, I dabbed my stamp in Versamark first. Next, without stamping, I dabbed it in Basic Black Archival Ink, so once it’s stamped, Versamark was on top and I heat embossed the image using clear embossing powder. Again I’ve used gravel stamp and stamped it all around the edge of my WW panel. heat embossed it in silver and smooshed Basic Black across the panel where the embossing was. Next, I took a cloth and “took off” some of that ink which created that dull metal look. Because there was a too big contrast between Whisper White and all that black, I smooshed Basic Grey across the centre of the panel. To finish it off I added some distressing to the edges using scissors.
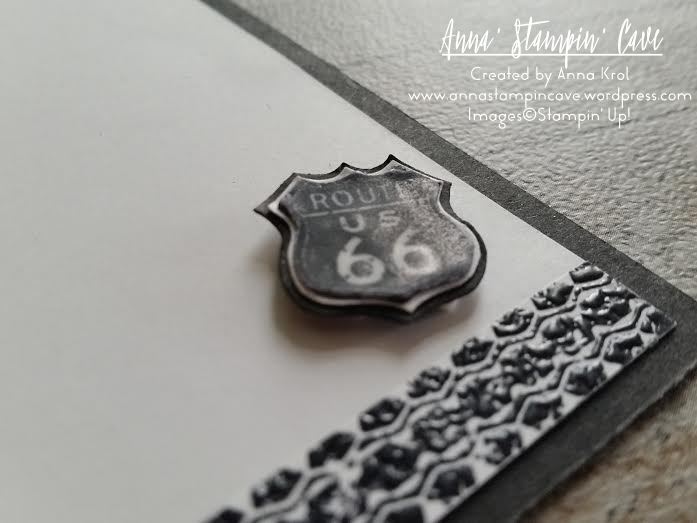
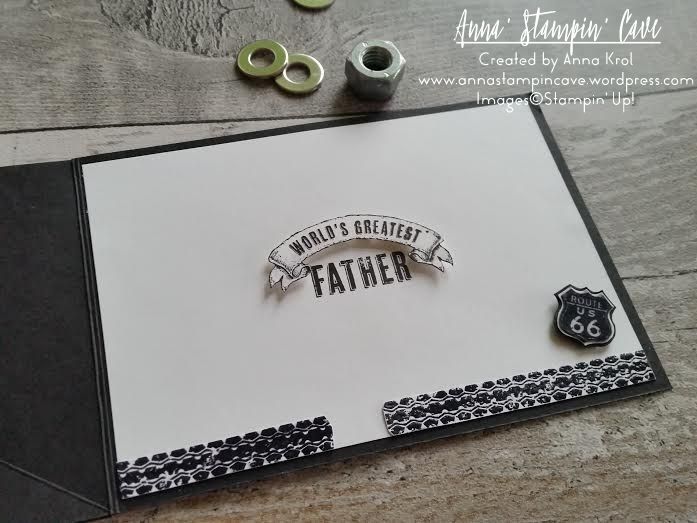
For the inside of the card, I’ve used banner and sentiment from Guy Greetings Stamp Set. I hand-cut the banner and add it to the card using dimensionals. I also stamped tire trail stamp on a scrap piece of paper, cut it out and adhere it to the bottom of the inside panel. To create a stopper for the easel I stamped Route 66 stamp on a piece of whisper white, cut it out with scissors and heat embossed it with clear embossing powder. I next used it as a guide, to create two slightly bigger layers to go underneath the original image. One in Whisper White and one in Basic Black. Glued them together and adhered it in the corner of the inside panel. I could now assemble the whole card.
The sentiment for the front comes, again, from Guy Greetings Stamp Set. I stamp it on a scrap of Whisper White and just simply tore it out. It’s hard to see on the picture, but I added few strings of new Basic Black Metallic Thread underneath the sentiment before adhered it with dimensionals.
I’m really happy with this card(it’s got our daughter approval too haha). I know Chris will love it too.
How about you? Do you like my card? Let me know in the comments below.
Now, be sure to hop along and see more inspiring projects. Your next stop is lovely Kathleen from Lilypopcrafts – go and see what she has made using the new products.
Thank you for joining us for another Simply Sketched Saturday Challenge! We’re so excited to be sharing this hop with you. The products used are all available in the current Annual, or seasonal, Stampin’ Up!® Catalogues*. Simply use the buttons at the bottom of the post to keep hopping!
And today’s sketch was designed by lovely Kathleen from Lilypopcrafts.
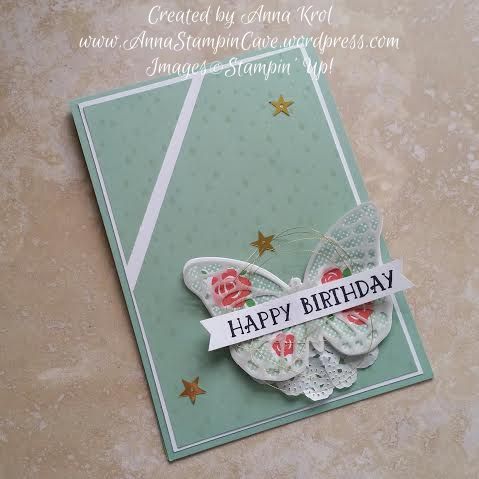
This is such a great sketch, with lots of layers, which I truly love. But I challenged myself to create CAS (clean and simple) card. And I think I did well.
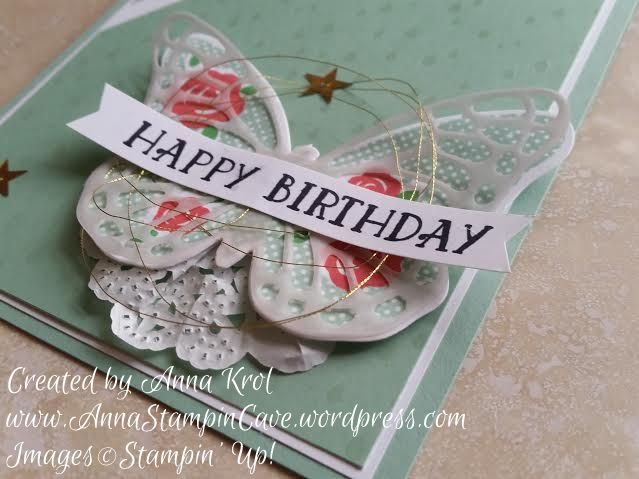
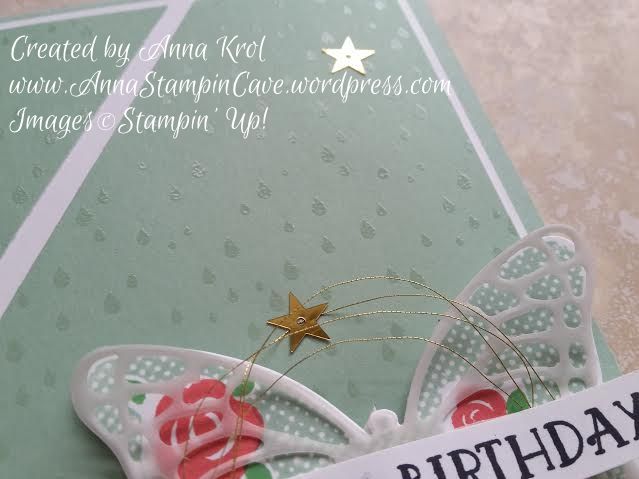
The base of my card is top folded A6 Mint Macaron, with layers of Whisper White and Color Me Irresistible Specialty DSP.
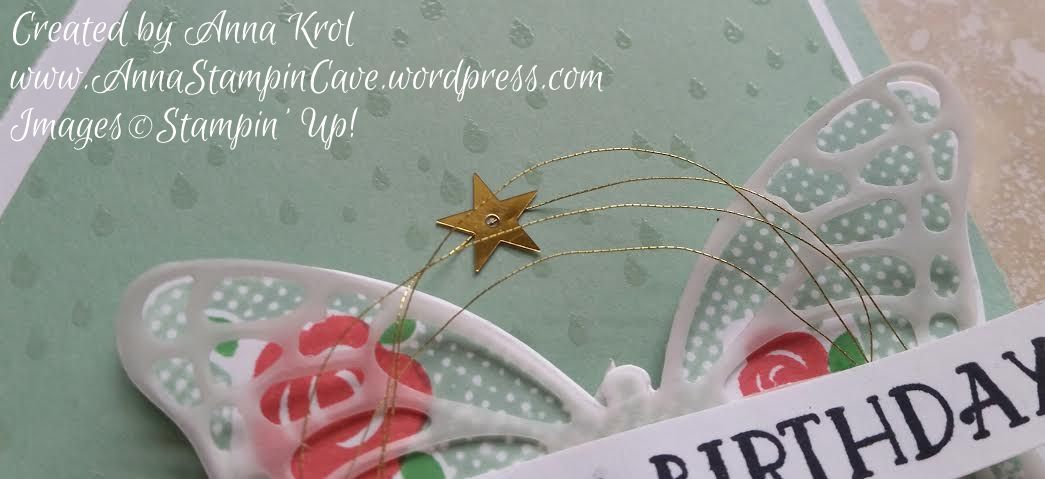
I decided to use beautiful (and retiring) stamp set Floral Wings. I stamped the butterfly in Mint Macaron, roses in Watermelon Wonder and leaves in Cucumber Crush. Next, I die cut the butterfly using Bold Butterflies Framelits and another one on vellum using a middle of Butterflies Thinlits and layered them together. I cut 1/4 of a Tea Lace Paper Doily and attached it underneath my butterfly and adhere it to the card base with dimensionals.
The sentiment comes from Number Of Years. I stamped it in Basic Black Archival Ink on a strip of Whisper White and punched both ends into banners using Banner Punch (also retiring). I took Gold Metallic thread, created some messy loops and add it underneath the banner. Few gold sequins finished off the card.
Do you like my project?! If so please leave me a comment. I would love to hear from you!
Now, be sure to hop along and see more inspiring projects. Your next stop is Karen’s blog – go and see what she has made for you.
Anna’ Stampin’ Cave – CAS Card – Birthday Blooms Meets Wink Of Stella
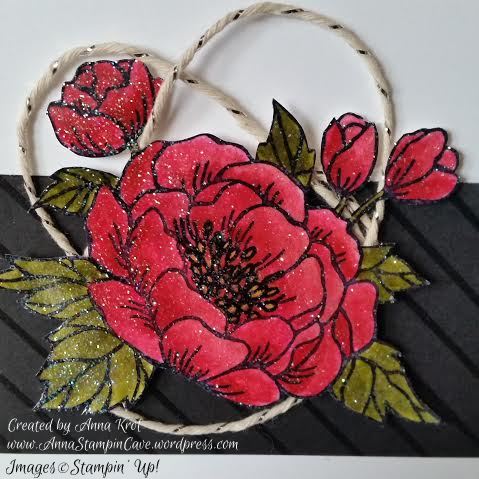
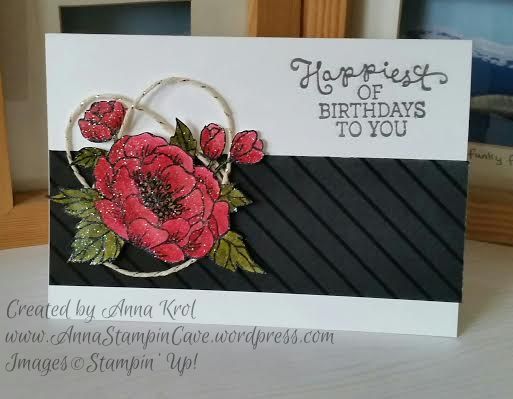
Today I’ve got for you beautiful, clean and simple (CAS) birthday card. I am so happy that Birthday Blooms stamp set staying with us for another year. I love this set for it’s stunning, bold flower image.
For the base, I took a piece of Whisper White cardstock that measures 5-7/8″x 8-2/8″ and fold it in half at 4-1/8″. Next, I cut a strip of this beautiful, embossed Color Me Irresistible DSPin Basic Black and adhere it to my base. The strip measures 2″ x 5-7/8″.
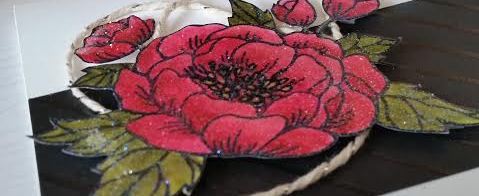
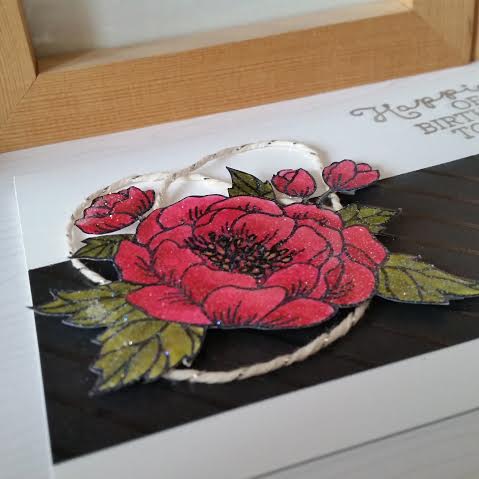
I stamped the flower image in Basic Black Archival ink and watercolour it. For the petals, I’ve used Watermelon Wonder and Rose Red. Center of the flower is Crushed Curry – I fell in love with this shade of yellow just recently. And leaves are a mix of Old Olive with a gentle touch of Always Artichoke. First, I added my colours and shadings with blender pens. Next, I used my Aqua Painter to blend it nicely and to add more colour or shading if required.
I let my flower dry completely and then fussy cut it. I should probably mention that as I knew I will fussy cut it, I’ve used regular Whisper White cardstock for the flower. Because my hands are quite numb and I find it hard to do more intricate things, I cut off tiny leaves from the flower. Really wasn’t able to fussy cut them. However I’m pretty chuffed with myself that I managed to fussy cut the little buds, it took me a while, though.
While the flower was drying I stamped the sentiment, from the same stamp set, in Versamark and heat embossed it with silver embossing powder. I really like this curly font. I assembled the flower using dimensionals and added some Silver Metallic Baker’s Twine underneath.
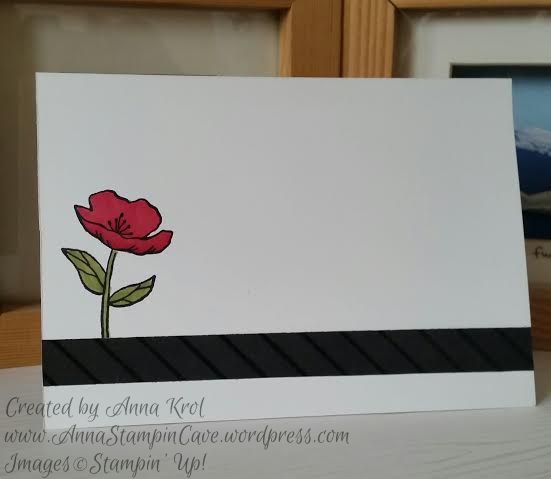
I stamped the inside of my card too. I used the single flower from the set, but this time, I colour it only with blender pen so it doesn’t bleed through. I also added a strip of the same DSP (5-7/8″ x 1/2″), to match the card front.
The last touch was to add some shimmer to my beautiful flower, using Clear Wink Of Stella Glitter Brush Pen. I love this stuff!
I love how this card turned out! I have to admit that CAS cards are growing on me but I still have a tendency to overthink and overcomplicate them. I’m a grungy-distress at heart, you know haha
I’m adding my card to Crazy 4 Challenges #C4C333 – April Showers bring May flowers!
Now I would love to hear from you. Do you like my today’s card?