Anna’ Stampin’ Cave – Clean & Simple New Home card featuring ‘In The City’ Stamp Set from Stampin’ Up!
Hello and welcome! I’m so happy you popped in to visit my stampin’ cave. Today I’ve got for you beautiful, clean & simple cards using ‘In the City’ Stamp Set from Stampin’ Up!
My hubby’s younger sister & her husband are in the middle of buying their first house, hence the theme of my cards. There are still few weeks, maybe even a month until the completion date, but we are so, SO happy for them!
Dimensions for both cards:
- card base: 11-6/8″ x 4-1/8″ scored in half at 5-7/8″ (29.7 x 10.5 cm scored in half at 14.8 cm) – Whisper White Thick & Crumb Cake cardstock
- colour cardstock panels: 4-1/2″ x 3-1/2″ (11.4 cm x 8.9 cm) – Smoky Slate, Pool Party, Lemon Lime Twist & Tranquil Tide
- Whisper White panels: 4-1/2″ x 3″ (11.4 cm x 7.6 cm)
- scraps of cardstock & vellum for die-cutting and stamping
- Whisper White Baker’s Twine: 20″ (approx)
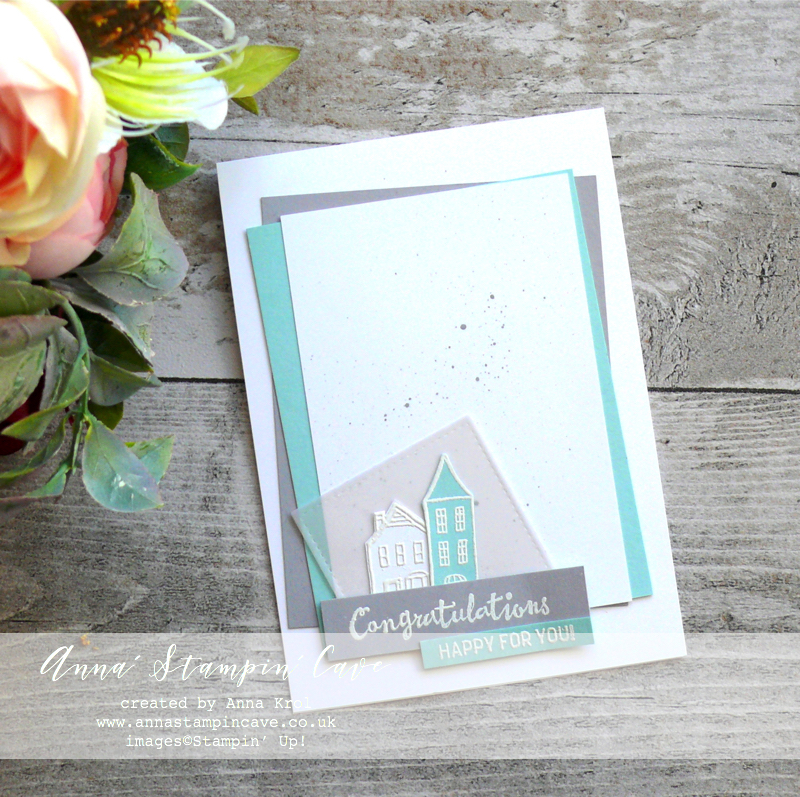
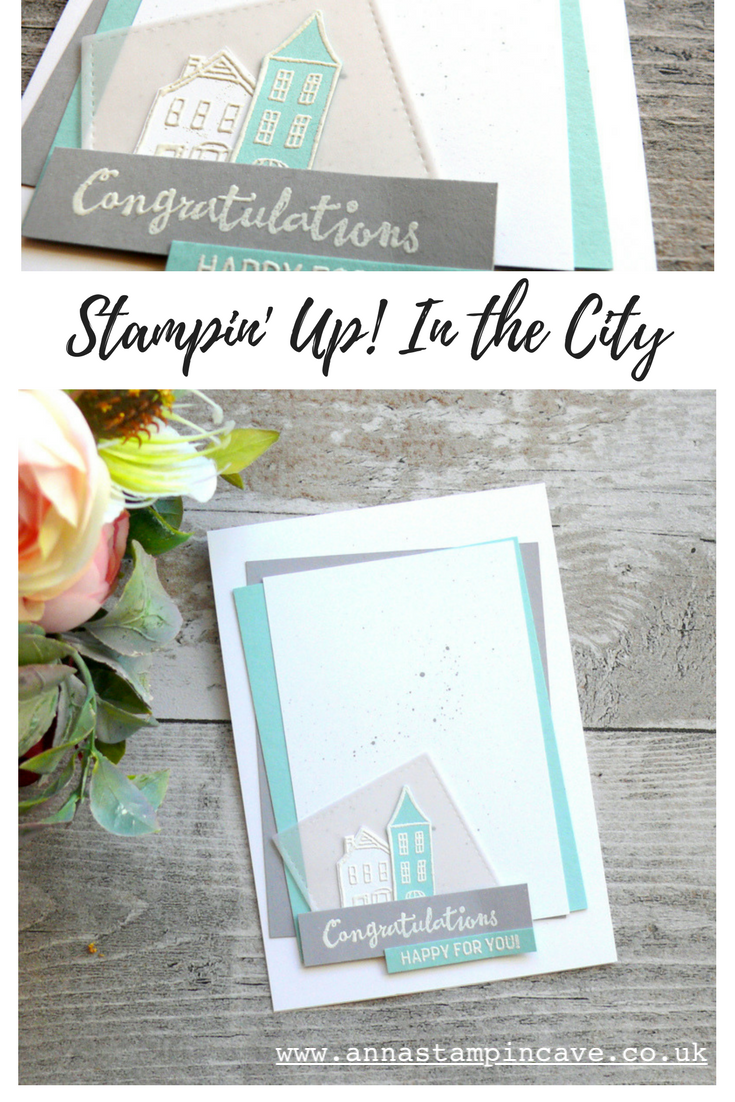
For this first card, I decided to use soft colours. Smoky Slate and Pool Party accompanied by Whisper White make such an elegant combination.
First, I adhered all panels to the card base with snail adhesive. To add some interest to the layout, I assembled them at wonky angles.
I stamped two tiny houses from In The City Stamp Set in Versamark ink; taller on a scrap of Pool Party cardstock, and lower one on Whisper White; and heat embossed them in white. This set stamp set doesn’t come with coordinating dies, but images are so easy to fussy-cut I did it in no time.
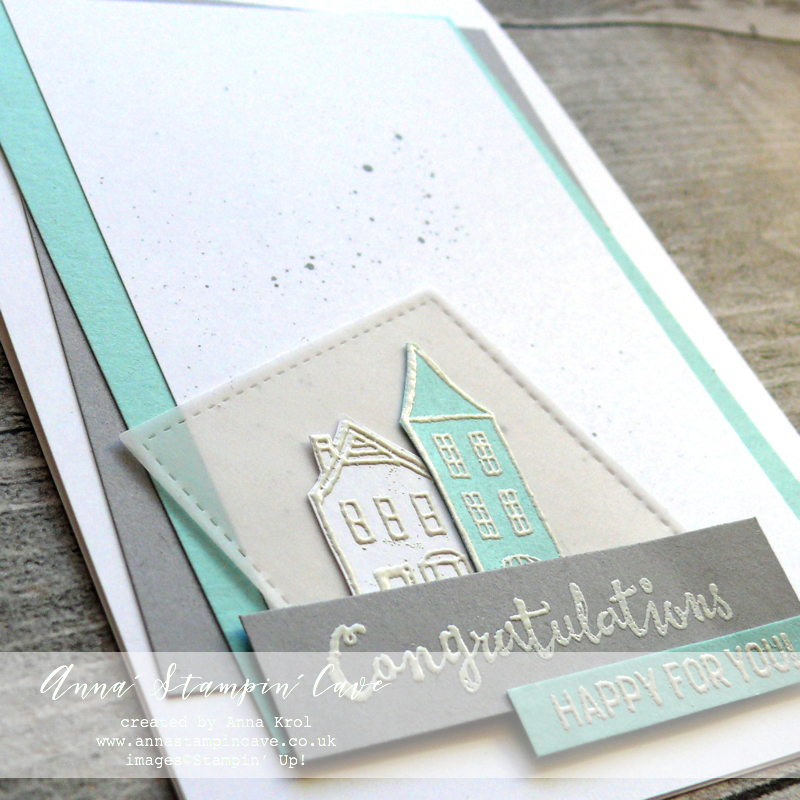
Sentiments are stamped in Versamark on two separate pieces of cardstock: I stamped ‘congratulations’ from Petal Palette Stamp Set on a strip of Smoky Slate cardstock, and ‘happy for you’ from In The City Stamp Set on a smaller strip of Pool Party and heat embossed both in white.
I die-cut a square of vellum using 2nd largest square die from Stitched Shapes Thinlits Dies. While playing with placement, I thought it would look cool if the square was kinda wonky too (to echo panels) so once happy, I adhered my tiny houses briefly in the middle of that’ wonky’ square. Next, I adhered them to the card and added sentiments using dimensionals.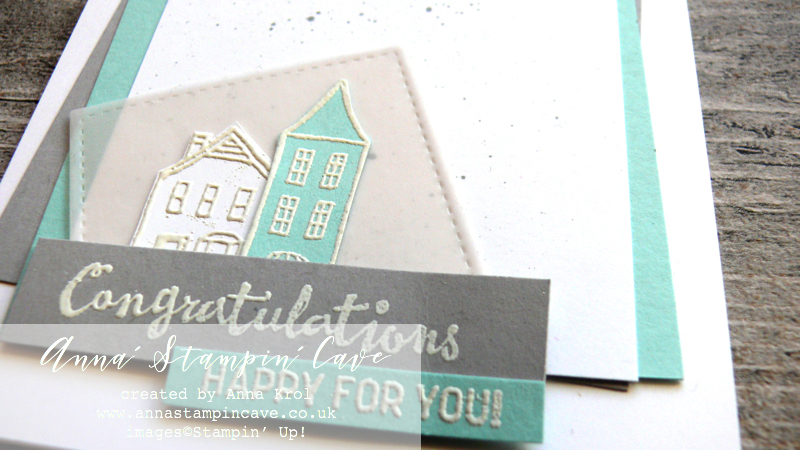
I know this card supposed to be CAS (clean & simple) but too much white hurts my eyes, honest haha. So before I finished assembling it, I took Smoky Slate ink pad and transferred some ink onto an acrylic block. Next, using aqua painter I flicked few tiny ‘splatters’ of ink into the top Whisper White panel.
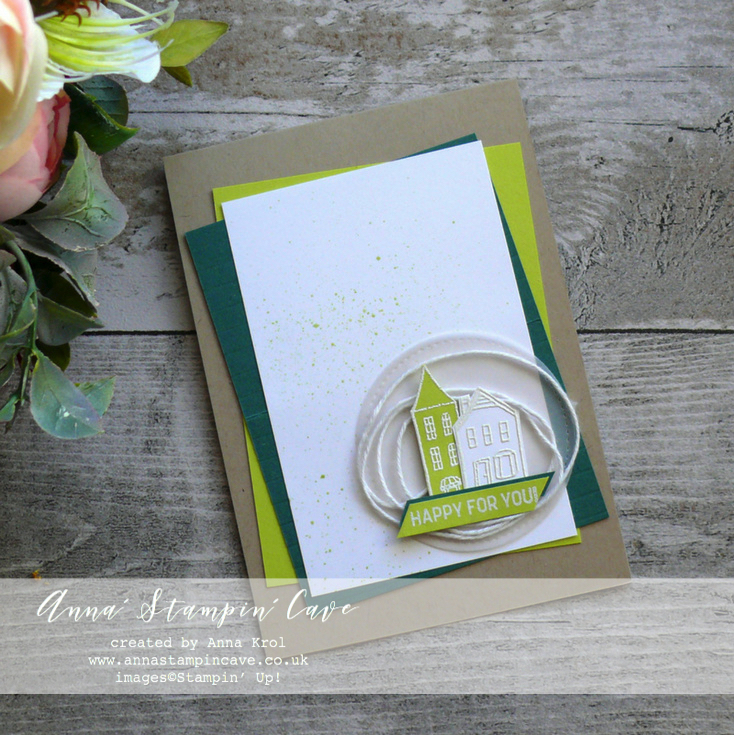
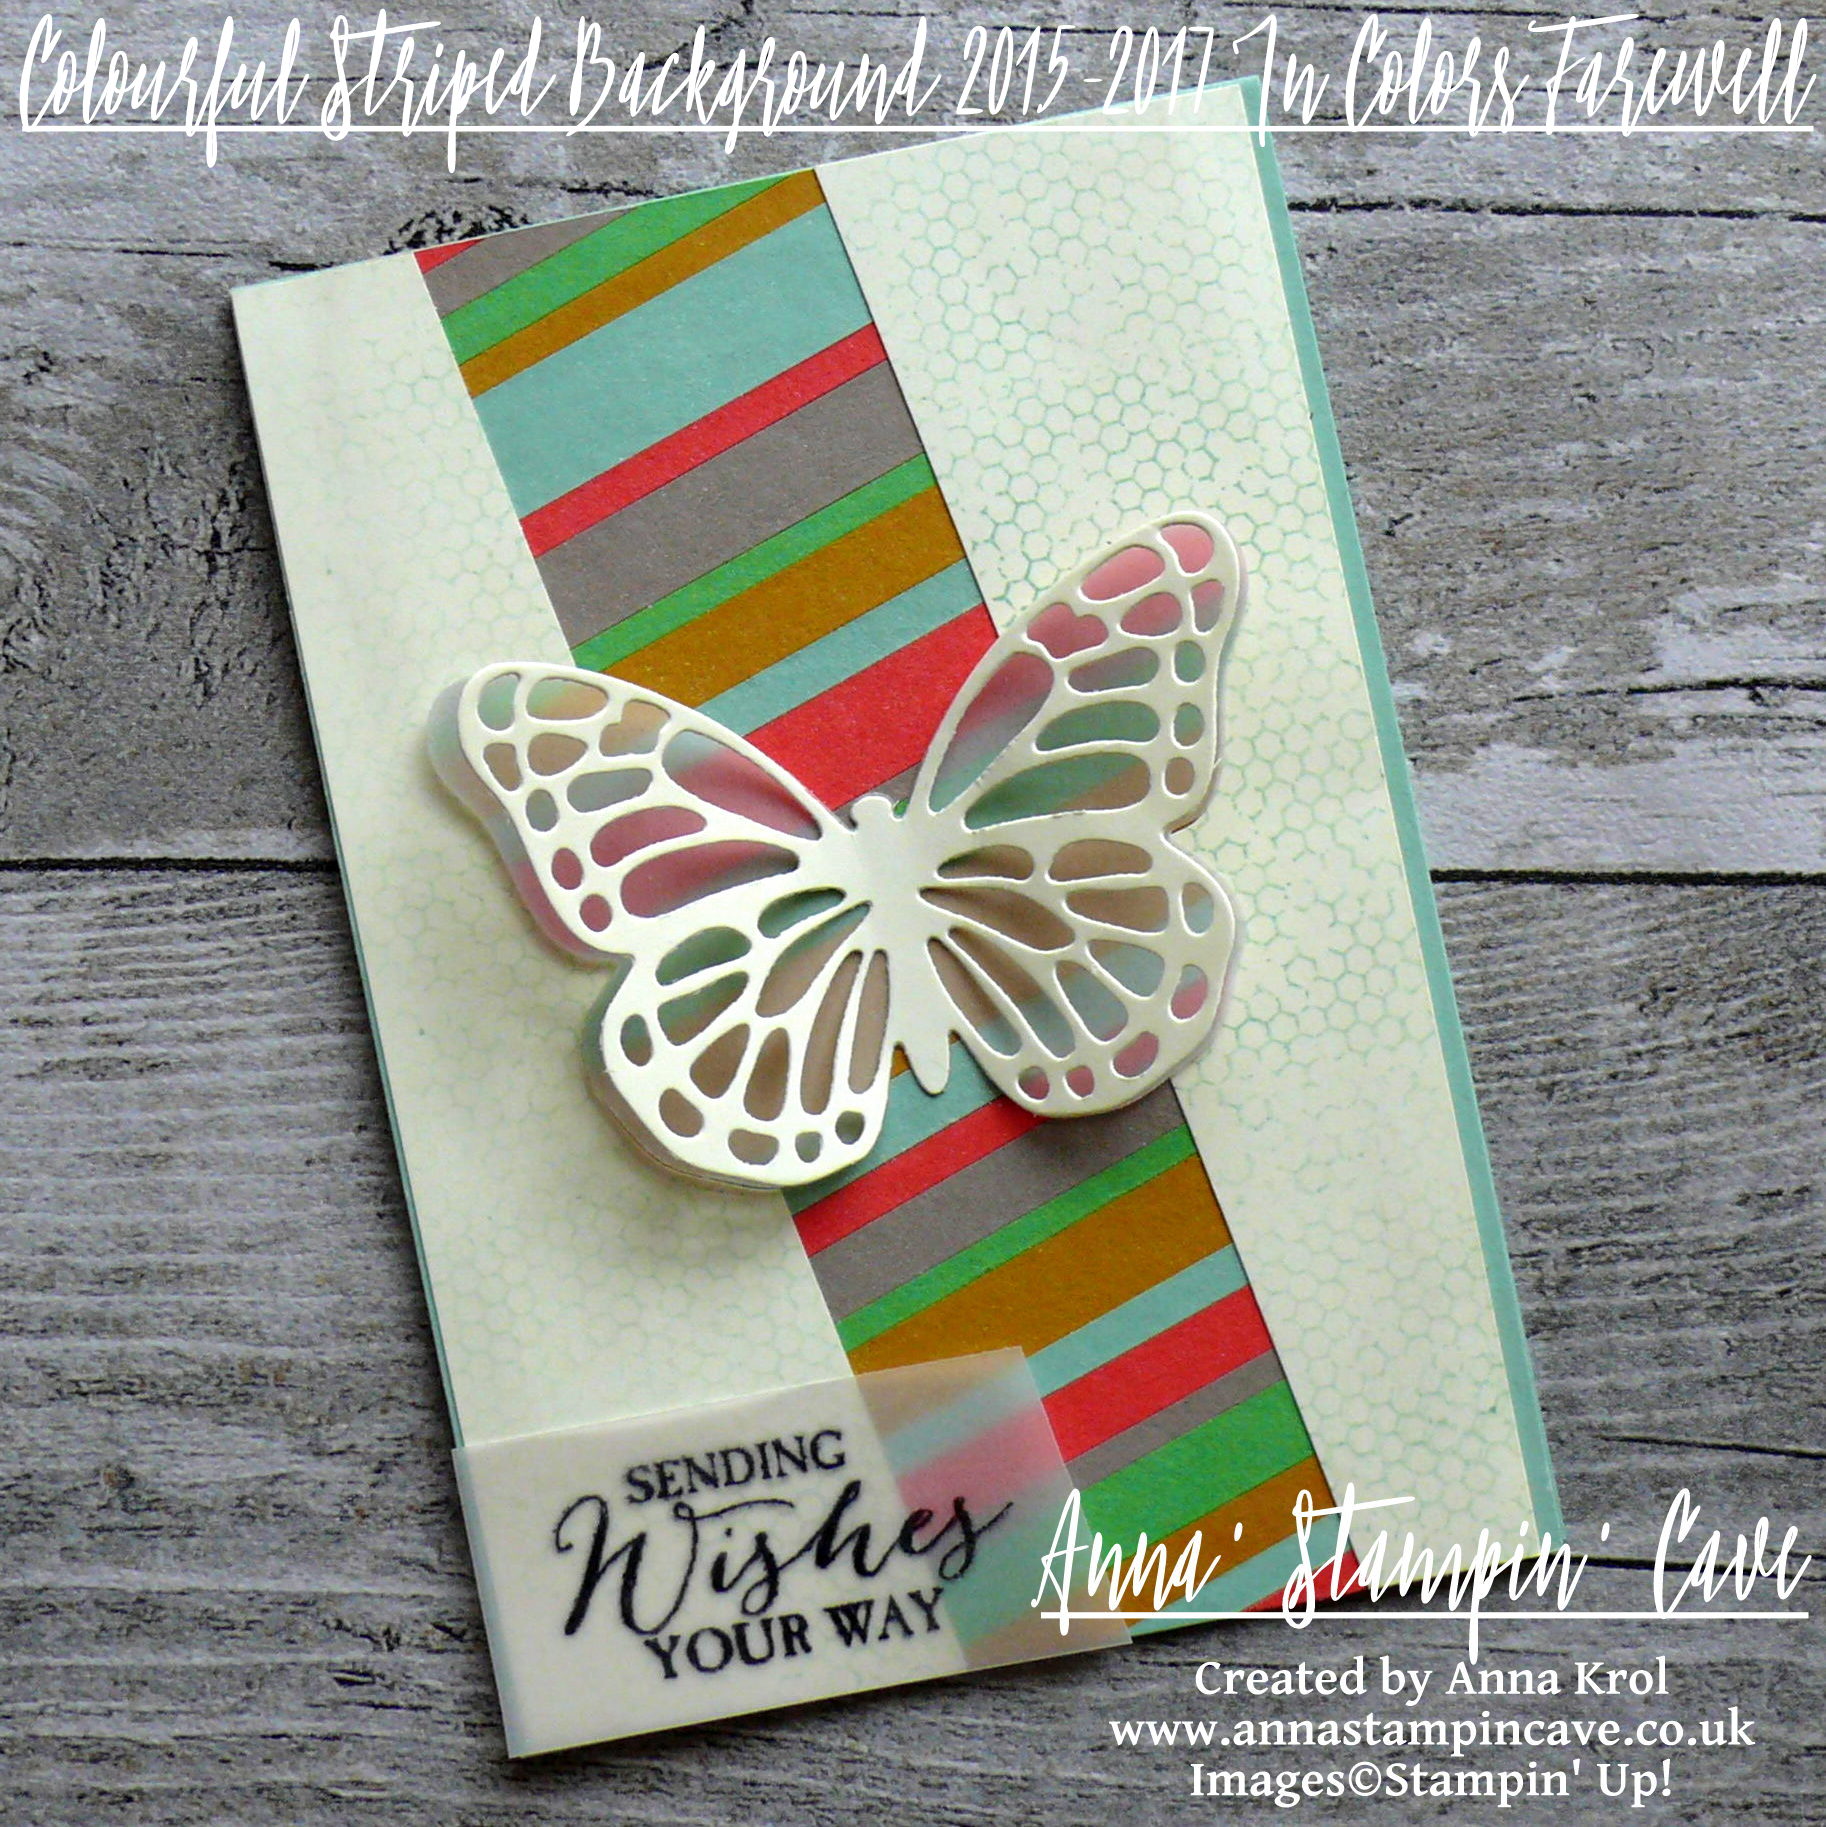
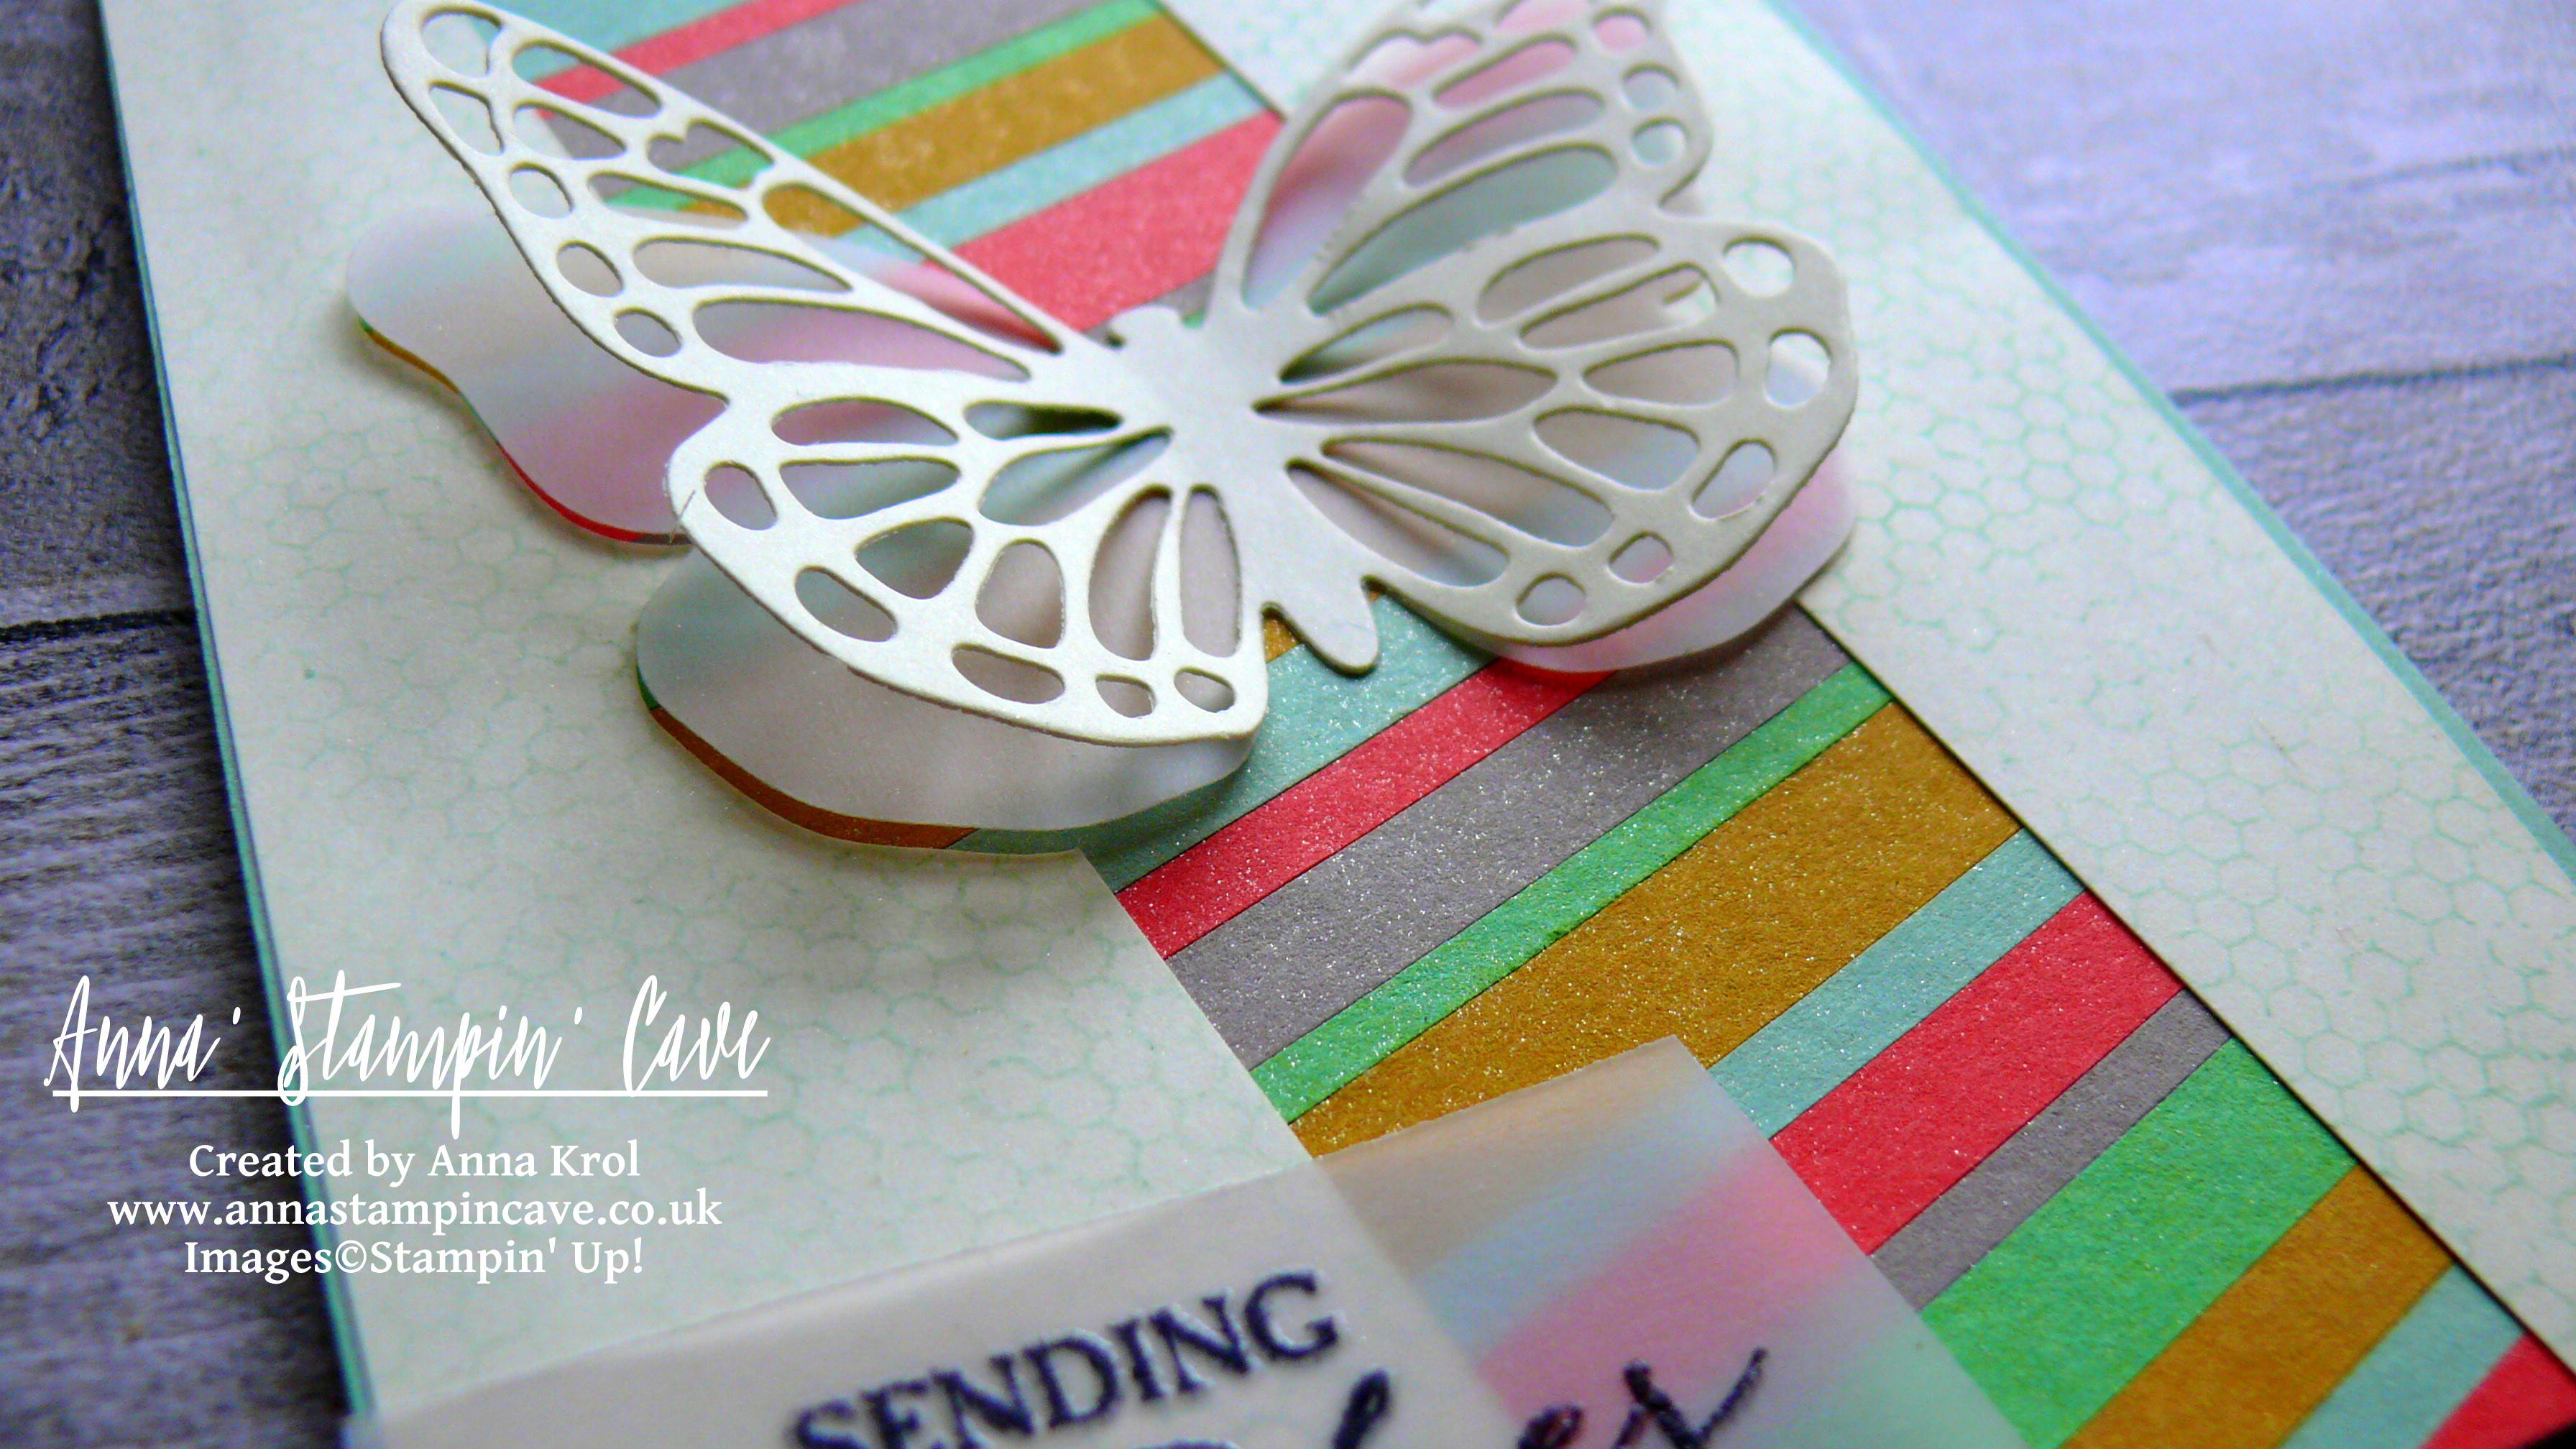
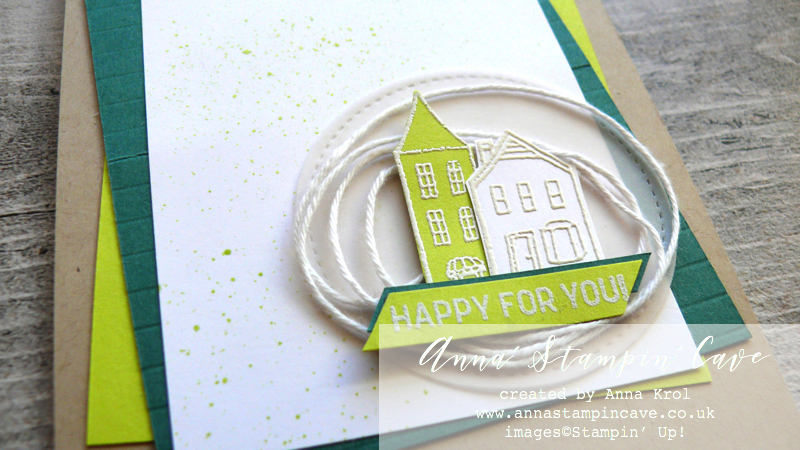
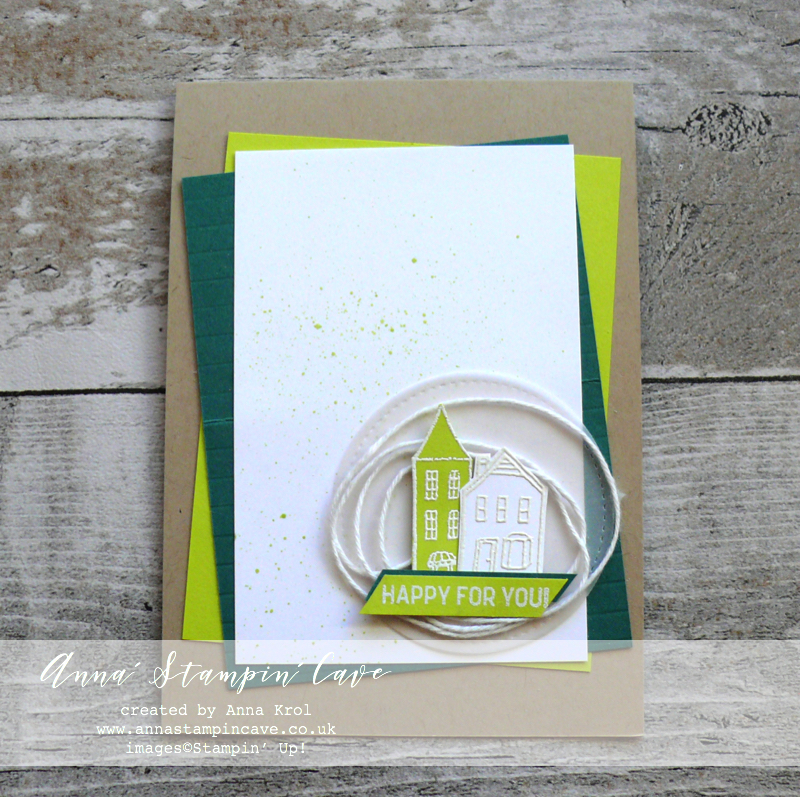
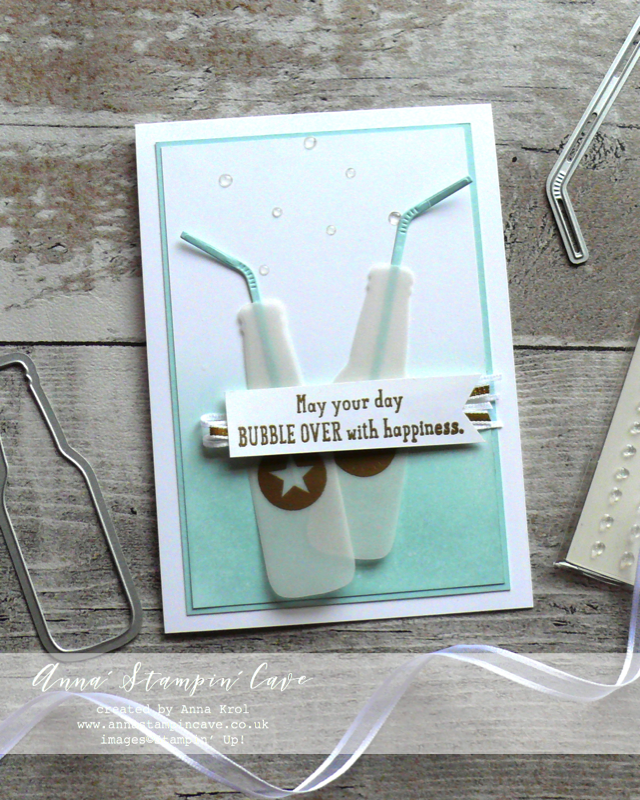
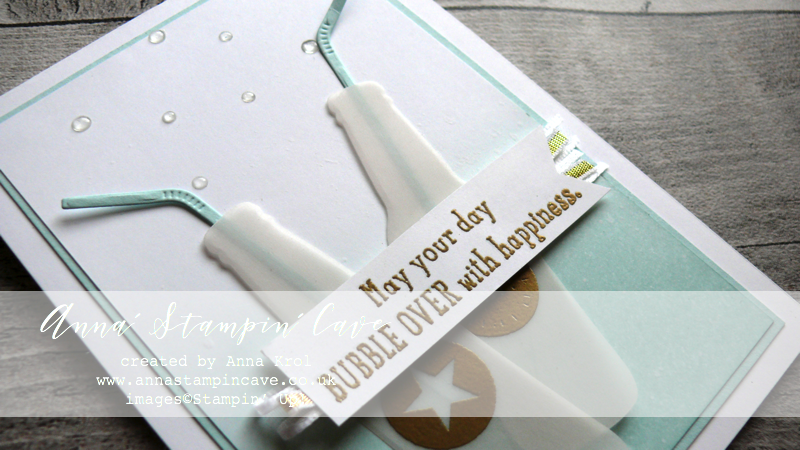
For this second card, I decided to use brighter colours. I chose Tranquil Tide and Lemon Lime Twist for some fun pop of colour. The base is Crumb Cake.
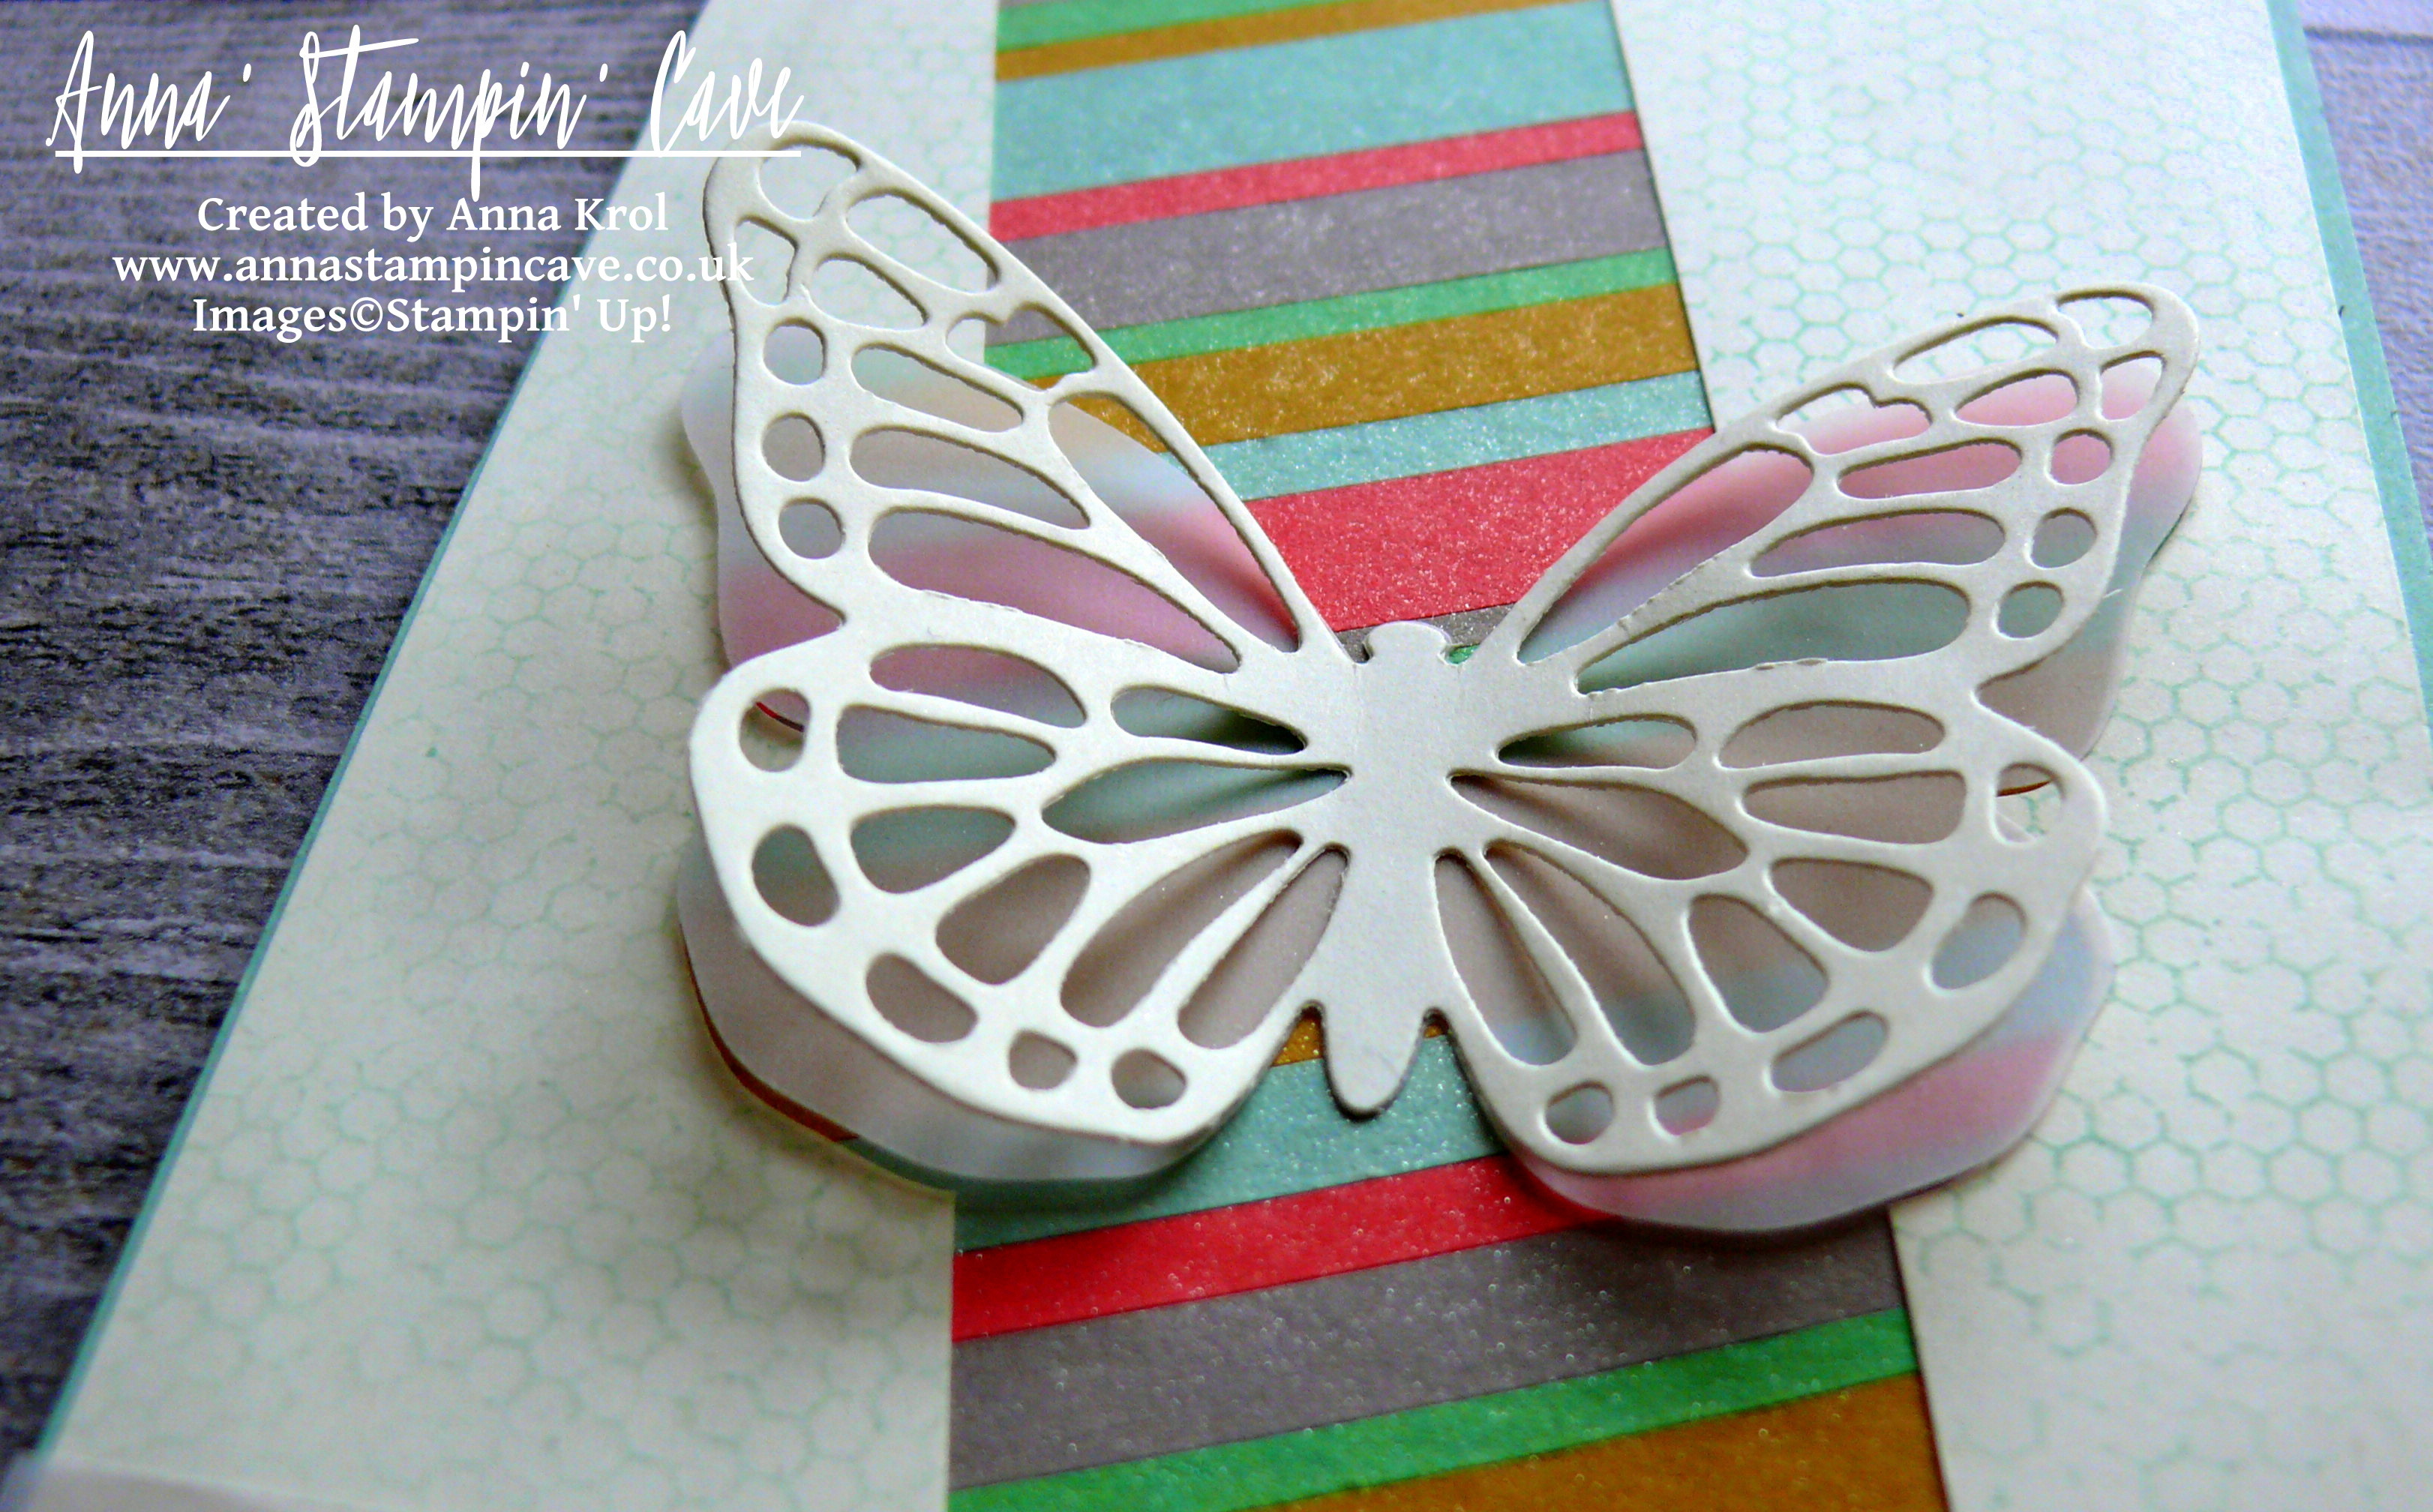
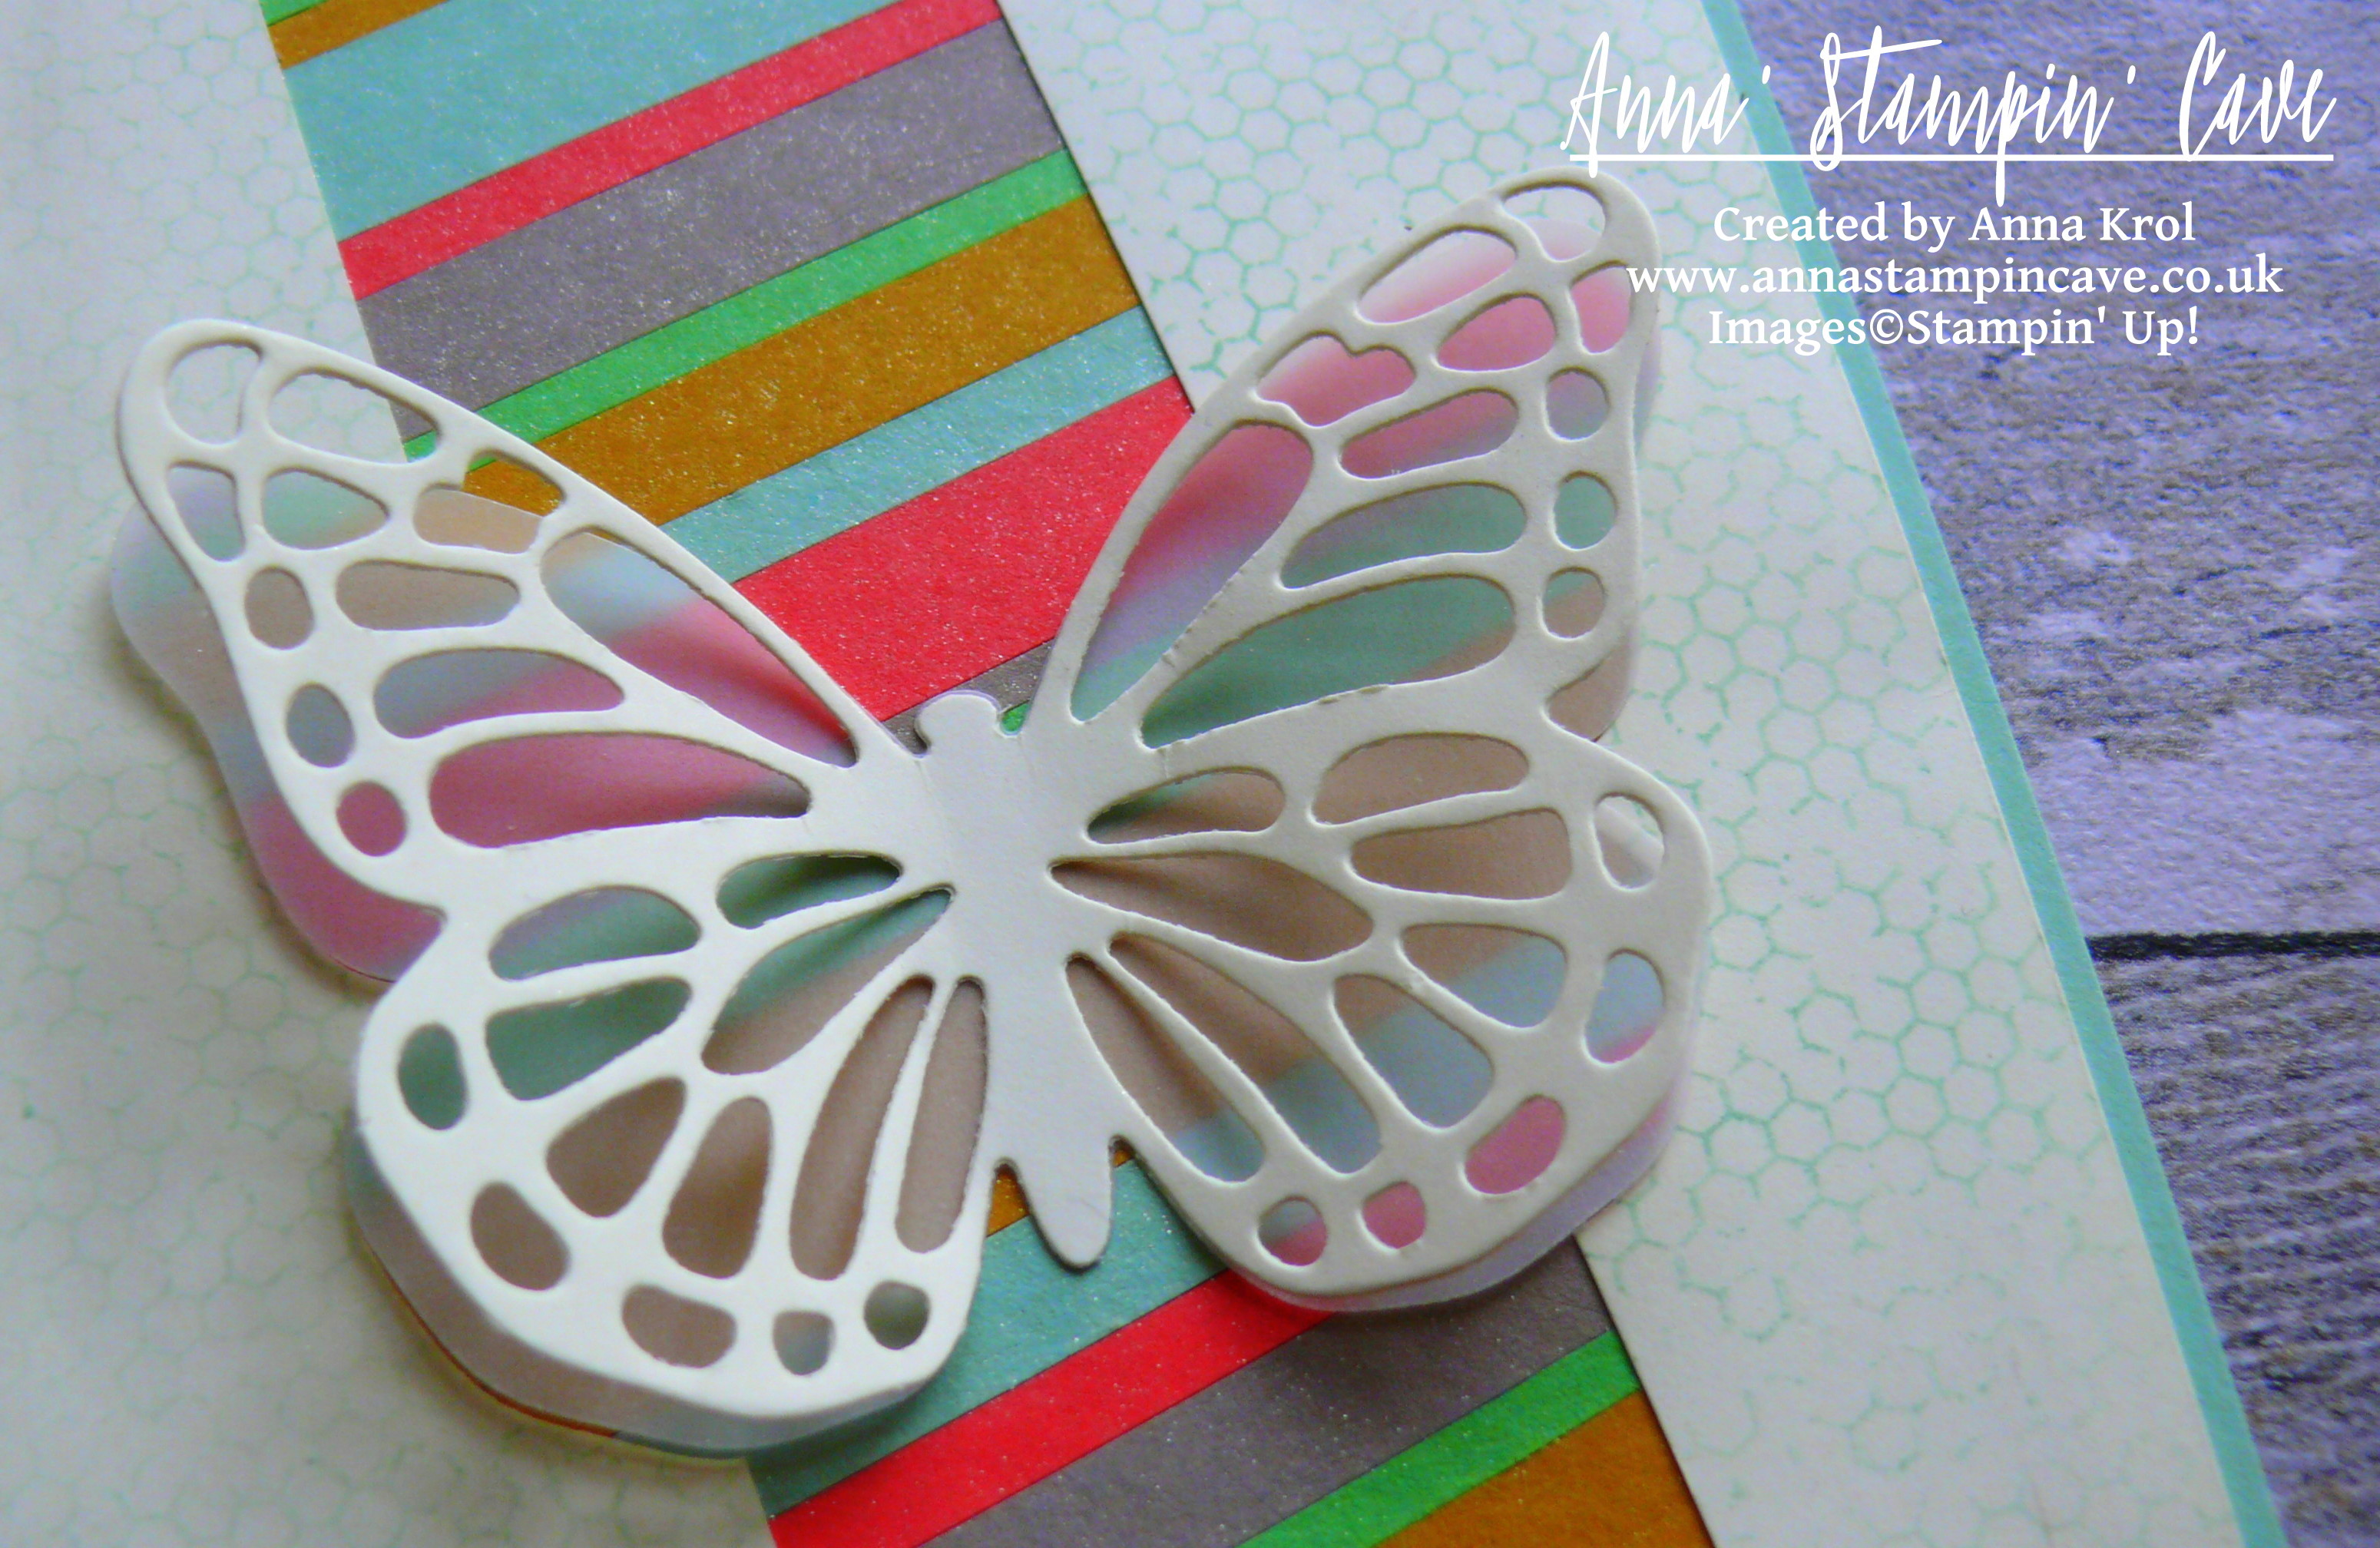
I wanted to add some extra texture and interest to this card. I really like the Simply Stripes Textured Embossing Folder from Spring Summer catalogue. But because I don’t have it yet I decided to imitate the look. I took my Tranquil Tide panel and with a help of Stampin’ Trimmer, I scored it every 1/4″. I love how it looks.
I also added Lemon Lime Twist splatters to Whisper White panel and adhered all the layers to the card base.
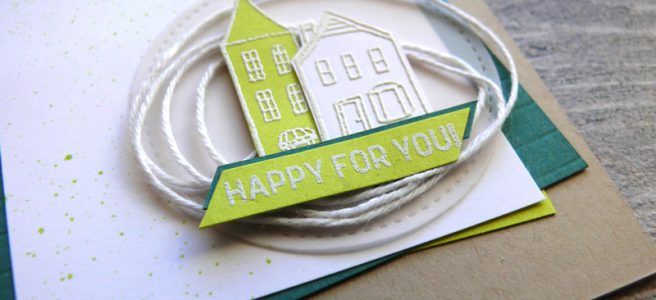
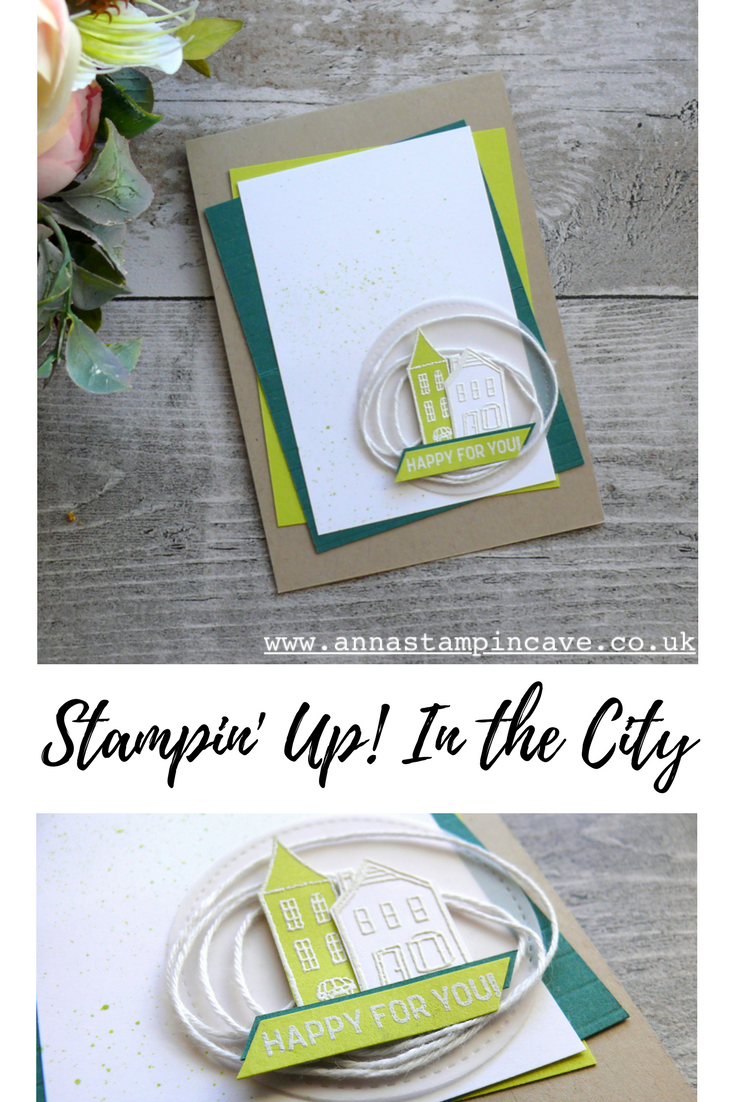
To soften up wonky angles I die-cut a circle from vellum using the 2nd largest circle from Stitched Shapes Framelits Dies. I wrapped some Whisper White Baker’s Twine around my fingers to create ‘wreath-like’ shape, and add it in the centre of the vellum circle with a dab of glue (snail adhesive).
I took tiny buildings and simple sentiment strip, put dimensionals to the back and mounted them onto my circle. Dimensionals not just keep all elements together, but they also secure twine from slipping off. I adhered my circle to the card with snail adhesive.
I love how these cards turned out. And to be honest, with a little tweak, they could easily fit any occasion really.
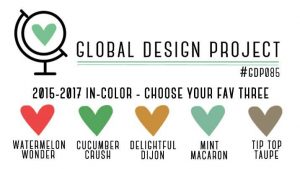
As always, I really want to encourage you to visit the Global Design Project challenge blog to see other beautiful projects from all around the world. Just click on their logo below to visit the website

I’m also adding my cards to Simon Says Stamp – Anything Goes Challenge
If you wish to purchase any of products I have used, simply click the images below to go directly to my online store and don’t forget to enter the hostess code RRMR76JH to receive a gift from me. Just a reminder that In The City Stamp Set is an exclusive Hostess Set, which means you can’t buy it, you can only earn it (choose) free when you spend £150 or more in my online store.
Thank you for stopping by and have a blessed day

Hostess Code for February: RRMR76JH – Use this code in the month of February and receive a gift from me.

Special Notes:1) Make sure you select Anna Krol as your demonstrator;
2) If you select “No Contact” box I do not have access to your name and can’t send you a gift;
3) If your order is £150 or more do not use the code and grab your own Stampin’ Rewards + gift from me
Product List
|
|
|
|
||
|
|
|
|
|
|
|
|
|
|
||
|
|
|
|
|
|
|
|
|
|
|
|


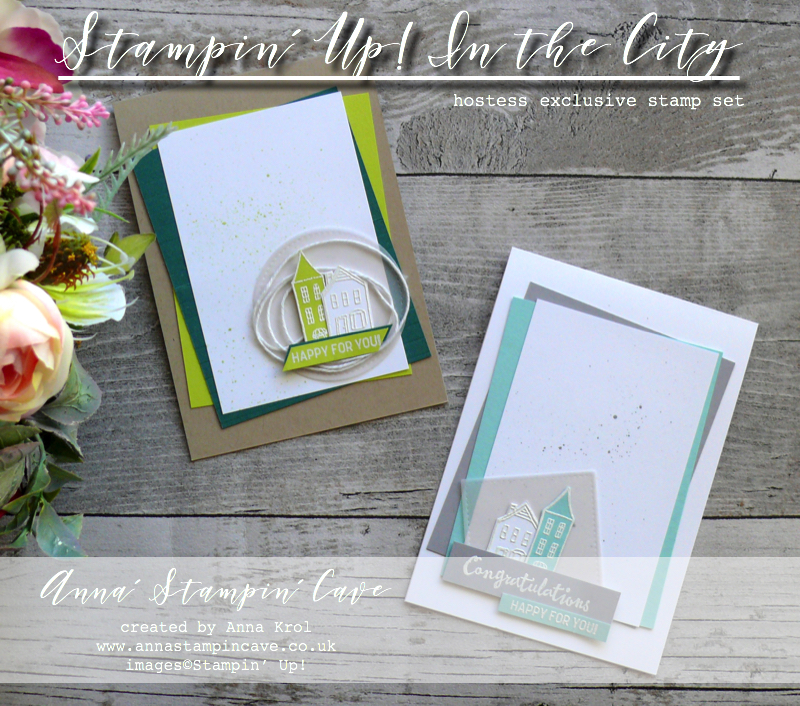
Pin me
Summary of the project which gives all the views of the card in one photo. I’d love if you pinned and called by on Pinterest xx
Don’t forget to check:


Spring Summer Catalogue Paper & Ribbon Shares. Shares are open to Austria, France, Germany, Netherlands & United Kingdom. 102 sheets of DSP & 2 yards of each type of ribbon from Spring/Summer Catalogue. Click here for more details —>
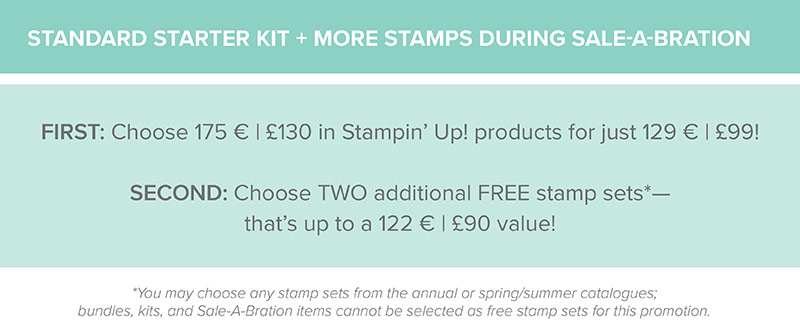
 The New Stampin’ Up! Spring/Summer 2017 Catalogue and Sale-A-Bration are LIVE and it’s AMAZING! For every 60 €/£45, you spend either from Spring Summer Catalogue or Annual Catalogue, you will get to choose one FREE level 1 product from SAB brochure! If you spend 120 €/£90, you get one FREE level 2 product, OR, you can choose two level 1 items. If you spend 180 €/£135, you have the option to choose three level 1 items or one level 1 item and one level 2 item. Click here for more details —>

Ever wondered what it’s like to join Stampin’ Up!’s community? I may have few answers for you. Click here for more details –>


 Organza Ribbon")