Anna’ Stampin’ Cave – Customers Thank You Cards Using Beautiful Healing Hugs Stamp Set

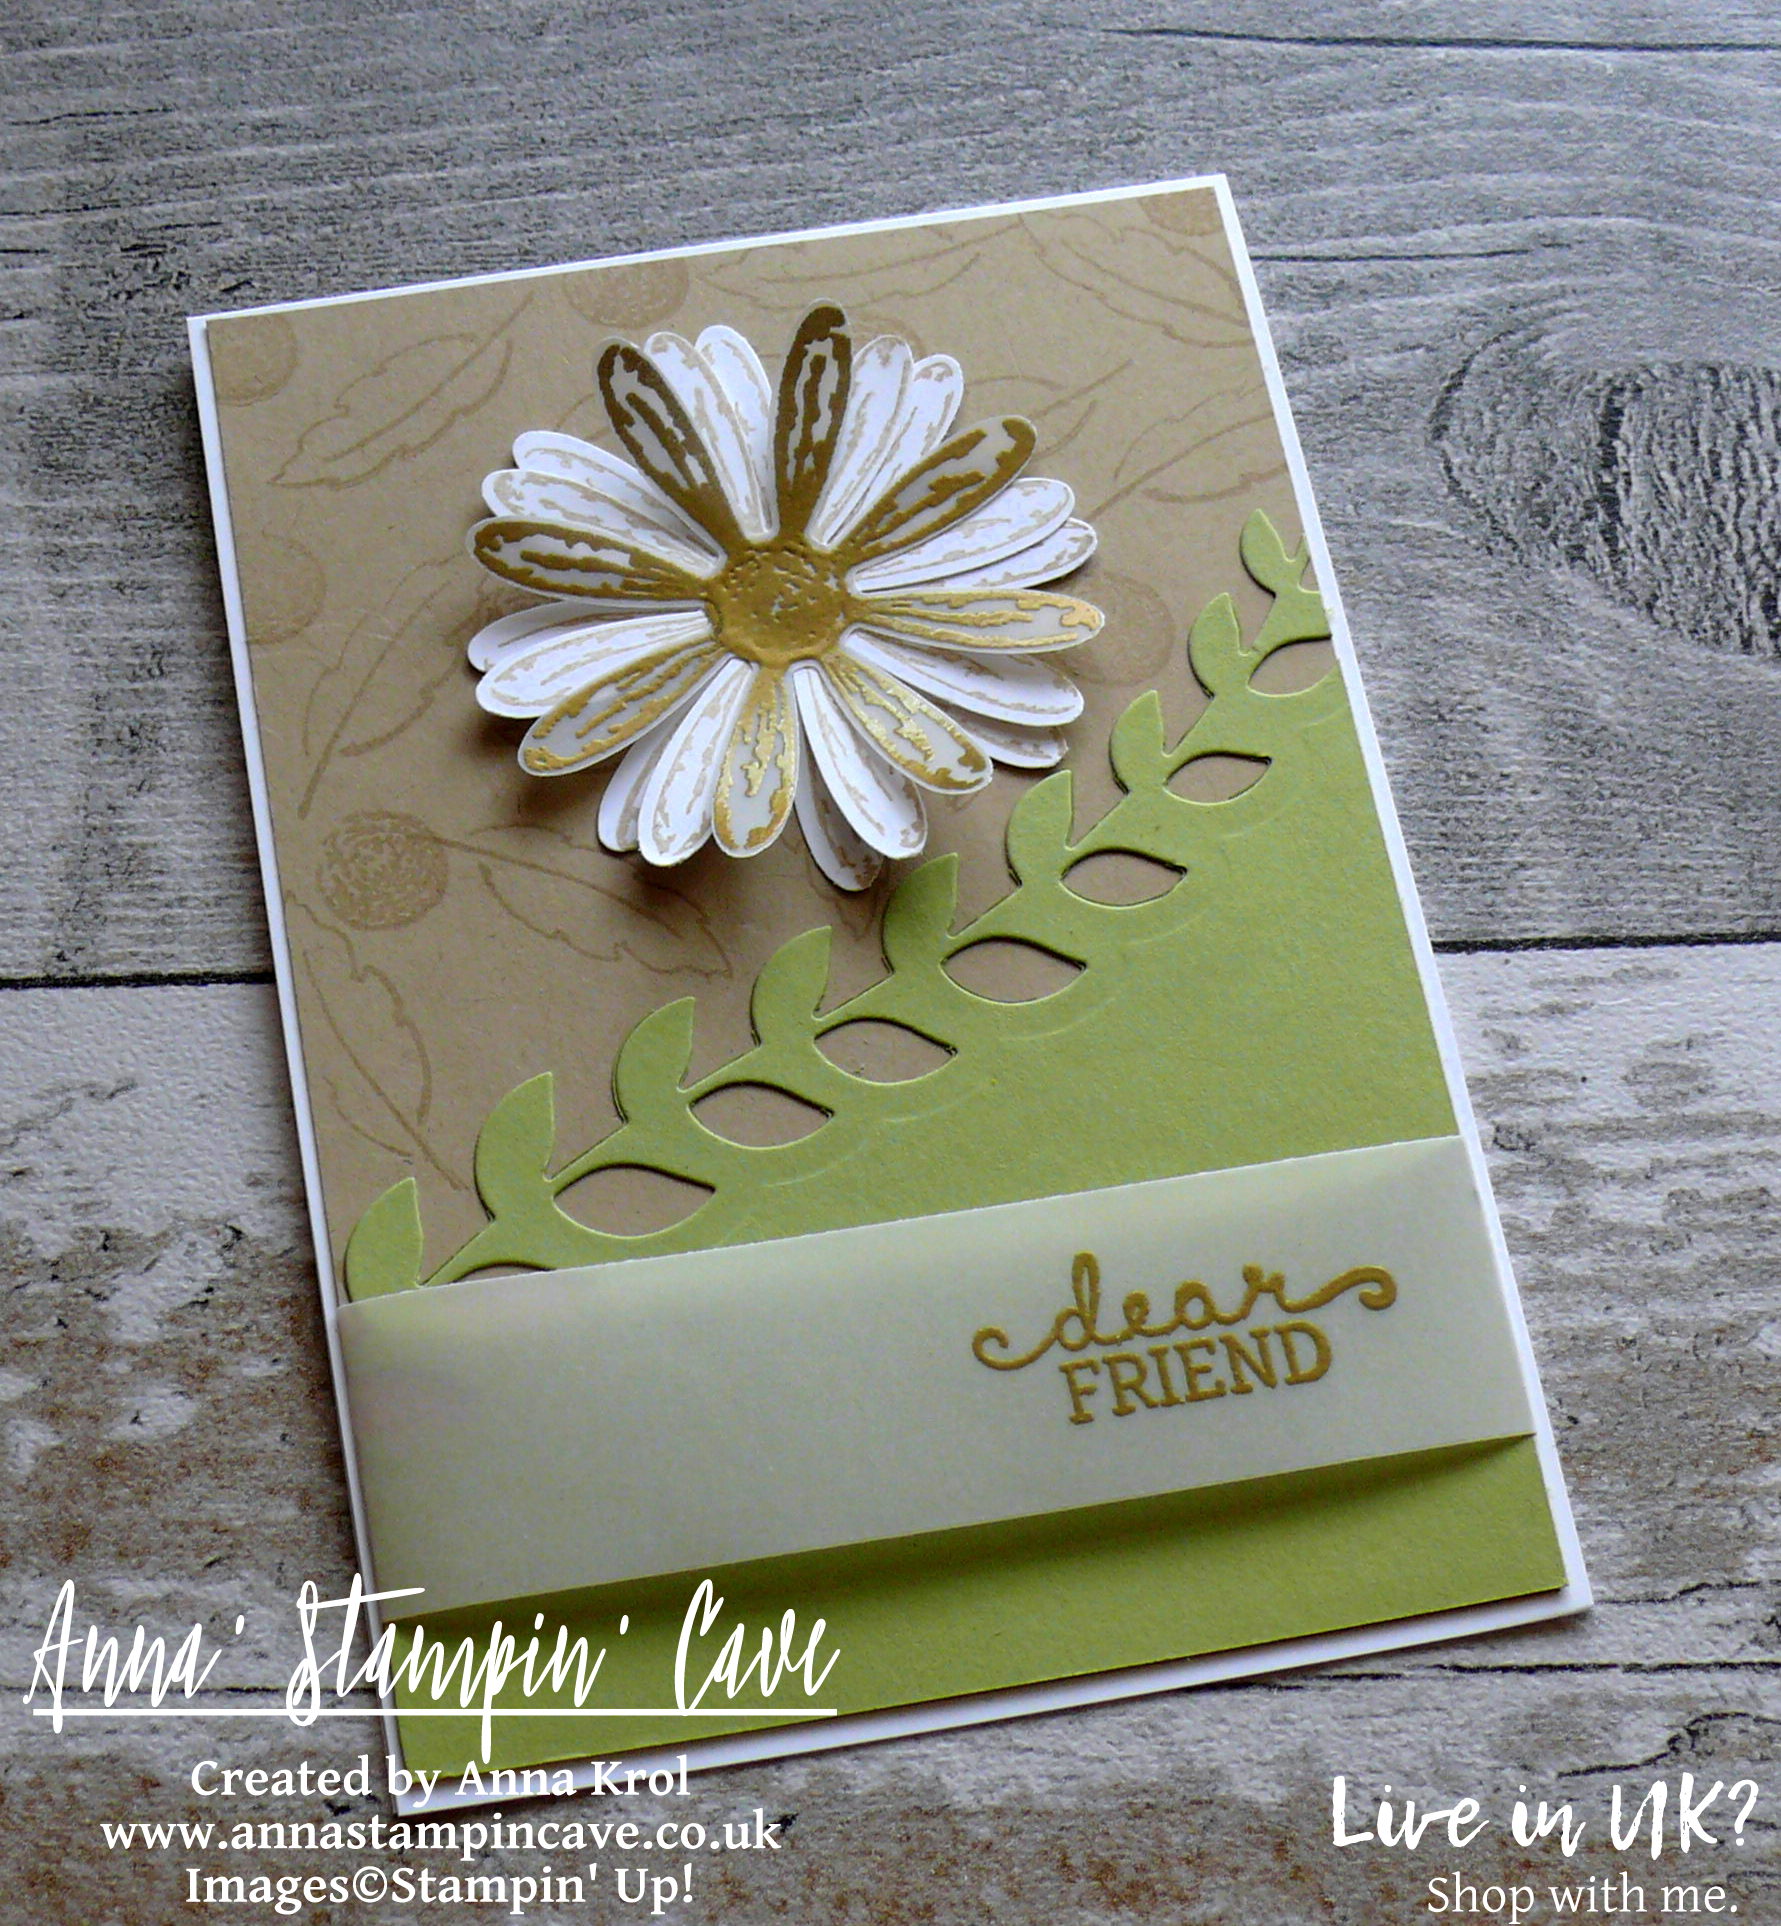
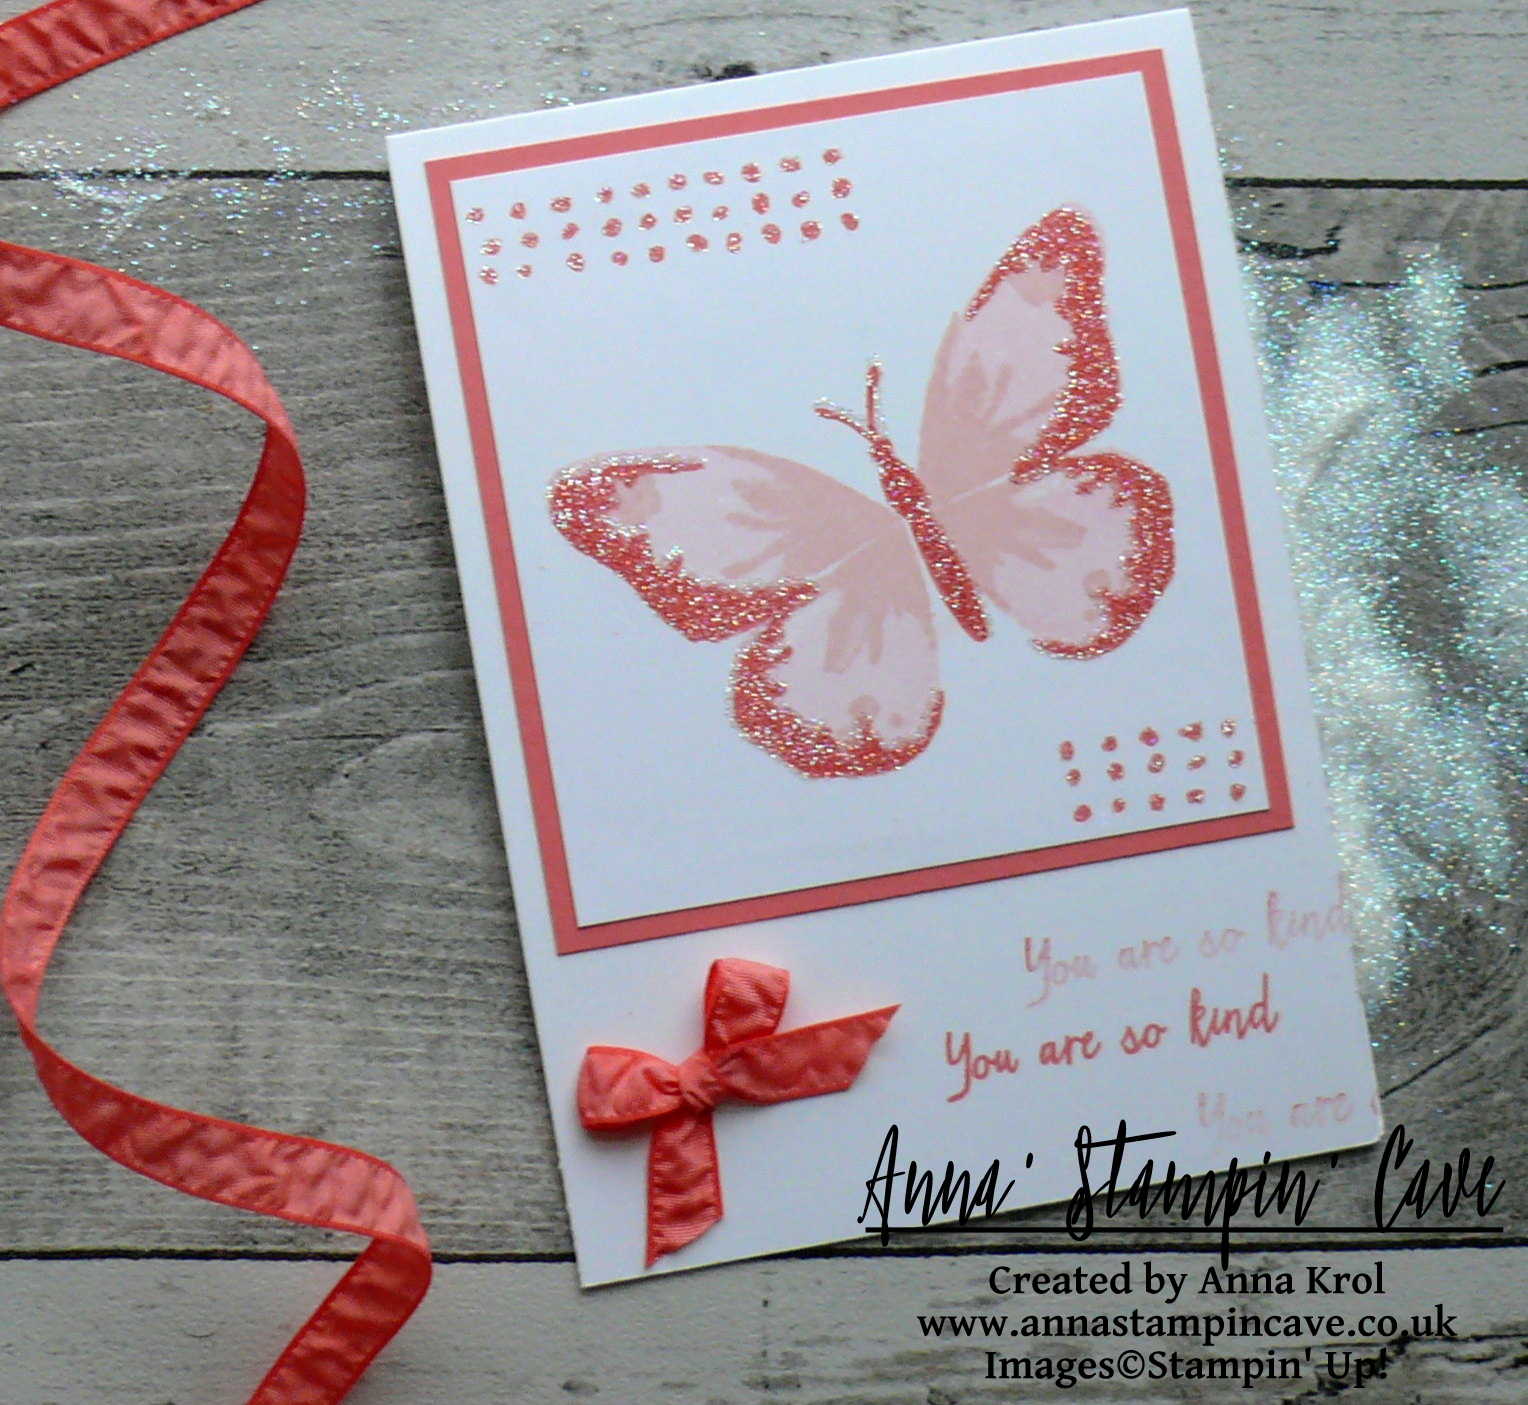
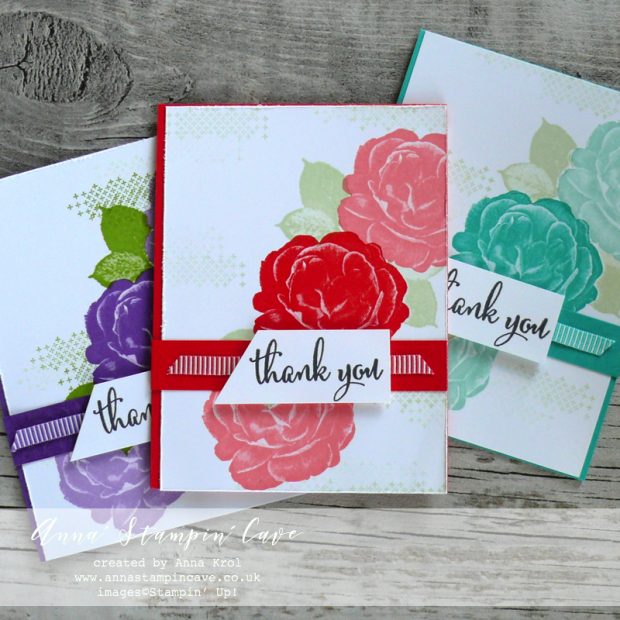
Today I’ve got for you really beautiful Thank You cards I’ve made using Healing Hugs Stamp Set by Stampin’ Up!
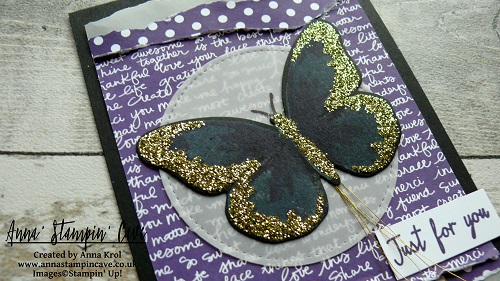
These were the cards for my customers who shopped with me in the month of June and used Host Code. I have sent them out with rhinestones and some treats!
I had a little delay this month because of MS giving me hard time again, but my ladies were very understanding and loved their parcels. I even received a couple of messages back to say how much they loved them!
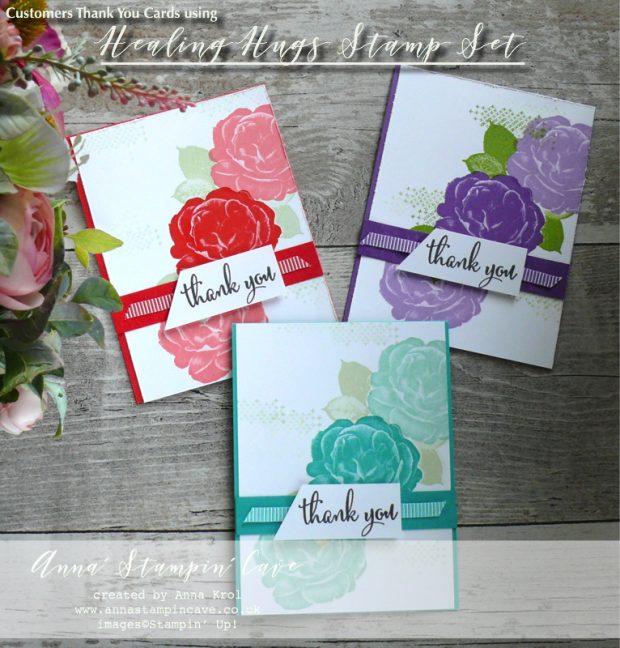
Healing Hugs ‘thank you’ cards
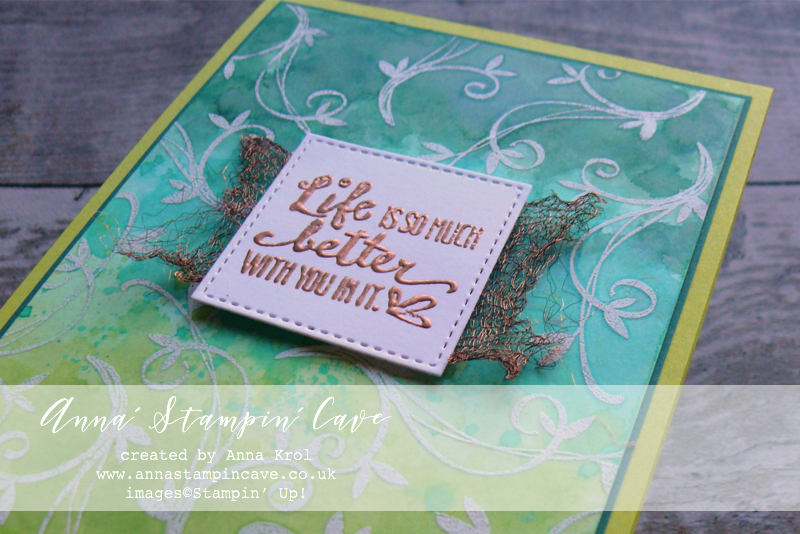
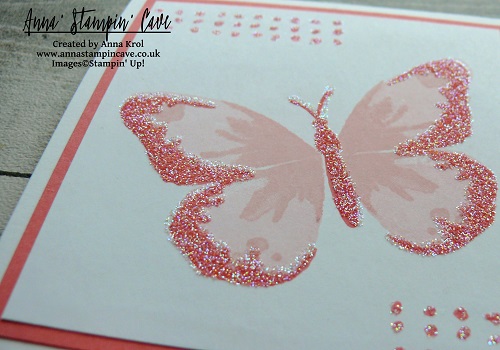
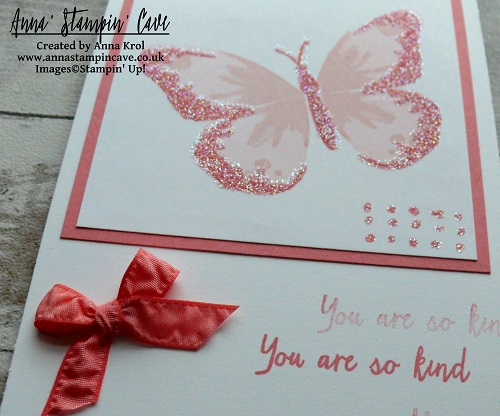
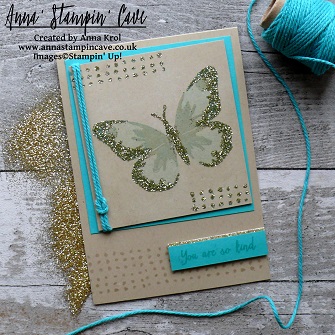
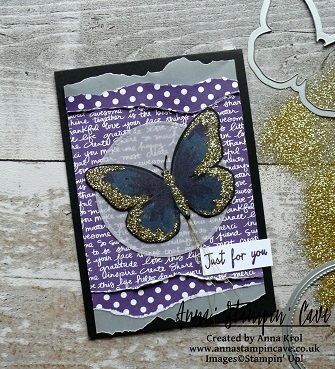
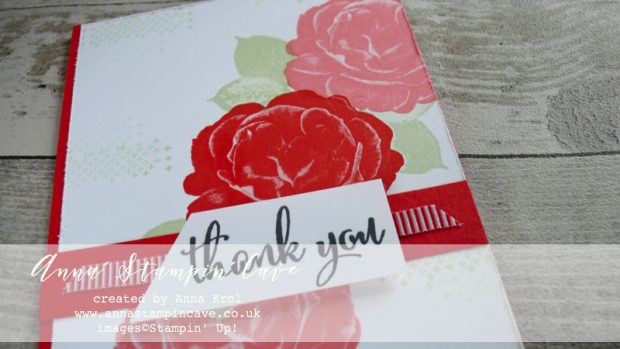
For my cards I’ve used a gorgeous distINKtive stamp set called Healing Hugs and a sentiment from Love What You Do stamp set.
 Healing Hugs Thank You Cards dimensions:
- Poppy Parade/Gorgeous Grunge/Bermuda Bay cardstock: 11-6/8″ x 4-1/8″ scored at 5-1/2″ (29.7 x 10.5 cm scored at 13.9 cm)
- Whisper White cardstock: 4″ x 5-1/2″ (10.3 cm x 13.9 cm)
- Whisper White cardstock for inside: 4-1/8″ x 4″ (10.5 cm x 10.3 cm)
- Whisper White cardstock for the sentiments
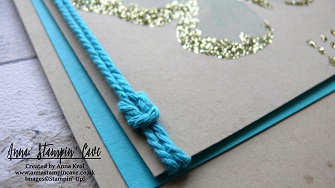
- Mini Striped Ribbon in Poppy Parade/Gorgeous Grape/Bermuda Bay: approx. 4″ (10.3 cm)
How to:
I started by preparing the bases for three cards. Once I scored each card base at 5-1/2″, I had 6/8″ of cardstock hanging off the base. I trimmed it off and saved it, as I will need it later in the design.
Usually, I make individual cards, but for customers, I really like to make cards in batches. Once I have a design I choose colours, and then I start making the cards, each step at a time.
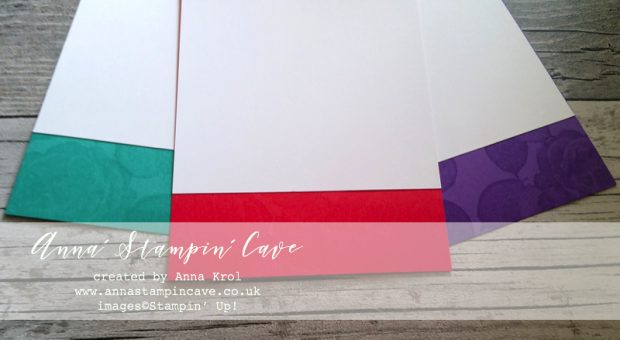
For these cards, I chose to use three different colours: returning Poppy Parade, new Gorgeous Grape and current Bermuda Bay (the bases and stamping). To help me with accurate stamps placings I have used a Stamparatus.
Colour Choices, stamping & masking
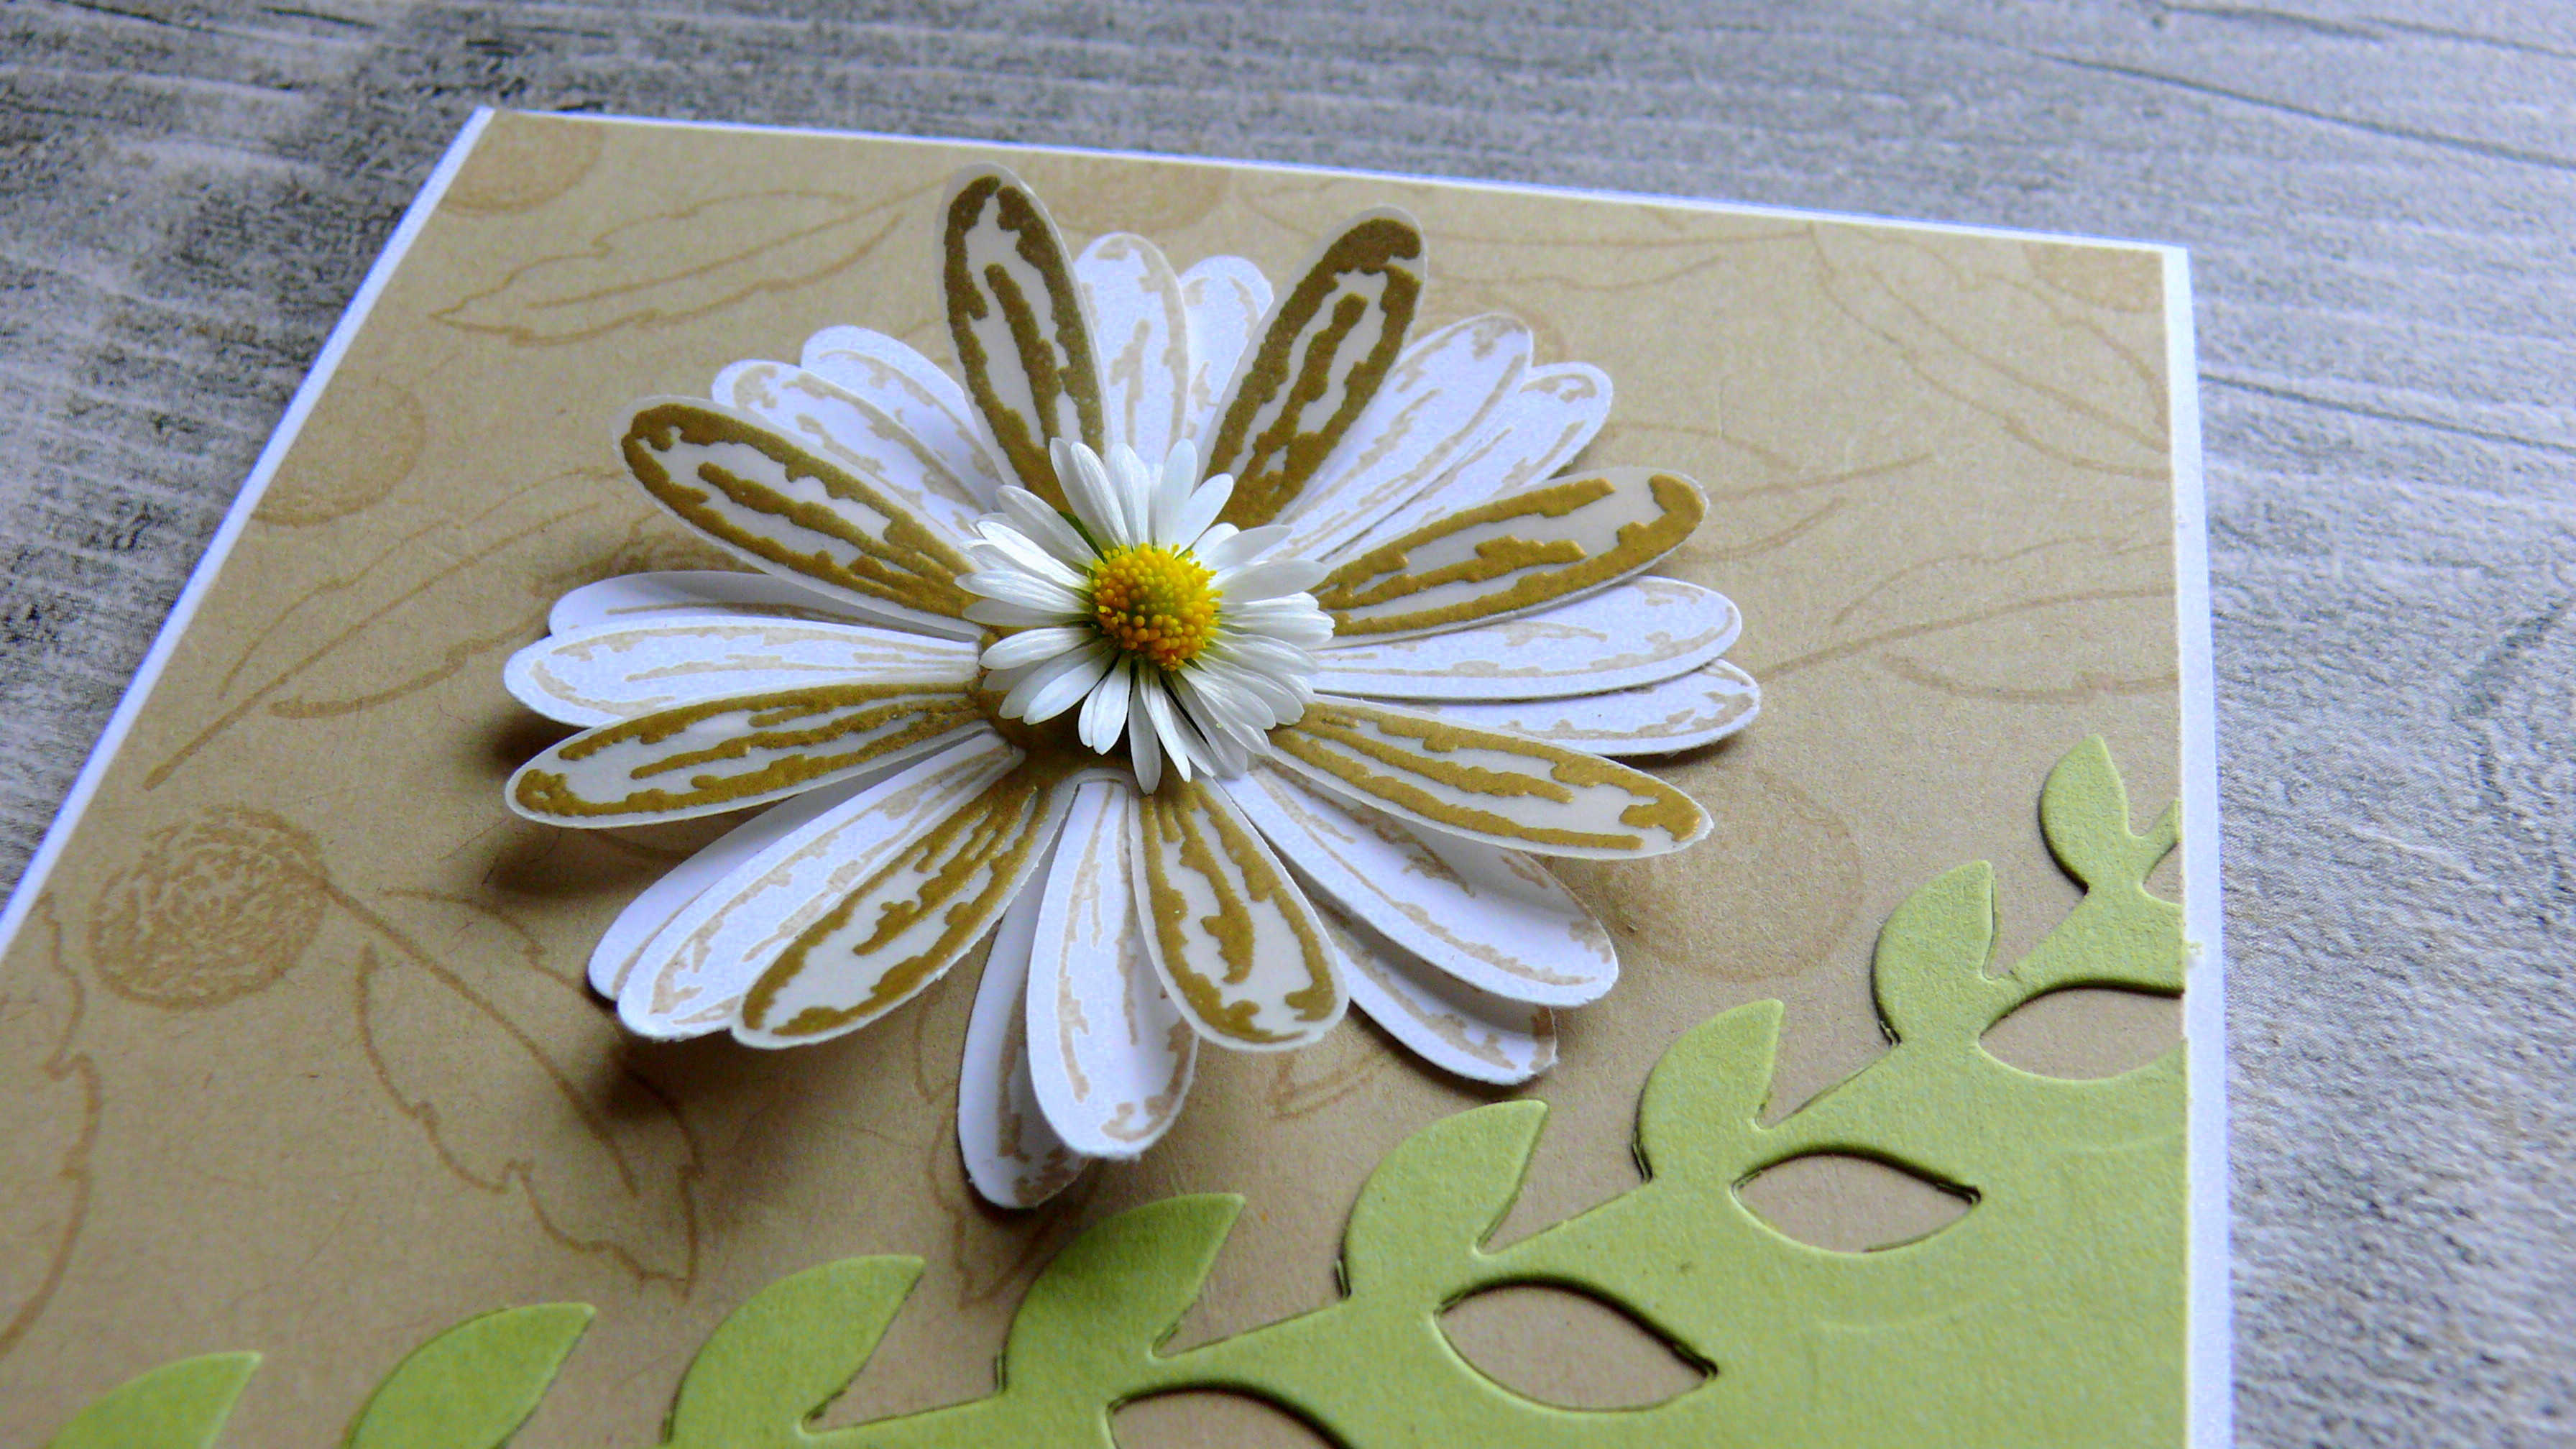
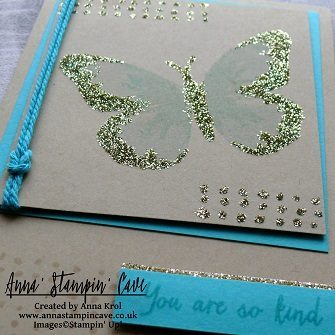
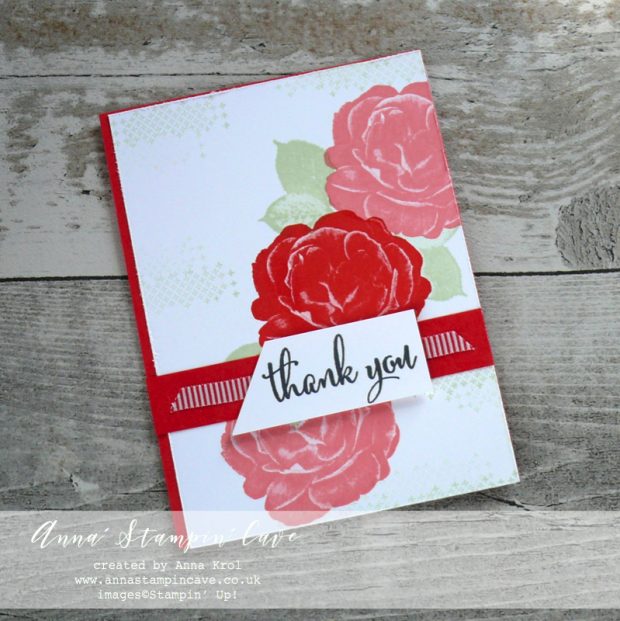
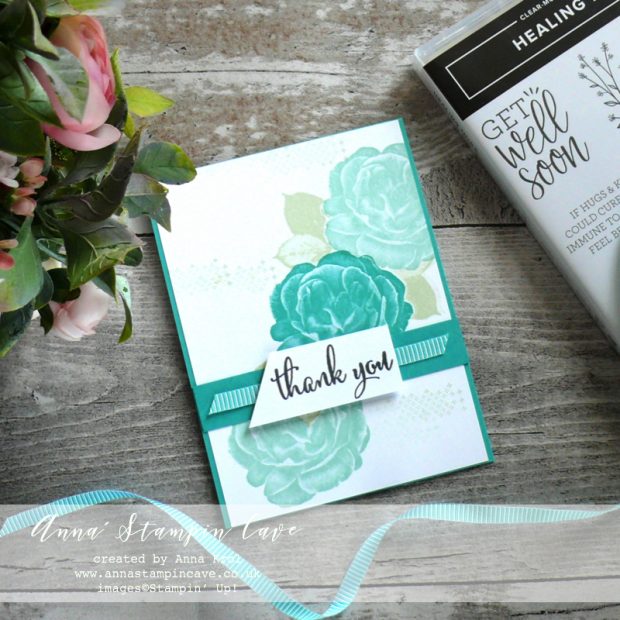
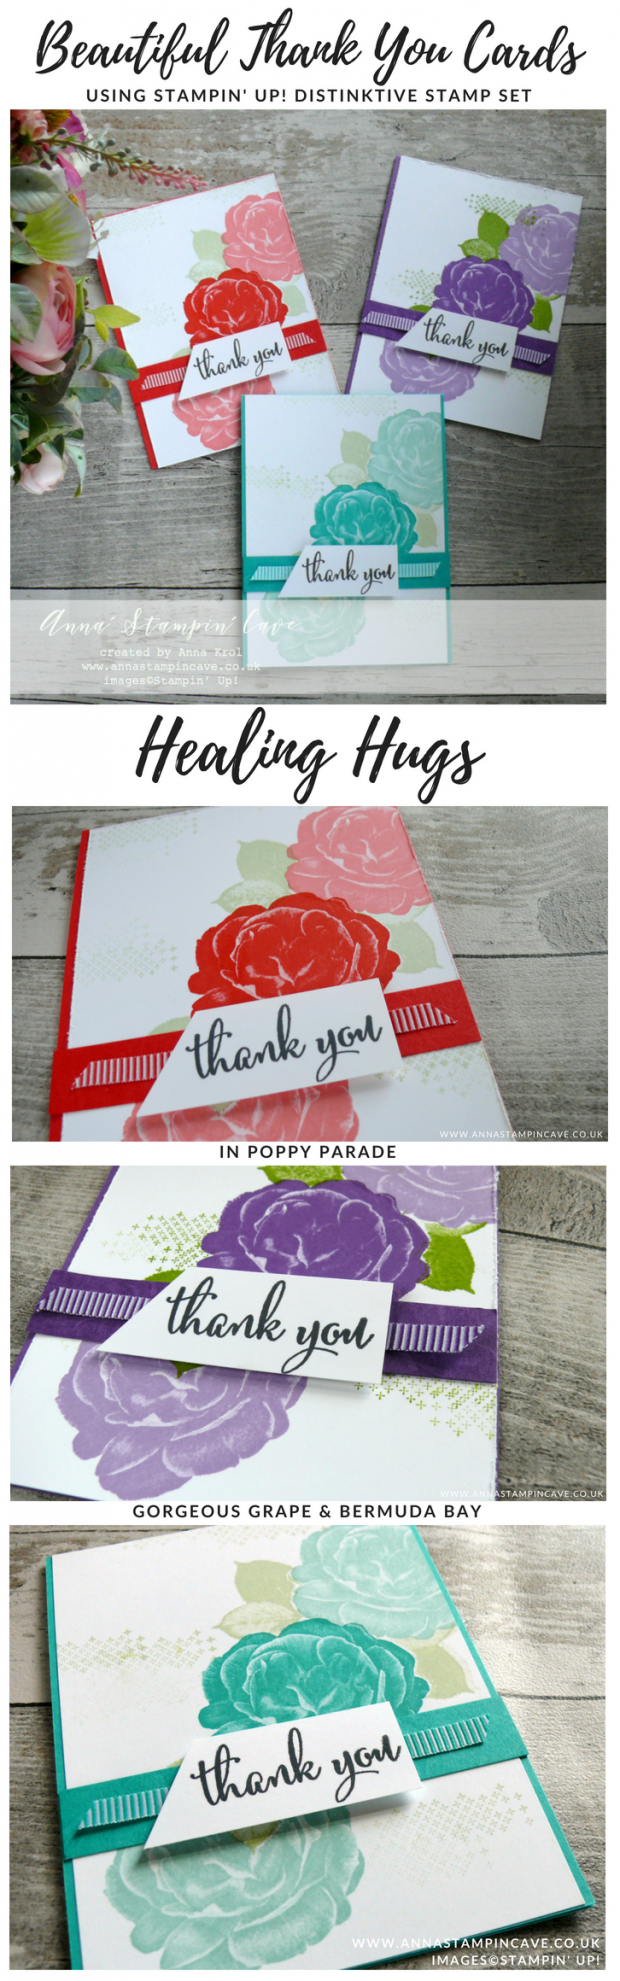
My first colour choice was Poppy Parade for the base and flowers, followed by Gorgeous Grape and Bermuda Bay. For leaves and background accents I’ve used accordingly either Soft Sea Foam and Granny Apple Green.
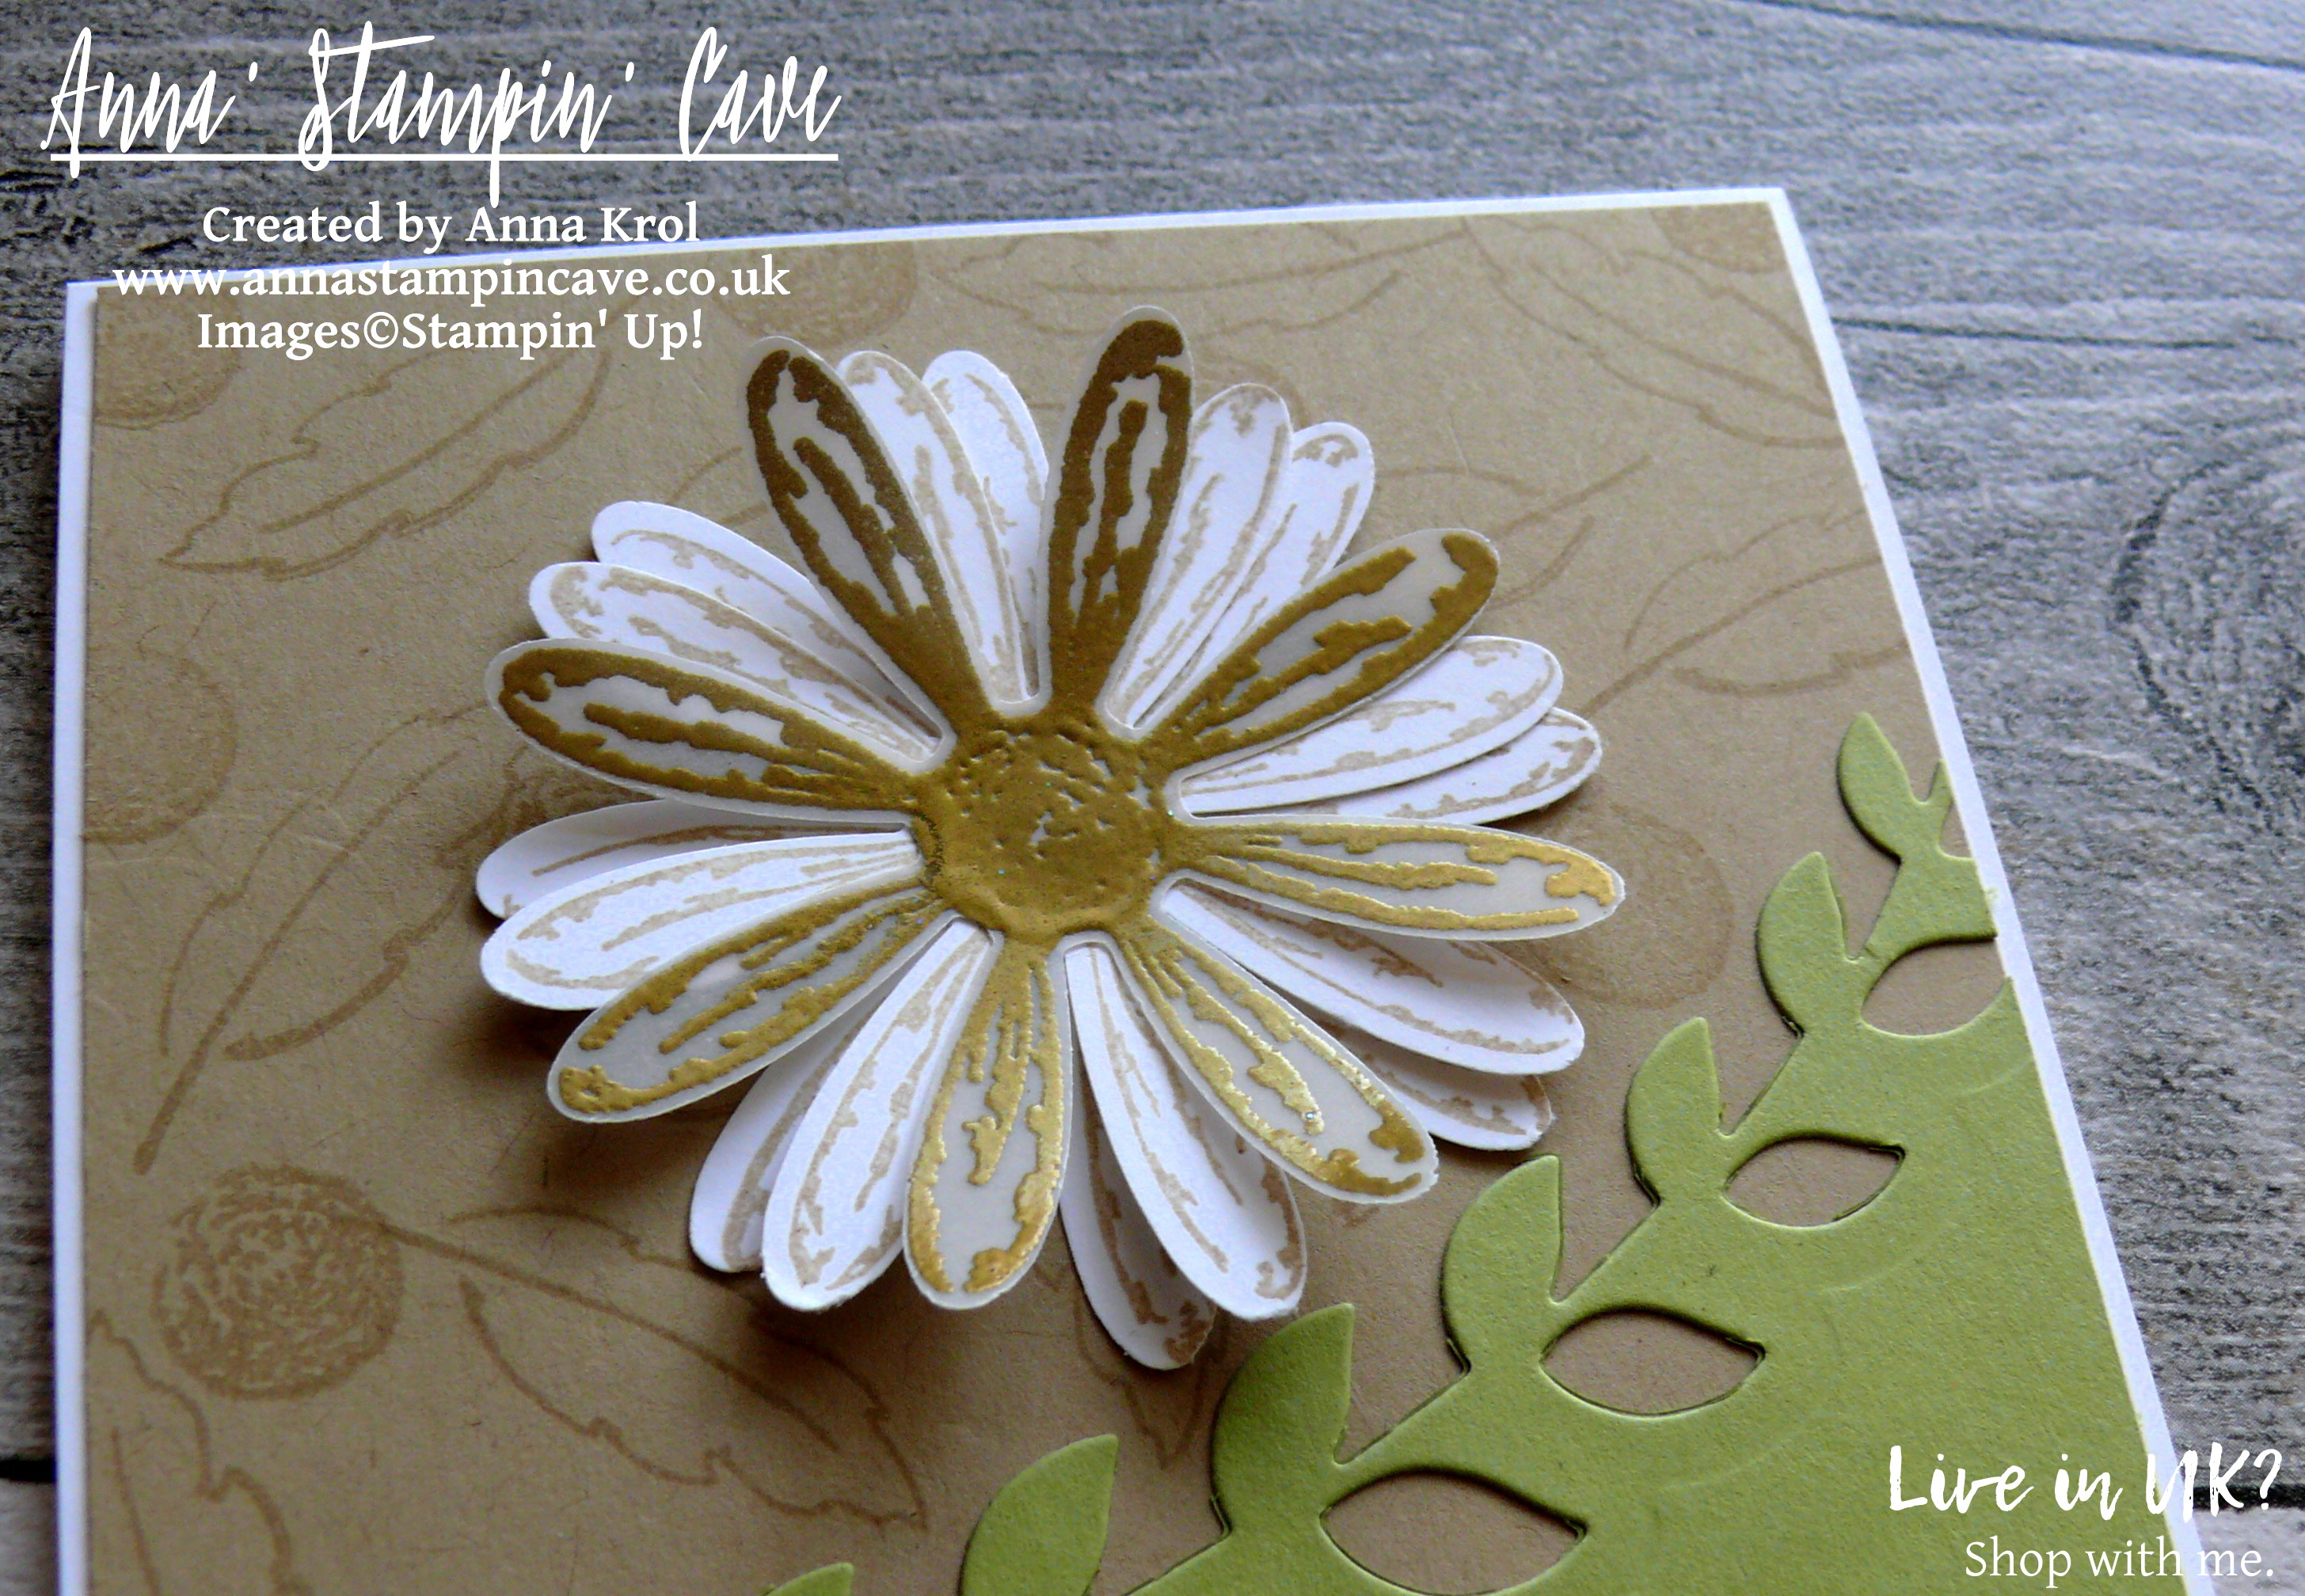
I stamped the main flower first on each Whisper White panel and next onto some masking paper and fussy cut it.

I placed the mask over the flower and stamped two more flowers, one above and one below, first stamping them off for a lighter shade.
Next, using the same mask I stamped the leaves. For the Gorgeous Grape card, I’ve used Granny Apple Green for the leaves. On other cards, the foliage was stamped in Soft Sea Foam.

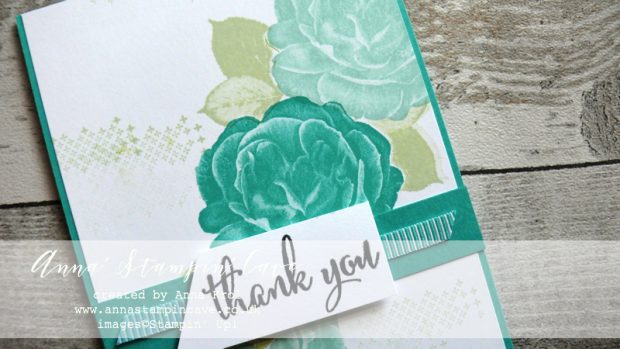
Once all the flowers and leaves on all of the cards were stamped I decided to use small ‘plus’ stamp from the same stamp set to add some detail to the background.
I didn’t use a Stampratus for this, just a regular acrylic block, size ‘D’. Added details as I went along using same greens as before.
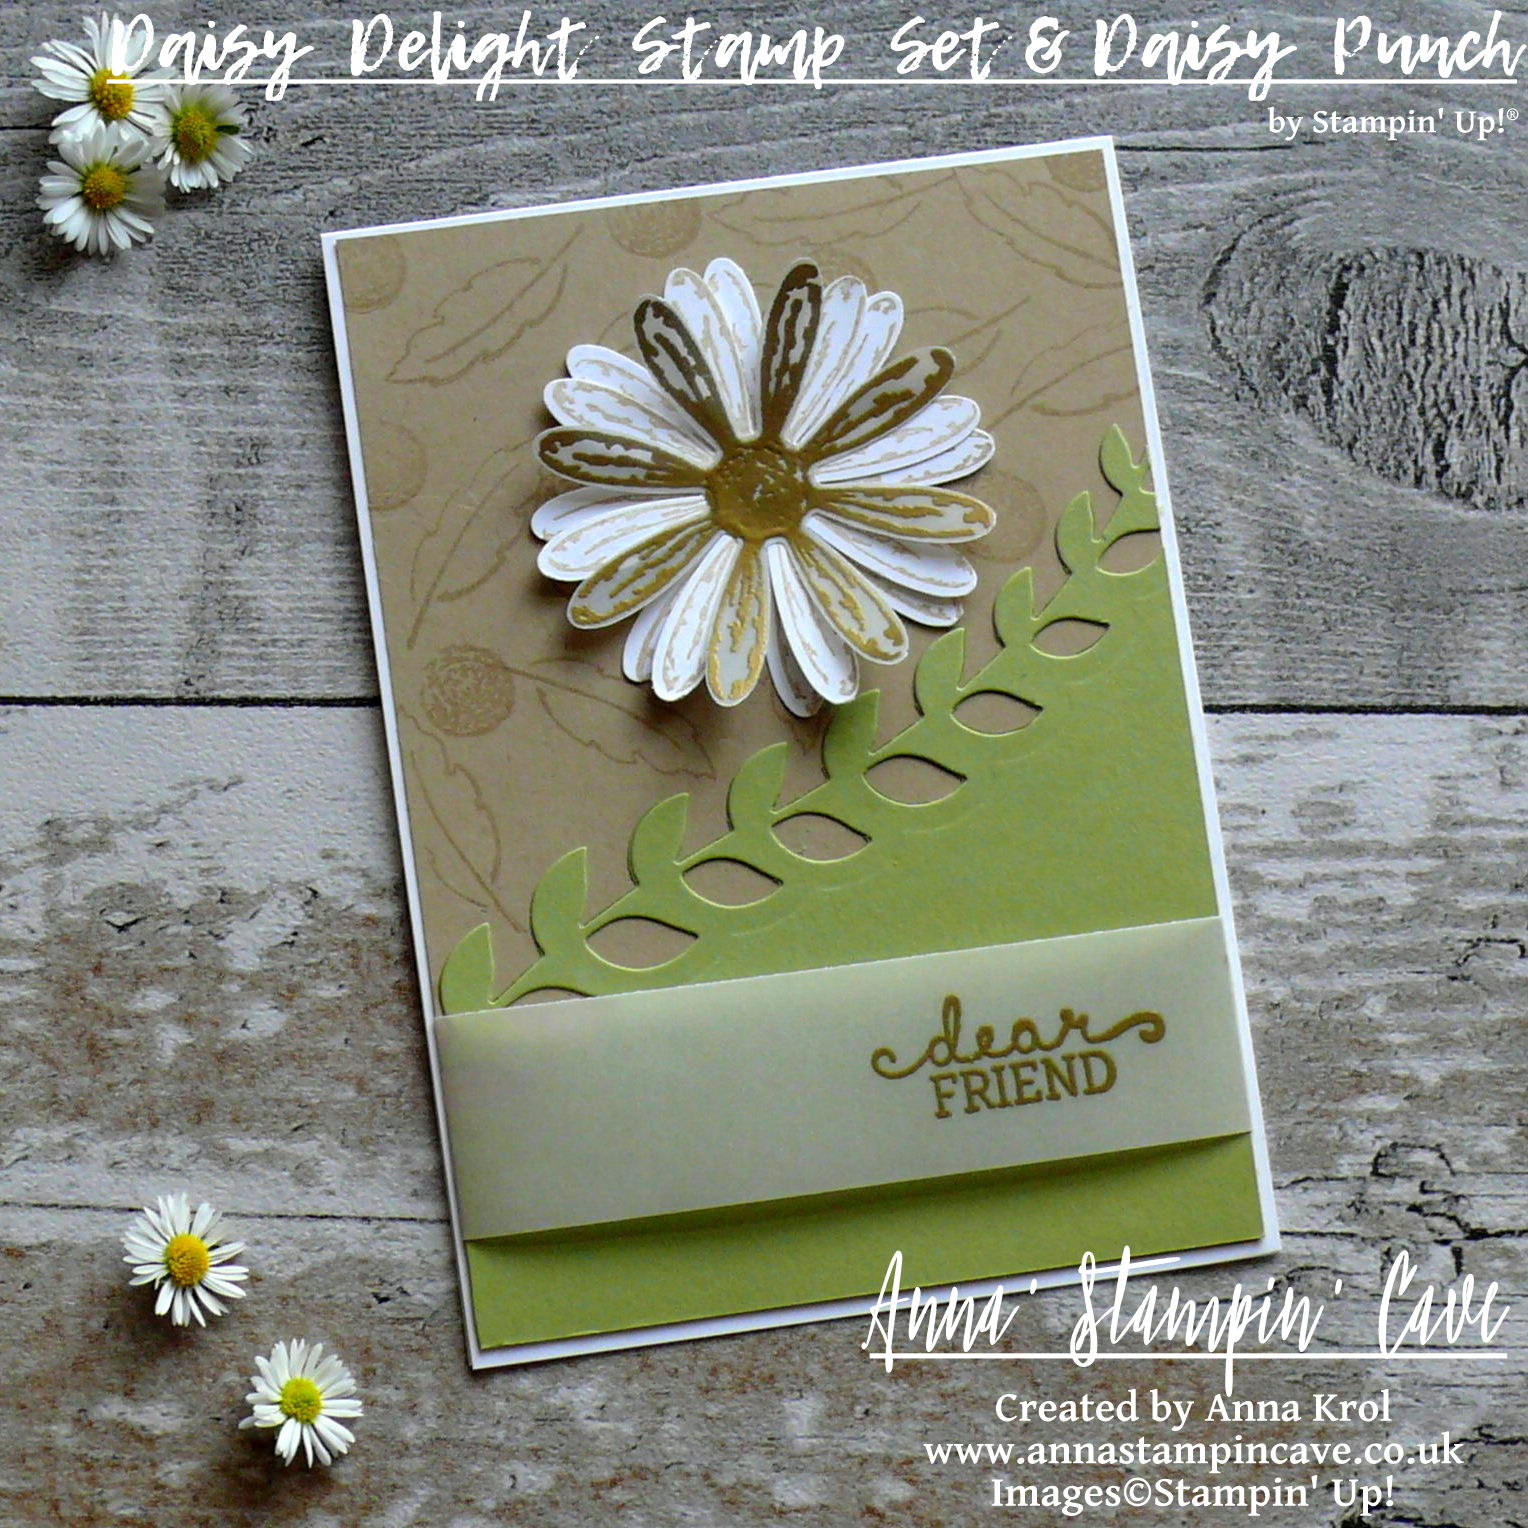
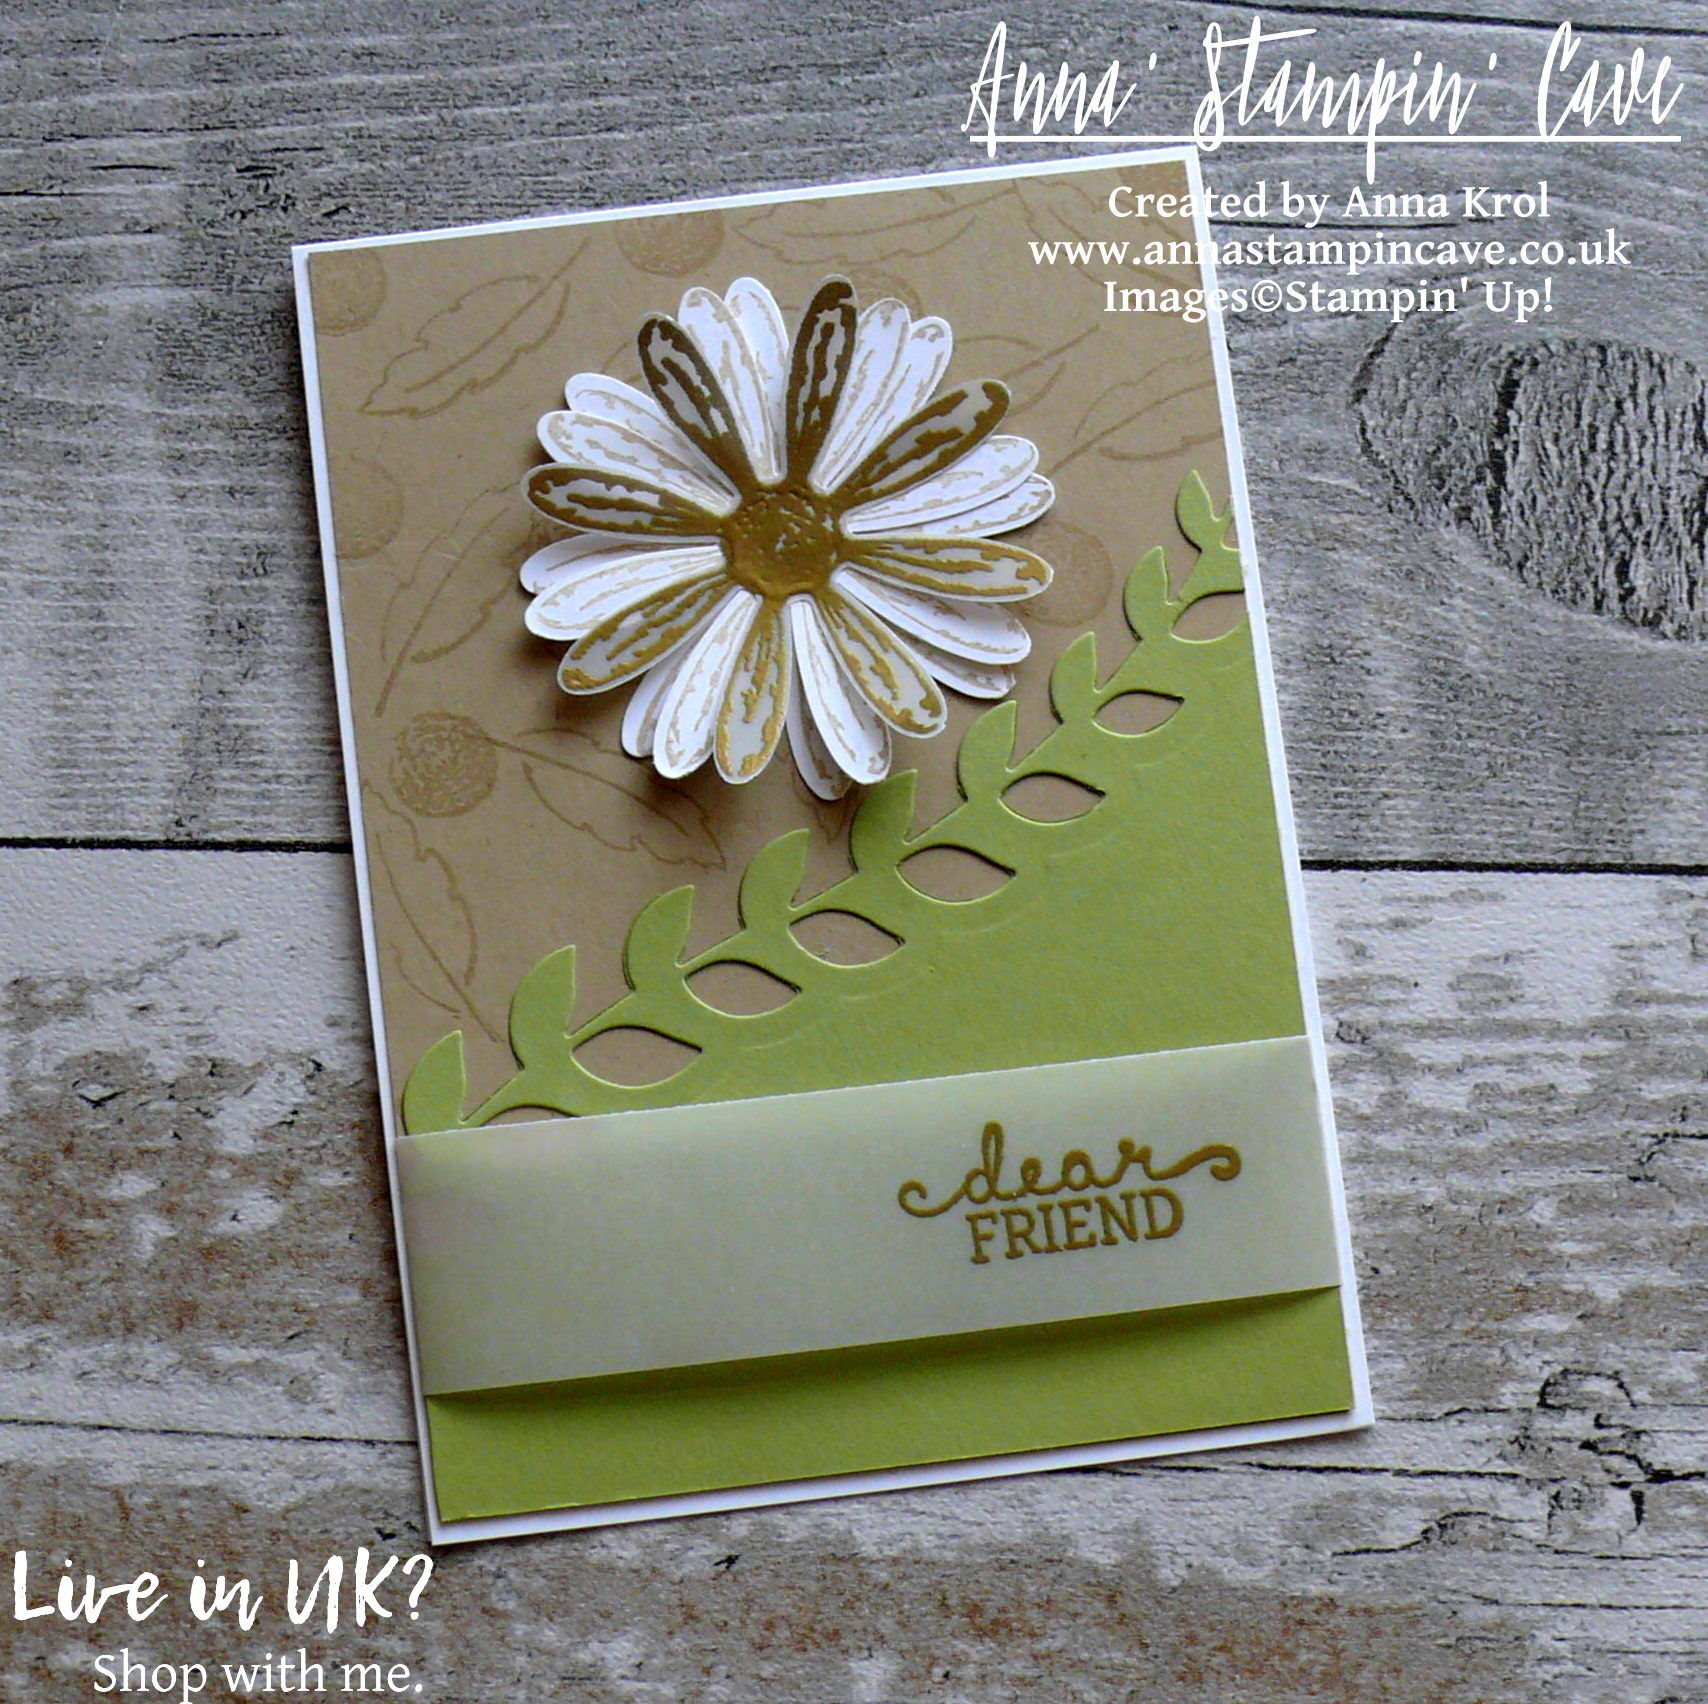
Before I mount all the panels to the card bases I distressed the edges using paper snips and adhered them either centred or to the right.
Finishing off the cards
I took the 6/8″ pieces of cardstock that I have trimmed from bases earlier and stamped them using the flower stamp and Versamark ink pad, to create a subtle background. I adhered them to the cards using snail adhesive.
I have added those strips to my cards and also adhered around 3-1/2″ length of Mini Striped ribbons to each (according to the colour of the base).
For the sentiment, I have used the ‘Thank You’ stamp from Love What You Do stamp set. I stamped it on a strip of Whisper White cardstock, in Memento Black, using Stamparatus.
I trimmed each sentiment to measure 1″ x 2-1/2″ and pop them up on the cards using dimensionals.
Inside the cards, I stamped the flowers and leaves in Versamark for tone on tone look. Next, I adhered smaller Whisper White panels inside those cards.
And here’s the last peak on all colours/designs together –
I truly hope you like my cards and enjoyed coming to my blog today.
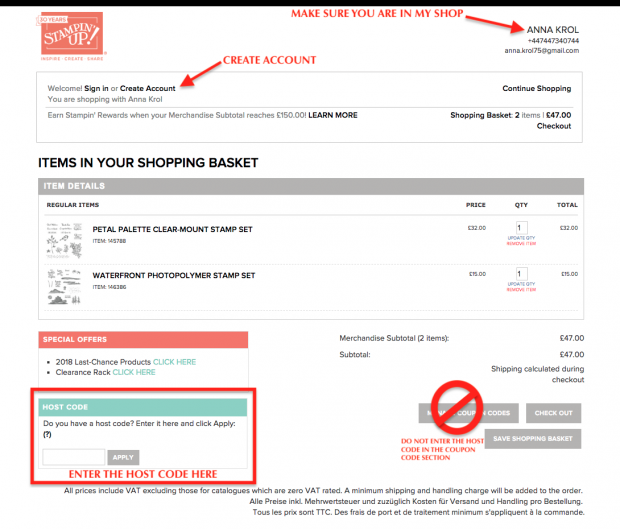
As always, if you wish to purchase any of the products I have used, simply click the images below to go directly to my online store.
HOST CODE for the month of JULY is D369YGBB. Orders of £50+ (excl. p&p) will receive a SPECIAL GIFT from me: a sampler of In Color® Grosgrain Ribbons (2 yards of each).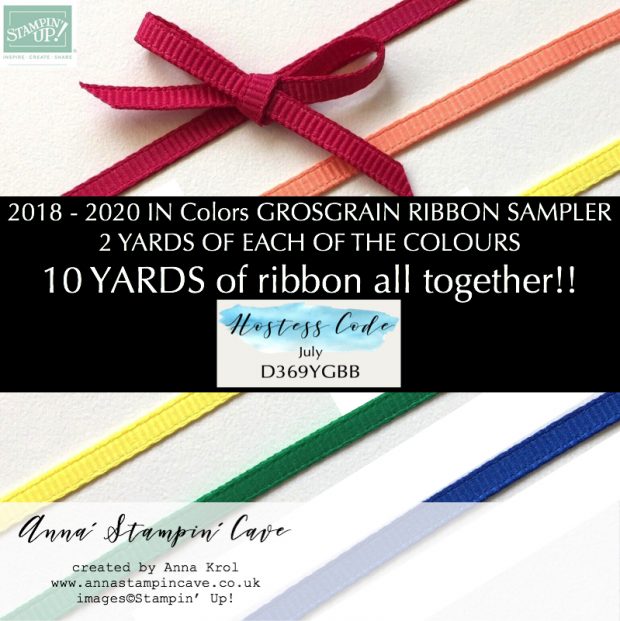
Thank You Gifts will be shipped mid-August.
|
|
|
|
|
|
|
|
|
|
||
|
Bermuda Bay Classic Stampin’ Pad
[131171]
£6.00
|
|
|
||
|
|
|
|||
|
|
|
|


 Mini Striped Ribbon")
 Mini Striped Ribbon")
 Mini Striped Ribbon")


Pin me
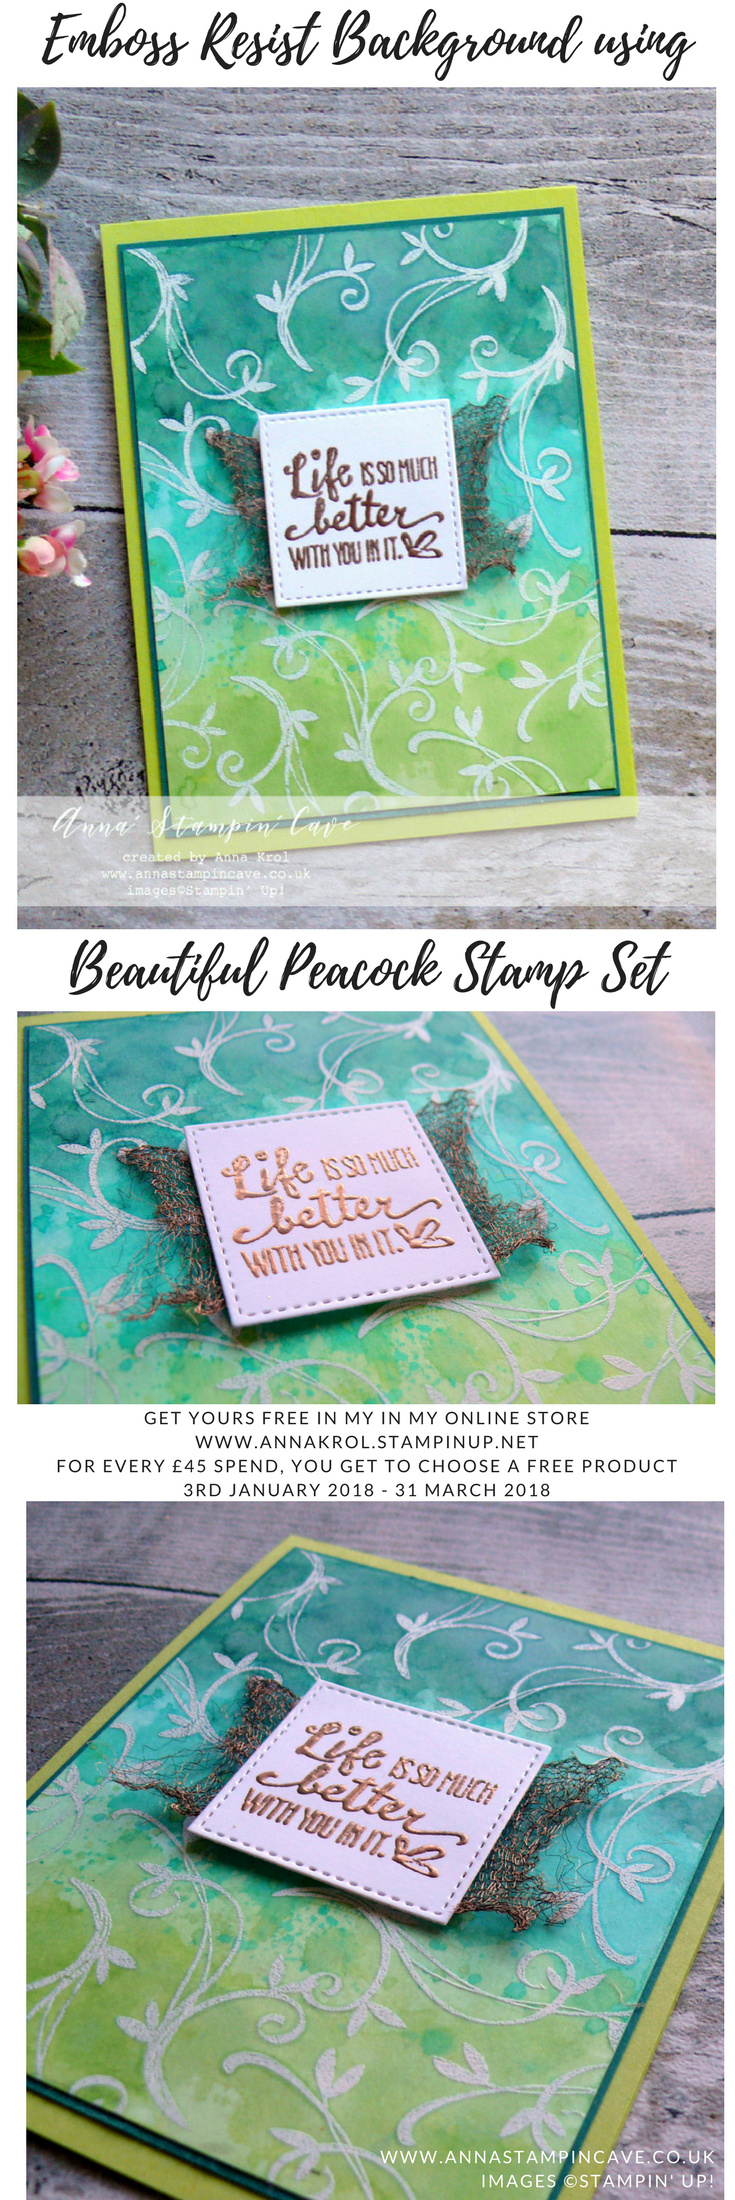
Summary of the project which gives all the views of the card in one photo. I’d love if you pinned and called by on Pinterest xx
DON’T FORGET TO CHECK
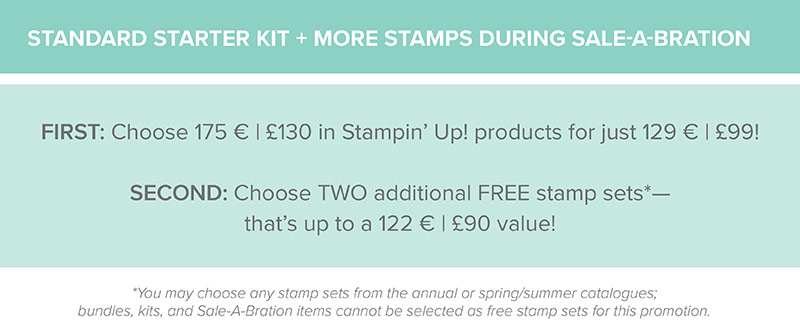
1-31 July – GET 10 FREE INK PADS (up to a £63 added value) with the £99 Starter Kit. Choose one of the five colour collections (In Color, Brights, Neutrals, Regals or Subtles). For the full details on the Stampin’ Up! July Special Joining Offer –> click here

1-31 July Stampin’ Up! BUY 3 GET 1 FREE on select Designer Series Paper –> click here
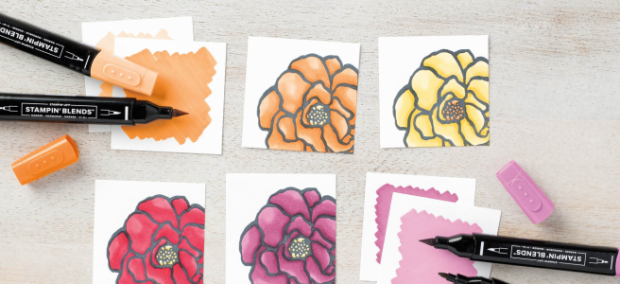
The New Stampin’ Blends Marker Colours Are Now Available –> click here
 Hello everyone! Welcome to the monthly Stampin’ Dreams Blog Hop. This month’s theme is Easter/Spring. You are currently visiting Anna Krol from the United Kingdom.
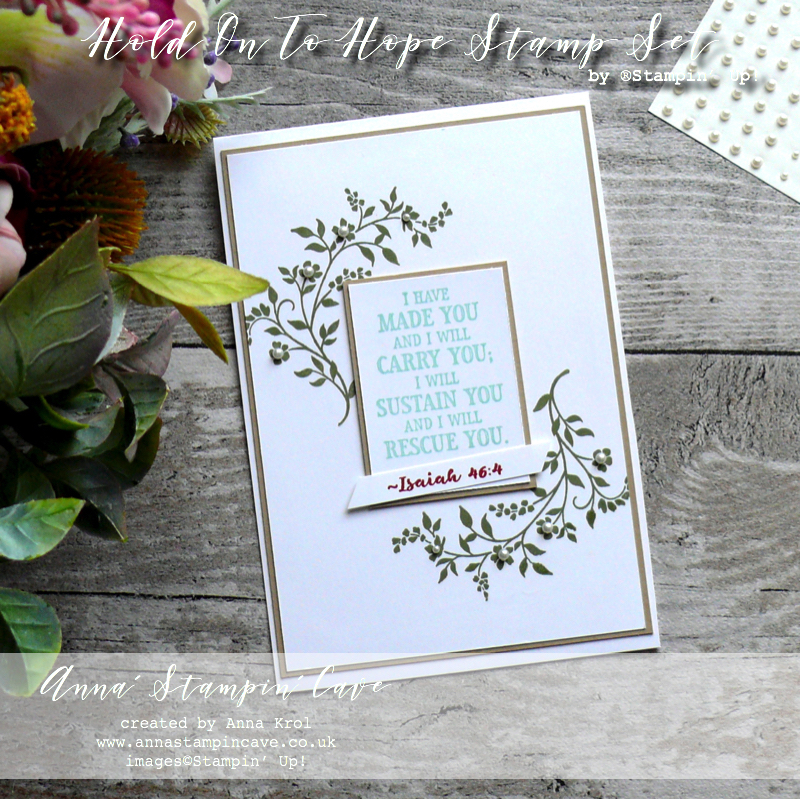
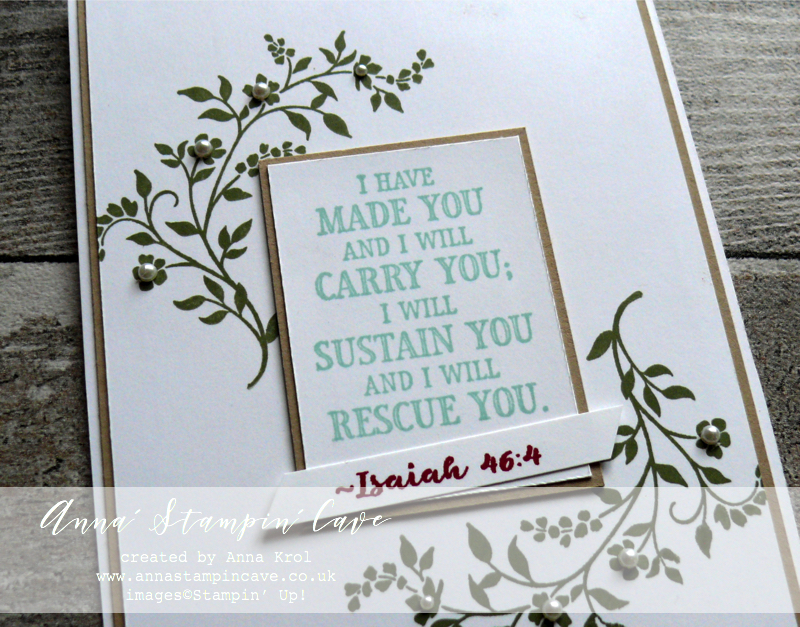
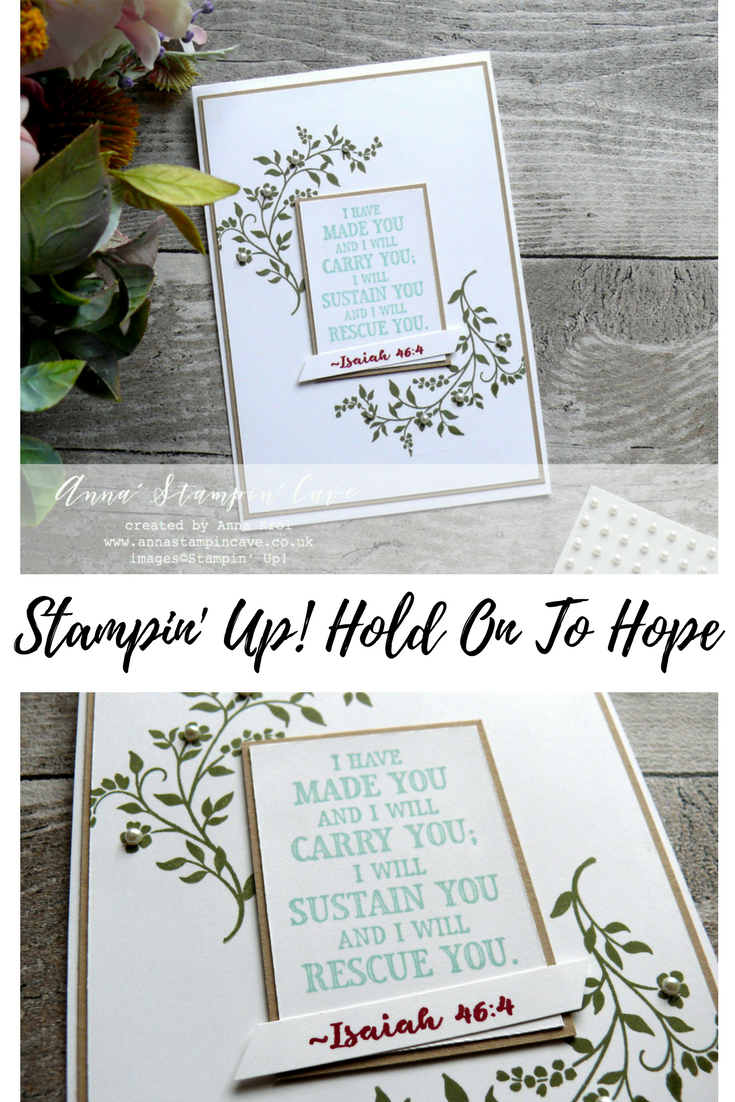
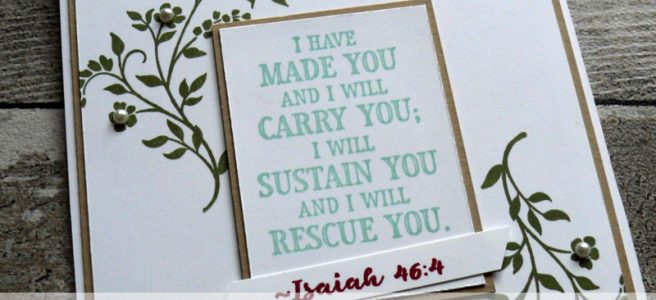
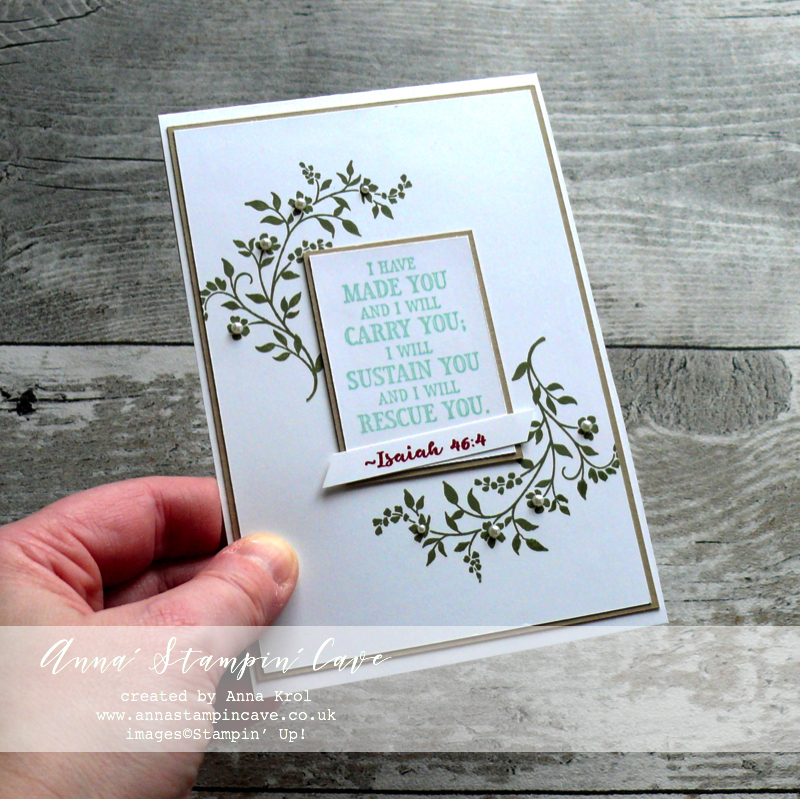 To add some more interest to a rather simple card, I stamped ‘Isaiah 46:4″ in Cherry Cobbler ink on a strip of Whisper White cardstock, snip the ends diagonally and adhered it at an angle to the sentiment. Little pearls in the centres of the flowers finish off the card.