New Stitched Shapes Framelits Dies

Anna’ Stampin’ Cave – New Stitched Shapes Framelits Dies

anna-stampin-cave-stitched-shapes-framelits-dies-by-stampin-up

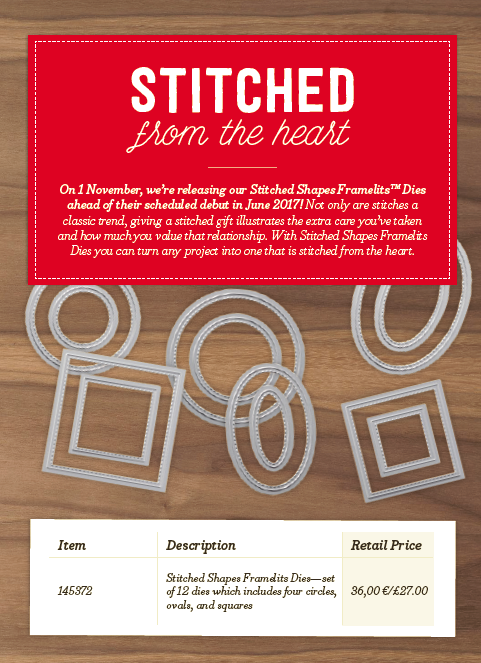
Not only stitches are a classic trend, they illustrate the quality, precision, and extra care is taken when creating a piece. Giving a stitched gift shows just how much you value that relationship.

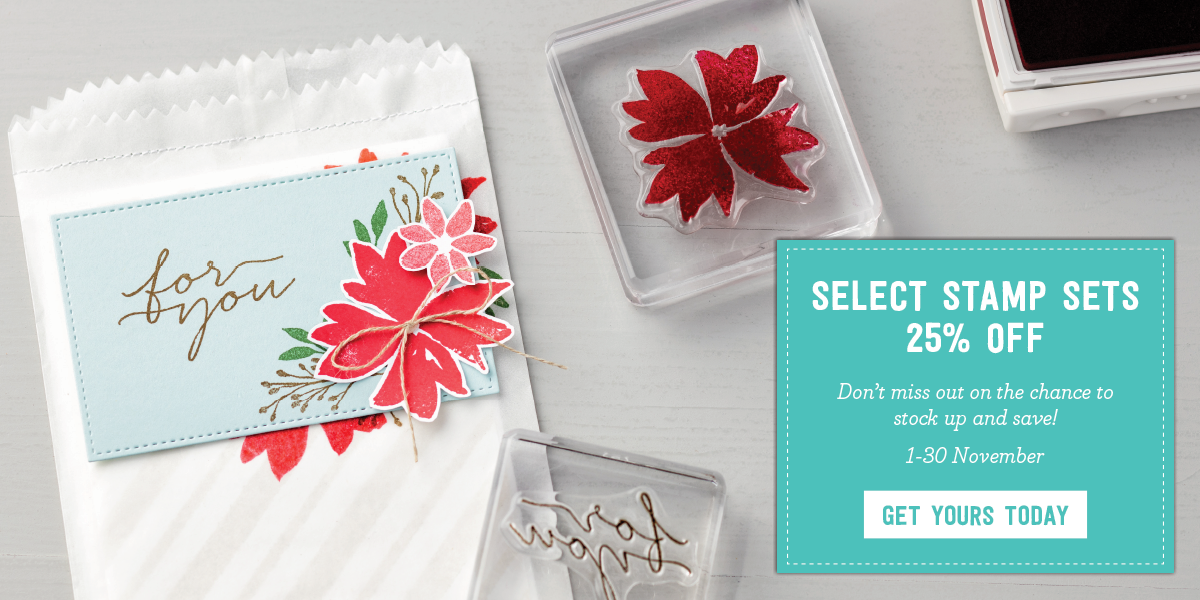
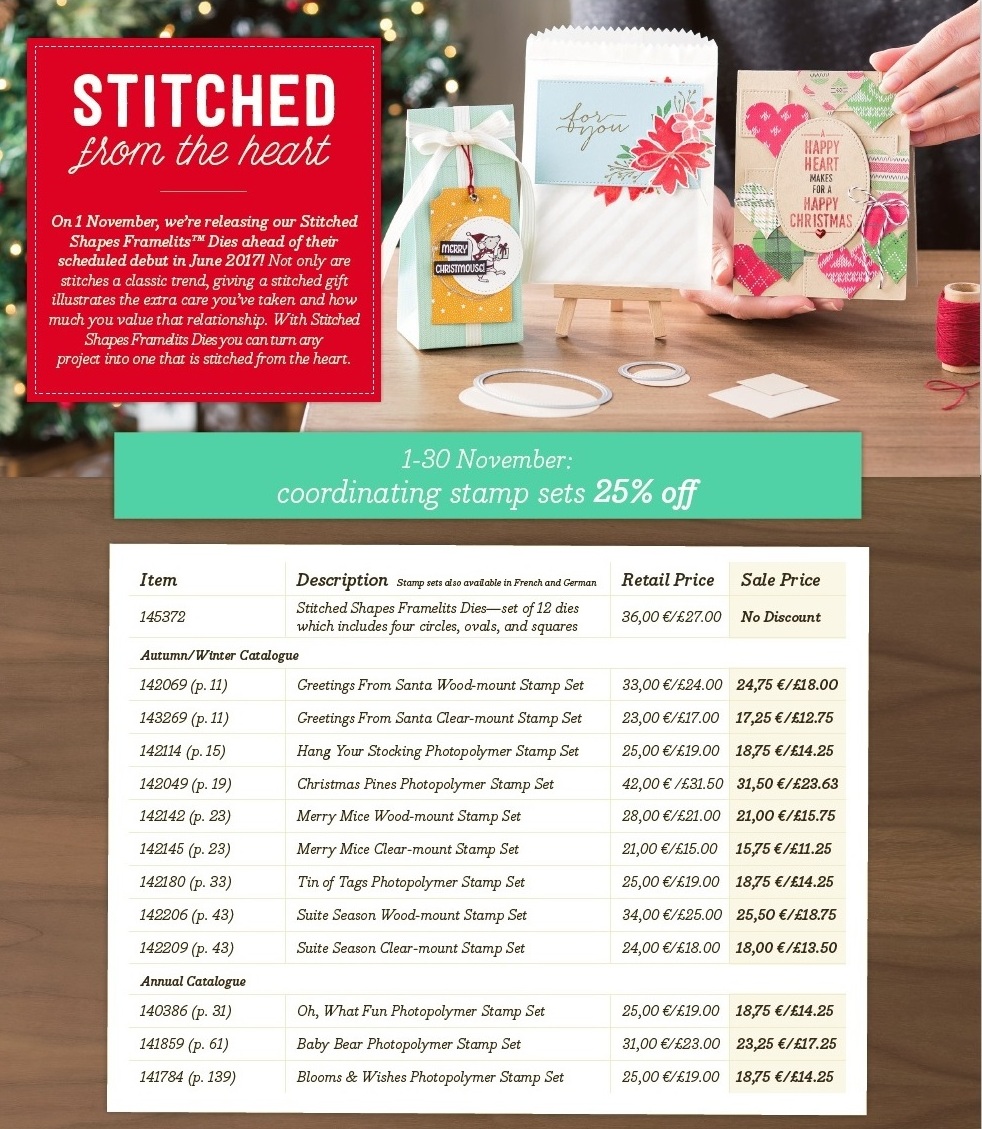
Now you have the opportunity to purchase Stitched Shapes Framelits ahead of their official release in the 2017-2018 annual catalogue and get 25% off coordinating stamp sets.

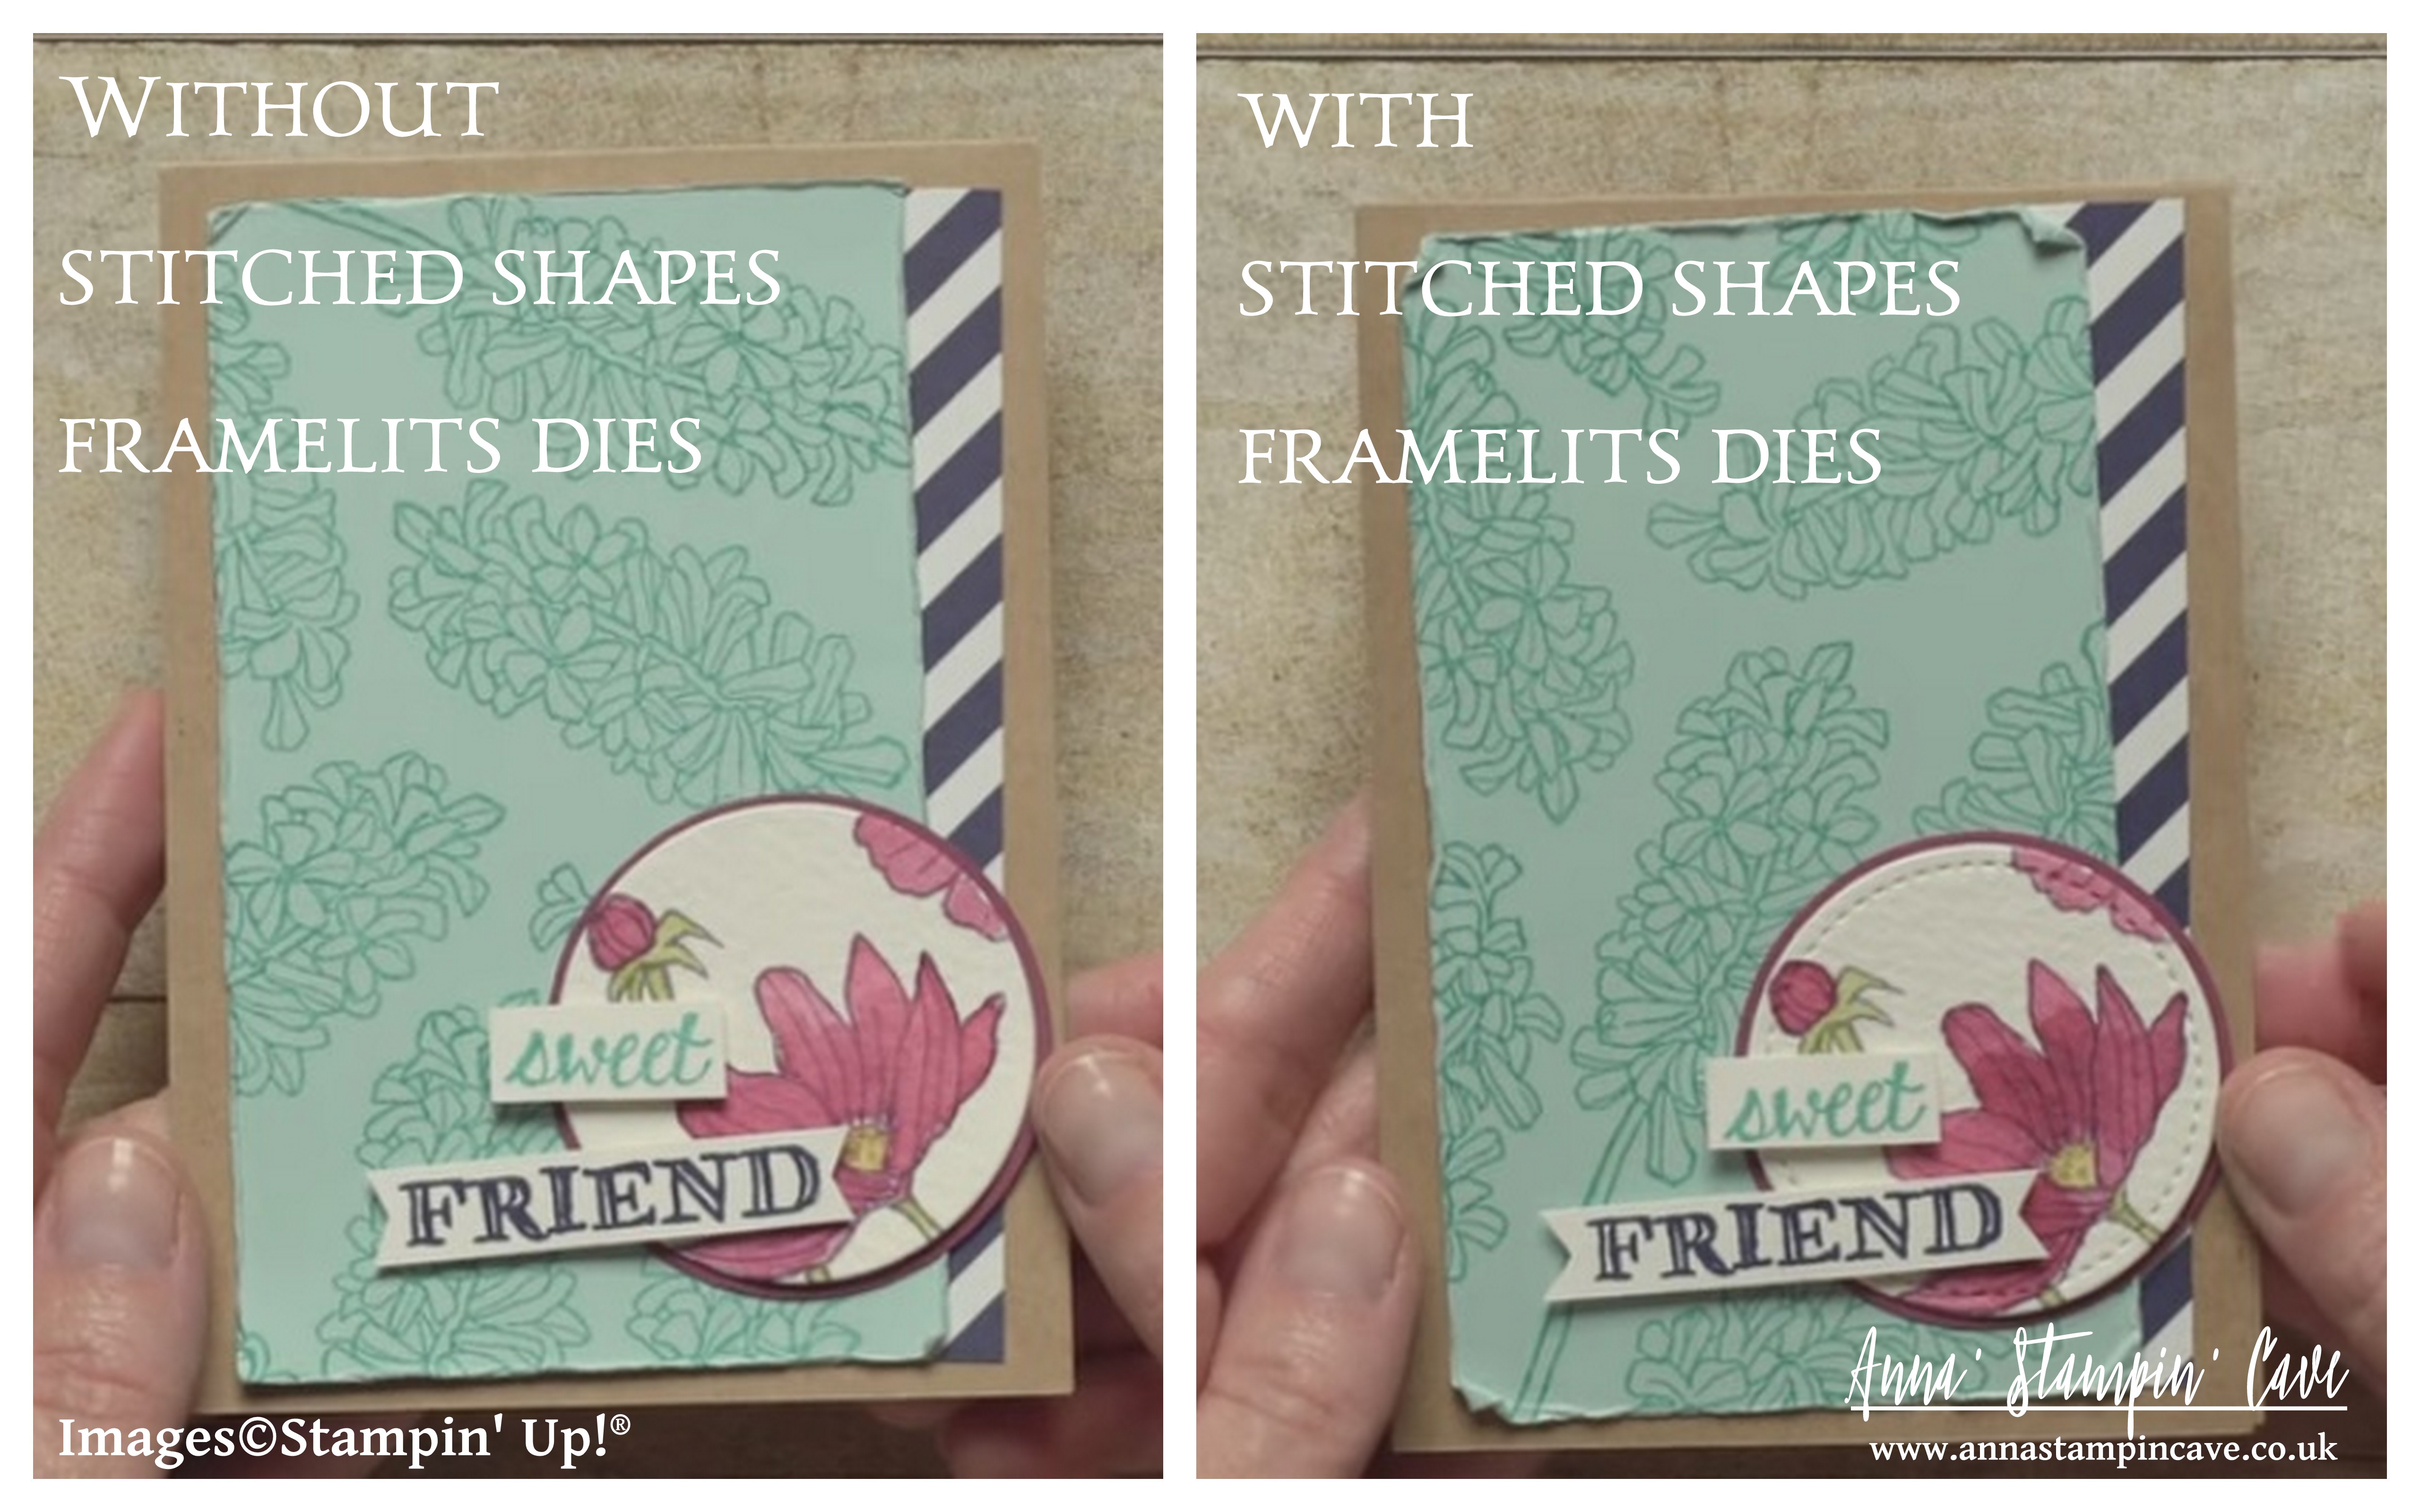
With Stitched Shapes Framelits you can make paper stitches in seconds, turning any project into one that is stitched from the heart.

And there’s more great news…although the 25% off stamps sets ends 30 November, you will still be able to get the Stitched Shapes Framelits after that date.

anna-stampin-cave-stitched-shapes-framelits-dies-by-stampin-up
25% off stamps sets ends 30 November. I will post all the stamps sets with clickable images and links at the very end of this post

anna-stampin-cave-stitched-shapes-framelits-dies-by-stampin-up

There are 12 pieces all together in the Stitched Shapes Framelits Dies. You get 4 each of the squares, circles, and ovals.

stampin-up-stitched-shapes-framelits-dies-2

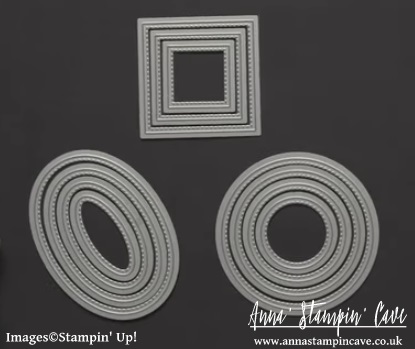
They are sized for the stamped images that you tend to use the most.

stampin-up-stitched-shapes-framelits-dies-3

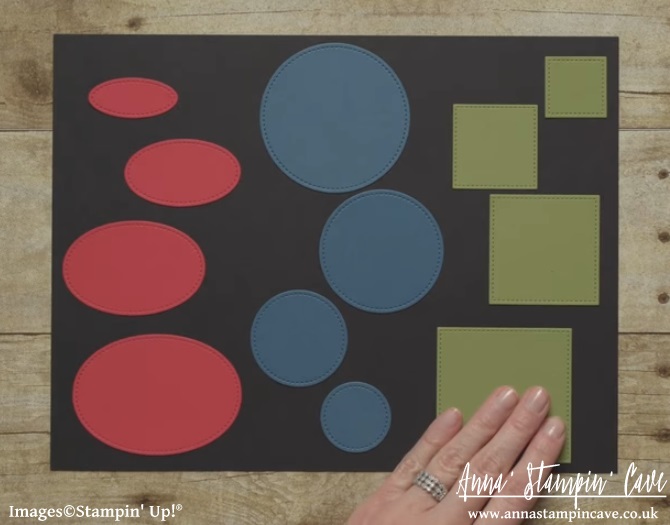
The stitched shape sits approximately 1/6″ from the edge of the cutout, making the stamp-able dimensions roughly 1/8″ smaller than the cut-out.

Here are all the sizes:

Squares
1-3/16”
1-5/8”
2-1/8”
2-5/8”

Circles
1-3/8”
1-7/8”
2-3/8”
2-7/8”

Ovals
1-3/4” x 13/16”
2-1/4” x 1-5/16”
2-3/4” x 1-13/16”
3-1/4” x 2-5/16”

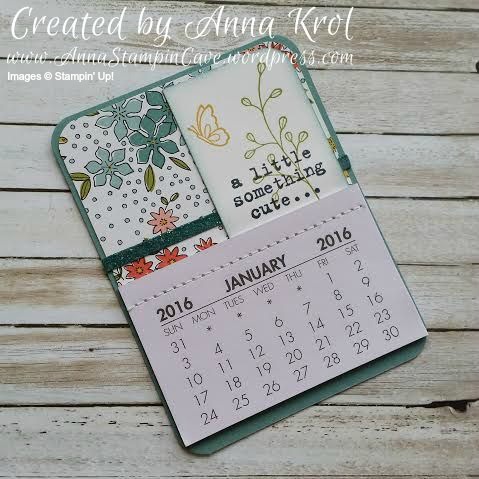
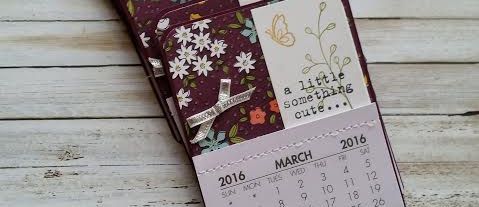
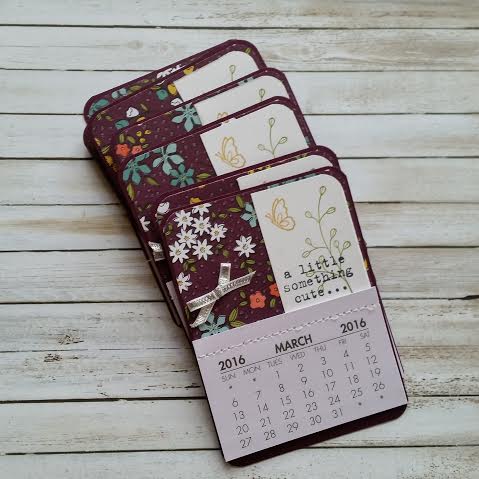
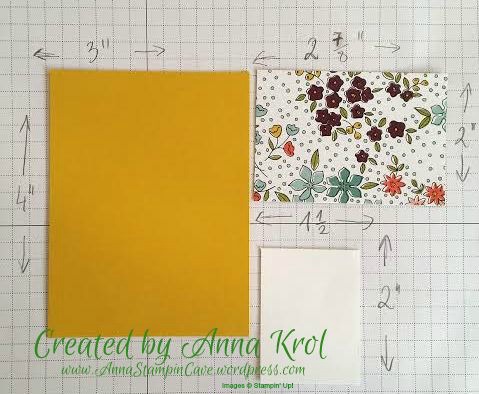
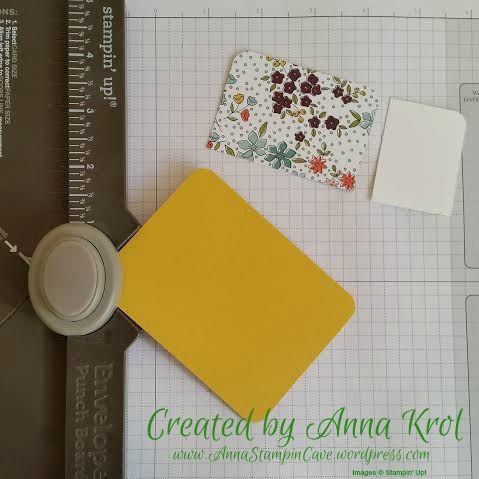
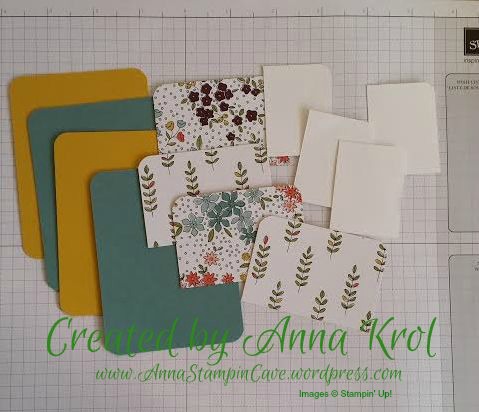
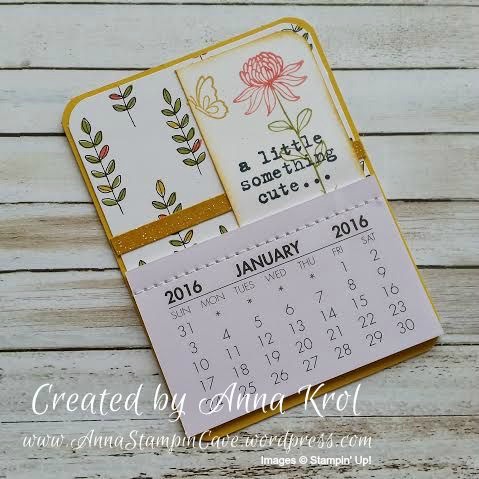
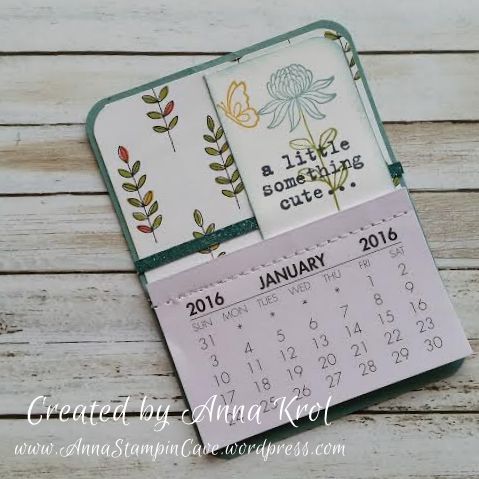
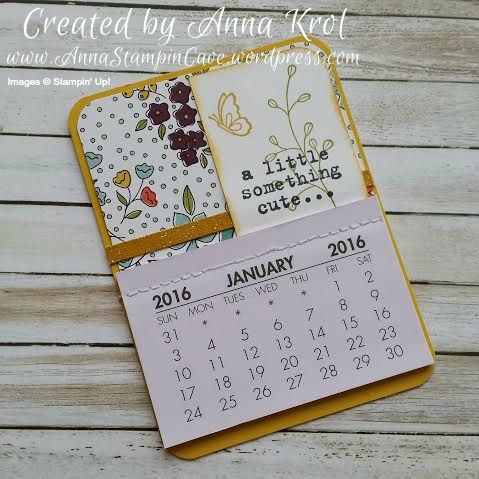
Here are few of the projects from Stampin’ Up! to showcase the versatility of Stitched Shapes Framelits Dies.

stitched-shapes-framelits-dies-by-stampin-up

stampin-up-stitched-shapes-framelits-dies

stampin-up-stitched-shapes-framelits-dies-4

Stampin' Up! Stitched Shapes Framelits Dies 7.jpg

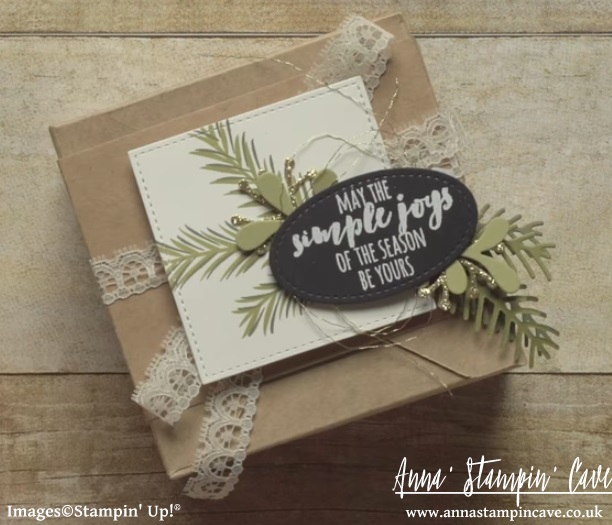
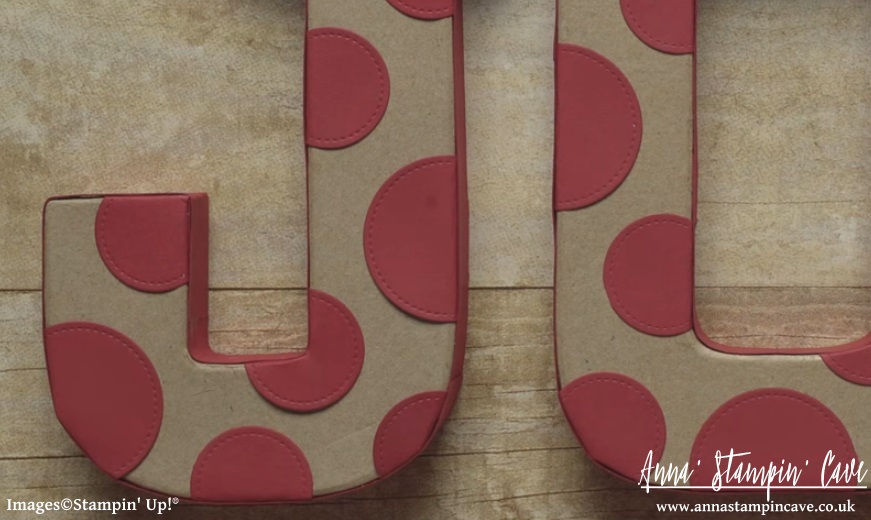
Stitched Shapes Framelits Dies are not reserved for cardmaking only…

stampin-up-stitched-shapes-framelits-dies-5

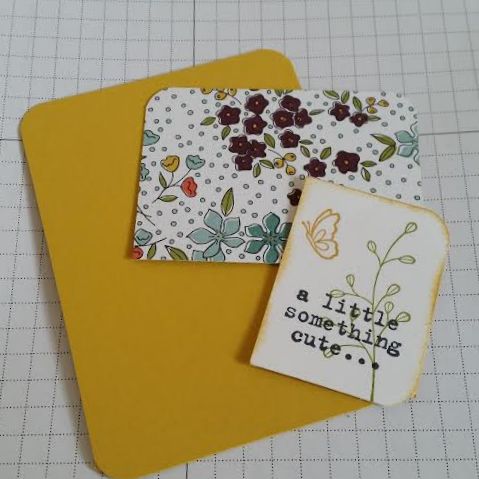
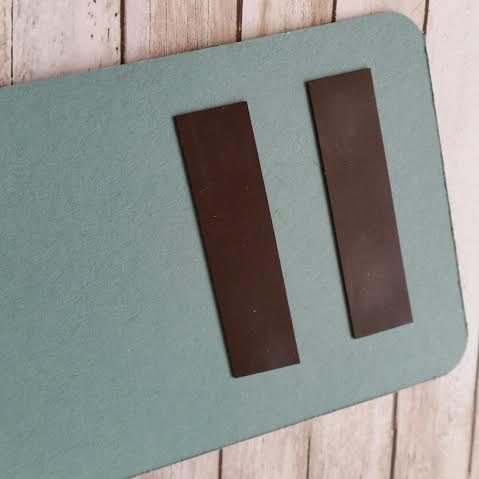
…and here’s a close up

Stampin' Up! Stitched Shapes Framelits Dies 6.jpg

Wildflower Fields Fridge Mini Calendars

Wildflower Fields Fridge Mini Calendars

Wildflower Fields Fridge Mini Calendars - Blackberry Bliss

Good evening everyone. A few days ago, on my facebook page,  I’ve posted some fridge mini calendars I’ve made as a thank you gifts for my customers. But they were such a hit that I thought I will make a blog post, to show how to make them. Just a warning, it’s gonna be picture heavy 😉

Wildflower Fields Fridge Mini Calendars - Blackberry Bliss 2

I’ve bought these mini calendars on eBay while ago, but due to chronic fatigue I just couldn’t push myself to sit down and craft – maybe except for the cards once in a while. But I was wondering about customers gifts the other day and had a lightbulb moment – why not make cute magnetic fridge calendars?! Each calendar measures approx 2-7/8″ x 1-7/8″, and on their size, I’ve based my design.

Wildflower Fields Fridge Mini Calendars - Instructions 1

The base for my calendar measures 3″x 4″ – here I’ve used Hello Honey. Designer Series Paper measures 2-7/8″x 2″ and Whisper White piece for stamping measures 1-1/2″x 2″. I rounded all the edges of my base, top edges of DSP and right top corner of Whisper White. I’ve used my Envelope Punch Board to do so, but you could use the corner rounder punch if you have one.

Wildflower Fields Fridge Mini Calendars - Instructions 2 Wildflower Fields Fridge Mini Calendars - Instructions 3

I stamped “a little something cute…” sentiment from Something To Say stamp set on my Whisper White pieces. Next, I stamped floral images from Flowering Fields stamp set. I just love this set! Don’t forget that this beautiful stamp set you can earn free with every £45 purchase during Sale-a-bration.

instrukcje

I’ve used Hello Honey for butterflies, Old Olive for stems and leaves, and Lost Lagoon and Calypso Coral for flowers. I’ve used ink pads as well as Stampin’ Markers to do my stamping. I have to say here, I love that all Stampin’ Up’s Designer Series Papers got all coordinating colours listed at the back of the paper pack. It makes creating so much easier if you don’t have to work out which colours to use. I also sponged stamped panels, so they stand out nicely from the background.

Wildflower Fields Fridge Mini Calendars - Hello Honey 2 Wildflower Fields Fridge Mini Calendars - Lost Lagoon

Wildflower Fields Fridge Mini Calendars - Lost Lagoon 2 Wildflower Fields Fridge Mini Calendars - Hello Honey

To embellish my Blackberry Bliss calendars I’ve used Silver 1/8″ Ribbon as it looked pretty neat on a dark background. But it didn’t work as good on the light one. So I cut “skinny” strips of cardstock in Lost Lagoon and Hello Honey, smooshed Versamark over them and heat embossed with Iridescent Ice Embossing Powder. I love this gentle shimmer.

Wildflower Fields Fridge Mini Calendars - Instructions 5

I assembled my calendars using Tombow glue. I also added two strips of a magnet at the back of each one.

Wildflower Fields Fridge Mini Calendars - Lost Lagoon & Hello Honey

I really hope you like my little project and that you give them a go. Or maybe you have different ideas to use these little calendars for? I would love to hear from you!

Have a blessed day,