Anna’ Stampin’ Cave – I’m sorry for being absent.

Hi Loves! I’m sorry for being absent!
I know it’s been a while, shame on me!
The fabulous Autumn/Winter 2018 Catalogue launched on 5th September but with my health, things have taken a bit of a turn. But I tried since a couple of days to update the links and Autumn-Winter Catalogue page. And I will keep updating my blog gradually.
As many of you know, I’ve got Multiple Sclerosis and like with everything MS, the symptoms can vary from sufferer to sufferer. Some of us have symptoms so seriously affecting their everyday life, they end up in a wheelchair, unable to walk or carrying for themselves, others are blessed enough they can continue with their lives as usual with no symptoms at all.
My MS struggles
Well, I’m somewhere in between. My hands are numb, I suffer from chronic pain. I also have a discopathy (it’s a Polish terminology) or how it’s called here: spinal disc herniation (which is probably caused by inflammation caused by MS) – two bottom discs of my spine have degenerated and are causing me severe sharp pain and difficulty with moving around.

But I’m not giving up. I just listen to my body and do as much as it allows me to.b And if it means fewer and unplanned posts – let it be. I hope you understand.
But I do keep up with all my commitments towards my customers, so you are welcome to shop through my page. All qualified gifts will be sent as per usual.
Exclusive PDF Tutorials
HOST CODE for the month of September is TAXBTP9Q.
Orders of £50+ (excl. p&p) will receive from me:
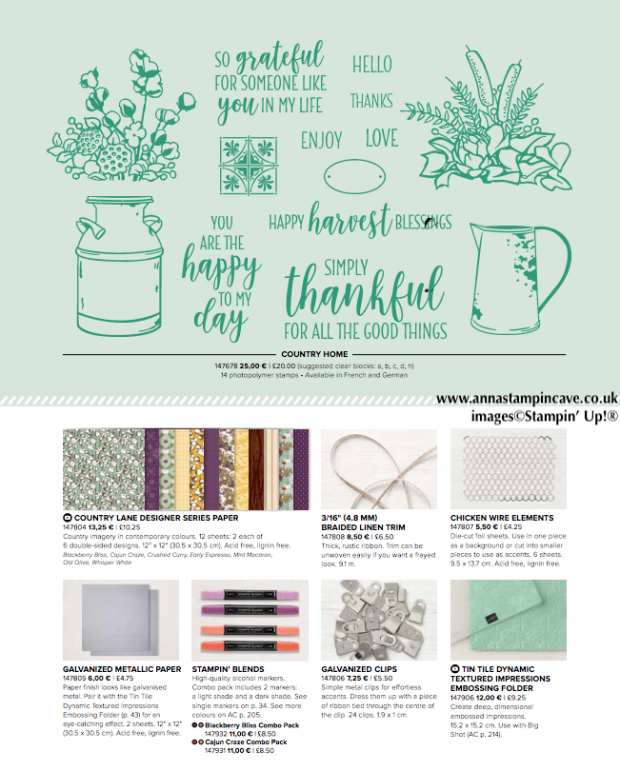
- a pack of Chicken Wire Elements
- Exclusive PDF Tutorials for three cards
How it works…
- Place a product order of £50 or more (excl. shipping) in my online store in the month of September.
- Add Host Code TAXBTP9Q. To claim your reward you must include this code in your ordering process.
- This August Special Offer will be applied to all qualifying orders placed through my shop using Host Code TAXBTP9Q between 1 September – 30 September.
- If your order is £150 or more do not use Host Code. You will earn your own Host Rewards to spend.
- IMPORTANT: My FREE Special Host Gift giveaways are mailed separately from any order and will arrive mid-October.
- PDF’s will be emailed the same or next day (depends on the time of your purchase). They will include the photos of the finished cards, list of products used and step by step instructions.
One last thing: Stampin’ Up! and papercraft is my passion and I’m not planning to stop doing what I love!
Thank you for stopping by and have a blessed day,

Don’t forget to check:
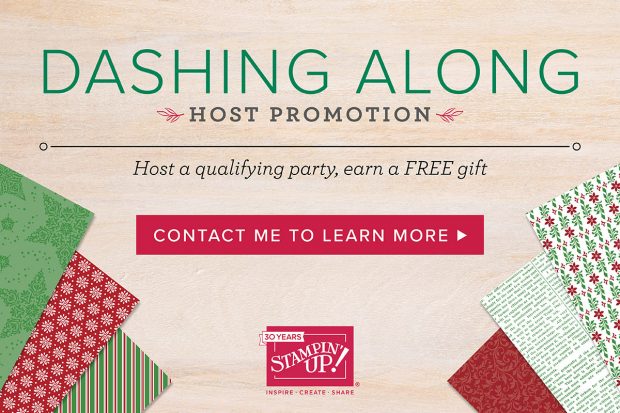
Host Promotion Details
- Promotion period: 1–30 September
- Dashing Along Designer Series Paper is exclusive to the host promotion and will not be available after 30 September.
- In order to qualify, the event merchandise total must reach 275 €/£200 (catalogue price before shipping and handling).
- One package of Designer Series Paper may be redeemed per qualifying order, with no limit on how many qualifying orders can be placed in September.
- Demonstrator, Customer, Workshop, and online orders qualify.
- Dashing Along Designer Series Paper may not be redeemed using Stampin’ Rewards. Customers will receive this FREE gift with a qualifying order in addition to any Stampin’ Rewards they may earn.
- Dashing Along Designer Series Paper may not be exchanged for other paper.
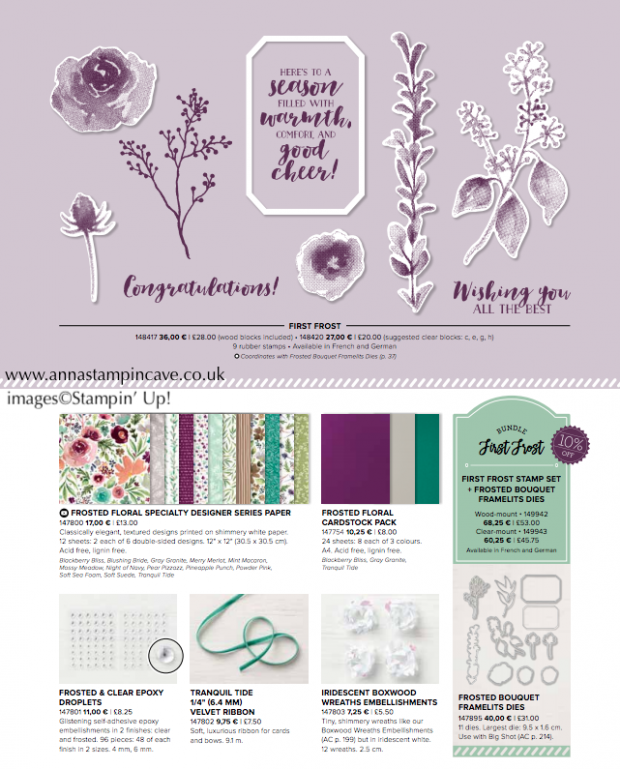


 Specialty Designer Series Paper")


 My exclusive special offer this month only: FREE Stampin’ Up! Pearlised Doilies
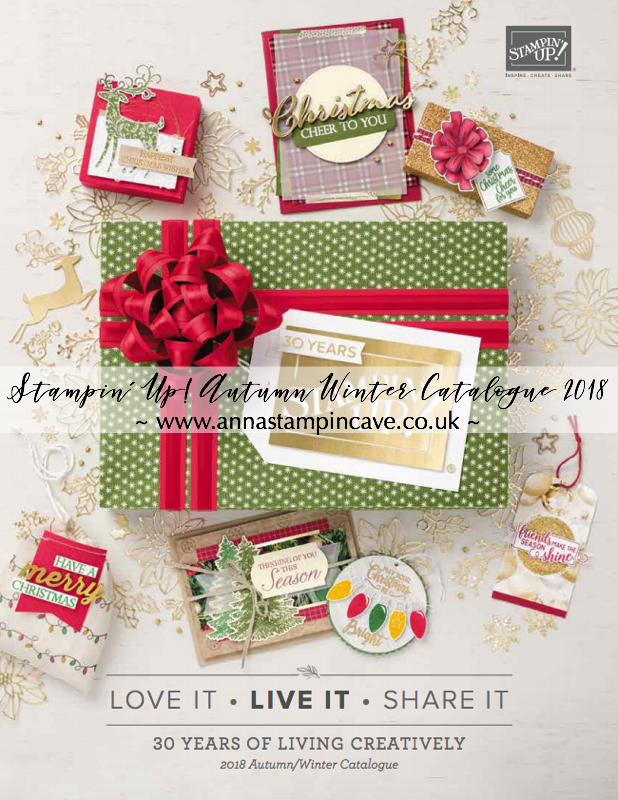
 Earn in August – redeem in September –>


 Designer Series Paper")


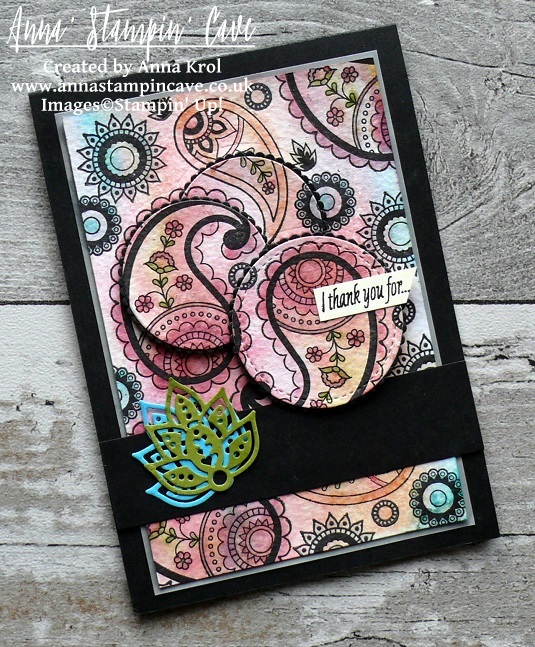
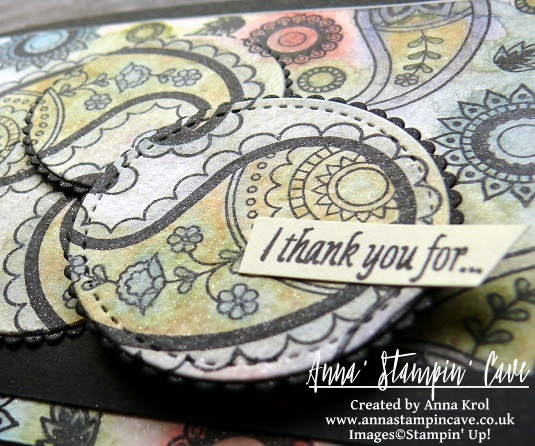
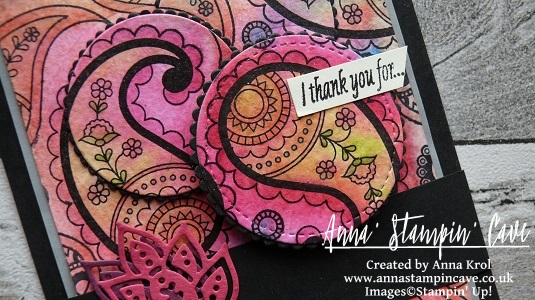
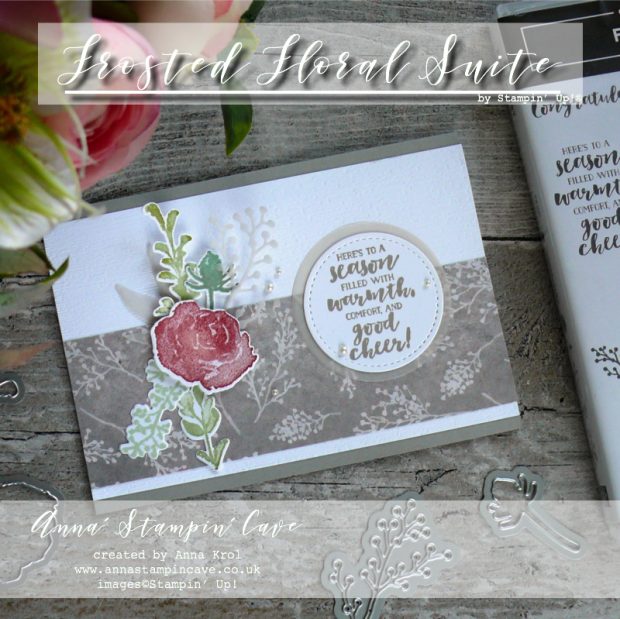
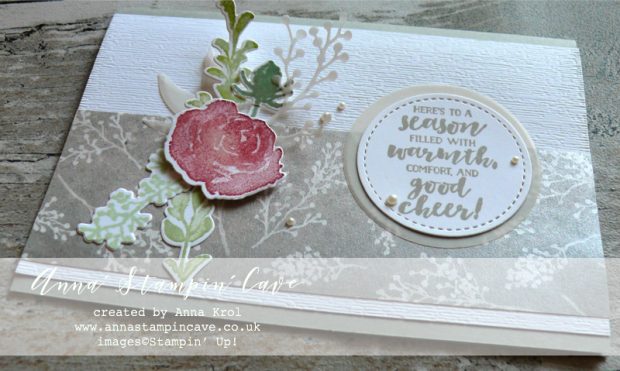
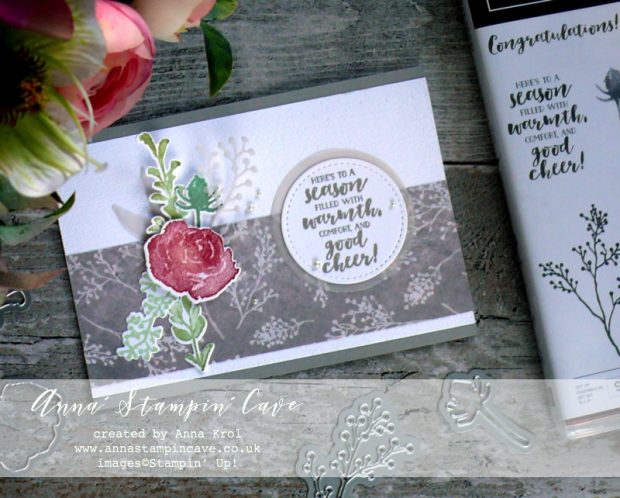
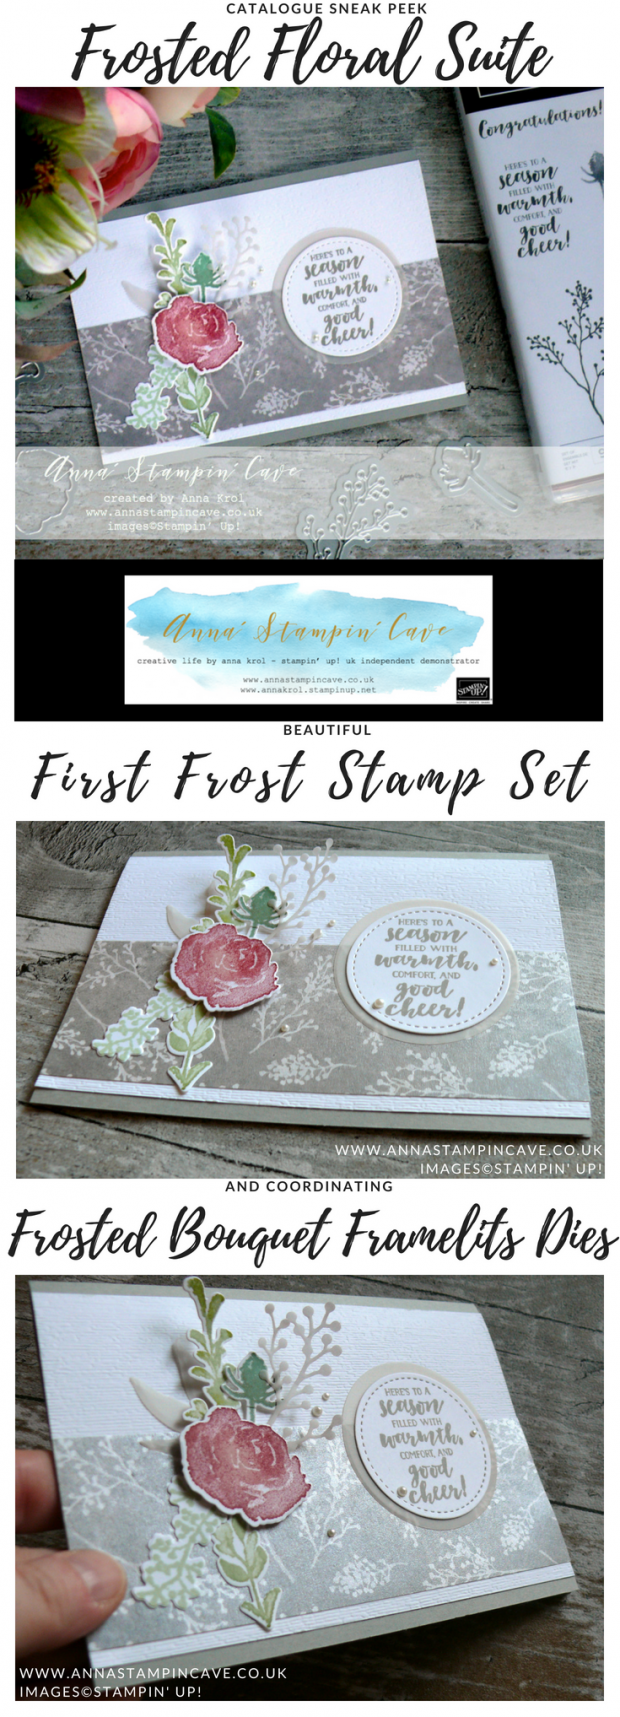
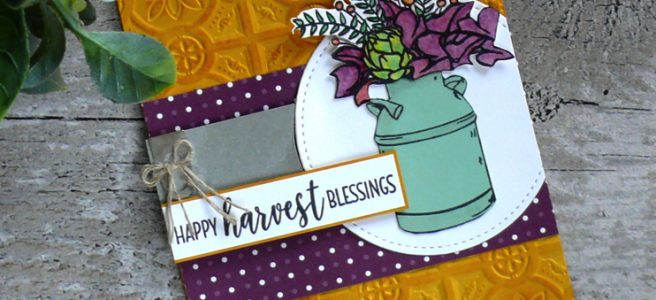
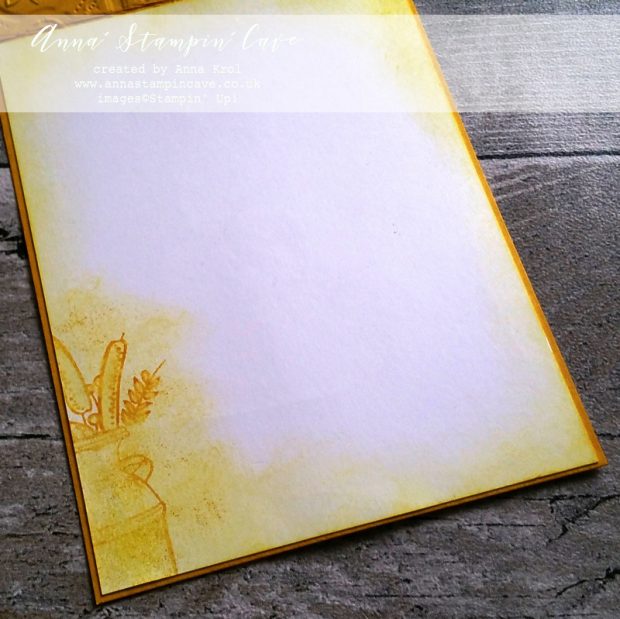
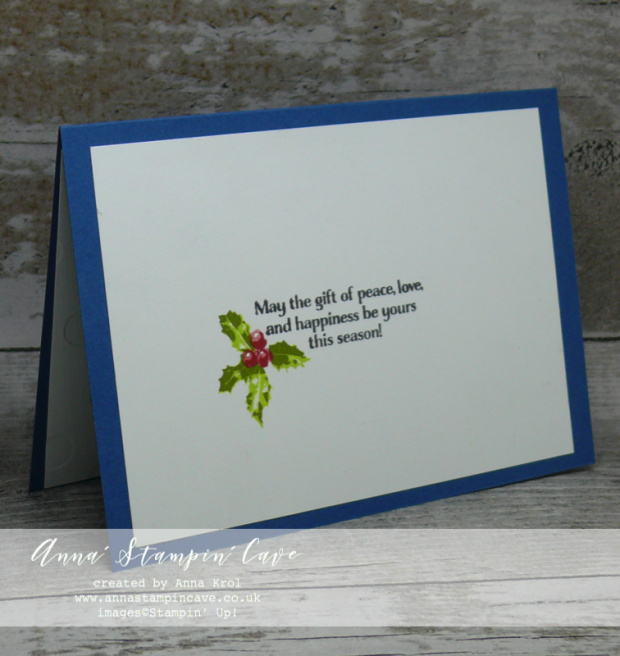 I stamped the smaller sentiment from the same stamp set in the middle of my Whisper White panel in Memento Black.