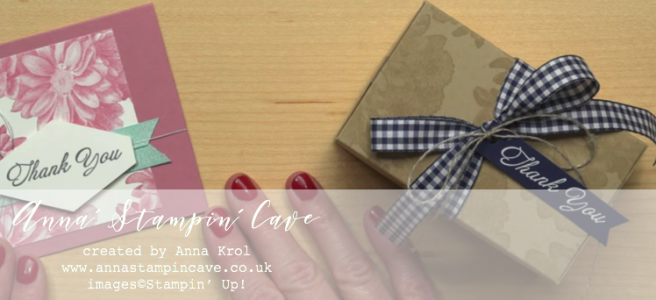
Anna’ Stampin’ Cave – Stampin’ Up! Buy 3 Get 1 FREE On Select DSP
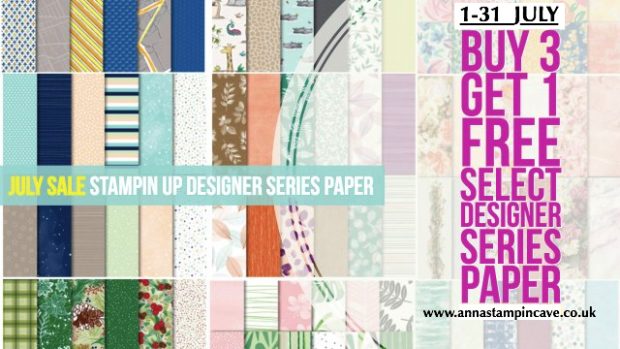
BUY 3 GET 1 FREE on select Designer Series Paper!!
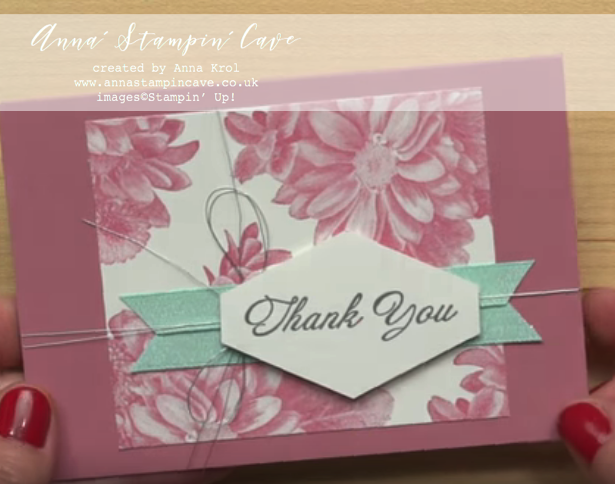
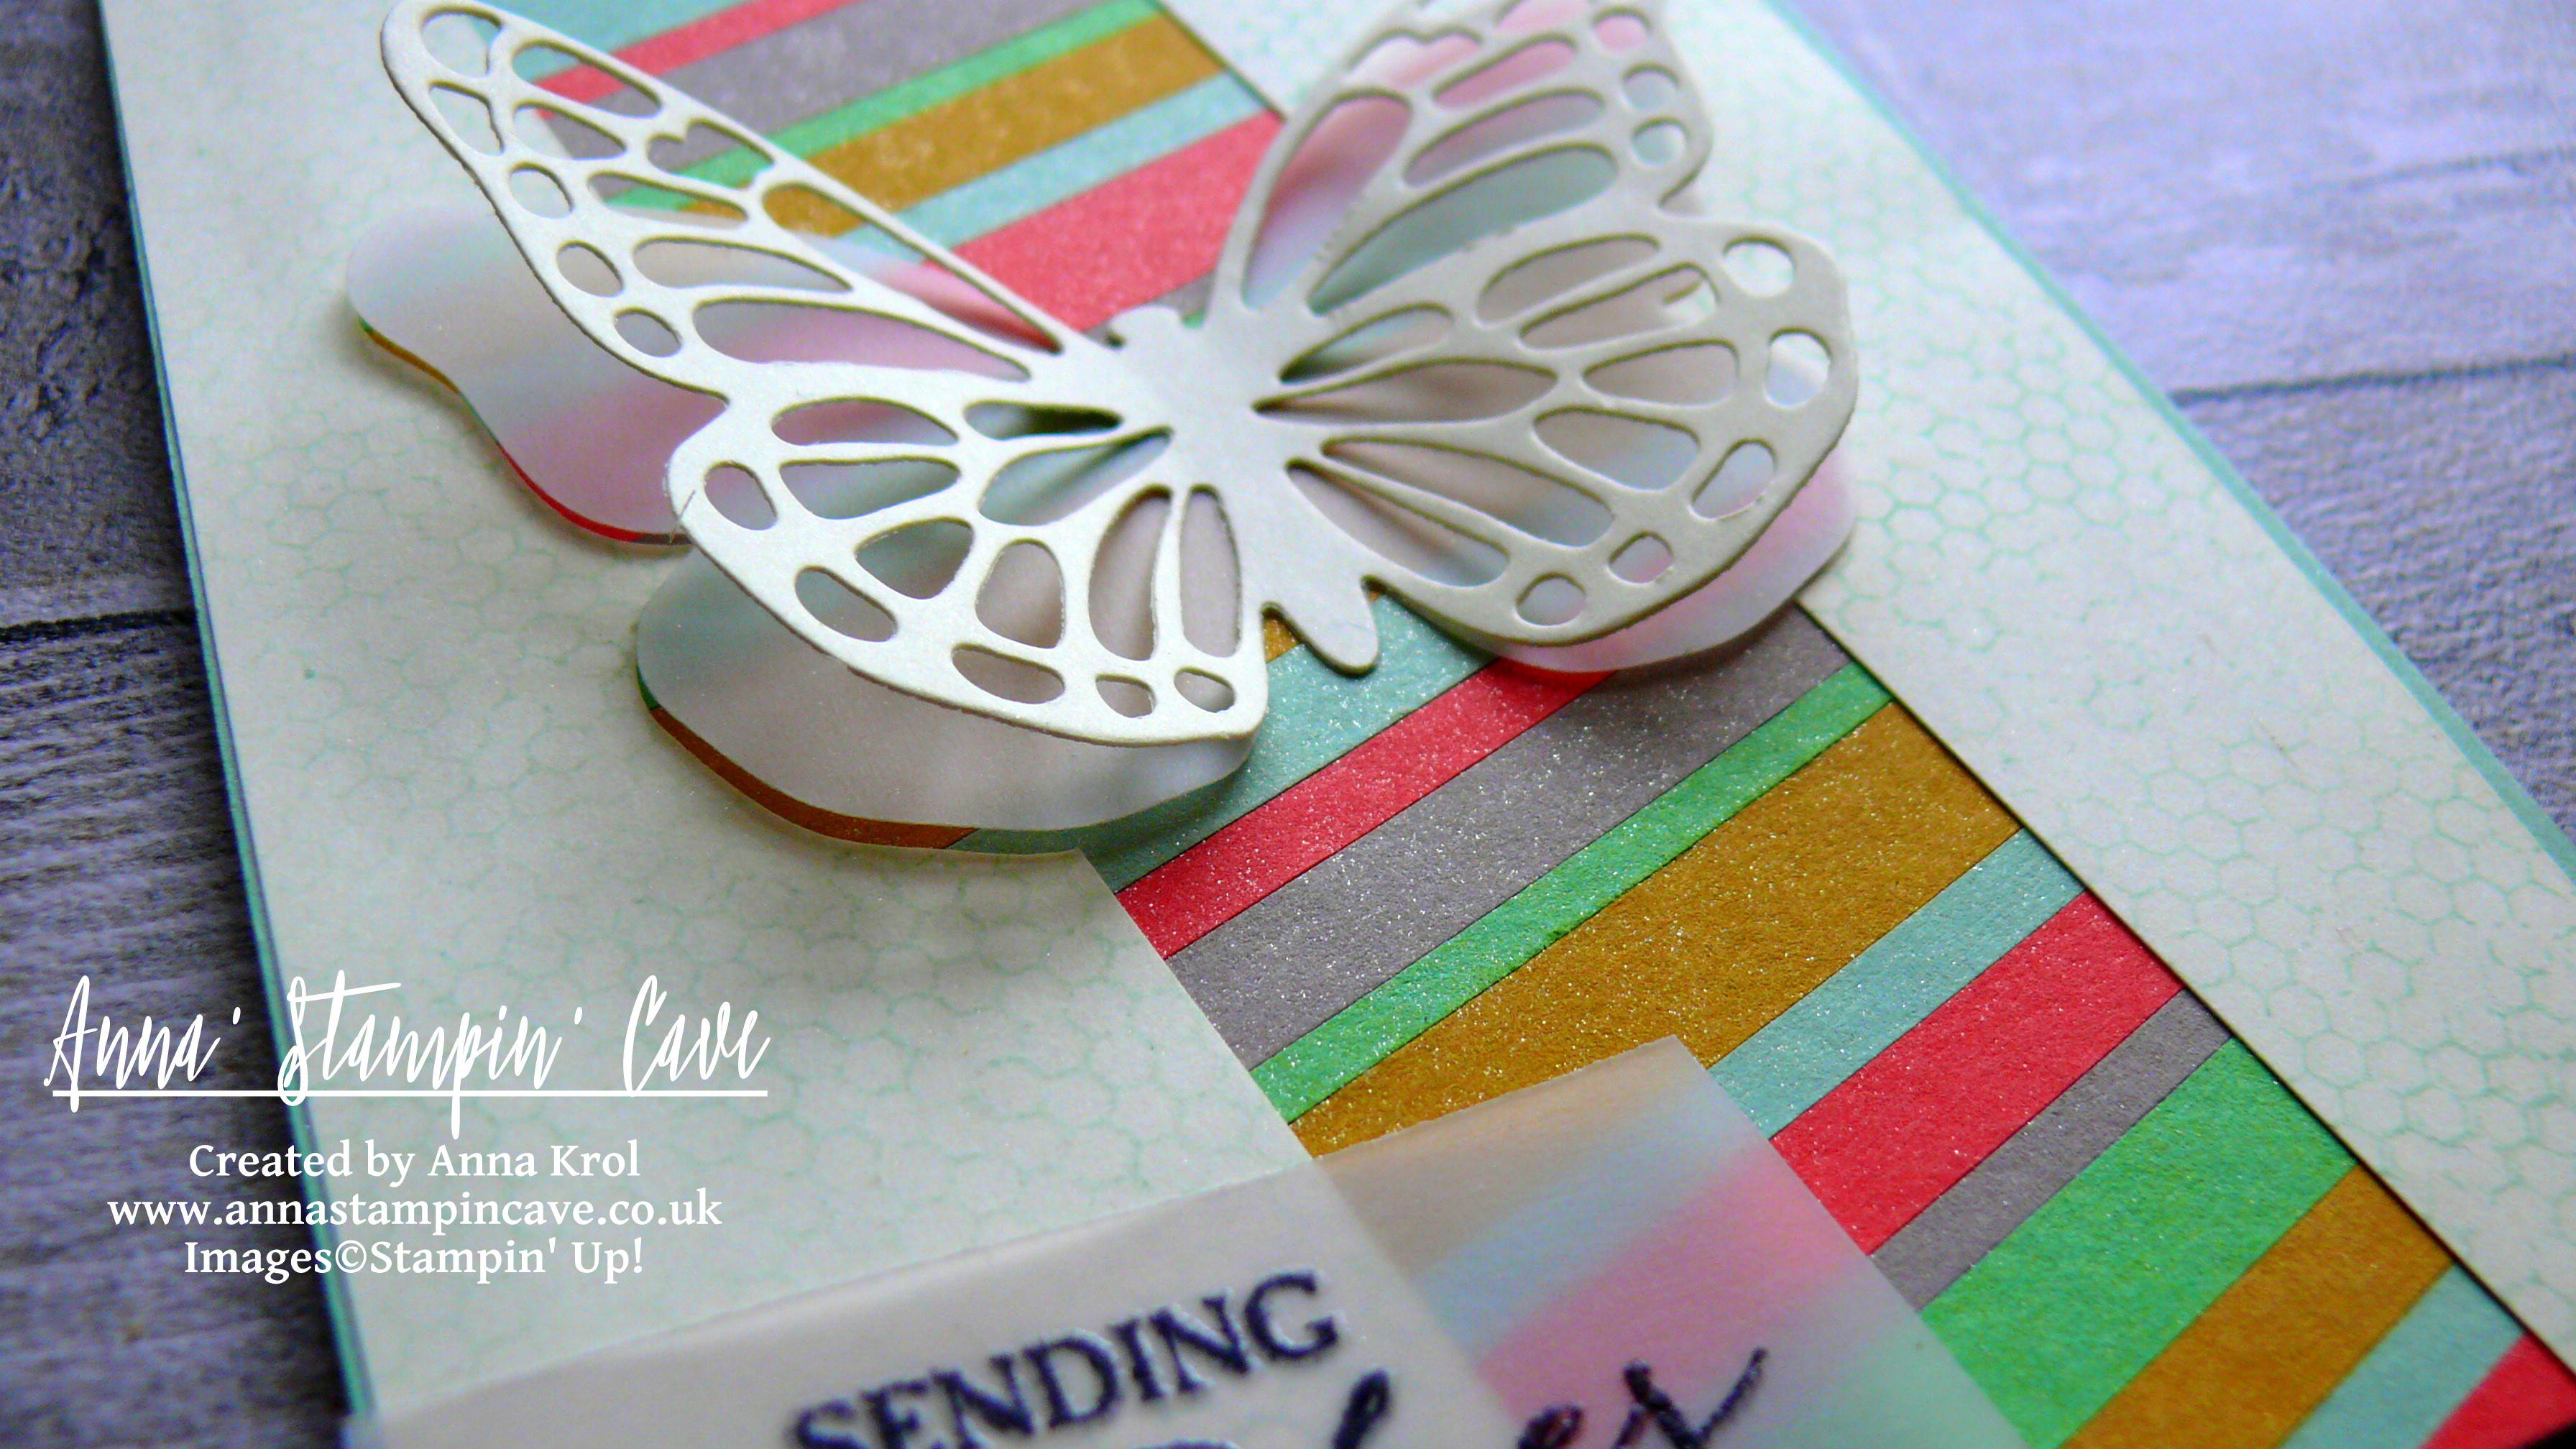
I have to admit it: I just love gorgeous Designer Series Paper and I’m sure you are no different!
So by popular demand, Stampin’ Up! is bringing back an incredible offer on Designer Series Paper: You can buy three packages of select Designer Series Paper and get one FREE during July!
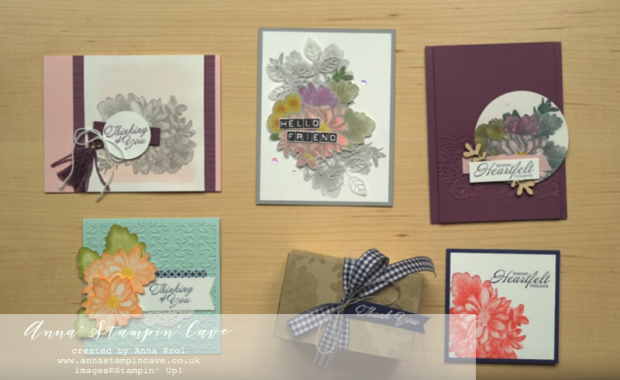
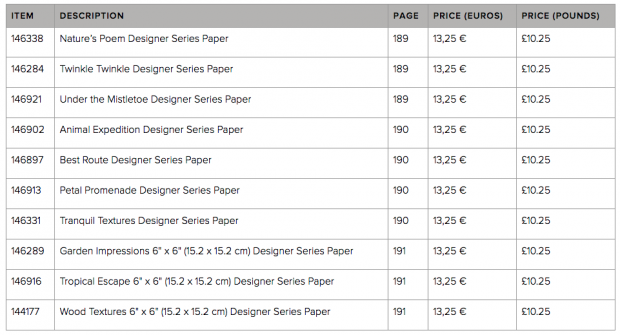
This sale includes select Designer Series Paper from the annual catalogue (see list below). So take advantage of this excellent opportunity to sell lots and lots of pretty paper!
Promotion dates: 1-31 July 2018
Promotion details:
- Only Designer Series Papers listed in the table above qualify for this promotion. You may mix and match papers from any of the listed papers.
- There are no ordering limits on this promotion.
- All order types qualify for this promotion: customer, demonstrator, workshop, online.
- Designer Series Paper ordered with Stampin’ Rewards is not eligible for the promotion.
- This promotion does not apply to starter kits.
- In OEX and online ordering, when three qualifying Designer Series Paper packs are entered, a prompt to add a free Designer Series Paper will appear in the merchandising section.
- In the online store, if a customer orders four packages of the same qualifying Designer Series Paper, they will need to enter three together and then order the fourth free item separately.
Ordering deadlines:
-
-
-
-
- Phone: 31 July 2018; 16:50 (CET)/3:50 p.m. (GMT)
- OEX/Online: 31 July 2018; 23:50 (CET)/10:50 p.m. (GMT)

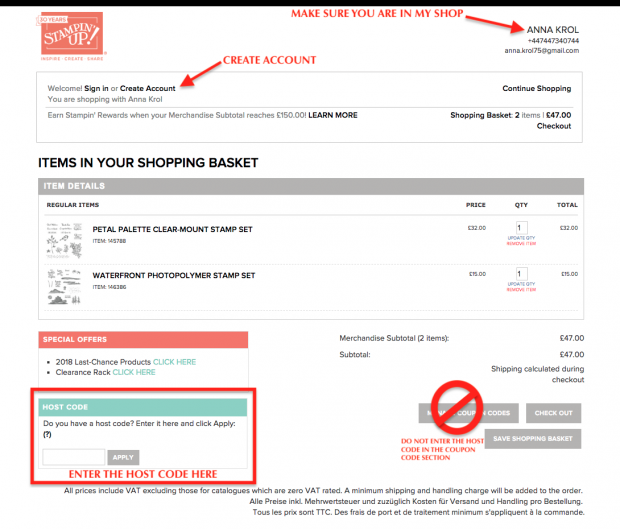
NEW HOST CODE for the month of JULY is D369YGBB. Orders of £50+ (excl. p&p) will receive a Surprise Thank You Gift from me. You won’t be disappointed!
 Thank You Gifts will be shipped in the first 2 weeks of the following month they were earned (mid-August).
HOW TO USE HOSTESS CODE
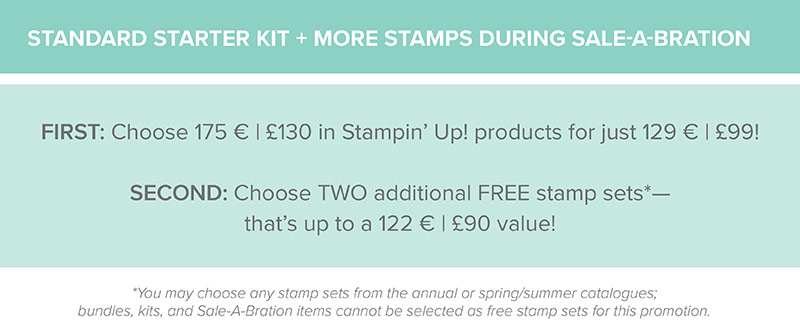
I would also love to invite you to join my team which is called Serendipity Crew. Especially now when we have new JOINING OFFER!
We are a part of one of the biggest teams in the UK – a really wonderful group of women, of whom many have become dear friends of mine. We all support and inspire each other. So when you join my crew, you don’t get just me to help and support you, we all are a big friendly group! And we would love to welcome you.

Thank you for stopping by and have a blessed day,

-
-
-


 Designer Series Paper")
 Designer Series Paper")

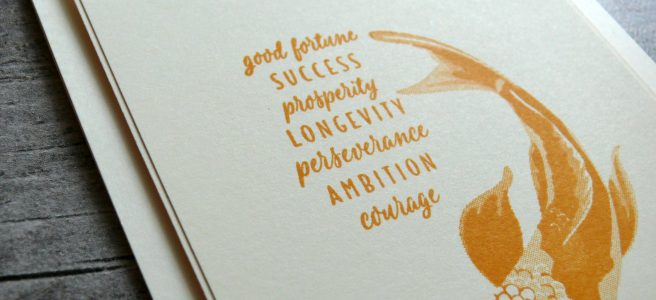

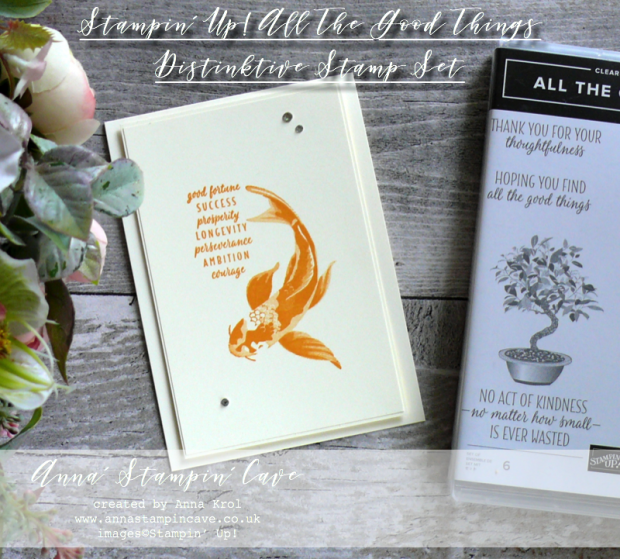
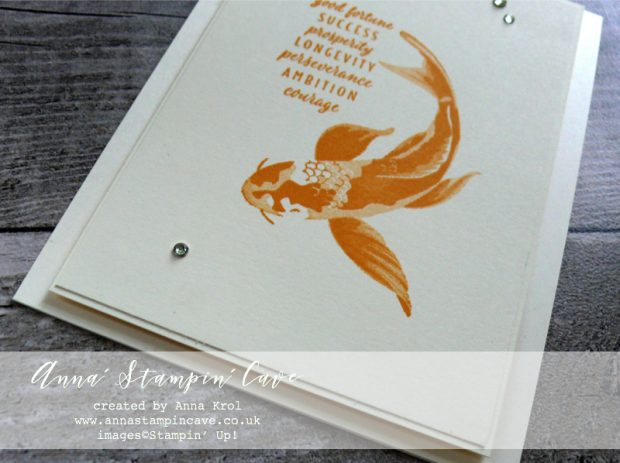
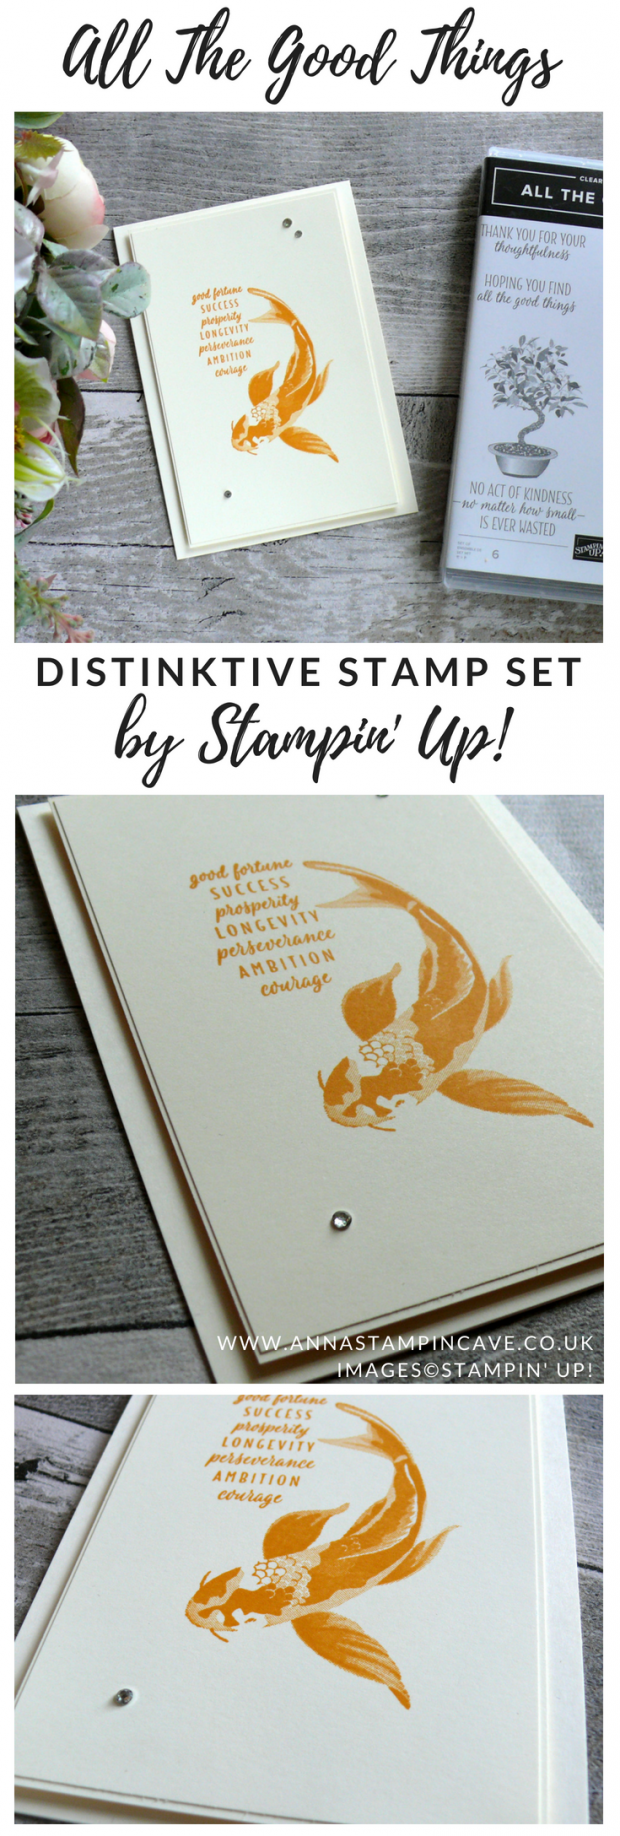
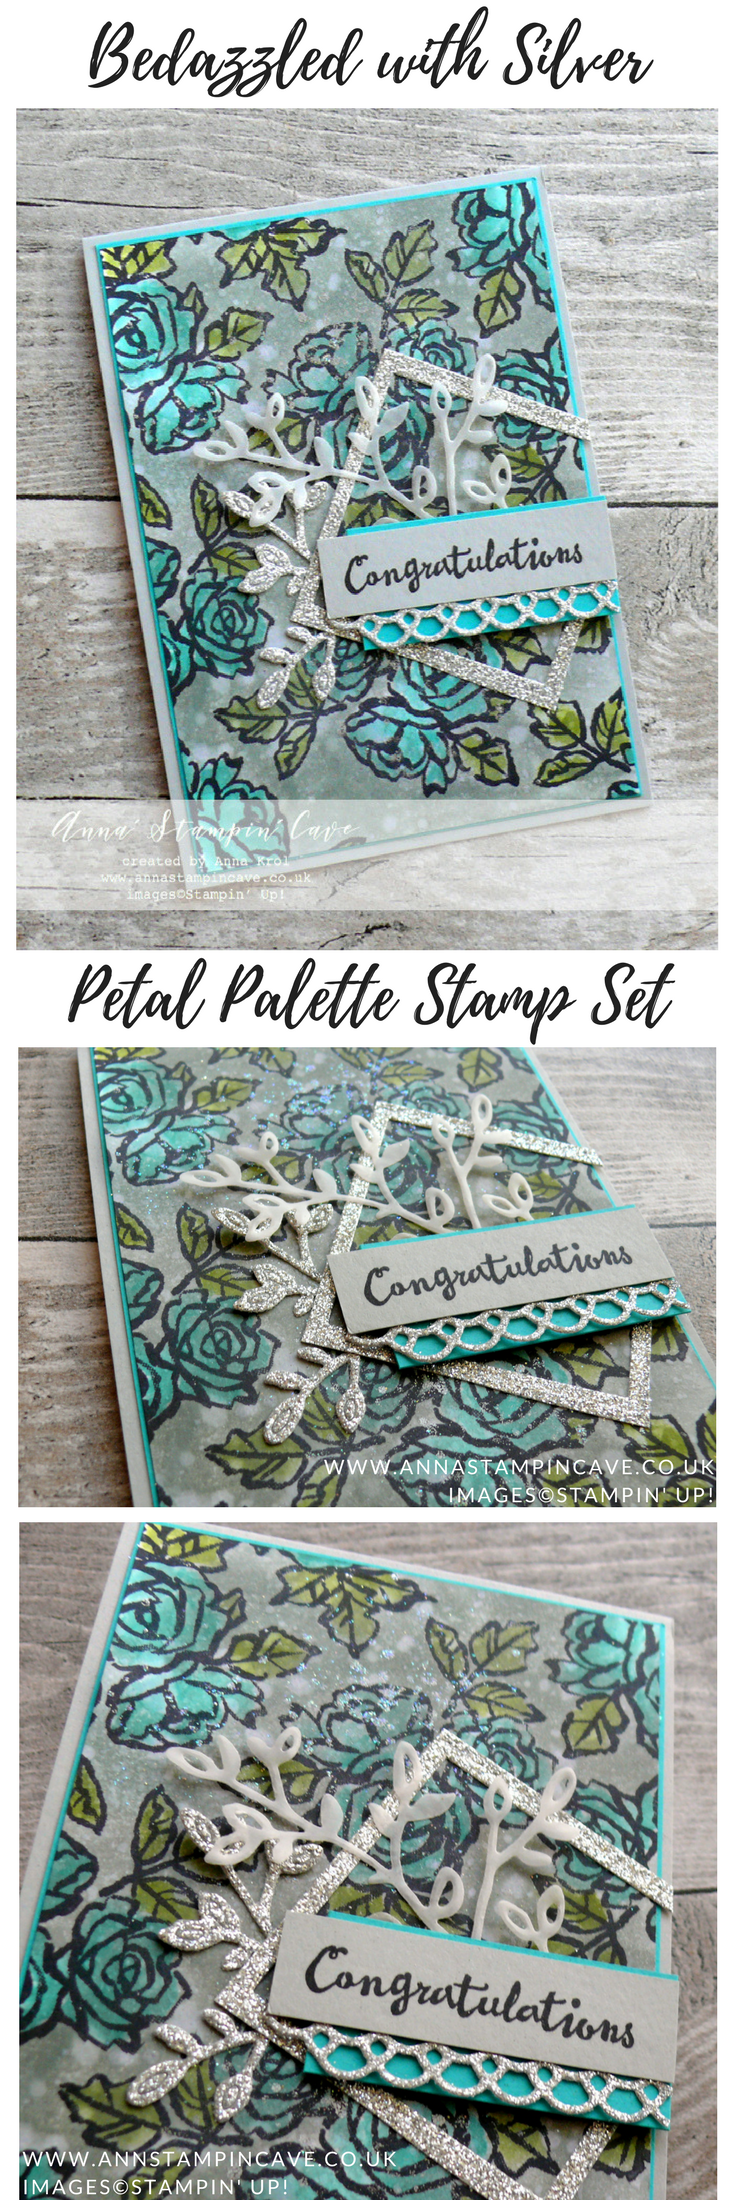
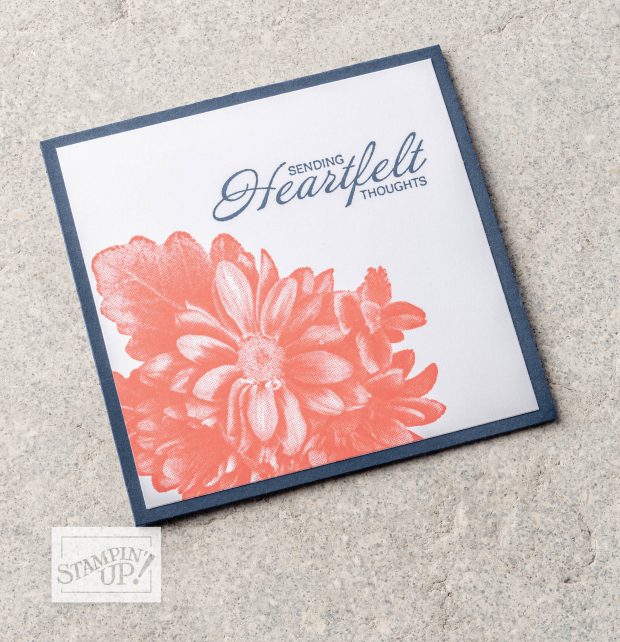
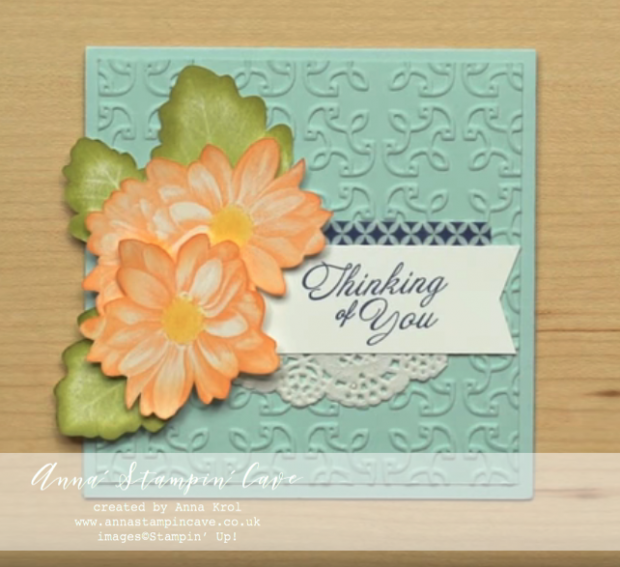
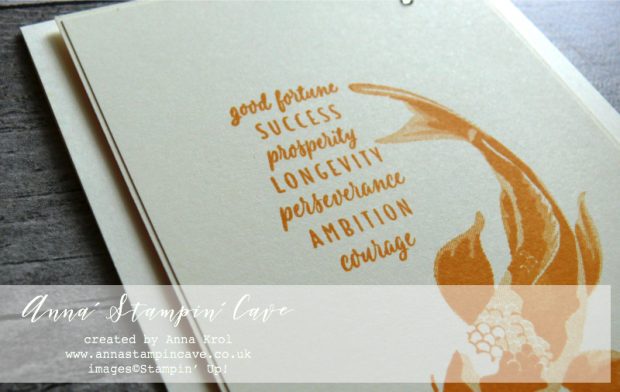 For the Koi, I’ve used a brand new colour called Mango Melody. Stamped it on a piece of regular Very Vanilla cardstock that measures 3-1/2″ x 5-3/8″ (8.9 cm x 13.7 cm) and mount it on a slightly larger piece.