CYBER MONDAY! Stampin’ Up! Free Shipping One Day Only!
Must love 27 November this year! Not only on Monday, 27 November, shipping is FREE on all Stampin’ Up! orders, but it’s also my birthday!
With free shipping, you get a great deal on any product!
Use this great offer to check everything off your wish list, stock up on paper, embellishments or adhesives. Or why not get one of our All-Inclusive Kits to give at Christmas time to your family or friends: from card kits to trendy planner – we have something for everyone.
Free shipping runs from 26 November 11:00 p.m.(GMT) to 27 November 10:59 p.m.(GMT)
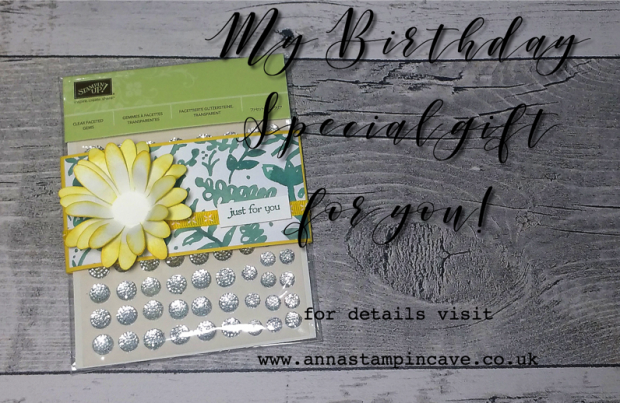
And because it’s my BIRTHDAY I’m offering this lovely pack of Clear Faceted Gems with a qualified order…see details below!
Place a minimum order of £45 (excl p&p) by 30th November on my Stampin’ Up! website using Hostess Code: QFGH469H and receive a pack of Clear Faceted Gems + New Spring Summer Catalogue 2018 with Sale-a-bration Brochure
* This offer is with Stampin’ Up! Demonstrator, Anna Krol and you’ll receive your gift and catalogues in approximately two weeks from placing an order.
To close out Online Extravaganza with a bang, we are offering a special 24-hour flash sale on 27 November, after other Online Extravaganza deals end on 26 November. We will provide more information on this flash sale later in the week. Check back here for the announcement and more details!
*Items offered may vary by market, based on inventory and availability.
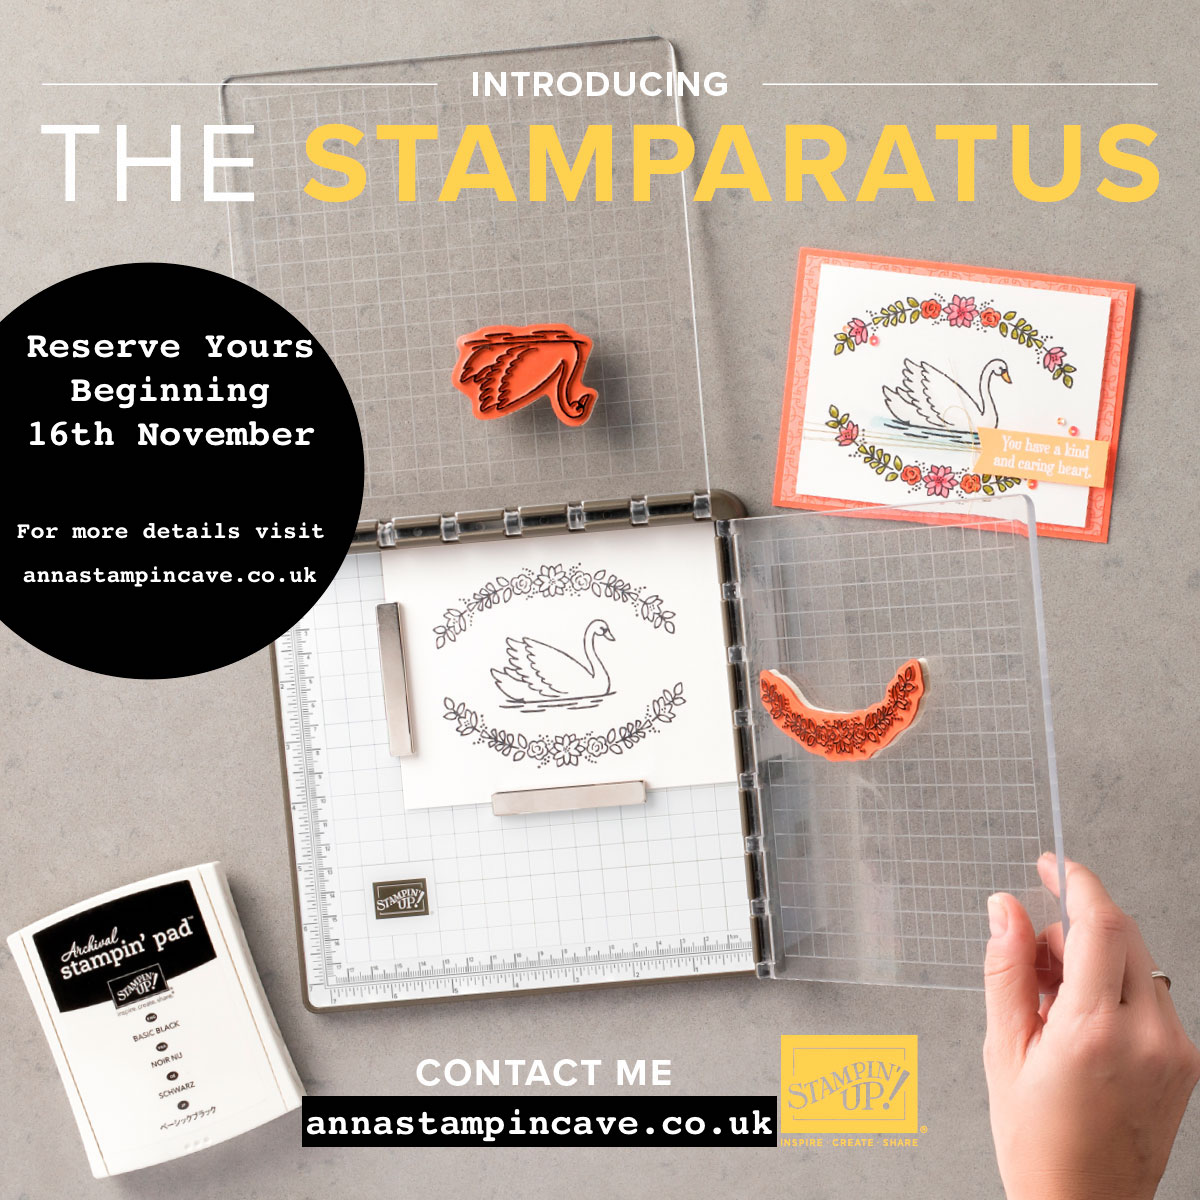
It’s big news when something breaks the mold and changes everything. The Stamparatus will change the way you stamp, and before long, you’ll wonder how you ever crafted without it! Why do YOU need one? You’ll fall in love with stamping all over again when you learn everything you can do with it! Designed to work on any stamp and project size, both red rubber and photopolymer stamps. Every time you want a precise placement when working with two-step stamping stamps and so much more:
Make multiples with ease
Consistently stamp crisp, clean images
If you want a darker impression, apply more ink and restamp—no need to start over
Make fewer mistakes, saving time and money
Easily create 2-step, 3-step, and 4-step stamped images using reversible plates
Develop new and specialised stamping techniques with adjustable stamping plates and precision placement
Product details:
Compatible with Stampin’ Up!’s red rubber and photopolymer stamp
Foam mat to use with photopolymer stamps
Rulers and gridlines for quick measuring
2 open sides so you can stamp on larger paper
2 reversible plates: a total of 4 surfaces to work with
2 magnets to hold the paper in place
Magnet storage areas
Retail Price–59,00 €/£44.00
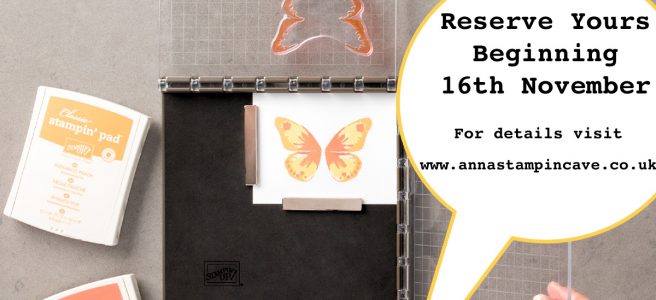
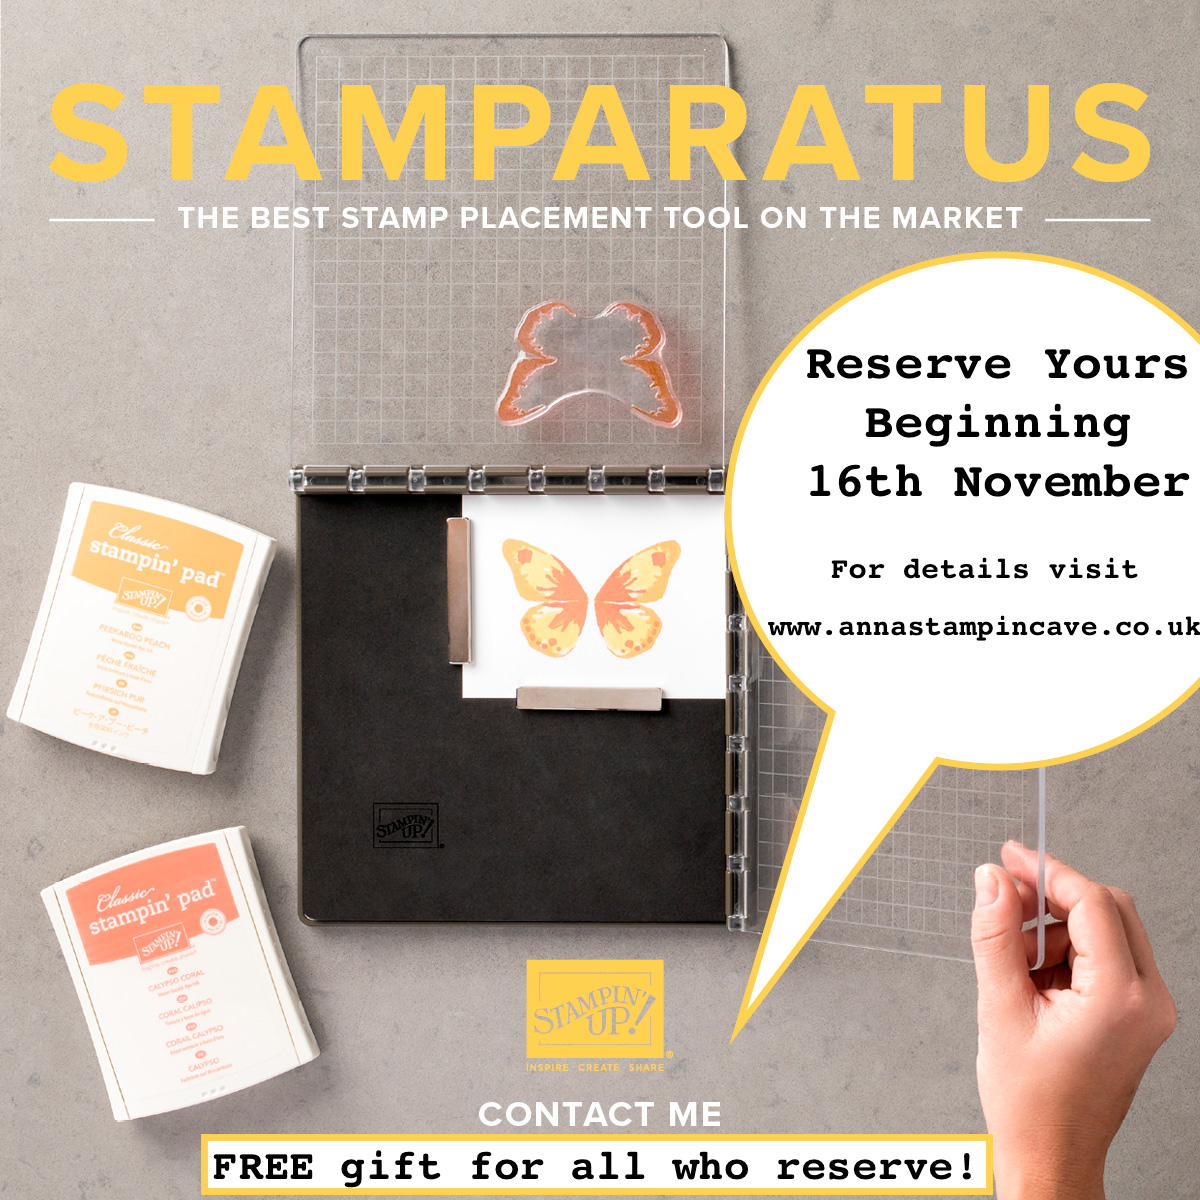
Check it out in action to see its full potential and be ready to act fast and reserve yours on 16th November – reservation will be open while supplies last! You must have a customer profile – CLICK HERE to do so.
With the launch of this tool, Stampin’ Up! is trying something different: testing a new reservation system. And it acts like a true pre-order. You reserve your spot and we guarantee shipment as soon as the product arrives in our warehouse. Demonstrators and customers will place reservations and receive their product at the same time. This system will allow Stampin’ Up! to get the product to market as soon as possible while avoiding backorders and efficiently managing inventory.
The global launch will feature three reservation windows. For each window, please note the following:
Reservation quantities are while supplies last only.
Limit is 3 tools per demonstrator and 1 tool per customer per reservation window. (Join as a demonstrator now to be able to reserve more than 1 tool! Learn more.)
You may participate in multiple reservation windows.
In order to reserve your Stamparatus, you are required to provide your credit/debit card information.
Credit/debit cards will not be charged until you finalize your order once the Stamparatus is available to ship. When you close your order, be sure to verify that your credit card and shipping information is correct.
The Stamparatus will be sold for 59,00 €/£44.00
Customer Stamparatus Launch Q & A:
Q: How do I reserve my Stamparatus?
A: Normally you order Stampin’ Up! products through the online store; in this case, you will click the RESERVE link on the Stamparatus page which will take you to the reservation page. For step-by-step instructions, please see the How to Reserve Your Stamparatus Tutorial for Customers.
Q: What if I do not have a Stampin’ Up! customer account?
A: To reserve a Stamparatus, you must have a customer account. To create one, click Create Account in the online store.
Q: Why does it take so long for the Stamparatus to ship?
A: We will place an order with the manufacturer based on how many reservations are made during any given reservation window. Shipping dates depend on how long it takes the order to arrive in our warehouse after the tools have been manufactured.
Q: Will the available-to-ship dates be the same for all markets?
A: Yes.
Q: Am I billed at the time I reserve my Stamparatus?
A: No. You will be billed when you finalise and close your order.
Q: When will I be charged for the Stamparatus?
A: When inventory arrives in the warehouse, we will add your reservation to a shopping cart. We will then send you an email notifying you that your Stamparatus order is ready. At this time you will pay for and finalise your order.
Q: Will I be able to add other products to my Stamparatus reservation?
A: No. However, once your reservation is transferred to your shopping cart, you will then be able to add other items to your order. Important note: Please do not delete the Stamparatus from your order. We will not be able to add it back and you will lose your reservation.
Q: Will I be able to update my address when I open my shopping bag to complete my order?
A: Yes.
Q: What if I change my mind and want to cancel my reservation?
A: You can cancel your reservation at any time.
Q: Will the tool be available in the 2018–2019 annual catalogue?
A: Yes. Once the annual catalogue ordering period begins, you will be able to order the Stamparatus as you would any other product. Reservations will no longer be required, and there will be no limit on the number of tools you can order.
Q: Once the Stamparatus has been added to my shopping cart, how long will it stay there?
A: Indefinitely. As with all products, it will be subject to temporary interruptions in availability depending on demand.
Q: When I close my order, can I take advantage of current Stampin’ Up! promotions?
A: Yes.
Q: Can I participate in all three reservation periods?
A: Yes.
Q: How many stamp placement tools can I reserve per reservation window?
A: For customers, there is a limit of 1 per reservation window.
Hello, everyone! What a beautiful day we had today down here in Coventry, Warwickshire. Even though I can’t fully enjoy the weather (yet) I managed to spend few minutes in the garden. And oh, boy, what a wonderful feeling it was.
Today I’m back with a lovely card I created for this week’s sketch over at Global Design Project Challenge Blog. I truly enjoy their challenges as each week they have a new challenge based on either a colour combination, a sketch, theme and CASE-ing the Designer. Lot’s of fun!
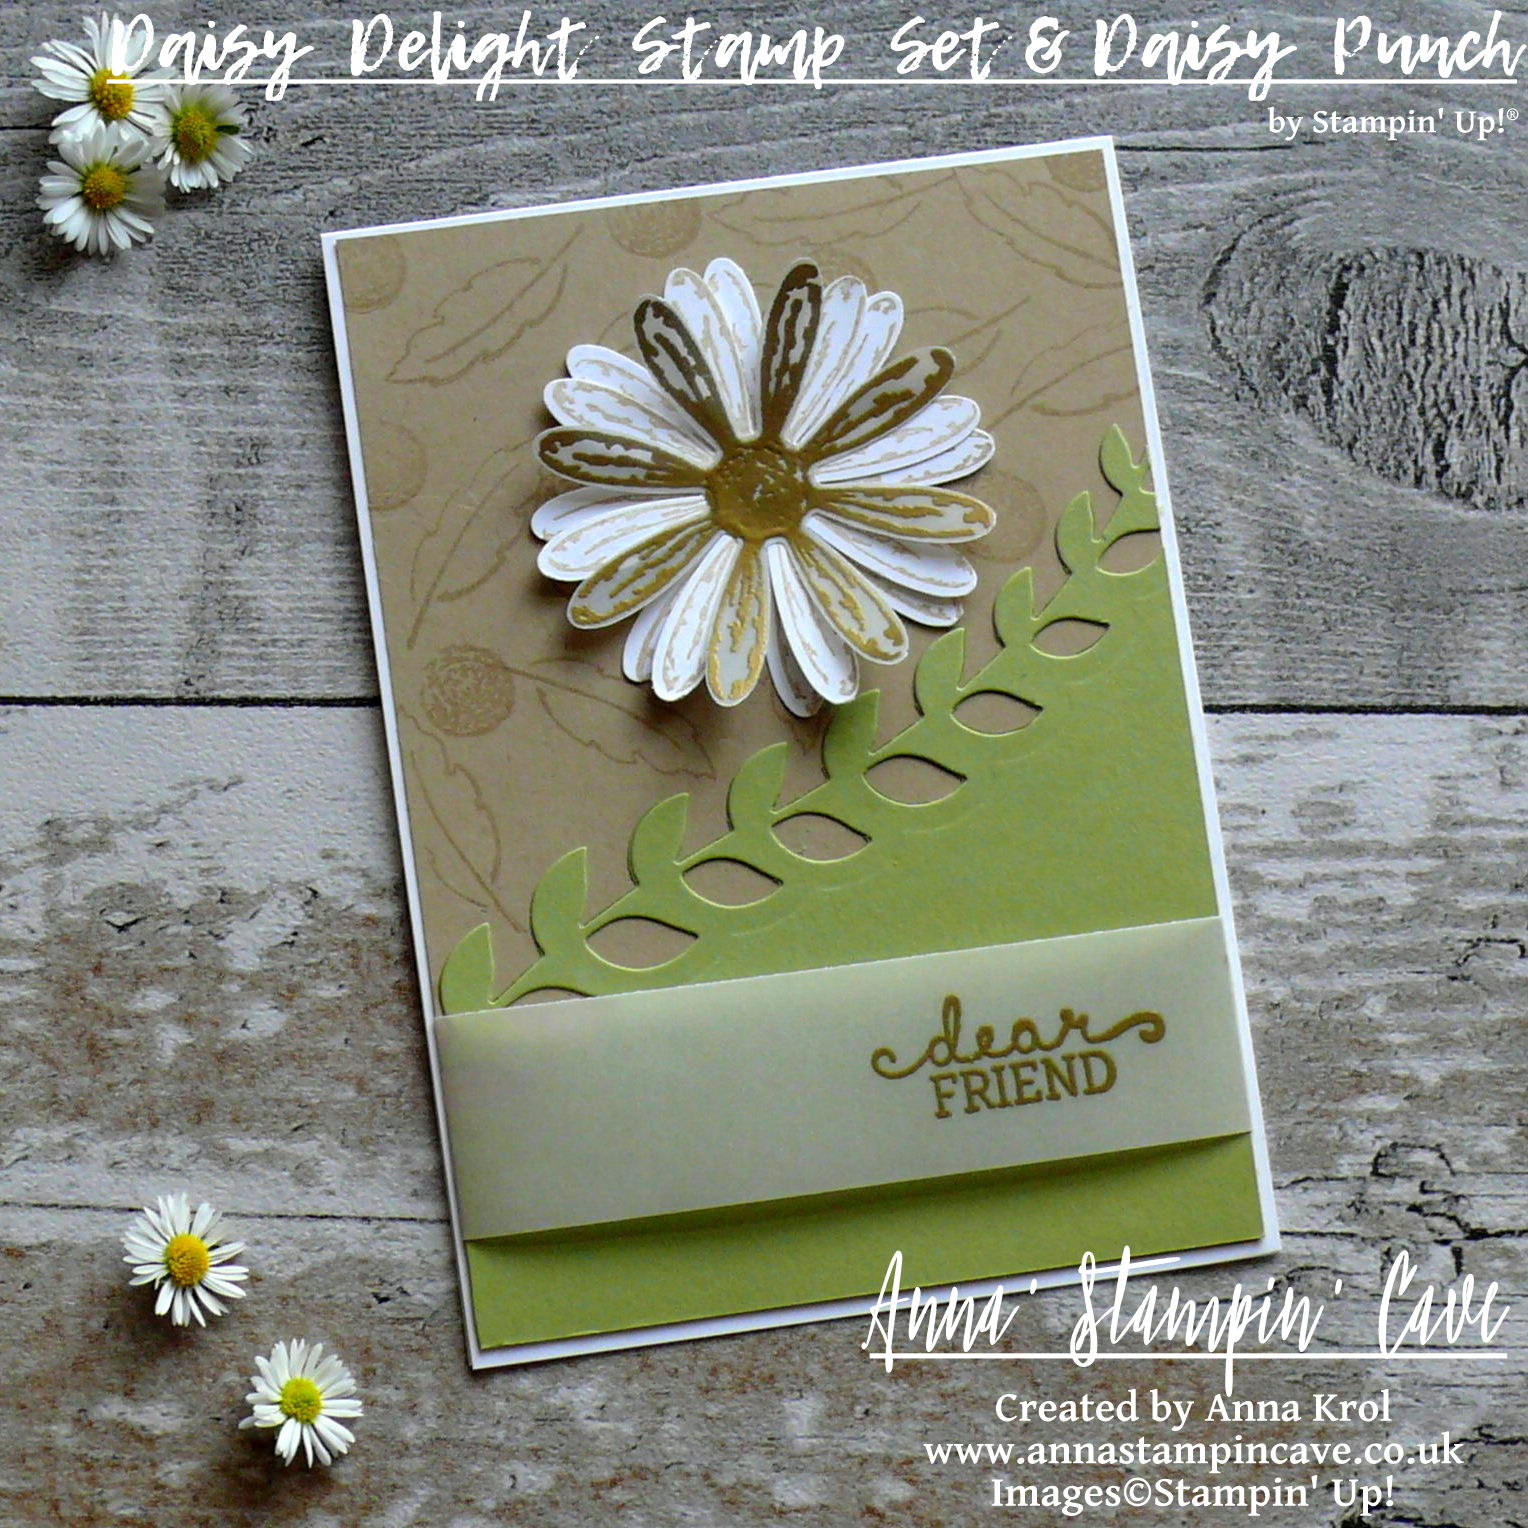
For my card today I decided to use some old favourites, as well as a sneak peek of new, coming soon bundle: Daisy Delight Stamp Set and coordinating Daisy Punch.
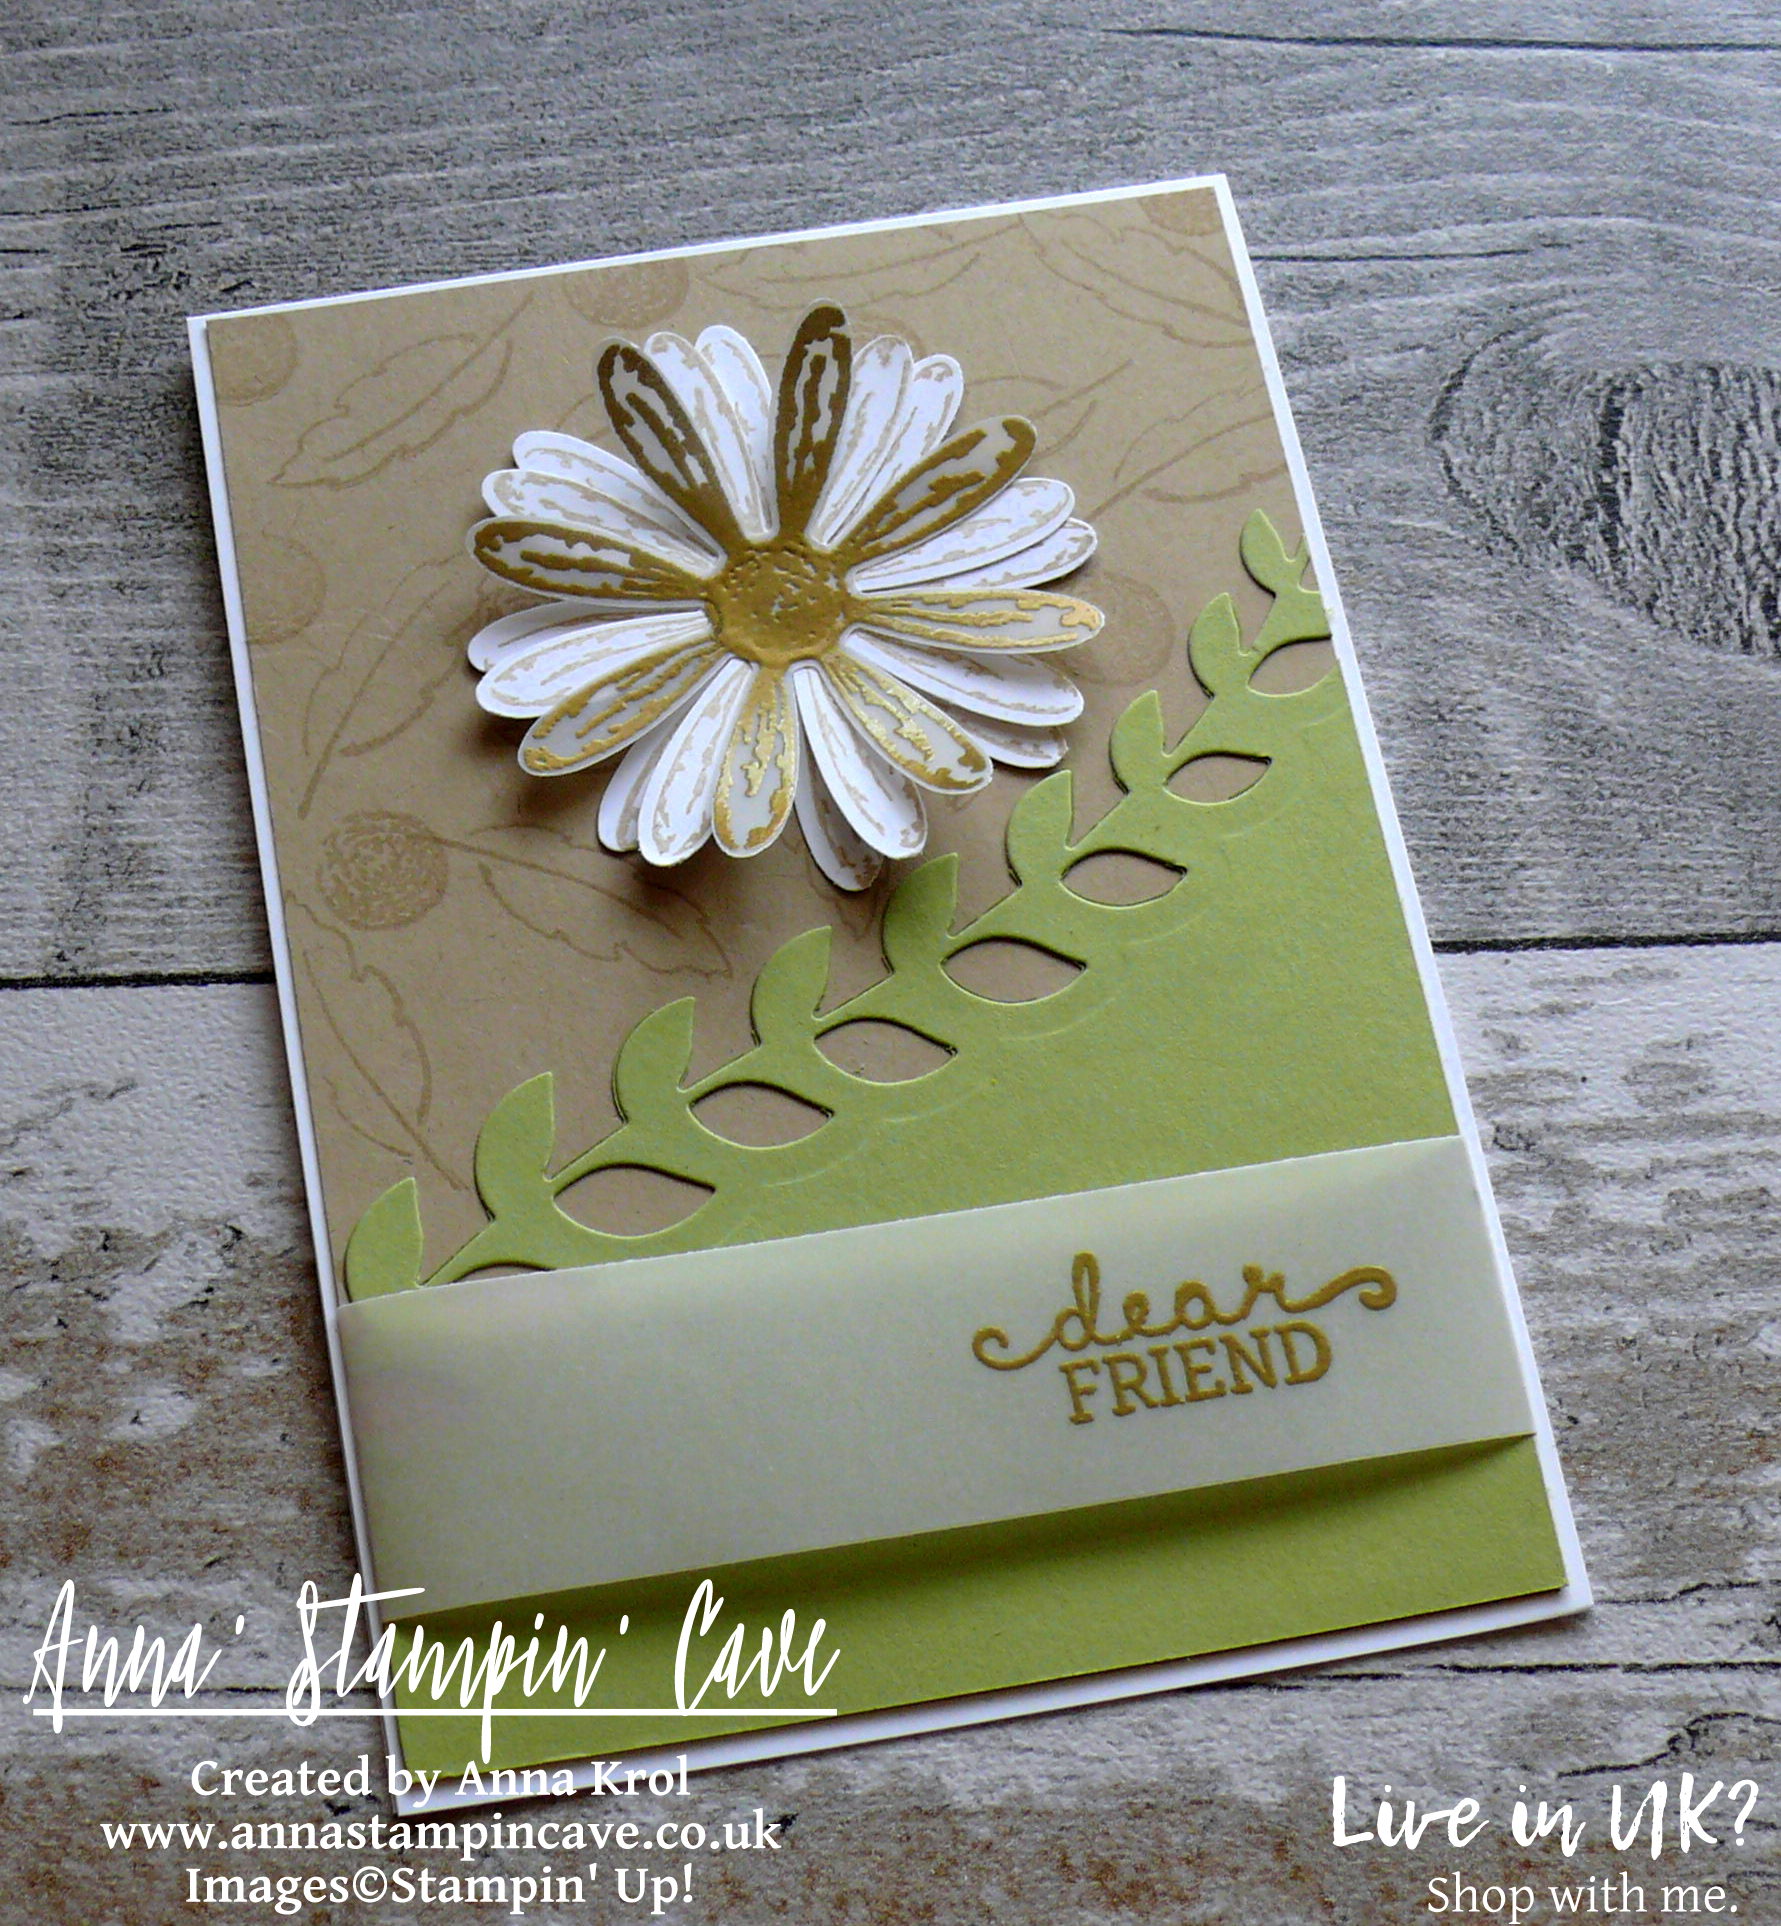
Dear Friend card dimensions:
Whisper White cardstock: 11-6/8″ x 4-1/8″ scored in half at 5-7/8″ (29.7 x 10.5 cm scored in half at 14.8 cm)
Crumb Cake cardstock: 5-6/8″ x 4″ (14.6 cm x 10.2 cm)
Pear Pizzazz cardstock: 5″ x 4″ (12.6 cm x 10.2 cm)
White Vellum cardstock: 1-1/8″ x 5-1/2″ strip
White Vellum and Whisper White cardstock scraps to stamp and punch daisies
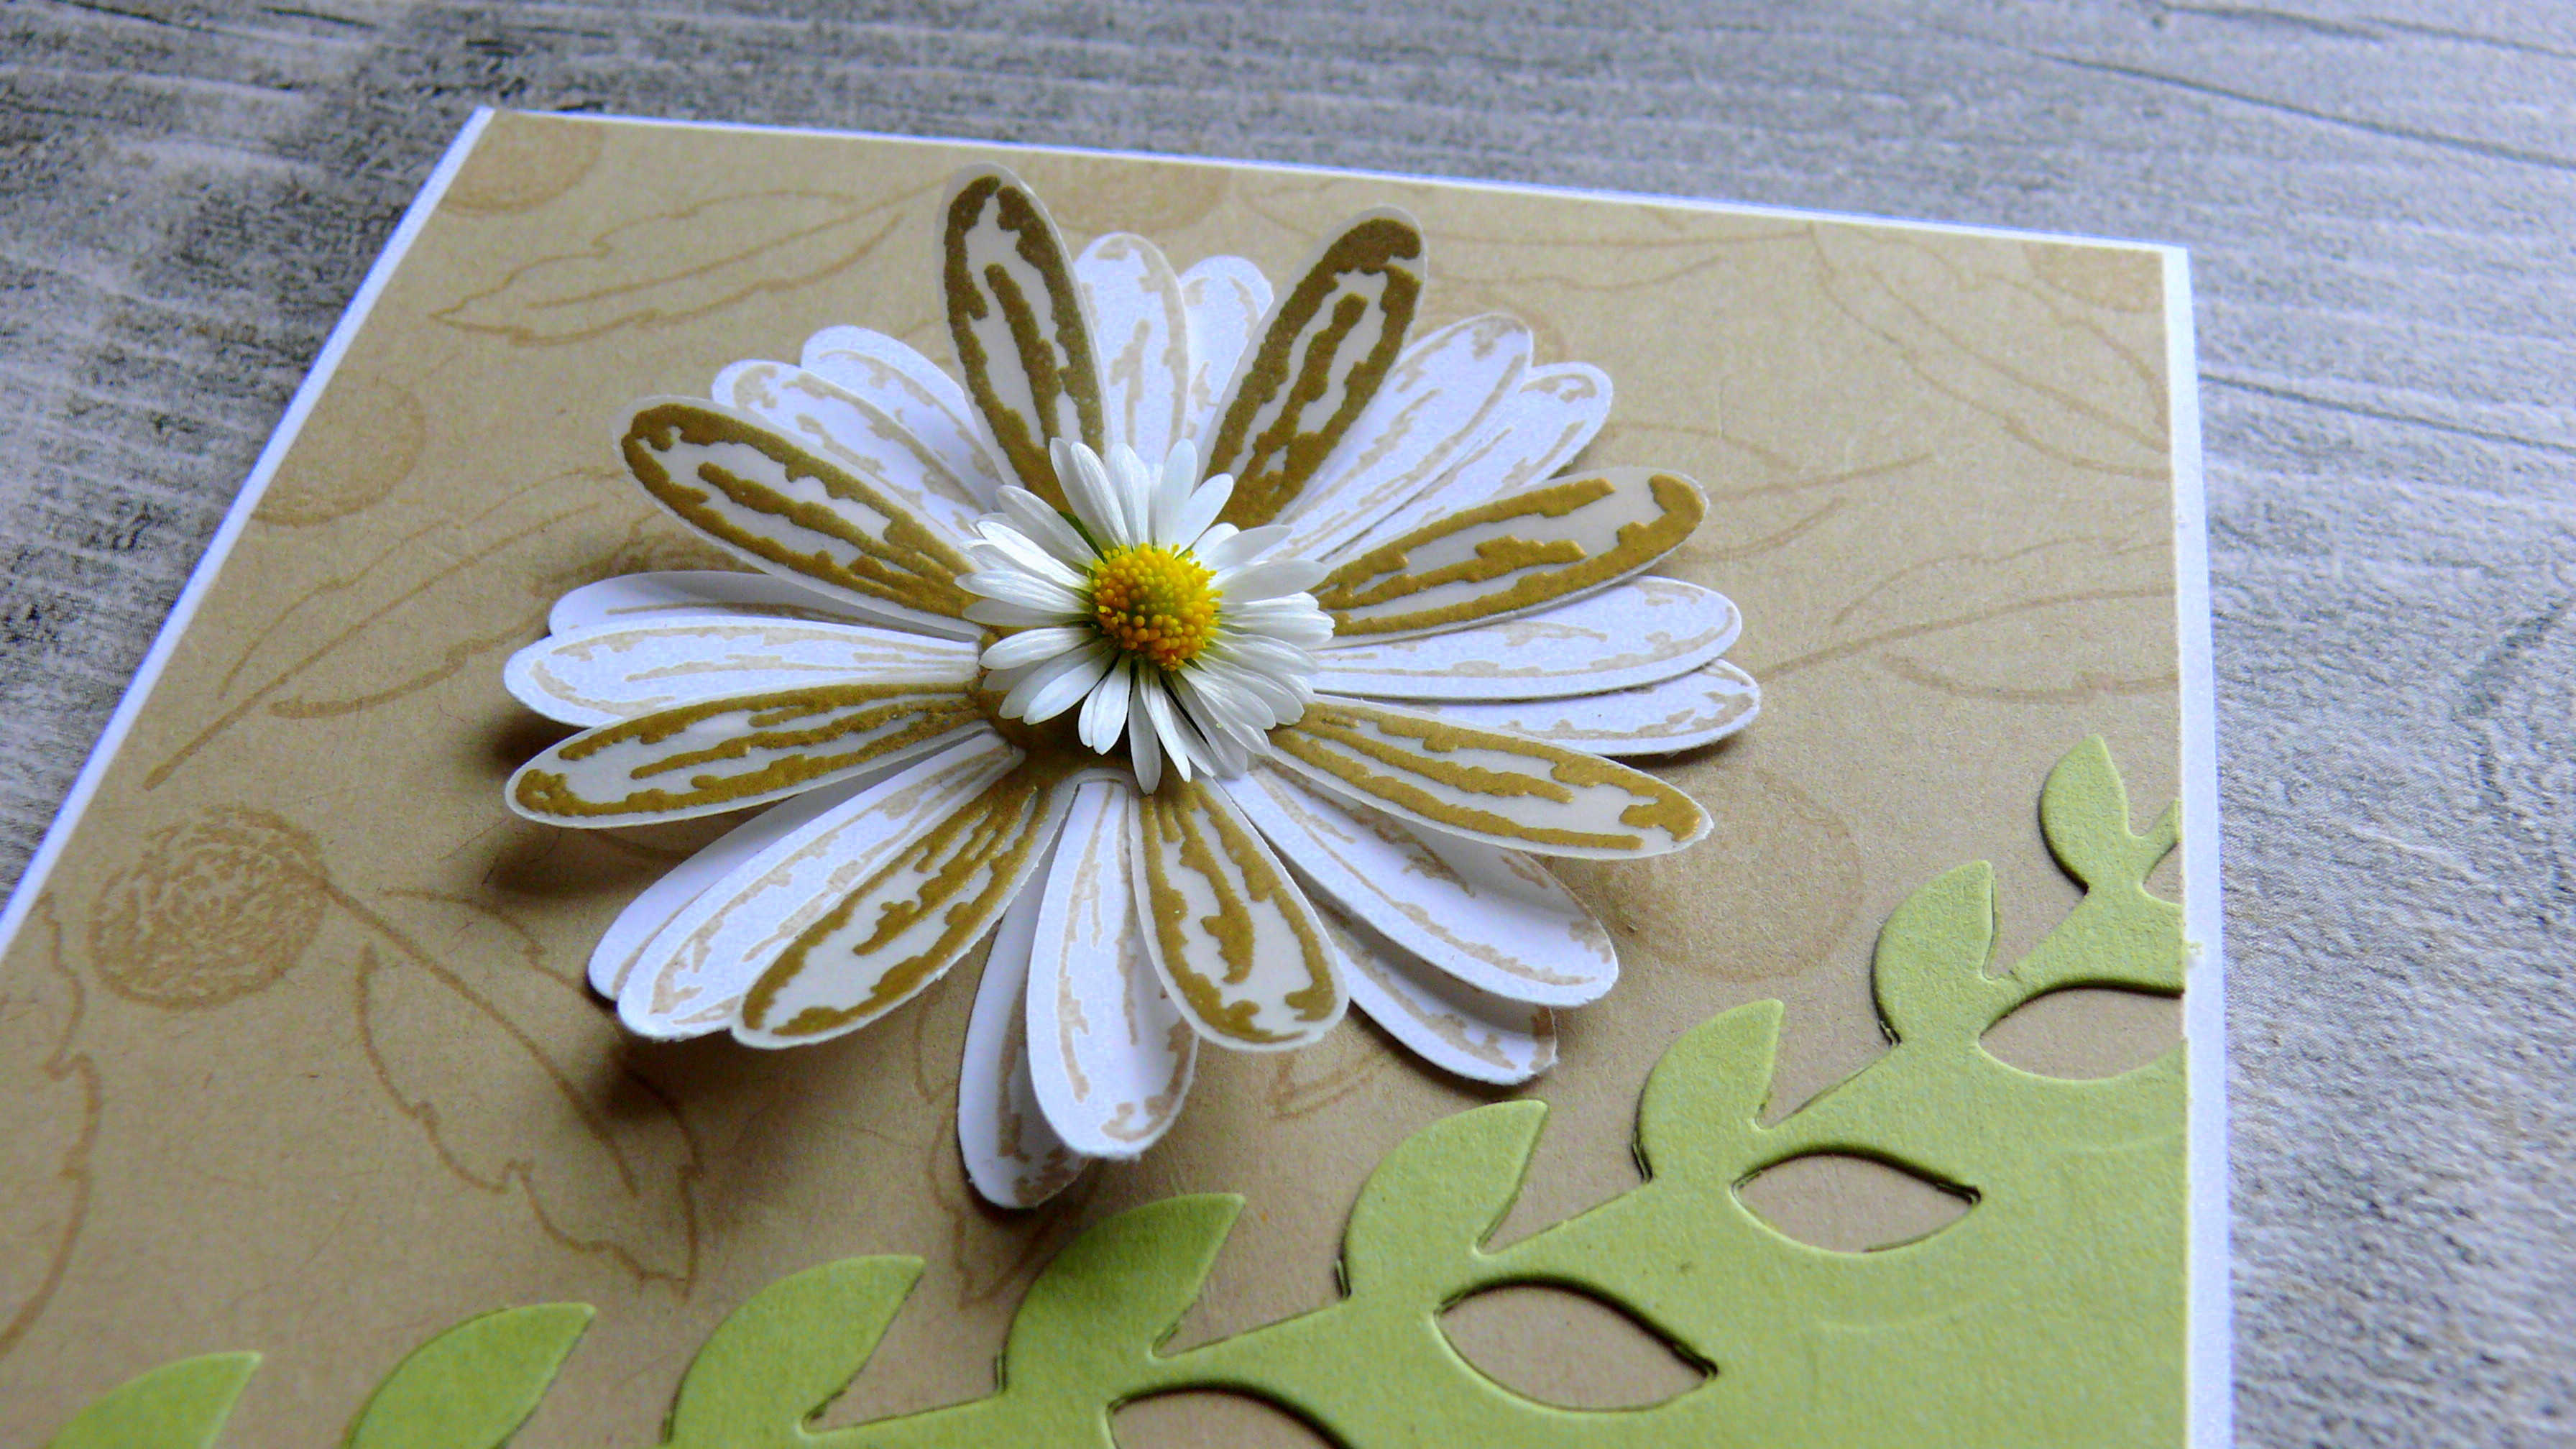
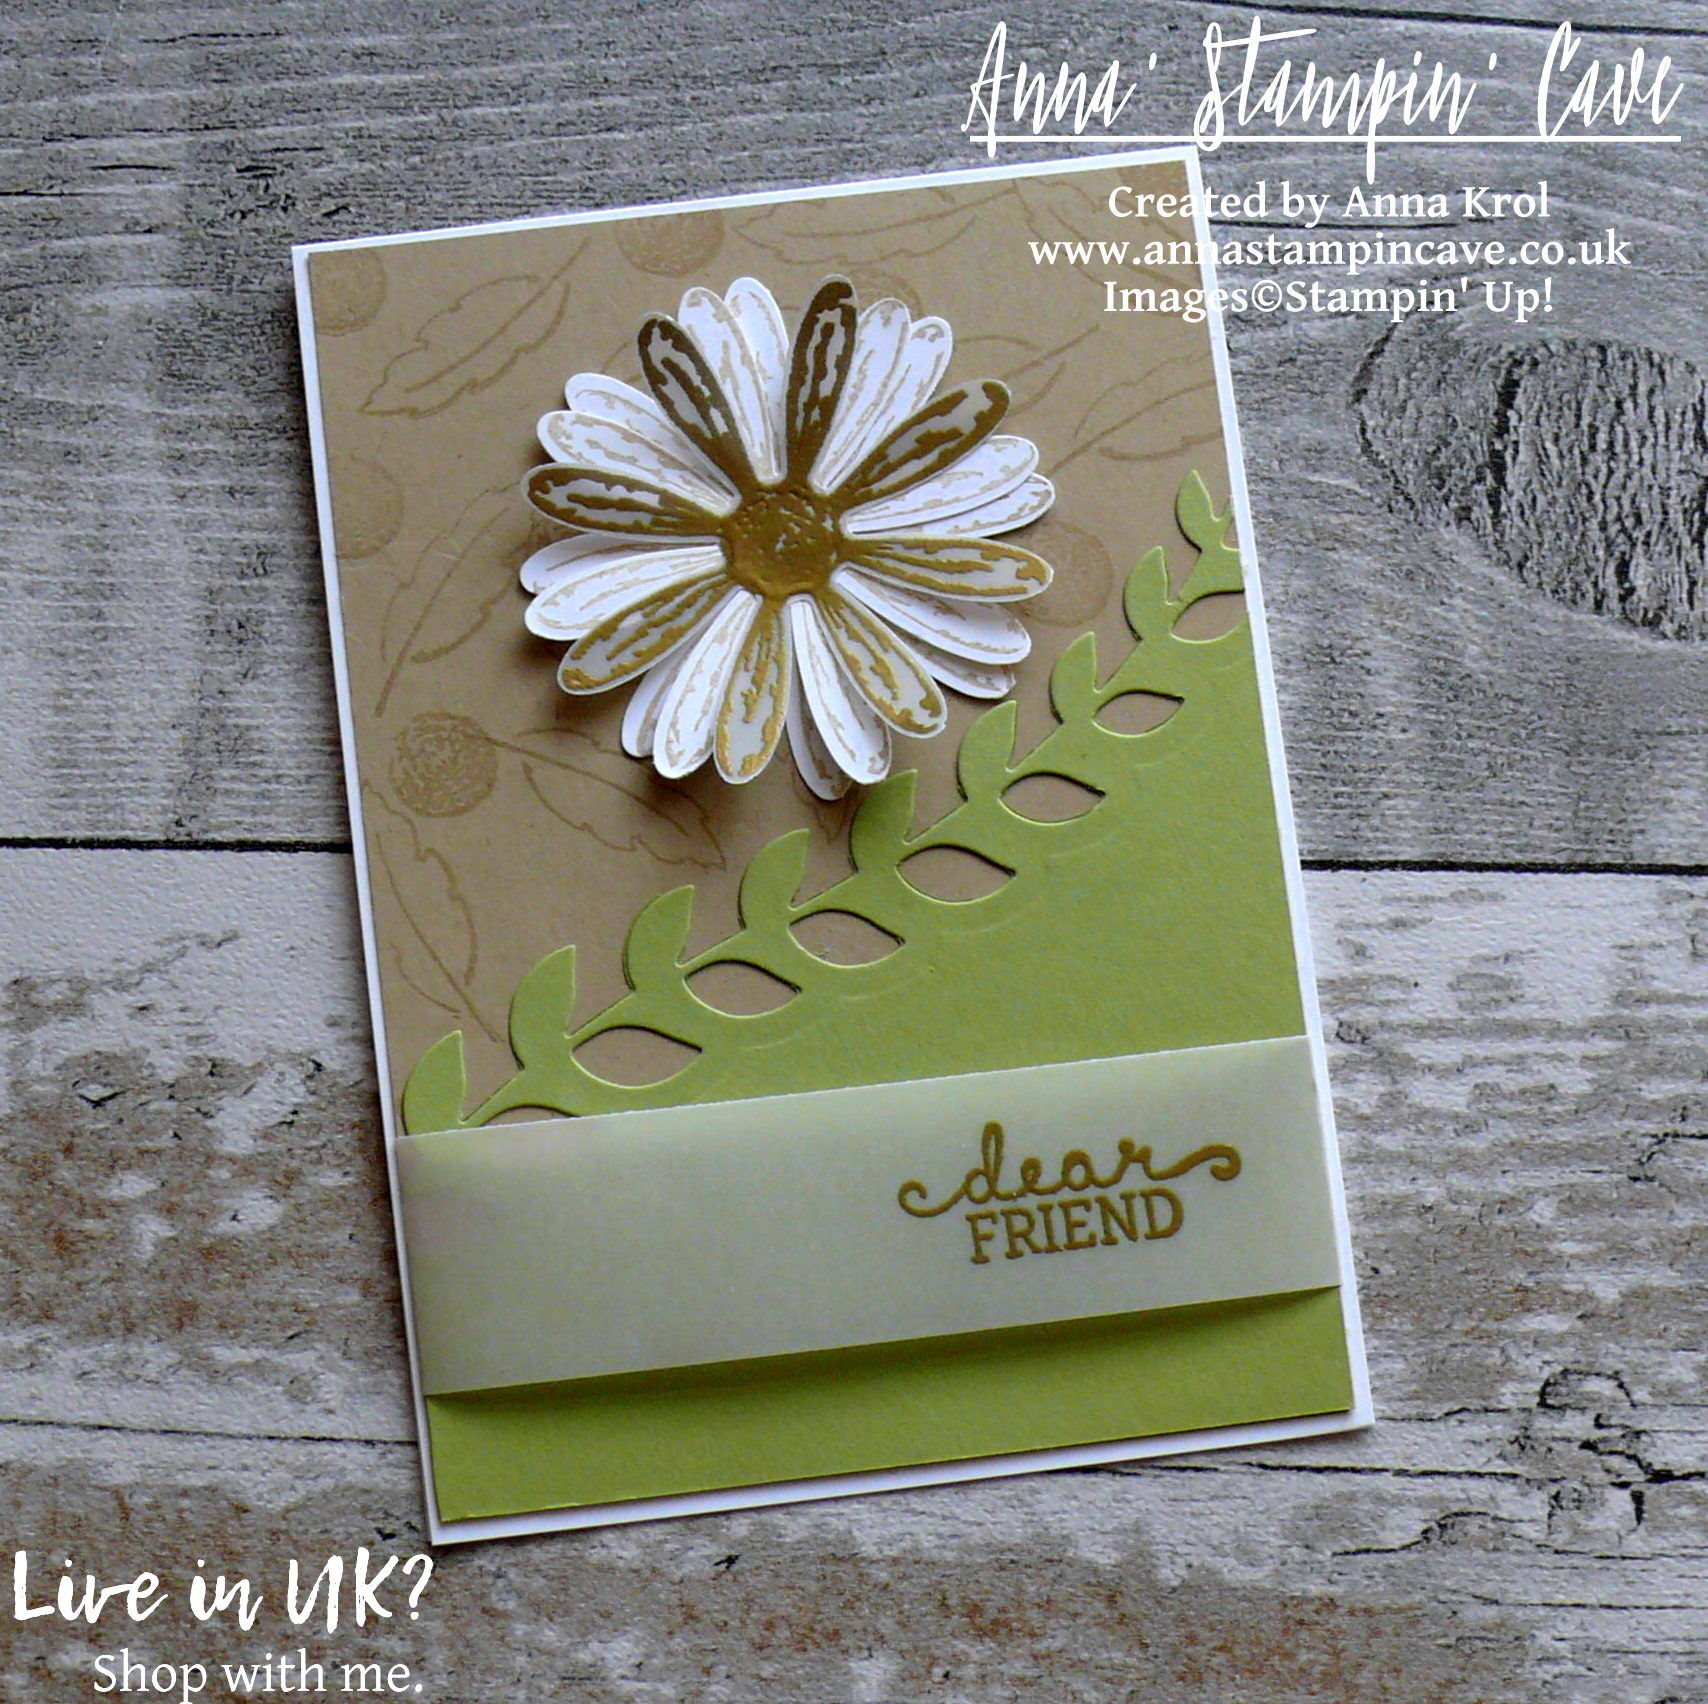
First, I created the bottom half of my panel using the border die from retiring Botanical Builder Framelits Dies. I die-cut it at a slight angle, so it creates a diagonal ‘line’, and adhered it to the Crumb Cake panel. I also randomly stamped a couple of images from Daisy Delight Stamp Set: centre of the flowers and outline of the leaves, on the Crumb Cake panel.
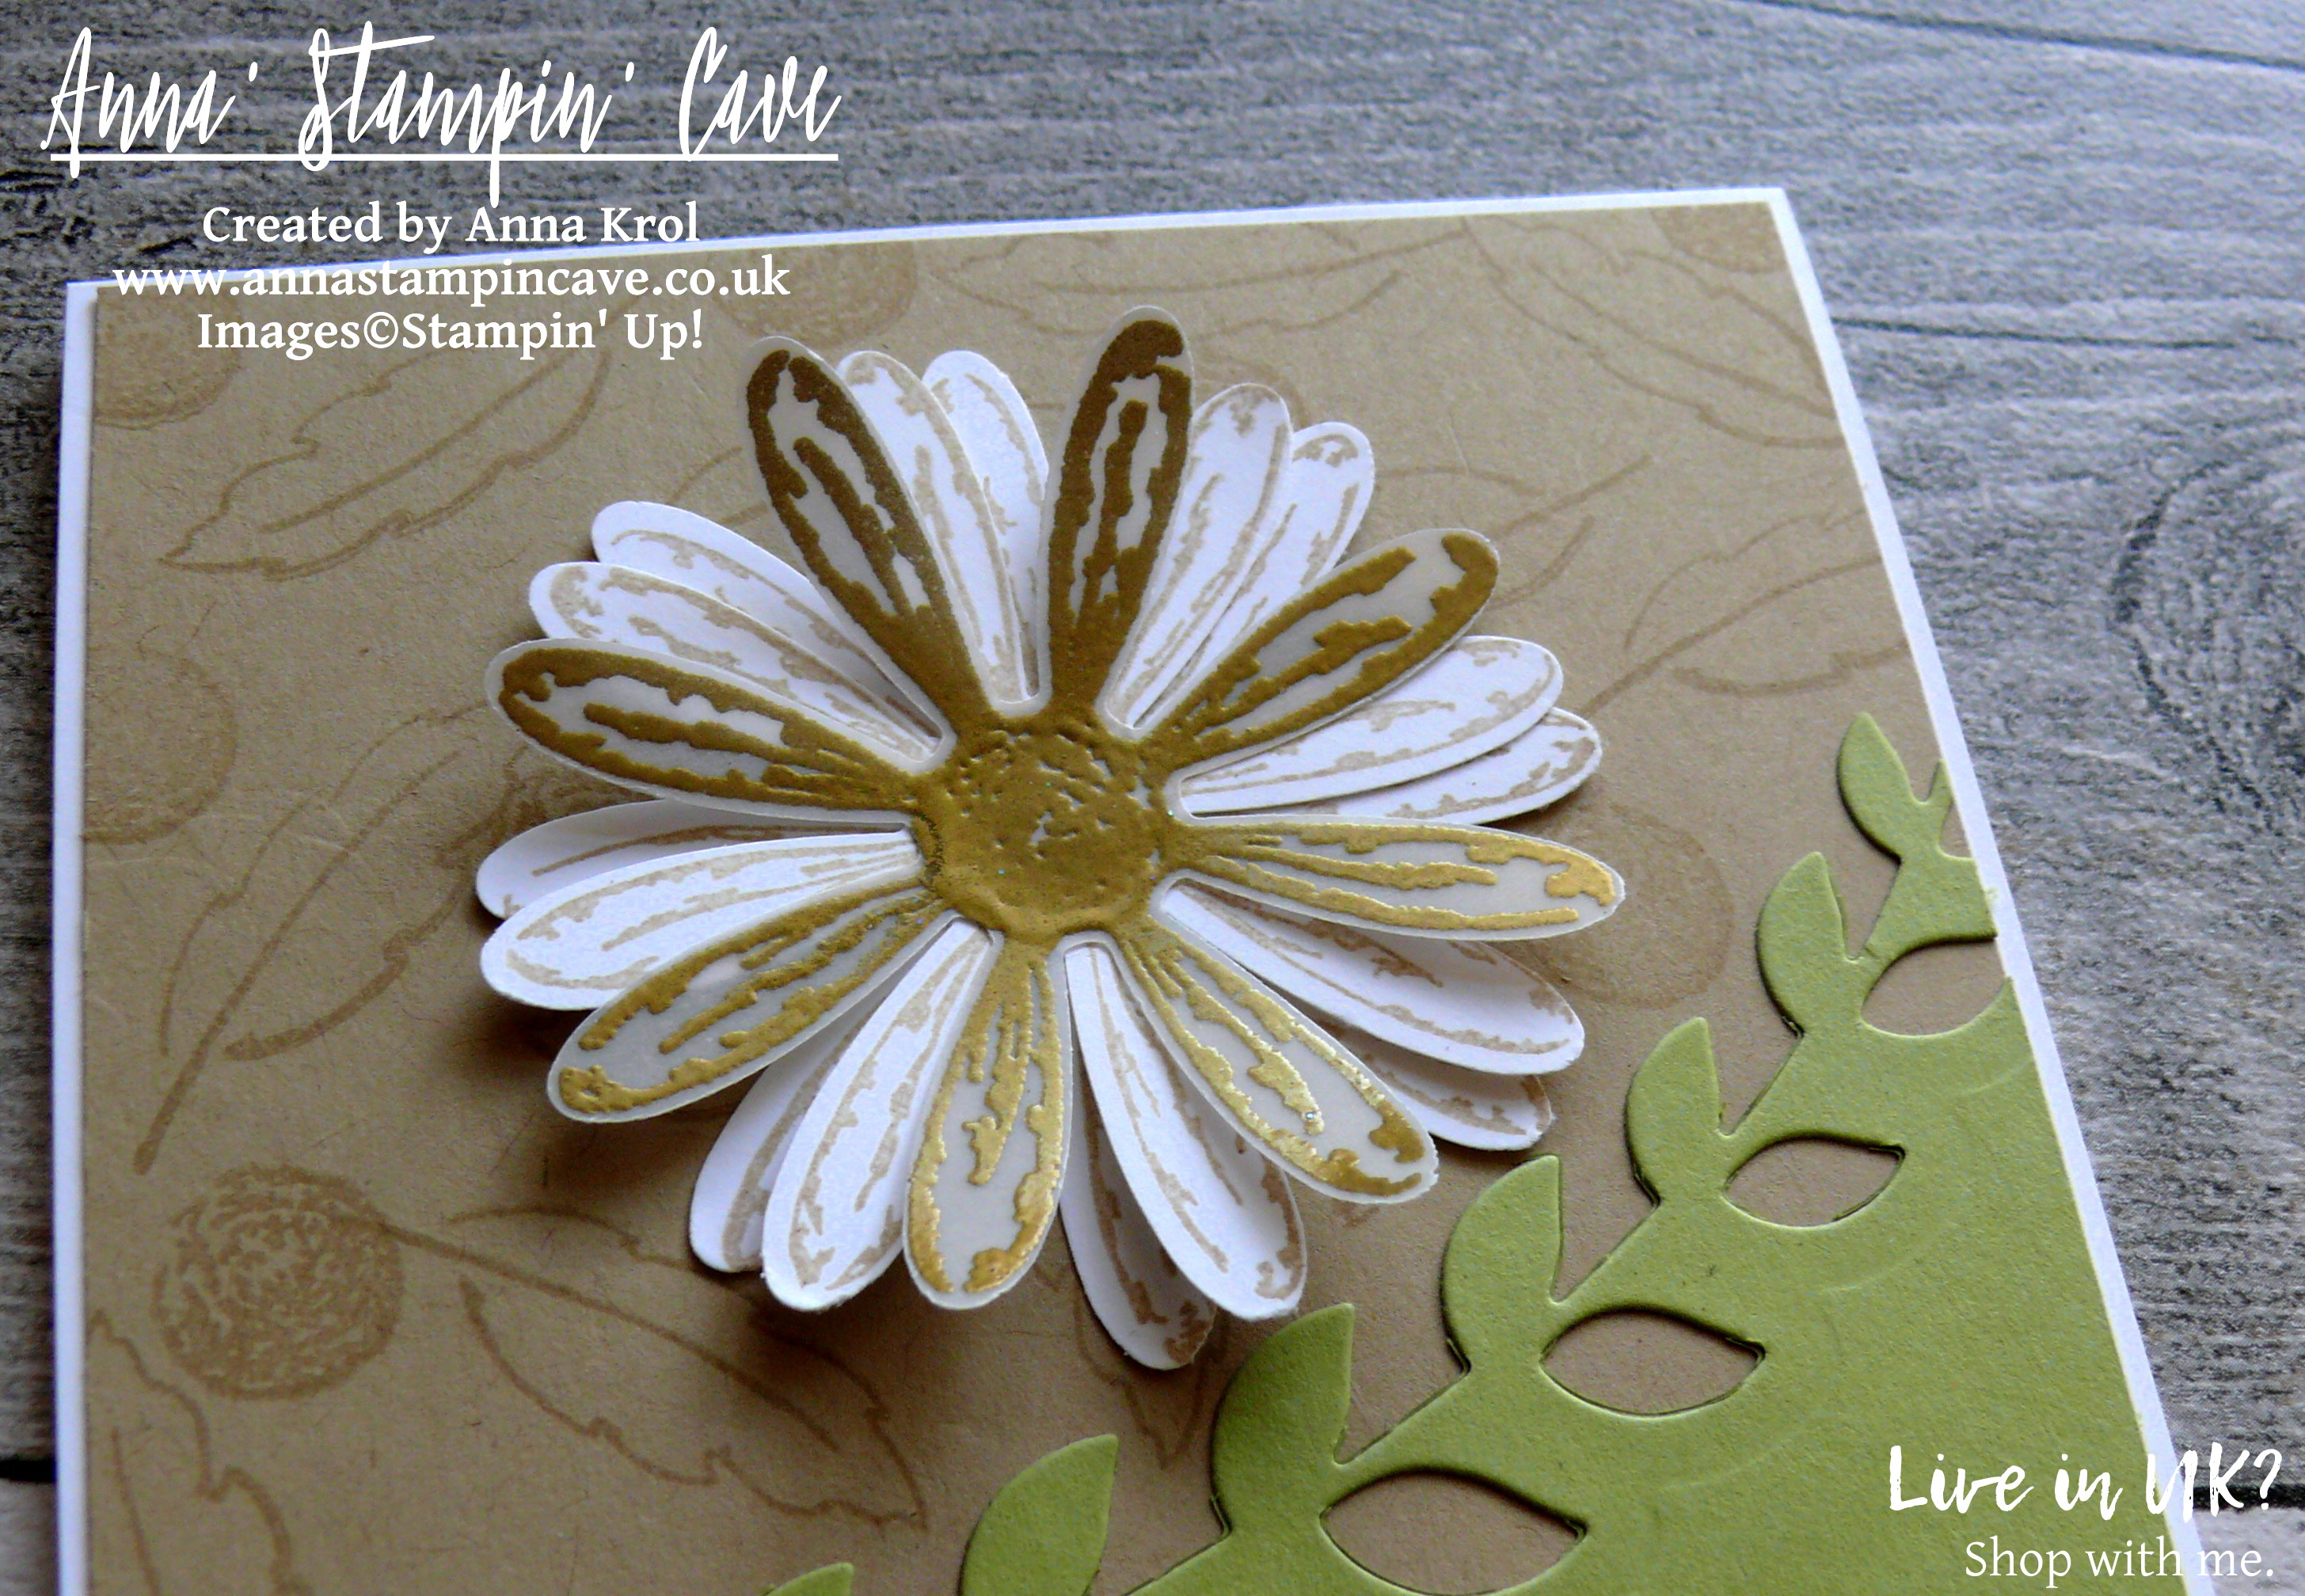
Next, I took a Crumb Cake ink pad and a scrap of Whisper White cardstock. I stamped two flowers from Daisy Delight Stamp Set and punched them out using coordinating Daisy Punch.
I also stamped one daisy and daisy centre onto vellum with Versamark ink, heat embossed it in gold and punched out as well. I layered all flowers together with vellum as a top layer, offsetting them slightly for extra dimension. I adhered them to my panel, just above Pear Pizzazz piece, using liquid adhesive.
The sentiment comes from Birthday Blooms Stamp Set and I heat embossed it in gold on a strip of White Vellum. Because my vellum strip was wider than the Crumb Cake piece I was able to adhere the ends to the back of my panel. This way I didn’t have to worry how to hide the adhesive. I mounted my panel to the card base.
And that’s my card for today. I hope you like it. I also hope you’ve enjoyed seeing a sneak peek of Daisy Delight Stamp Set and Daisy Punch. These both will be available in my shop on 1 June 2017. But if you don’t want to wait, and want to be able to order new products earlier, it’s as easy as 1…2…3… -> simply join the fun and order your Starter Kit. If you have more questions why don’t you drop me a message?
As always, I really want to encourage you to visit the Global Design Project challenge blog to see other beautiful projects from all around the world. Just click on their logo below to visit the website
If you wish to purchase any of products I have used, simply click the images below to go directly to my online store and don’t forget to enter the hostess code for the month of May SS3AK62K to receive a gift from me.
Just a reminder: Botanical Builder Framelits Dies are still available at a fraction of a price! But only until the end of May. After that date, you won’t be able to purchase them. So if you waited for a better moment to buy them – this moment is now.
Stampin’ Up! Spring Summer & Annual Catalogue 2016 2017 Retiring List
It’s that time of the year again, when Stampin’ Up! is getting ready to retire stamps and accessories from both the Annual and Spring Summer catalogues. As sad as it is to see these products go, there’s still time for you to get them before they’re gone. Retiring products will only be available until 31 May, or while supplies last. So if there’s something from retiring products on your wishlist, don’t wait until last day – once they’re gone, they’re gone. And they are selling fast! Click here for more details ->
Anna’ Stampin’ Cave – Colourful Striped Background For Global Design Project – I am Guest Designer
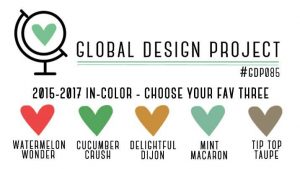
Hello, my friends! I am so excited as today I am a Guest Designer for Global Design Project. How amazing is that?! I’m so humbled and honoured that GDP team has chosen me to join them for this week’s Colour Challenge. And boy, what a great colours we have to play with!
Choose your fav three wasn’t an option for me because I love all of these and wouldn’t know which to choose, to be honest. So I decided to be a rebel and for my project today I’ve used all five. Let’s say this post is a farewell to these beautiful In Colours.
Colourful Striped Background card dimensions:
Mint Macaron cardstock: 11-6/8″ x 4-1/8″ scored in half at 5-7/8″ (29.7 x 10.5 cm scored in half at 14.8 cm)
Very Vanilla cardstock: two panels, one for the card front, one for the inside of the card 5-7/8″ x 4″ (14.8 cm x 10.2 cm) each
cardstock for building the background: 5-7/8″ x 3-1/2″ (14.8 cm x 8.9 cm)
scraps of cardstock in colours: Mint Macaron, Delightful Dijon, Watermelon Wonder, Cucumber Crush and Tip Top Taupe
White Vellum for stamping and die-cutting
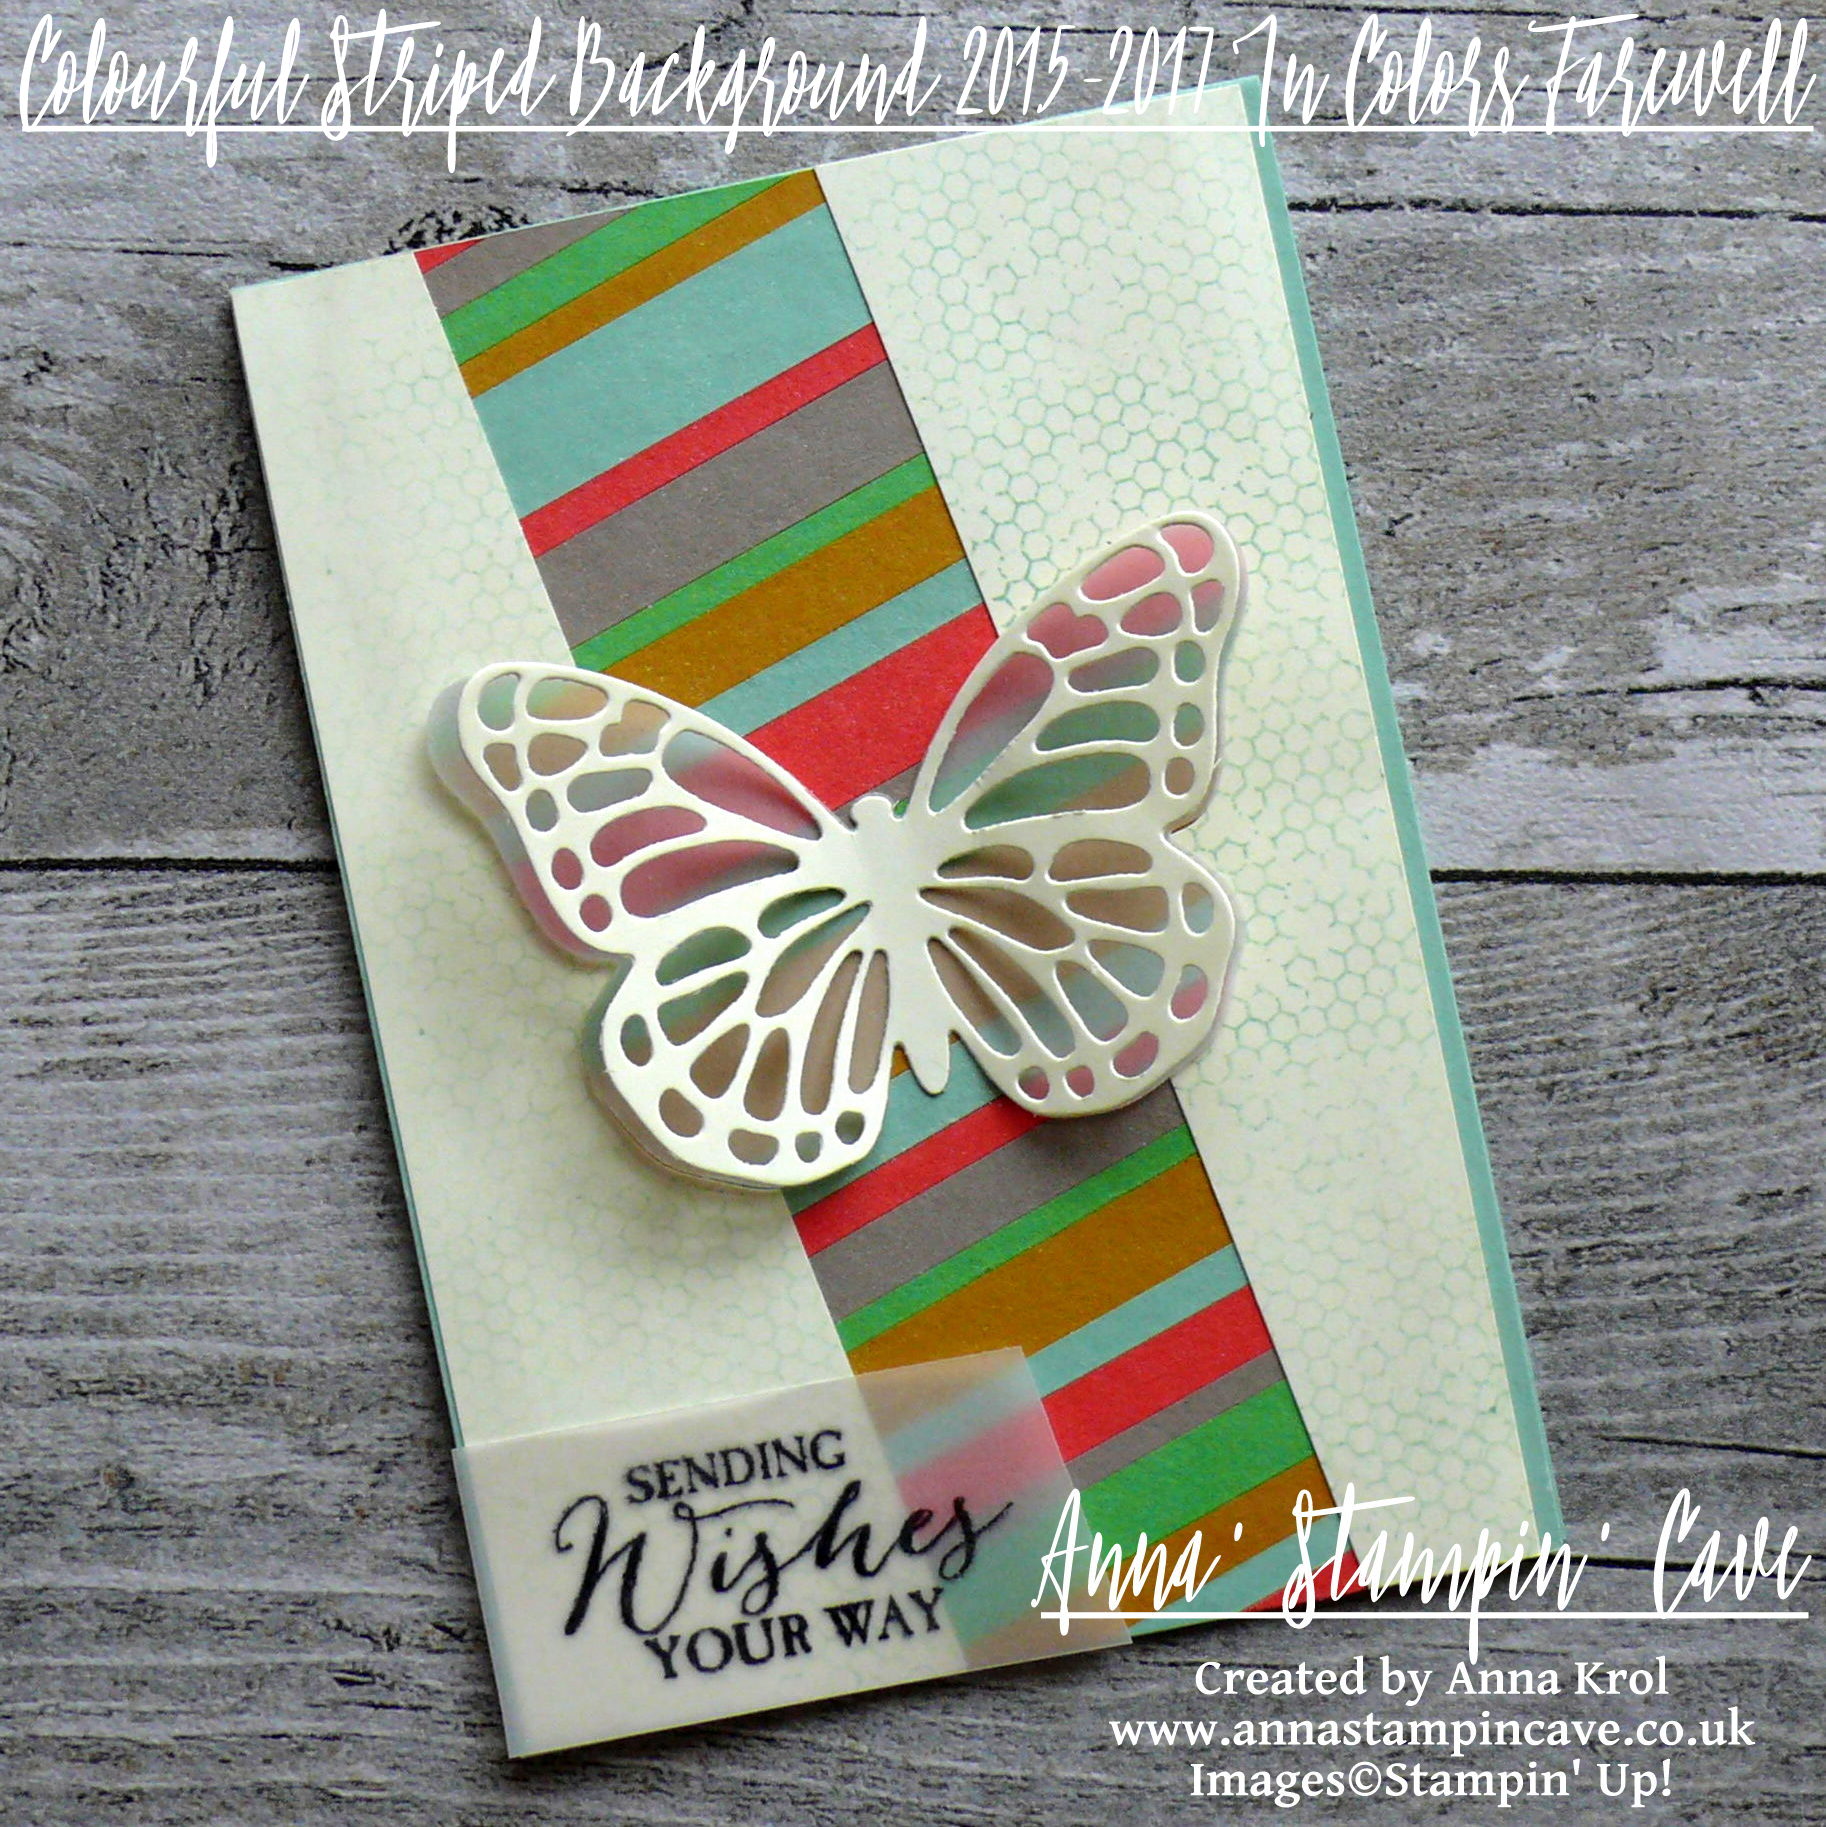
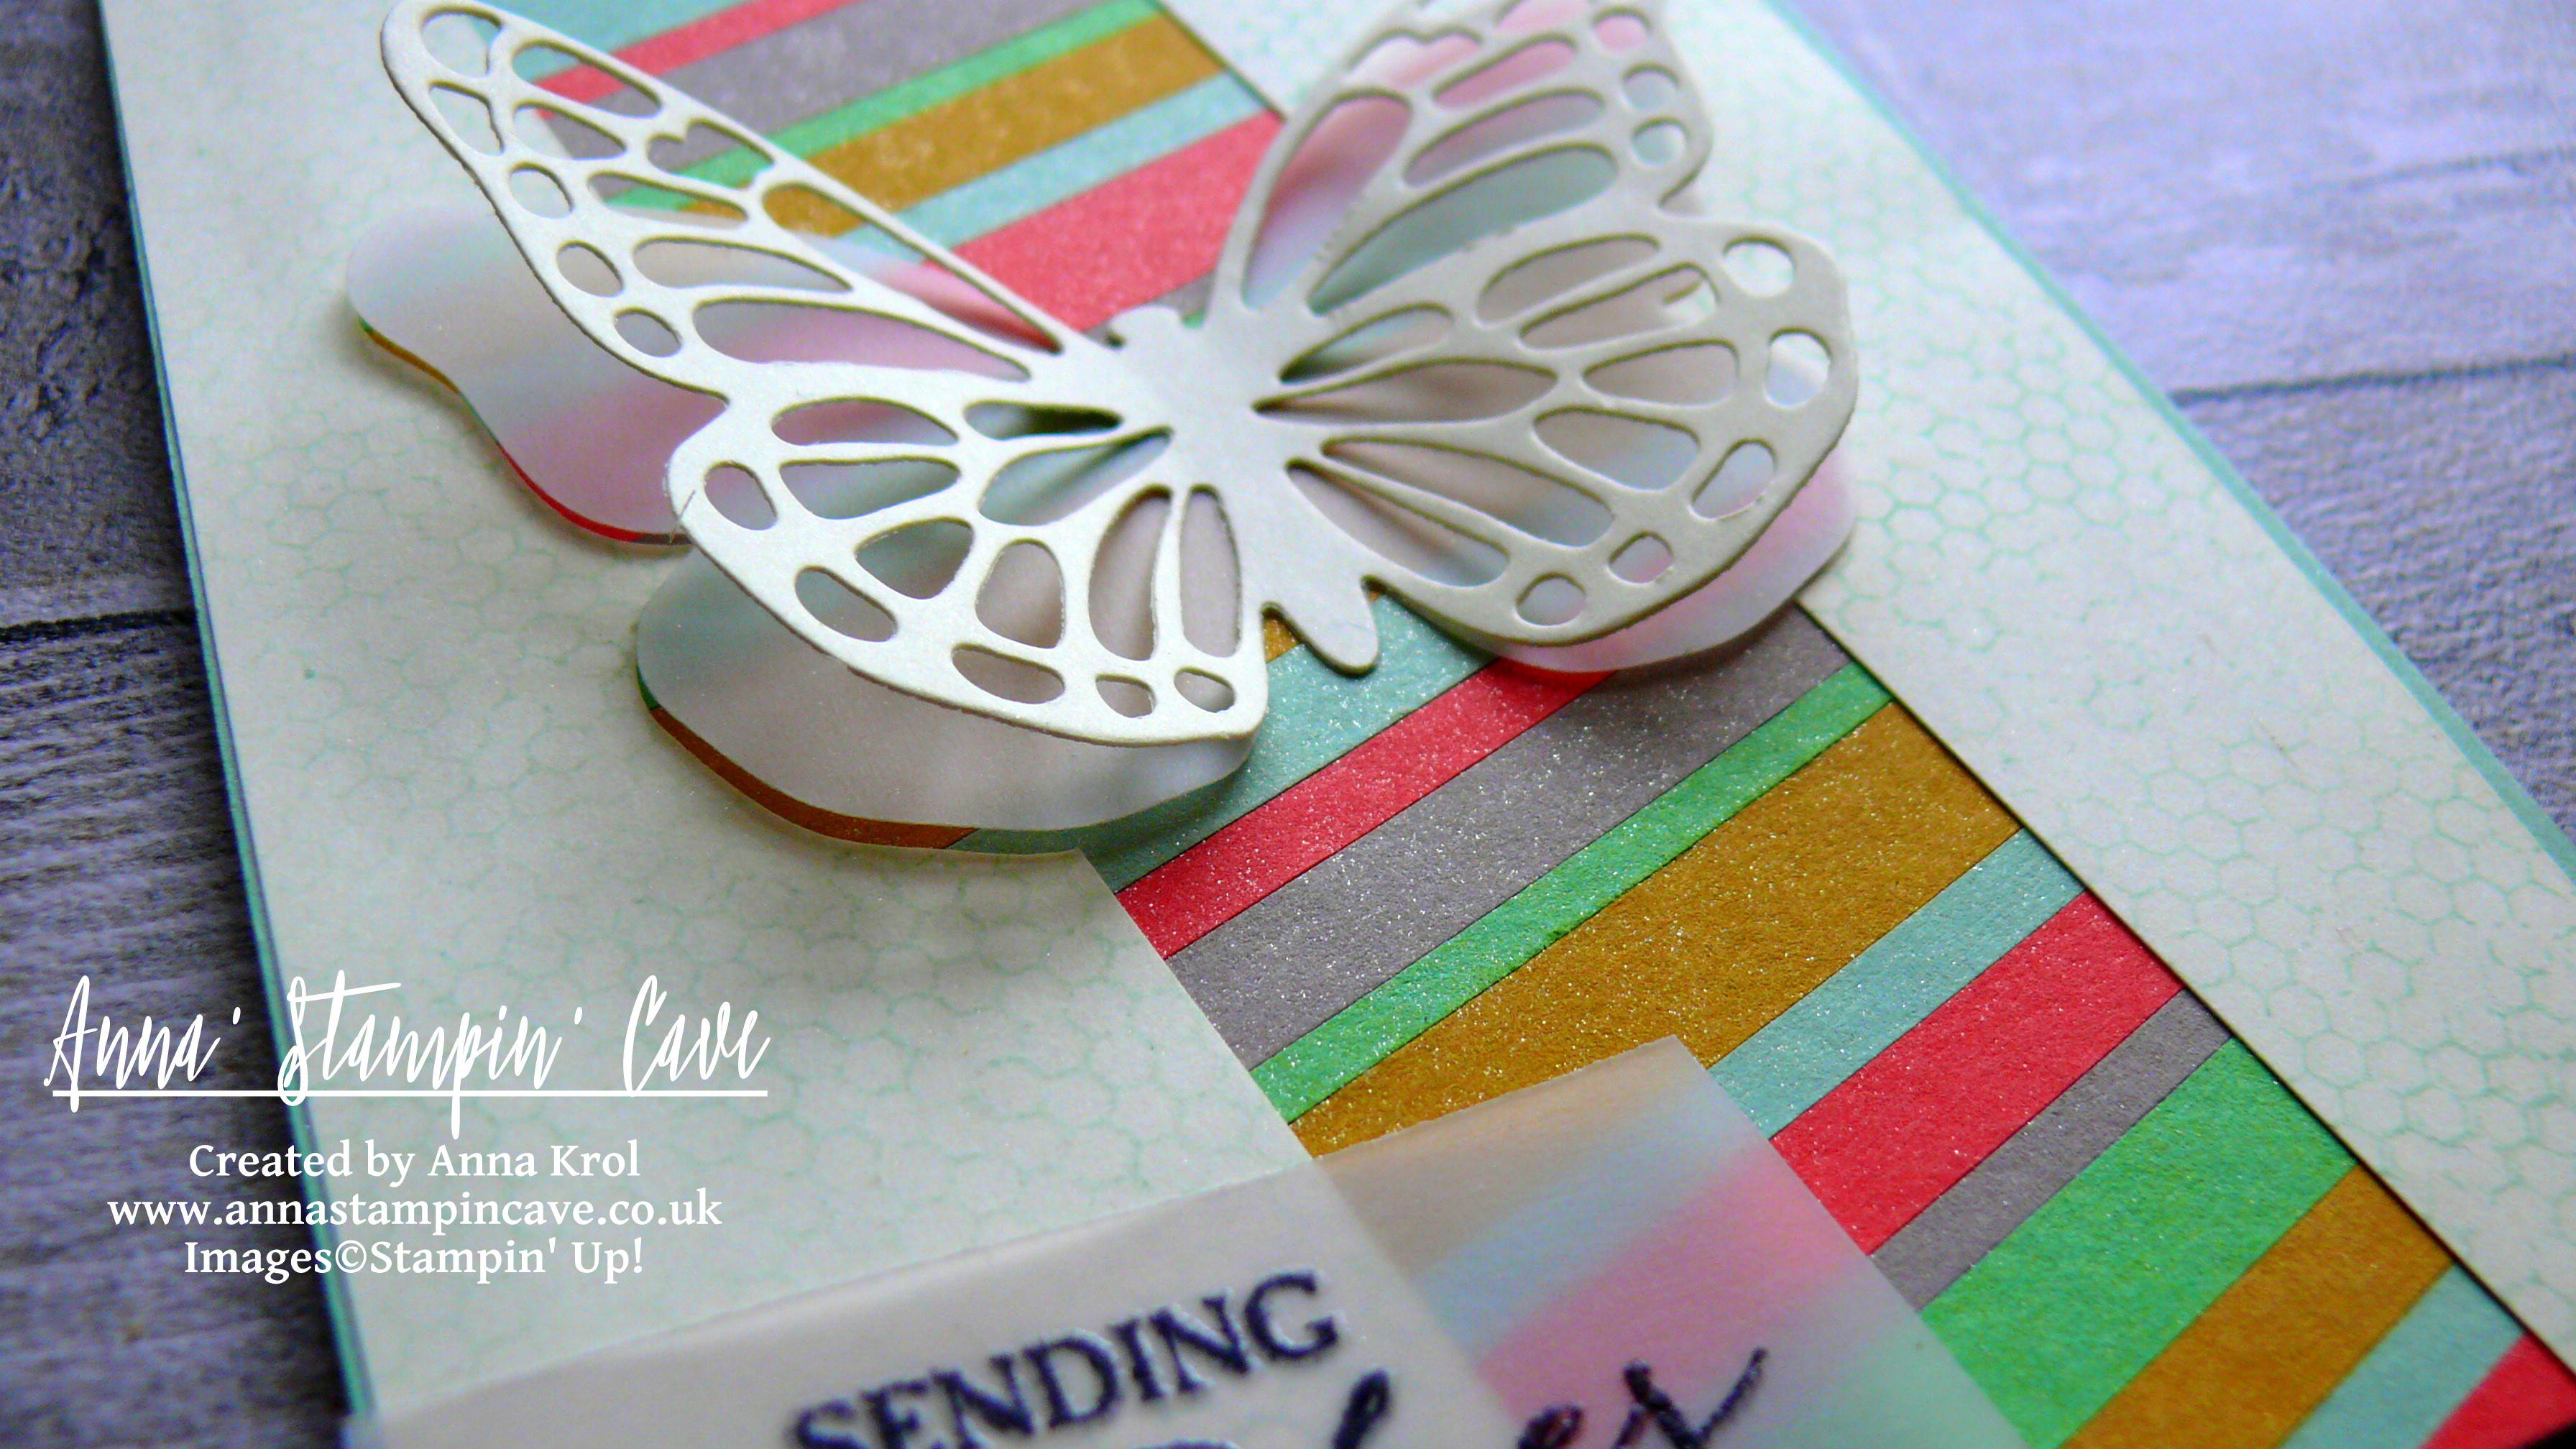
I started my card by creating this fun and colourful striped background. I took my scraps of cardstock of 2015-2017 In Colours and I cut it into strips of different widths. Next, I took a piece of cardstock (random colour as it won’t be seen anyway), covered it in glue, using snail adhesive, and adhered my strips diagonally, mixing colours and widths, making sure there’s no space left in-between the strips. When the whole panel was covered, I trimmed any overhanging stripes.
Can you see the shimmer on this panel? I took empty spritzer bottle and fill it with water. Next, I took Clear Wink of Stella Glitter Brush and squeezed pretty few drops of it into the spritzer. I shake it really well, spritz my entire panel with this glittery mist and let it dry.
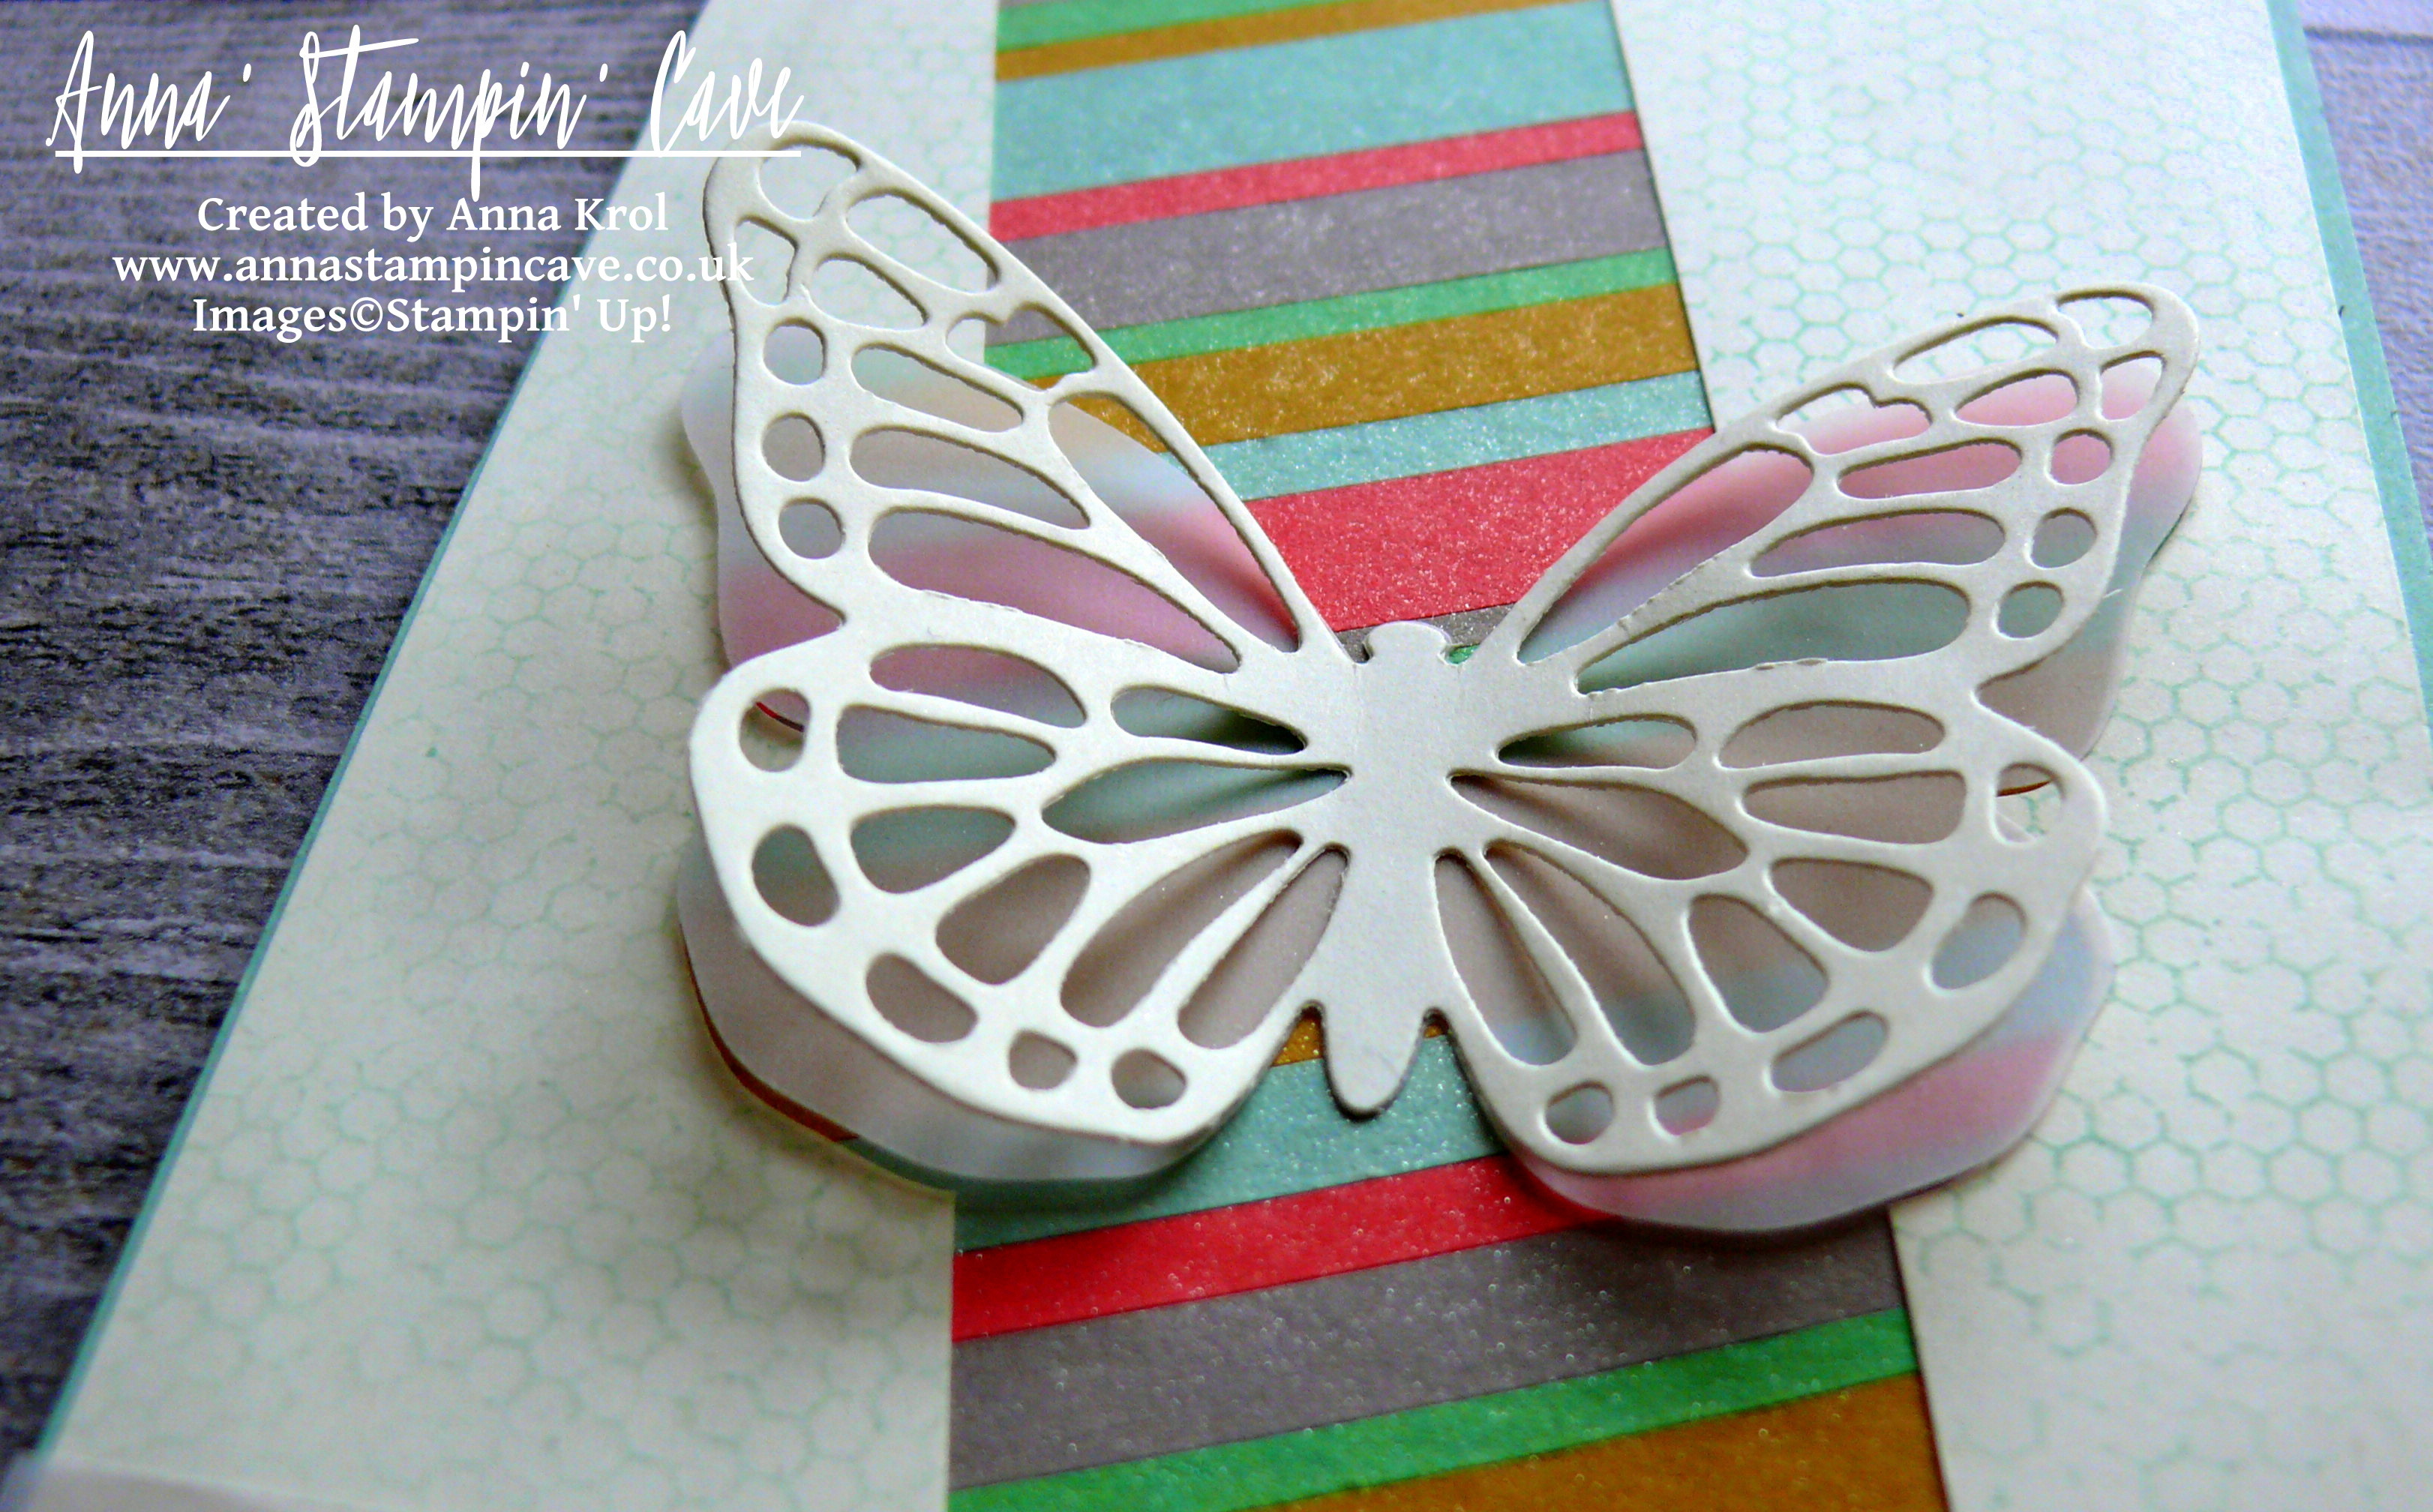
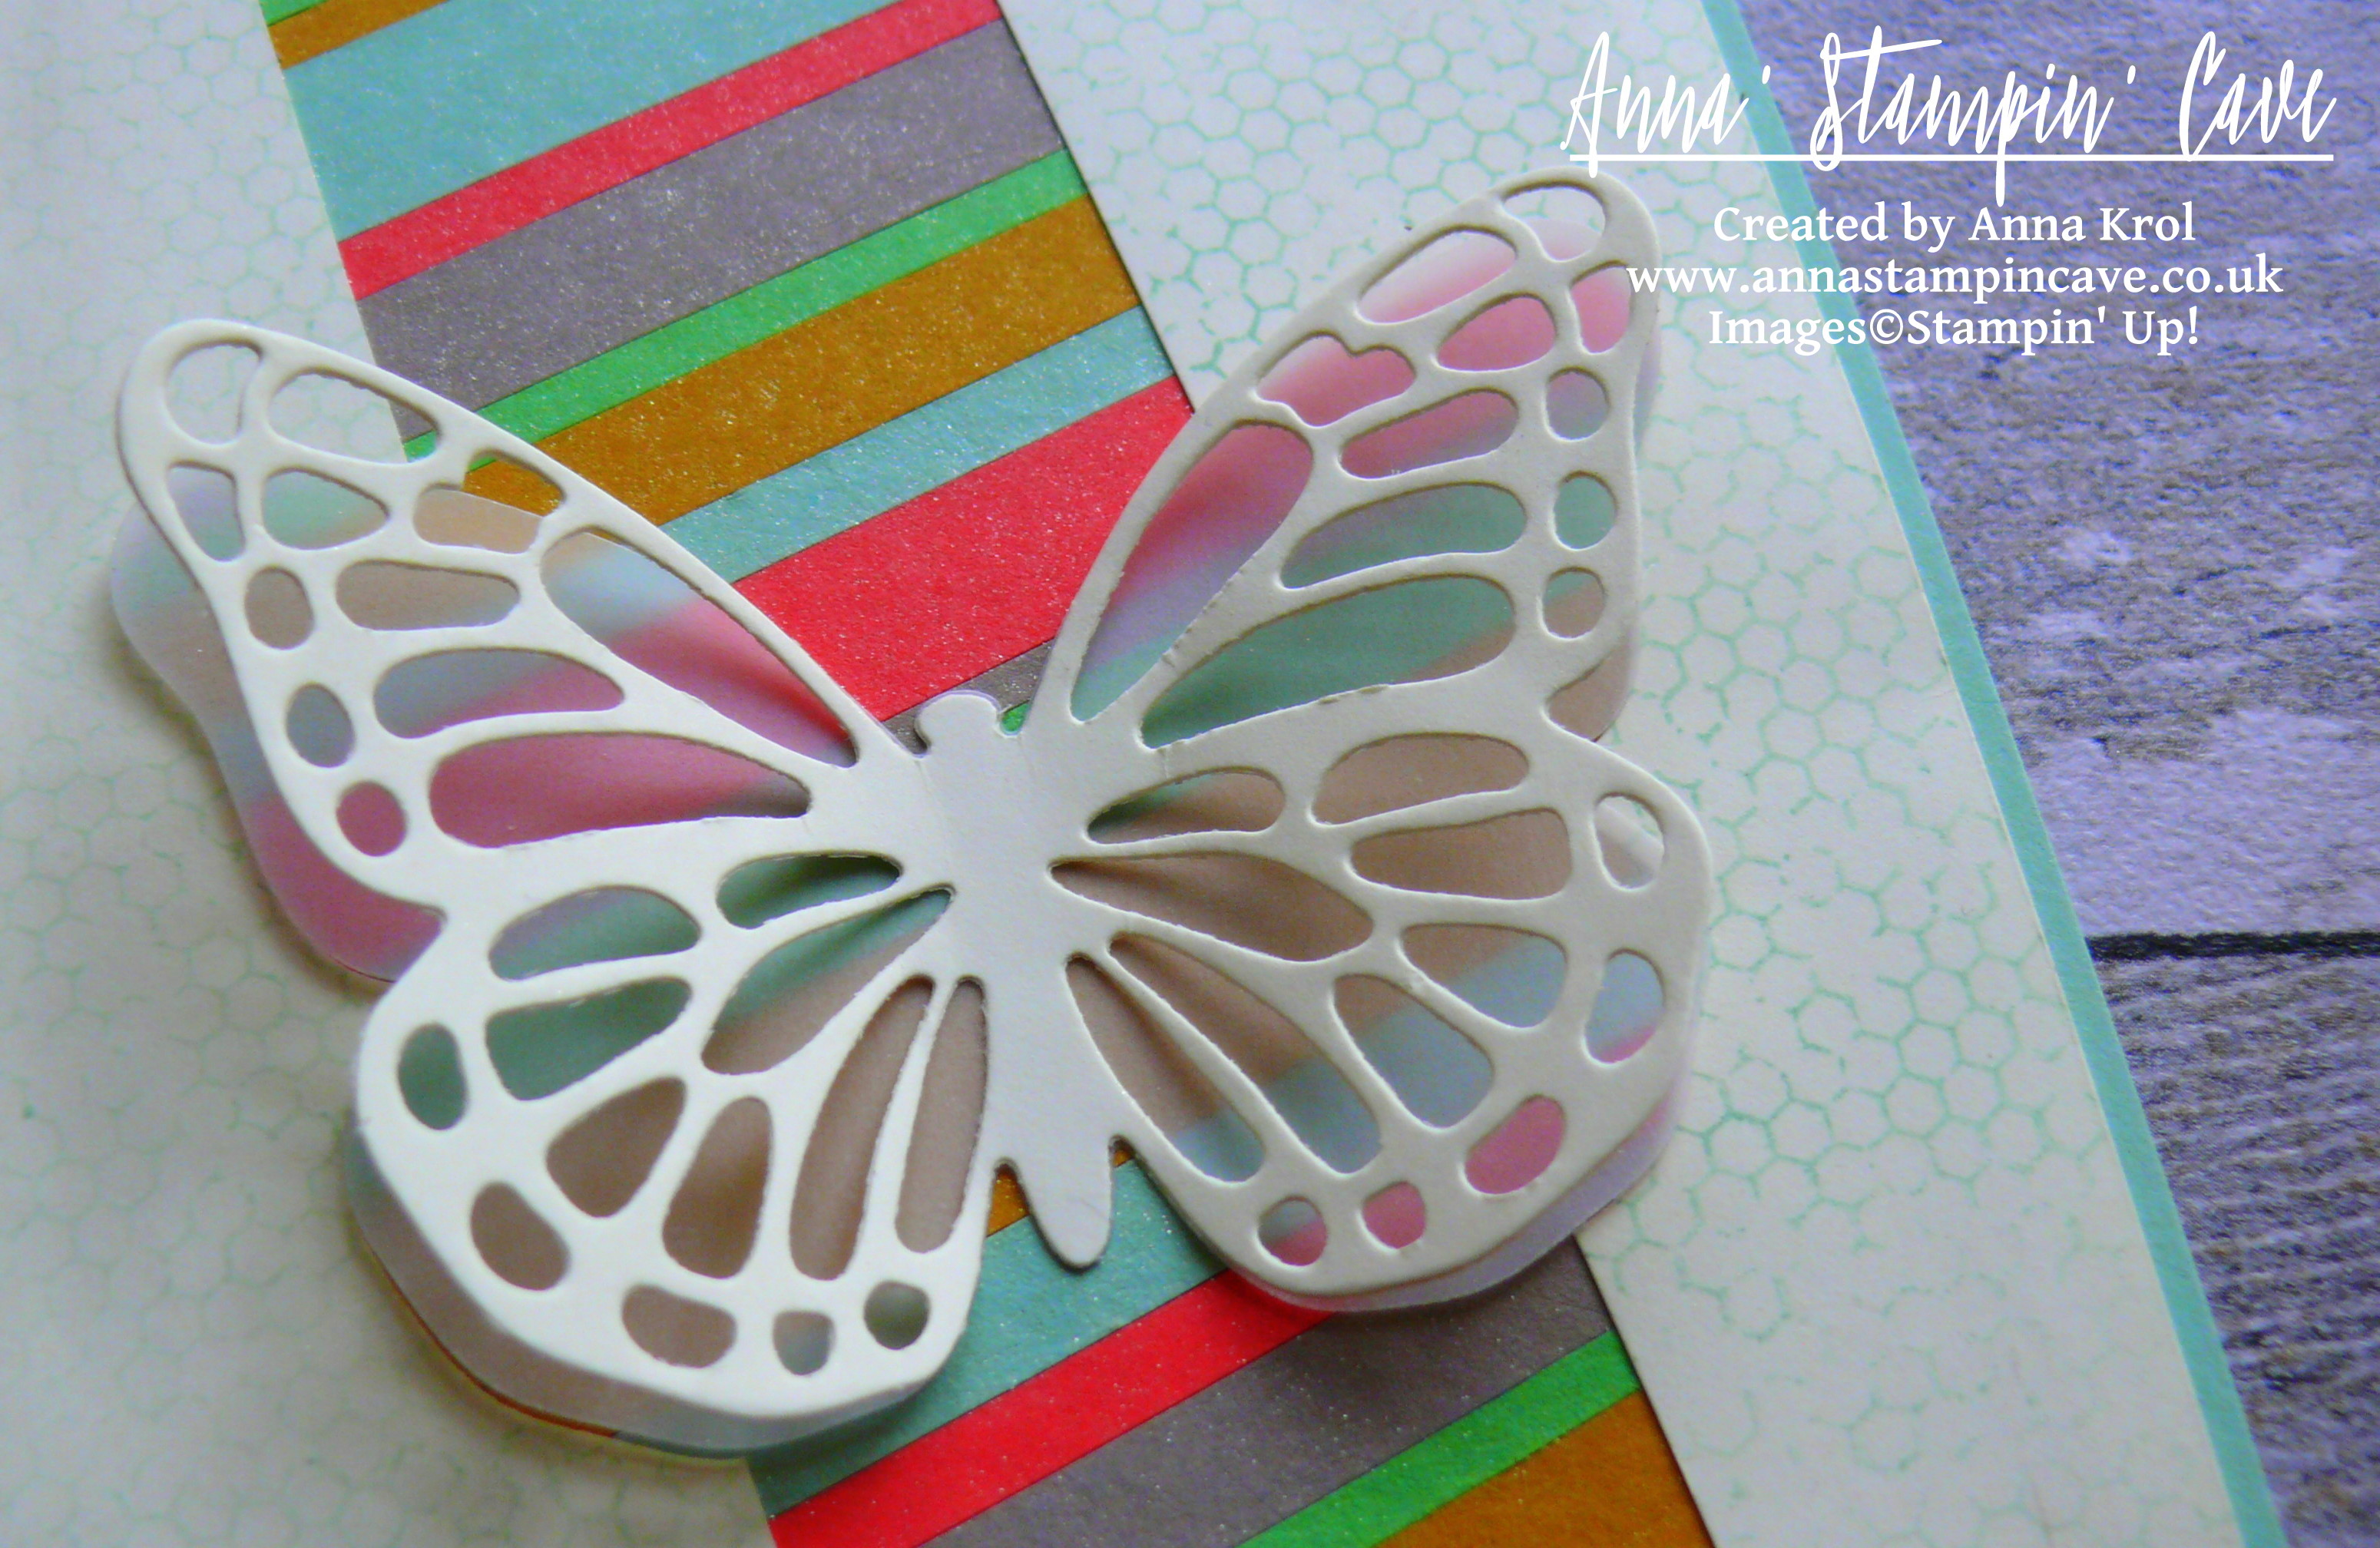
I took the Very Vanilla panel and die-cut this intricate butterfly from Butterflies Framelits Dies in the middle of it. I also die-cut solid butterfly from vellum using Bold Butterfly Framelit Dies.
Using t-ruler, I draw two diagonal (and parallel) lines at the back of my panel. Using these lines as guides, I cut my panel into three and discarded the middle piece. Next, I stamped this lovely chicken wire (kinda) pattern from Butterfly Basics Stamp Set all over the other two pieces. I stamped it in Mint Macaron and to create this faded look I stamp off twice before I stamped on the cardstock.
I adhered my Very Vanilla pieces to the background panel, with butterflies inlaid between them: vellum butterfly at the bottom and vanilla one on the top, and added the whole panel to the card base with liquid adhesive.
For the sentiment, I chose “Sending Wishes Your Way”, also from Butterfly Basics Stamp Set. I prepared vellum with embossing buddy, dabbed my stamp in Versamark and straight away in Basic Black Archival ink, and stamped it onto vellum. Sprinkled it with clear embossing powder and heat set it. Adhered it to the card with few tiny drops of Fine-Tip Glue Pen. All that’s left was to add second Very Vanilla panel inside of the card. Done!
Once again I wanted to thank amazing GDP team for this opportunity and privilege, that I could showcase my project alongside such wonderful artists. Thank you from the bottom of my heart.
As always, I really want to encourage you to visit the Global Design Project challenge and play along. You too have a chance to be the next Guest Designer


")