Best Guy Ever Clean & Simple Masculine Card

Anna’ Stampin’ Cave – Best Guy Ever Clean & Simple Masculine Card

International-Highlights-header-vote-fav

Thanks for coming to my blog today! We are being highlighted internationally by Kylie Bertucci and you are able to VOTE for my project. The top ten winners will get to be part of an international blog hop so please vote for my project. You can do it here or use a button at the end of my post.

This month we have a theme that, I think, most of cardmakers struggling with – MASCULINE.

I know that for some it’s hard if you can’t use pink, glitter or rhinestones on the card. Not to mention flowers. I even heard that masculine cards are boring! What?! Today I will show you that masculine cards can be fun and not boring at all.

Best Guy Ever card dimensions:

  • Delightful Dijon cardstock: 11-6/8″ x 4-1/8″ scored in half at 5-7/8″ (29.7 x 10.5 cm scored in half at 14.8 cm)
  • Early Espresso cardstock: 5-6/8″ x 4″ (14.6 cm x 10.2 cm)
  • Delightful Dijon cardstock for sentiment: 1-3/8″ x 2″
  • White Vellum cardstock mat: 1-5/8″ x 2-2/8″
  • Early Espresso, Delightful Dijon and White Vellum scraps for die cutting

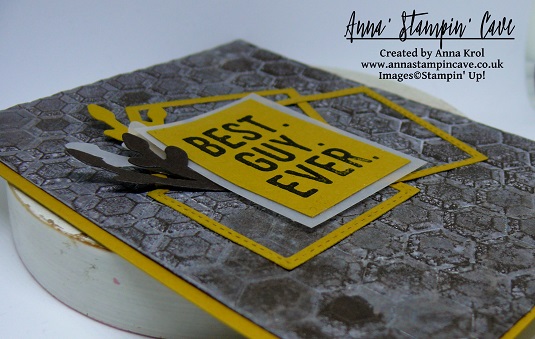
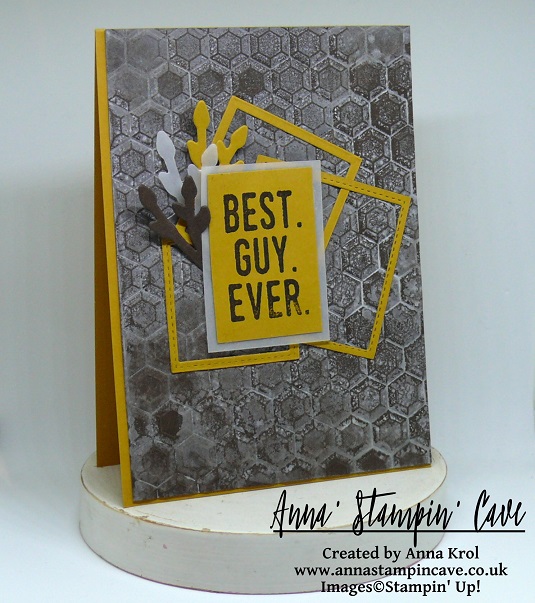
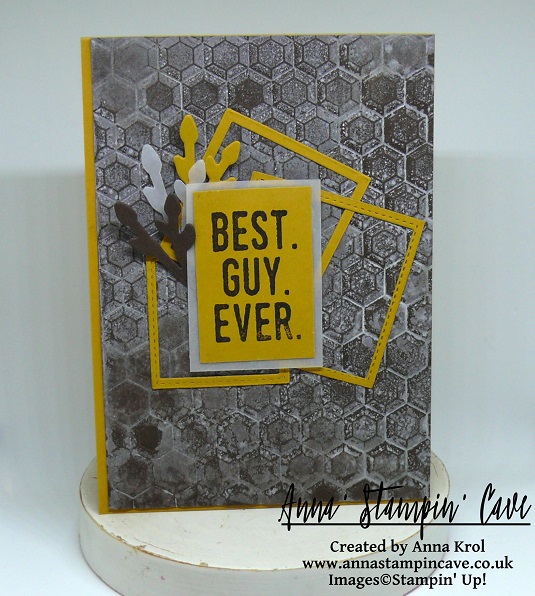
To achieve this fun texture on my Early Espresso panel I spritzed it with water to soften the fibre. Next, I dabbed Hexagons Dynamic Embossing folder with Whisper White Craft Ink, put Early Espresso cardstock inside, run it through the Big Shot and let it dry. When it dried I adhered it to the card base.

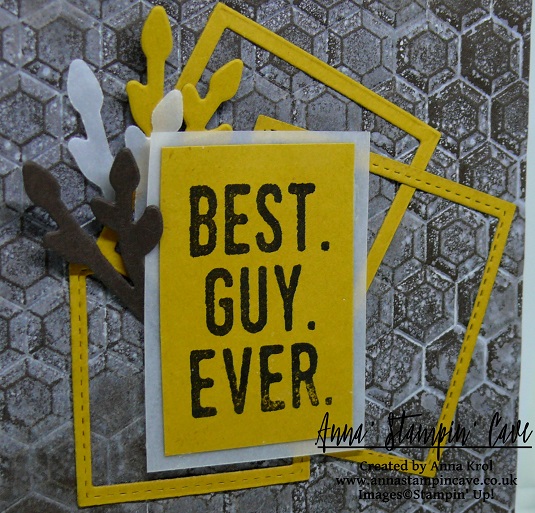
Next, I die cut various size frames from Delightful Dijon cardstock using squares from Stitched Shapes Framelits Dies and Layering Squares Framelits Dies. You can mix and match these as you wish. Glued them to my card with liquid adhesive.

I also die cut three ‘branches’ using one of the dies from Everyday Jars Framelits Dies: one from vellum, one from Delightful Dijon and one from Early Espresso cardstock.

The sentiment I chose for my card is brilliant and can be used for any occasion really. And I love the bold font. I stamped it on a piece of Delightful Dijon in Early Espresso and matted it with a piece of vellum.

I adhered my sentiment to the card with a couple of dimensionals. For a final touch, I added my ‘branches’ to the card. I glued their ends under the sentiment panel. And this is my card done. I hope I inspired you today.

Thanks for visiting my blog today and make sure you head over to Kylie’s blog to check all lovely projects and vote for your favourites. Hope you like my project enough to give it some love ?

Vote for me Kylie's Highlights Badge

Thank you for stopping by and have a blessed day,

You Are Amazing – Kylie Bertucci’s International Stampin’ Up! Blog Highlights

Anna’ Stampin’ Cave – You Are Amazing – Kylie Bertucci’s International Stampin’ Up! Blog Highlights

International-Highlights-header-vote-fav

Thanks for coming to my blog today! We are being highlighted internationally by Kylie Bertucci and you are able to VOTE on my project. The top ten winners will get to be part of an international blog hop so please vote for my project. You can do it here or use button at the end of my post.

Anna' Stampin' Cave - Stampin' Up! All Things Thanks Stamp Set CAS Card You Are Amazing

Our theme for this highlight is using the stamp set All Things Thanks! This is a Wonderful stamp set with so many gorgeous sentiments. We wanted to highlight how versatile it really is.

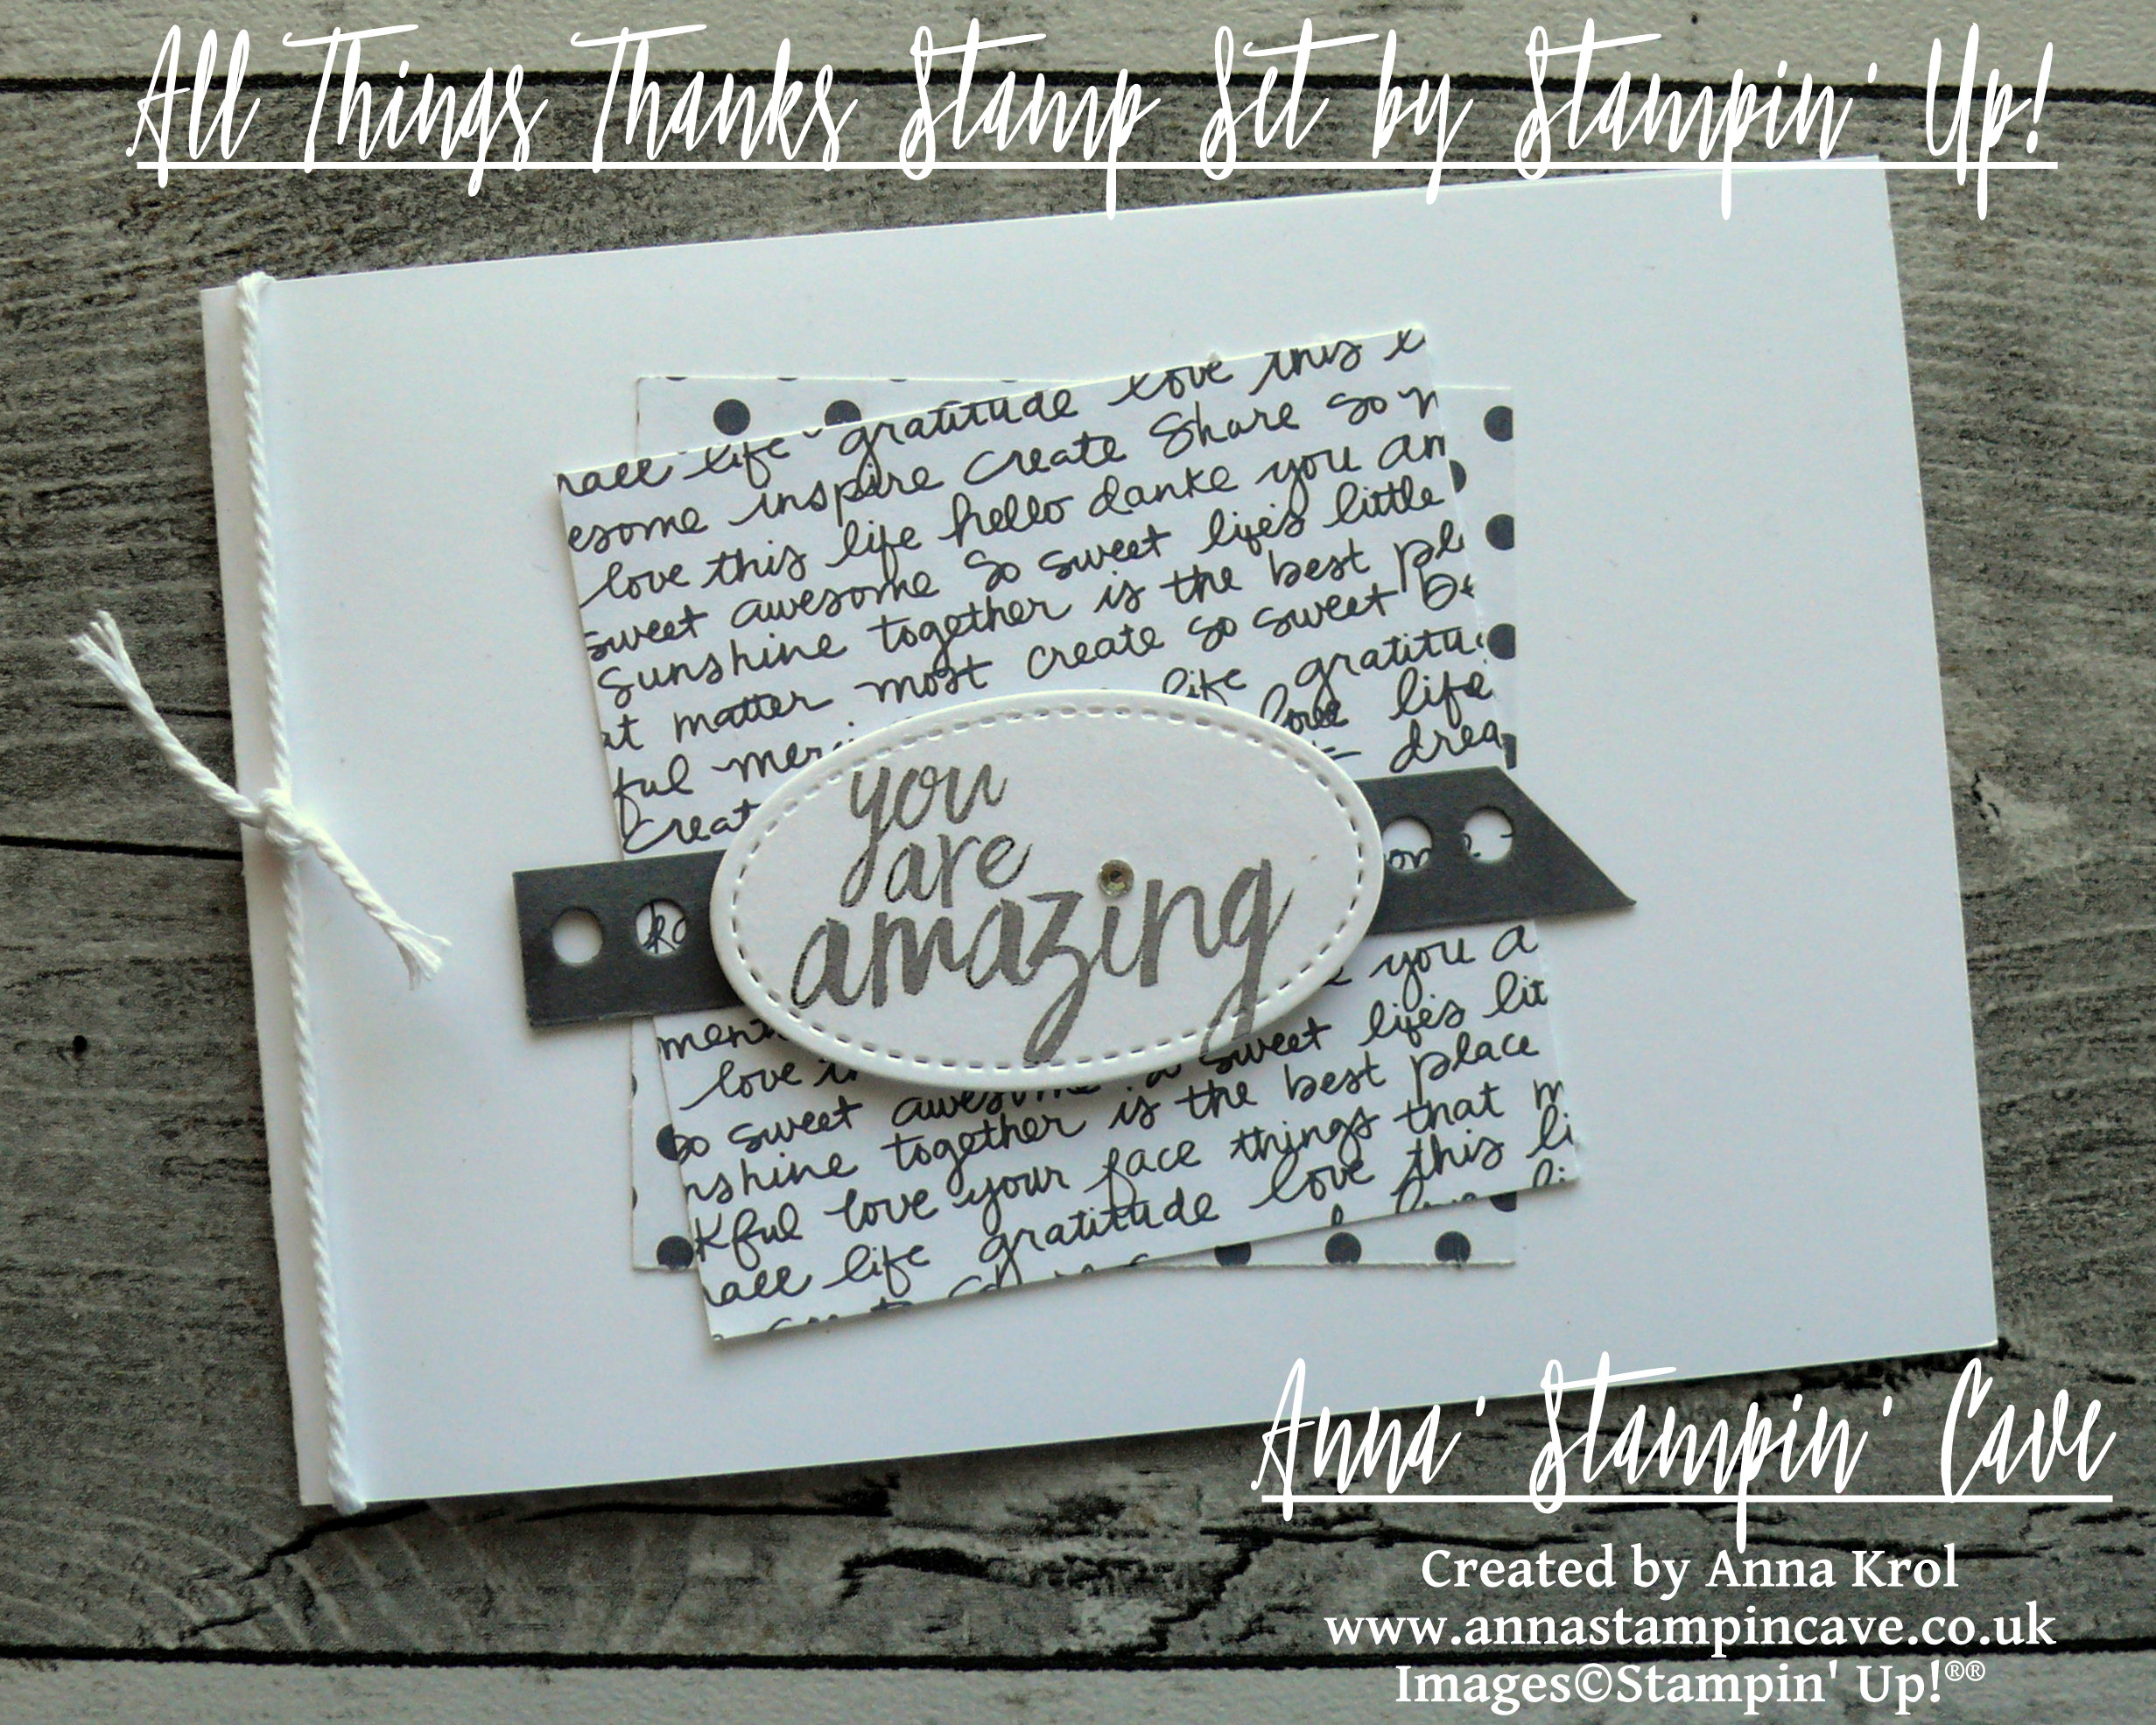
This is my first time taking part in Kylie Bertucci’s International Stampin’ Up! Blog Highlight so I’m a little bit nervous. For my card, I went with monochromatic clean and simple design.

Anna' Stampin' Cave - Stampin' Up! All Things Thanks Stamp Set Monochromatic CAS Card You Are Amazing.JPG

You Are Amazing Card dimensions:

  • Whisper White cardstock: 11-6/8″ x 4-1/8″ scored in half at 5-7/8″ (29.7 x 10.5 cm scored in half at 14.8 cm)
  • Basic Grey DSP from Neutrals DSP Stack: two pieces 3″x 3″ each (7.6 cm x 7.6 cm)
  • Basic Grey cardstock: 1/2″ x 3-3/6″ (1.2 cm x 9.5 cm)
  • for sentiment piece of Whisper White cardstock
  • Whisper White Thick Baker’s Twine: 12″

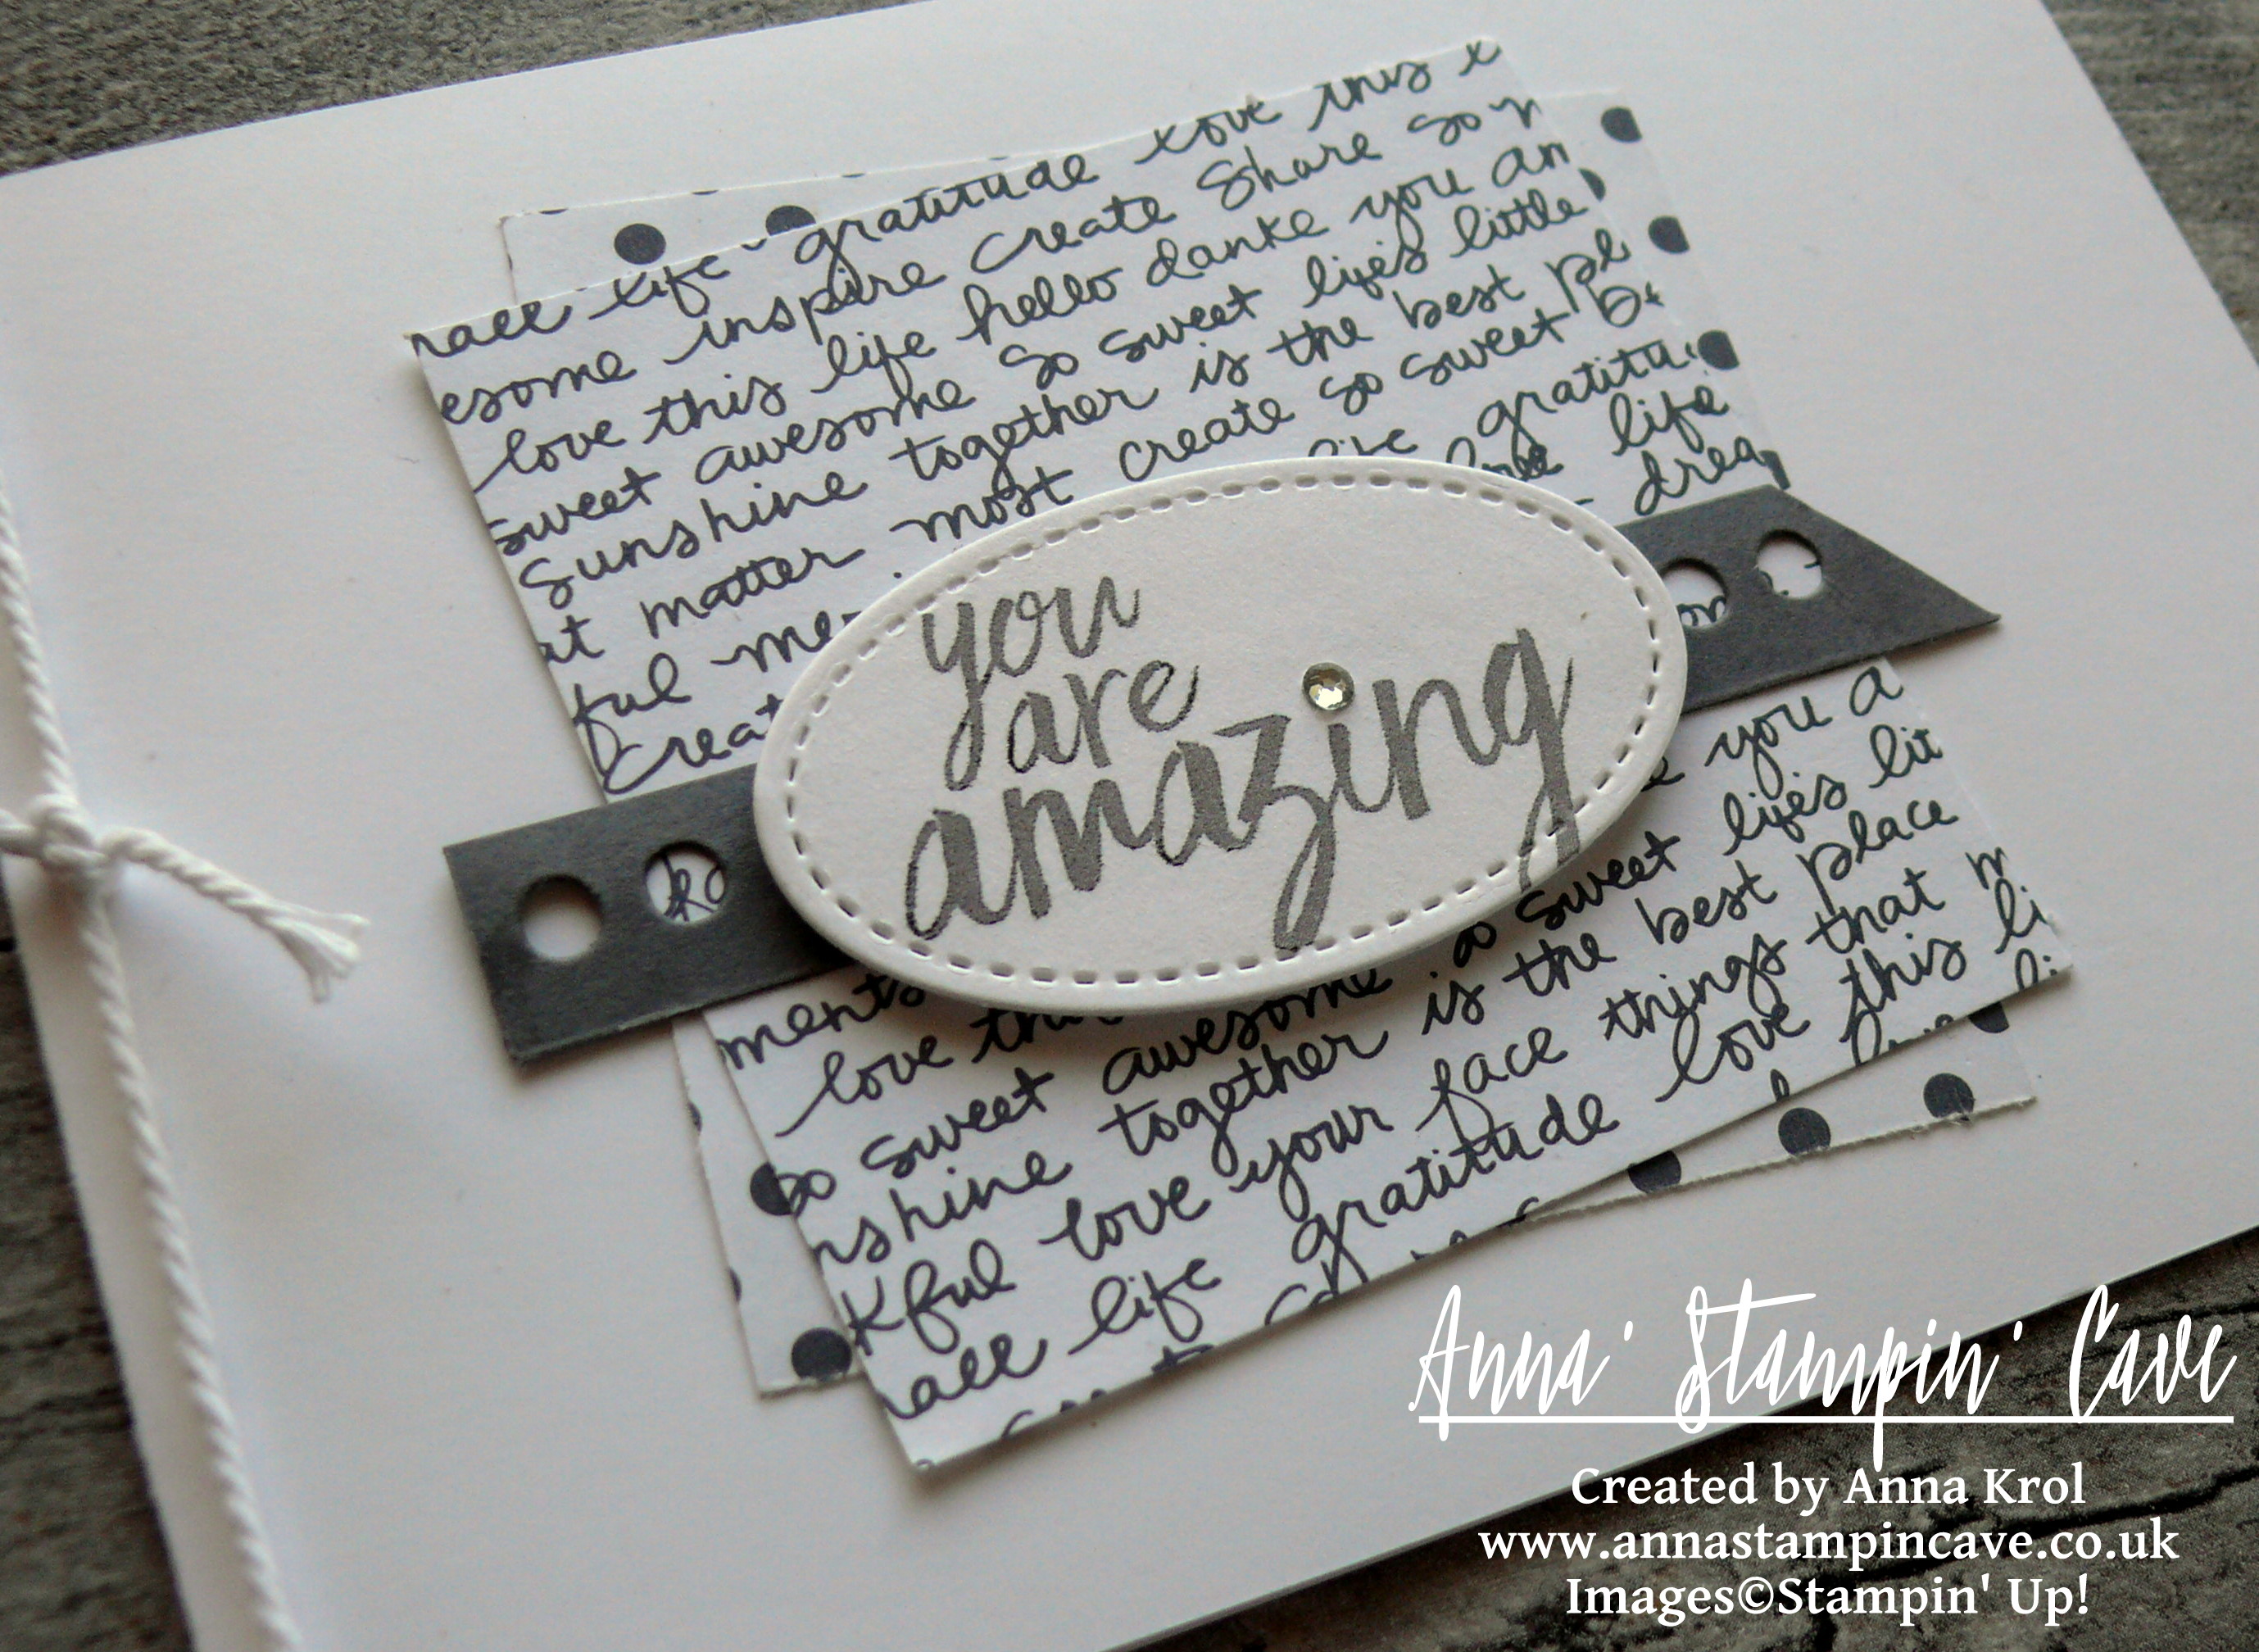
First, I stamped my sentiment in Basic Grey on a piece of Whisper White cardstock and die cut it using 2nd smallest oval from Stitched Shapes Framelits Dies. Next, I took my card base and adhered my squares of Designer Series Paper in the middle, offsetting them slightly.

I took Basic Gray strip of cardstock and created a fun banner using a dotted strip die from Mini Treat Bag Thinlits Dies.

I adhered the banner in in the centre of my card front and popped up the sentiment on top using dimensionals. I wrapped bakers twine around my card and tied a simple knot on the front. For the final touch, I added a rhinestone to the ‘i’ in the sentiment.

Anna' Stampin' Cave - All Things Thanks Stamp Set by Stampin' Up! Monochromatic CAS Card You Are Amazing.JPG

Thanks for visiting my blog today and make sure you head over to Kylie’s blog to check all lovely projects and vote for your favourites. Hope my project will be among them as I would love to be chosen to do an international blog hop.

Vote for me Kylie's Highlights Badge

Thank you for stopping by and have a blessed day,