
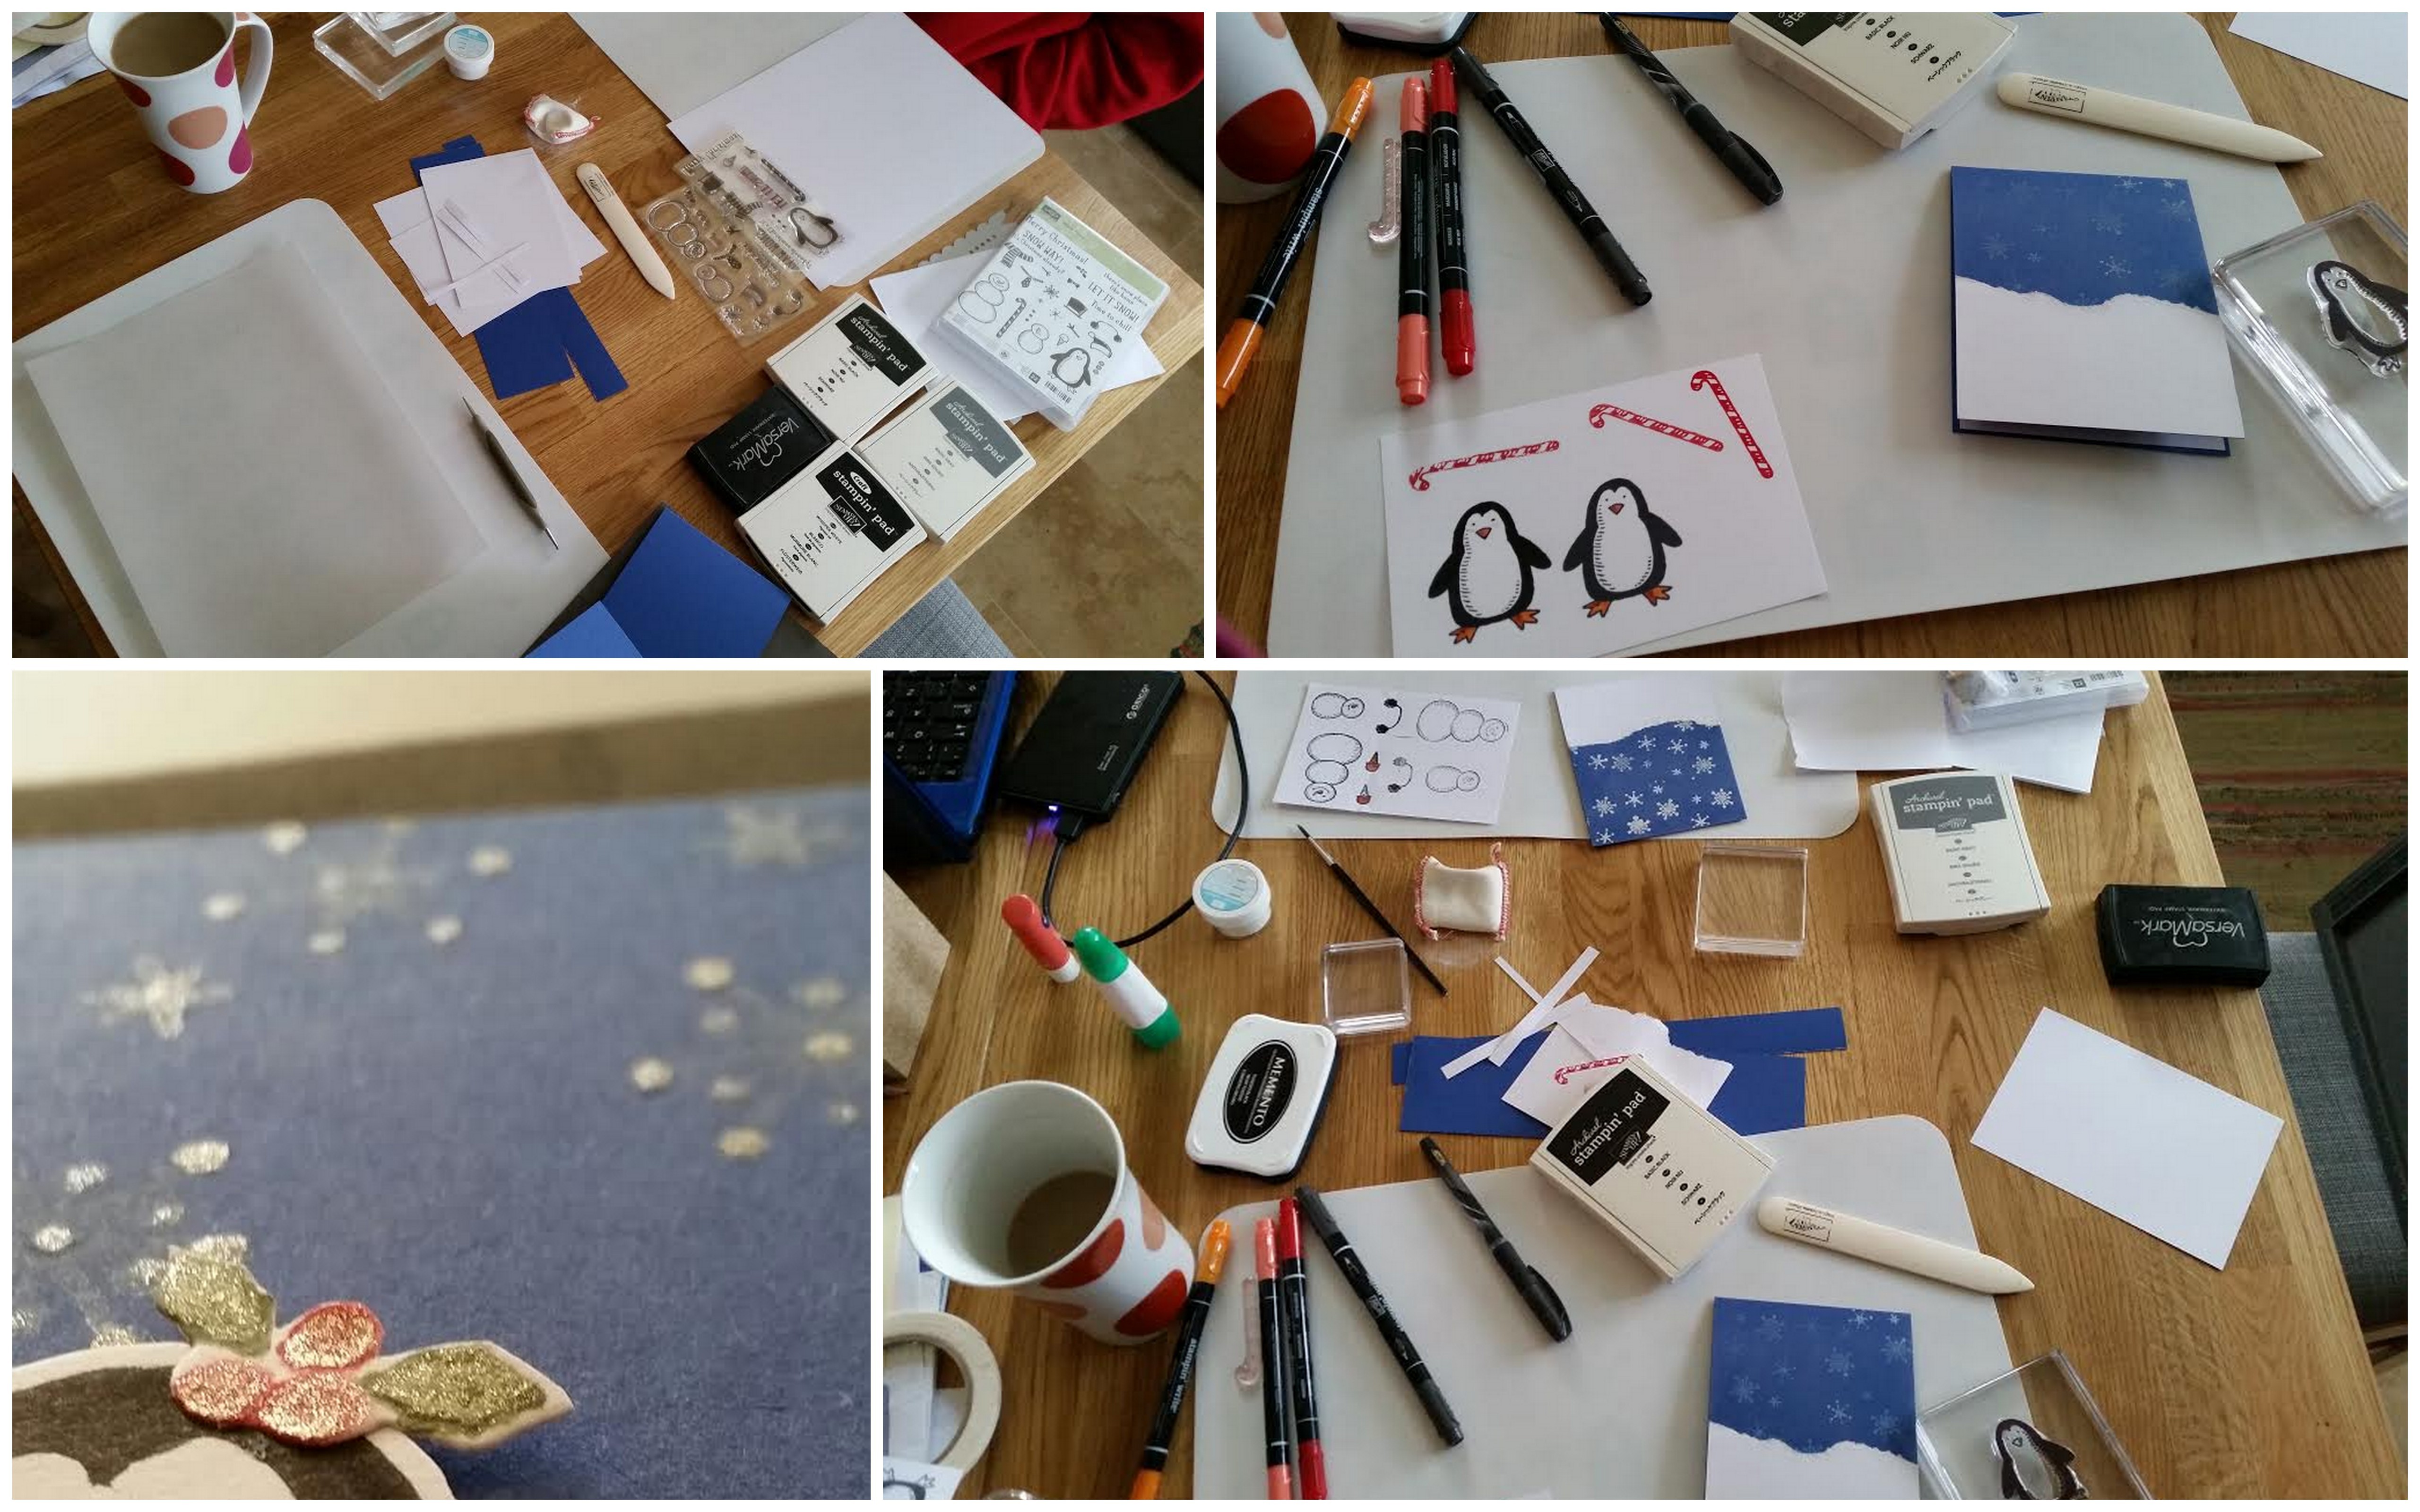
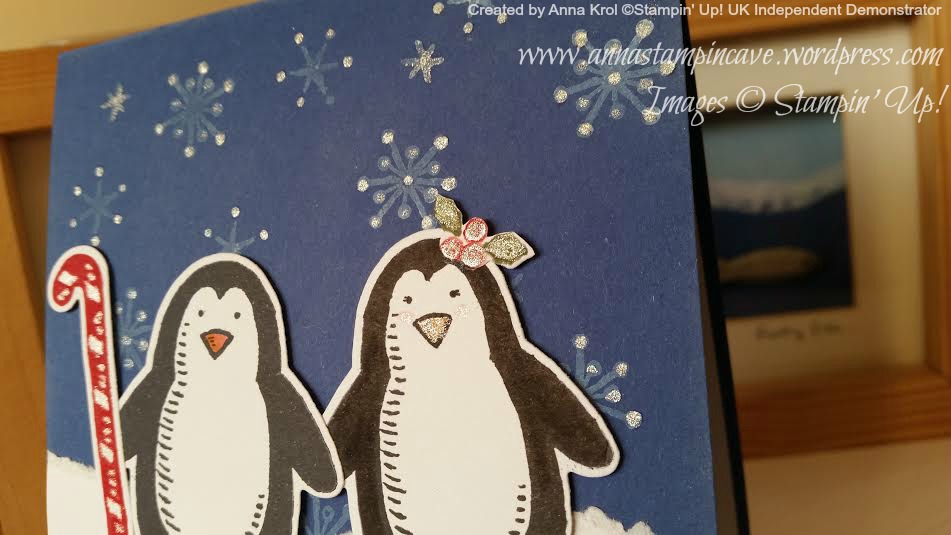
Howdy friends! How’s your weekend going? I had a lovely and quick crafty session with my little sister on Friday morning. She badly wanted to play with Snow Place bundle from Stampin’ Up before back home for a half term break at uni. So I sorted out some time to make a little crafty mess at my kitchen table.
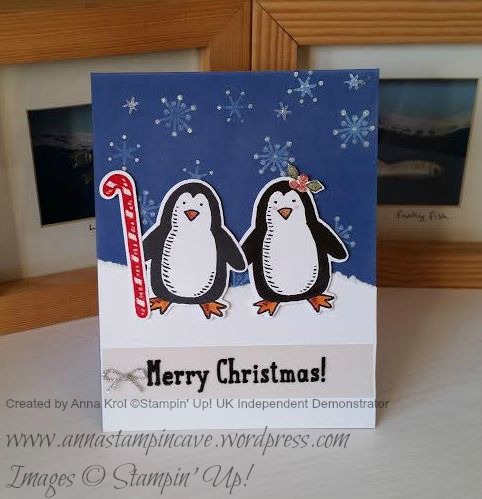
Last time I used cute little snowmen so this time I decided to use Mr Penguin, or shall I say Mr & Mrs Penguin? haha Yep, I decided to make cute Mrs for our handsome friend, so he’s not feeling lonely at a Christmas time.
The card layout is pretty straightforward: top-folded base and a piece of the white panel inside for your writing. You also need a piece of white card for snow bank at the front of your card. You can die-cut it or use your scissors, but I just simply tear it. It adds some fun texture to the card.
You also need a piece of card for your stamping. And I have to mention here that there’s a lot of black in penguin, and it’s not that easy to get perfect impression/coverage. I tried two black ink pads I have: Memento Black and new Archival Stampin’ Up! Basic Black to get the best possible image. And although I love my Memento Black the best black and the really crisp impression I got while using Basic Black Archival ink.
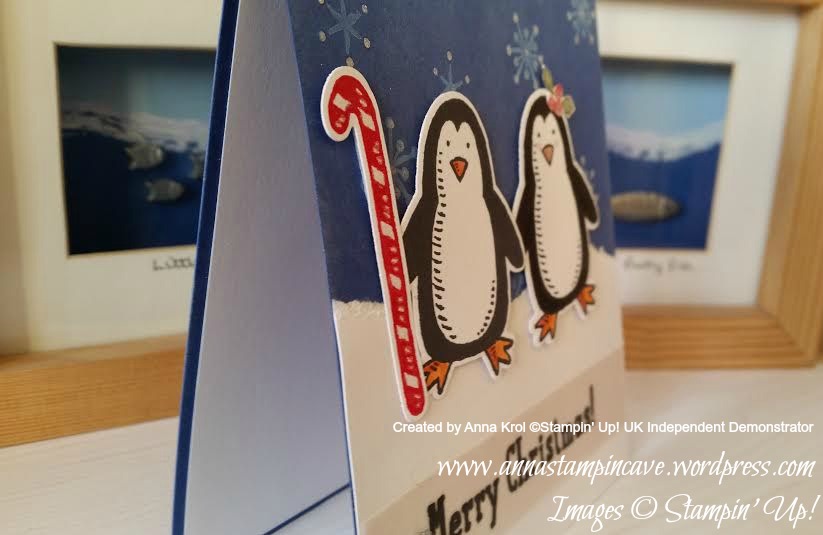
When we had all of our images stamped we took it to my studio to die cut it with matching framelits. If you don’t have framelits or die-cutting machine fear not. Images are so simple that you can easily cut them by hand with a pair of good scissors. I actually hand-cut leaves with berries that Mrs Penguin has in her hair lol
I also used clear Wink Of Stella Glitter Brush to add shimmer to snowflakes, berries and leaves, Mrs Penguin’s beak and cheeks as well as white stripes on the candy cane.
Now just wanted to show you a project that my sister created. Firstly she wanted to make a cute card for her boyfriend. But when the card was finished she asked if there’s a way to make it into gift card holder, haha But hey, everything is possible! So I made a pocket to hold a gift card and attached it inside of her card. It may not be perfect but it’s made with love and that is what really matters.
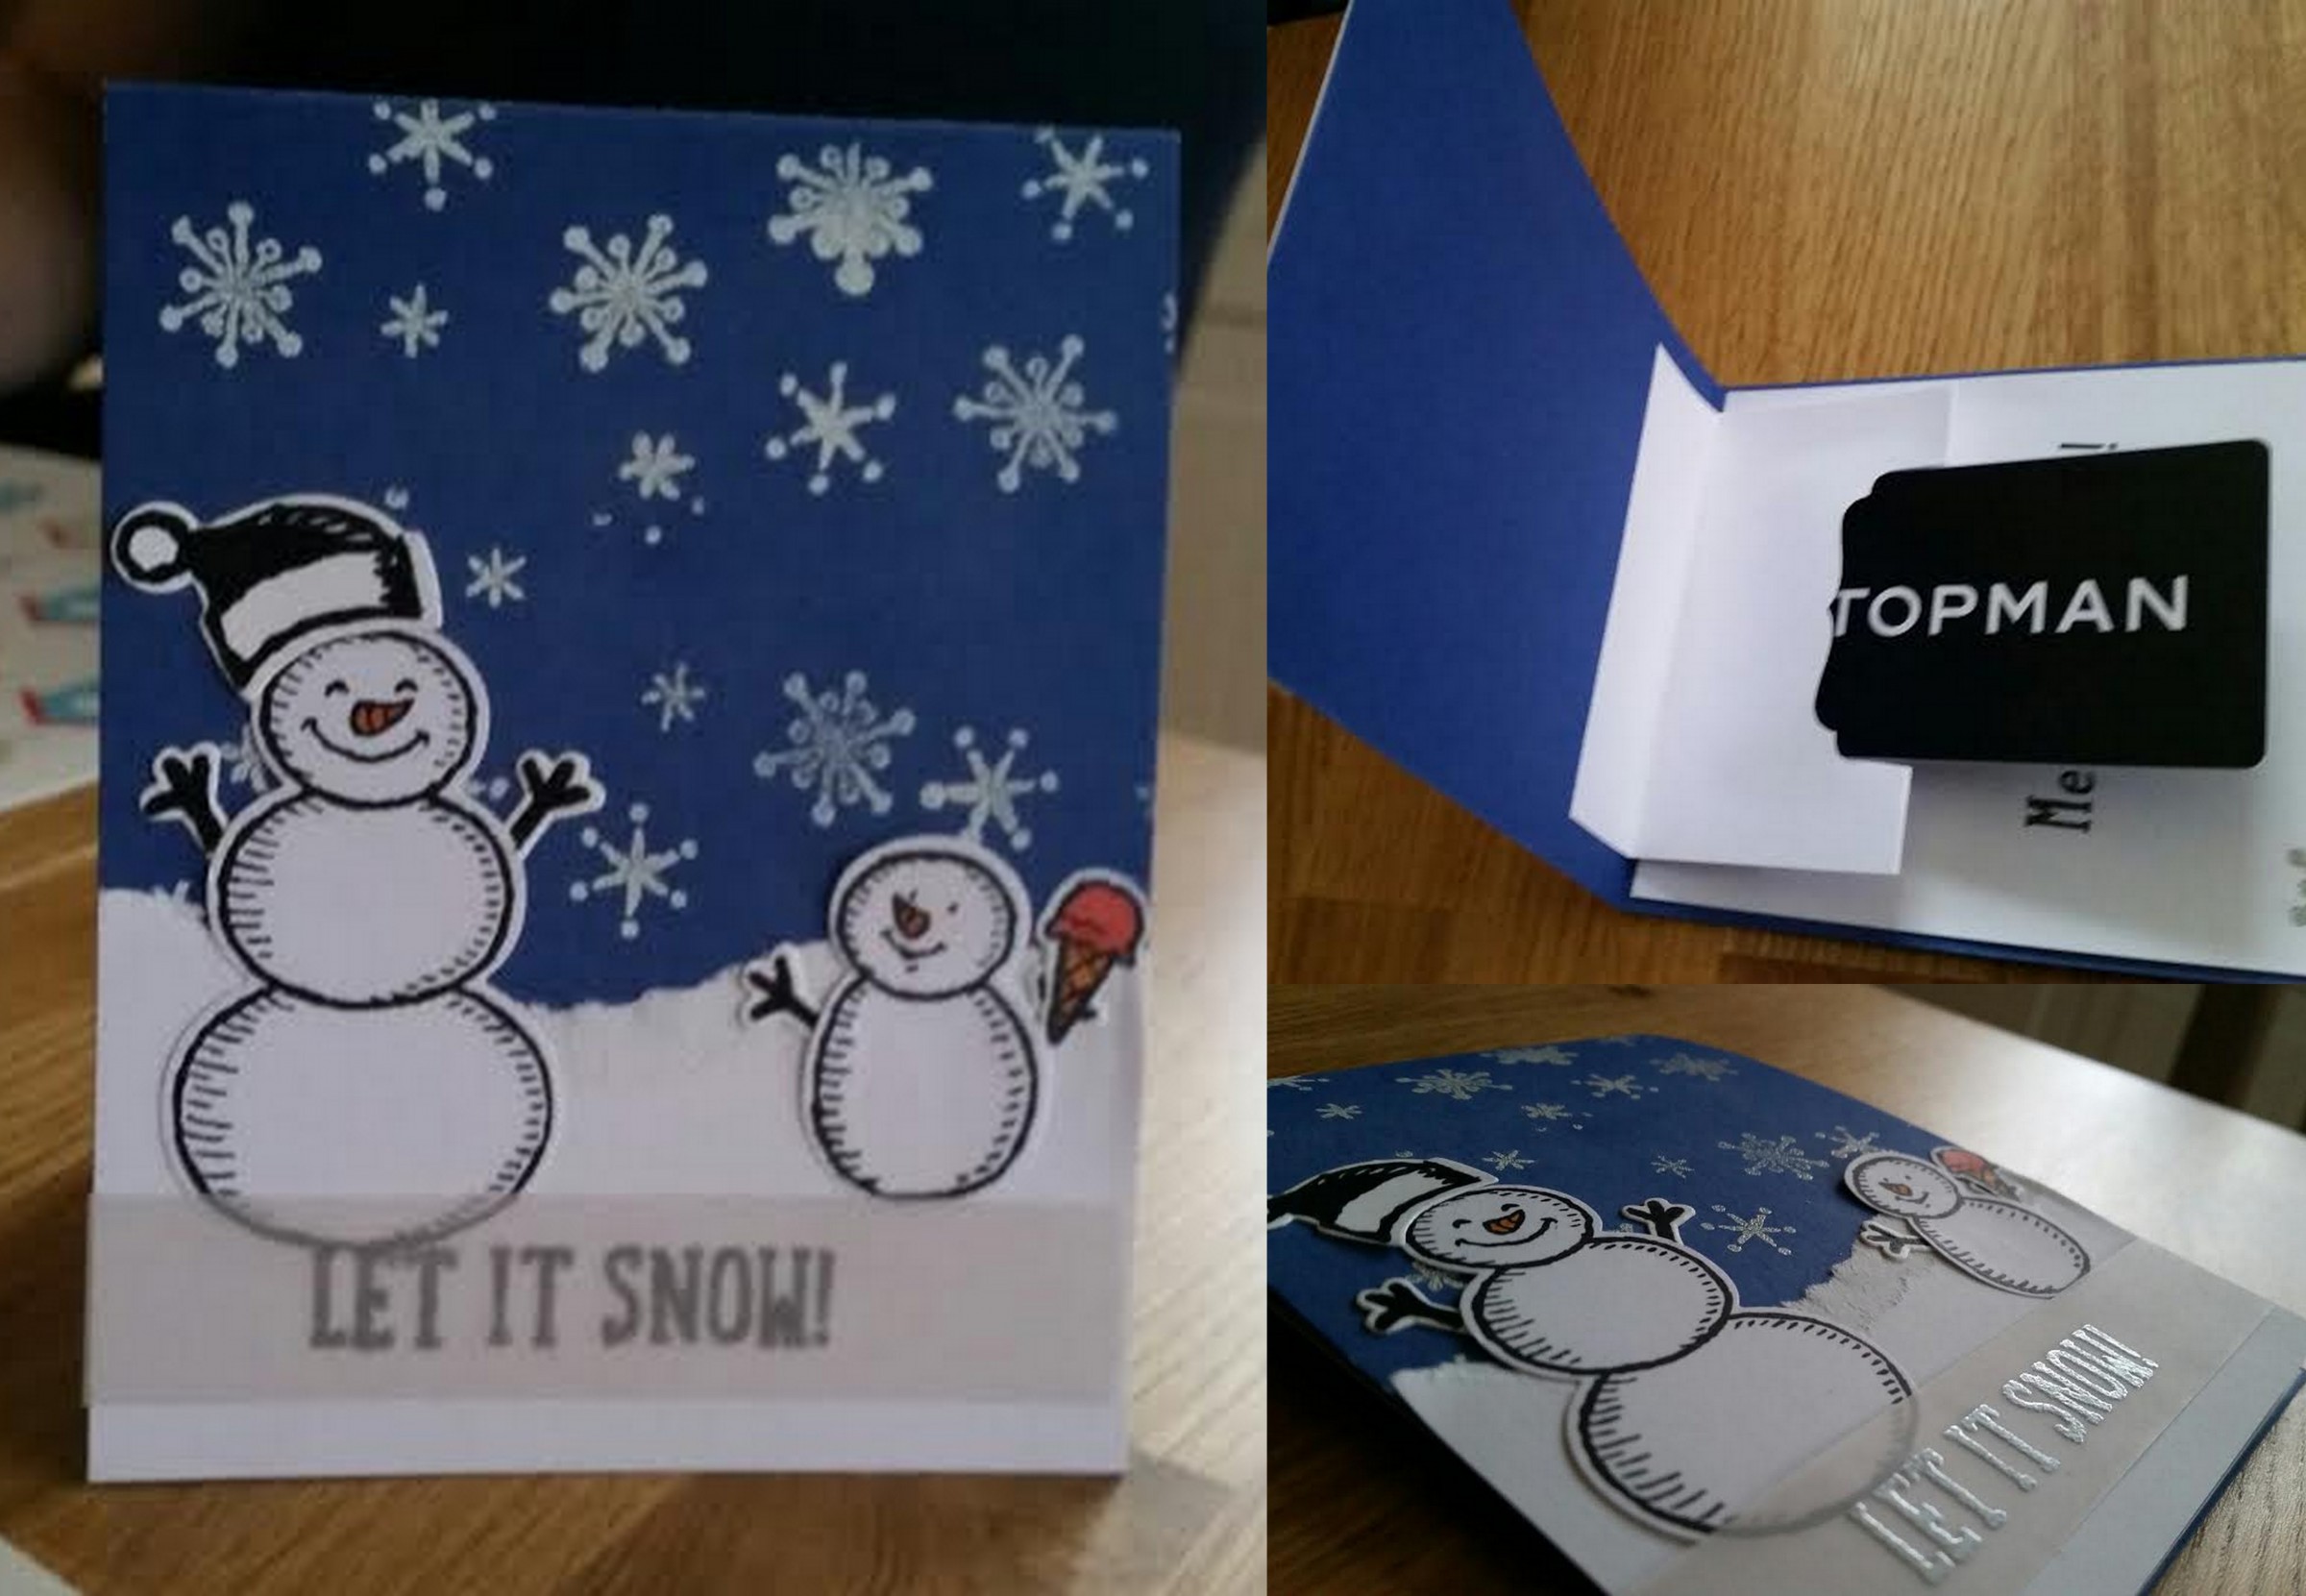
That’s it from me for today. I really hope you like our cute little projects. We definitely had lots of fun crafting, getting inky and making a mess.
Have a blessed day,
