

Watch these short videos and learn more about some of the products in the 2020 Sale-A-Bration brochure.
- Lily Pad Products
- The Gang’s All Meer
- Small Blooms Punch
- Golden Honey Designer Series Paper
- Little Ladybug
- Join Stampin’ Up!
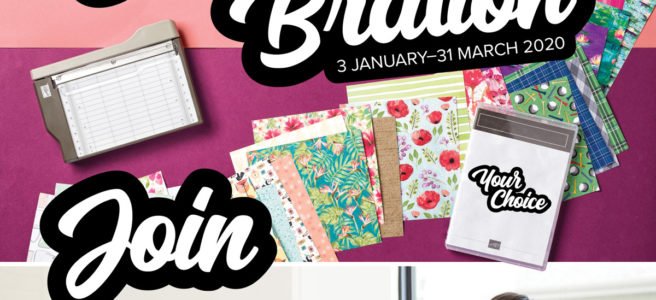
Sale-a-bration rewards everyone!
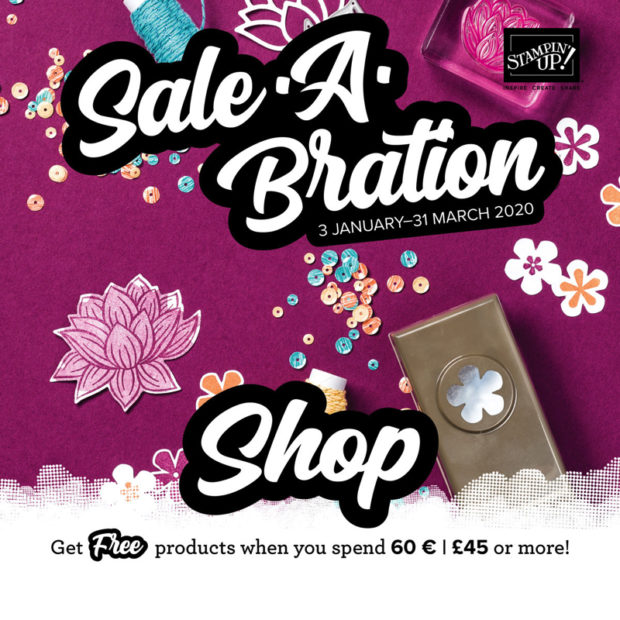
During Sale-a-bration (3 Jan. – 31 March) for every £45, you spend in my Stampin’ Up! store, you will earn one product from Sale-a-bration. For FREE!! How cool! But wait, there’s more!
Two reward levels are back again! When you spend £45 you earn one free level 1 product. Spend £90 and earn two free level 1 items or one level 2 item. Spend £135 and earn either three free level 1 products or one free level 1 product and one free level 2 product….and so on.
This gives you more flexibility to choose what you want.
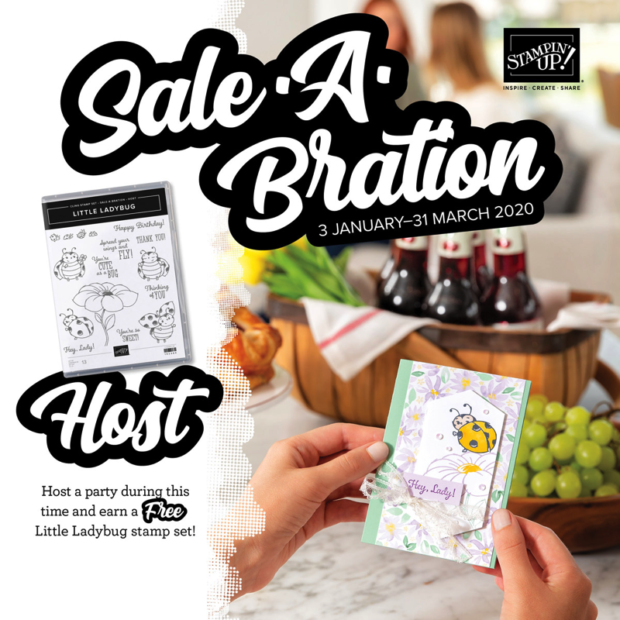
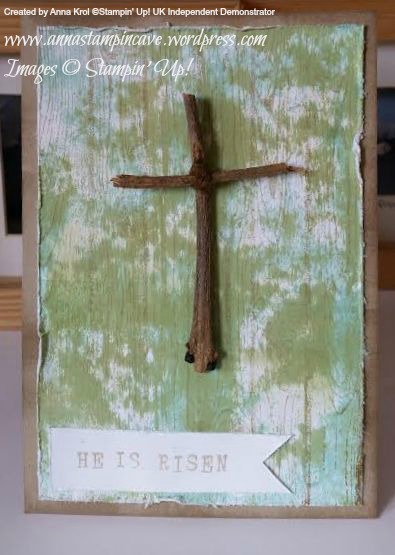
Beginning 3 January 2020 all qualifying orders can receive the exclusive Little Ladybug Stamp Set.

- All order types qualify.
- There is no limit as to how many qualifying orders you can place throughout the promotion.
- Only one Little Ladybug Stamp Set can be redeemed per order.
- You have until 31 March to qualify.
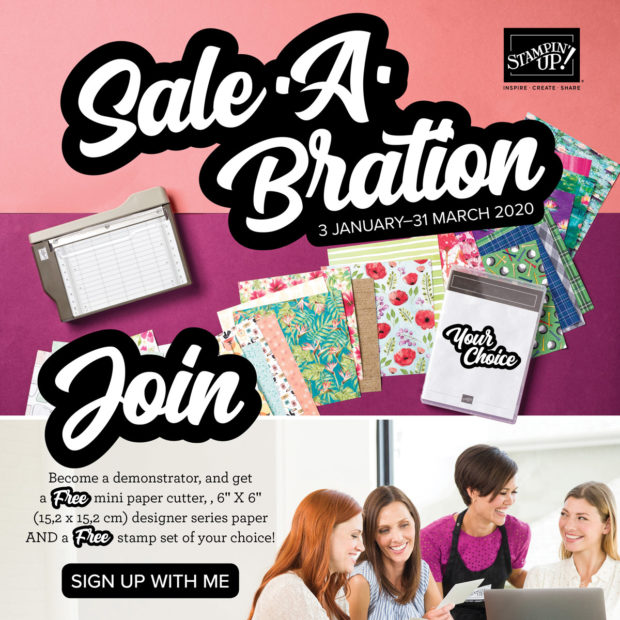
Sale-a-bration is no doubt the best time to join Stampin’ Up!’s family of demonstrators. This year is no different!
Join Stampin’ Up! between 3 January – 31 March 2020 and choose £130 worth of Stampin’ Up! products for £99 only! On top of that, you will also receive the Mini Paper Cutter, a 6″ x 6″ (15.2 x 15.2 cm) Designer Series Paper sampler, and your choice of stamp set*.
*Host stamp sets and Sale-A-Bration stamp sets not included.
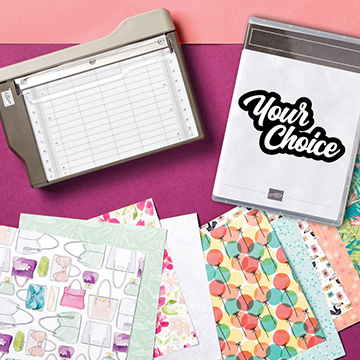
The 6″ x 6″ (15.2 x 15.2 cm) Designer Series Paper Sampler consists 48 sheets total (four each of 12 designs); 12 double-sided designs (two double-sided sheets from six different Designer Series Paper packs):
- Peaceful Poppies Designer Series Paper,
- Country Club Designer Series Paper,
- Birthday Bonanza Designer Series Paper,
- Tropical Oasis Designer Series Paper,
- Best Dressed 6″ x 6″ (15.2 x 15.2 cm) Designer Series Paper,
- Lily Impressions Designer Series Paper (Sale-A-Bration brochure)
Mini Paper Cutter; dimensions: 7-5/8″ x 5-3/8″ x 1-1/4″ (19.3 x 13.7 x 3.2 cm)
All of it for £99 ONLY!! Join now!

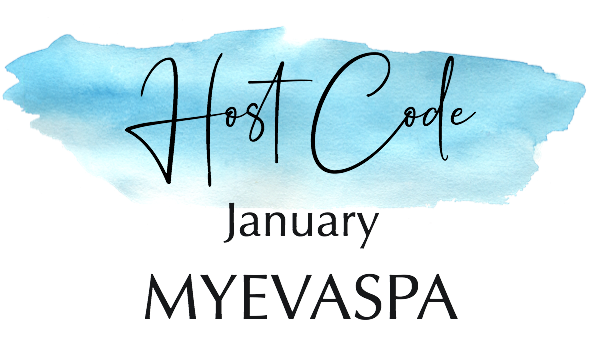
It’s a new month and it means new tutorials and gifts.
Use this code while shopping to receive my special gifts!
- For every order of minimum £25 (before shipping) you will receive from me these amazing Exclusive PDF Tutorials
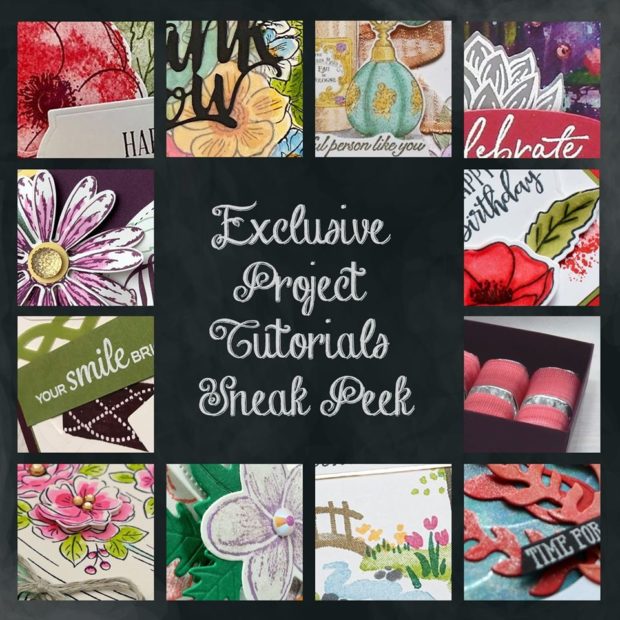
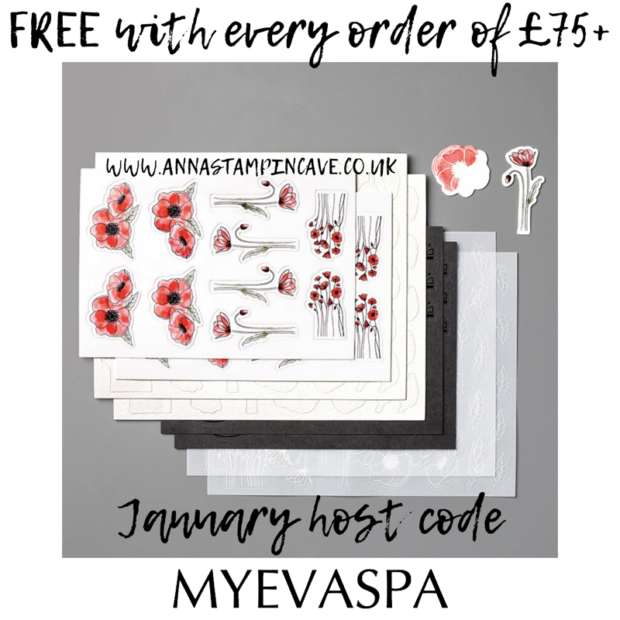
- For every order of £75 + (before shipping) you will receive from me, for free, Exclusive PDF Tutorials Bundle and a pack of Peaceful Poppies Elements
This is a BRAND NEW product from the brand new January-June 2020 Mini Catalogue (the former Spring-Summer catalogue).
How it works –
- Place a product order of £25 or more (excl.shipping) in my online store in the month of January.
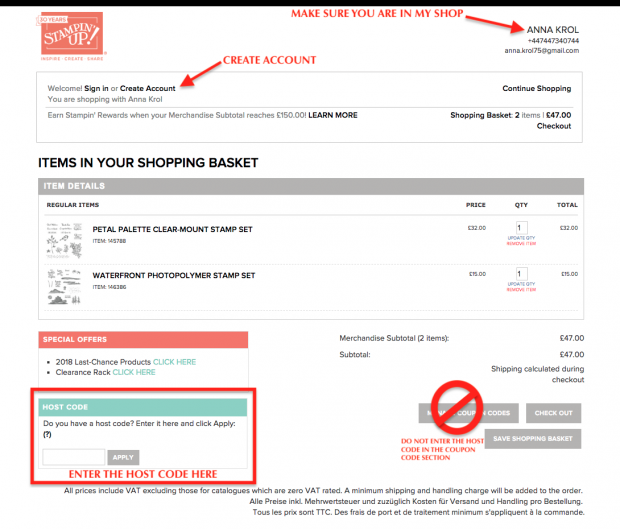
- Add Host Code MYEVASPA – To claim your reward – either just the Exclusive PDF Tutorials or FREE products – you must include this code in your ordering process.
- This January’s Special will be applied to all qualifying orders placed through my shop using Host Code MYEVASPA between 1 – 31 January 2020.
- If your order is £150 or more please do not use Host Code. You will earn your own Host Rewards to spend.
- IMPORTANT: My FREE Monthly Special Host Gift will be mailed separately from any order and will arrive mid-February.
- PDF’s will include the photos of the finished projects, a list of products used and step by step instructions.
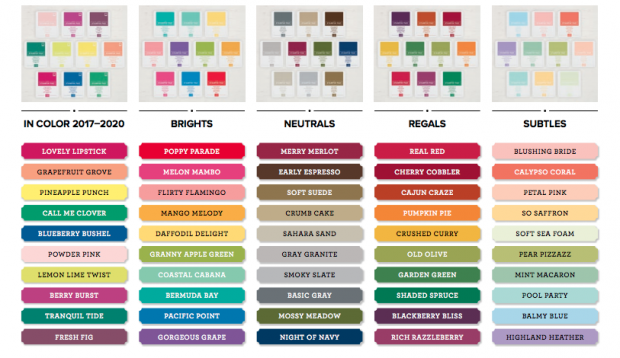 The 2017–2020 In Colors bundle is exclusive to this promotion and includes all 2017–2019 and 2018–2020 In Colors.
 Thank You Gifts will be shipped in the first 2 weeks of the following month they were earned (mid-August).