Double Layer Stamping With Painted Seasons Stamp Set

Anna' Stampin' Cave - Painted Seasons Stamp Set double layer stamping technique, Coastal Cabana, Soft Sea Foam, So Saffron

Hello everyone! Long time no see, hey?

I’ve been MIA due to multiple sclerosis (that’s a surprise, right hahaha). I had a major MS relapse two months ago when I lost control over my body, or I should rather say over the right-hand side of my body. I couldn’t walk, write (I am right-handed) or brush my teeth. Thank God for hubby and electric toothbrushes! I didn’t even feel my right cheek, seriously.

After a few series of steroids (5 days) and time, time and more time, I can finally do most of the things on my own. Maybe except walking outside – still need hubby’s hand in that matter. But I can finally create! Woohoo! I so missed my inks and stamps. And I have some serious delays in sending customers ‘thank yous’. In sorting ATM!

There’s one thing that MS has thought me for sure: PATIENCE!

I know it’s with a slight delay, as Sale-a-bration just ended. But I really wanted to share with you these two beauties I created using a free stamp set from SAB exclusive Painted Seasons Bundle.

Anna' Stampin' Cave - Painted Seasons Stamp Set double layer stamping technique

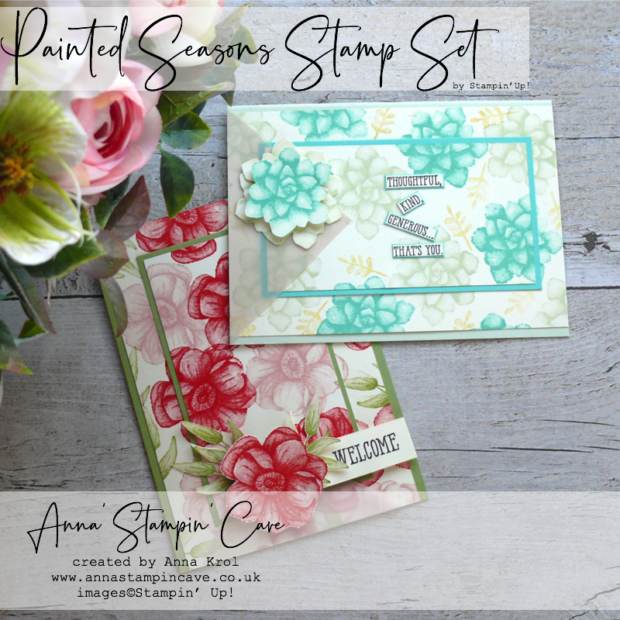
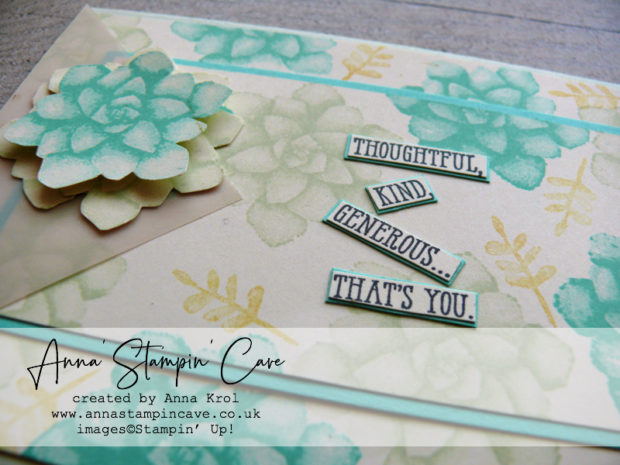
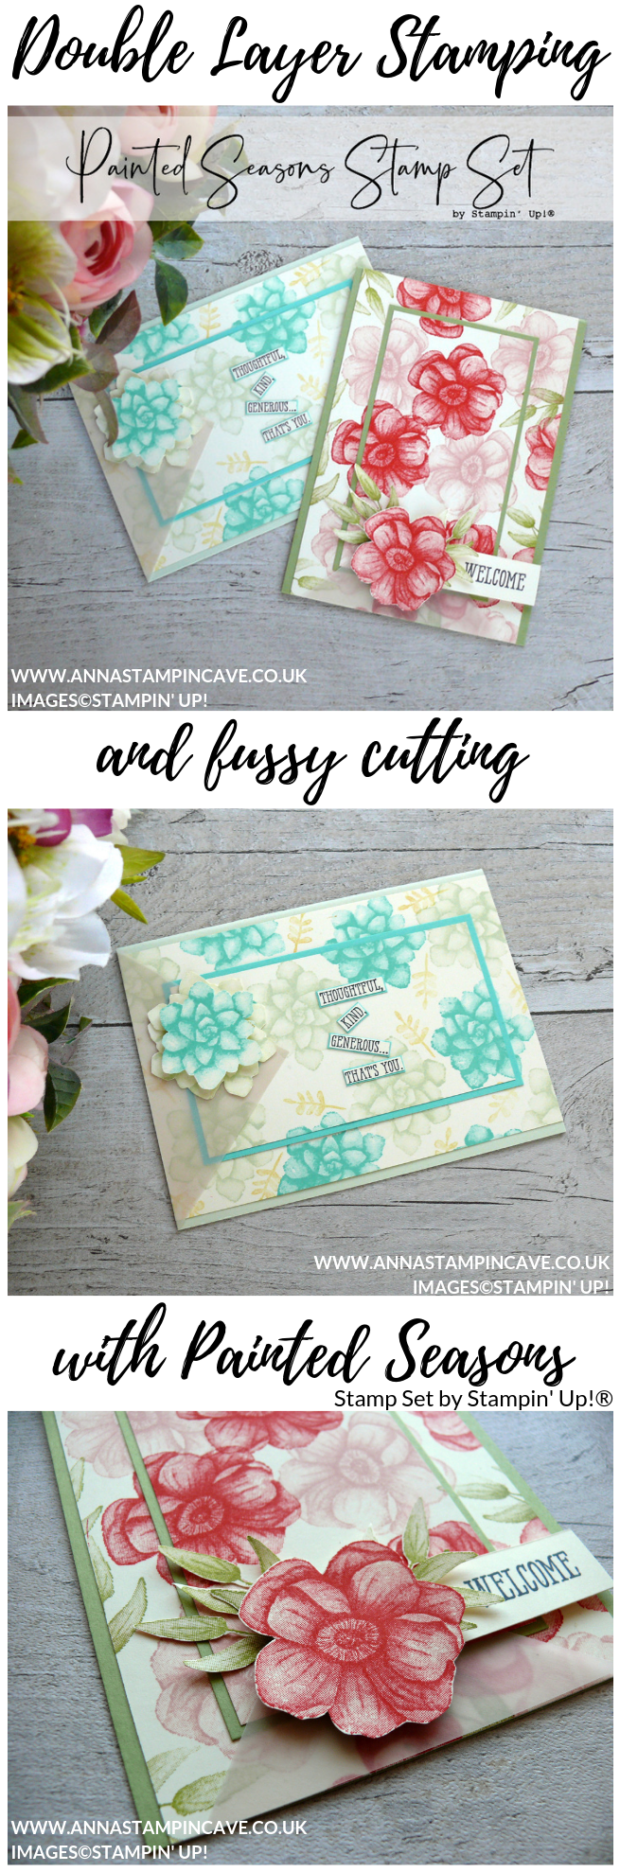
How cute are these, right? And so easy to make. Both are created with a double layer stamping technique and involved some fussy-cutting.

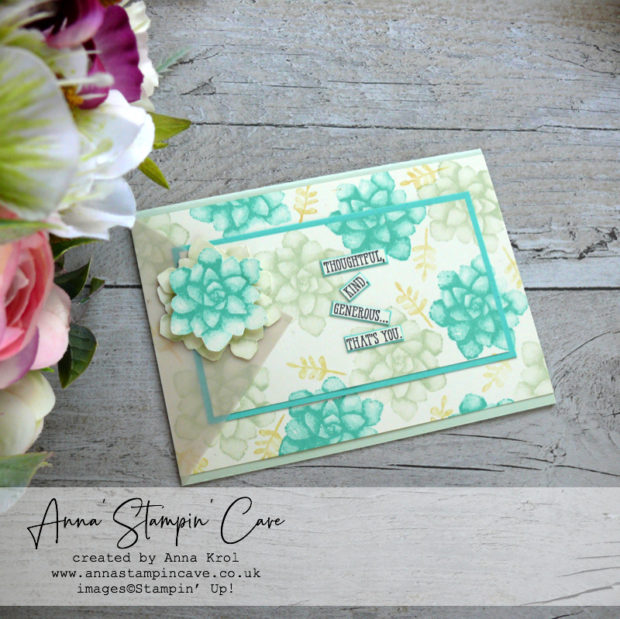
First, I prepared my Very Vanilla double layers and stamped them with my chosen ink pads: Poppy Parade with Pear Pizzazz for a floral card, and Coastal Cabana, Soft Sea Foam and So Saffron ink pads for a succulent one.

Anna' Stampin' Cave - Painted Seasons Stamp Set double layer stamping technique with bright Poppy Parade and Pear Pizzazz

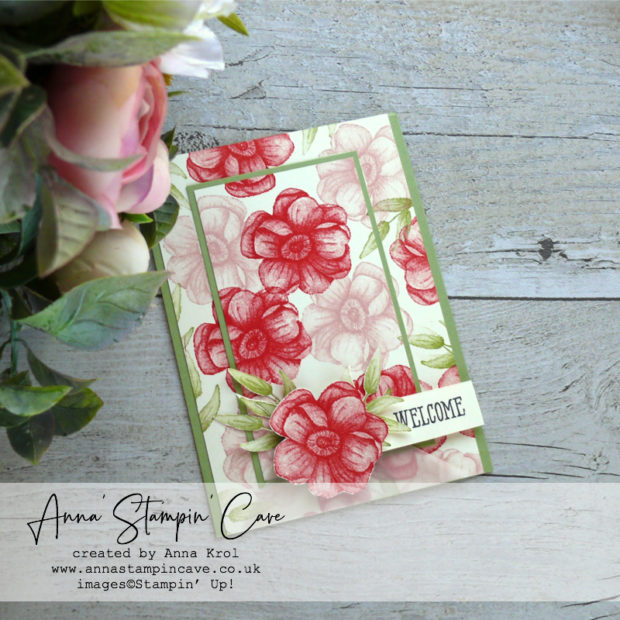
Once my double layers were stamped I mount them on to coordinating cardstock panels: Pear Pizzazz and Coastal Cabana.

Next, I adhered them to the card bases. For the floral card, I’ve used the same cardstock for a card base: Pear Pizzazz.

But for a succulent card, I decided to use Soft Sea Foam cardstock for a base instead of Coastal Cabana.

Anna' Stampin' Cave - Painted Seasons Stamp Set double layer stamping technique with Coastal Cabana blue and Soft Sea Foam pastel green

Vellum to the rescue

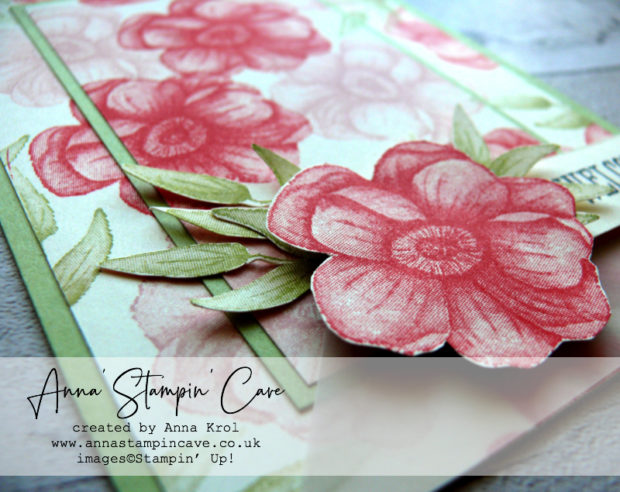
Because I’ve made some ‘booboos’ while stamping my panels, as my hands are not fully working yet,  I needed to ‘hide’ these. So I cut a square from vellum, briefly 4″ x 4″, cut it in half, and when assembling both cards, I adhered these vellum triangles where needed. Mistakes? What mistakes?! haha

Anna' Stampin' Cave - Painted Seasons Stamp Set double layer stamping technique with bright Poppy Parade and Pear Pizzazz

Adding more details

I took a scrap of Very Vanilla cardstock stamped few flowers, leaves and succulents in corresponding colours and fussy-cut all my florals and foliage with paper snips.  Quite easy and fun, and great exercise for my hands too.

Anna' Stampin' Cave - Painted Seasons Stamp Set double layer stamping technique with Coastal Cabana blue and Soft Sea Foam pastel green

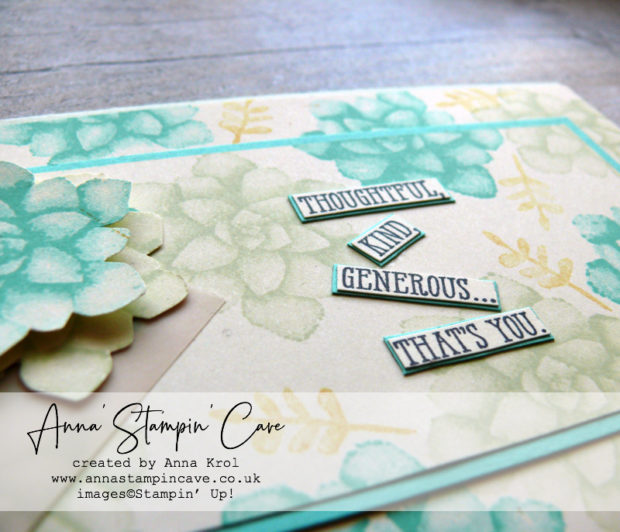
Because the Painted Seasons Stamp Set comes with images only it opens up endless possibilities as to what sentiment stamps to use.

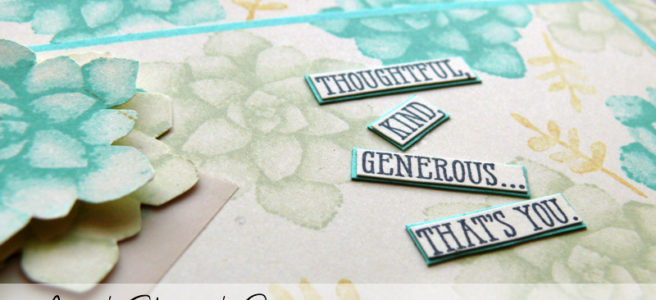
For my cards, I decided to use Well Said Cling Stamp Set.

Anna' Stampin' Cave - Painted Seasons Stamp Set double layer stamping technique with bright Poppy Parade and Pear Pizzazz

Assembling the cards

First, I took my vellum triangles and my fussy-cut florals and tried few arrangments before I decided where to stuck things down permanently.

I adhered vellum pieces, flush to the edges of my cards, and placed the adhesive strategically where I knew it will be covered by my fussy-cut elements.

Anna' Stampin' Cave - Painted Seasons Stamp Set double layer stamping technique with Coastal Cabana blue and Soft Sea Foam pastel green

Next, I adhered each of the elements and my sentiments, and I call it done. I have to admit, I’m quite pleased with these cards.

As always, if you wish to purchase any of the products I have used (except for Painted Seasons bundle), simply click the images below to go directly to my online store.

HOST CODE for the month of April is CD6WHE36. Use this code to receive special rewards from me.

Product List

Glue Dots

£5.00

Pin me

Summary of the project which gives all the views of the card in one photo. I’d love if you pinned and called by on Pinterest xx

Colour With Me – Stampin’ Dreams Blog Hop

Anna’ Stampin’ Cave – Petal Palette Bedazzled with gold

Hello everyone! Welcome to the monthly Stampin’ Dreams Blog Hop. This month’s theme is Colouring. You are currently visiting Anna Krol from the United Kingdom.

Colouring and painting must be my favourite hobby. And it does not really matter what medium I use. For today’s hop, I’ve created two beautiful cards in different colour combinations, using amazing Petal Palette Stamp Set and Watercolour Pencils.

To showcase beautiful roses from Petal Palette Stamp Set, I decided to try a double layer stamping technique.

Dimensions for both cards:

  • card base: 11-6/8″ x 4-1/8″ scored in half at 5-7/8″ (29.7 x 10.5 cm scored in half at 14.8 cm) – Basic Black & Smoky Slate cardstock
  • Whisper White cardstock panels: 3-3/4″ x 5″ and 2-1/2″ x 3-3/4″ (9.5 cm x 12.7 cm and 6.3 cm x 9.5 cm)
  • Basic Black & Smoky Slate panels: 2-3/4″ x 4″ (7 cm x 10.1 cm)
  • Daffodil Delight & Melon Mambo panels: 2-5/8″ x 3-7/8″ (6.7 cm x 9.8 cm)
  • both sentiment strips (Basic Black & Smoky Slate) measure 2″ x 1″ (5 cm x 2.5 cm)  with Melon Mambo & Daffodil Delight strips are just a smidge smaller

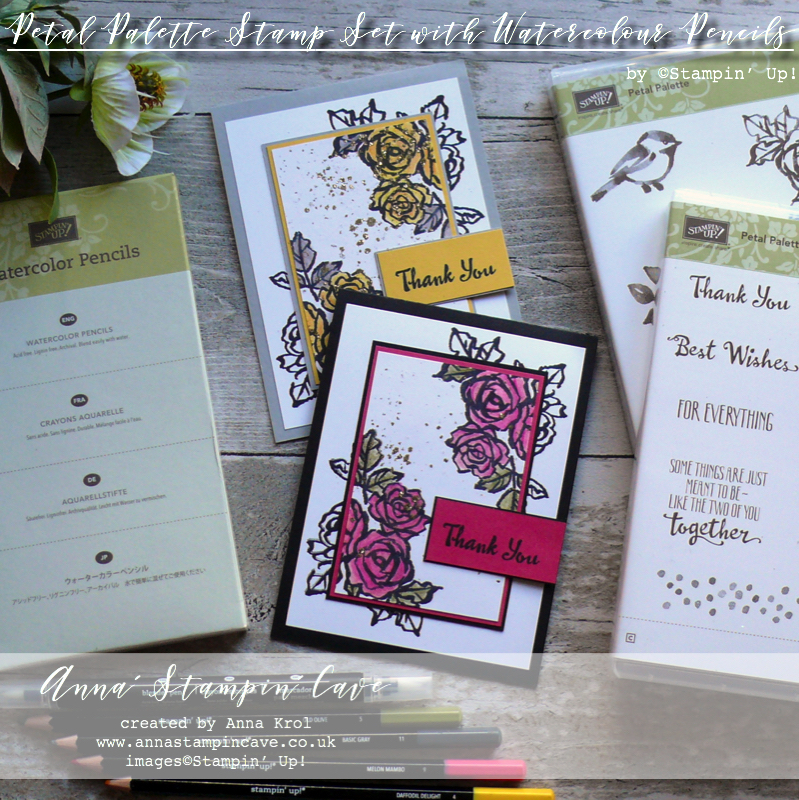
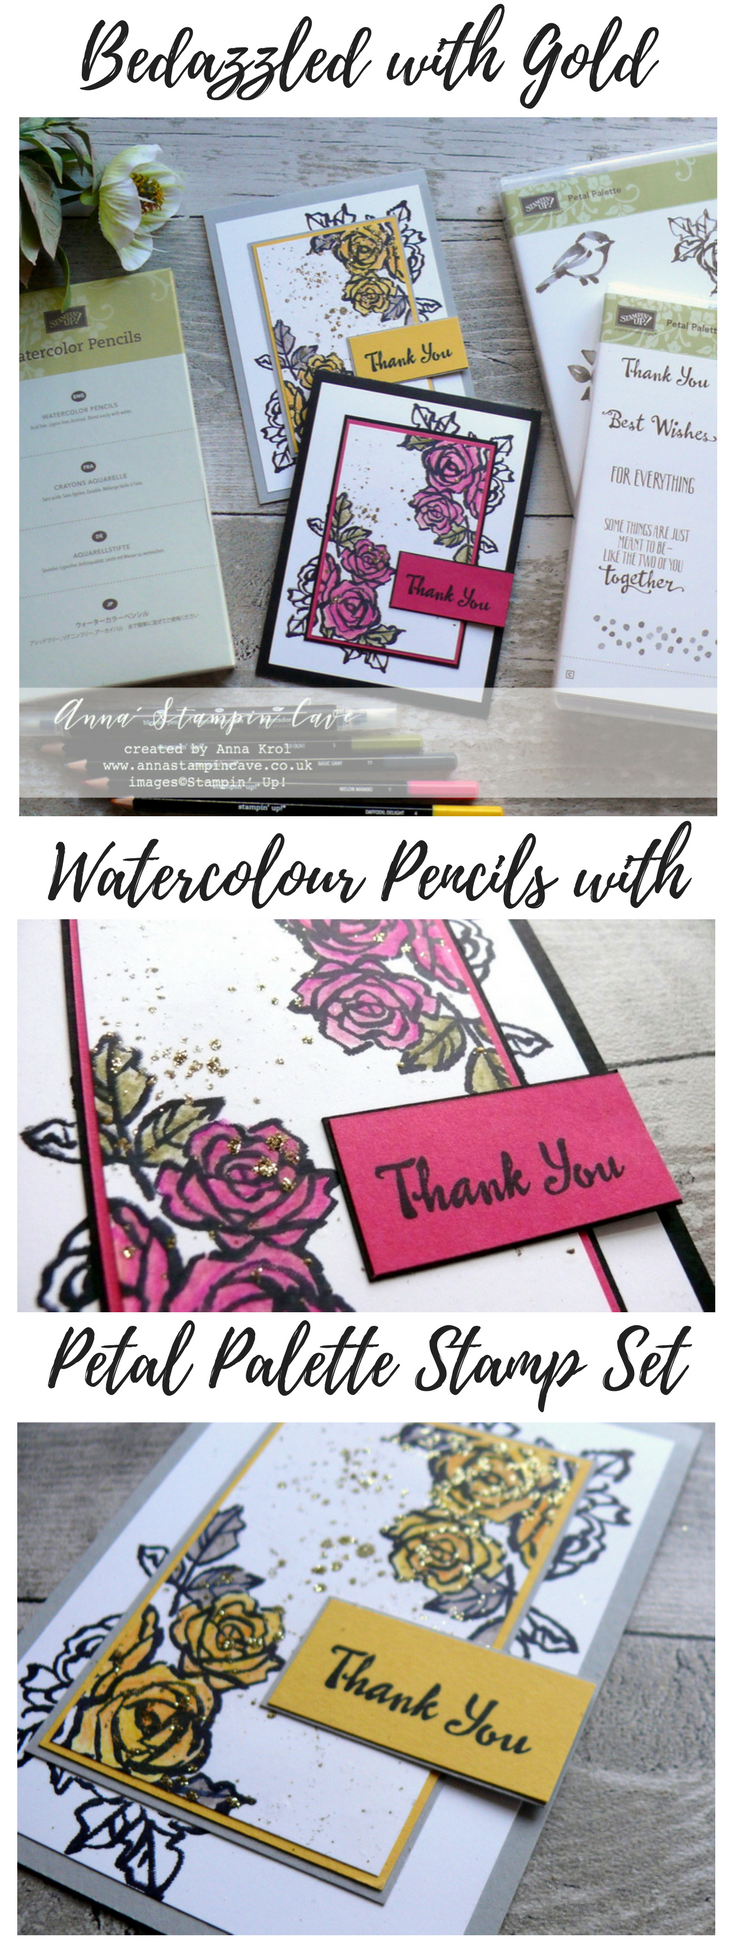
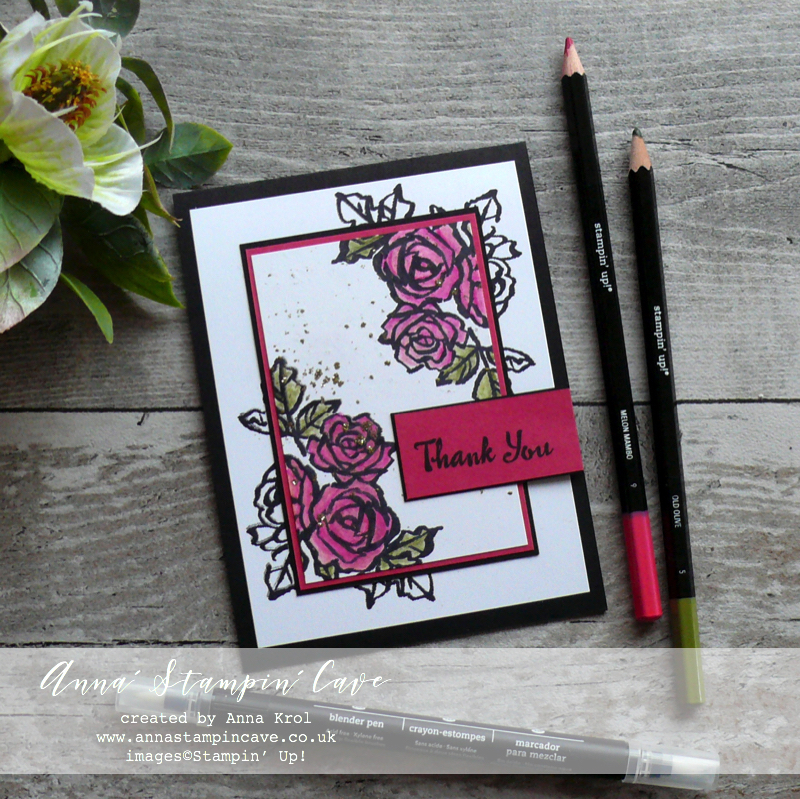
For one of my cards, I’ve used a classic colour combination: Basic Black & Melon Mambo with a hint of Old Olive on the leaves.

I’ve layered together two panels of Whisper White cardstock (smaller & larger) securing them together with a dab of snail adhesive in the middle so they won’t move.

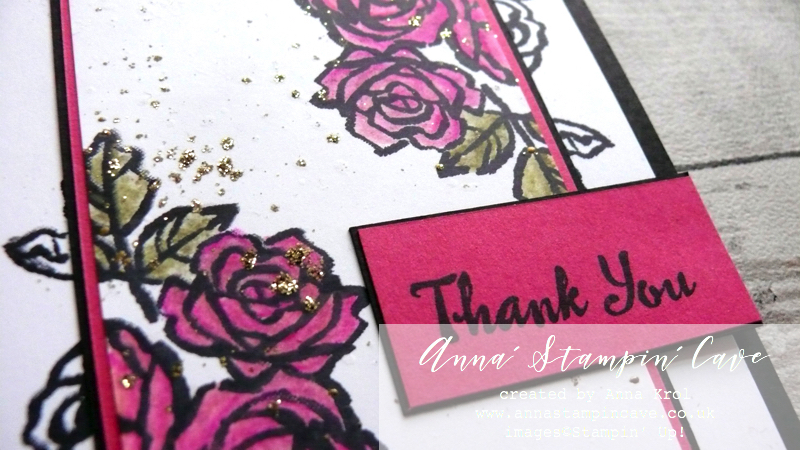
I stamped roses from Petal Palette Stamp Set in two corners of my panel making sure they overlap both layers. Because I planned to use Watercolour Pencils, I stamped them using Basic Black Archival ink.

Next, I took apart those layers and decided to colour only the images on a small panel, and leave the rest just black and white.

To colour my roses, I’ve used Watercolour Pencils in Melon Mambo and Old Olive. Blender Pens helped me to blend those colours nicely.

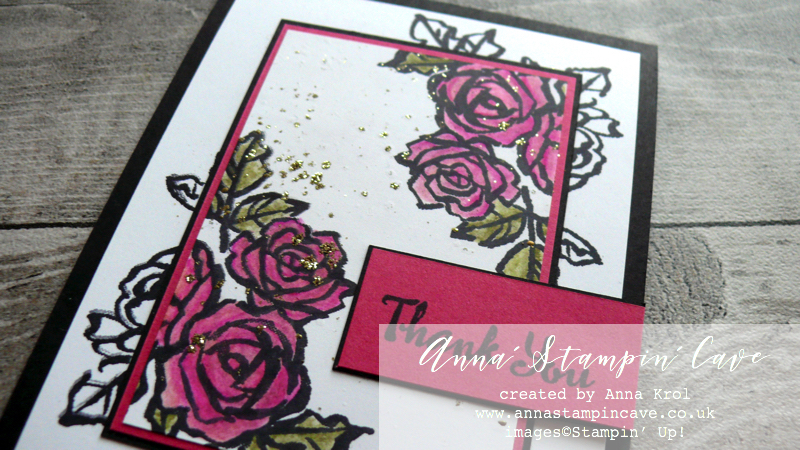
Blender Pens are colourless, but the solution they hold, helps moving colour around, even on regular cardstock.

To add more colour to the image, you can either colour over the image or use Blender Pen to pick up the colour straight for the pencil.

For my second card, I decided to use a rather ethereal colour combination of shades of grey with a pop of yellow.

Same technique but completely different look.

For the roses, I’ve used Daffodil Delight watercolour pencil. I’ve added more colour to the edges of each petal and then using Blender Pen blended the colour towards the centre.

Leaves are coloured with Basic Grey watercolour pencil

And now comes the magic…

I really loved how these cards coming up together, but they seemed too plain to me. So I did a small experiment hoping it will work (and it did!Yay!).

Before assembling my cards, and all the layers together I took those small panels (one at a time of course), flicked water droplets all over them and immediately sprinkled with gold embossing powder.

Did you know that water can hold embossing powder if you act fast enough? Just apply heat from the back.

I heat set it with a heat tool. Once it cools down, I prepped the cardstock with Embossing Buddy, re-applied the heat to those droplets of gold embossing and quickly sprinkled with Gold Stampin’ Glitter. Dabbed off any excess back to the container and heat set it again to set the glitter in place.

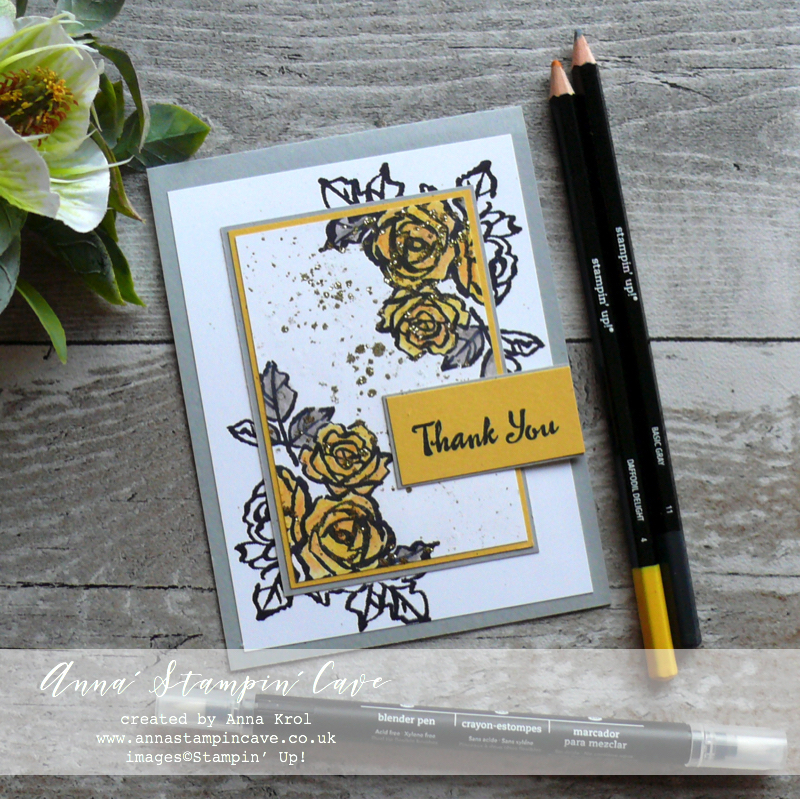
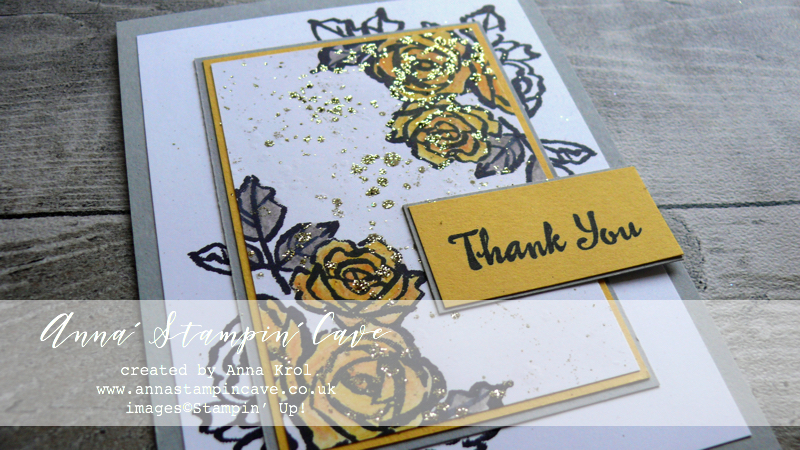
I admit it is a VERY MESSY TECHNIQUE!! But it was so worth to have a glitter all over the house haha. Do I have to say it wasn’t last time I used this technique?! Can’t say more now lol

Hope you’ve enjoyed visiting my blog today. I’m wondering which card do you like the most? Classic black & pink or maybe the one in greys and pop of yellow? Please let me know in comments below.

I would love to encourage you to hop along with us and see the rest of beautiful projects designed by amazing artists. Please be sure to continue to hop using the list below. You don’t want to miss any!

If you wish to purchase any of products I have used, simply click the images below to go directly to my online store and don’t forget to enter the hostess code RRMR76JH to receive a gift from me.

Thank you for stopping by and have a blessed day

Hostess Code for February: RRMR76JH – Use this code in the month of February and receive a gift from me. Spend £50 or more and use the code, and you will receive a Whisper White 1/4″ (6.4mm) Organza Ribbon + a handmade gift from me

Special Notes:1) Make sure you select Anna Krol as your demonstrator;
2) If you select “No Contact” box I do not have access to your name and can’t send you a gift;
3) If your order is £150 or more do not use the code and grab your own Stampin’ Rewards + gift from me

Product List 

Blender Pens

£10.75

Aqua Painters

£15.50

Pin me

Summary of the project which gives all the views of the card in one photo. I’d love if you pinned and called by on Pinterest xx

Don’t forget to check:

Spring Summer Catalogue Paper & Ribbon Shares. Shares are open to Austria, France, Germany, Netherlands & United Kingdom. 102 sheets of DSP & 2 yards of each type of ribbon from Spring/Summer Catalogue. Click here for more details —>

The New Stampin’ Up! Spring/Summer 2017 Catalogue and Sale-A-Bration are LIVE and it’s AMAZING! For every 60 €/£45, you spend either from Spring Summer Catalogue or Annual Catalogue, you will get to choose one FREE  level 1 product from SAB brochure! If you spend 120 €/£90, you get one FREE level 2 product, OR, you can choose two level 1 items. If you spend 180 €/£135, you have the option to choose three level 1 items or one level 1 item and one level 2 item. Click here for more details —>

Ever wondered what it’s like to join Stampin’ Up!’s community? I may have few answers for you. Click here for more details –>