Simply Sketched Saturday Challenge #13 – Birthday In Marina Mist Blues

Anna’ Stampin’ Cave – Birthday In Marina Mist Blues
SSSC Header

Thank you for joining us for another Simply Sketched Saturday Challenge!  We are so excited to be sharing this hop with you. The products used are all available in the current Annual, or seasonal, Stampin’ Up!®  Catalogues*. Simply use the buttons at the bottom of the post to keep hopping!

Welcome welcome! We are back with our monthly challenge after a long summer break. Did you miss us?

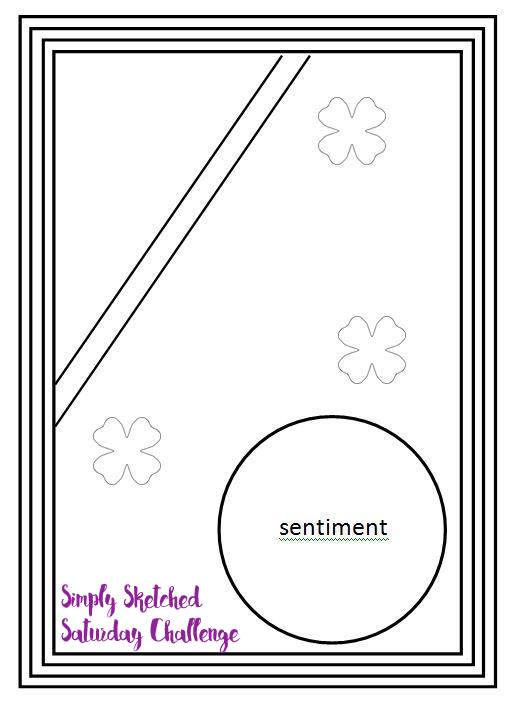
This week sketch was designed by our lovely Mandy and it is…anything goes. I know! A nice little warm-up for us – thank you, Mandy.

I know you see more and more holidays related projects lately. But I decided to keep the warm summer days for a little bit longer. And what says ‘summer’ more than blue skies and butterflies?
stampin-up-butterfly-basics-meets-number-of-years-bundles

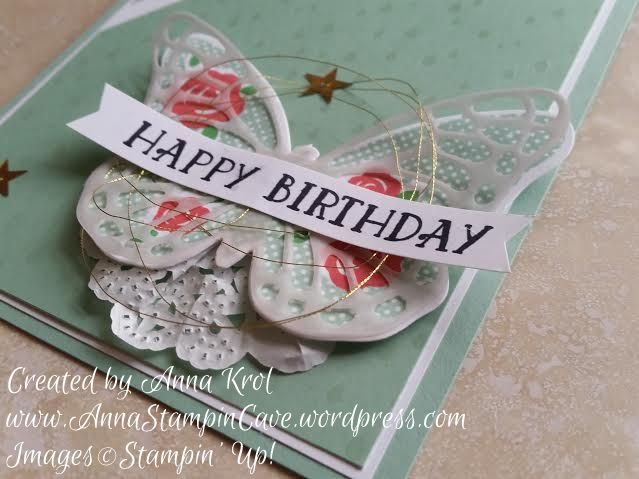
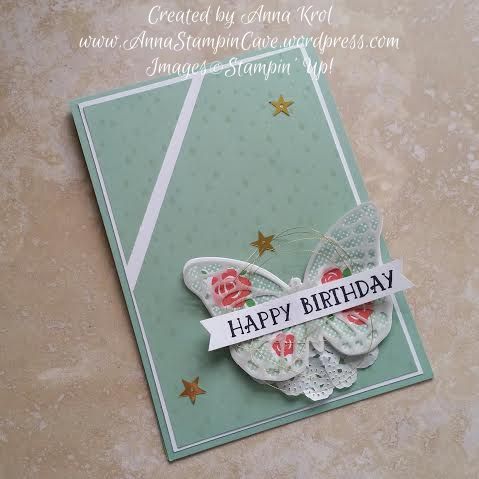
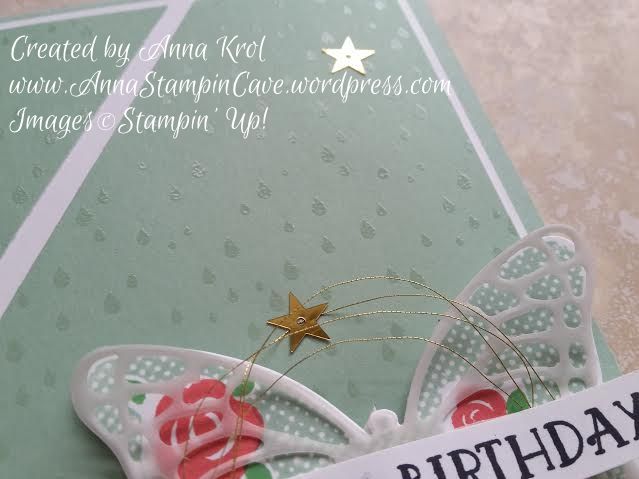
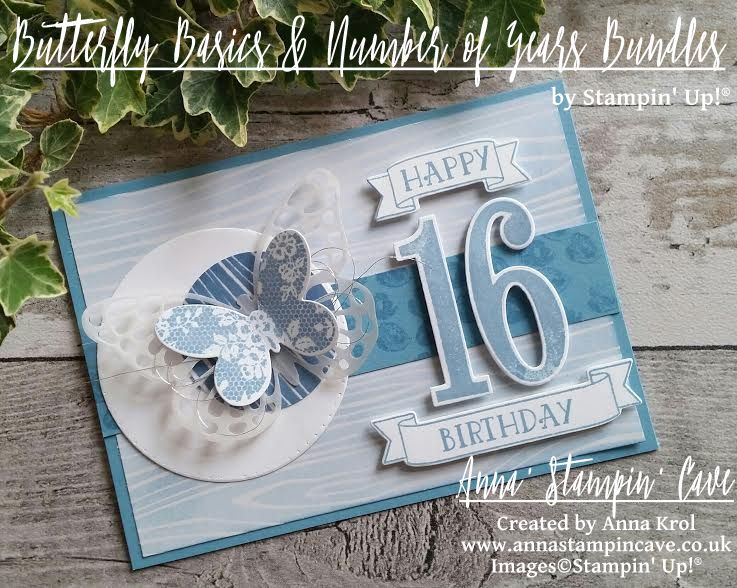
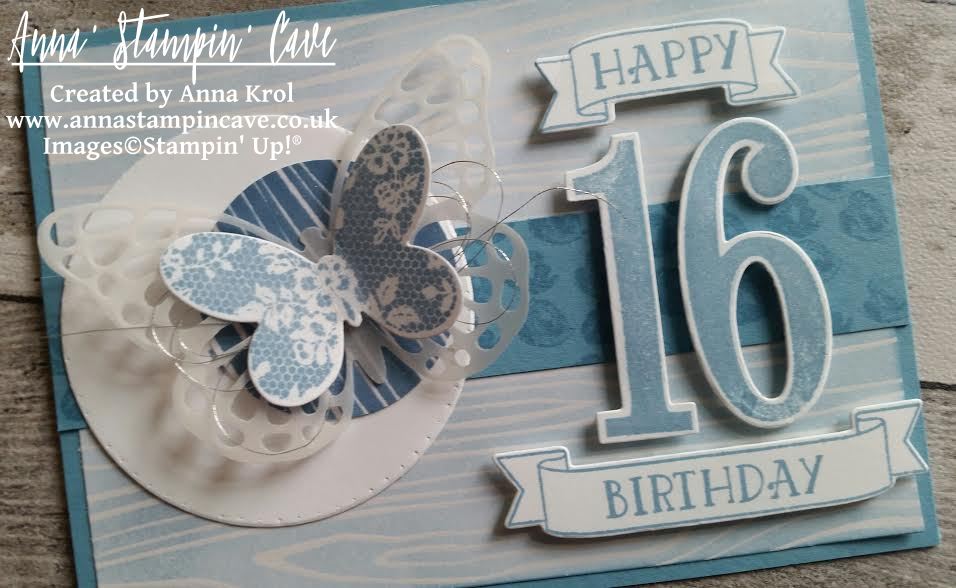
This is a birthday card for sweet ‘sixteen’ who loves blue. The base of my card is Marina Mist cardstock, standard A6 size. The first panel is a piece of Color Me Irresistible Specialty DSP that measures 5-5/8″x 3-7/8″. I chose to use white, embossed woodgrain pattern and gently sponged Marina Mist over my piece and adhere it to the base. Next, I cut a strip of Marina Mist cardstock, 1″ wide, and stamped little roses from Number Of Years Stamp Set all over the piece and adhere it across the sponged panel.
stampin-up-butterfly-basics-meets-number-of-years-with-wink-of-stella

I die-cut two circles: large one from Whisper White ( I pierced it around the edge) and smaller one again from Color Me Irresistible Specialty DSP. I sponged this smaller one with Marina Mist. But this time, I’ve added lots of ink for really deep shade. I adhered smaller circle on top of the large one, off-setting it.

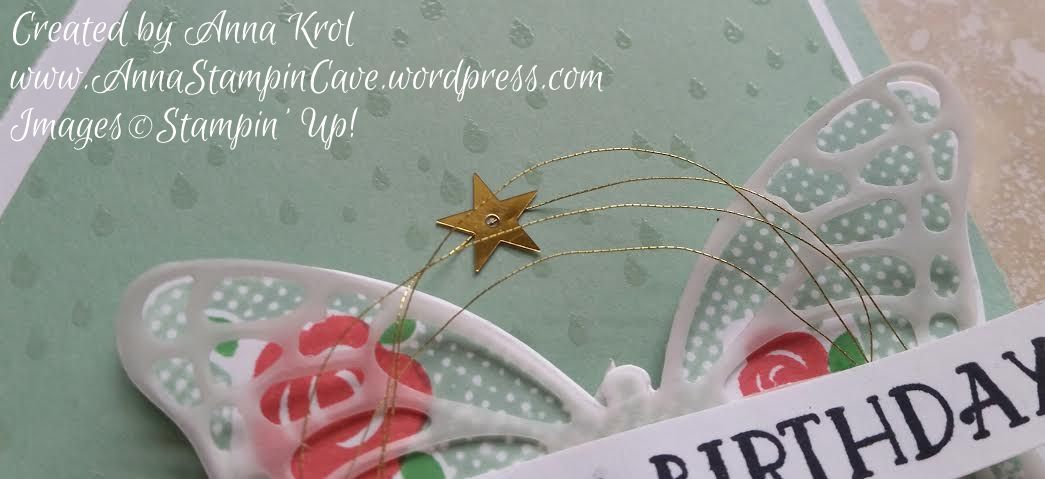
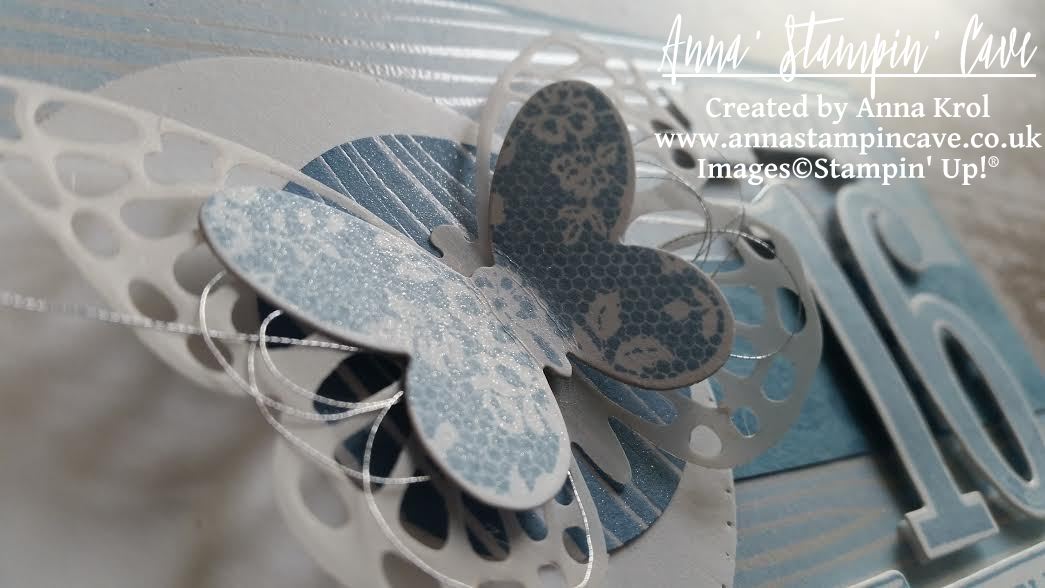
I stamped butterfly from Butterfly Basics on a piece of Whisper White in Marina Mist and die cut it using coordinating die. I also die cut larger, detailed butterfly from vellum, using the same die set. Next, I attached small butterfly on top of detailed one, with Silver Metallic Thread in between. I adhered them both to the circles using glue dots and attached the whole piece to the card base, off-setting it to the left.
stampin-up-butterfly-basics-meets-number-of-years

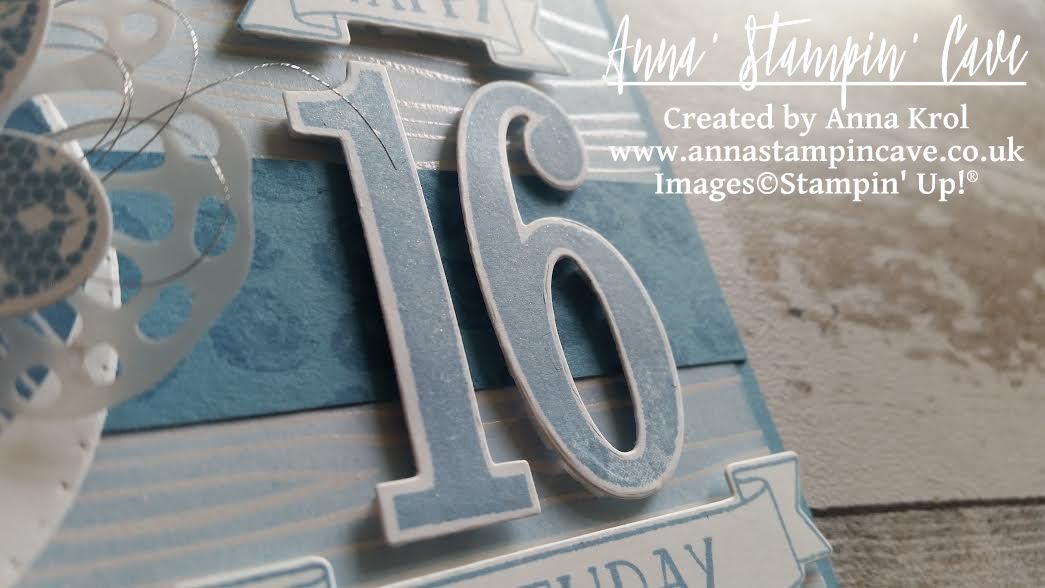
I stamped numbers 1 and 6, from Number of Years Stamp Set, in Marina Mist of course, and die-cut it with coordinating dies (I love this set!!!). Next, I stamped banner and word ‘birthday’ inside of the banner and die-cut it. For the word ‘happy’ I had to adjust it a little bit, and with help of masking, and partial die-cutting, I was able to create matching smaller banner. I attached the numbers and banners to the card base using dimensionals.
stampin-up-butterfly-basics-meets-number-of-years

There’s no such a thing as bling-free teenage girl card, right? So my finish touch was to add a gentle shimmer to the butterfly, circle, and numbers with Clear Wink of Stella Glitter Brush. I think it’s my first card ever where I’ve used one ink pad colour only. And to be honest I really like this monochromatic look.

And what do you think? Do you like monochromatic? Please let me know in comments below.

As always, if you wish to purchase any of the products I have used, simply click the images below to go directly to my online shop and don’t forget to enter the hostess code for the month of September RKW34AHD, to receive a gift from me.

Now, be sure to hop along and see more inspiring projects. Your next stop is Mandy’s blog  go and see what she has made for you.

Thank you for stopping by and have a blessed day

SSSC Previous   SSSC Next Blog

Product List

Glue Dots

£4.75

Big Shot

£99.00

Simply Sketched Saturday Challenge #10 – Butterfly Birthday

Anna’ Stampin’ Cave – Simply Sketched Saturday Challenge #10 – Butterfly Birthday

SSSC Header

Thank you for joining us for another Simply Sketched Saturday Challenge!  We’re so excited to be sharing this hop with you. The products used are all available in the current Annual, or seasonal, Stampin’ Up!®  Catalogues*. Simply use the buttons at the bottom of the post to keep hopping!

And today’s sketch was designed by lovely Kathleen from Lilypopcrafts.

SSSC 10

This is such a great sketch, with lots of layers, which I truly love. But I challenged myself to create CAS (clean and simple) card. And I think I did well.

butterfly birthday

The base of my card is top folded A6 Mint Macaron, with layers of Whisper White and Color Me Irresistible Specialty DSP.

butterfly birthday 3

I decided to use beautiful (and retiring) stamp set Floral Wings. I stamped the butterfly in Mint Macaron, roses in Watermelon Wonder and leaves in Cucumber Crush. Next, I die cut the butterfly using Bold Butterflies Framelits and another one on vellum using a middle of Butterflies Thinlits and layered them together. I cut 1/4 of a Tea Lace Paper Doily and attached it underneath my butterfly and adhere it to the card base with dimensionals.

butterfly birthday 2

The sentiment comes from Number Of Years. I stamped it in Basic Black Archival Ink on a strip of Whisper White and punched both ends into banners using Banner Punch (also retiring).  I took Gold Metallic thread, created some messy loops and add it underneath the banner. Few gold sequins finished off the card.

butterfly birthday 4

Do you like my project?! If so please leave me a comment. I would love to hear from you!

Now, be sure to hop along and see more inspiring projects. Your next stop is Karen’s blog  go and see what she has made for you.

Thank you for stopping by and have a blessed day,


SSSC Previous   SSSC Next Blog

Something Old, Something New…Kind Koala Birthday Card

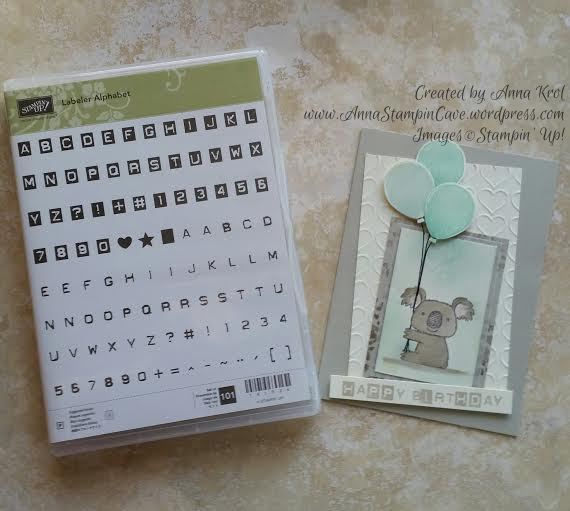
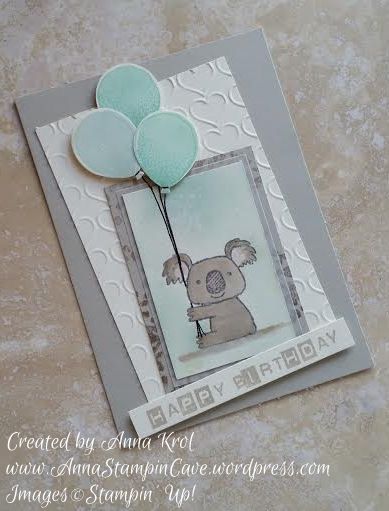
Hello, everyone! Something old, something new…Today I’ve got for you really adorable birthday card using sadly retiring Kind Koala stamp, and also a sneak peek at new Labeler Alphabet stamp set.


Kind koala

Isn’t this little koala cutest ever!? The base of my card is standard, top folded A6 in Sahara Sand. For the background, I’ve used Very Vanilla and dry embossed it with Happy Heart embossing folder.

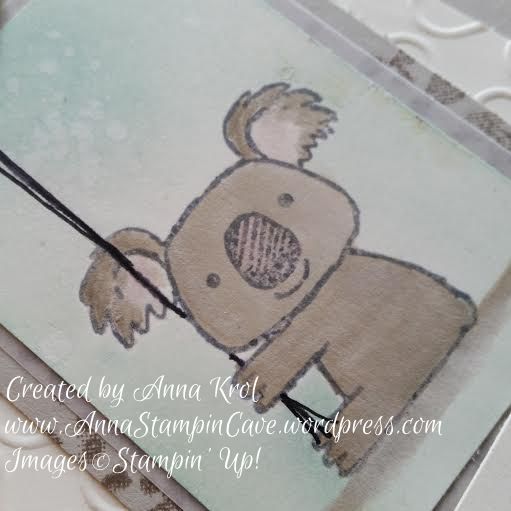
Because I wanted this card to be a birthday card I used washi tape to cover the flower and a sentiment on my stamp before I inked it up in Basic Grey Archival Ink. Next, I stamped my cute koala on a piece of Very Vanilla. Just remember to take off the washi tape first or you will have a disaster. Guess how I know lol I also stamped him on a scrap of paper to create a mask I will need later.

Kind koala 4

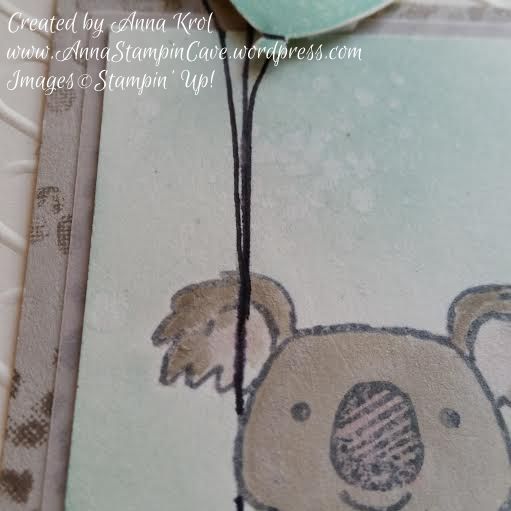
I watercolour my little fella in Sahara Sand and added some shadow underneath him. I also added a touch of Blushing Bride to his nose and inside of his ears. When I was happy with the results I masked my koala and sponged the background with Soft Sky and Pool Party. Then I used the aqua painter to add few droplets of water to the background and took off a little bit of the colour.

Kind koala 2

Next, I matted my koala panel with a piece of vellum and a slightly bigger piece of Sahara Sand. But to add some more interest to this panel I stamped it with Tip Top Taupe using the foliage stamp from Sheltering Tree. I assembled all my panels.Now was time for balloons!

Kind koala 5

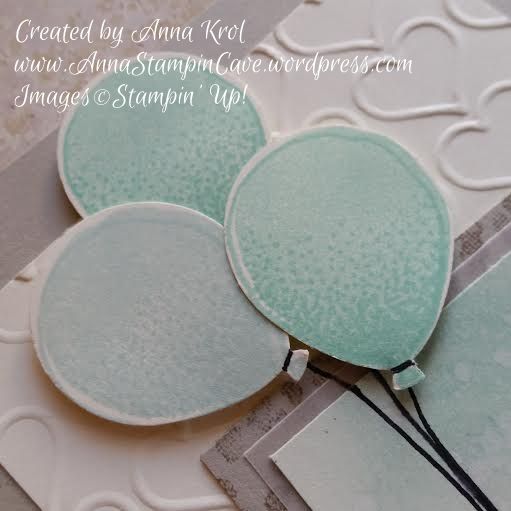
I stamped three smaller balloons from Balloon Celebration, two in Pool Party and one in Soft Sky, punch them with Balloon Bouquet punch and arrange them on the card using dimensionals. I also hand-drew balloon strings with Project Life pen (and yes, I know, I probably should have used a lighter colour, maybe Basic Grey or Smoky Slate marker) so it looks like koala is holding them in his paw.

kind koala 3

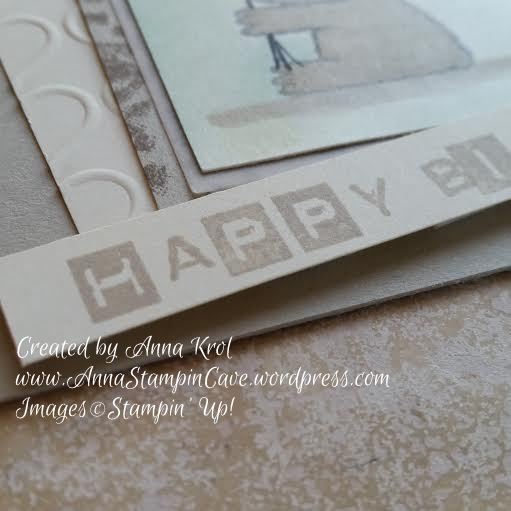
The card was busy enough so I kept the sentiment simple. I cut a strip of Very Vanilla and stamped my sentiment in Sahara Sand, using Labeler Alphabet stamp set. To keep it fun I mixed both types of letters and add it at wonky angle to my card.

Kind koala 6

Dimensions:

Very Vanilla:

  • 3-1/8 x 4-6/8″
  •  2 x 3-2/8″
  • 1/2 x 3-5/8″

Sahara Sand:

  • 2-2/8 x 3-4/8″

Vellum:

  • 2-1/8 x 3-3/8″

I’m adding my card to

Do you like my little card? I truly hope you do. Please let me know in the comments below.

Thank you for stopping by and have a blessed day,

Watercolour Wash With Summer Silhouettes Stamp Set

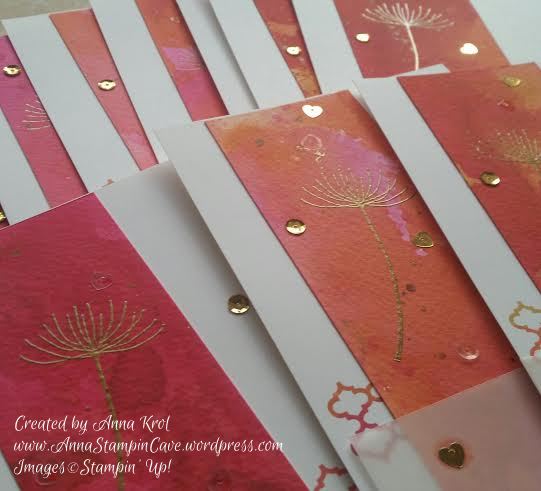
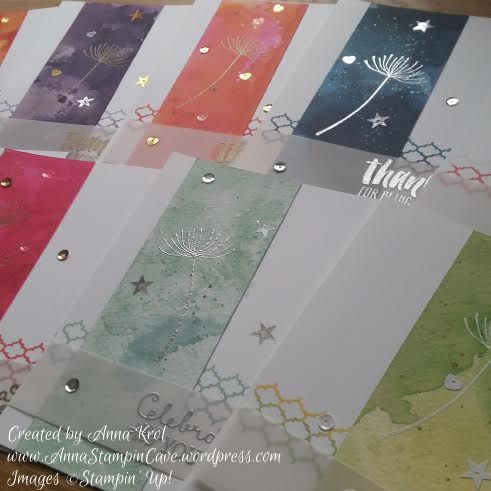
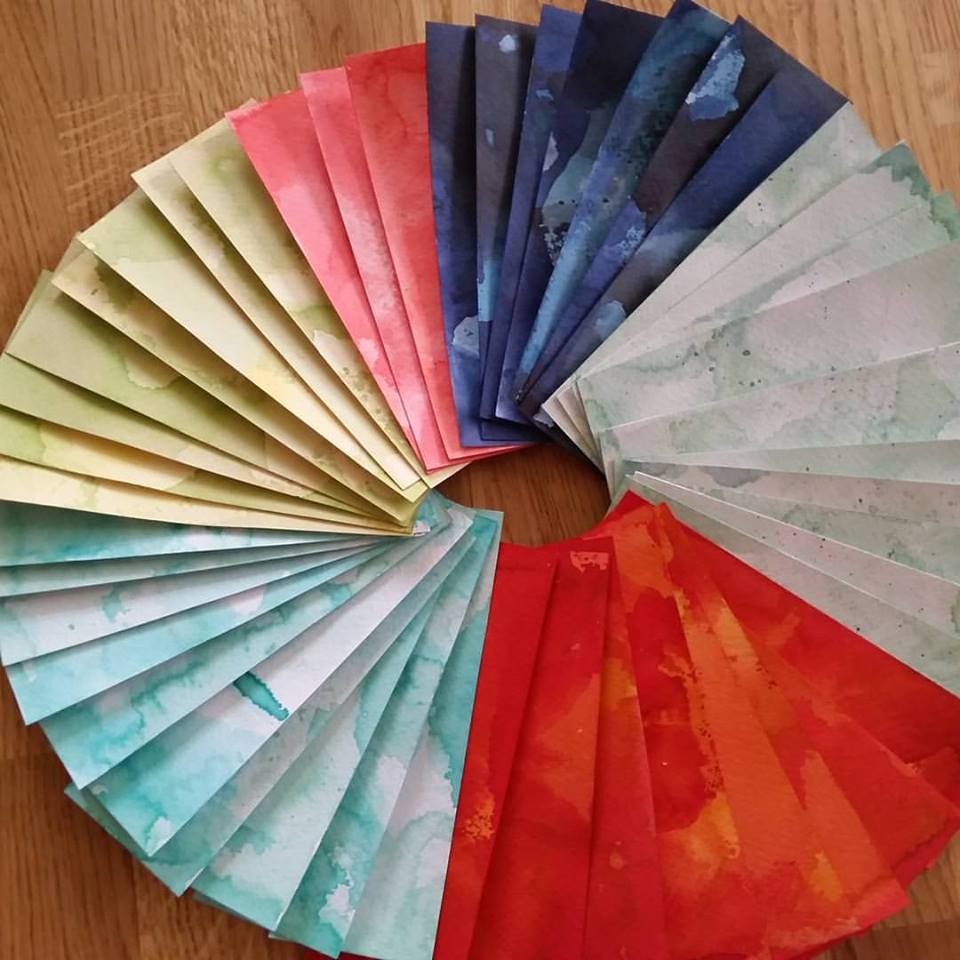
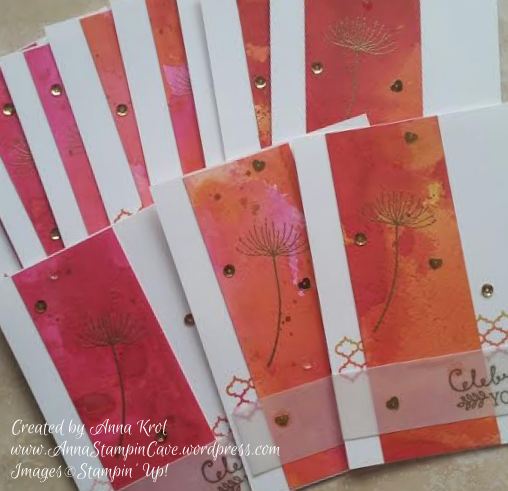
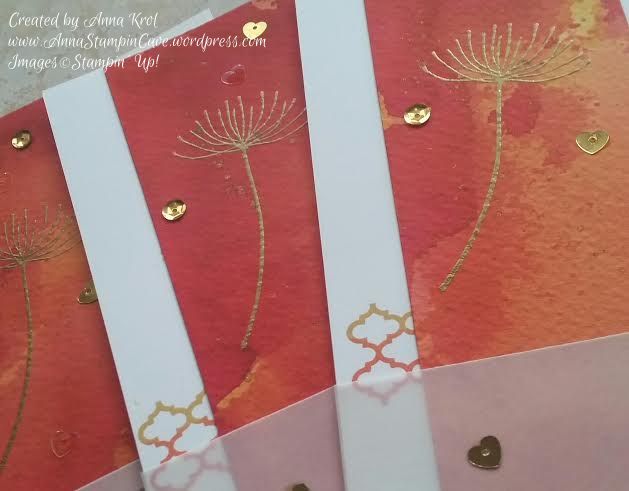
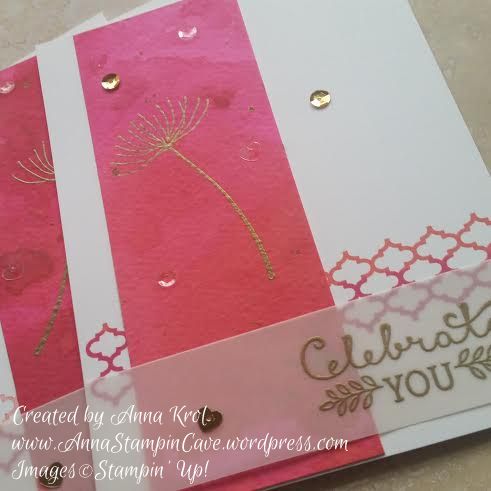
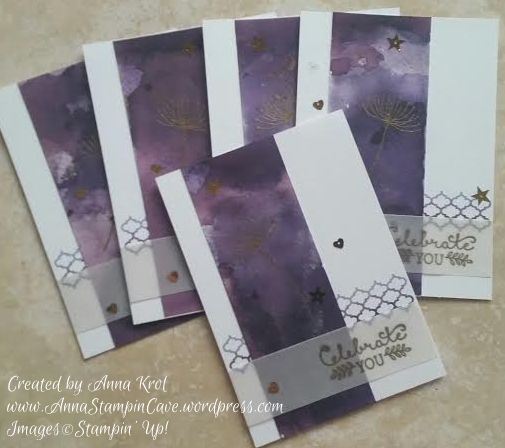
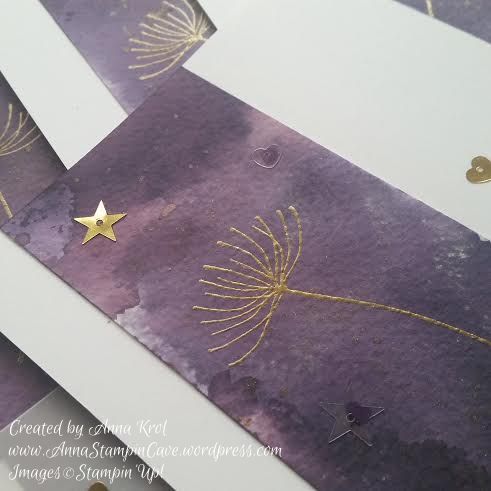
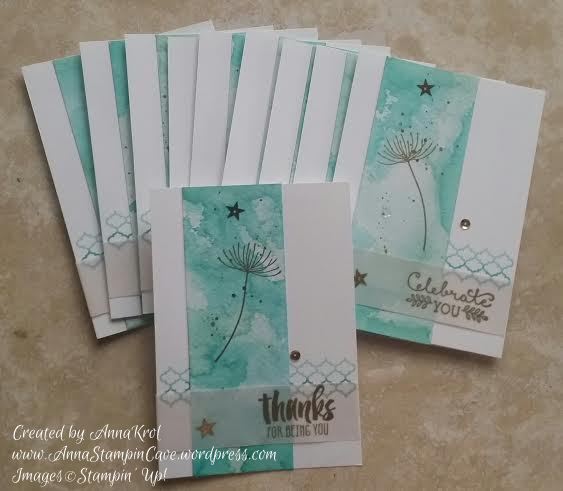
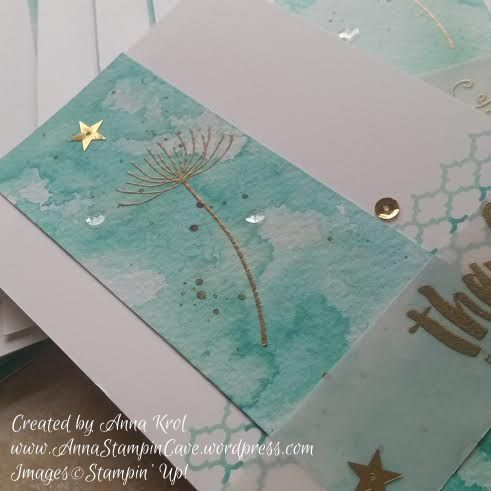
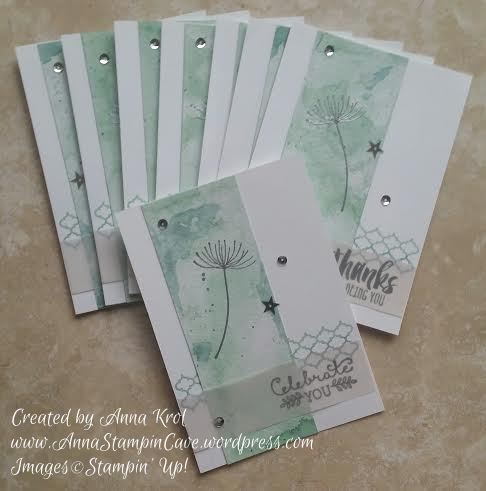
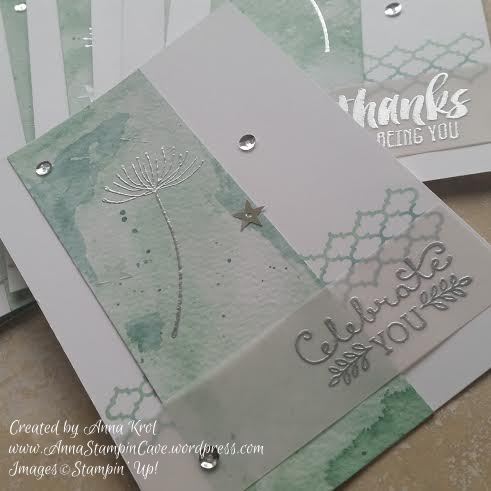
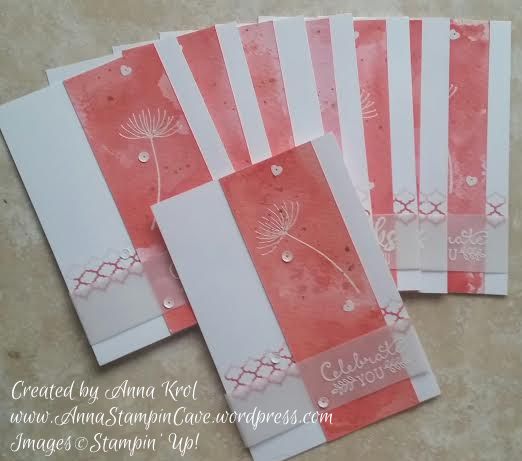
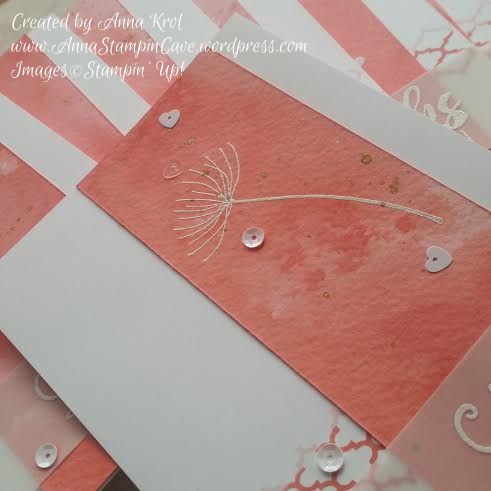
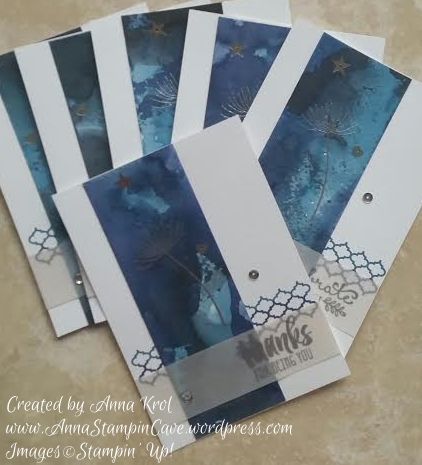
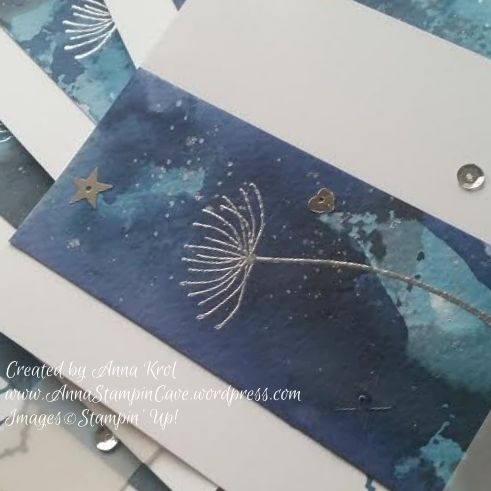
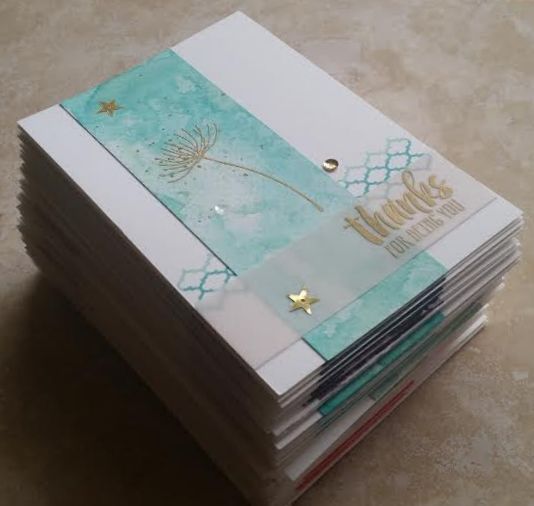
Today I wanted to show you a watercolour wash technique, using Summer Silhouettes Stamp Set from Stampin’ Up! These were SWAPS I created for fellow stampers.

swaps 5

Stampers love to swap! Swapping lets us share our creativity, enjoy the creativity of other stampers, and gather and collect ideas. A swap is usually a card front (unless someone would like to do something extra). It can spotlight a particular technique or stamp set and can be as simple or as complex as you wish. For my swaps, I decided to highlight one of my favourite techniques – watercolour wash.

I had so much fun creating my watercolour panels! At the end of the day my hands were just as colourful hahaha, but it was an easy part.

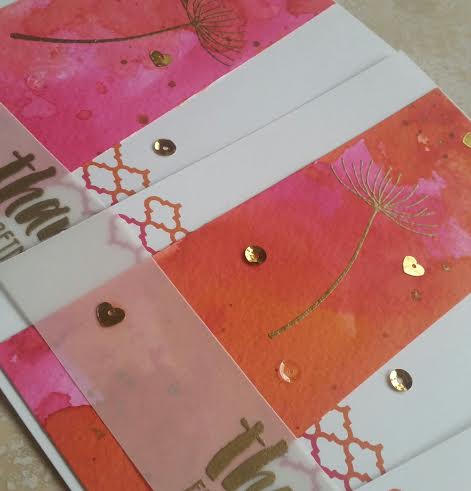
Next step was really time-consuming: heat embossing and lots and glueing lots of sequins.

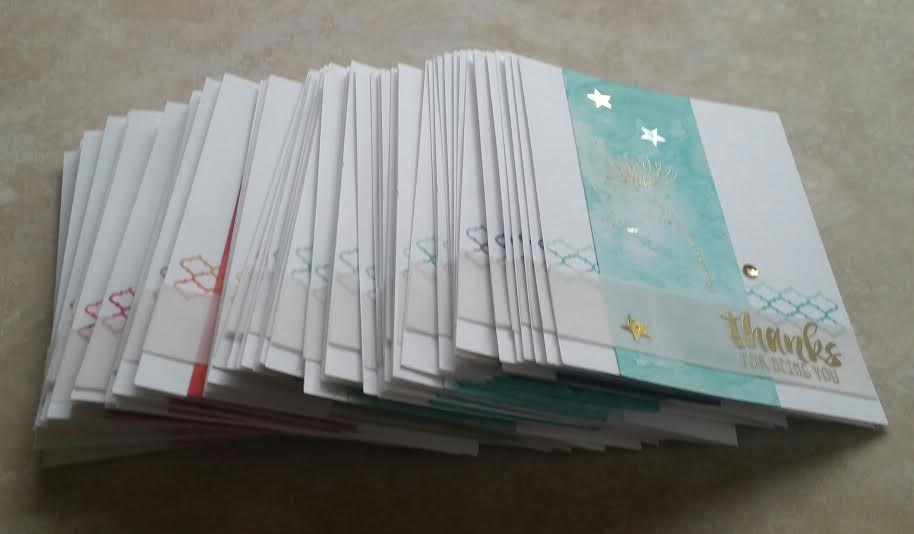
After ombre stamping 58 card fronts, heat embossing 58 watercolour panels and 58 strips of vellum, and adding over 350 sequins (!!!) my swaps were finished!

I really hope these swaps will bring some inspiration – not only to those who swapped with me but to you also.

Thank you for stopping by and have a blessed day,

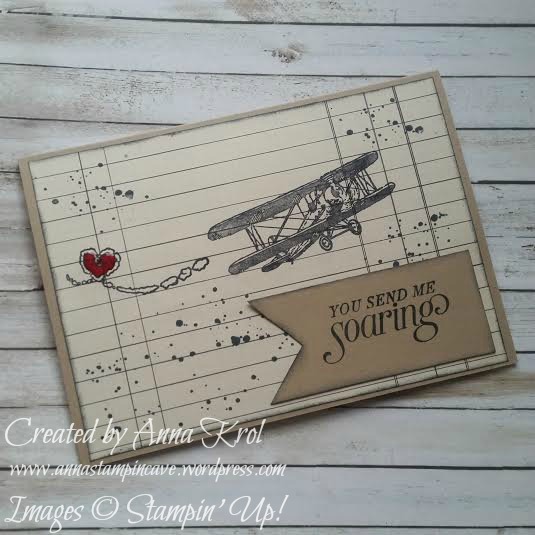
You Send Me Soaring

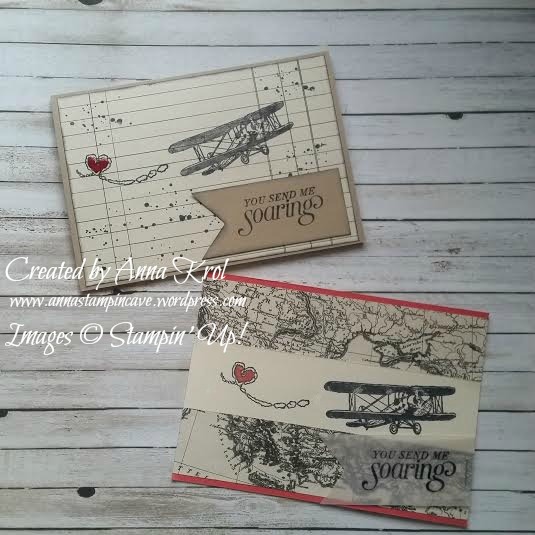
I love the vintage feel to Sky is the Limit stamp set from Stampin’ Up! and I’ve used it recently to create cute Valentine’s Day cards perfect for men in our lives.

sky is the limit 3

First card I’ve made for a card-swap in our group of demonstrators. As all stampers, we love to swap! Swapping lets you share your creativity, enjoy the creativity of other stampers, and gather and collect ideas.

sky is the limit 7

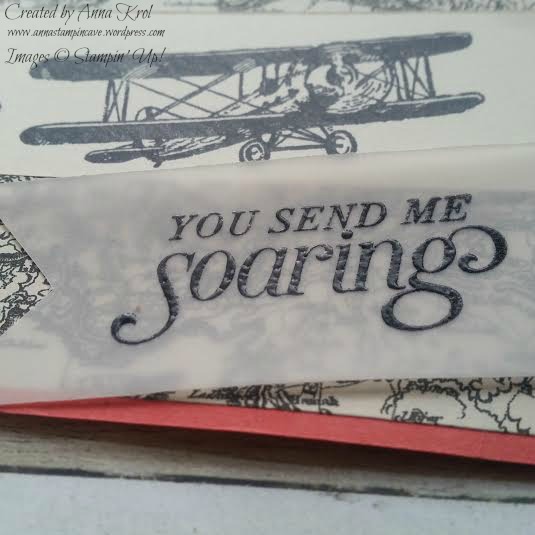
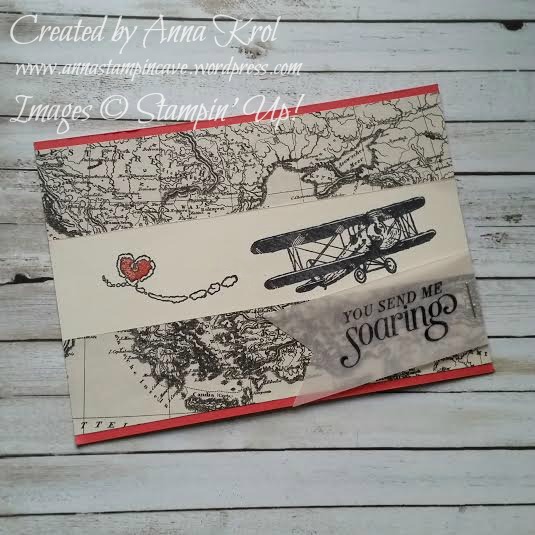
The base of my card is Watermelon Wonder cardstock. For the layer, I cut two pieces of Typeset Specialty DSP (each measure 5-7/8″ x 1-3/8″) and a strip of Very Vanilla cardstock that measure 5-7/8″ x 1-1/4″. Before I adhered them on my base I stamped my images on Very Vanilla using Basic Black Archival Stampin’ Pad, as I was planning to do a little colouring. Our archival ink pads are perfect for watercolouring as they do not bleed. I coloured heart using Watermelon Wonder ink pad and a blender pen and added a little shimmer with clear Wink of Stella Glitter Brush. Yeah, I know that most of the guys do not like a bling. But come on: he loves you, so you can sneak a little shimmer here and there, and he won’t say a word 😉 I stamped the sentiment on a piece of vellum and heat embossed in black. Cut it into a banner and attached to the card using a regular stapler.

For the second card base, I chose cardstock in my favourite neutral colour – Crumb Cake.

sky is the limit 6

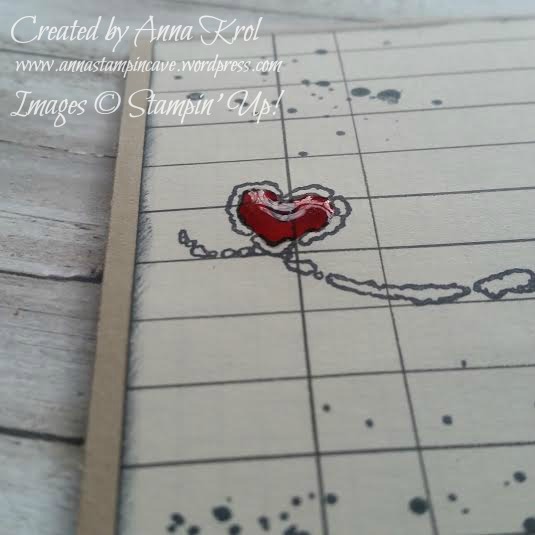
For the layer again I reached for Typeset DSP. But this time I stamped directly onto my designer paper. I also added some splotches from Gorgeous Grunge stamp set and sponged the edges to add to the vintage look. This time I stamped sentiment onto a piece of Crumb Cake instead of vellum. I attached everything to the base using snail adhesive. The plan for the heart was to leave it blank this time, but when the card was put together I’ve changed my mind. I colour the heart using a Real Red marker and then filled it with Crystal Effects. I have to say I love how a little of Crystal Effects makes the heart just POP! sky is the limit 4

It’s been ages since last time I’ve made masculine cards, so rather pleased how these turned out. I was wondering which of the finishes get more votes: Wink of Stella or Crystal Effects. So I’ve asked my fellow crafters (showing them just a hearts sneak peek) what they think. And I’m not surprised that Crystal Effects gets more votes. And which finish do you prefer? Let me know in the comments below.

Thank you for stopping by and have a great day,