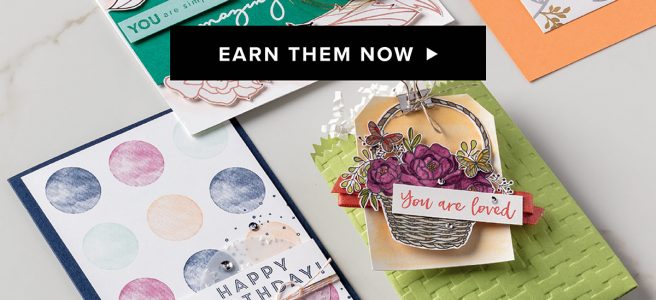
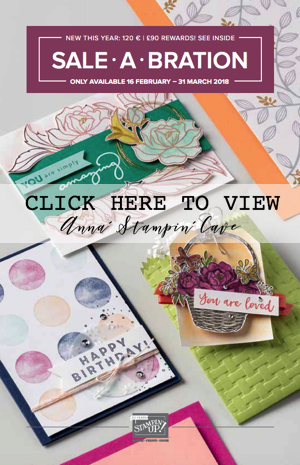
Hooray! New Sale-a-bration Release Is Now Available!!
Starting today, 16th February, Stampin’ Up! is adding three more FREE product options to the Sale-A-Bration offering.
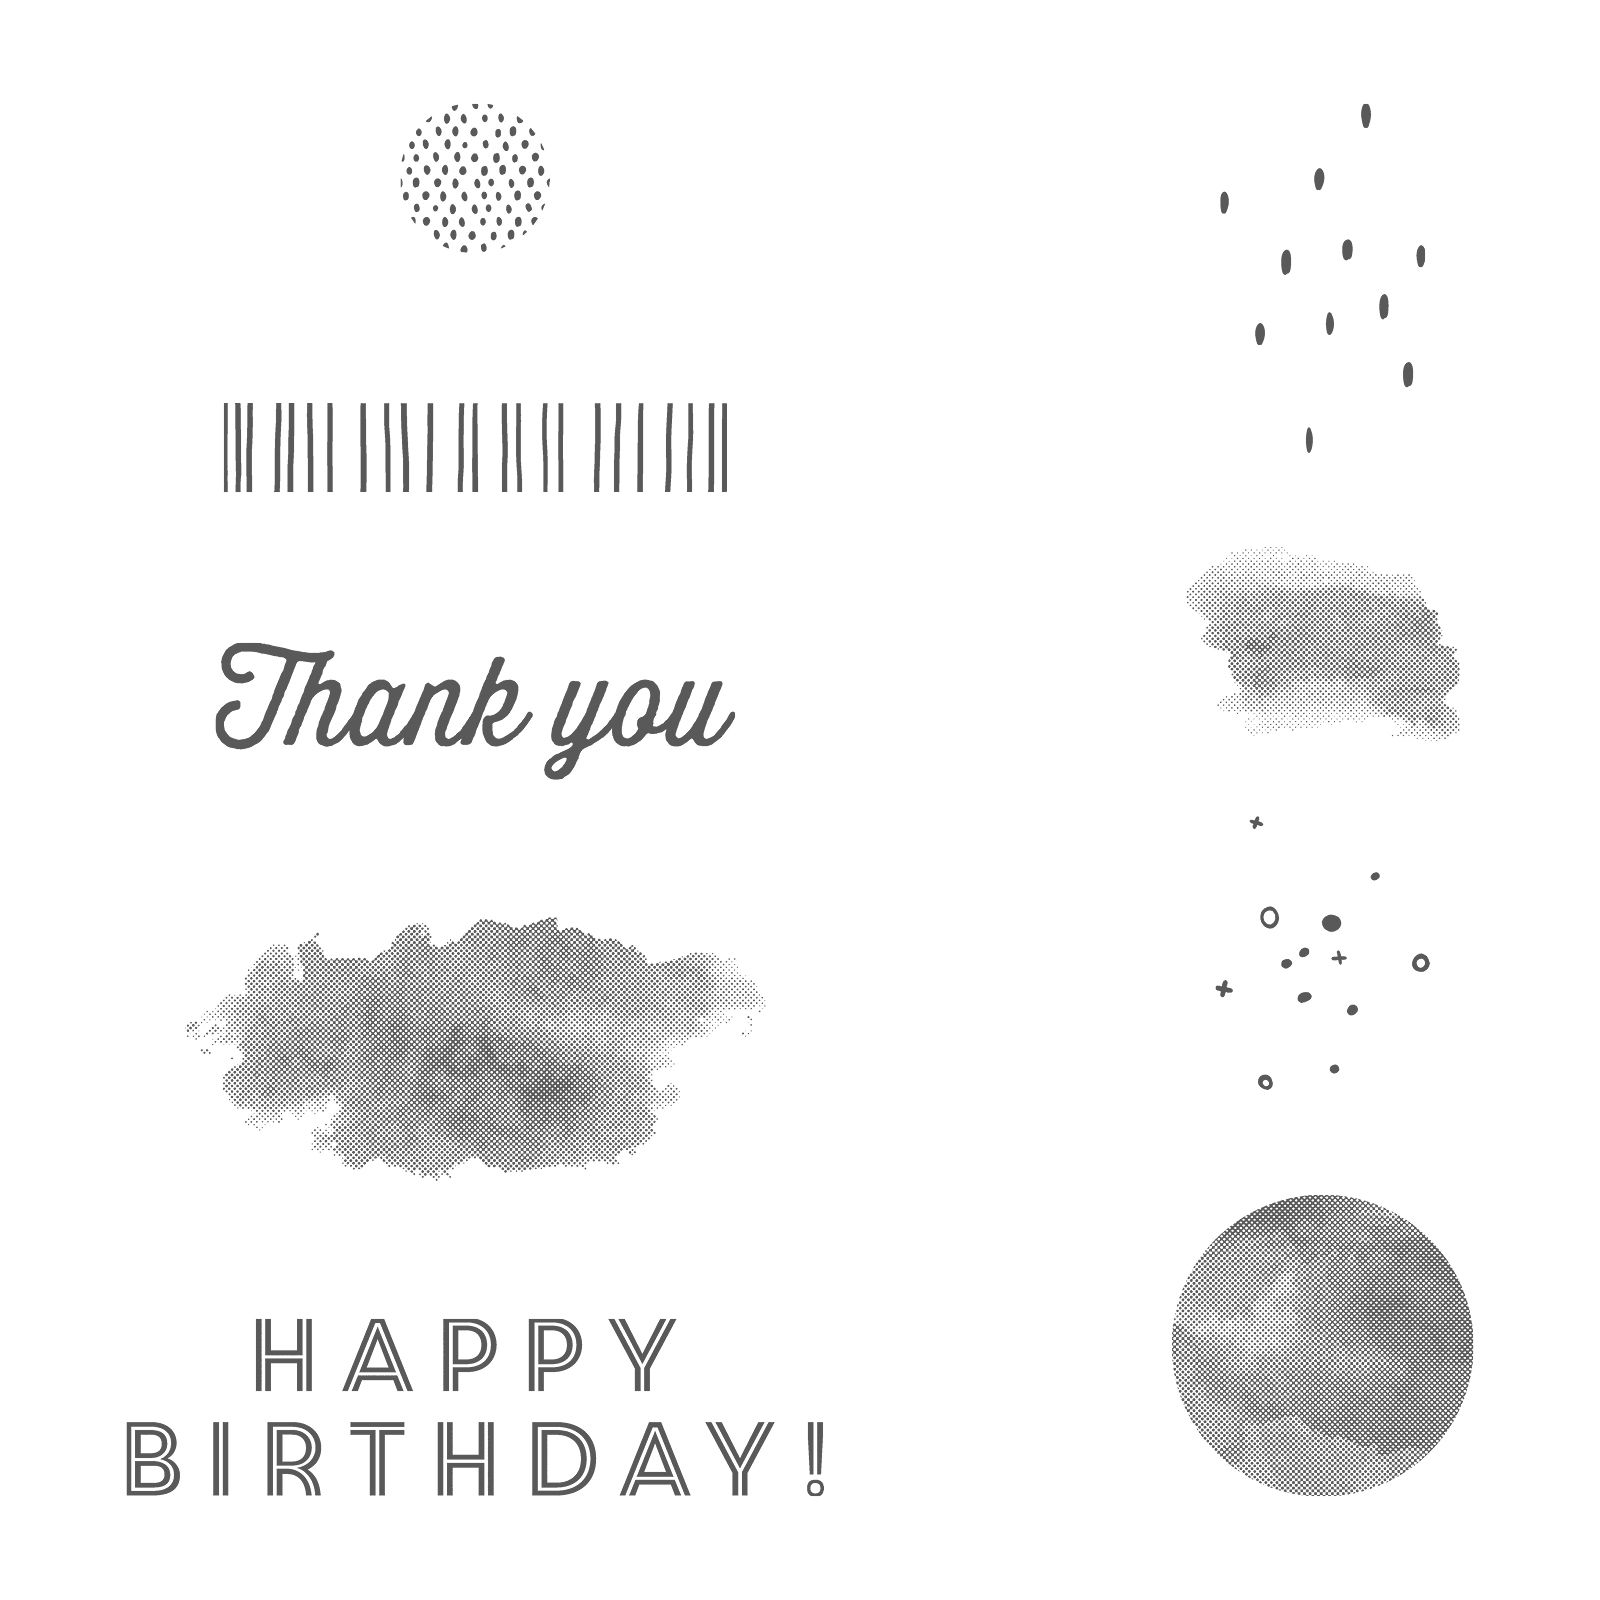
Eclectic Expressions Stamp Set (Clear-Mount and Wood-Mount) is available for FREE with a 60 €/£45 order .
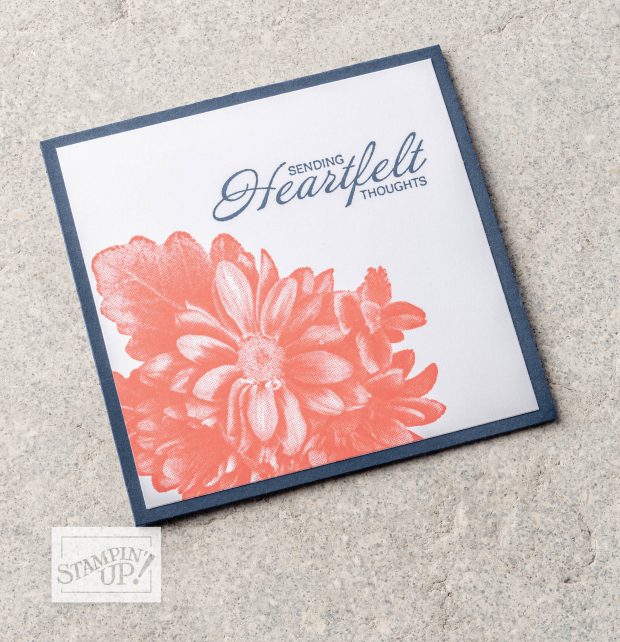
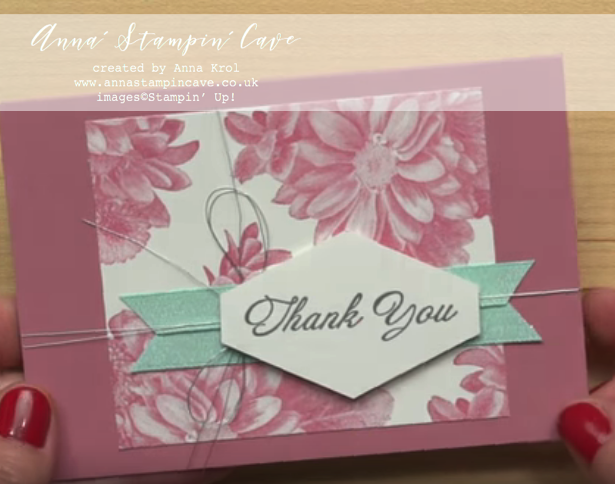
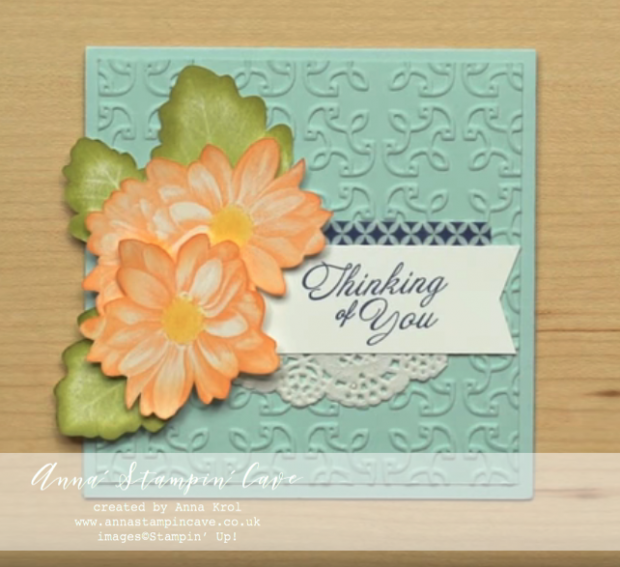
If you like experimenting with abstract patterns, then this set is the one for you! Repeat, layer, overlap images.
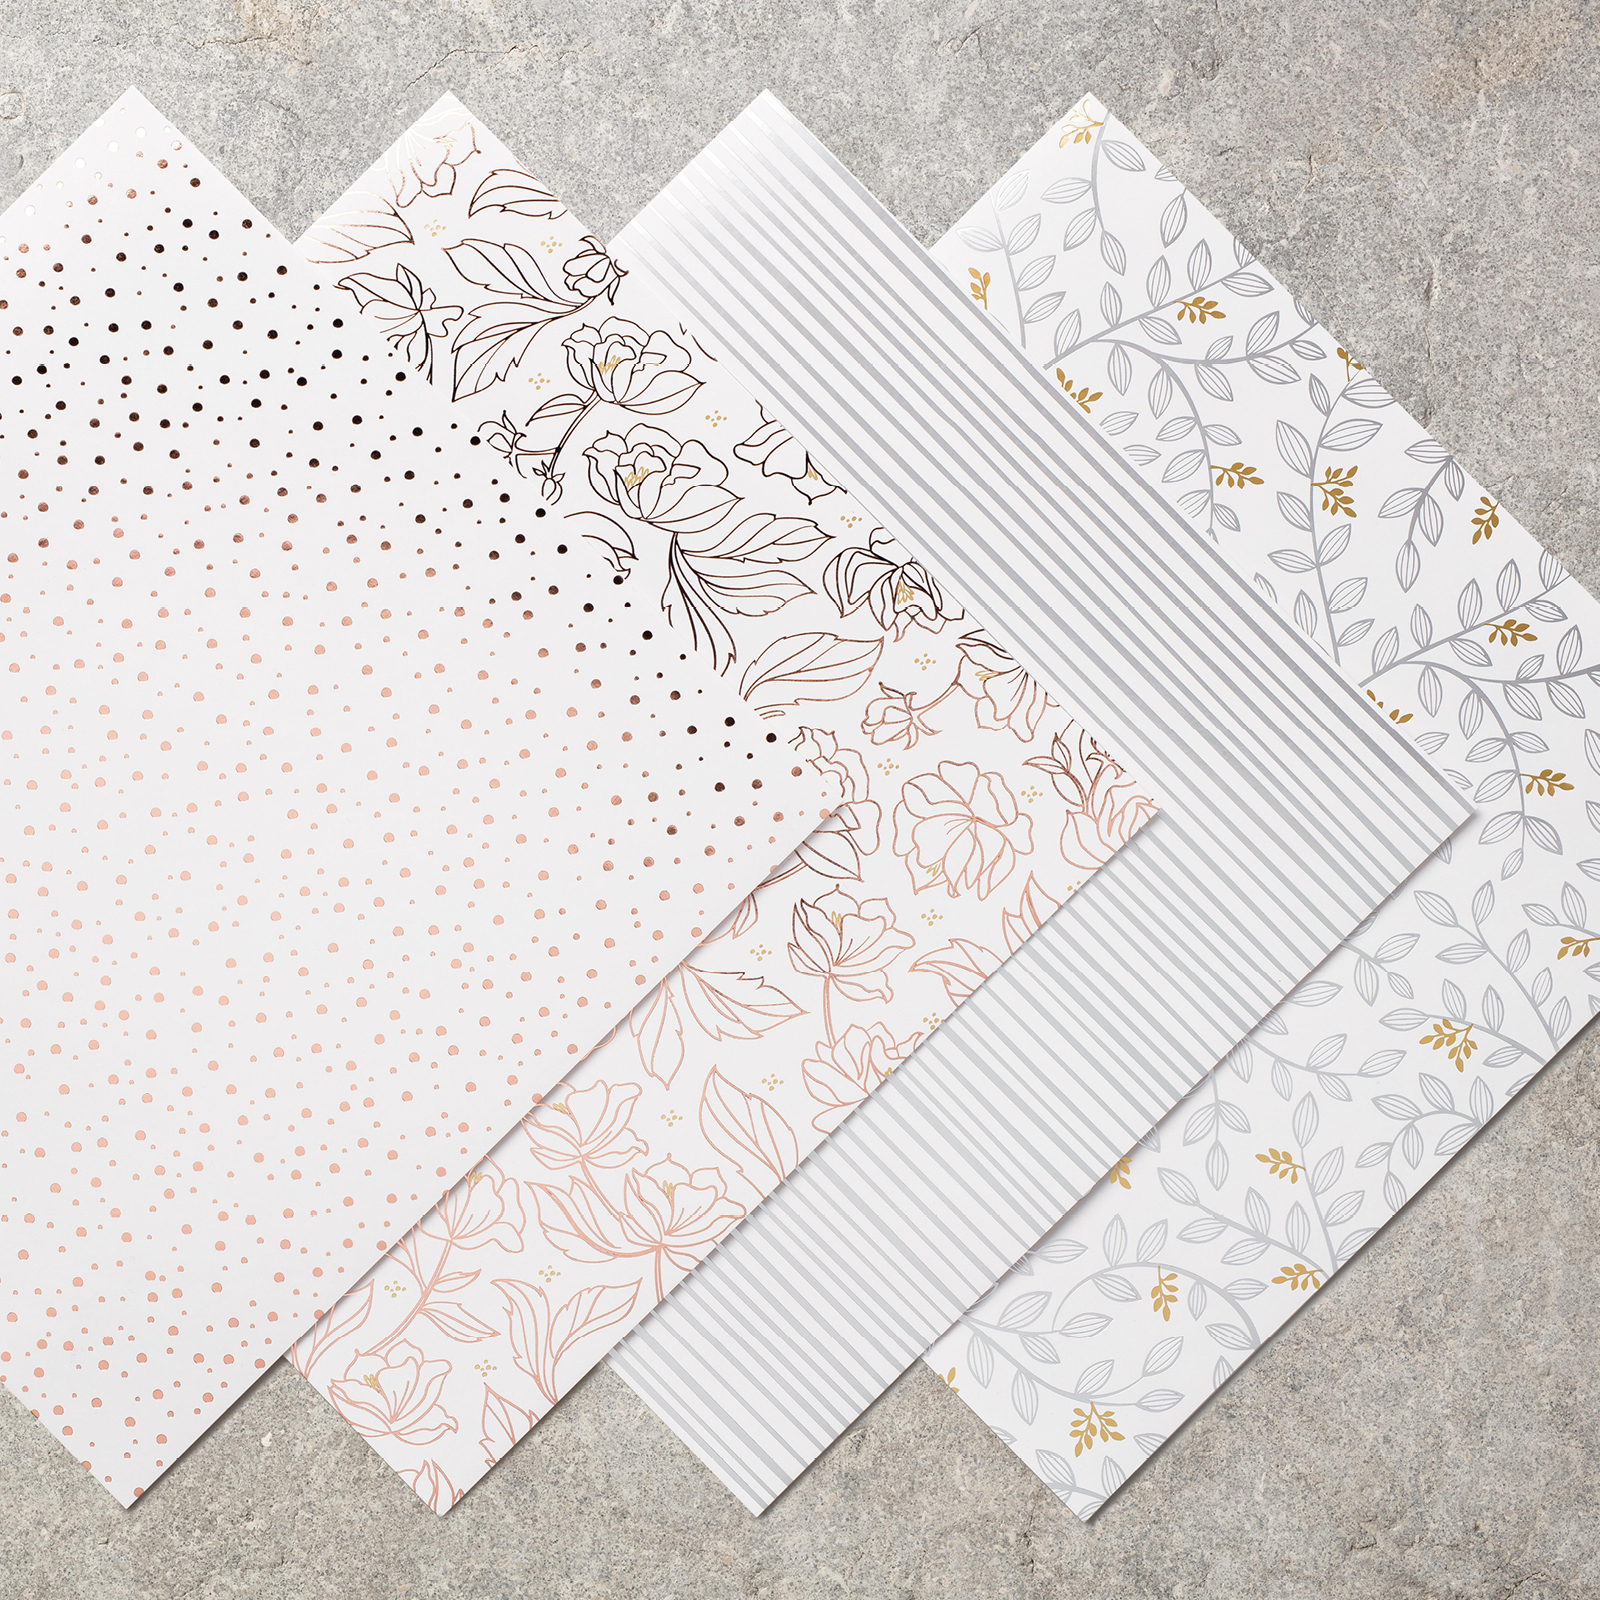
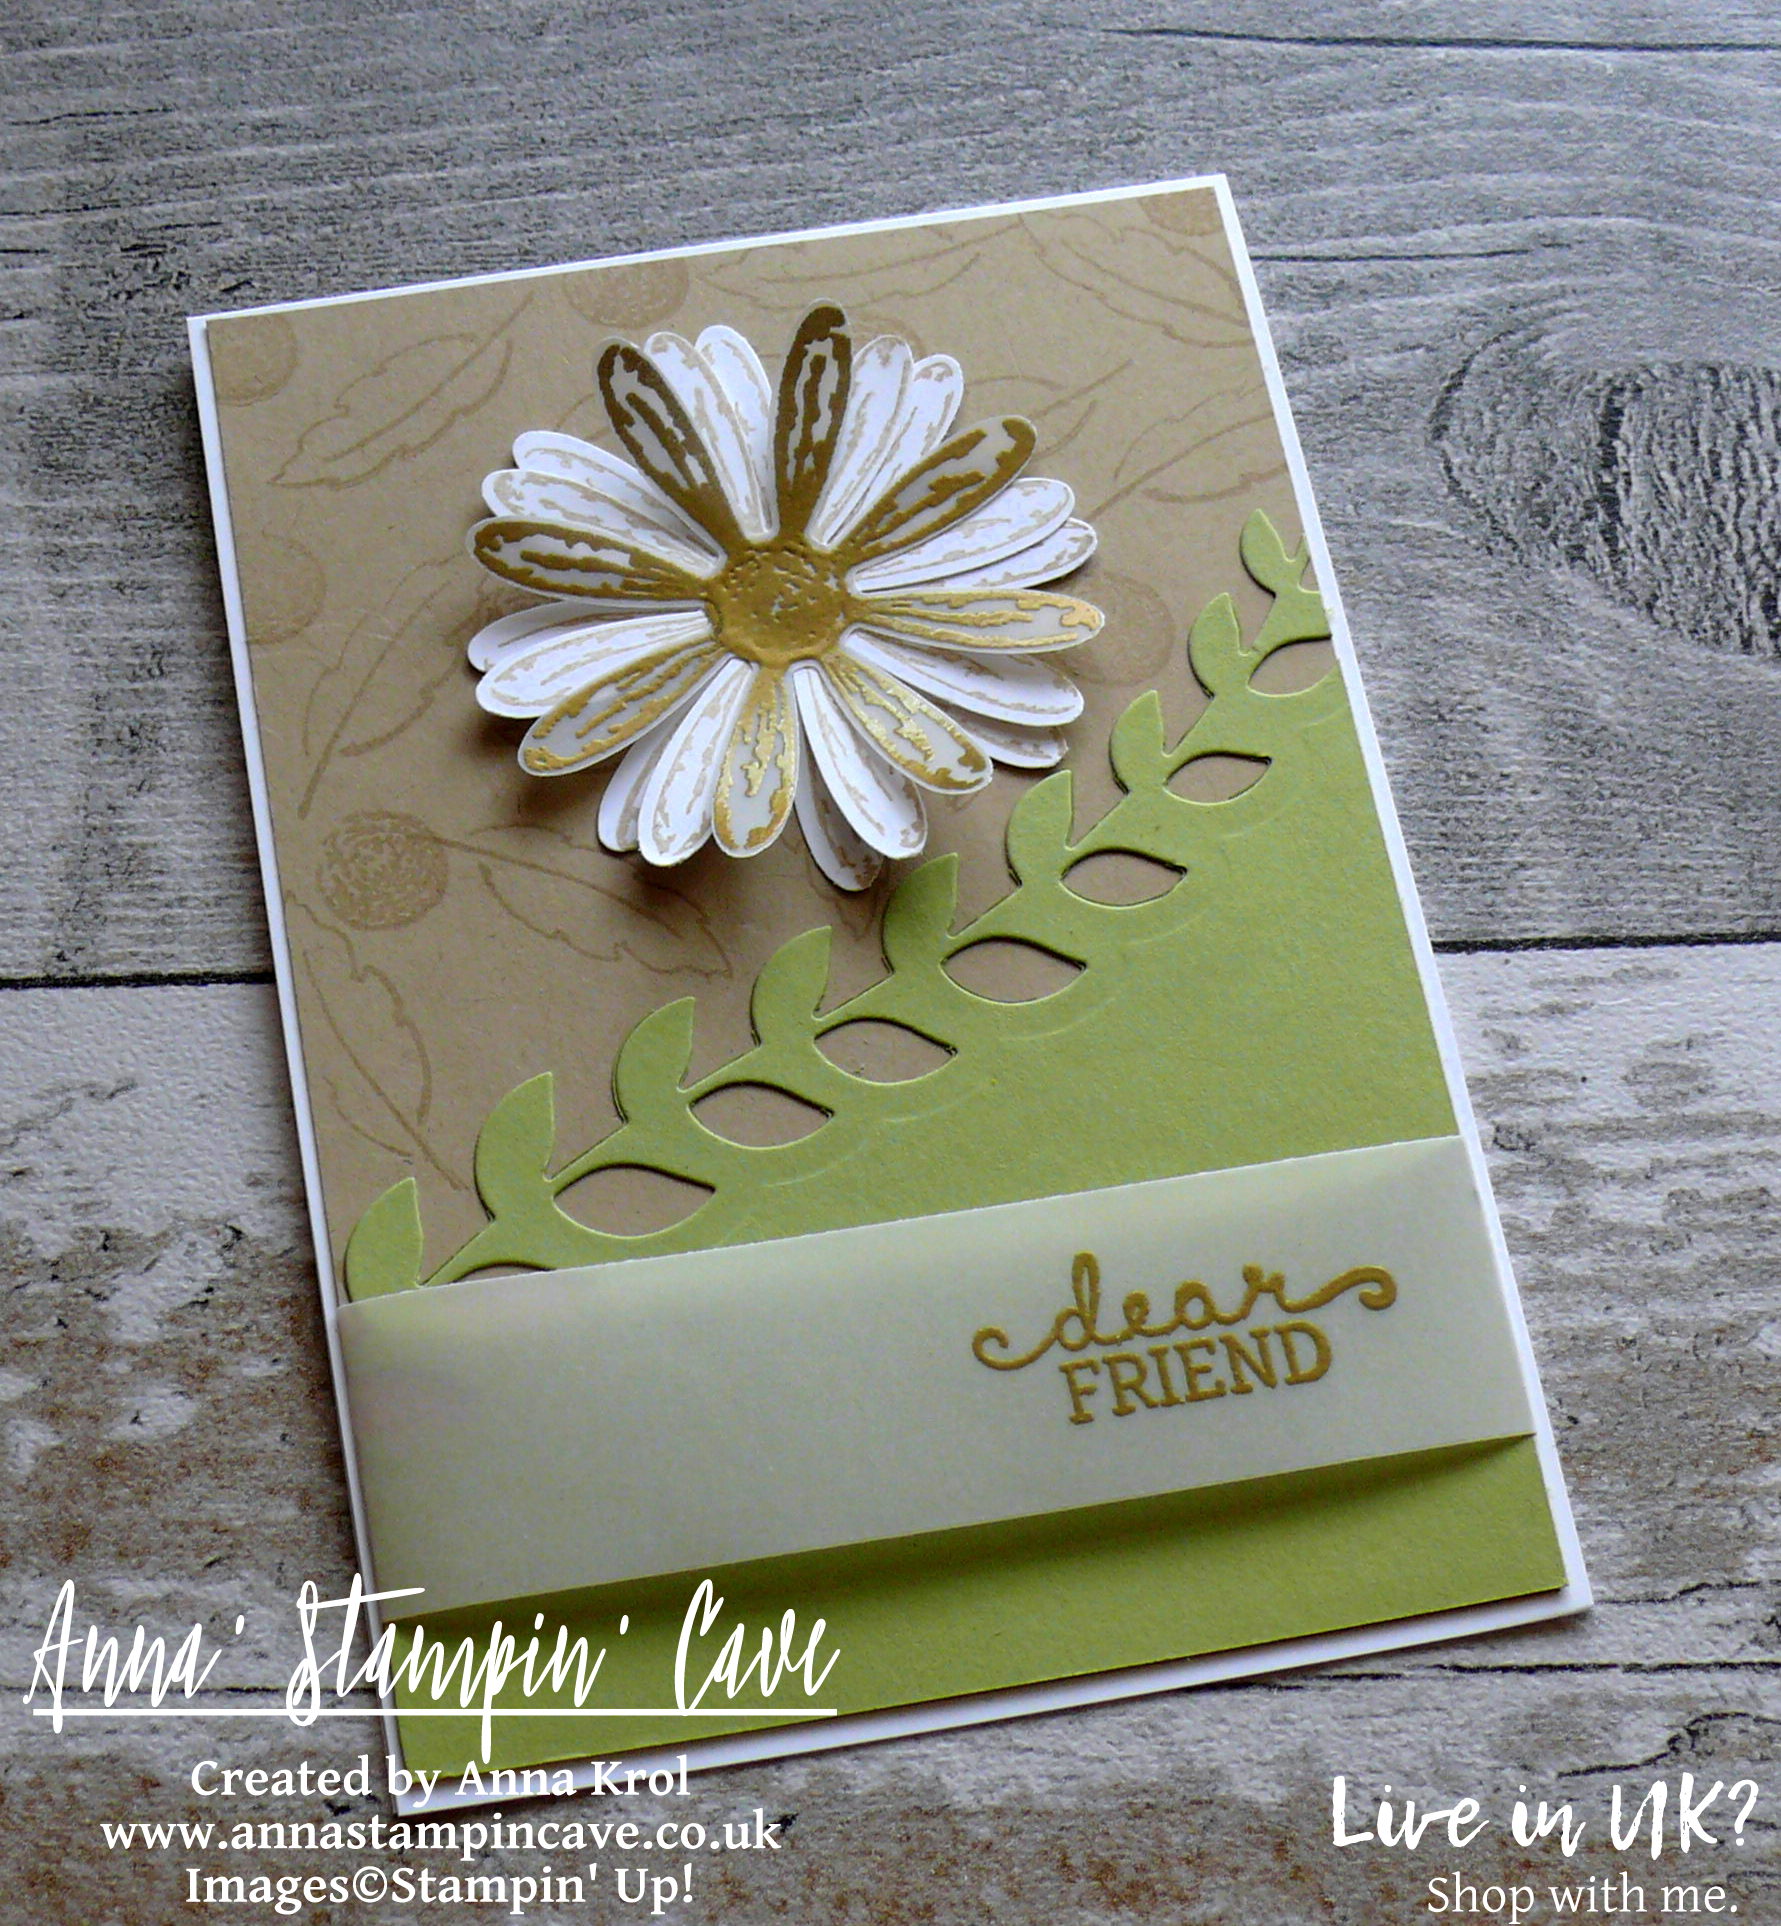
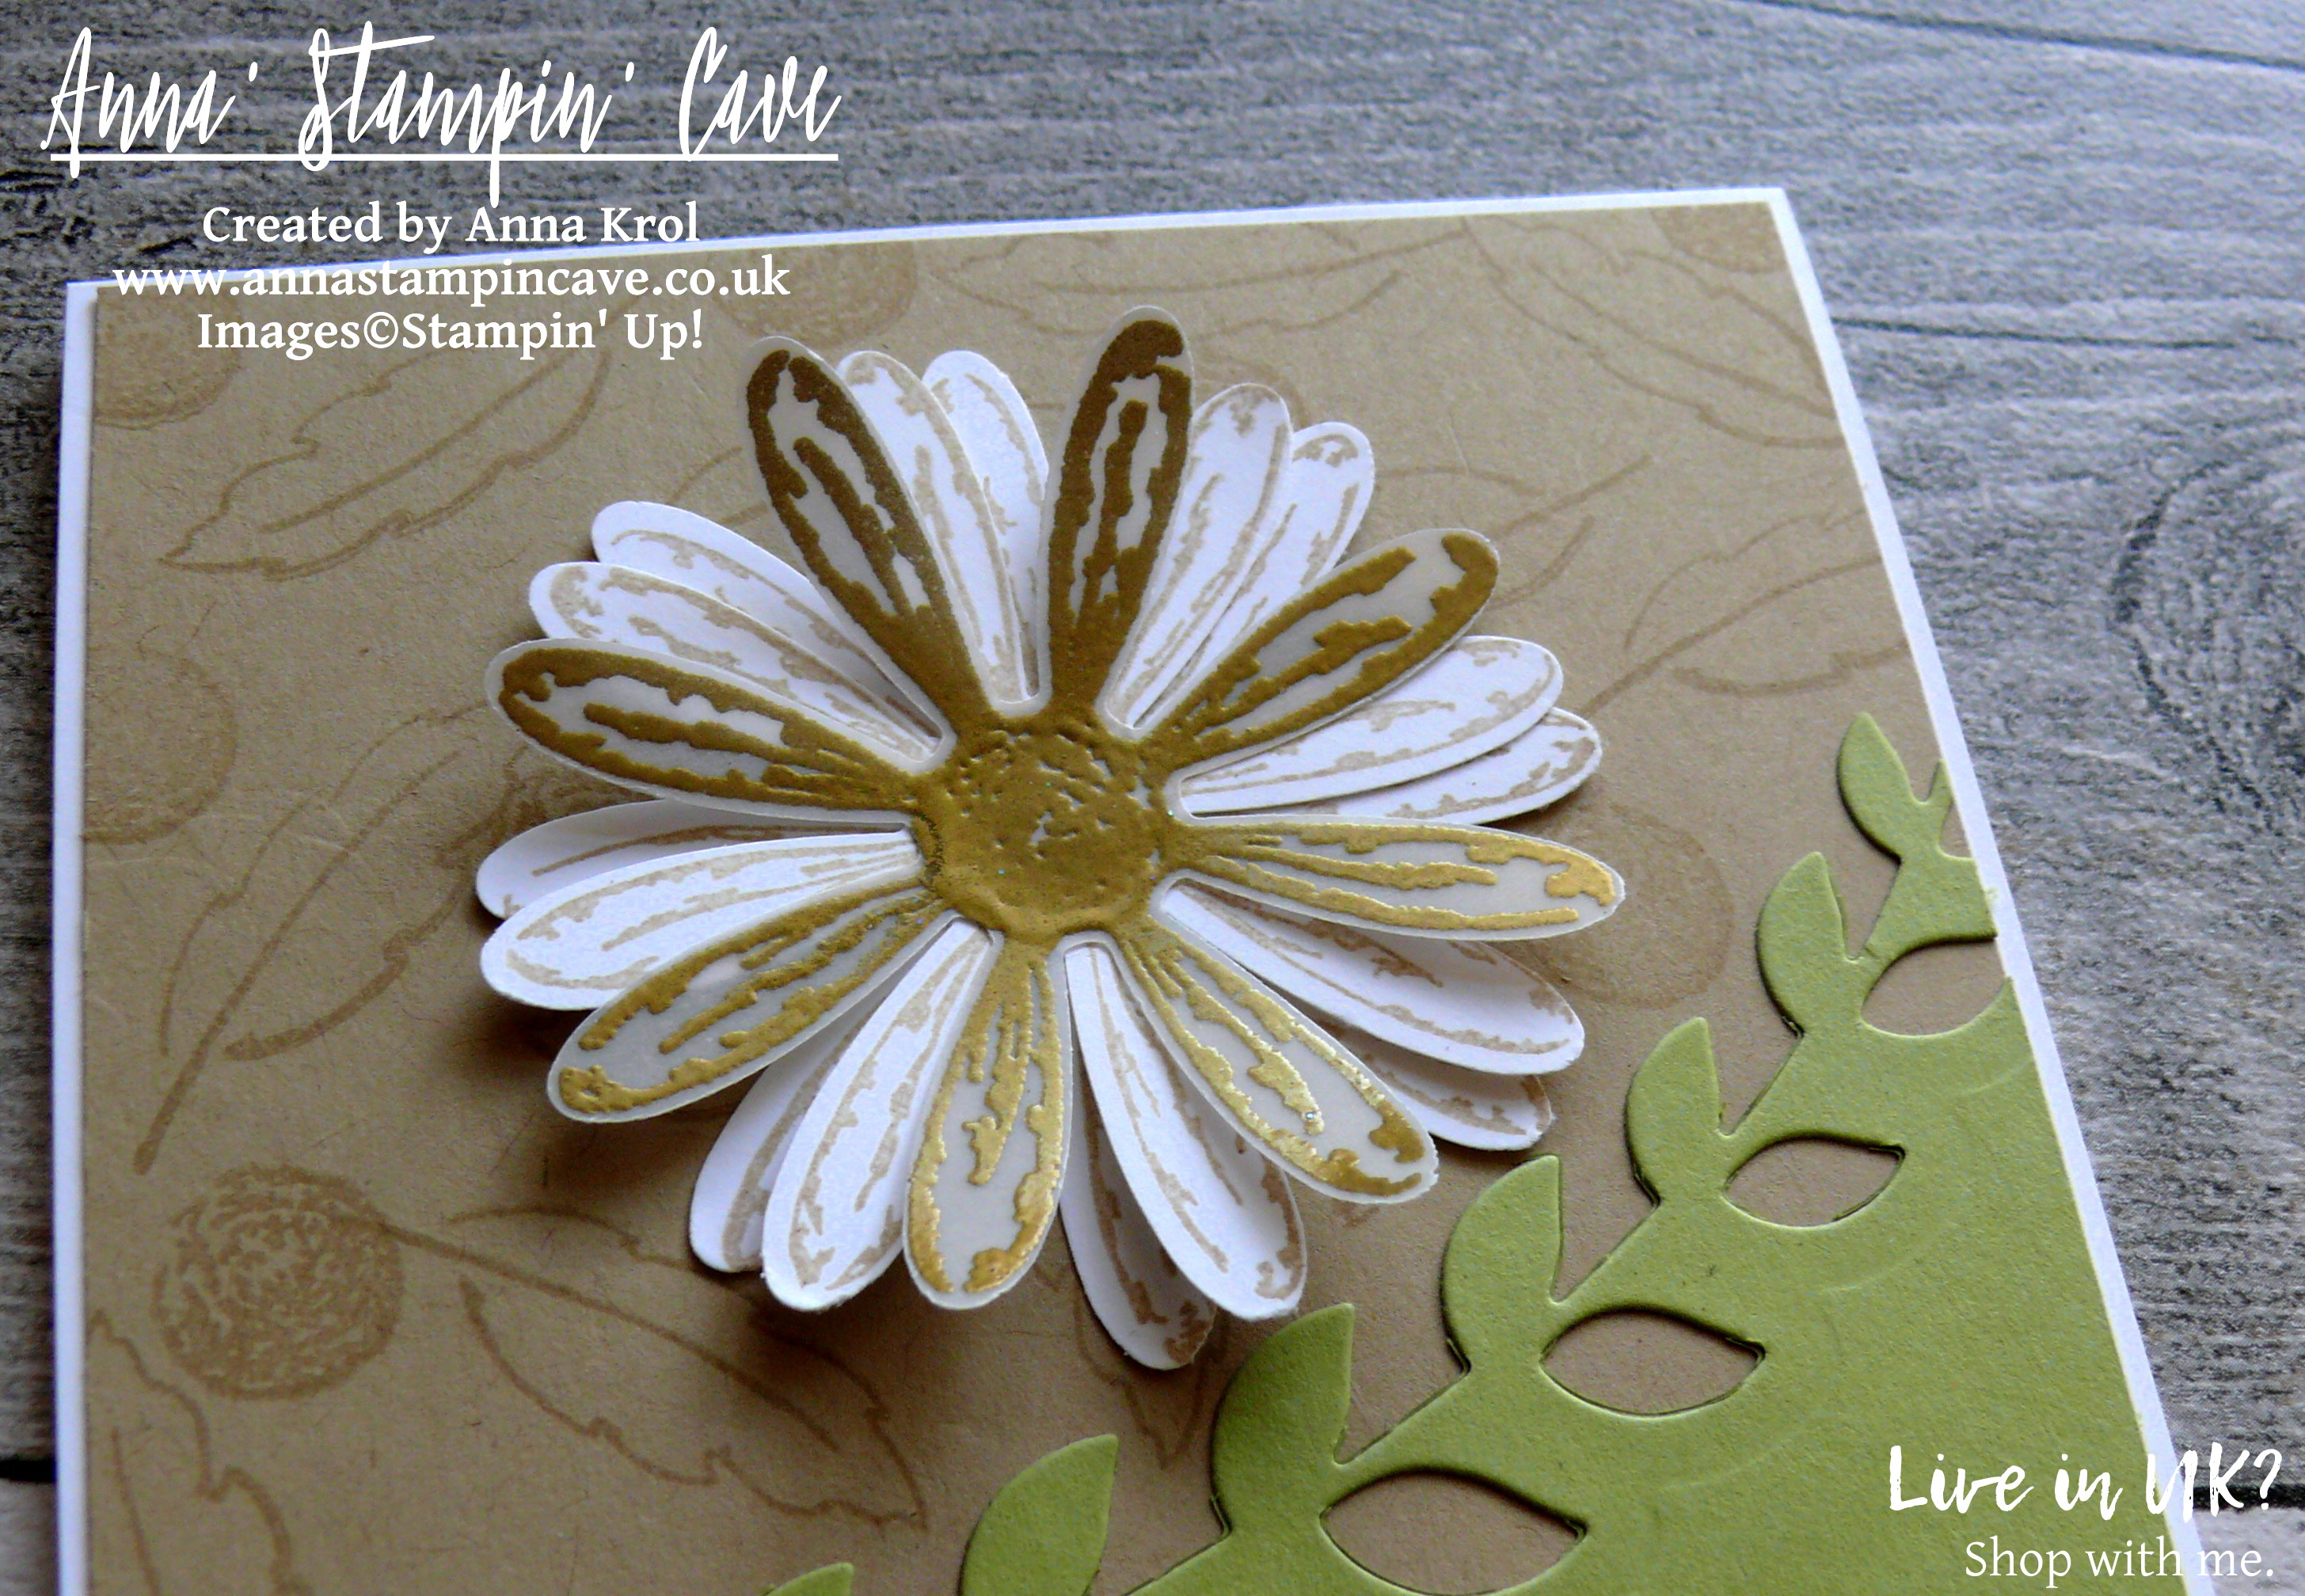
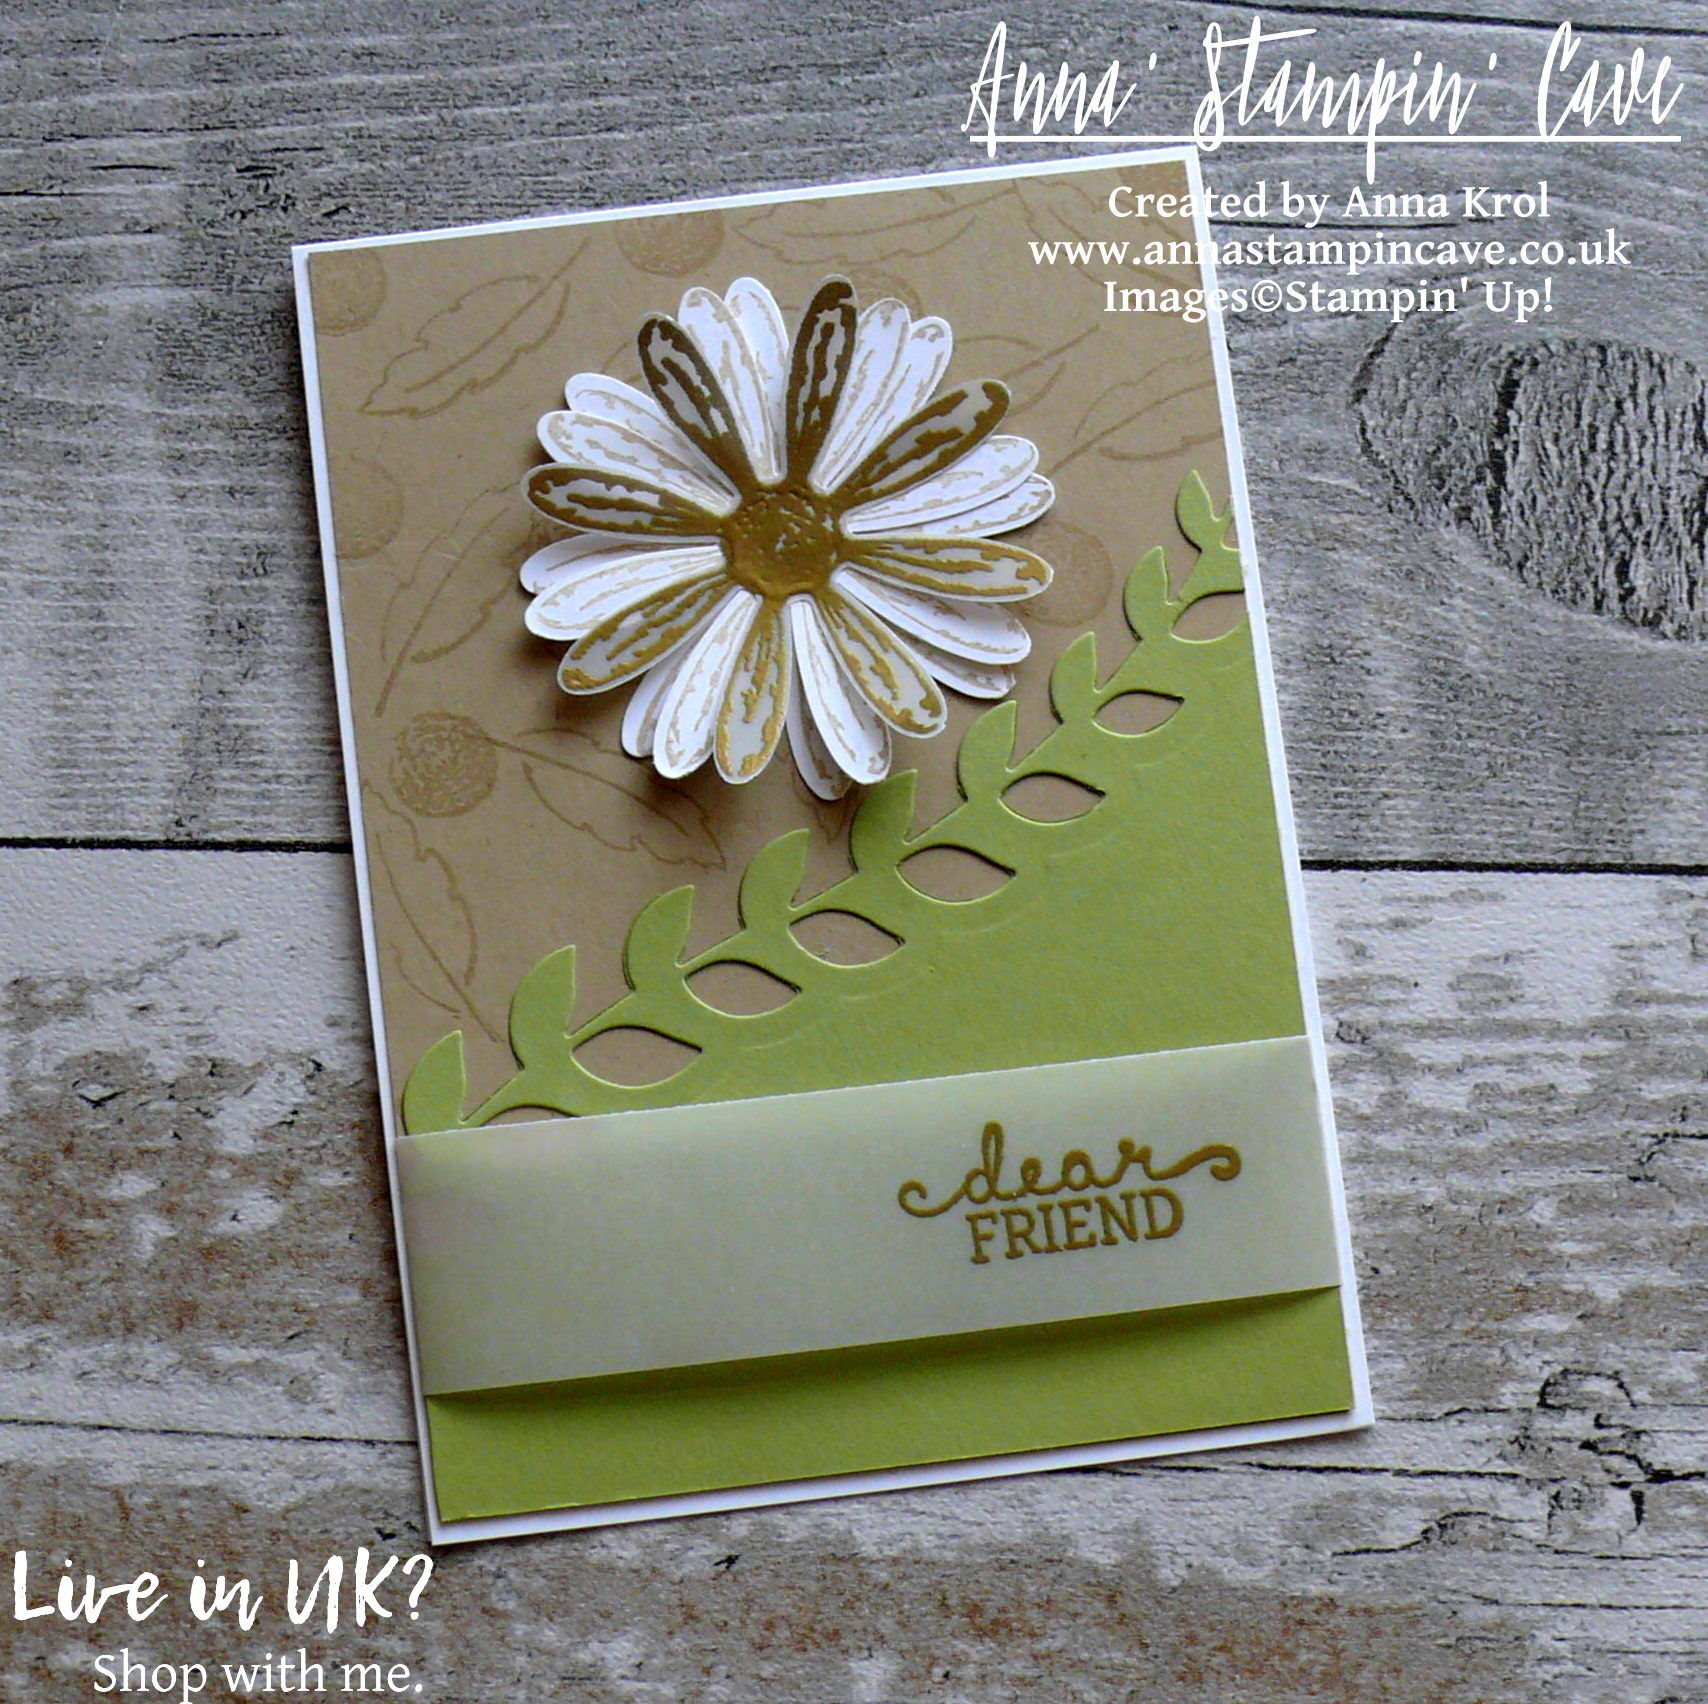
Springtime Foils Specialty Designer Series Paper is available for FREE with a 60 €/£45 order .
Give spring an elegant spin with foil-designed, spring-inspired paper. Beautiful patterns comes in three colors: Gold foil, Rose Gold foil & Silver foil.
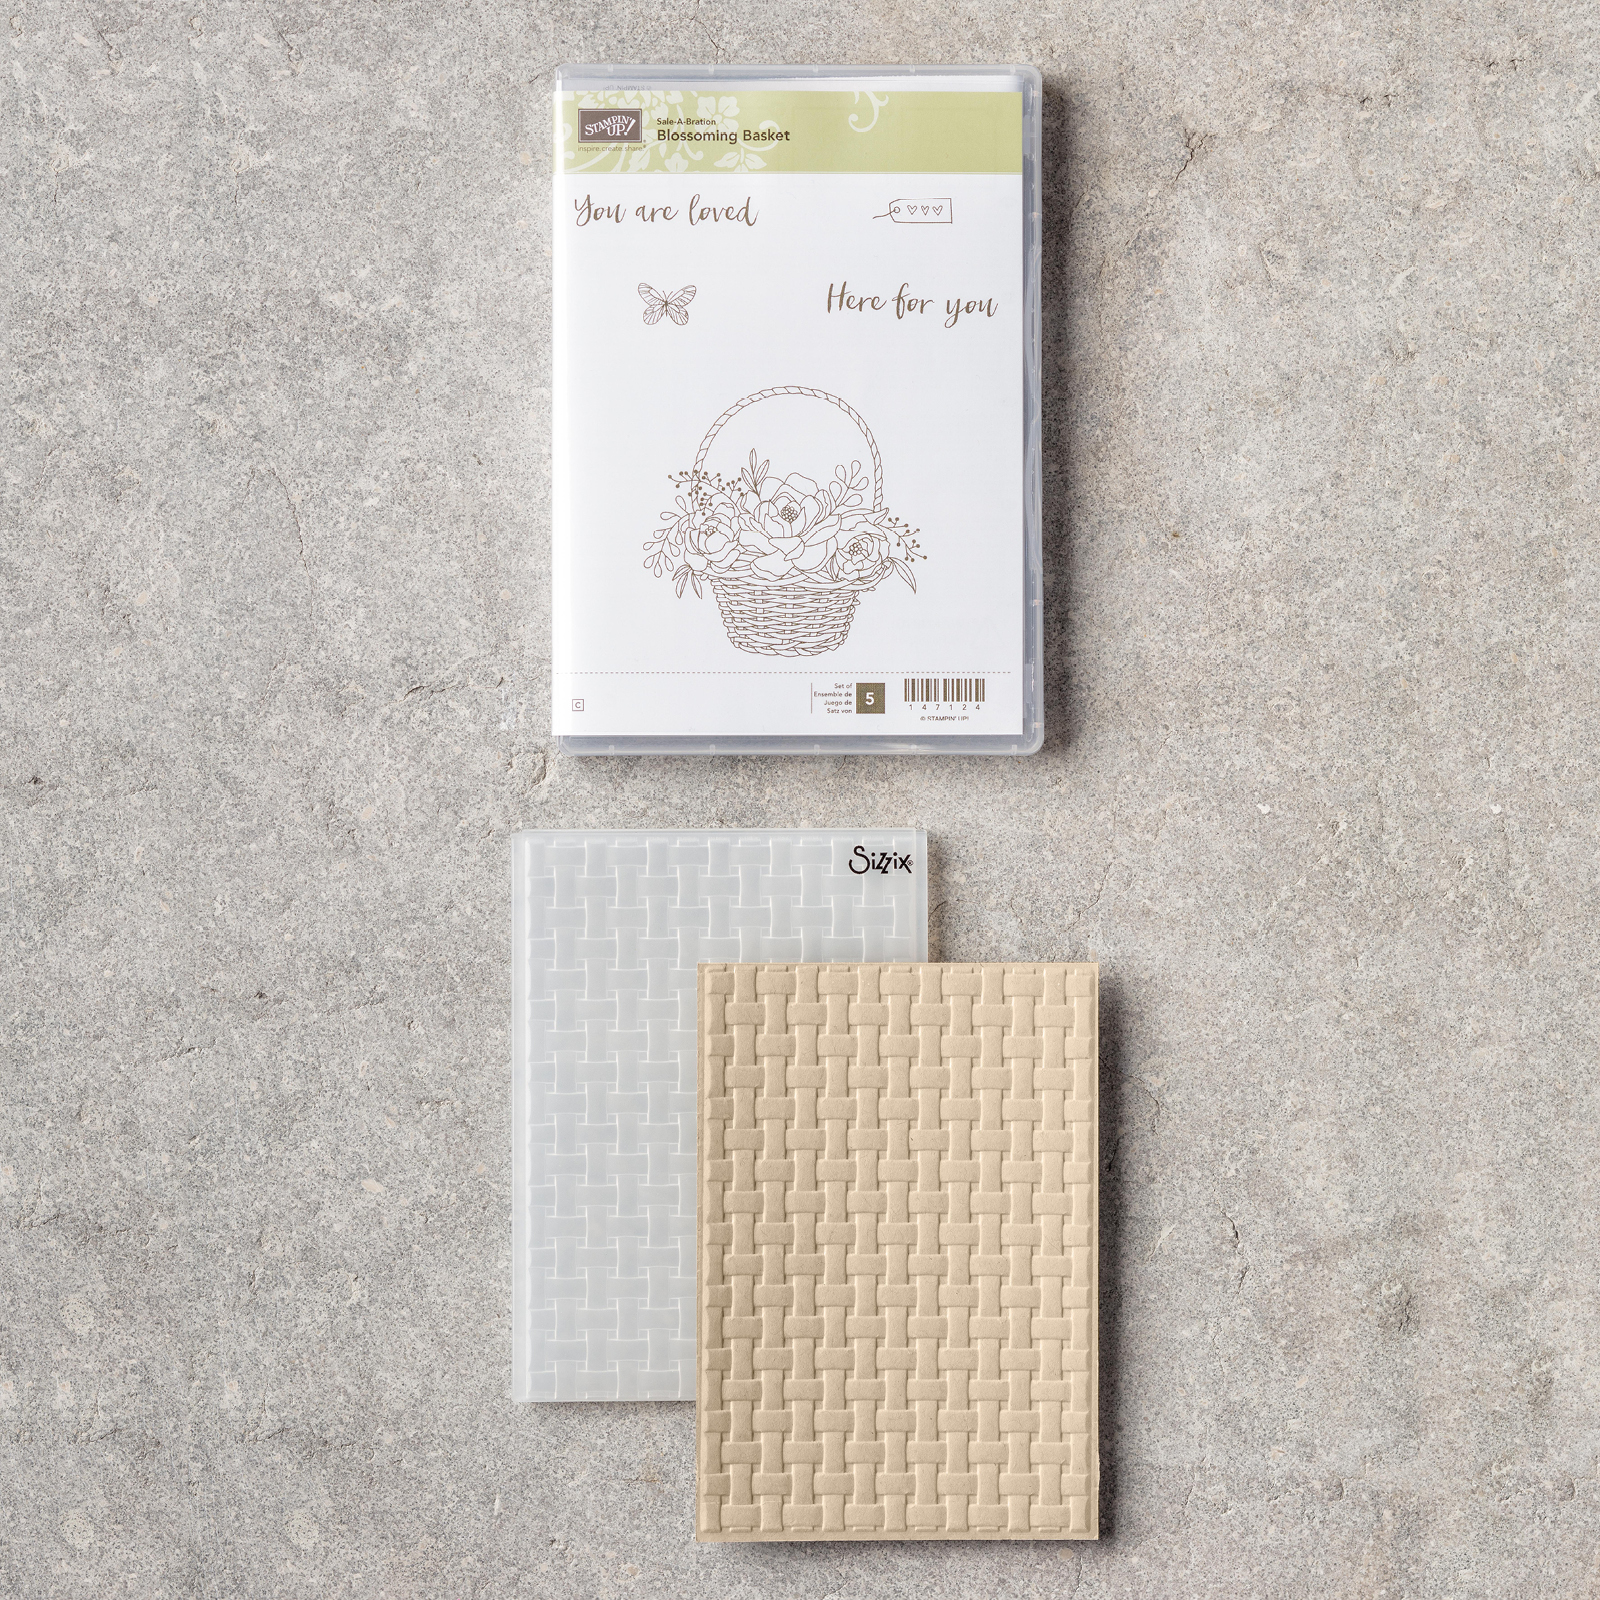
Blossoming Basket Bundle (Clear-Mount and Wood-Mount) is available for FREE with a 120 €/£90 order.
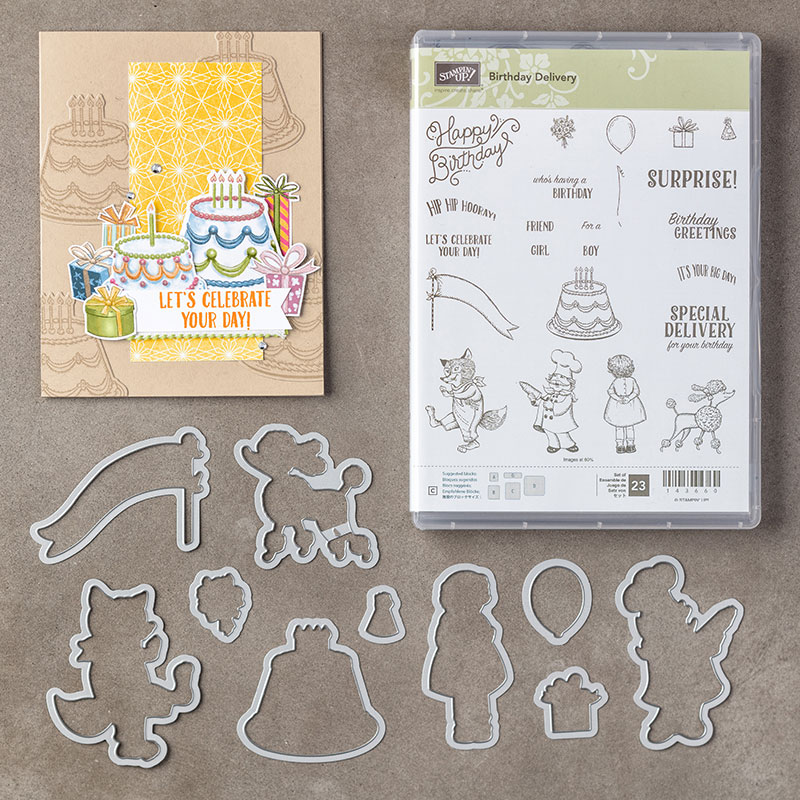
It includes beautiful Blossoming Basket Stamp Set with images you can colour using your favourite technique, and a 3D effect Basket Weave Dynamic Textured Impressions™ Embossing Folder.
Watch Stampin’ Up! video below on different waysto use this bundle:
Enjoy Sale-a-bration in THREE WAYS:
- SHOP!
- If you spend 60 €/£45, you get one free level 1 product.
- If you spend 120 €/£90, you get one free level 2 product, OR, you can choose two level 1 items.
- If you spend 180 €/£135, you have the option to choose three level 1 items or one level 1 item and one level 2 item.
- HOST & EARN!
As you will know, there are ‘benefits’ when you place an order over £150. For this time only, if you place one single order of 275 € | £200 or more, during Sale-A-Bration, you will earn 27 € | £20 more in Stampin’ Rewards!* These rewards can even be applied towards a Starter Kit, allowing you to join and become a demonstrator.
*Additional Stampin’ Rewards can also be earned by an individual purchase or order of 275 € | £200 or more.

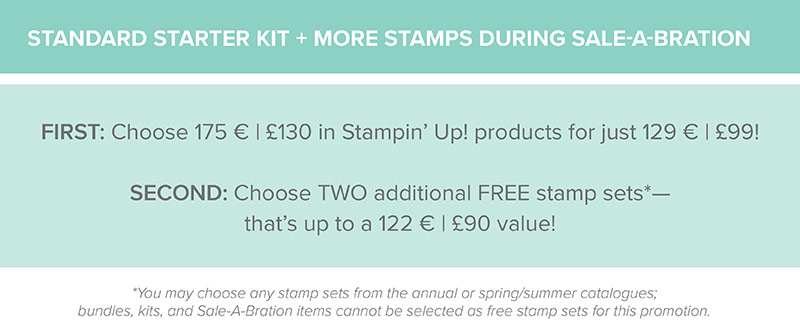
- JOIN!

For a limited time (Sale-A-Bration 3 January – 31 March):
1.Purchasing the £99 Starter Kit during Sale-A-Bration gets you £130 in your choice of Stampin’ Up! Products. In addition, you can select TWO FREE STAMP SETS* of your choice extra. Plus Business Pack on top of that! (*excludes bundles and Sale-A-Bration sets.)
2. The Starter Kit ships FREE
3. You’ll become part of the Stampin’ Up! family and enjoy demonstrator discounts (20% or more) and benefits through at least July 31, 2016.
4. Do it for YOU! There’s no risk and no obligation to purchase anything further. £270 in quarterly sales is required to renew after 30 June. However, there’s no penalty to drop. You don’t lose anything!
5. Access exclusive virtual resources at Stampin’ University and become a member of my team when you purchase the kit and join through me.
Want to join only for a discount? – that’s brilliant! I welcome hobby stampers from across the UK, The Netherlands. Germany, France & Austria. That’s how I started! So what are you waiting for? CLICK HERE to join my team.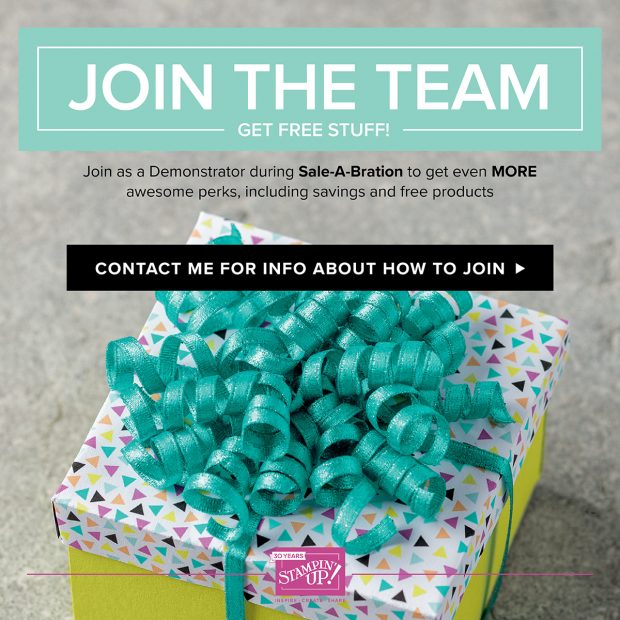
If you have got any questions, please do not hesitate and drop me a message. I am here to help.
Thank you so much for stopping by. Have a blessed day
Hostess Code for February: RRMR76JH – Use this code in the month of February and receive a gift from me. Spend £50 or more and use the code, and you will receive a Whisper White 1/4″ (6.4mm) Organza Ribbon + a handmade gift from me
Special Notes:1) Make sure you select Anna Krol as your demonstrator;
2) If you select “No Contact” box I do not have access to your name and can’t send you a gift;
3) If your order is £150 or more do not use the code and grab your own Stampin’ Rewards + gift from me
Don’t forget to check:


Spring Summer Catalogue Paper & Ribbon Shares. Shares are open to Austria, France, Germany, Netherlands & United Kingdom. 102 sheets of DSP & 2 yards of each type of ribbon from Spring/Summer Catalogue. Click here for more details —>
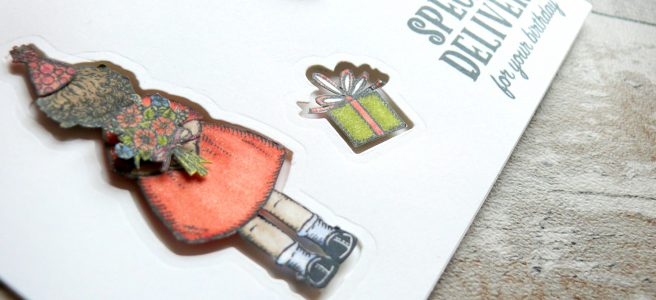
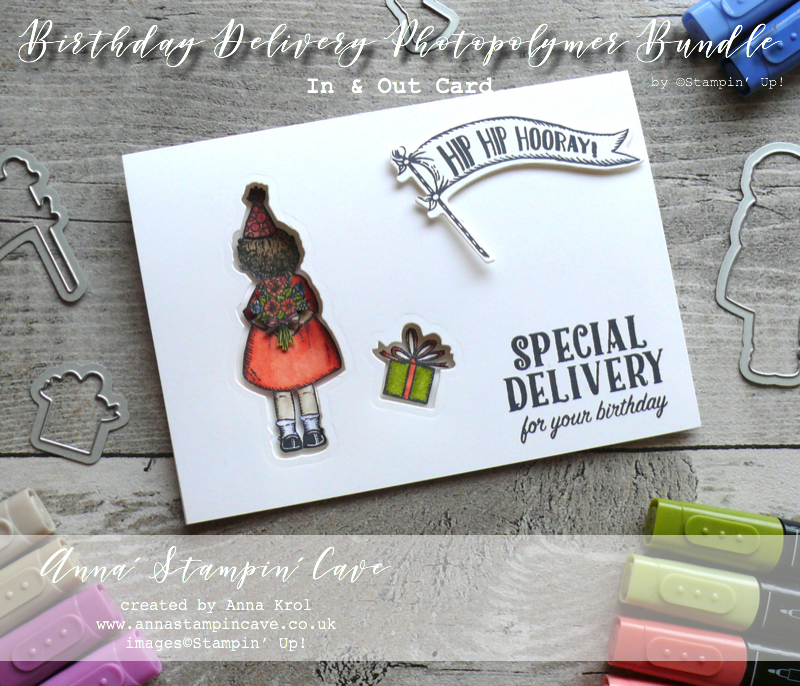
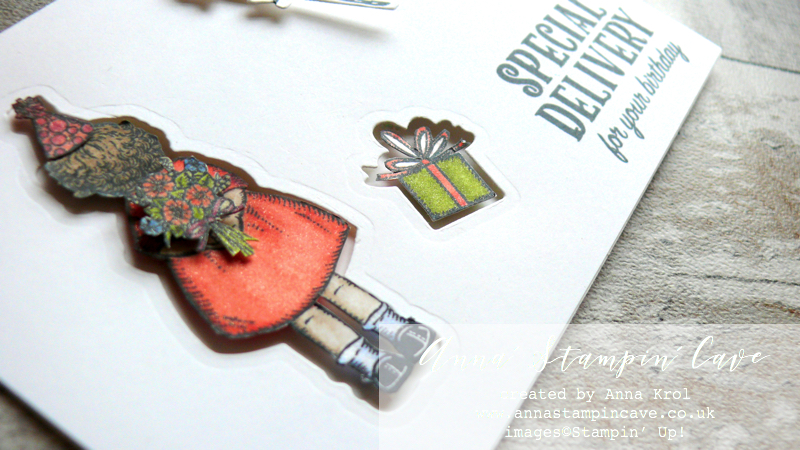
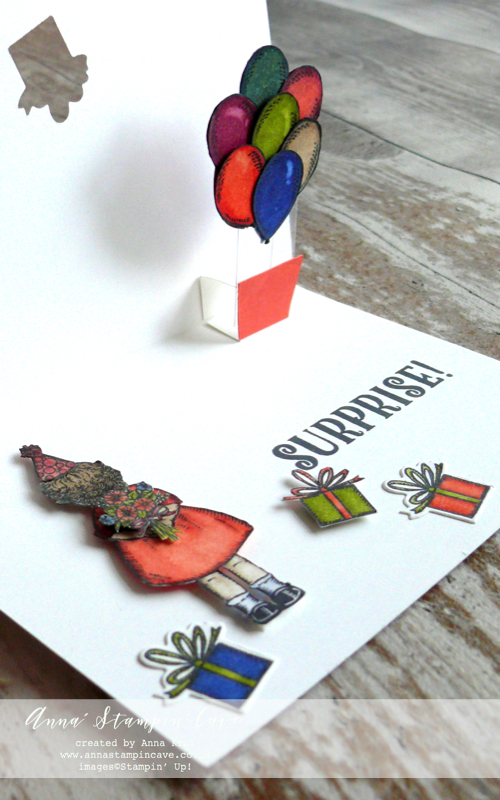
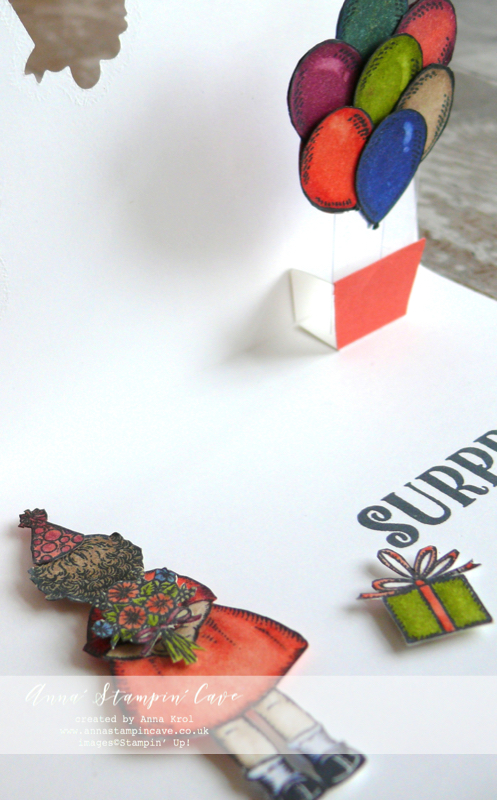
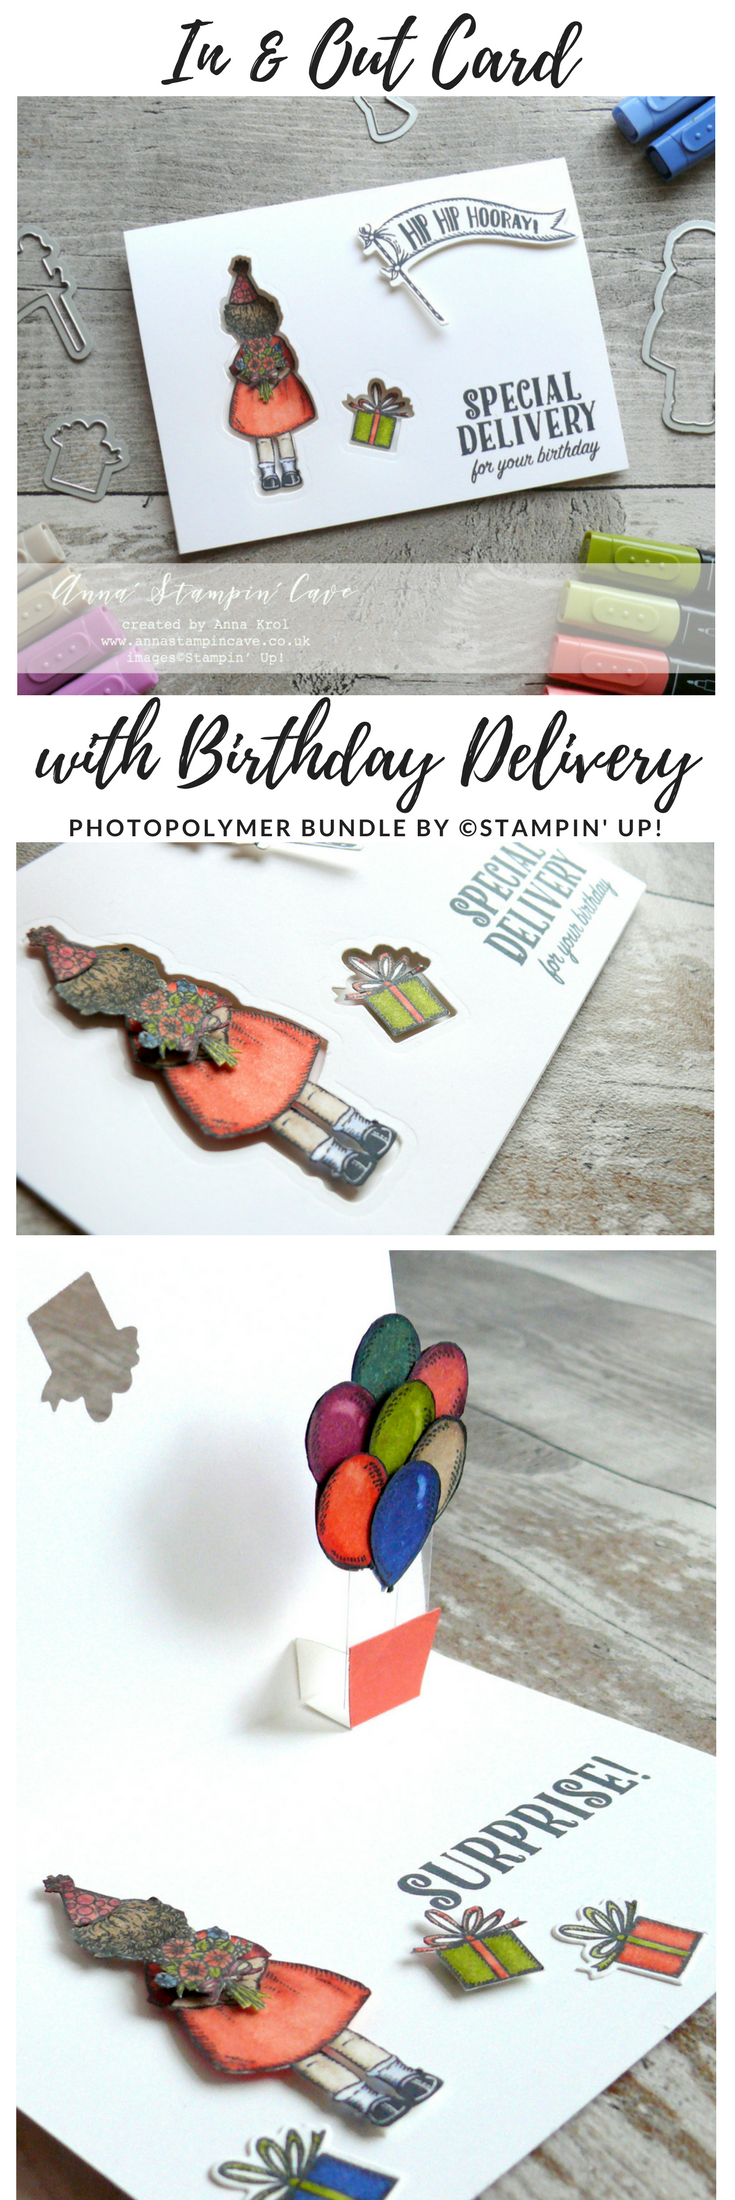
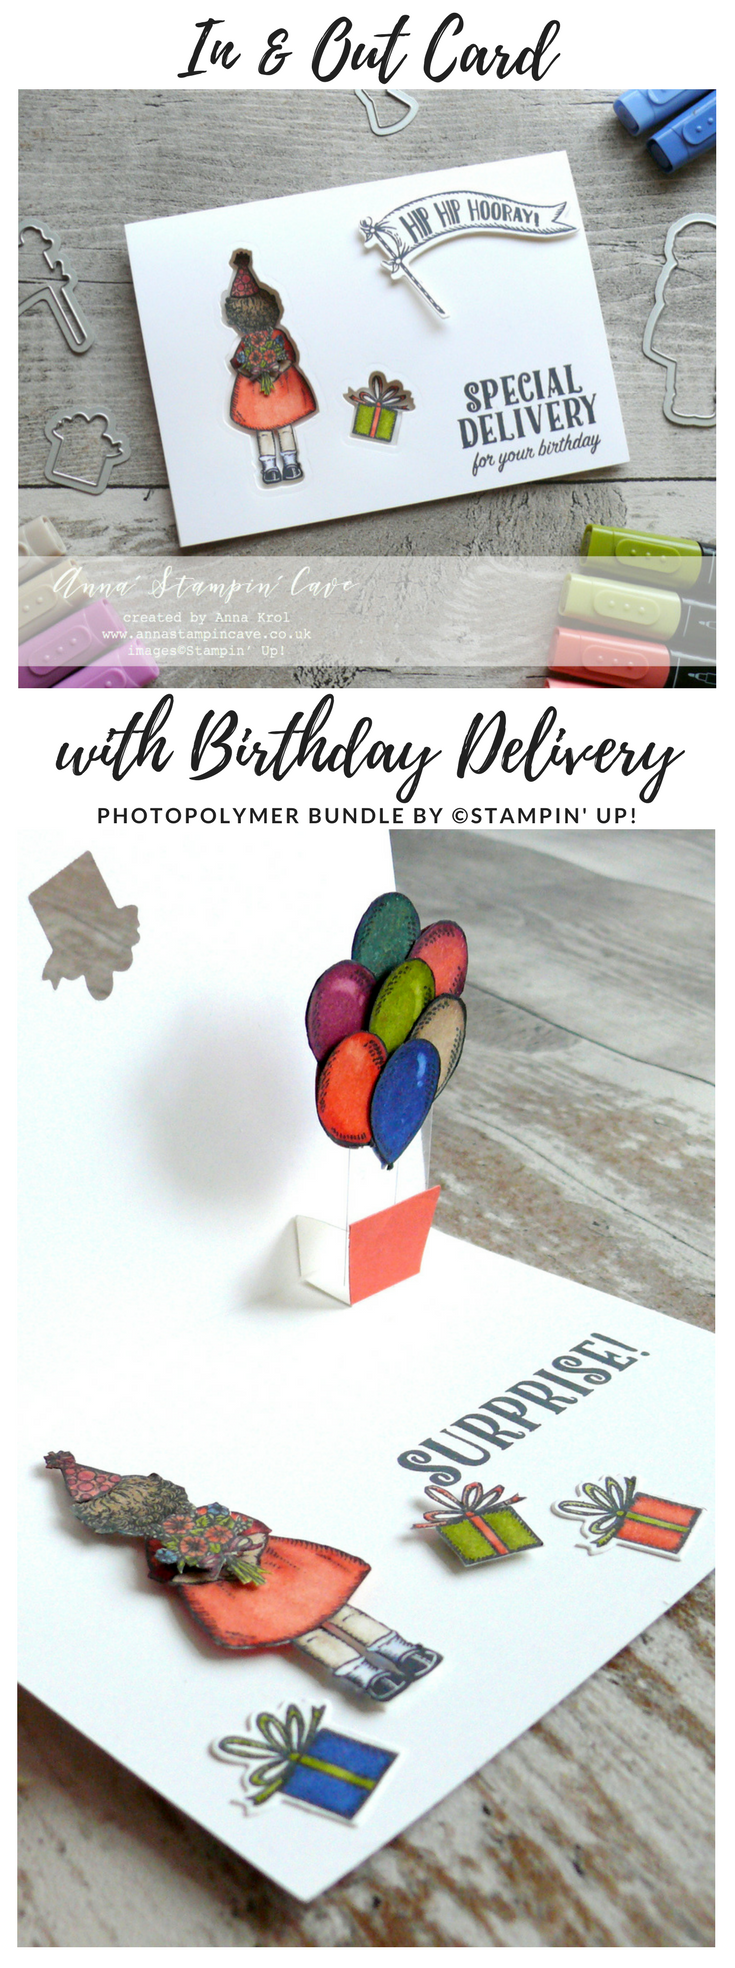
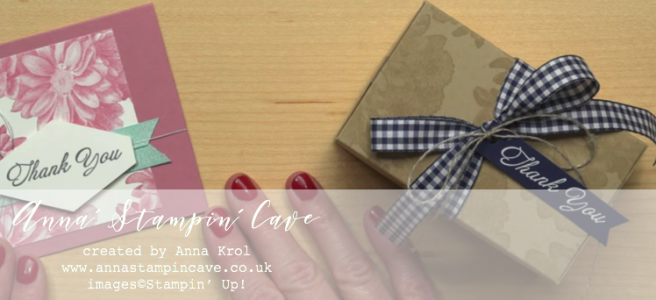
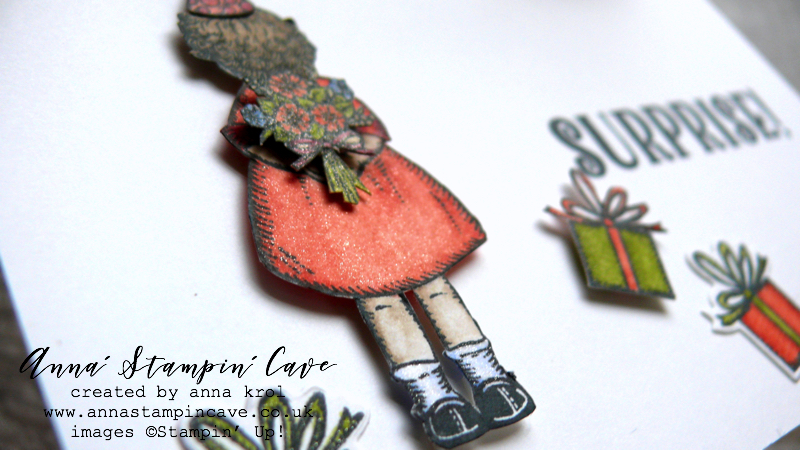 I adhered them through these openings, using dimensionals. Because these images are fussy cut, they fit snugly and don’t interfere with opening/closing the card. I also stamped, coloured and fussy cut the bouquet, And adhered it with dimensionals so it looks like my girl is carrying the flowers.