For The Love of Creating Blog Hop

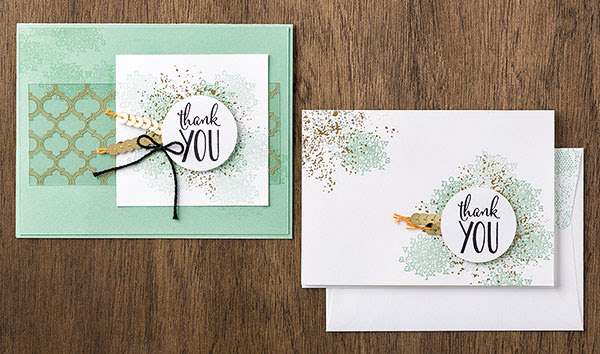
Anna' Stampin' Cave - Stampin' Up! Sneak Peek First Frost Stamp Set with Frosted Bouquet Framelits Dies and Frosted Floral Specialty DSP

Anna’ Stampin’ Cave – For The Love of Creating – Frosted Floral Suite
Hello and welcome to For the Love of Creating with Stampin’ Up! Blog Hop run by the amazing Australian demonstrator, Kim Oliver. We are super excited to share with you an array of creations showcasing a sneak peek products from 2018 Holiday (Autumn-Winter in the UK) Catalogue.

We hope you find great inspiration from our projects. If you have arrived here from Sandra Mastello, a big welcome to you. You are currently visiting Anna Krol from the United Kingdom.

Frosted Floral Suite

For my projects today I decided to showcase a beautiful suite of products called Frosted Floral Suite.
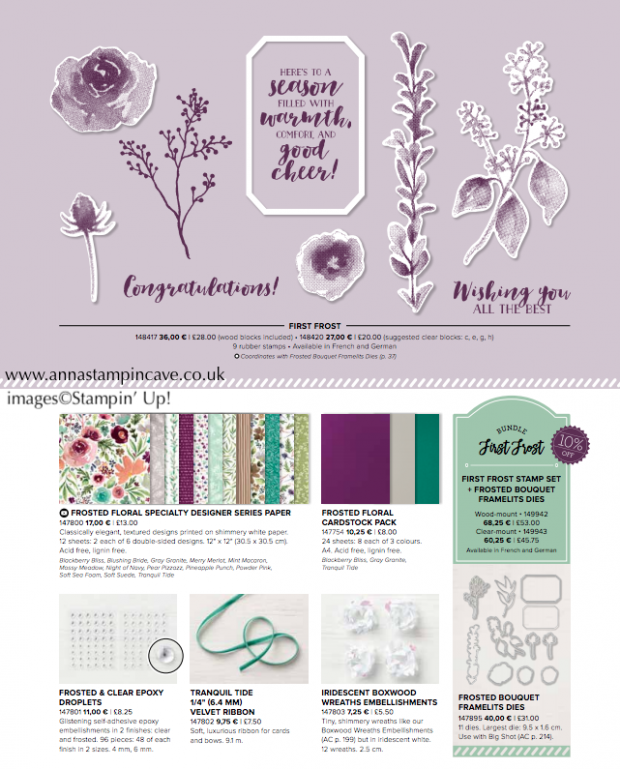
Stampin' Up! Frosted Foral Suite of products

I did not order the whole suite yet, but enough to showcase a beautiful stamp set with coordinating dies, and unique Designer Series Paper.

Here’s my card –
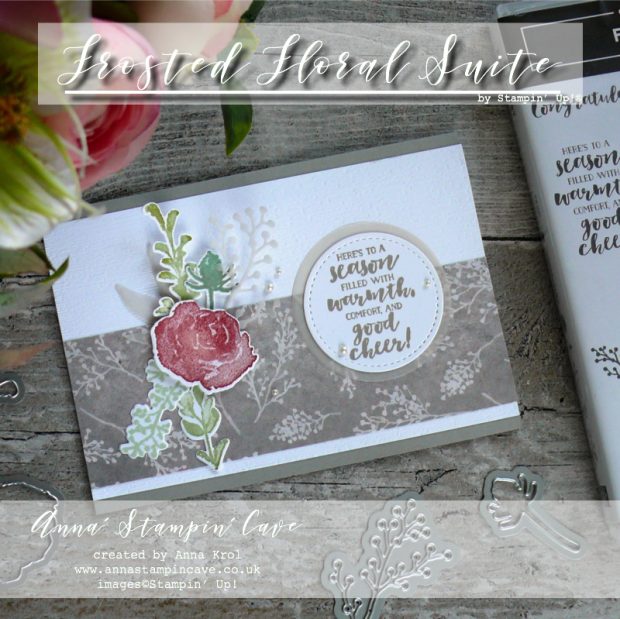
Anna' Stampin' Cave Stampin' Up! Sneak Peek First Frost Stamp Set with Frosted Bouquet Framelits Dies and Frosted Floral Specialty DSP

Card dimensions:

  • Gray Granite cardstock: 11-6/8″ x 4-1/8″ scored in half at 5-7/8″ (29.7 x 10.5 cm scored in half at 14.8 cm)
  • Whisper White panel: 3-3/4″ x 5-7/8″ (9.6 cm x 14.8 cm)
  • Whisper White panel (for inside): 4″ x 5-3/4″ (10.2 cm x 14.5 cm)
  • Frosted Floral Specialty DSP: 2″ x 5-7/8″
  • Whisper White cardstock for sentiment
  • Whisper White and Vellum for die-cutting
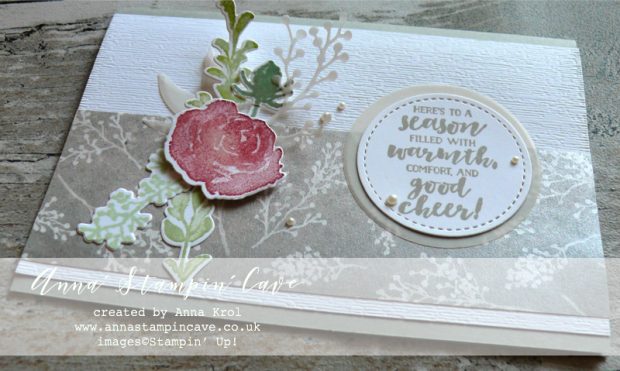
Anna' Stampin' Cave Stampin' Up! Sneak Peek First Frost Stamp Set with Frosted Bouquet Framelits Dies and Frosted Floral Specialty DSP

First, I created my card base. Next, I run my Whisper White panel through the Big Shot using Subtle Dynamic Textured Impressions Embossing Folder. I love this really subtle linen-like texture. I adhered it to the card base.

Frosted Floral Specialty DSP

I’m totally in love with this amazing paper. It’s oh-so-beautiful! Not only because of stunning, handpainted designs. This paper is so yummy and full of shine, like if it was printed on Shimmery White cardstock. What’s more, a  girl can wish for?

I picked a neutral Gray Granite design and cut 2″ strip and glued it into the bottom half of my card base.

Anna' Stampin' Cave Stampin' Up! Sneak Peek First Frost Stamp Set with Frosted Bouquet Framelits Dies and Frosted Floral Specialty DSP

First Frost Bundle

Just as a breathtaking is designer paper, a First Frost Stamp Set and coordinating Frosted Bouquet Framelits Dies are equally beautiful.

I’ve used Stamparatus to stamp my images onto Whisper White cardstock, and die-cut them with matching dies. I also die-cut a few images from vellum.

I played with arranging my die-cuts to decide how I wanted them to go on the card and I snap a photo for a reference. Using either liquid glue, snail adhesive or dimensionals – I added all my pieces to the card.
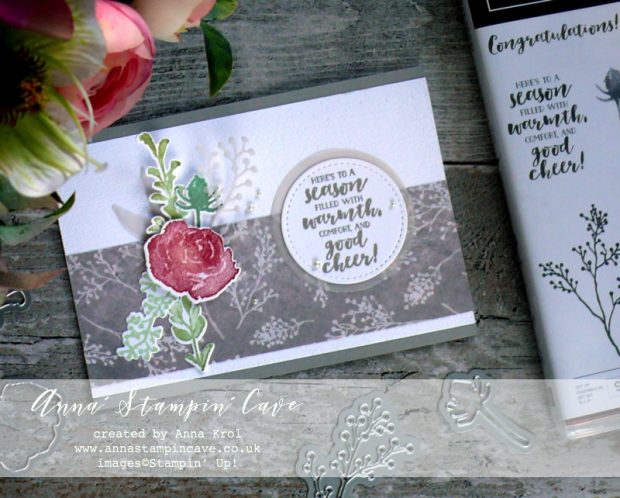
Anna' Stampin' Cave Stampin' Up! Sneak Peek First Frost Stamp Set with Frosted Bouquet Framelits Dies and Frosted Floral Specialty DSP

I die-cut a circle using second smallest circle from Stitched Shapes Framelits Dies and stamped my sentiment using Gray Granite ink. I also die-cut a slightly bigger vellum circle cut using Layered Circles Framelits Dies (approx 2-1/8″ – 5.4 cm). I adhered them together and mount it onto my card. Few Basic Pearls finish off my card.

I hope you enjoyed coming to my blog today and now, be sure to hop along and see more inspiring projects.

Below is the list of all the participants but you can also use the buttons to keep hopping. Your next stop is lovely Margriet Siekman from the Netherlands  go and see her beautiful projects

As always, if you wish to purchase any of the products I have used, simply click the images below to go directly to my online store.

HOST CODE for the month of AUGUST is U6KK4ACY. Orders of £50+ (excl. p&p) will receive a pack of Stampin’ Up! Pearlised Doilies!

Product List

Stamparatus

£46.00

Pin me

Summary of the project which gives all the views of the card in one photo. I’d love if you pinned and called by on Pinterest xx
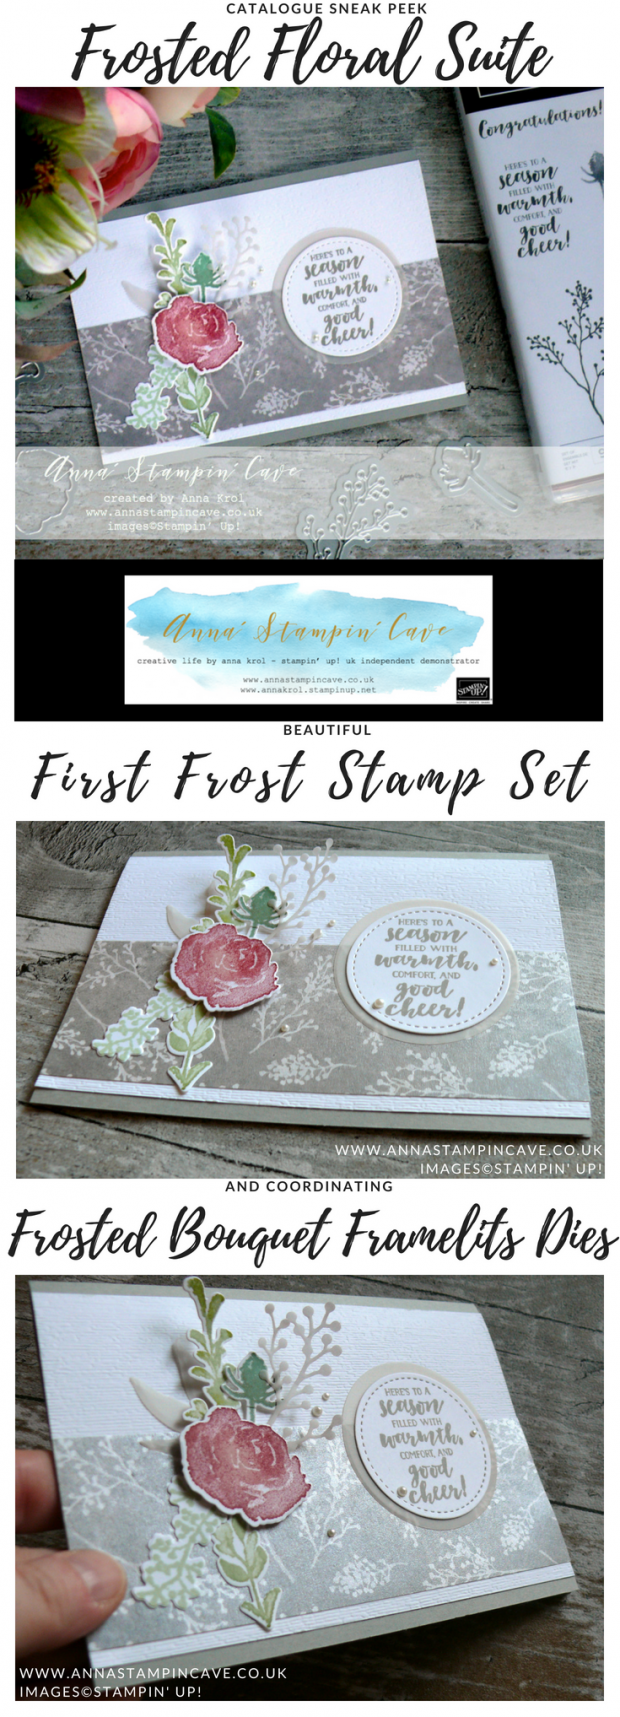
Anna' Stampin' Cave - Stampin' Up! Sneak Peek First Frost Stamp Set with Frosted Bouquet Framelits Dies and Frosted Floral Specialty DSP


Don’t forget to check:

My exclusive special offer this month only: FREE Stampin’ Up! Pearlised Doilies

How it works…

  • Place a product order of £50 or more (excl. shipping) in my online store in the month of August. 
  • Add Host Code U6KK4ACY. To claim your reward you must include this code in your ordering process.
  • This August Special Offer will be applied to all qualifying orders placed through my shop using Host Code U6KK4ACY between 1 August – 31 August.
  • If your order is £150 or more do not use Host Code. You will earn your own Host Rewards to spend.
  • IMPORTANT:  My FREE Special Host Gift giveaways are mailed separately from any order and will arrive mid-September.

    Request Autumn/Winter Catalogue

    Stampin' Up! Autumn Winter 2018 Catalogue


    Earn in August – redeem in September –> click here for more details


    All-new, limited-time Colour Your Season products – Products available while supplies last or until 31 August 2018 – order yours today –> click here

Stampin’ Dreams August Blog Hop

Anna' Stampin' Cave - Country Home Stamp Set with Country Lane DSP & Tin Tile Dynamic Textured Embossing Folder from Stampin' Up!

Anna’ Stampin’ Cave – Stampin’ Dreams August Blog Hop

Welcome to our monthly blog hop! And today we have a real treat for you: a sneak peek of products from Stampin’ Up!®Autumn Winter Catalogue (also called a Holiday Catalog in other parts of the world). You are currently visiting Anna (me) and my Stampin’ Cave, up here in the UK. I hope you’ll enjoy coming to my blog today.

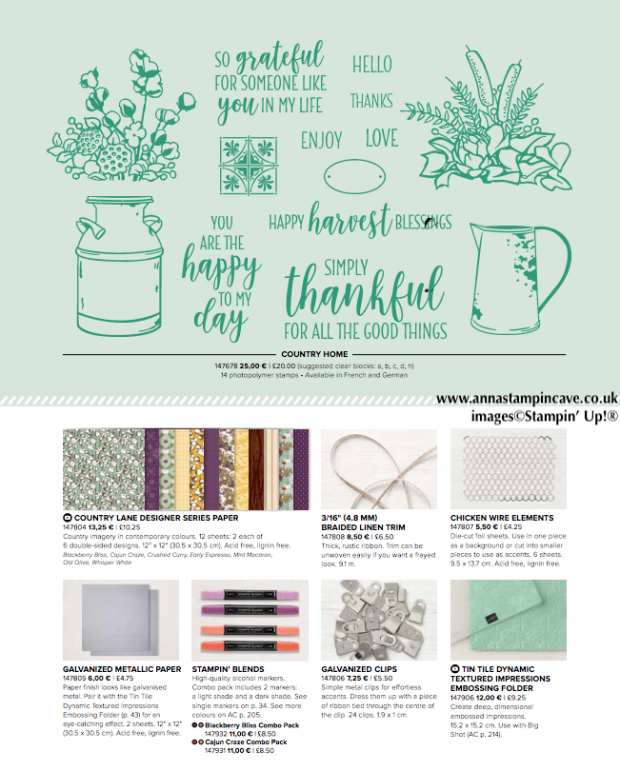
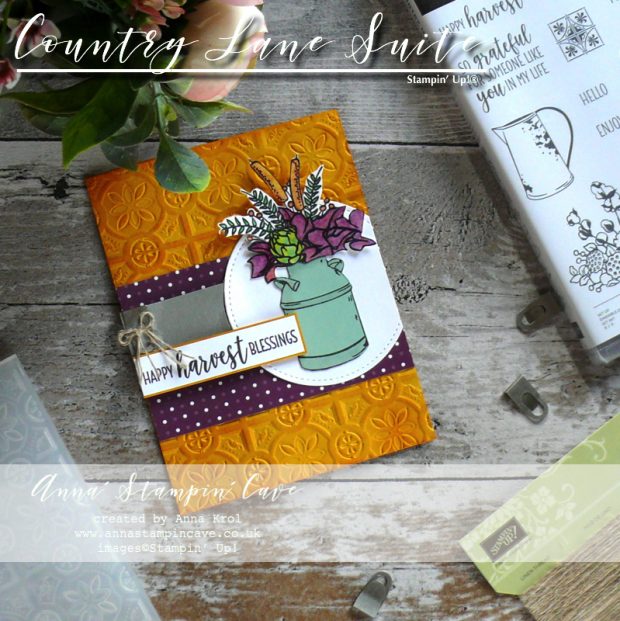
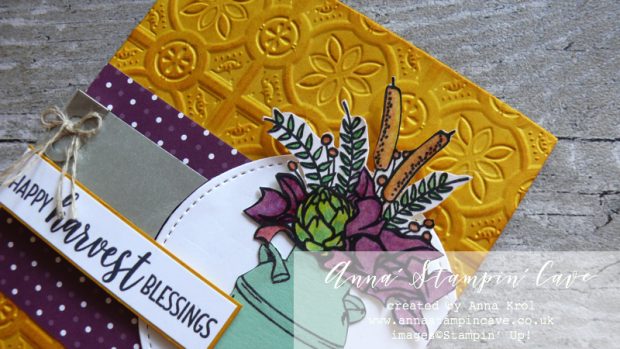
For today’s blog hop I decided to use products from one of my favourite suites from the catalogue, called Country Lane. Isn’t this bundle amazing!?

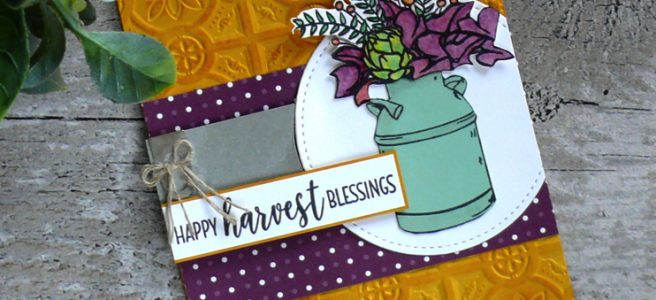
And here’s my card.

I’ve used Crushed Curry for the base.

Anna' Stampin' Cave - Country Home Stamp Set with Country Lane DSP & Tin Tile Dynamic Textured Embossing Folder from Stampin' Up!

To create this card, first, I run card front through the Big Shot with brand new Tin Tile Dynamic Textured Impressions Embossing Folder. To bring out the beautiful detail of this folder, I used one of  Stamping Sponges and a Crushed Curry ink pad and sponged the surface to add more dimension.

Watercolour Pencils Assortment 2

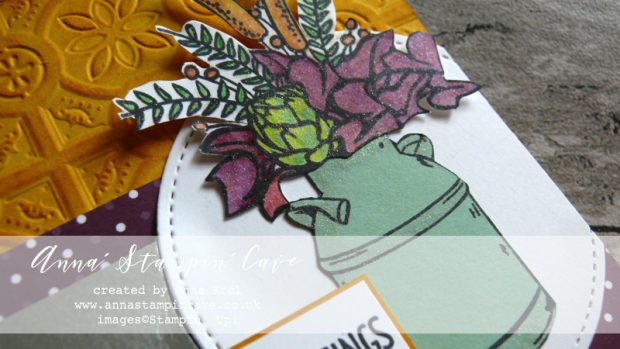
Next, I stamped my images: the milk can on a scrap of Mint Macaron cardstock, and flowers on a piece of Whisper White.

To colour in the flowers I’ve brand new Watercolour Pencils Assortment 2 and also added some shimmer to them with Clear Wink of Stella.

These pencils are available for purchase this month only as a part of Colour Your Seasons promotion (but we’ve heard they may come back in a future catalogue).

Anna' Stampin' Cave - Country Home Stamp Set with Country Lane DSP & Tin Tile Dynamic Textured Embossing Folder from Stampin' Up!

Fussy cutting

For the focal composition, I fussy cut the flowers and milk can. Next, I cut a piece of Country Lane DSP (with Blackberry Bliss polka dot design) and mount it flat on my card base.

I die-cut the biggest of four circles from Stitched Frames Framelits Dies from a Whisper White cardstock, cut off a slice and adhered it to patterned paper with a straight edge to the right.

Galvanized

There was one product or I should rather say a family of products that I was especially happy about – new ‘galvanized line. Galvanized Clips and Galvanized Buttons will soon join our embellishment assortment. But we will also have a new paper in our speciality papers assortment – Galvanised Metallic Paper. It’s just gorgeous in a real life and most importantly it’s double-sided!! Yay! I just had to use it

So I took a 1″ strip of Galvanised Metallic Paper, lay it flat over the card front, marked where the circle begins and using paper snips I cut out the concave shape. I slide in one of the Galvanised Clips to the edge of my strip. A tiny bow created using Linen Thread adds to the rustic theme of the card. I adhered it, to the left from the stitched circle, using dimensionals.

Anna' Stampin' Cave - Country Home Stamp Set with Country Lane DSP & Tin Tile Dynamic Textured Embossing Folder from Stampin' Up!

To finish assembling the card, I mounted my fussy-cut elements in the middle of a Whisper White circle. I’ve used liquid glue for the can and dimensionals for the flowers.

I stamped ‘Happy Harvest Blessings’ on a piece of Whisper White cardstock, cut it to the thin strip backed it with a piece of Crushed Curry and adhered it to the card just below the galvanized clip.

Anna' Stampin' Cave - Country Home Stamp Set with Country Lane DSP & Tin Tile Dynamic Textured Embossing Folder from Stampin' Up!

The inside

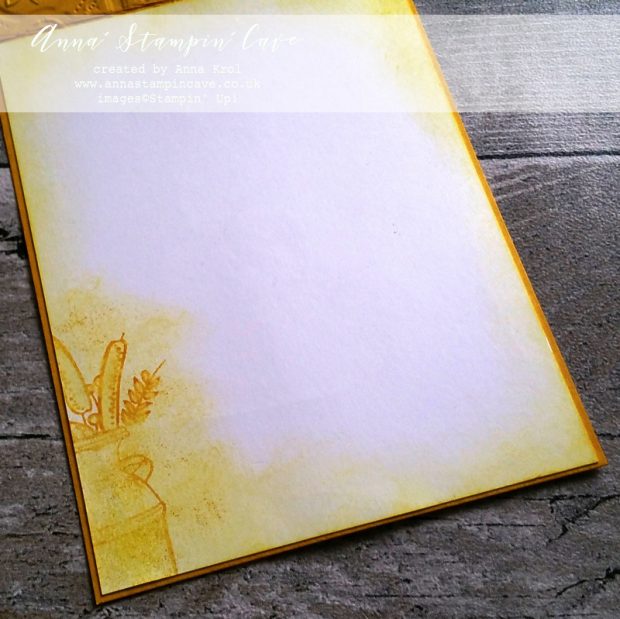
For the inside of the card, I decided to stamp the milk can and part of the bouquet. I stamped them off first with Crushed Curry ink pad. Using aqua painter I slightly washed out my images and once dry I sponged the inside of the card around all edges.

I really hope you enjoyed visiting my blog today and I would love to encourage you to hop along with us and see the rest of beautiful projects designed by amazing artists. Please be sure to continue to hop using the list below. You don’t want to miss any!

Blog Hop List:

As always, if you wish to purchase any of the products I have used, simply click the images below to go directly to my online store.

HOST CODE for the month of AUGUST is U6KK4ACY. Orders of £50+ (excl. p&p) will receive a pack of Stampin’ Up! Pearlised Doilies!

Shopping List

Linen Thread

£4.75

Big Shot

£102.00


Pin me

Summary of the project which gives all the views of the card in one photo. I’d love if you pinned and called by on Pinterest xx

Anna' Stampin' Cave - Country Home Stamp Set with Country Lane DSP & Tin Tile Dynamic Textured Embossing Folder from Stampin' Up!


Don’t forget to check:

My exclusive special offer this month only: FREE Stampin’ Up! Pearlised Doilies

How it works…

  • Place a product order of £50 or more (excl. shipping) in my online store in the month of August. 
  • Add Host Code U6KK4ACY. To claim your reward you must include this code in your ordering process.
  • This August Special Offer will be applied to all qualifying orders placed through my shop using Host Code U6KK4ACY between 1 August – 31 August.
  • If your order is £150 or more do not use Host Code. You will earn your own Host Rewards to spend.
  • IMPORTANT:  My FREE Special Host Gift giveaways are mailed separately from any order and will arrive mid-September.

    Request Autumn/Winter Catalogue

    Stampin' Up! Autumn Winter 2018 Catalogue

    Earn in August – redeem in September –> click here for more details

    All-new, limited-time Colour Your Season products – Products available while supplies last or until 31 August 2018 – order yours today –> click here
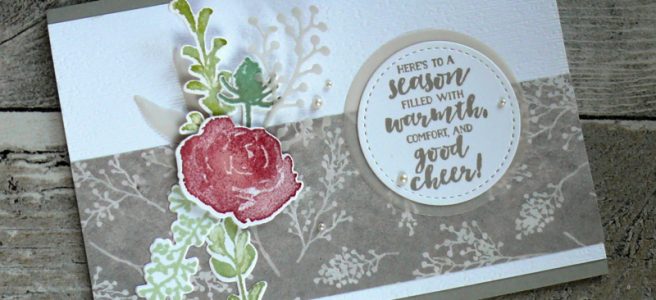
Stampin’ Up! Daisy Delight Sneak Peek

Anna’ Stampin’ Cave – Stampin’ Up! Daisy Delight Sneak Peek

Hello, everyone! What a beautiful day we had today down here in Coventry, Warwickshire. Even though I can’t fully enjoy the weather (yet) I managed to spend few minutes in the garden. And oh, boy, what a wonderful feeling it was.

Today I’m back with a lovely card I created for this week’s sketch over at Global Design Project Challenge Blog. I truly enjoy their challenges as each week they have a new challenge based on either a colour combination, a sketch, theme and CASE-ing the Designer. Lot’s of fun!

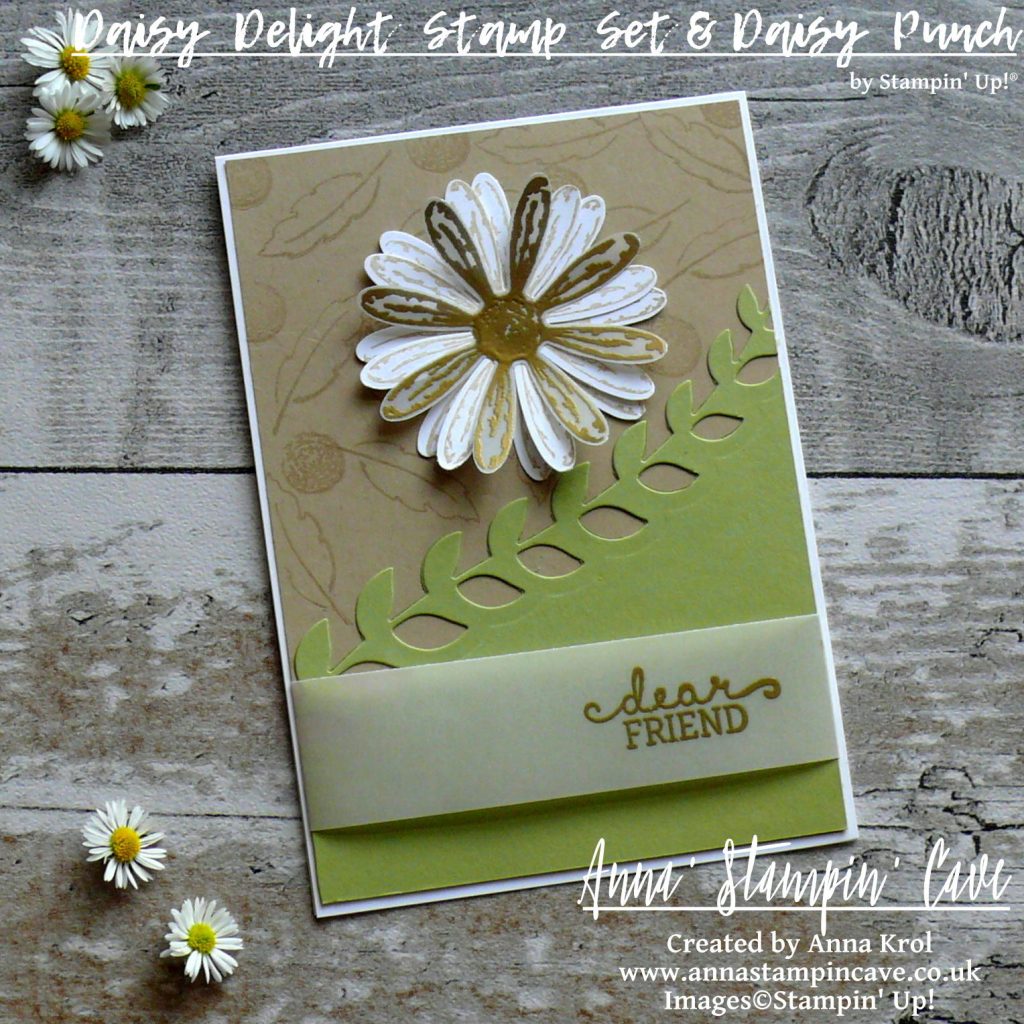
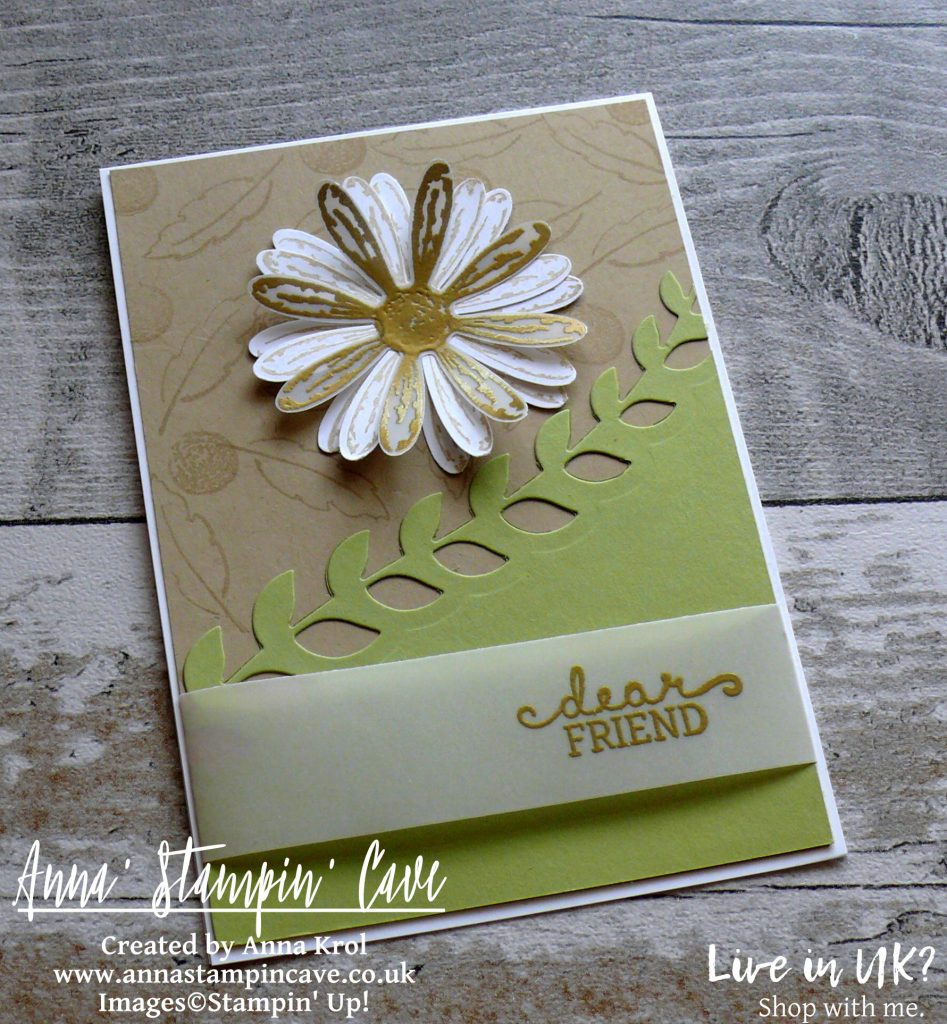
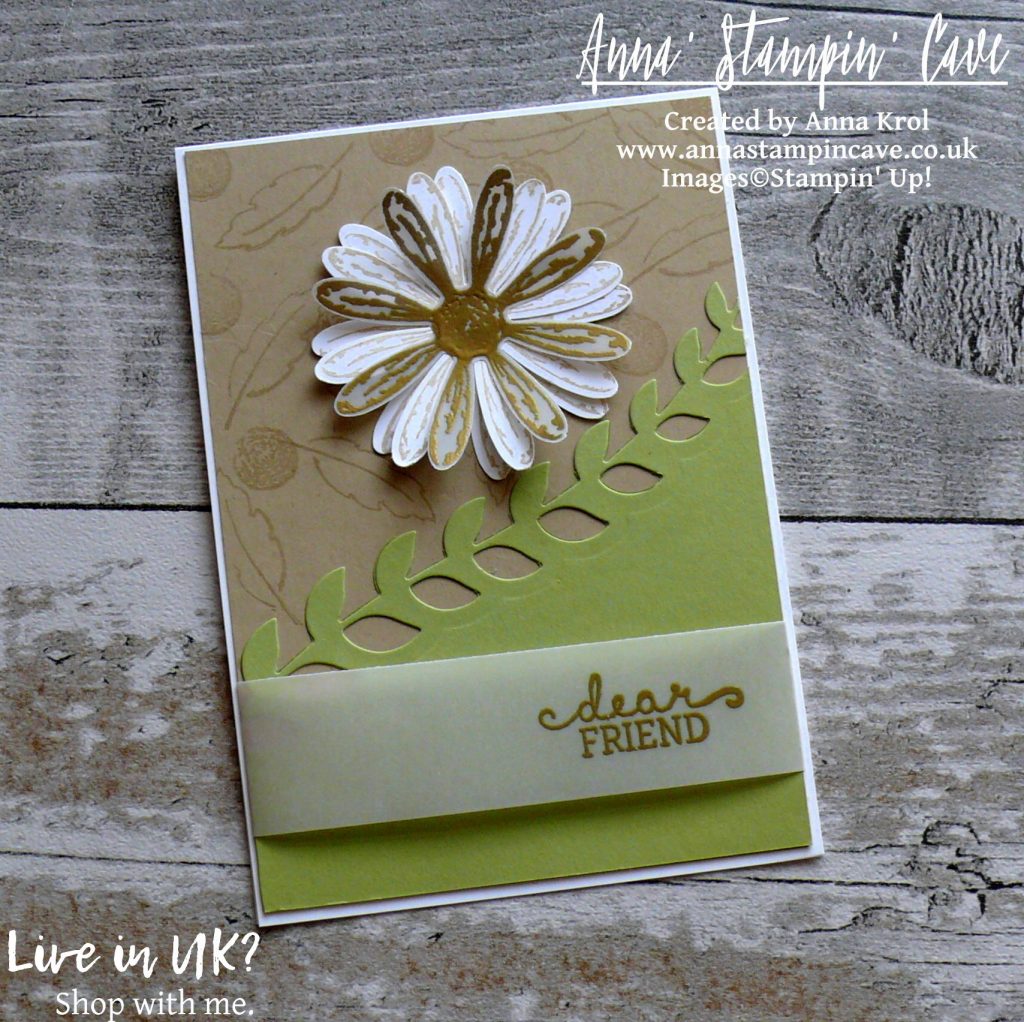
For my card today I decided to use some old favourites, as well as a sneak peek of new, coming soon bundle: Daisy Delight Stamp Set and coordinating Daisy Punch.

Dear Friend card dimensions:

  • Whisper White cardstock: 11-6/8″ x 4-1/8″ scored in half at 5-7/8″ (29.7 x 10.5 cm scored in half at 14.8 cm)
  • Crumb Cake cardstock: 5-6/8″ x 4″ (14.6 cm x 10.2 cm)
  • Pear Pizzazz cardstock: 5″ x 4″ (12.6 cm x 10.2 cm)
  • White Vellum cardstock: 1-1/8″ x 5-1/2″ strip
  • White Vellum and Whisper White cardstock scraps to stamp and punch daisies

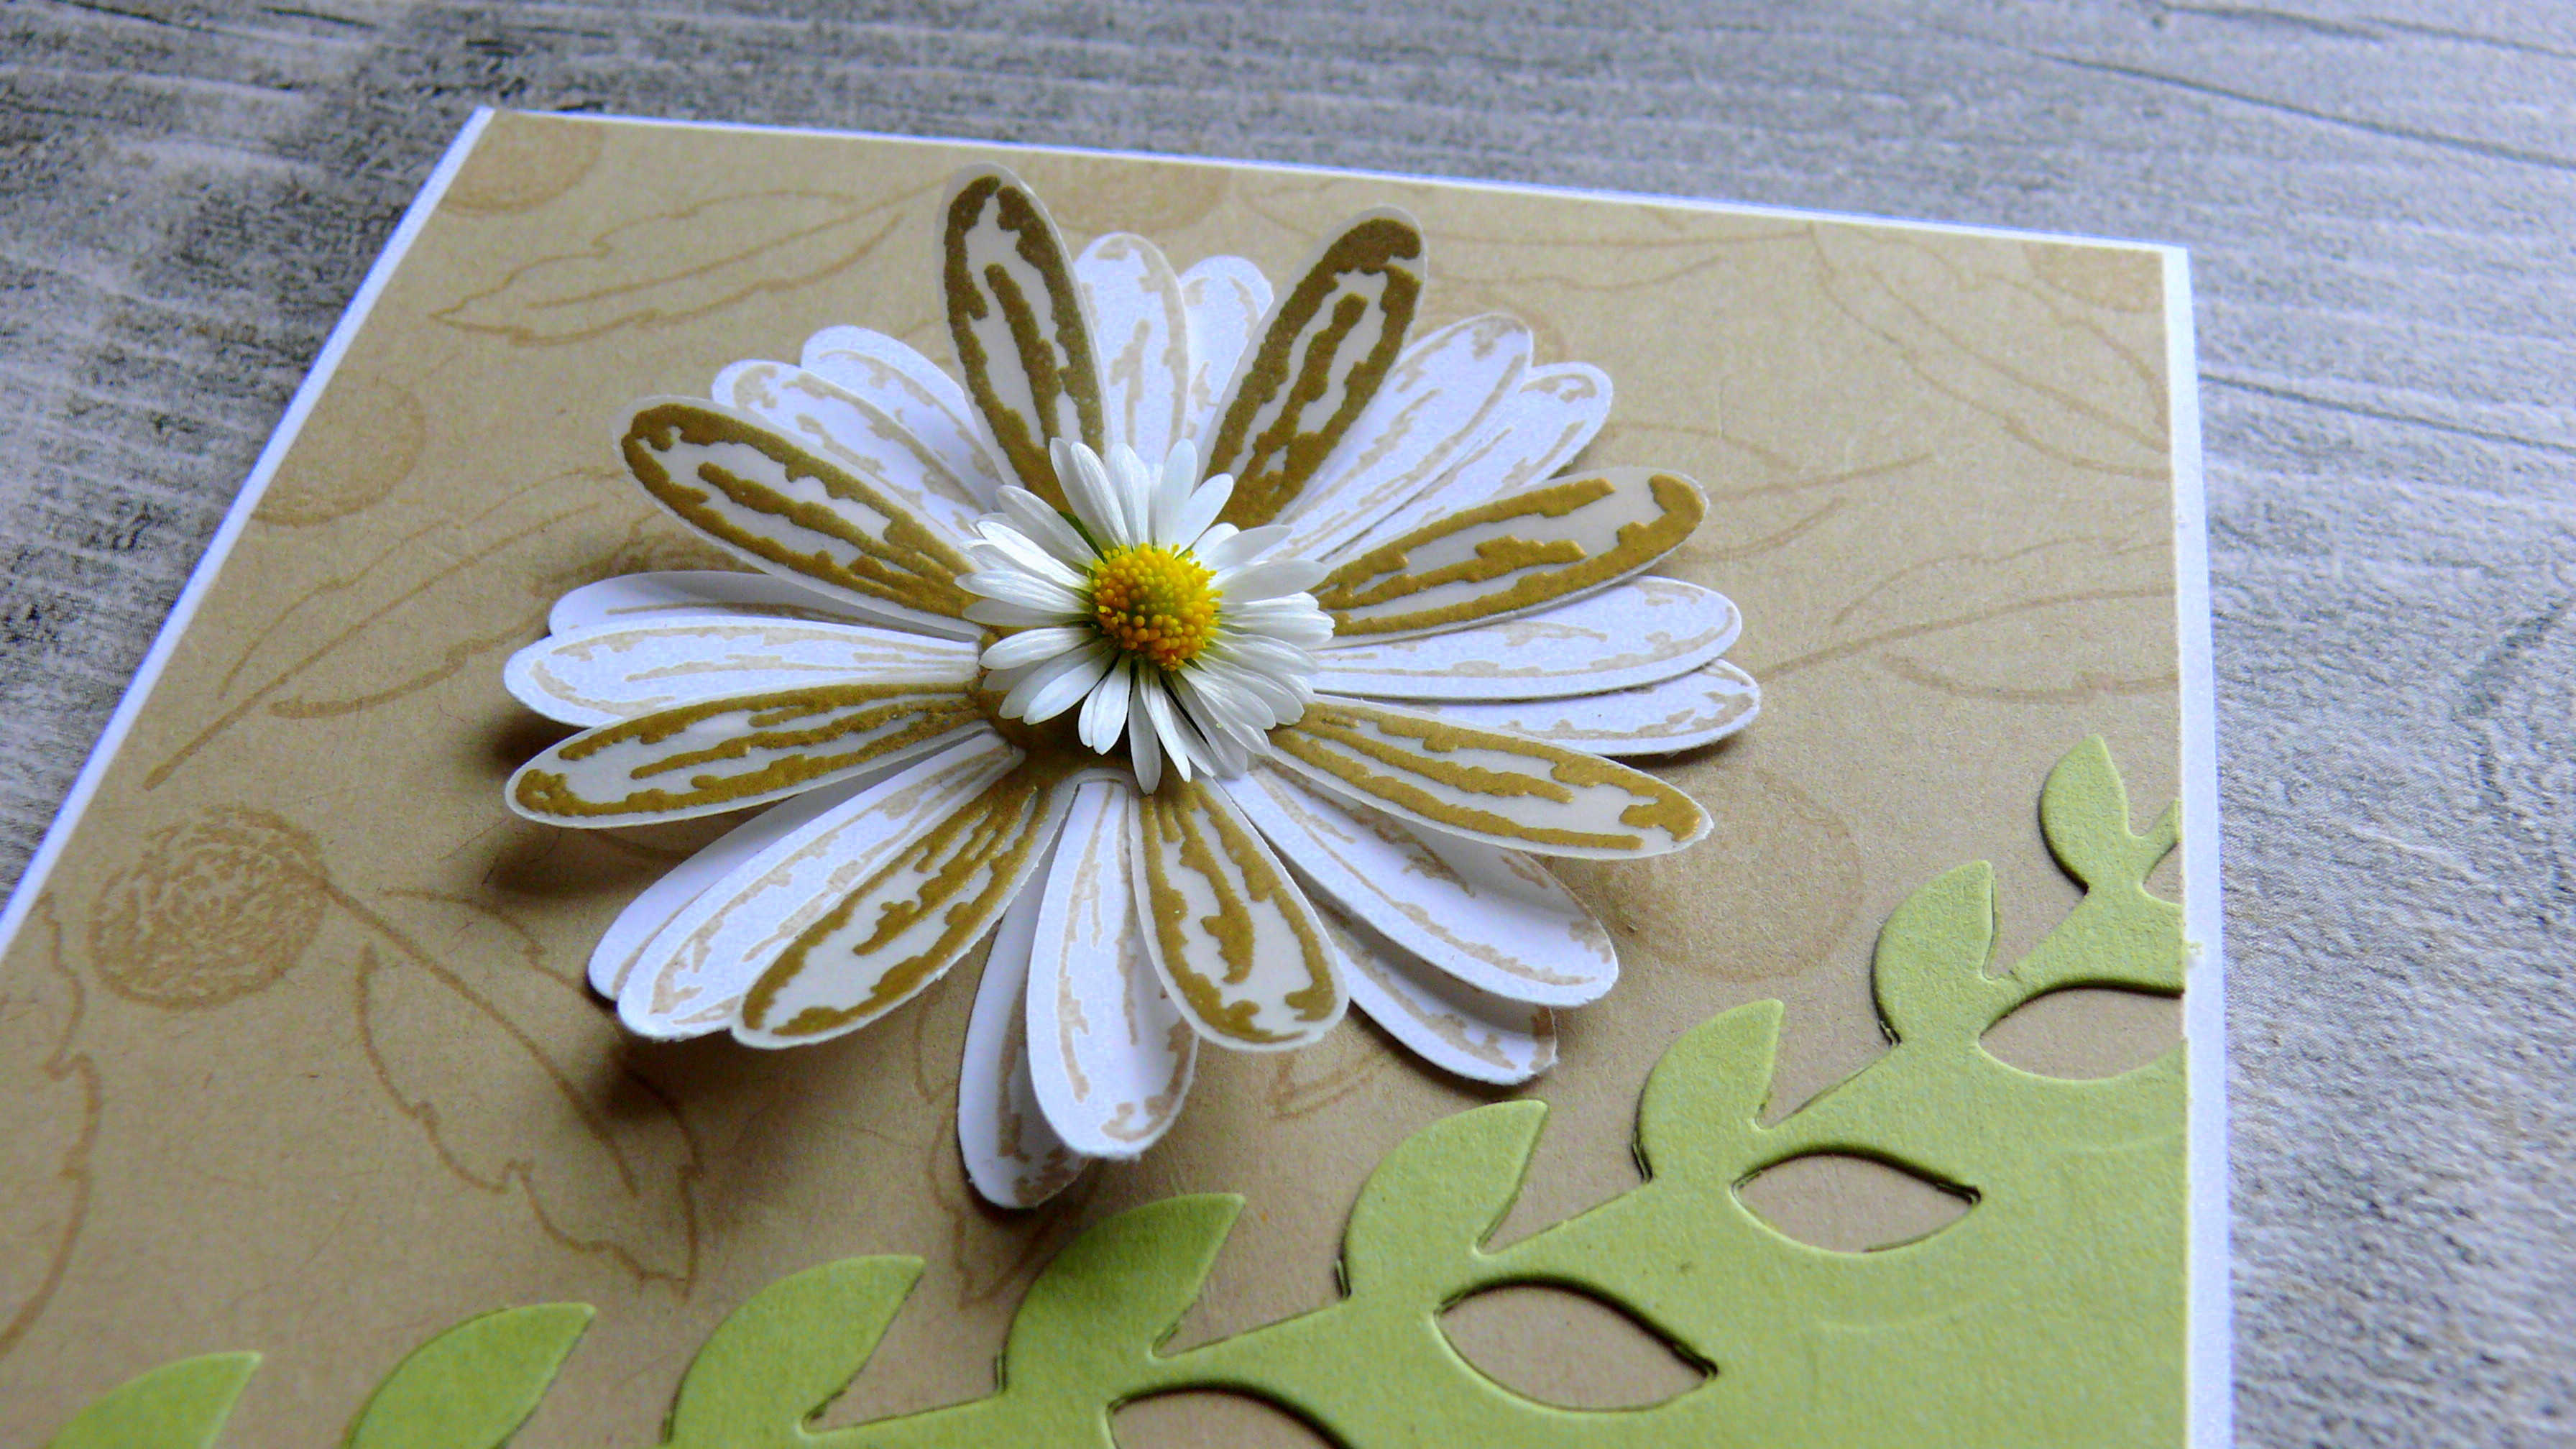
First, I created the bottom half of my panel using the border die from retiring Botanical Builder Framelits Dies. I die-cut it at a slight angle, so it creates a diagonal ‘line’, and adhered it to the Crumb Cake panel. I also randomly stamped a couple of images from Daisy Delight Stamp Set: centre of the flowers and outline of the leaves, on the Crumb Cake panel.

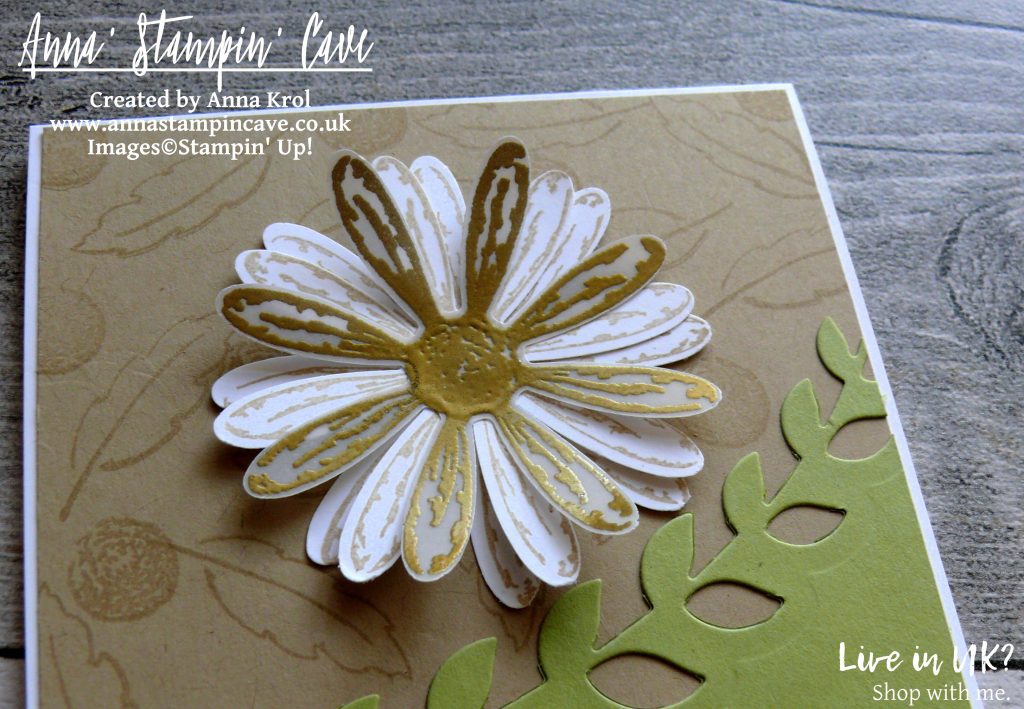
Next, I took a Crumb Cake ink pad and a scrap of Whisper White cardstock. I stamped two flowers from Daisy Delight Stamp Set and punched them out using coordinating Daisy Punch.

I also stamped one daisy and daisy centre onto vellum with Versamark ink, heat embossed it in gold and punched out as well. I layered all flowers together with vellum as a top layer, offsetting them slightly for extra dimension. I adhered them to my panel, just above Pear Pizzazz piece, using liquid adhesive.

The sentiment comes from Birthday Blooms Stamp Set and I heat embossed it in gold on a strip of White Vellum. Because my vellum strip was wider than the Crumb Cake piece I was able to adhere the ends to the back of my panel. This way I didn’t have to worry how to hide the adhesive. I mounted my panel to the card base.

And that’s my card for today. I hope you like it. I also hope you’ve enjoyed seeing a sneak peek of Daisy Delight Stamp Set and Daisy Punch. These both will be available in my shop on 1 June 2017. But if you don’t want to wait, and want to be able to order new products earlier, it’s as easy as 1…2…3… -> simply join the fun and order your Starter Kit. If you have more questions why don’t you drop me a message?

As always, I really want to encourage you to visit the Global Design Project challenge blog to see other beautiful projects from all around the world. Just click on their logo below to visit the website

If you wish to purchase any of products I have used, simply click the images below to go directly to my online store and don’t forget to enter the hostess code for the month of May SS3AK62K to receive a gift from me.

Just a reminder: Botanical Builder Framelits Dies are still available at a fraction of a price! But only until the end of May. After that date, you won’t be able to purchase them. So if you waited for a better moment to buy them – this moment is now.

Thank you for stopping by and have a blessed day,


Don’t forget to check:

Stampin’ Up! Spring Summer & Annual Catalogue 2016 2017 Retiring List

Anna' Stampin' Cave Stampin' Up! Retiring Products 2017

It’s that time of the year again, when Stampin’ Up! is getting ready to retire stamps and accessories from both the Annual and Spring Summer catalogues. As sad as it is to see these products go, there’s still time for you to get them before they’re gone. Retiring products will only be available until 31 May, or while supplies last. So if there’s something from retiring products on your wishlist, don’t wait until last day – once they’re gone, they’re gone. And they are selling fast! Click here for more details ->
Touches of Texture – More Than Flowers

Anna’ Stampin’ Cave – Touches of Texture – More Than Flowers

Touches Of Texture Stamp Set project.jpg

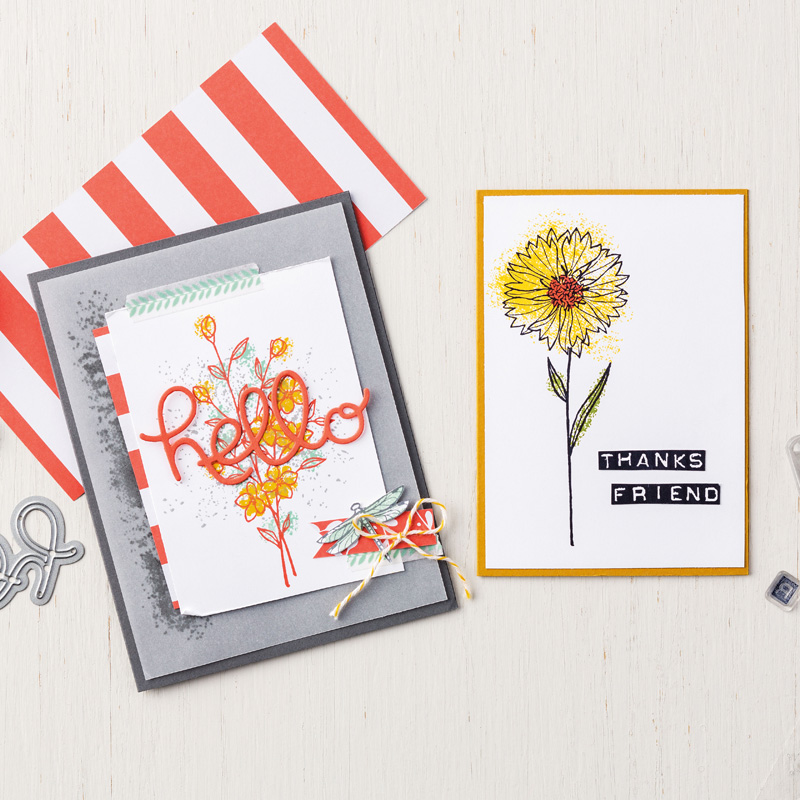
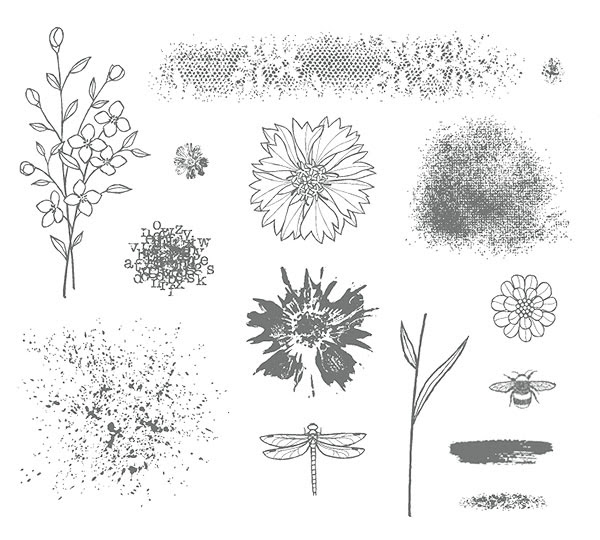
Have you played with the Touches of Texture Stamp Set yet? You’ll have fun mixing and matching the floral images with layers of texture.

The textured images in the set work well for all kinds of styles, as shown in the projects above and below.

Touches Of Texture

I’m in awe by all the possible techniques and designs that can be created with this set!

Touches Of Texture Stamp Set

Order your Touches of Texture in clear mount here or if you are a fan of wood mount you will find it here.
Thank you for stopping by and have a blessed day,

Something Old, Something New…Kind Koala Birthday Card

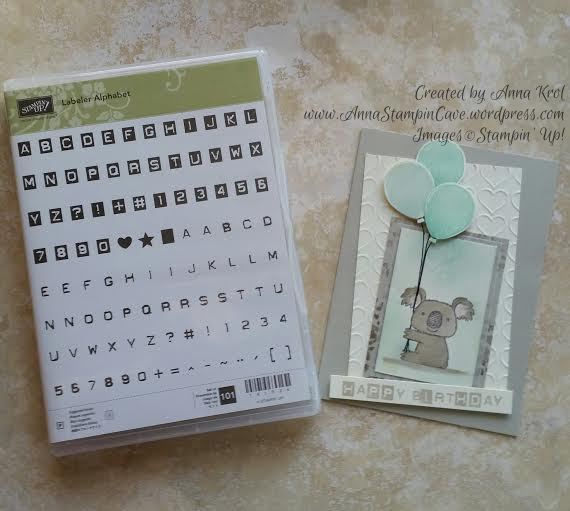
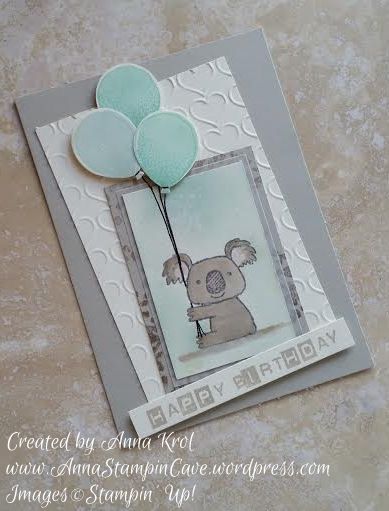
Hello, everyone! Something old, something new…Today I’ve got for you really adorable birthday card using sadly retiring Kind Koala stamp, and also a sneak peek at new Labeler Alphabet stamp set.


Kind koala

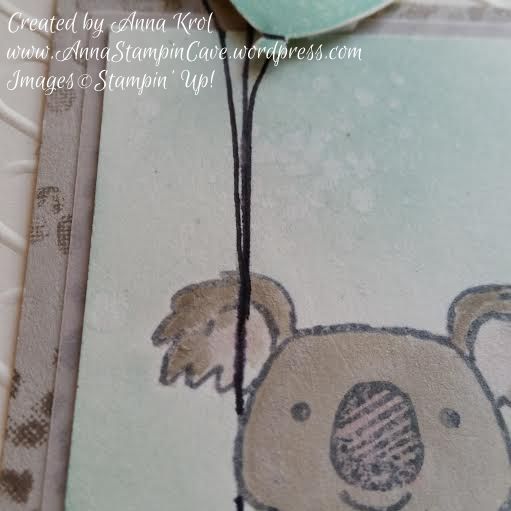
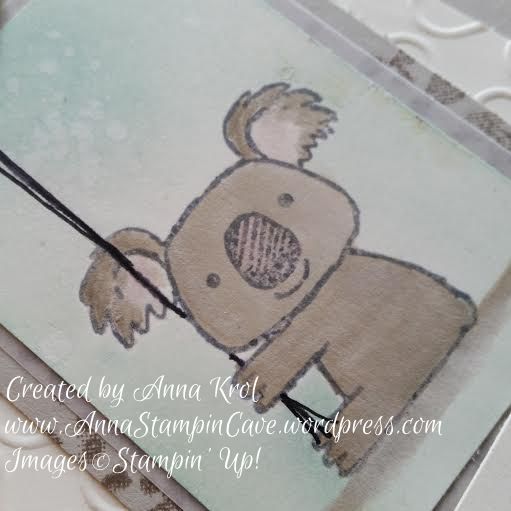
Isn’t this little koala cutest ever!? The base of my card is standard, top folded A6 in Sahara Sand. For the background, I’ve used Very Vanilla and dry embossed it with Happy Heart embossing folder.

Because I wanted this card to be a birthday card I used washi tape to cover the flower and a sentiment on my stamp before I inked it up in Basic Grey Archival Ink. Next, I stamped my cute koala on a piece of Very Vanilla. Just remember to take off the washi tape first or you will have a disaster. Guess how I know lol I also stamped him on a scrap of paper to create a mask I will need later.

Kind koala 4

I watercolour my little fella in Sahara Sand and added some shadow underneath him. I also added a touch of Blushing Bride to his nose and inside of his ears. When I was happy with the results I masked my koala and sponged the background with Soft Sky and Pool Party. Then I used the aqua painter to add few droplets of water to the background and took off a little bit of the colour.

Kind koala 2

Next, I matted my koala panel with a piece of vellum and a slightly bigger piece of Sahara Sand. But to add some more interest to this panel I stamped it with Tip Top Taupe using the foliage stamp from Sheltering Tree. I assembled all my panels.Now was time for balloons!

Kind koala 5

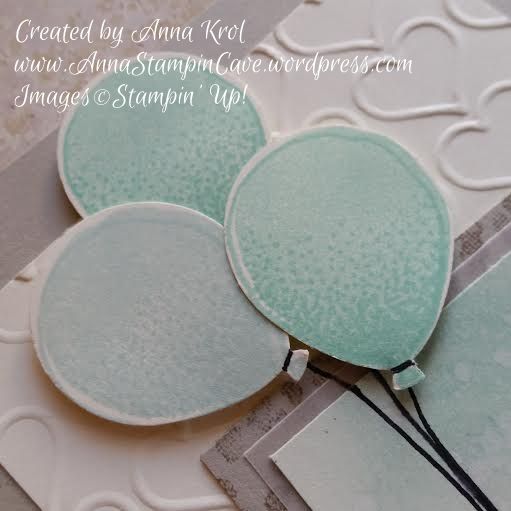
I stamped three smaller balloons from Balloon Celebration, two in Pool Party and one in Soft Sky, punch them with Balloon Bouquet punch and arrange them on the card using dimensionals. I also hand-drew balloon strings with Project Life pen (and yes, I know, I probably should have used a lighter colour, maybe Basic Grey or Smoky Slate marker) so it looks like koala is holding them in his paw.

kind koala 3

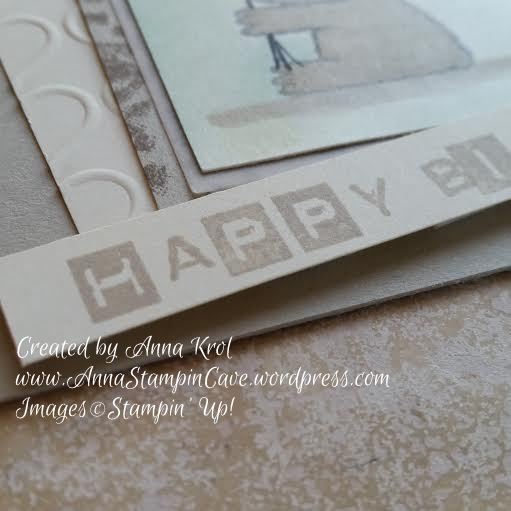
The card was busy enough so I kept the sentiment simple. I cut a strip of Very Vanilla and stamped my sentiment in Sahara Sand, using Labeler Alphabet stamp set. To keep it fun I mixed both types of letters and add it at wonky angle to my card.

Kind koala 6

Dimensions:

Very Vanilla:

  • 3-1/8 x 4-6/8″
  •  2 x 3-2/8″
  • 1/2 x 3-5/8″

Sahara Sand:

  • 2-2/8 x 3-4/8″

Vellum:

  • 2-1/8 x 3-3/8″

I’m adding my card to

Do you like my little card? I truly hope you do. Please let me know in the comments below.

Thank you for stopping by and have a blessed day,