…And The Greatest Of These Is Love – Embossed Impression Technique

Hello and welcome!

Today, I’ve got for you card using beautiful Bloomin’ Heart Thinlits Dies. I’ve made various cards using this die in the past, but this time I wanted to try something new: an Embossed Impression Technique. This is very easy, yet effective technique. And great way to stretch your dies too.
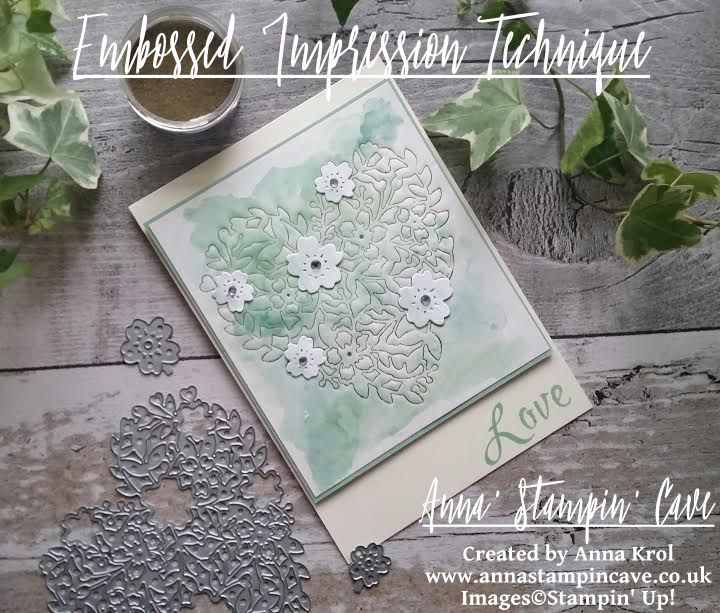
stampin-up-embossing-stamping-with-bloomin-heart-thinlits-dies

I’ve used Stampin’ Up! White Shimmery cardstock for this technique, as I planned to do a bit of water colouring later on. I prepared my Big Shot sandwich: Big Shot on Tab 1 -> Cutting Plate -> Silicon {embossing) mat -> cardstock (I swiped the cardstock with embossing buddy). Next, I tapped Versamark over the cutting edge of the die very gently, and placed the die, cutting edge down, on my cardstock. Remember, once it’s on the paper don’t move it or you will mess up your image. I then carefully placed the second cutting plate over the top and run it through the big shot.

Because I put Versamark Ink on the die, now I had that ink in all the ‘valleys’ of the impression I just made. So I sprinkled Gold Stampin’ Emboss Powder over it and heat embossed it.
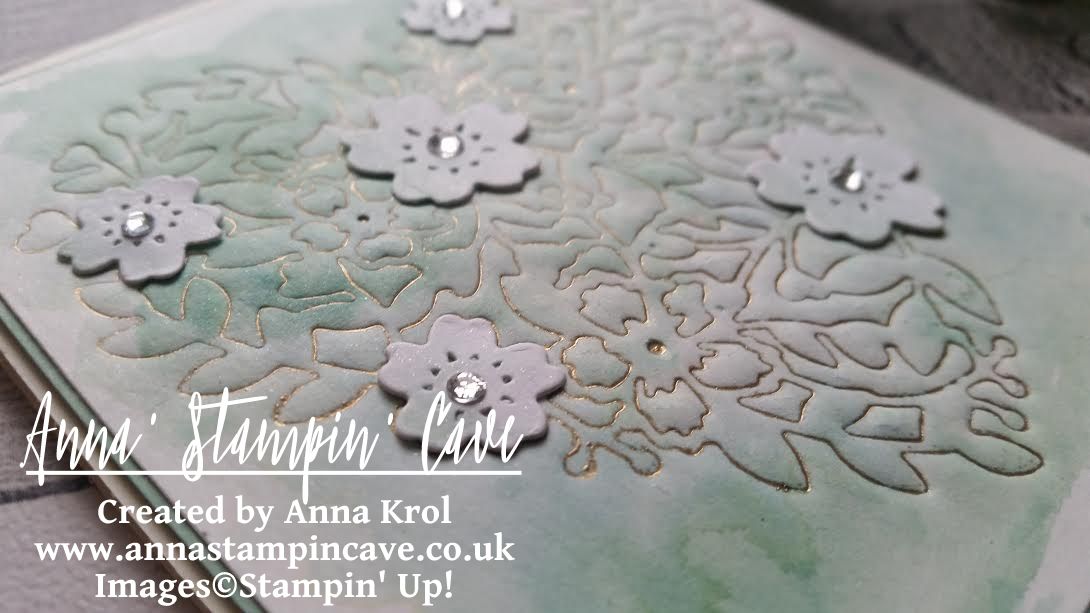
stampin-up-embossing-stamping-with-bloomin-heart-thinlits-dies

I love those tiny gold lines! Next, I made few watercolour washes over my piece, using Mint Macaron ink pad and Pool Party reinker. Once dry, I cut my panel to 3-7/8″x 4-3/8″.

I also die cut five flowers, two large and three small, from Whisper White cardstock (I probably should have used Shimmery White cardstock for them too), and adhered them to my piece with glue dots. I’ve added some soft Mint Macaron watercolour wash to the flowers to add some depth to them
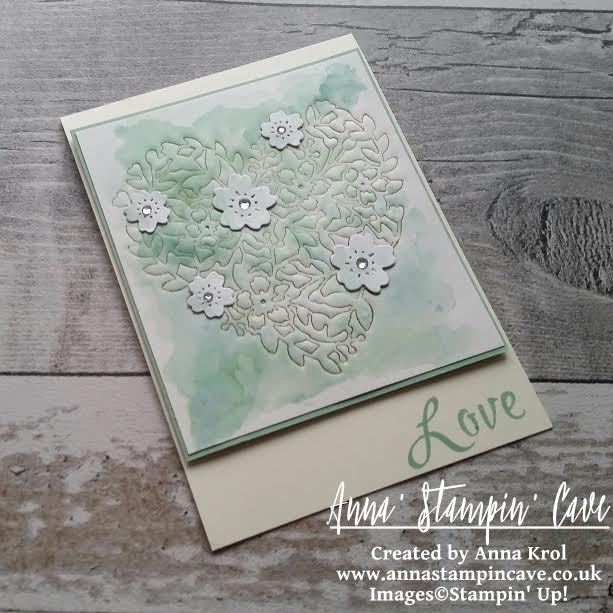
stampin-up-embossing-stamping-with-bloomin-heart-thinlits-dies

My card base is Very Vanilla. I stamped ‘Love’ in Mint Macaron using Brushwork Alphabet stamp set. I adhered my embossed panel with liquid glue to a piece of Mint Macaron mat (4″x 4-1/2″), and add them both to the card base with dimensionals.

To finish off my card I’ve added some shimmer to the flowers with Clear Wink of Stella Glitter Brush and put a rhinestone in each flower centre.

I hope you like my card, and that you give this technique a try.

As always, if you wish to purchase any of the products I have used, simply click the images below to go directly to my online shop.

Thank you for stopping by and have a blessed day

Brushwork Alphabet Photopolymer Stamp Set

Brushwork Alphabet Photopolymer Stamp Set
[141772]
£23.00

Bloomin' Heart Thinlits Dies

Bloomin’ Heart Thinlits Dies
[140621]
£22.00

Very Vanilla A4 Card Stock

Very Vanilla A4 Card Stock
[106550]
£8.25

Shimmery White A4 Card Stock

Shimmery White A4 Card Stock
[121717]
£7.25

Mint Macaron A4 Cardstock

Mint Macaron A4 Cardstock
[138344]
£7.25

Whisper White A4 Card Stock

Whisper White A4 Card Stock
[106549]
£8.25

Mint Macaron Classic Stampin' Pad

Mint Macaron Classic Stampin’ Pad
[138326]
£6.00

Pool Party Classic Stampin' Ink Refill

Pool Party Classic Stampin’ Ink Refill
[122933]
£3.00

Versamark Pad

Versamark Pad
[102283]
£7.75

Embossing Buddy

Embossing Buddy
[103083]
£5.50

Clear Wink Of Stella Glitter Brush

Clear Wink Of Stella Glitter Brush
[141897]
£7.25

Gold Stampin' Emboss Powder

Gold Stampin’ Emboss Powder
[109129]
£4.50

Rhinestone Basic Jewels Embellishments

Rhinestone Basic Jewels Embellishments
[119246]
£4.50

Aqua Painters

Aqua Painters
[103954]
£15.50

Stampin' Dimensionals

Stampin’ Dimensionals
[104430]
£3.75

Liquid Multipurpose Glue

Liquid Multipurpose Glue
[110755]
£3.75

Silicone Craft Sheet

Silicone Craft Sheet
[127853]
£5.50

Heat Tool - Uk Plug

Heat Tool – Uk Plug
[129054]
£27.00

Big Shot

Big Shot
[143263]
£99.00


New Stitched Shapes Framelits Dies

Anna’ Stampin’ Cave – New Stitched Shapes Framelits Dies

anna-stampin-cave-stitched-shapes-framelits-dies-by-stampin-up

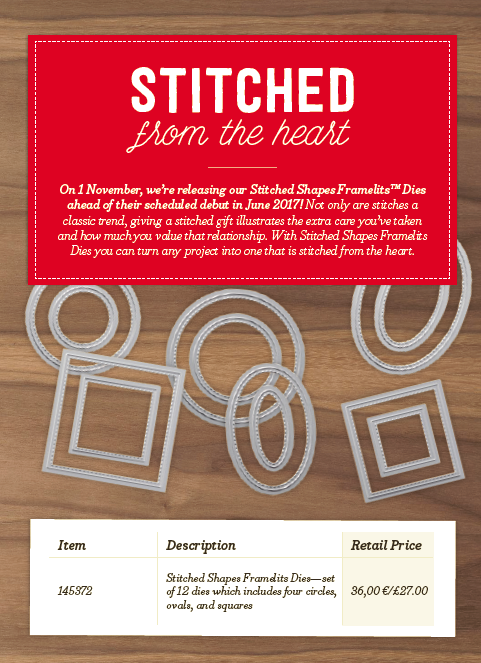
Not only stitches are a classic trend, they illustrate the quality, precision, and extra care is taken when creating a piece. Giving a stitched gift shows just how much you value that relationship.

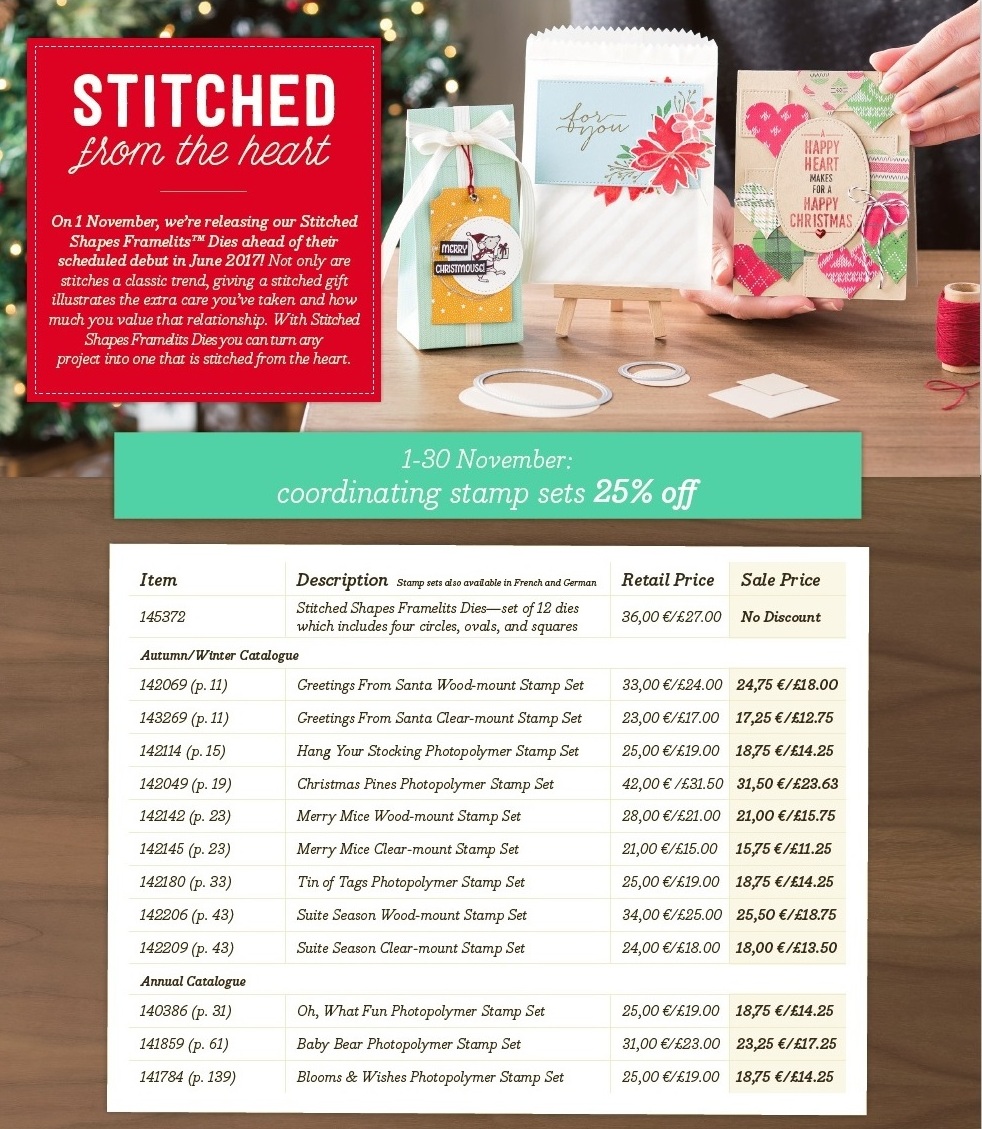
Now you have the opportunity to purchase Stitched Shapes Framelits ahead of their official release in the 2017-2018 annual catalogue and get 25% off coordinating stamp sets.

With Stitched Shapes Framelits you can make paper stitches in seconds, turning any project into one that is stitched from the heart.

And there’s more great news…although the 25% off stamps sets ends 30 November, you will still be able to get the Stitched Shapes Framelits after that date.

anna-stampin-cave-stitched-shapes-framelits-dies-by-stampin-up
25% off stamps sets ends 30 November. I will post all the stamps sets with clickable images and links at the very end of this post

anna-stampin-cave-stitched-shapes-framelits-dies-by-stampin-up

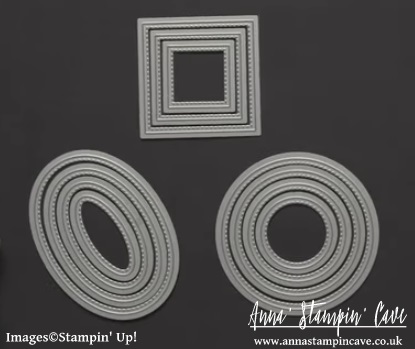
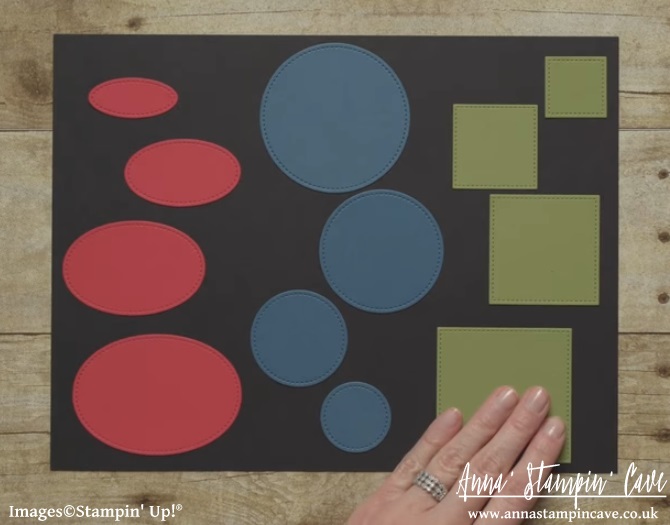
There are 12 pieces all together in the Stitched Shapes Framelits Dies. You get 4 each of the squares, circles, and ovals.

stampin-up-stitched-shapes-framelits-dies-2

They are sized for the stamped images that you tend to use the most.

stampin-up-stitched-shapes-framelits-dies-3

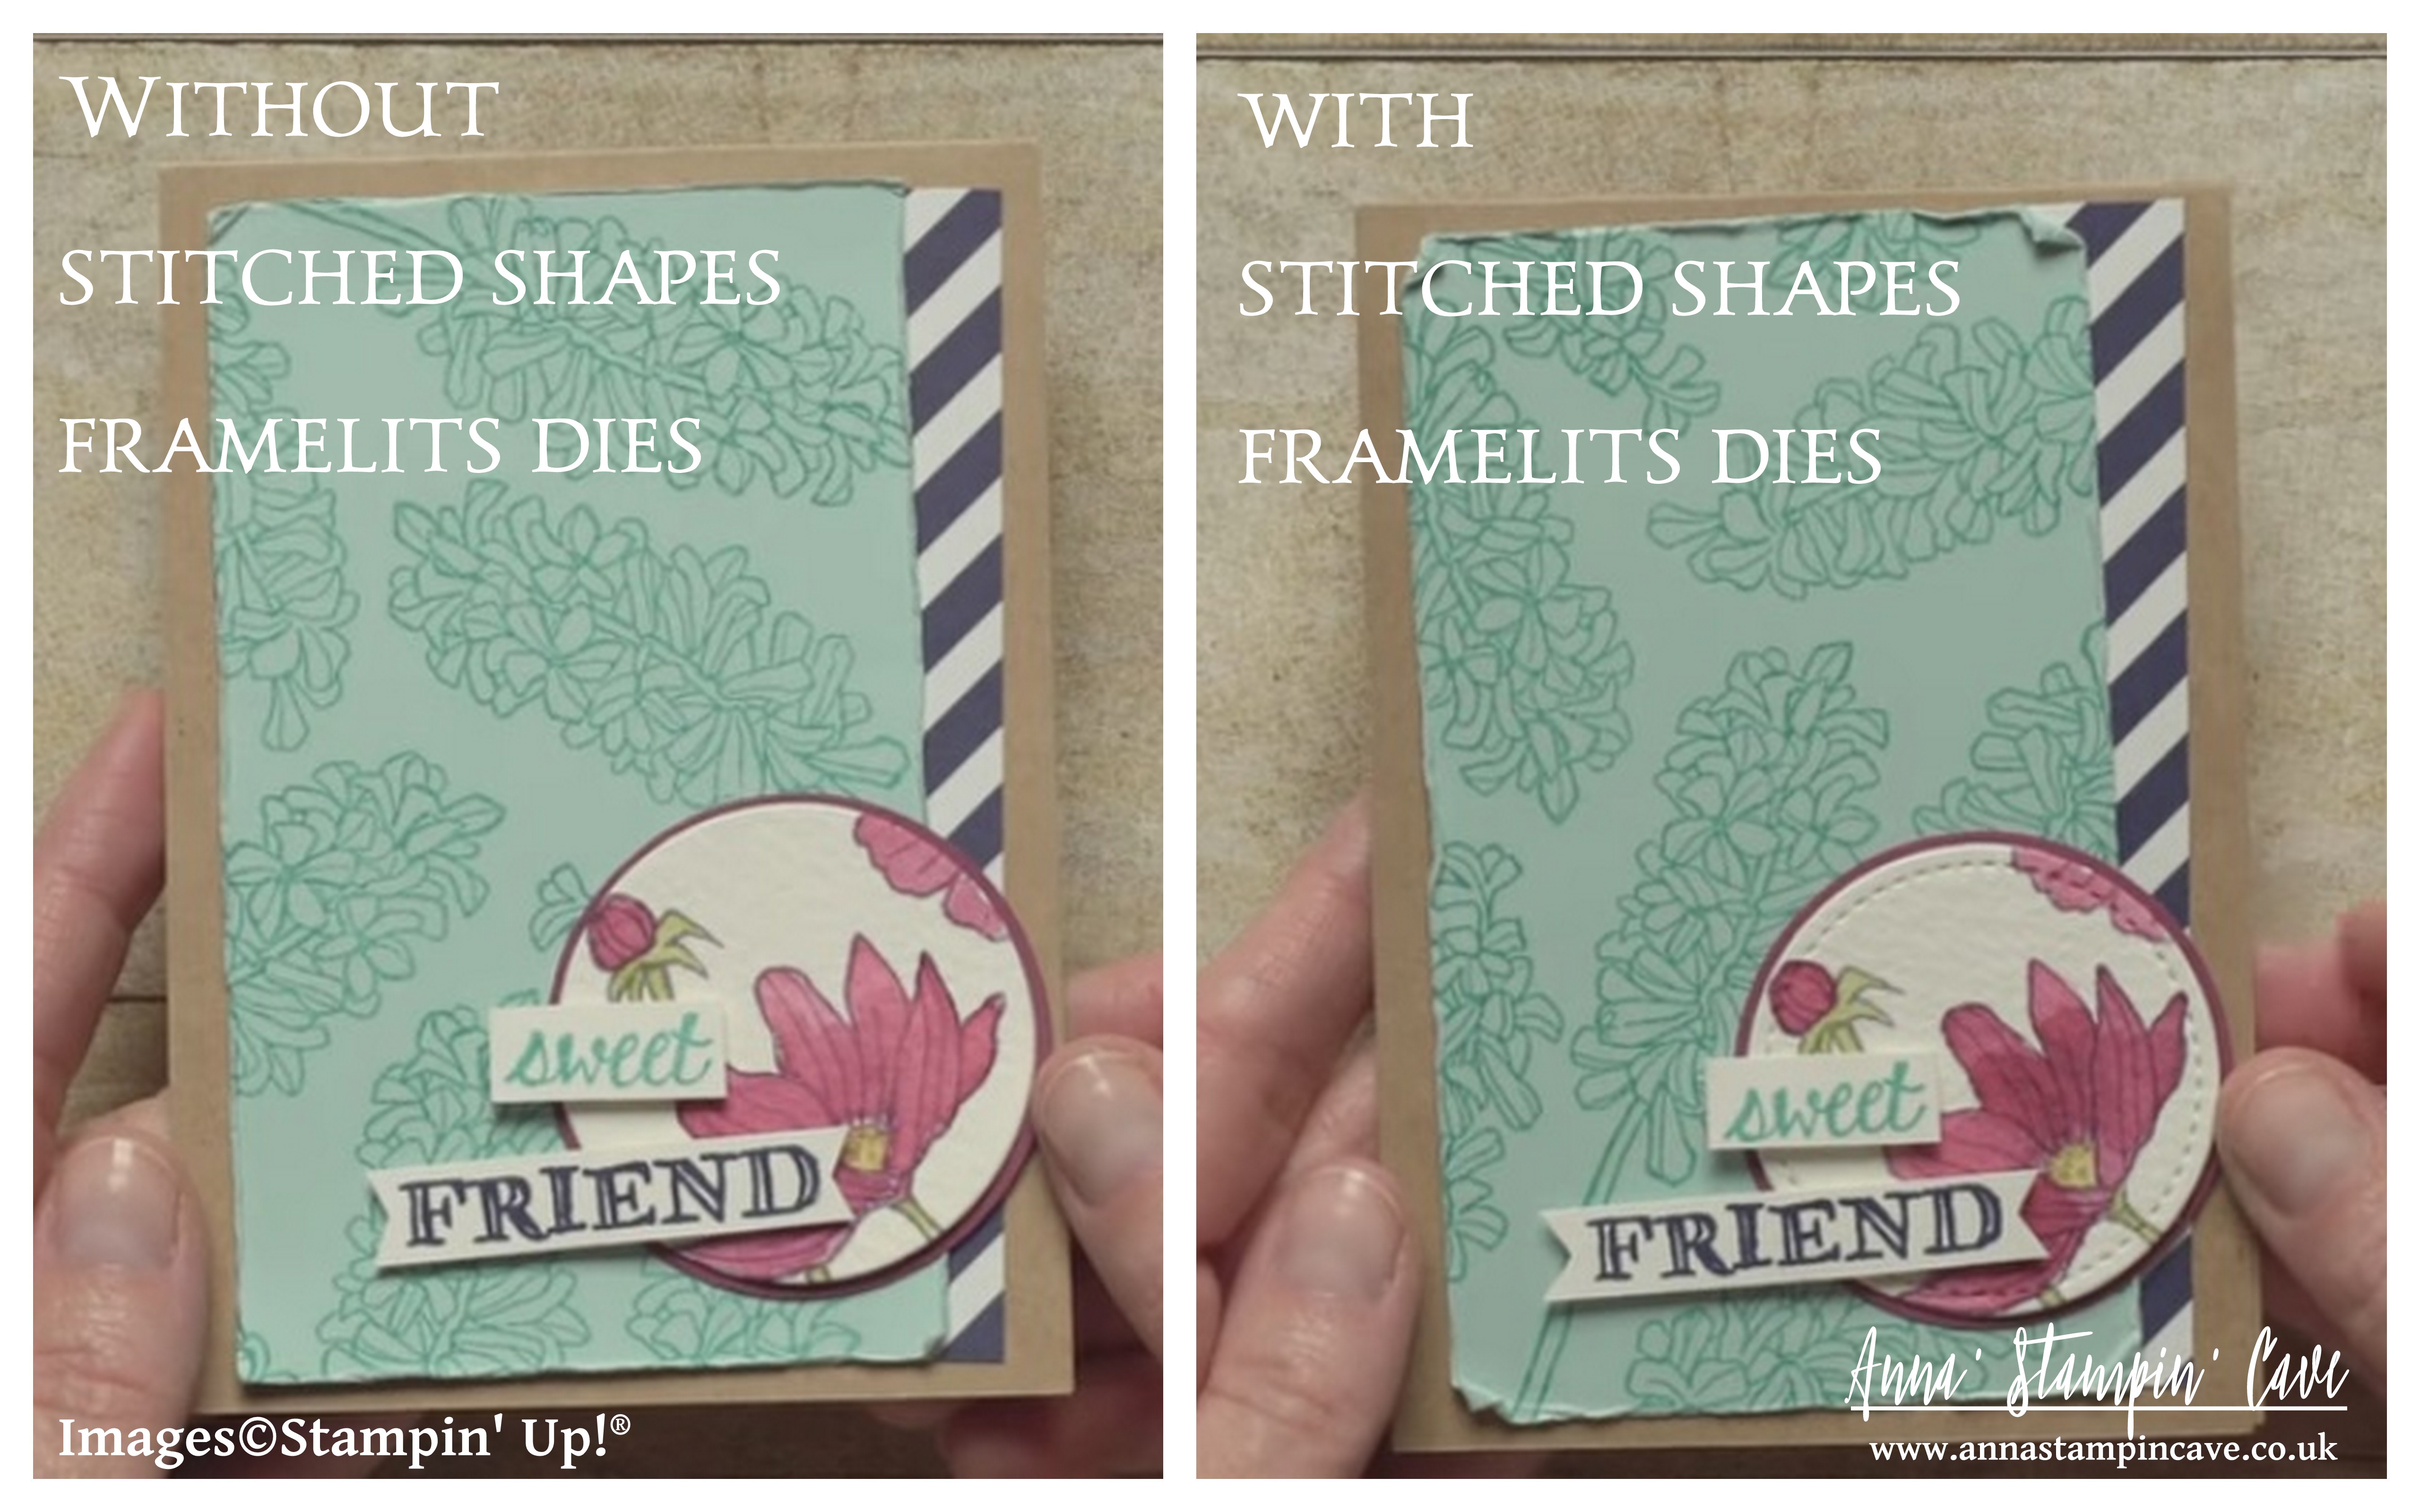
The stitched shape sits approximately 1/6″ from the edge of the cutout, making the stamp-able dimensions roughly 1/8″ smaller than the cut-out.

Here are all the sizes:

Squares
1-3/16”
1-5/8”
2-1/8”
2-5/8”

Circles
1-3/8”
1-7/8”
2-3/8”
2-7/8”

Ovals
1-3/4” x 13/16”
2-1/4” x 1-5/16”
2-3/4” x 1-13/16”
3-1/4” x 2-5/16”

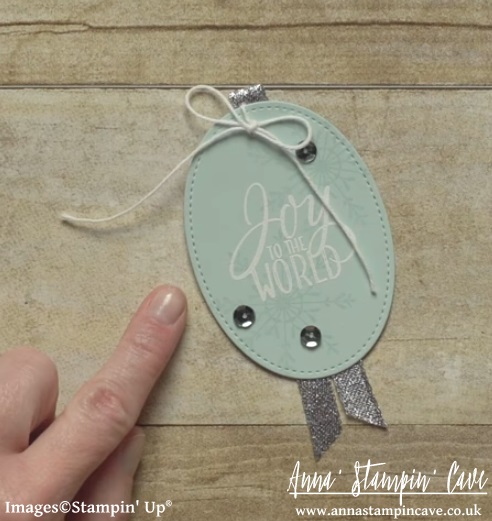
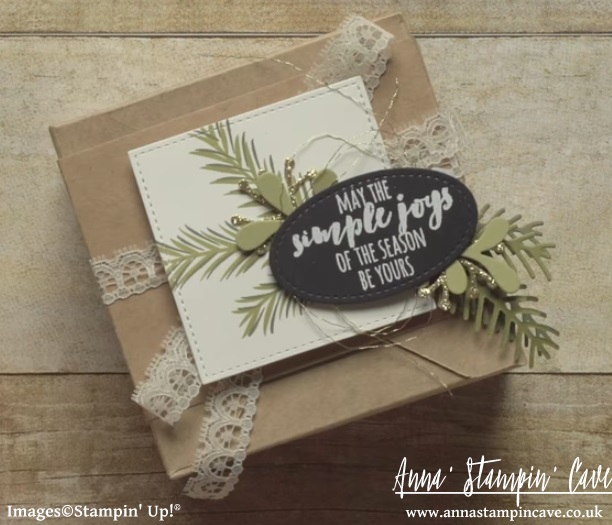
Here are few of the projects from Stampin’ Up! to showcase the versatility of Stitched Shapes Framelits Dies.

stitched-shapes-framelits-dies-by-stampin-up

stampin-up-stitched-shapes-framelits-dies

stampin-up-stitched-shapes-framelits-dies-4

Stampin' Up! Stitched Shapes Framelits Dies 7.jpg

Stitched Shapes Framelits Dies are not reserved for cardmaking only…

stampin-up-stitched-shapes-framelits-dies-5

…and here’s a close up

Stampin' Up! Stitched Shapes Framelits Dies 6.jpg

You Are My Hero

Anna’ Stampin’ Cave – You Are My Hero


Another week has passed by, and it’s that time again when our little group of demonstrators is showcasing you this lovely stamp set called ‘My Hero’. I love the versatility of this set, as it covers all major holidays/occasions throughout the year. But not only that. This is Ronald McDonald House Charities stamp set, which means for every set purchased, Stampin’ Up! donates £2 to the RMHC. Visit www.stampinup.com/giving_uk to learn how you can help too.

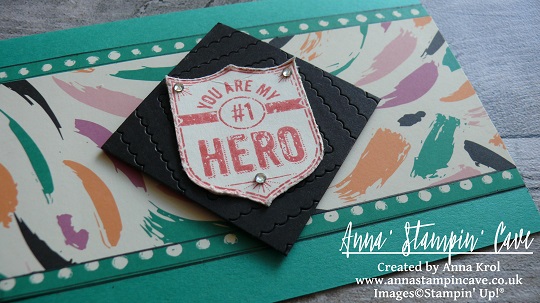
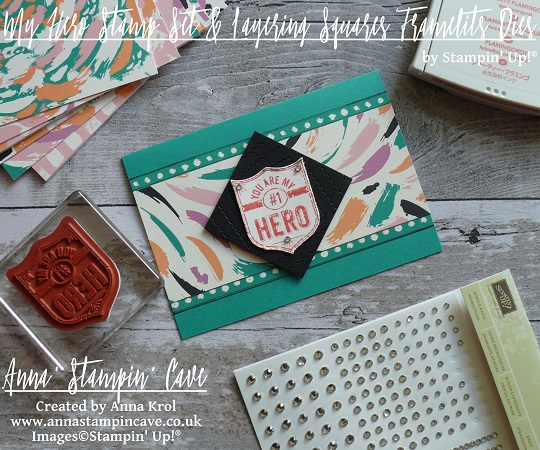
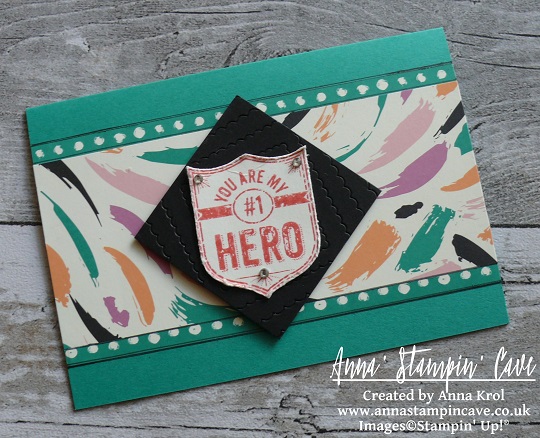
For today’s project, I’ve chosen ‘You are my #1 hero’ sentiment. I’ve seen many beautiful samples using this stamp. It’s perfect for all those oh-so-hard-to-make masculine cards. But I decided to make a card with a feminine twist. After all, women can be heroes too.

stampin-up-my-hero-stamp-set-you-are-my-1-hero

This is a very simple card. For the card base, I chose beautiful and very vibrant Emerald Envy cardstock (standard A6 size). Next layer is a piece of DSP from Playful Palette Designer Series Paper Stack. I took half of the sheet of my chosen design ( 3″x 6″) and trimmed 1/4″ from both sides. I adhered the larger piece to the base first and next, those tiny strips on each side of the panel, but reverse side up. Because the base is smaller than 6″ wide, I trimmed any overhanging paper using my scissors. It’s easier, and for sure you won’t end up with a too small panel. Unfortunately, my strips slightly ‘disappeared’, when adhered to the card base. So I draw few black lines along the edges using Project Life Journaling Pens.

Tip: learn from my mistakes! If, like me, you chose a design that has a kinda symmetrical pattern on the reverse, make sure you trim your panel so you have the same pattern on both strips you’ve trimmed.

stampin-up-my-hero-stamp-set-you-are-my-1-hero

Now to the focal point. I stamped my sentiment in Flirty Flamingo, on a piece of Very Vanilla cardstock and fussy cut it. It’s an easy shape to do so. I distressed the edges slightly. To make the sentiment ‘pop’ I decided to add a square Basic Black cardstock underneath. I could dry emboss it but instead, I decided to create a fun panel using Layering Squares Framelits. I’ve seen this idea just recently, on Carolyn Bennie blog and just had to try it myself. Carolyn is an amazing Australian demo. You should definitely check her out.

I arranged five scalloped squares dies on a piece of Basic Black cardstock, but offset them slightly. I secured dies to the paper with washi tape and run it through the big shot. Before I removed my dies, I’ve added washi tape underneath of the panel, to keep the squares together. I took another piece of Basic Black cardstock and adhered my die cut squares to that panel. I trimmed it to the 2-3/8″ square.

stampin-up-my-hero-stamp-set-you-are-my-1-hero

I adhered my fun square to the card base with a couple of dimensionals. Next, I’ve added my sentiment on top of it, with regular snail adhesive. Few rhinestones on the corners of the badge finish off my card.

Thank you for stopping by and have a blessed day,