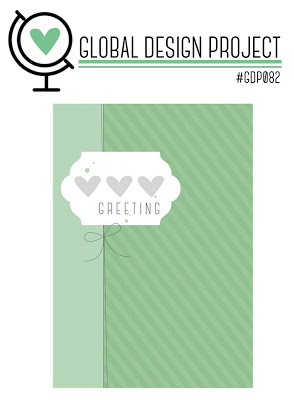
Global Design Project #082 Sketch Challenge Beautiful Message

Anna’ Stampin’ Cave – Global Design Project #082 Sketch Challenge Beautiful Message

GDP82

Hello, everyone! Today I’m playing again with Global Design Project Sketch Challenge. But before I show you my take on the sketch I want to share with you some exciting news. My cards were among the winners at the last GDP Colour Challenge! Woo hoo! But that’s not all. I have also been chosen to be a Guest Designer in the next colour challenge! How cool and what a privilege?!

Guest_Designer_Winner_Anna

Totally unexpected; I’m still pinching myself 🙂 If you have not seen my winning cards, just click the button above.

But now let’s go back to today’s project.

Today I’ve got for you this beautiful, clean & simple card with an amazing message from the Bible.
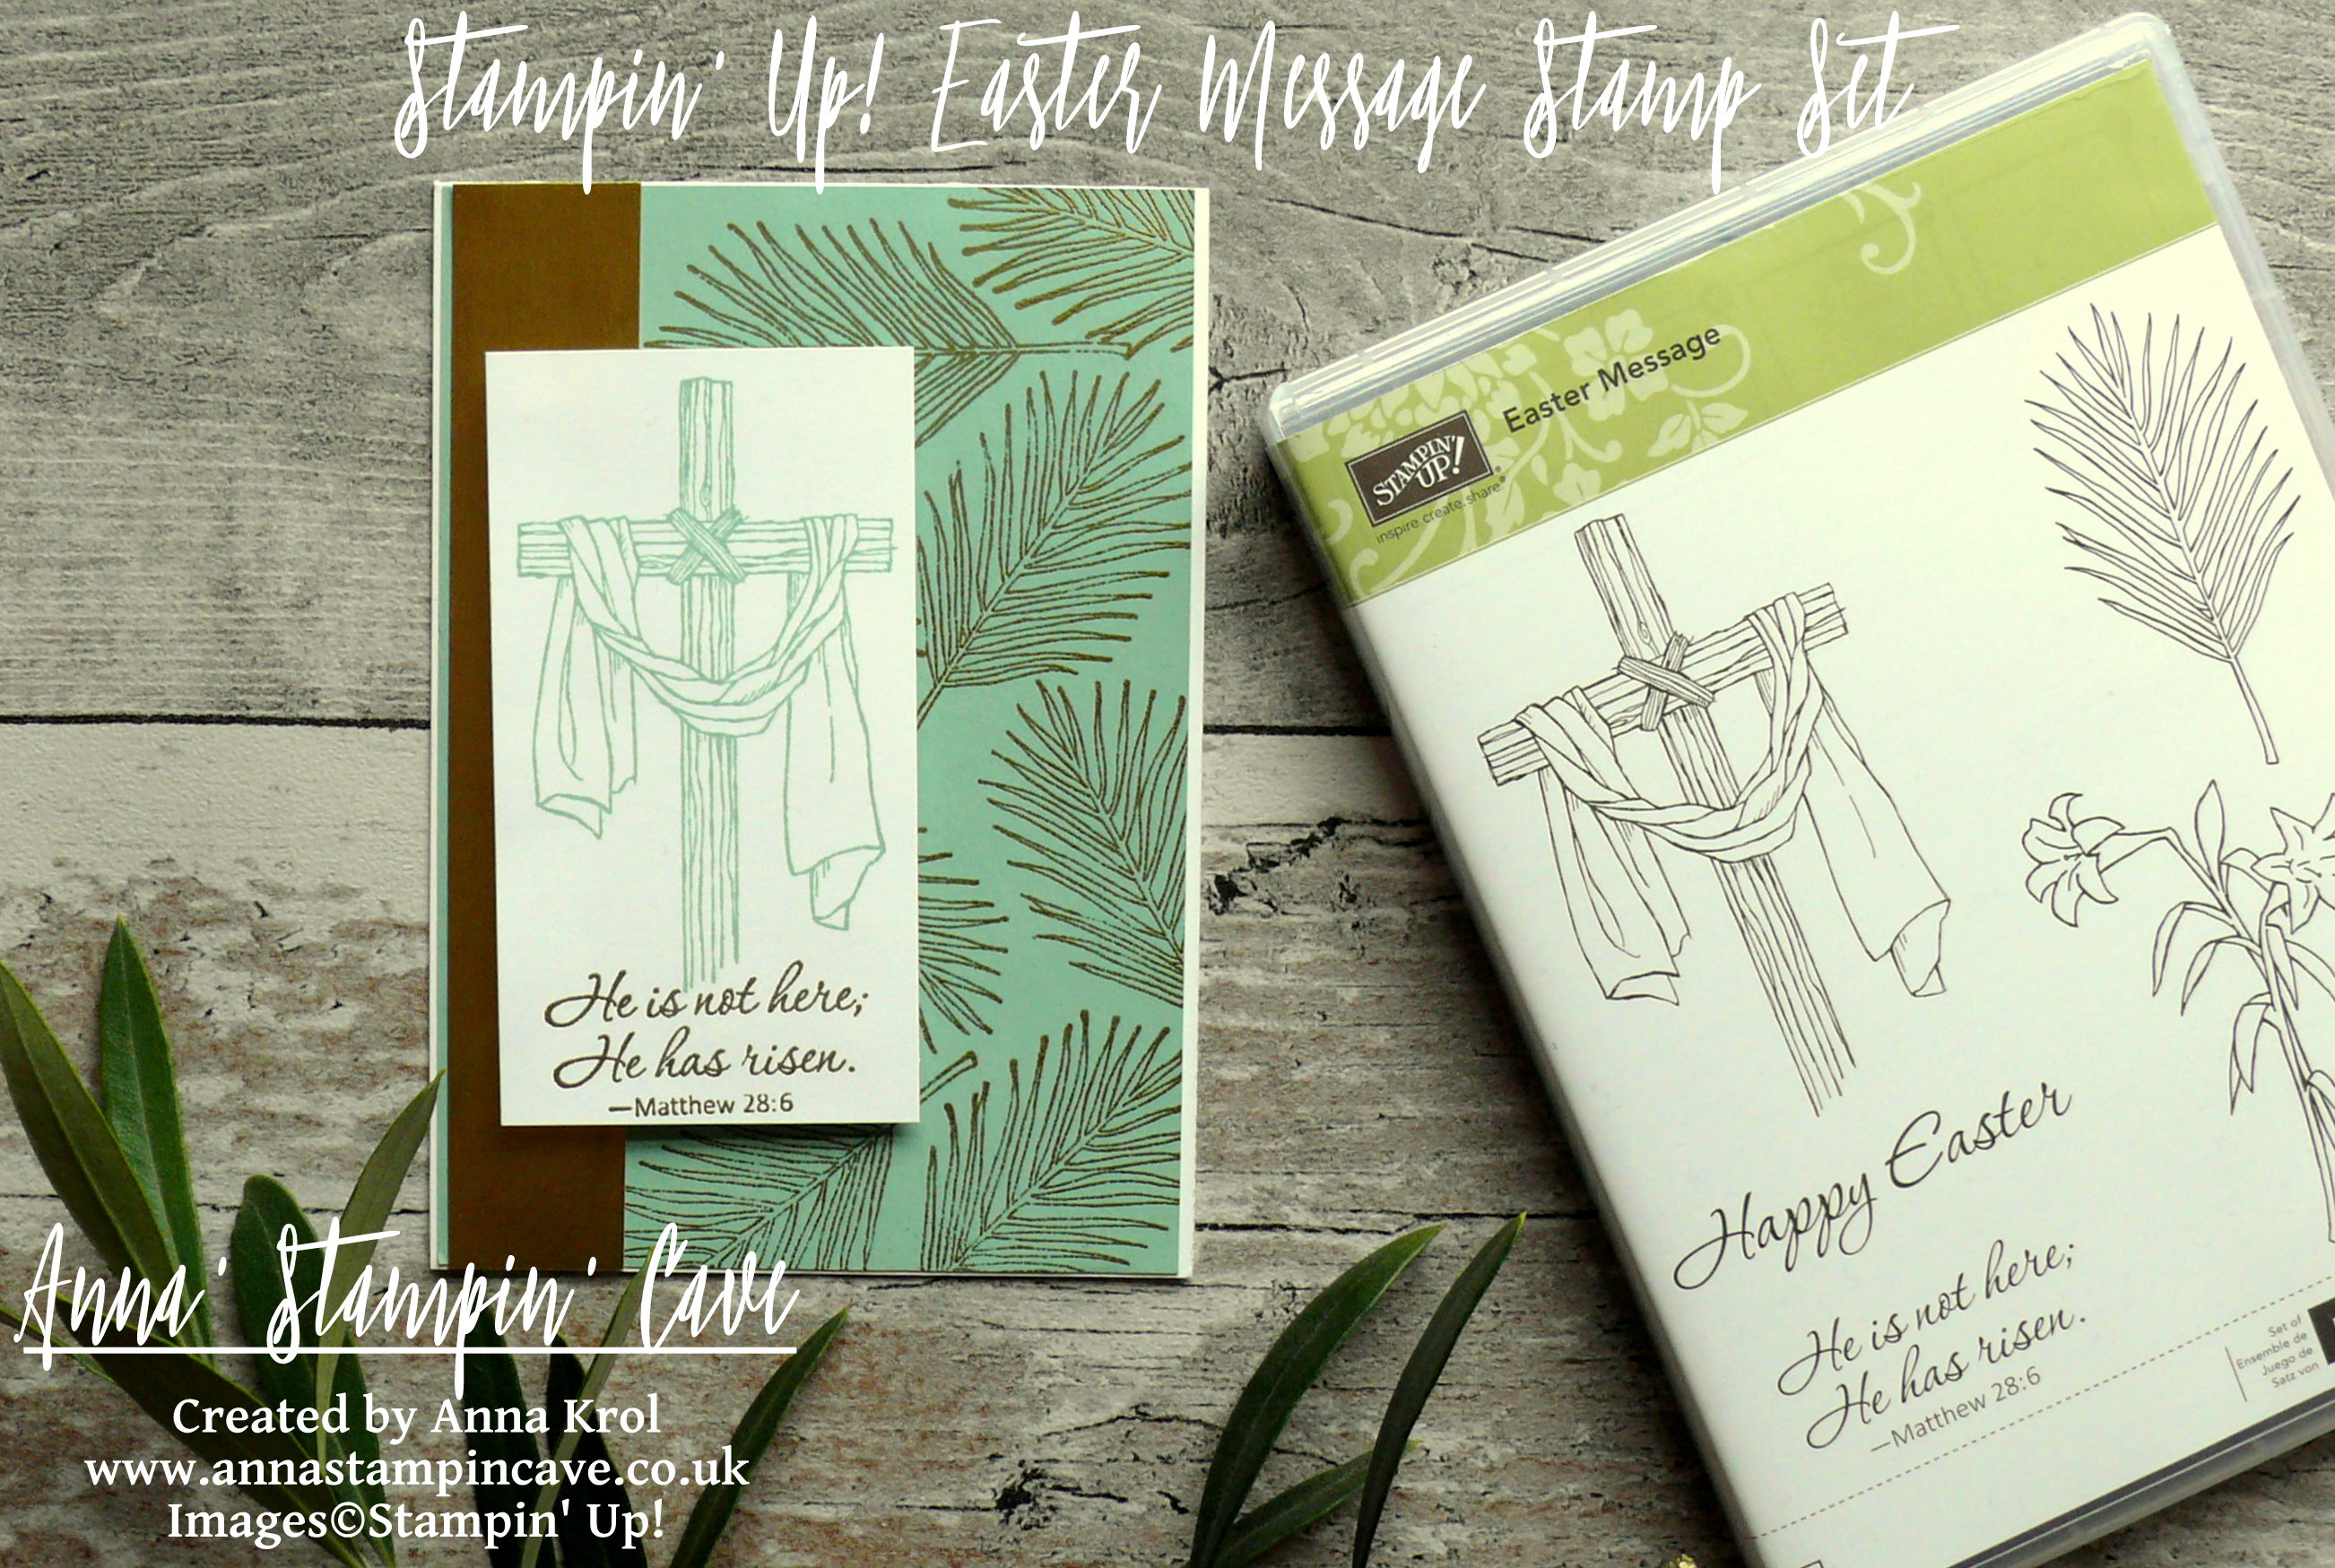
Anna' Stampin' Cave_Stampin' Up! Easter Message Stamp Set_Mint Macaron_gold foil_gold heat embossing_clean and simple_Jesus is risen

Beautiful Message card dimensions:

  • Whisper White Thick cardstock: 11-6/8″ x 4-1/8″ scored in half at 5-7/8″ (29.7 x 10.5 cm scored in half at 14.8 cm)
  • Mint Macaron cardstock: 5-7/8″ x 4″ (14.8 cm x 10.2 cm)
  • Whisper White cardstock: 4-1/8″ x 2-2/8″ (10.4 cm x 5.7 cm)
  • Gold Foil: 5-7/8″ x 1″ (14.8 cm x 2.5 cm)

I was really eager to put my hands on this beautiful stamp set ‘Easter Message’ the moment I saw it. But I was able to order it only just recently.
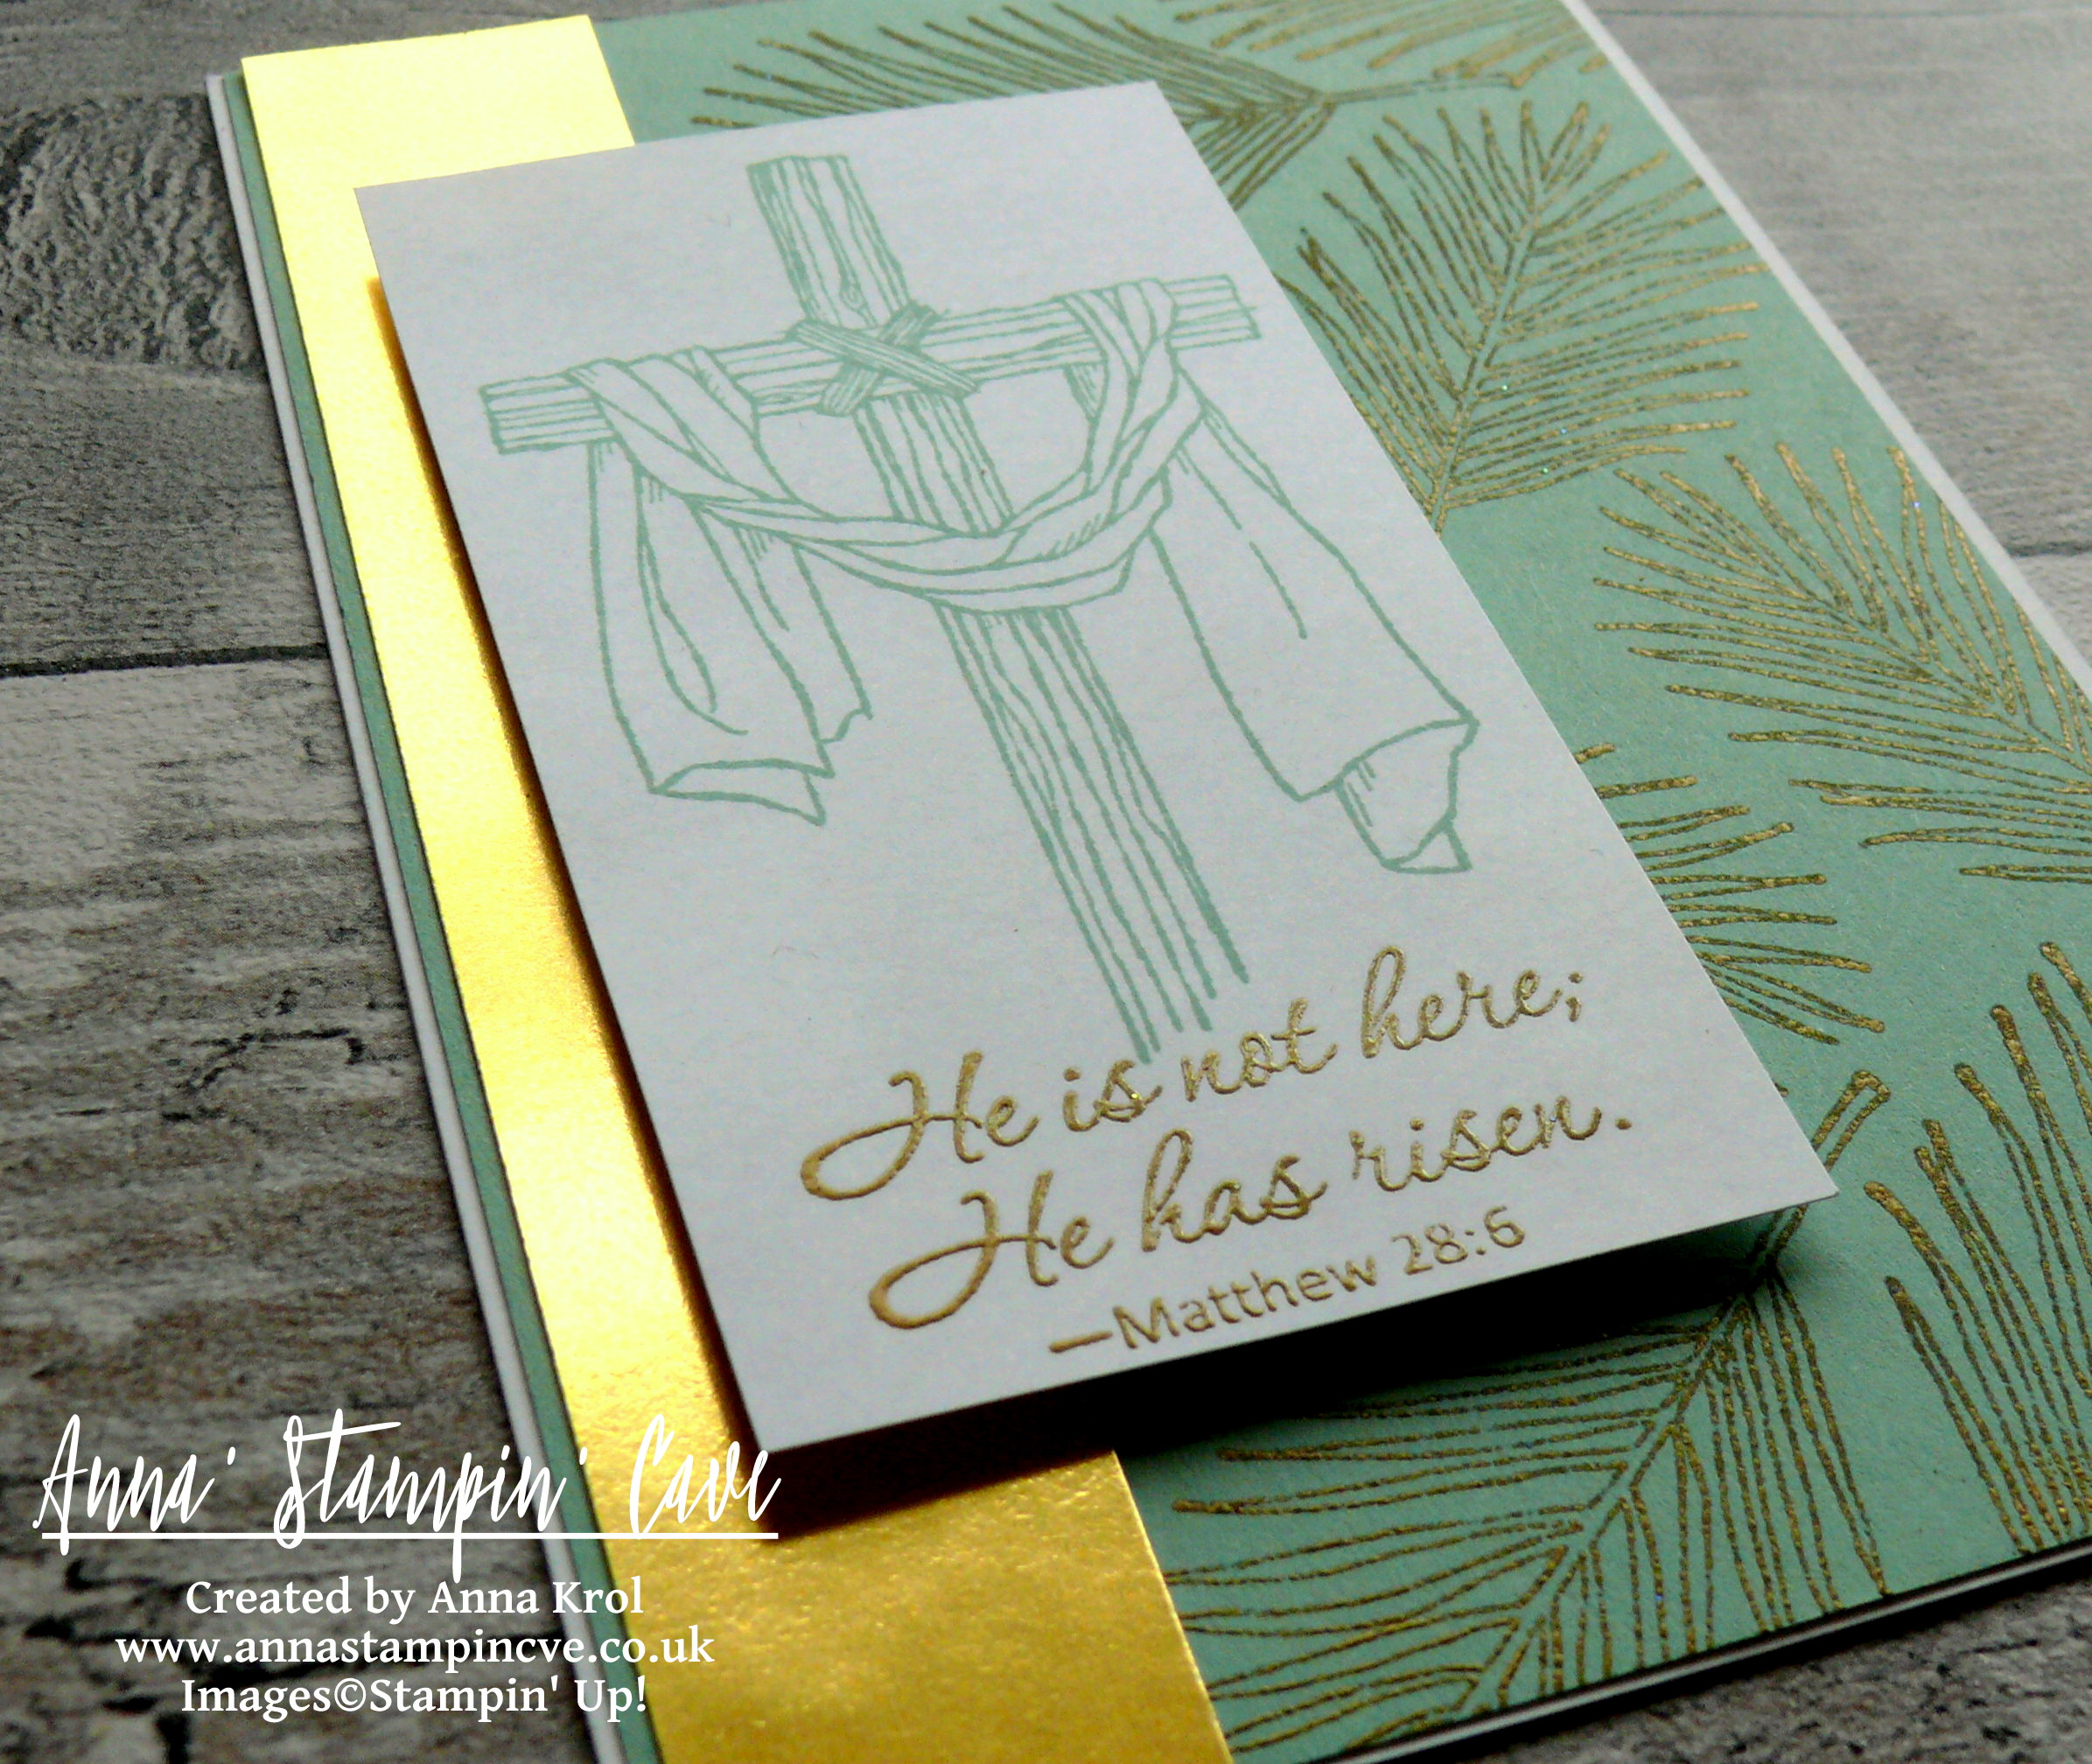
Anna' Stampin' Cave_Stampin' Up! Easter Message Stamp Set_Mint Macaron_gold foil_gold heat embossing_Jesus is Risen

To create this beautiful card I first took Mint Macaron panel and randomly stamped palm tree all over it, using Versamark inkpad, and heat embossed it in gold.

To make sure none of the embossing powder sticks to the cardstock where unwanted, I rubbed my embossing buddy across the paper before application.

To slightly ‘dull’ golden embossing I rubbed my piece with a dry cloth. I think it creates unique, dramatic effect.

I adhered Mint Macaron panel to the card base, followed by a piece of gold foil.

Next, I took my piece of regular Whisper White cardstock and I stamped cross image in Mint Macaron on the top of my piece, so I still had a room for a sentiment below the cross.

For the sentiment I chose this beautiful, life-giving verse from a Bible: Matthew 28:6 ‘He is not here; He has risen’. I’m short for words to say how much this little verse mean for me.
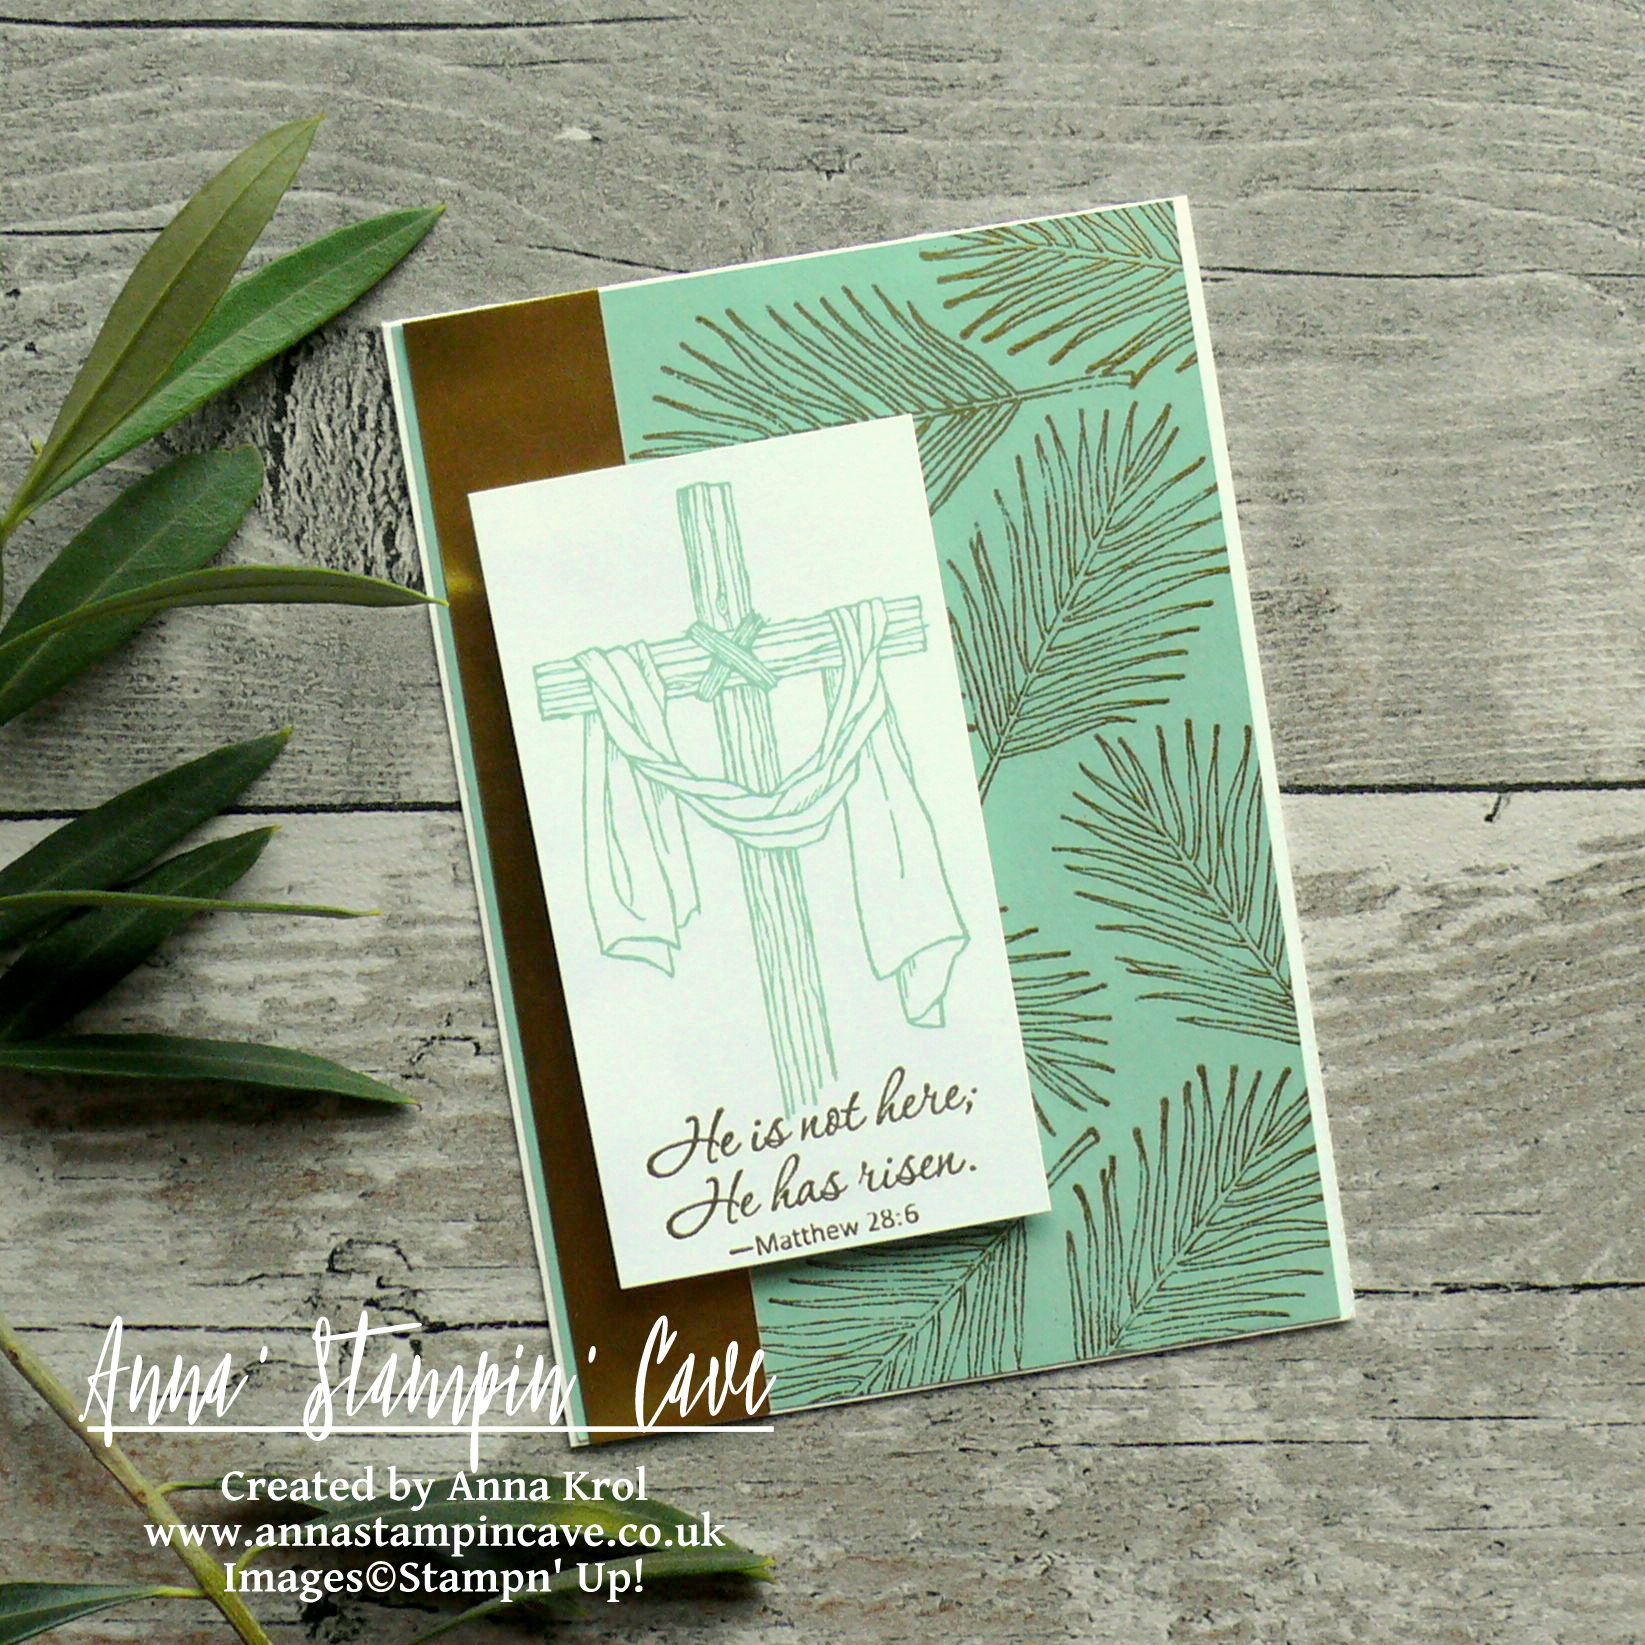
Anna' Stampin' Cave_Stampin' Up! Easter Message Stamp Set_Jesus Is Risen_Mint Macaron_gold foil_gold heat embossing_clean and simple

I stamped my sentiment in Versamark and heat embossed using Gold Stampin’ Emboss Powder again. To stamp it and not ruin my panel, I’ve used good ole stamp-a-ma-jig, so it’s straight and exactly where it should be.

I mount my piece onto the card base using dimensionals.

I may not be an expert if it comes to clean & simple cards. I’m not good at using a minimal number of supplies either. But I’m working on it, and I have to say I’m really happy how this card came out. I hope you like it too. Gold and mint make such an amazing colour combination.

As always, I really want to encourage you to visit the Global Design Project challenge blog to see other beautiful projects from all around the world. Just click on their logo below to visit the website

If you wish to purchase any of products I have used, simply click the images below to go directly to my online store and don’t forget to enter the hostess code for the month of April XMAJ4CYX to receive a gift from me.

Thank you for stopping by and have a blessed day,

Don’t forget to check:

Stampin’ Up! Spring Summer & Annual Catalogue 2016 2017 Retiring List

Anna' Stampin' Cave Stampin' Up! Retiring Products 2017

It’s that time of the year again, when Stampin’ Up! is getting ready to retire stamps and accessories from both the Annual and Spring Summer catalogues. As sad as it is to see these products go, there’s still time for you to get them before they’re gone. Retiring products will only be available until 31 May, or while supplies last. So if there’s something from retiring products on your wishlist, don’t wait until last day – once they’re gone, they’re gone. And they are selling fast! Click here for more details ->

You Are Amazing – Kylie Bertucci’s International Stampin’ Up! Blog Highlights

Anna’ Stampin’ Cave – You Are Amazing – Kylie Bertucci’s International Stampin’ Up! Blog Highlights

International-Highlights-header-vote-fav

Thanks for coming to my blog today! We are being highlighted internationally by Kylie Bertucci and you are able to VOTE on my project. The top ten winners will get to be part of an international blog hop so please vote for my project. You can do it here or use button at the end of my post.

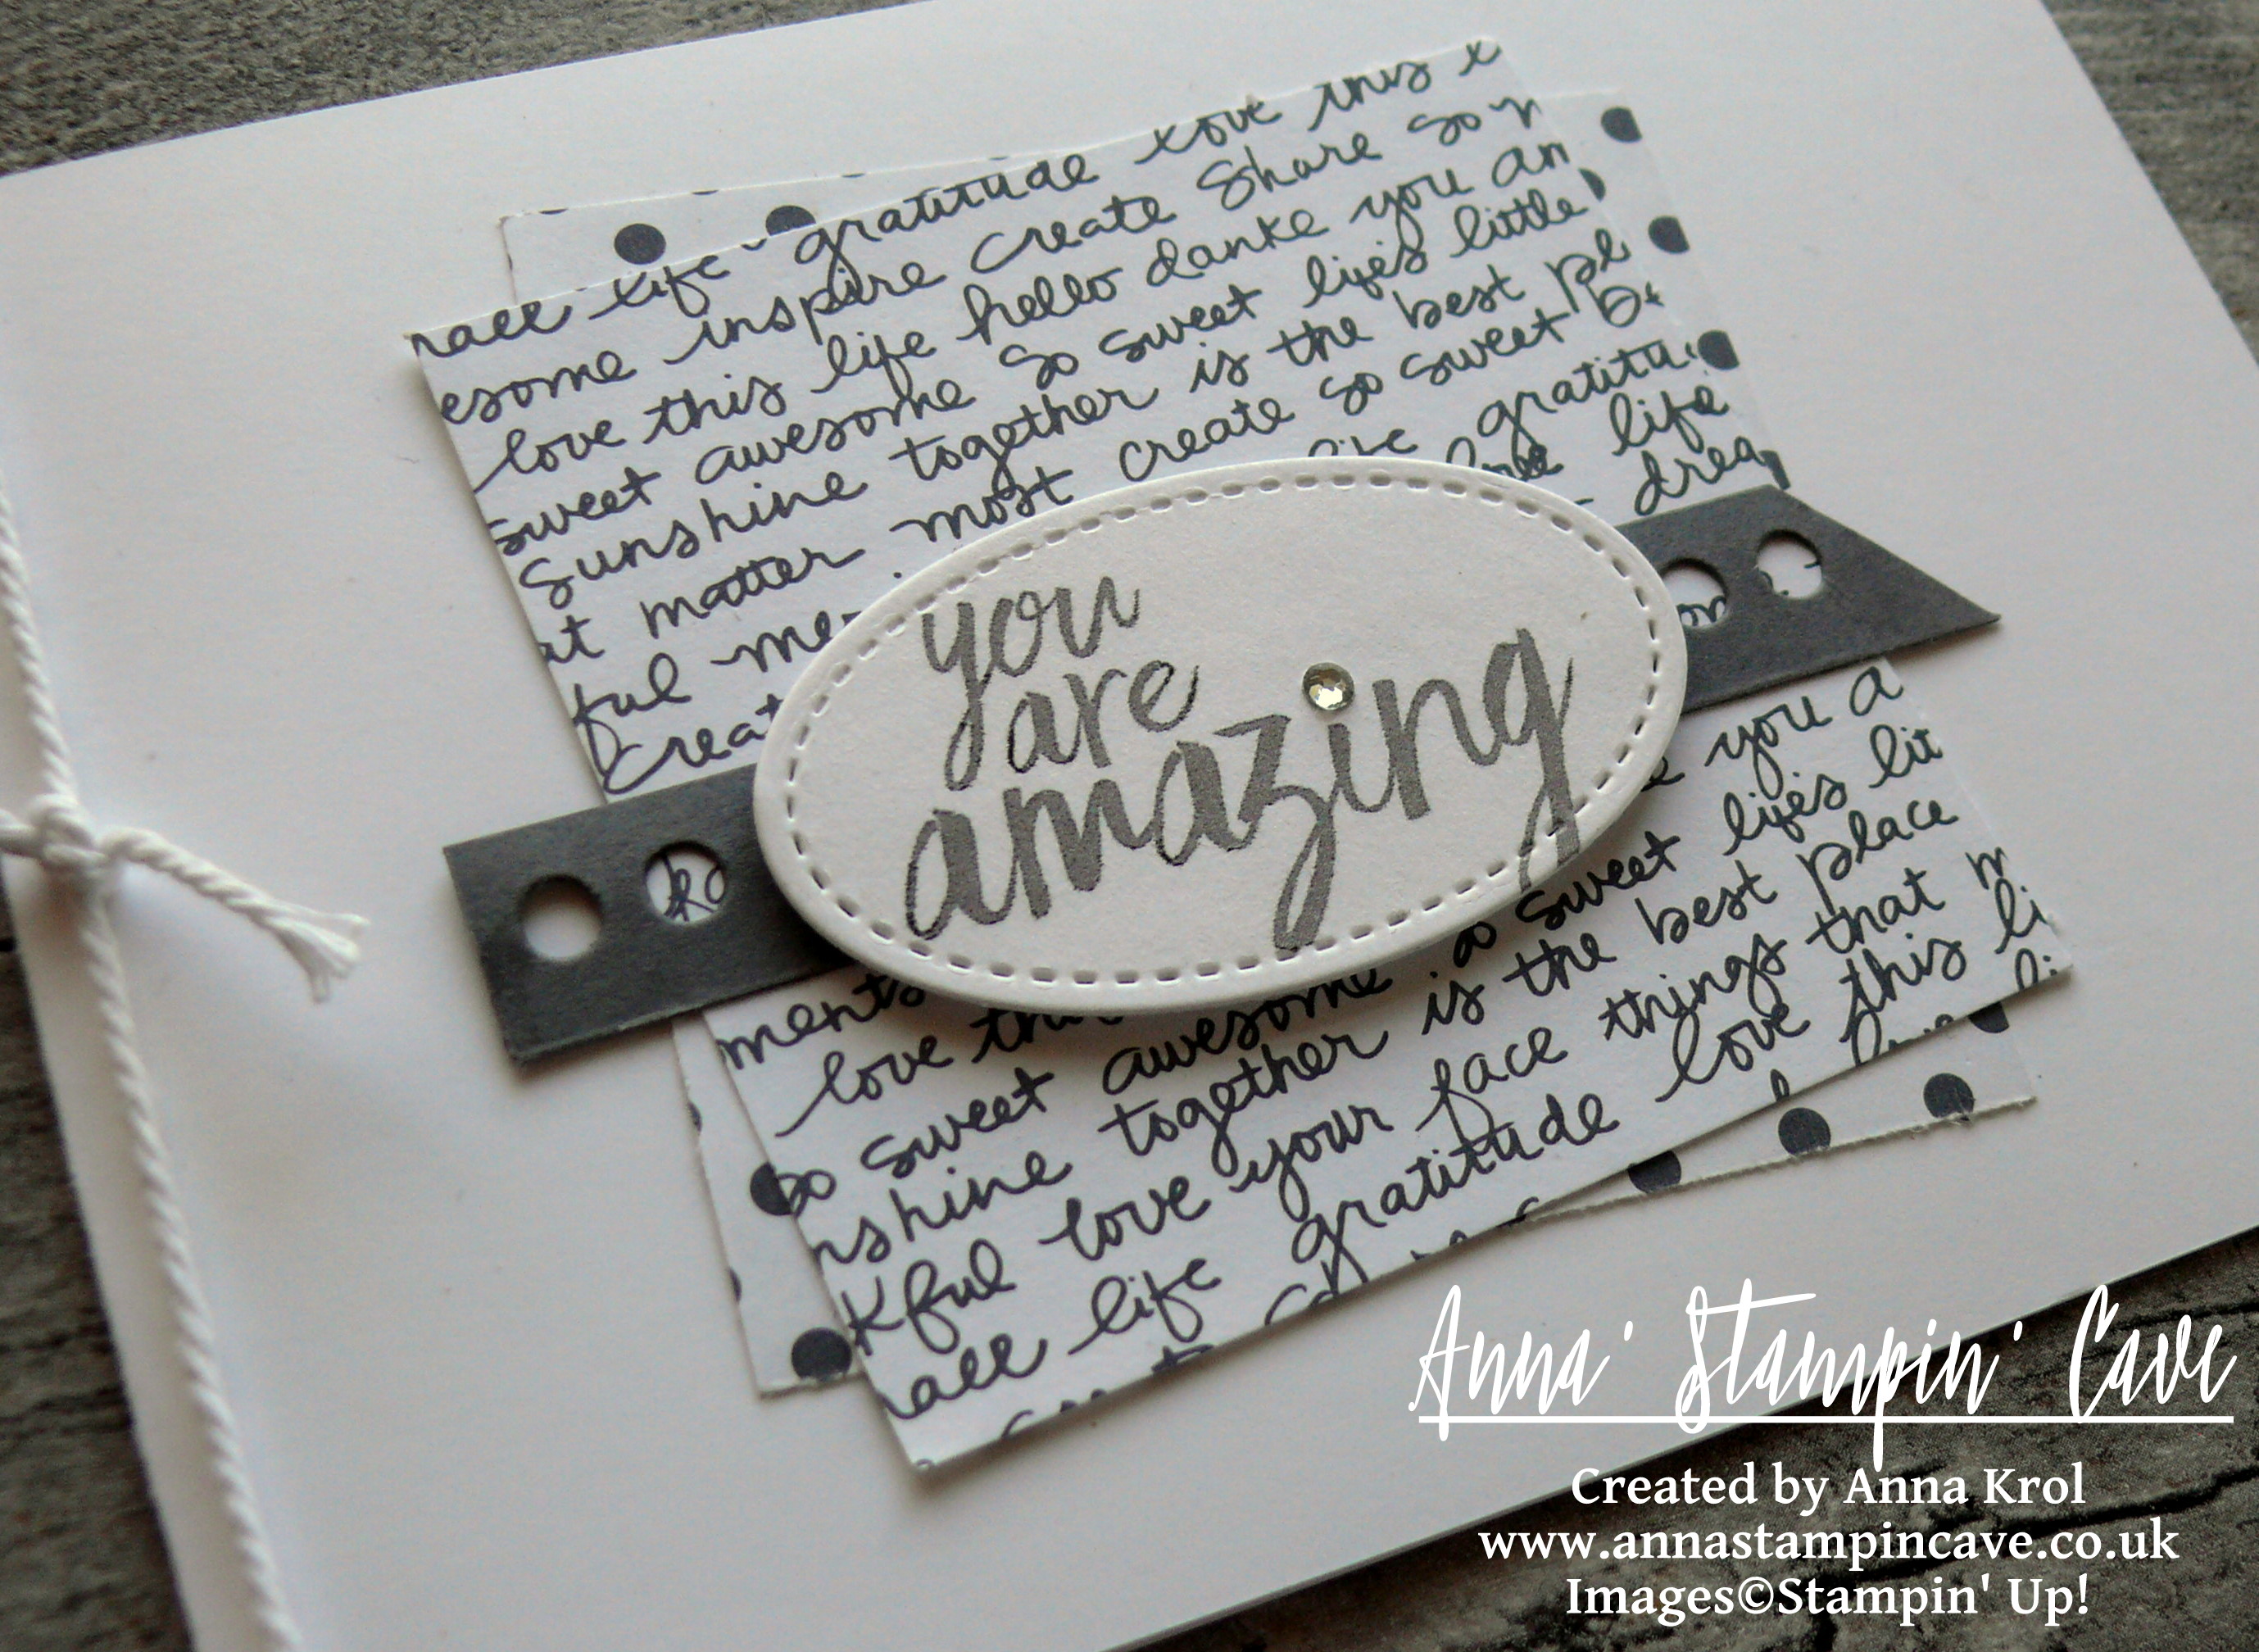
Anna' Stampin' Cave - Stampin' Up! All Things Thanks Stamp Set CAS Card You Are Amazing

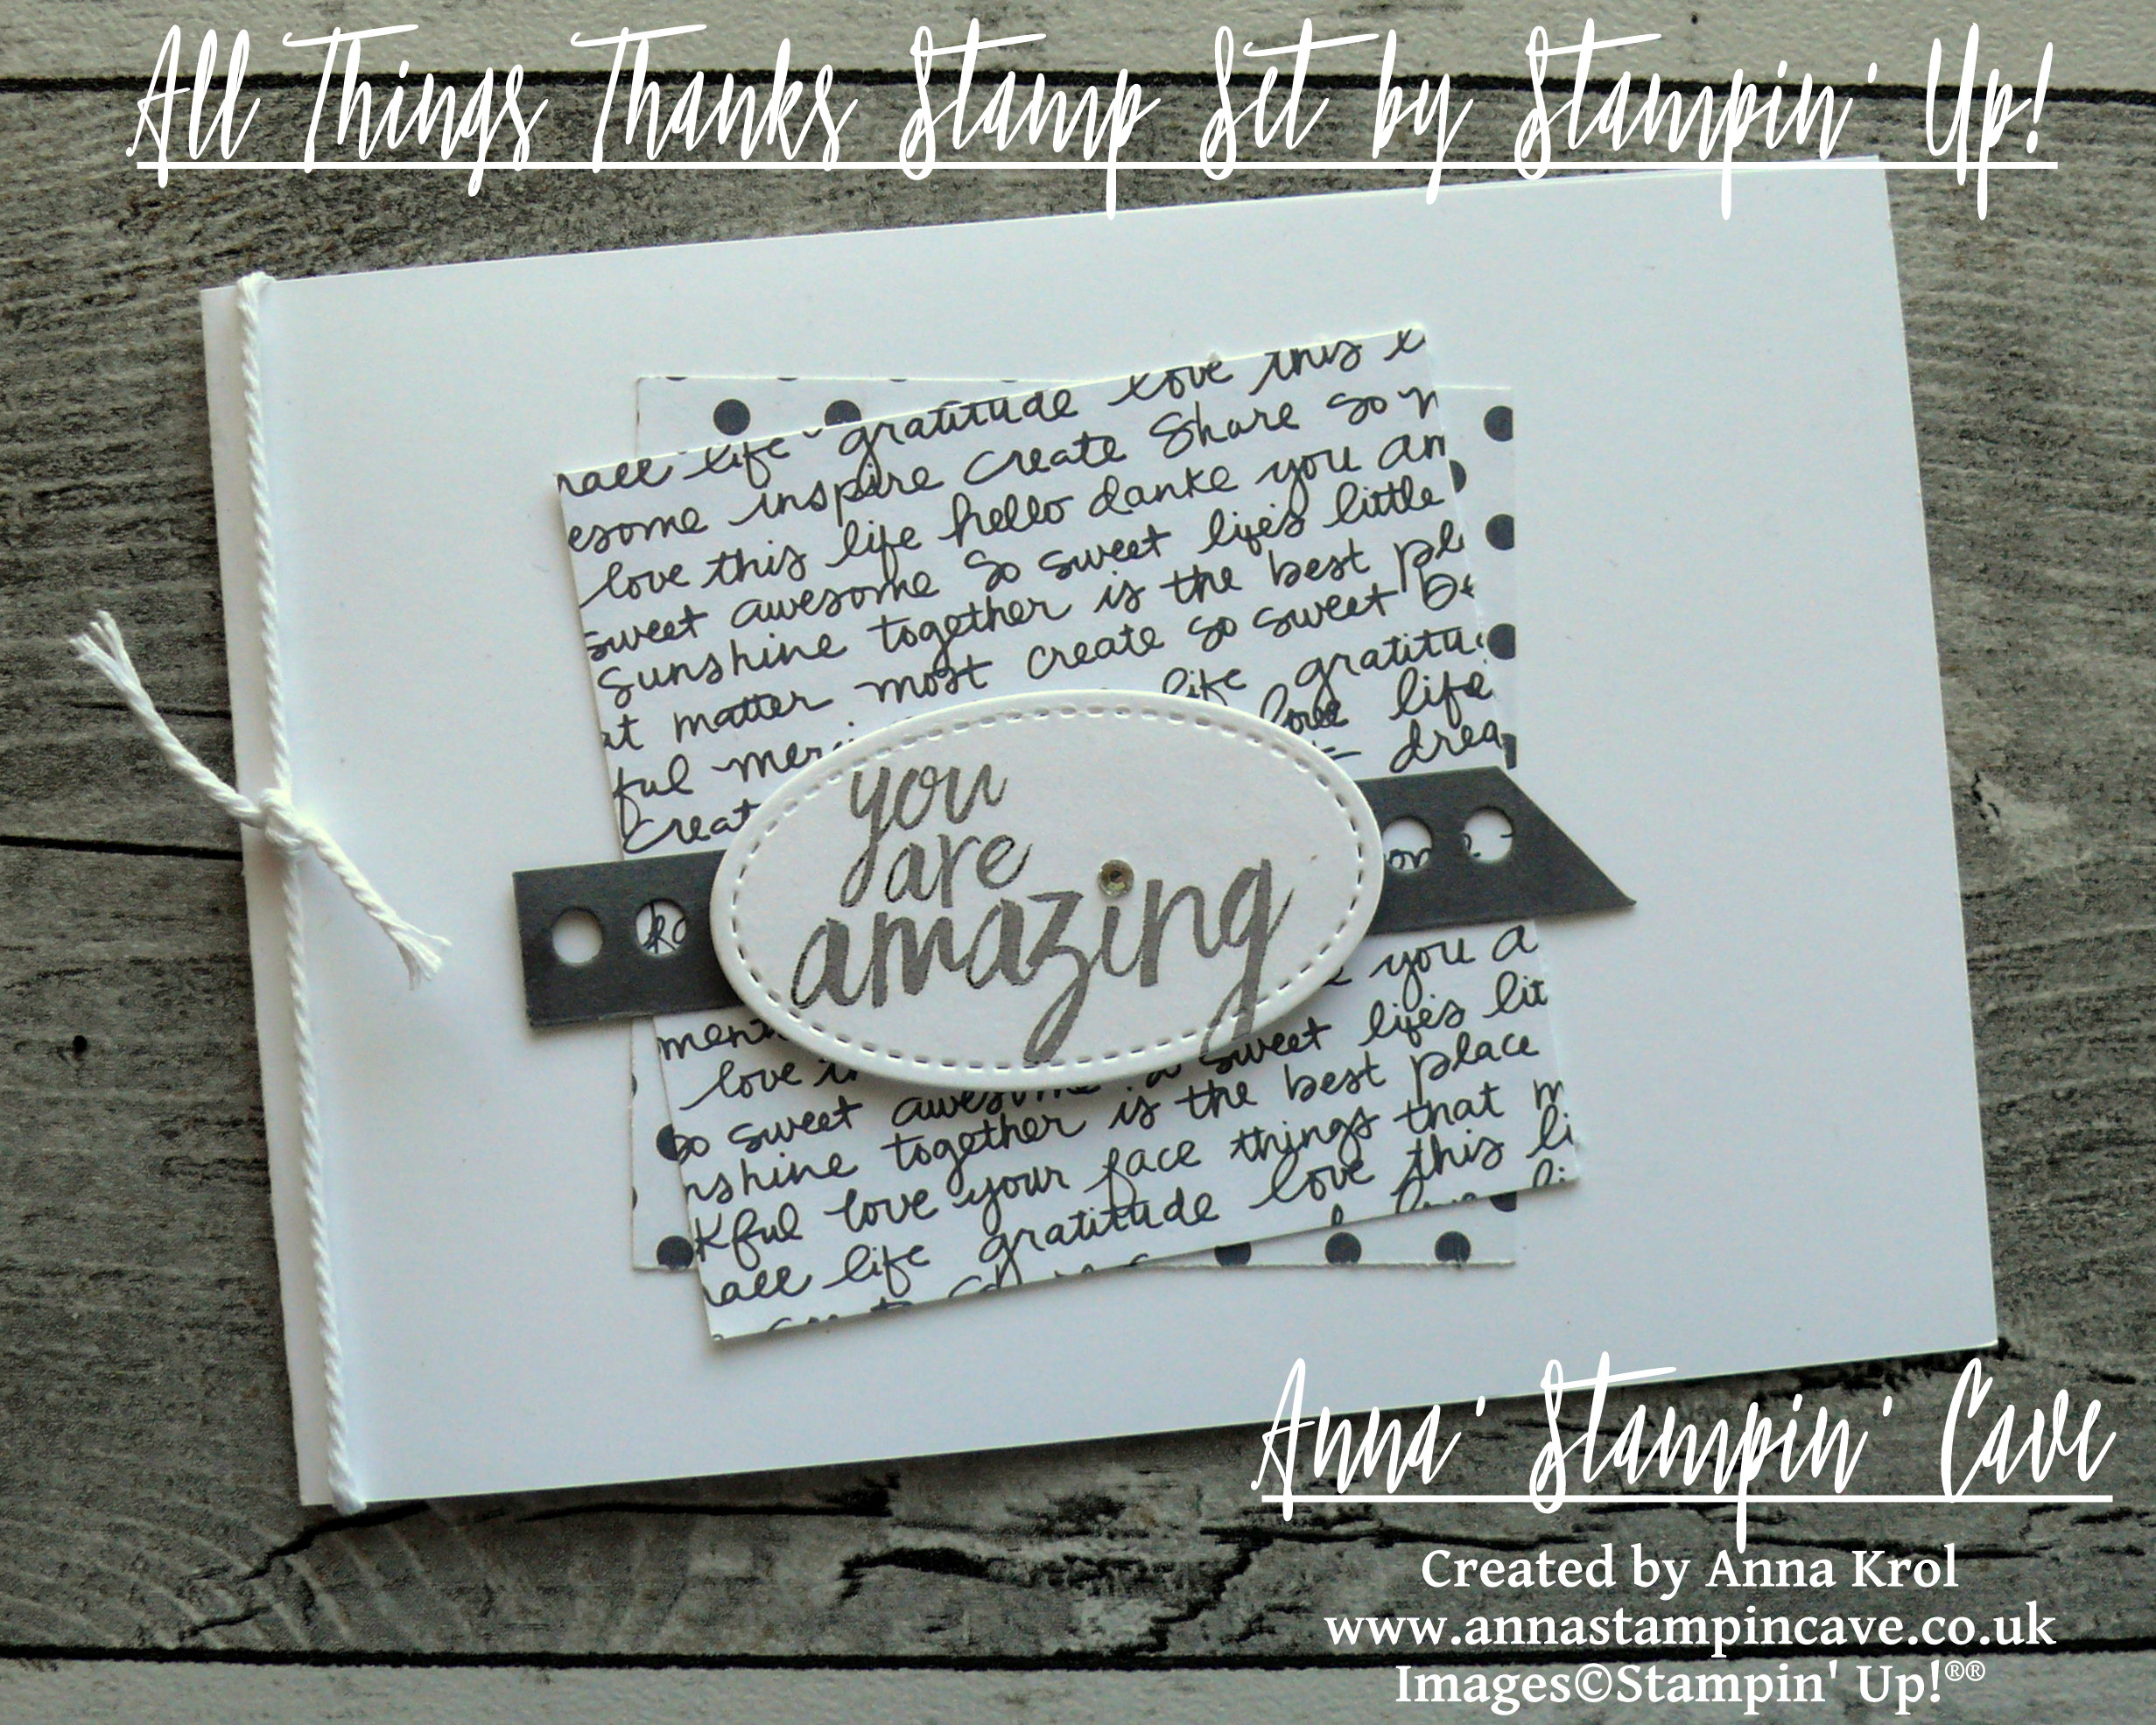
Our theme for this highlight is using the stamp set All Things Thanks! This is a Wonderful stamp set with so many gorgeous sentiments. We wanted to highlight how versatile it really is.

This is my first time taking part in Kylie Bertucci’s International Stampin’ Up! Blog Highlight so I’m a little bit nervous. For my card, I went with monochromatic clean and simple design.

Anna' Stampin' Cave - Stampin' Up! All Things Thanks Stamp Set Monochromatic CAS Card You Are Amazing.JPG

You Are Amazing Card dimensions:

  • Whisper White cardstock: 11-6/8″ x 4-1/8″ scored in half at 5-7/8″ (29.7 x 10.5 cm scored in half at 14.8 cm)
  • Basic Grey DSP from Neutrals DSP Stack: two pieces 3″x 3″ each (7.6 cm x 7.6 cm)
  • Basic Grey cardstock: 1/2″ x 3-3/6″ (1.2 cm x 9.5 cm)
  • for sentiment piece of Whisper White cardstock
  • Whisper White Thick Baker’s Twine: 12″

First, I stamped my sentiment in Basic Grey on a piece of Whisper White cardstock and die cut it using 2nd smallest oval from Stitched Shapes Framelits Dies. Next, I took my card base and adhered my squares of Designer Series Paper in the middle, offsetting them slightly.

I took Basic Gray strip of cardstock and created a fun banner using a dotted strip die from Mini Treat Bag Thinlits Dies.

I adhered the banner in in the centre of my card front and popped up the sentiment on top using dimensionals. I wrapped bakers twine around my card and tied a simple knot on the front. For the final touch, I added a rhinestone to the ‘i’ in the sentiment.

Anna' Stampin' Cave - All Things Thanks Stamp Set by Stampin' Up! Monochromatic CAS Card You Are Amazing.JPG

Thanks for visiting my blog today and make sure you head over to Kylie’s blog to check all lovely projects and vote for your favourites. Hope my project will be among them as I would love to be chosen to do an international blog hop.

Vote for me Kylie's Highlights Badge

Thank you for stopping by and have a blessed day,

Shake It In Teals – Birthday Card For Sweet 17

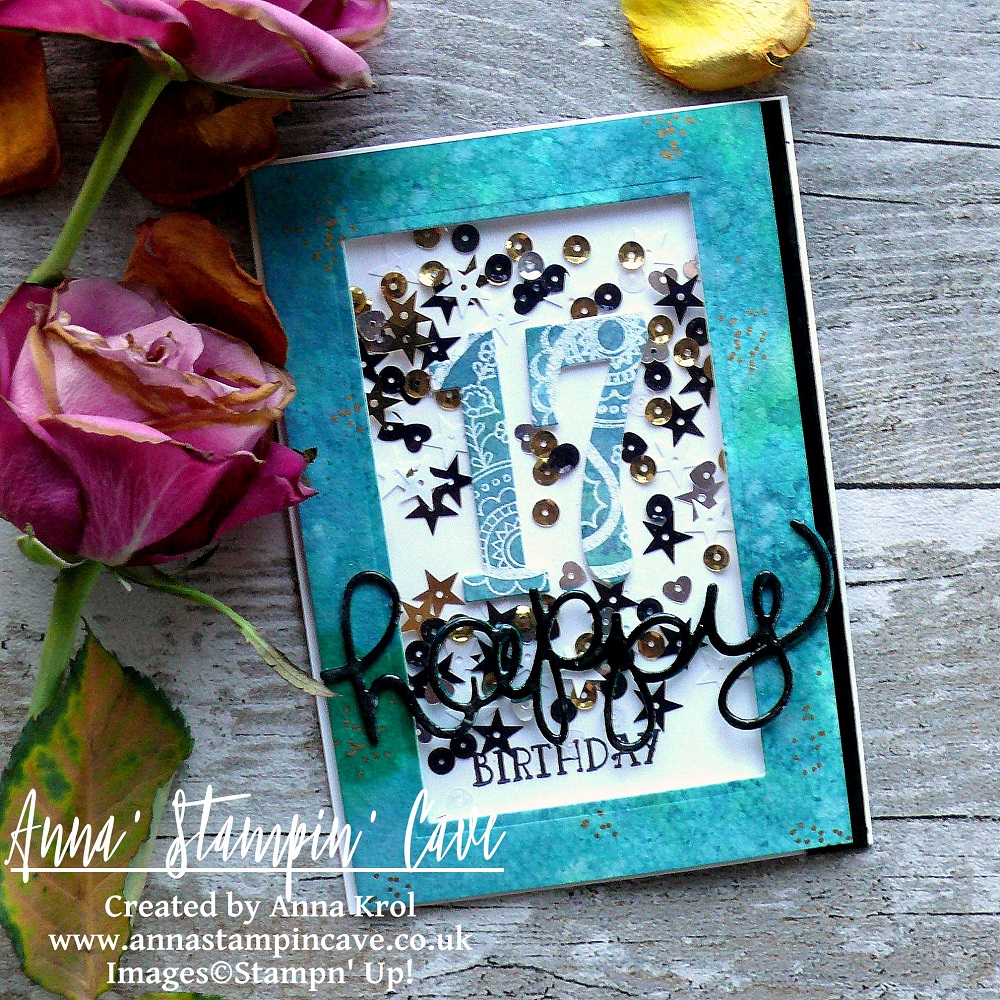
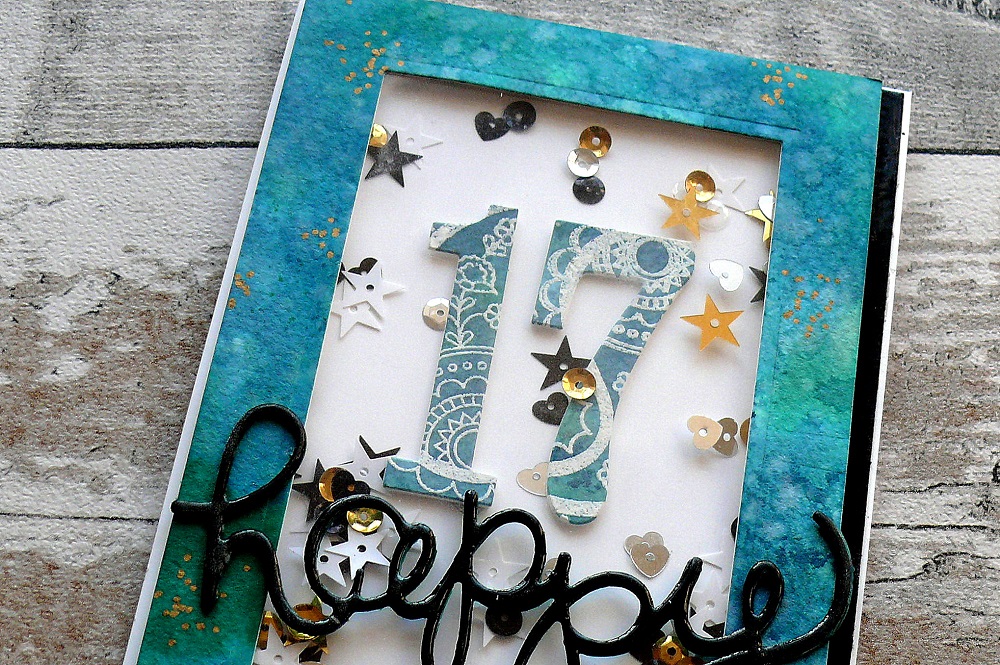
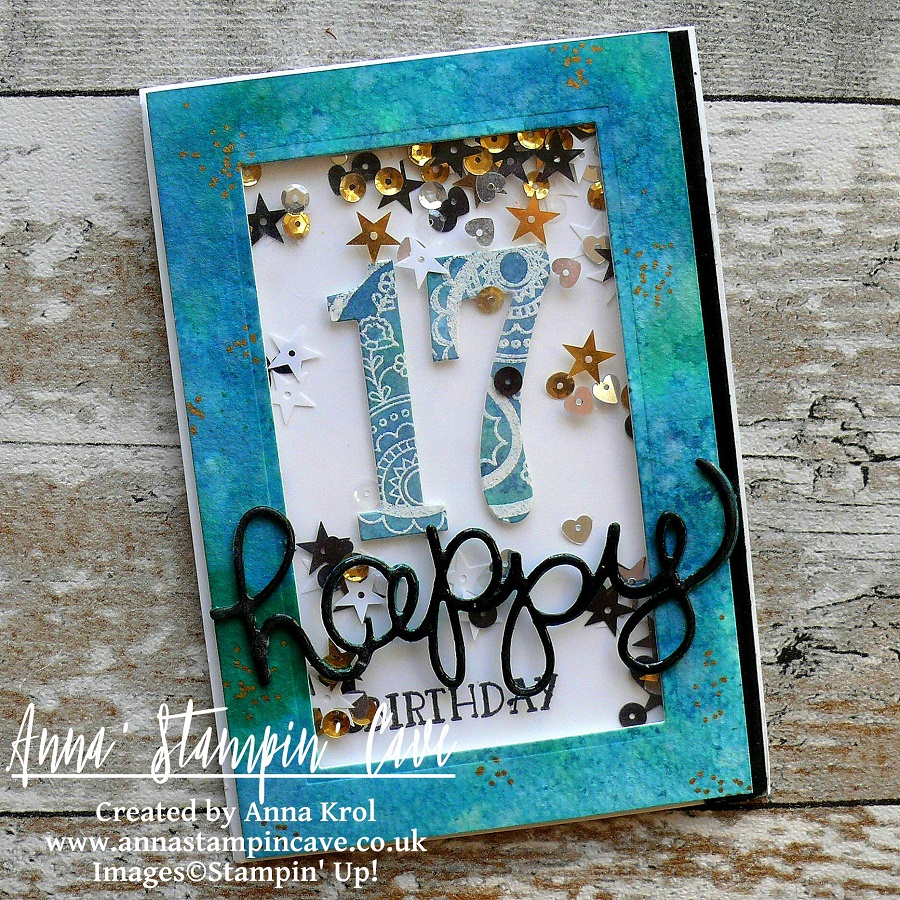
Hello and welcome! Today I want to share with you a card I’ve made for our daughter’s 17th birthday. I don’t know where the time has gone but I could swear she was just 7 not that long ago.

She’s not a girly-girl ( happy mamma here lol). She’s studying fine art in Sixth Form and she loves mixed media. So I had to come up with something little more ‘sophisticated’ than flowers and butterflies if you know what I mean 😉

This year I decided to make a shaker card in beautiful teal shades. [You can see her last year’s birthday card here]

P1130276

Shake It In Teals Card dimensions:

  • Thick Whisper White cardstock: 11-6/8″ x 4-1/8″ scored in half at 5-7/8″ (29.7 x 10.5 cm scored in half at 14.8 cm)
  • Watercolour Paper: 5-6/8″ x 3-7/8″ (14.5 cm x 9.7 cm)
  • Basic Black cardstock: 1/2″ x 5-6/8″ (14.5 cm x 1.2 cm)
  • for die-cutting word happy pieces of Basic Black, Island Indigo and Emerald Envy

It’s very simple, a straightforward card so I won’t include a whole step by step instructions, just some hints, and tips.

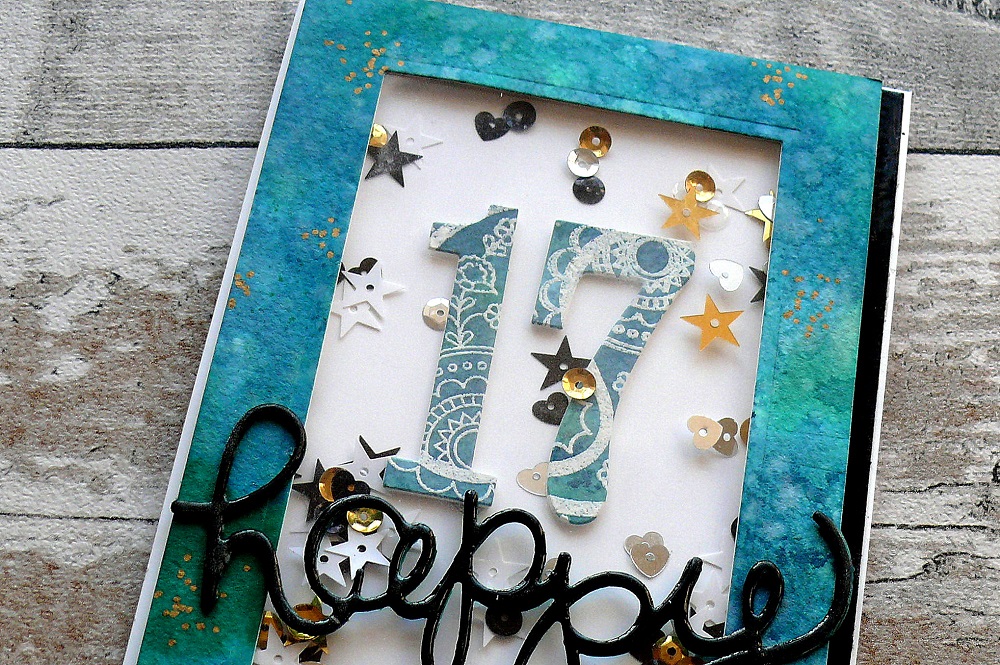
Frame: To create a teal-like shade for the watercolour panel I’ve mixed Island Indigo ink with Emerald Envy ink in a watercolour wash. When the panel was dry I die cut a rectangle from the middle of the panel, creating a frame.

P1130298

Numbers: I didn’t want the number to look flat and boring, so I took that watercoloured rectangle, stamped two paisley images in Versamark in the middle, heat embossed them in white and die cut numbers 1 and 7 from that piece.

‘Happy’: I die cut it three times: one from Basic Black cardstock, 2nd from Island Indigo and 3rd from Emerald Envy and adhered them together. To add shine to it I cover my word in Versamark and heat embossed in clear. I did the same with the Basic Black strip.

P1130289

Before I put my shaker card together I adhered few sequins to the base of my card so not all sequins fall down when the card is standing on the shelf. For the final touch, I added some random gold dots to the frame with my gold Sharpie.

There’re few things that didn’t come out as I hoped for, but with my numb hands, I think that overall the card looks nice. The most important is the fact that our girl loved it, so YAY!

If you wish to purchase any of products I have used, simply click the images below to go directly to my online store and don’t forget to enter the hostess code for the month of March G3JKVASG to receive a gift from me.

Thank you for stopping by and have a blessed day

Faux Watercolour For GDP#072 Case The Designer Challenge

Anna’ Stampin’ Cave – Faux Watercolour For GDP#072 Case The Designer Challenge

gdp072

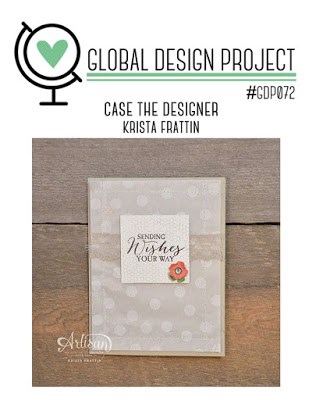
Hello and welcome everyone! Today I’m back with my entry for Global Design Project. This week’s challenge is ‘CASE the Designer’ – we are casing extremely talented Krista Frattin.

If you’re not sure what ‘CASE’ stands for, at least in crafty world, here are few decipherings: Copy And Selectively Edit or Copy And Share Everything. Generally speaking, it means that you take inspiration from someone else’s project, like colours, layout, stamp set used, etc, and add your own twist to it.

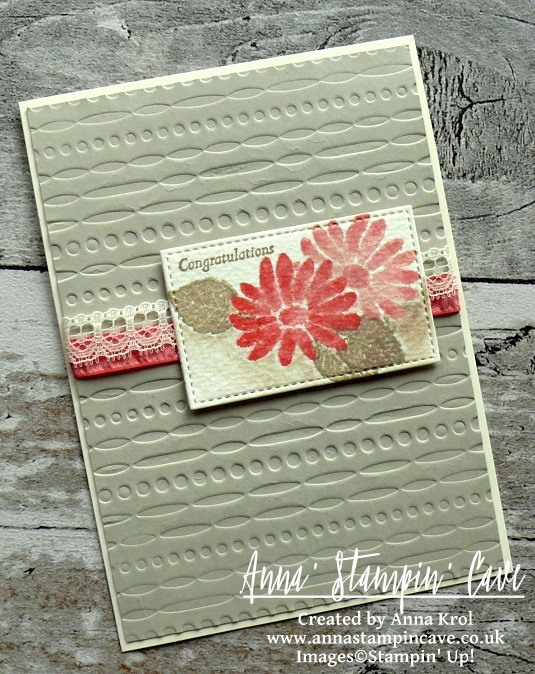
I really loved this simple layout and toned palette with a little pop of colour, so this is what I ‘borrowed’ from Krista’s card. But I’ve decided to use a new stamp set from Stampin’ Up! Spring Summer Catalogue called Special Reason.

anna-stampin-cave-stampin-up-special-reason-stamp-set-watercolour-with-masking

Faux Watercolour Special Reason card dimensions:

  • Very Vanilla cardstock: 11-6/8″ x 4-1/8″ scored in half at 5-7/8″ (29.7 x 10.5 cm scored in half at 14.8 cm)
  • Sahara Sand cardstock: 4″x 5-6/8″(10,2 x 14,5 cm)
  • Water Colour Paper: 2″ x 3″ (briefly as it will be die-cut later)
  • Flirty Flaming Ruched Ribbon: length 6″ approx
  • Very Vanilla Lace Trim: length 6″ approx

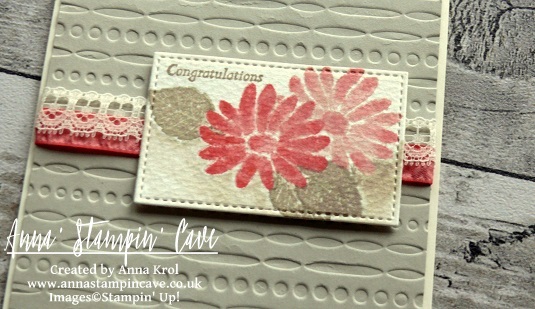
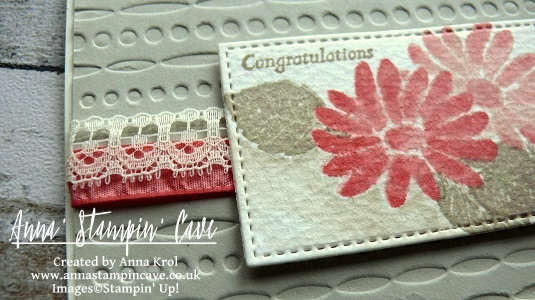
I began with dry embossing Sahara Sand panel with a Festive embossing folder. I love this design as it’s really versatile. For my card, I’ve used de-bossed side. I added Flirty Flamingo Ruched ribbon to the panel, briefly in the middle, and secure it at the back with snail adhesive. Next, I added Very Vanilla Lace Trim on top of it, slightly overlapping both ribbons so Flirty Flamingo was peeking from underneath the lace. I adhered my panel to the card base with liquid adhesive and red-lined tape where the ribbons were for extra security.

To create my focal point I’ve used few great techniques: watercolour, faux watercolour, rock’n’roll, masking and partial die-cutting.

anna-stampin-cave-special-reason-stamp-set-by-stampin-up

I started with stamping my flower onto watercolour paper. I loaded my stamp with Blushing Bride Ink and then ‘rocking’ my stamp I added Flirty Flamingo only on the edges of the stamp – that’s rock’n’roll technique, super easy hey? Once I stamped the image, I took an aqua painter and started blending both colours on each petal creating a faux watercolour effect. I also added Flirty Flamingo ink to the centre of the flower. I build up the colour (but I let it dry completely between layers) by adding more Flirty Flamingo to the top of each petal and blending it down with an aqua painter.

Next, I created a mask. I stamped the same flower onto a post-it note and fussy cut it. I stuck it to my watercolour flower (first, make sure it’s dry) and using Stamp-a-ma-jig I stamped two leaves in Sahara Sand, one below, and one on the side of my flower. Using same faux watercolour technique I blended the ink on my leaves, being careful not to lose subtle veins detail. I also created a leaf mask and added another leaf at the bottom of the flower.

anna-stampin-cave-stampin-up-special-reason-stamp-set-watercolour

Not taking off the masks, and with help of Stamp-a-ma-jig again, I stamped another flower. This time I only used Blushing Bride ink for a softer shade. But still added a hint of Flirty Flamingo ink to the edges of petals while blending them with water.

Before die-cutting my piece, I decided to add a little bit of shading beneath my composition. Nothing fancy, just a subtle watercolour wash with Sahara Sand ink and aqua painter. I love how it added an extra dimension to my piece.

To die-cut my watercolour panel I’ve used a second smallest square (1-5/8″) from Stitched Shapes Thinlits Dies. But this is a rectangle, you say. Yes, I know, but I extended my die using partial die cutting technique (if you want to know how to do it, please leave me a comment below). The final piece measure 1-5/8″ x 2-5/8″ (4.2 x 6.7 cm).

I assembled my watercolour panel using Stampin’ Dimensionals.

anna-stampin-cave-stampin-up-special-reason-stamp-set

I really like how this card turned out. No need for extra embellishments, it’s beautiful as it is. I hope you like it too, and that I inspired you to try some of the techniques I showed, especially mess-free, faux watercolour.

I really want to encourage you to check the Global Design Project challenge blog. They have a new challenge every week with various themes and extremely talented Design Team – they will simply blow your mind with their creativity! Just click on their logo below to visit the website

gdp_blog_header

As always, if you wish to purchase any of the products I have used, simply click the images below to go directly to my online shop.

Thank you for stopping by and have a blessed day,


Special Reason Wood-Mount Stamp Set

Special Reason Wood-Mount Stamp Set
[142899]
£25.00

Special Reason Clear-Mount Stamp Set

Special Reason Clear-Mount Stamp Set
[142902]
£18.00

Stitched Shapes Framelits Dies

Stitched Shapes Framelits Dies
[145372]
£27.00

Festive Textured Impressions Embossing Folder

Festive Textured Impressions Embossing Folder
[141471]
£7.75

Very Vanilla A4 Card Stock

Very Vanilla A4 Card Stock
[106550]
£8.25

Sahara Sand A4 Card Stock

Sahara Sand A4 Card Stock
[121695]
£7.25

Watercolor Paper

Watercolor Paper
[122959]
£4.50

Flirty Flamingo Classic Stampin' Pad

Flirty Flamingo Classic Stampin’ Pad
[141397]
£6.00

Blushing Bride Classic Stampin' Pad

Blushing Bride Classic Stampin’ Pad
[131172]
£6.00

Sahara Sand Classic Stampin' Pad

Sahara Sand Classic Stampin’ Pad
[126976]
£6.00

Aqua Painters

Aqua Painters
[103954]
£15.50

Stamp-A-Ma-Jig

Stamp-A-Ma-Jig
[101049]
£11.00

Very Vanilla 1/2" (1.3 Cm) Lace Trim

Very Vanilla 1/2″ (1.3 Cm) Lace Trim
[141672]
£6.50

Flirty Flamingo 3/8" (1 Cm) Ruched Ribbon

Flirty Flamingo 3/8″ (1 Cm) Ruched Ribbon
[141426]
£7.25

Liquid Multipurpose Glue

Liquid Multipurpose Glue
[110755]
£3.75

SNAIL Permanent Adhesive

SNAIL Permanent Adhesive
[104332]
£6.25

Stampin' Dimensionals

Stampin’ Dimensionals
[104430]
£3.75

Stampin' Trimmer

Stampin’ Trimmer
[129722]
£27.00

Big Shot

Big Shot
[143263]
£99.00

Inside The Lines Altered Photo Frame

Anna’ Stampin’ Cave – Inside The Lines Altered Photo Frame

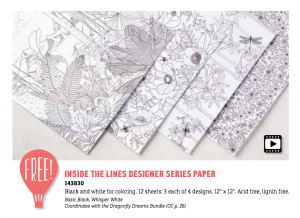
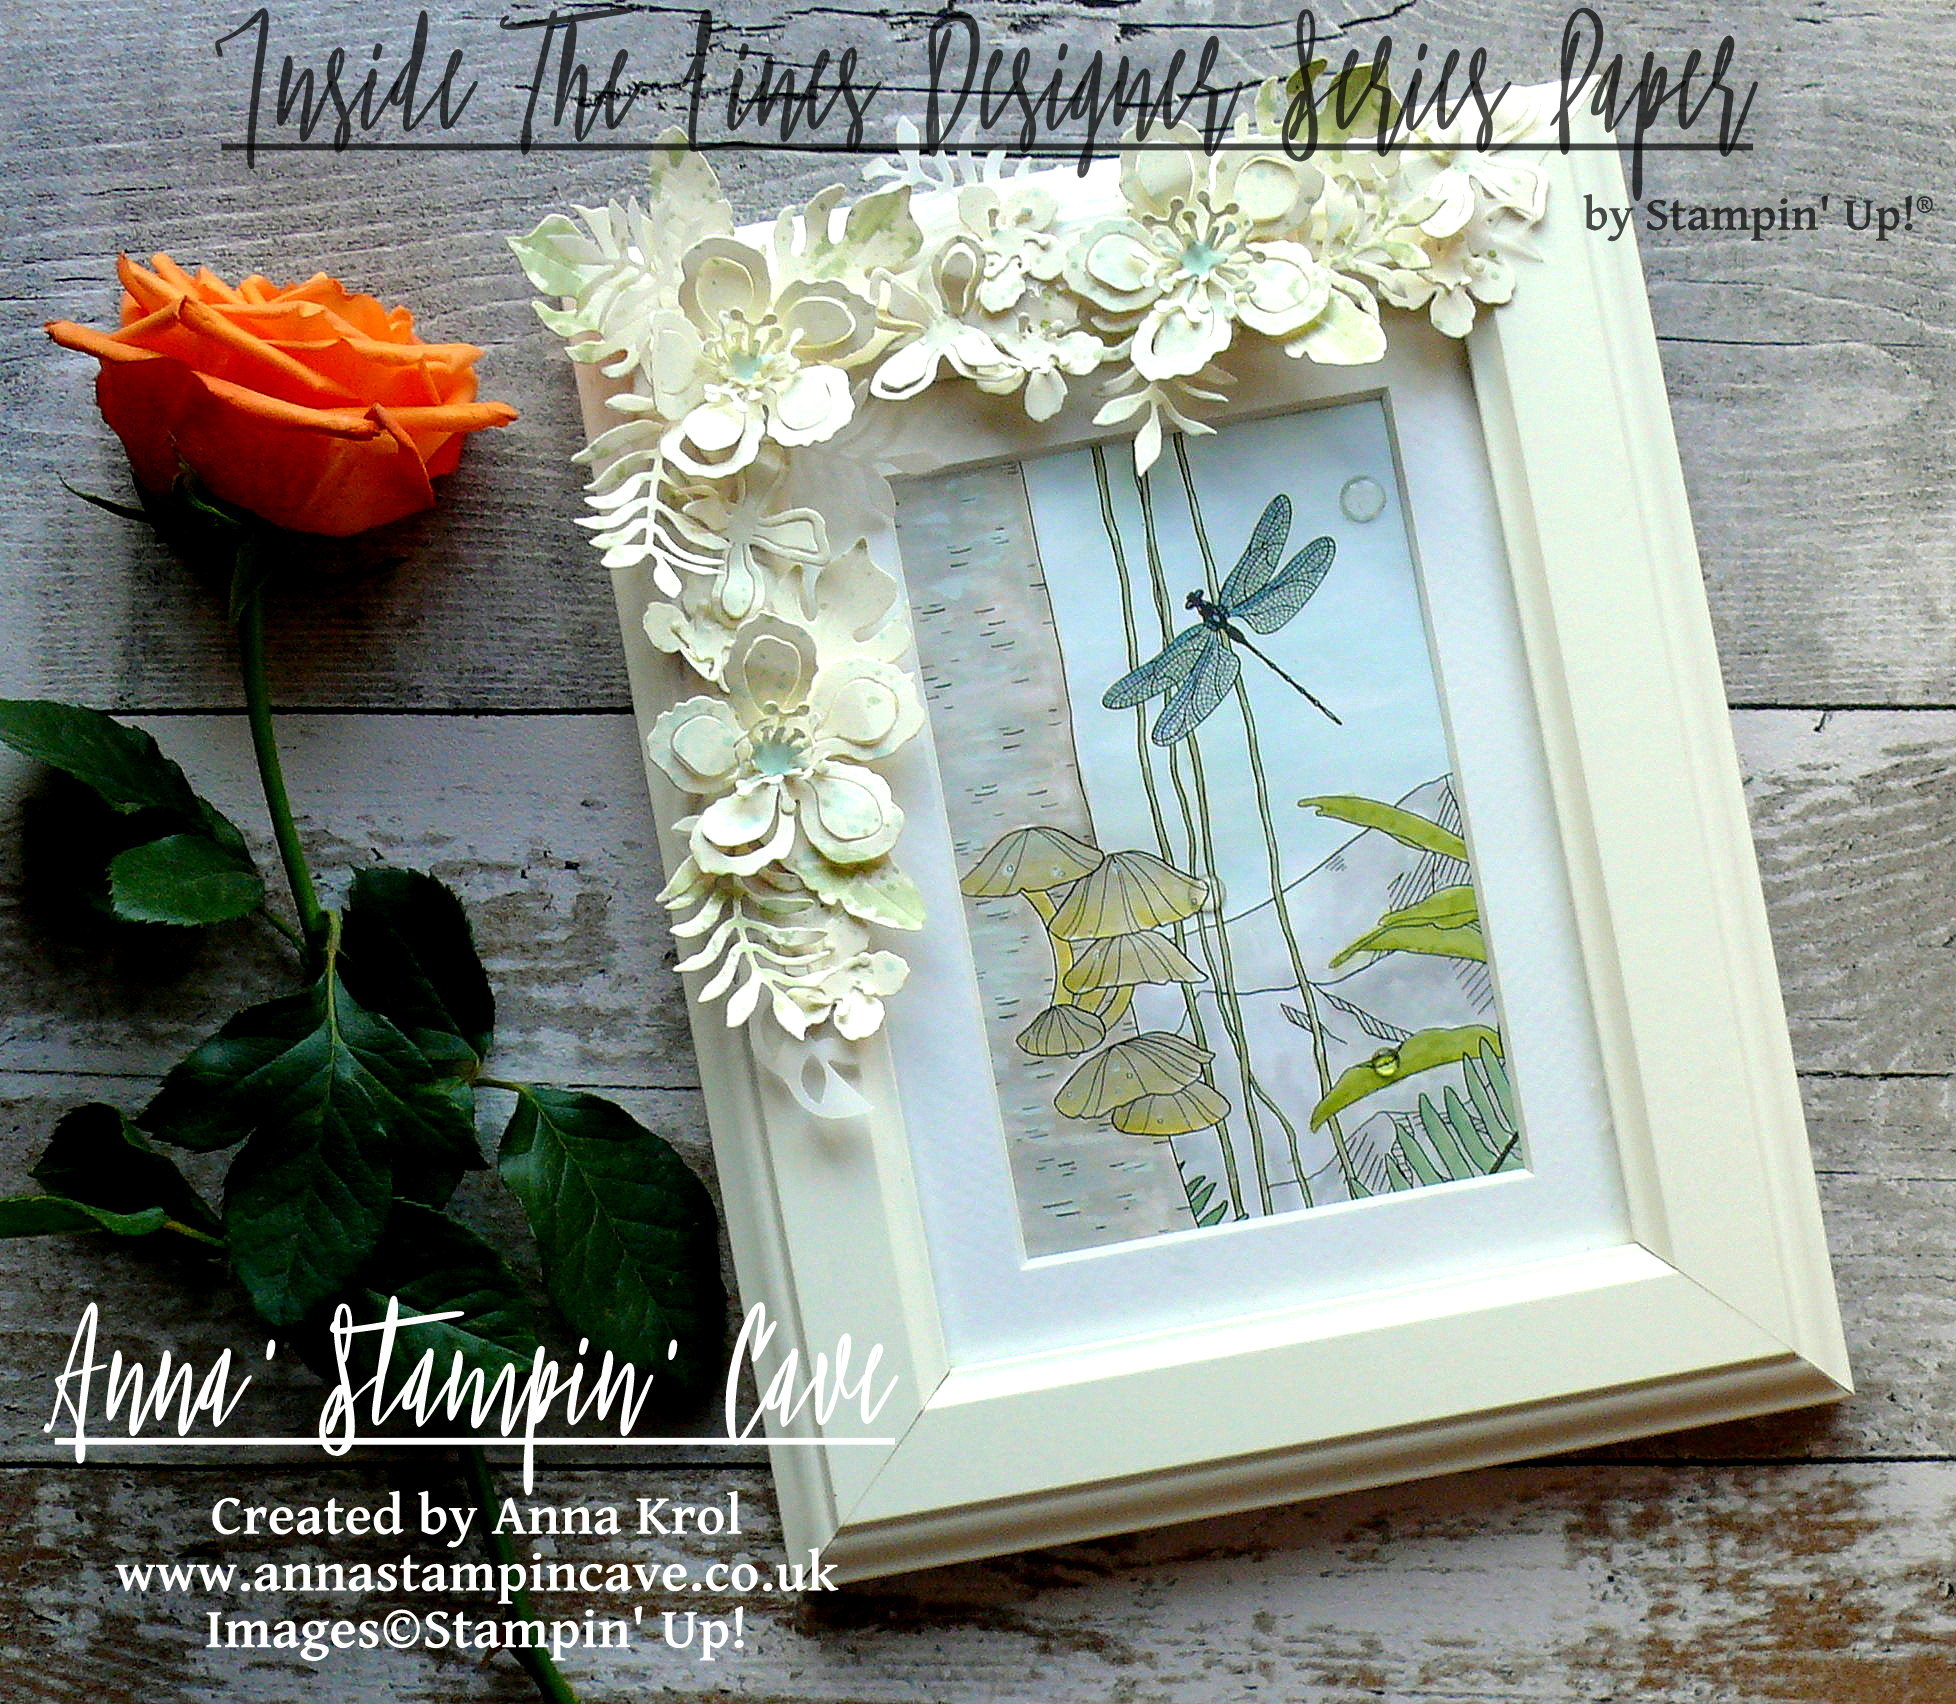
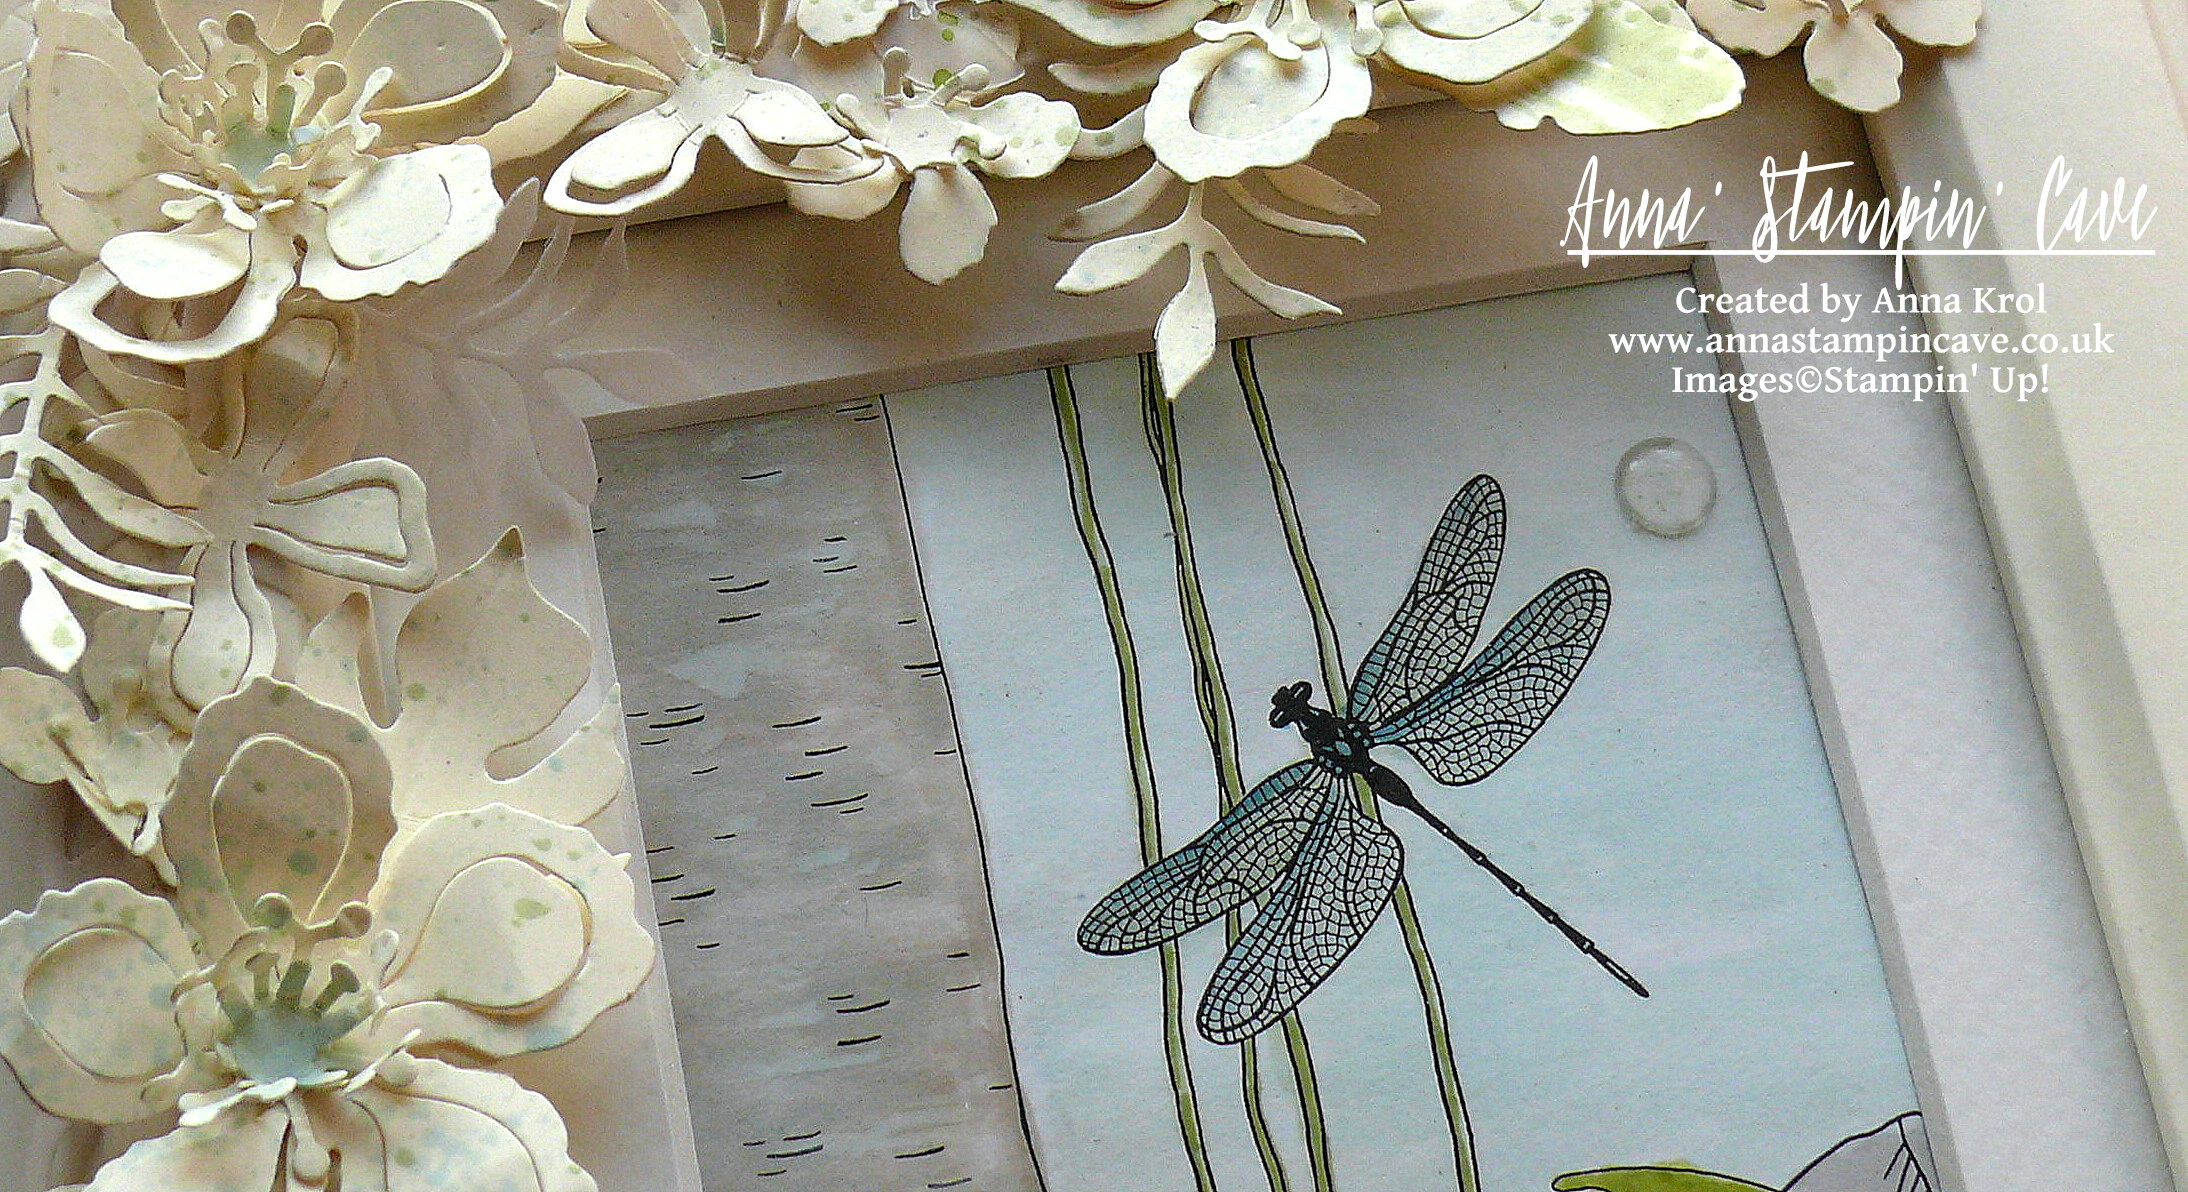
In my project today I decided to create altered photo frame with beautiful, Inside The Lines Designer Series Paper. With an ever-growing trend in adult colouring books, this paper is just spot on.

inside-the-lines-dsp

I don’t know about you, but I love these bold botanical designs. They coordinate with Dragonfly Dreams Stamp Set & Dies, but you can use them on their own too. Colour them in with markers, inks or watercolour pencils – it’s fun and very therapeutic…or leave them black&white. Whatever tickles your fancy.

anna-stampin-cave-stampin-up-sale-a-bration-inside-the-lines-dsp-frame

The frame is from Ikea and is called Virserum. It measures 7-1/2 x 9-1/2″ (19 x 24 cm) and comes with inside mount, hence I only needed 4″x 6″ (10 x 15 cm) piece of DSP to fit inside.

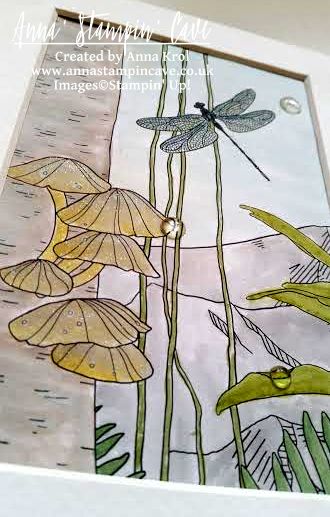
I’ve chosen this lovely, jungle-like design and cut it into 4″x 6″ rectangle. Because I was aiming for a subtle look I decided to watercolour my piece.

Bear in mind this is not watercolour paper so you can’t add too much water to it.

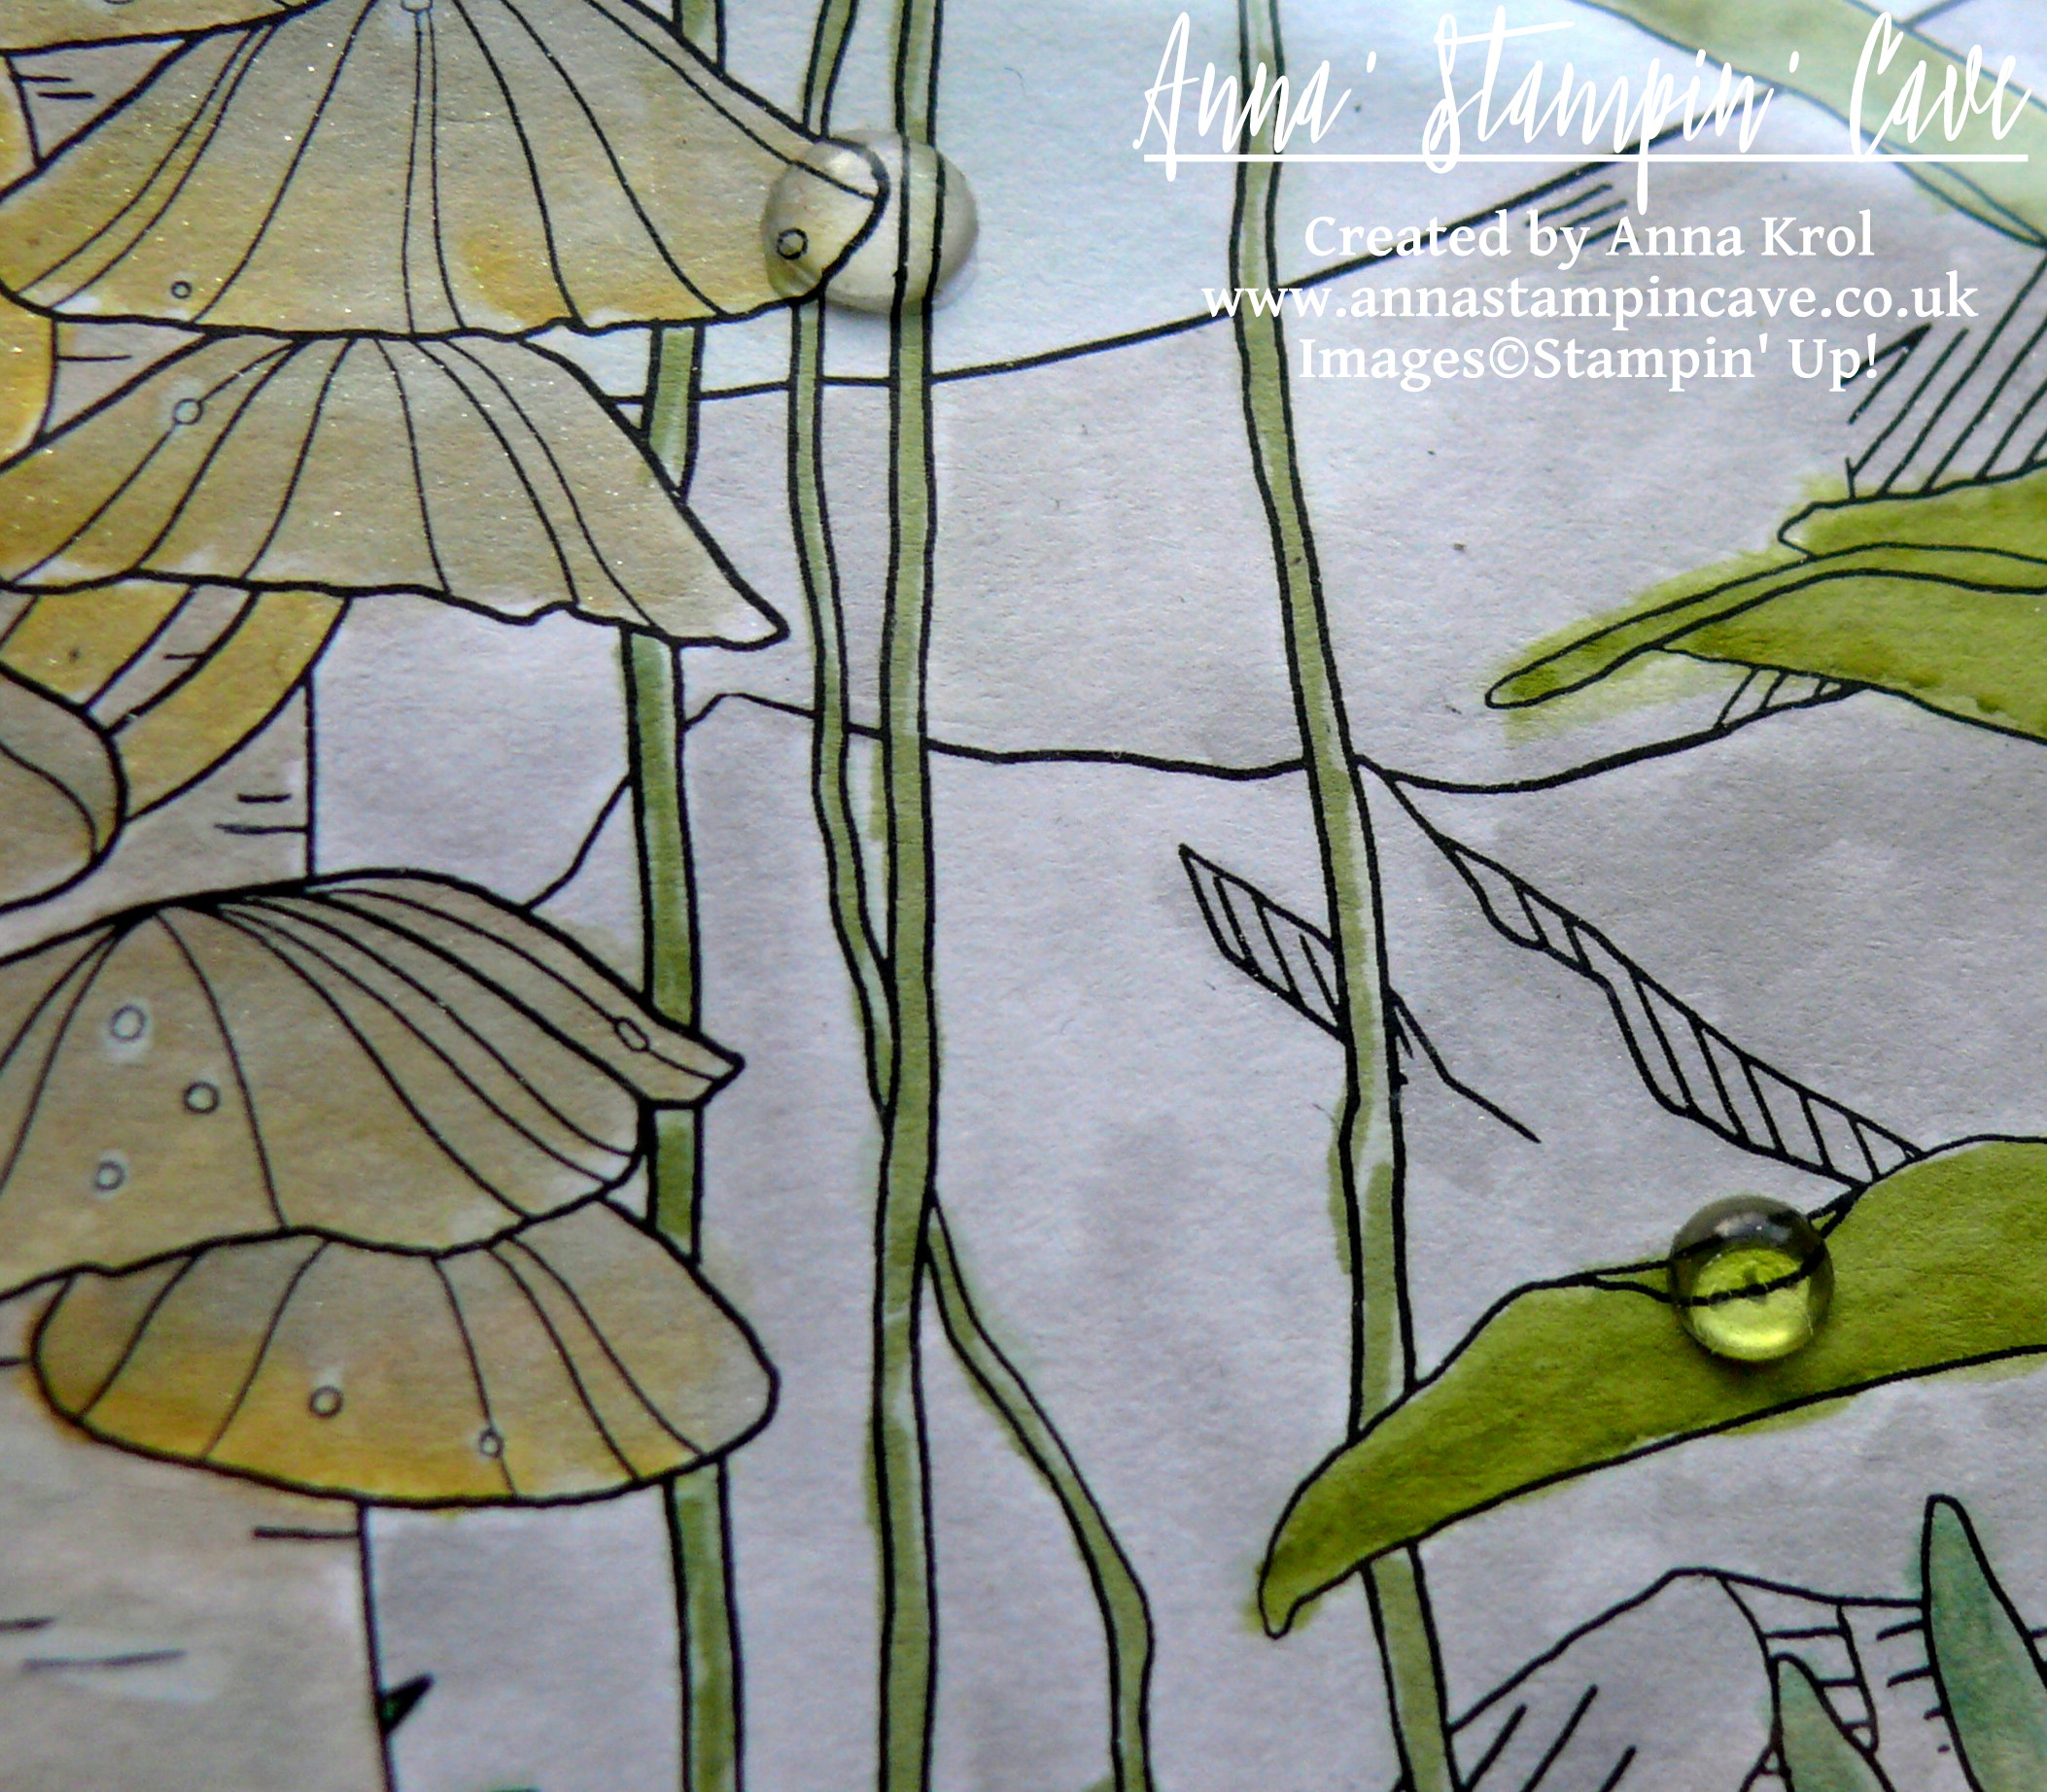
For the foliage, because it’s such a small area, I’ve used Stampin’ markers: Pear Pizzazz, Wild Wasabi, Old Olive, Garden Green and Always Artichoke. First, I scribbled my markers on a craft mat. I also spritz some water on my craft mat, next to the markers. I did it deliberately, to have more control of how much water I use. Next, I took dry aqua painter, picked up some water with its brush, next picked up some colour from the mat and started colouring my foliage. I was adding more colour and more water to the mat when needed. There are 4-5 layers of colour on leaves, each layer added when the first one was dry.

anna-stampin-cave-stampin-up-sale-a-bration-dsp-inside-the-lines

To colour in the rest of the image, I’ve used ink pads as my palettes.

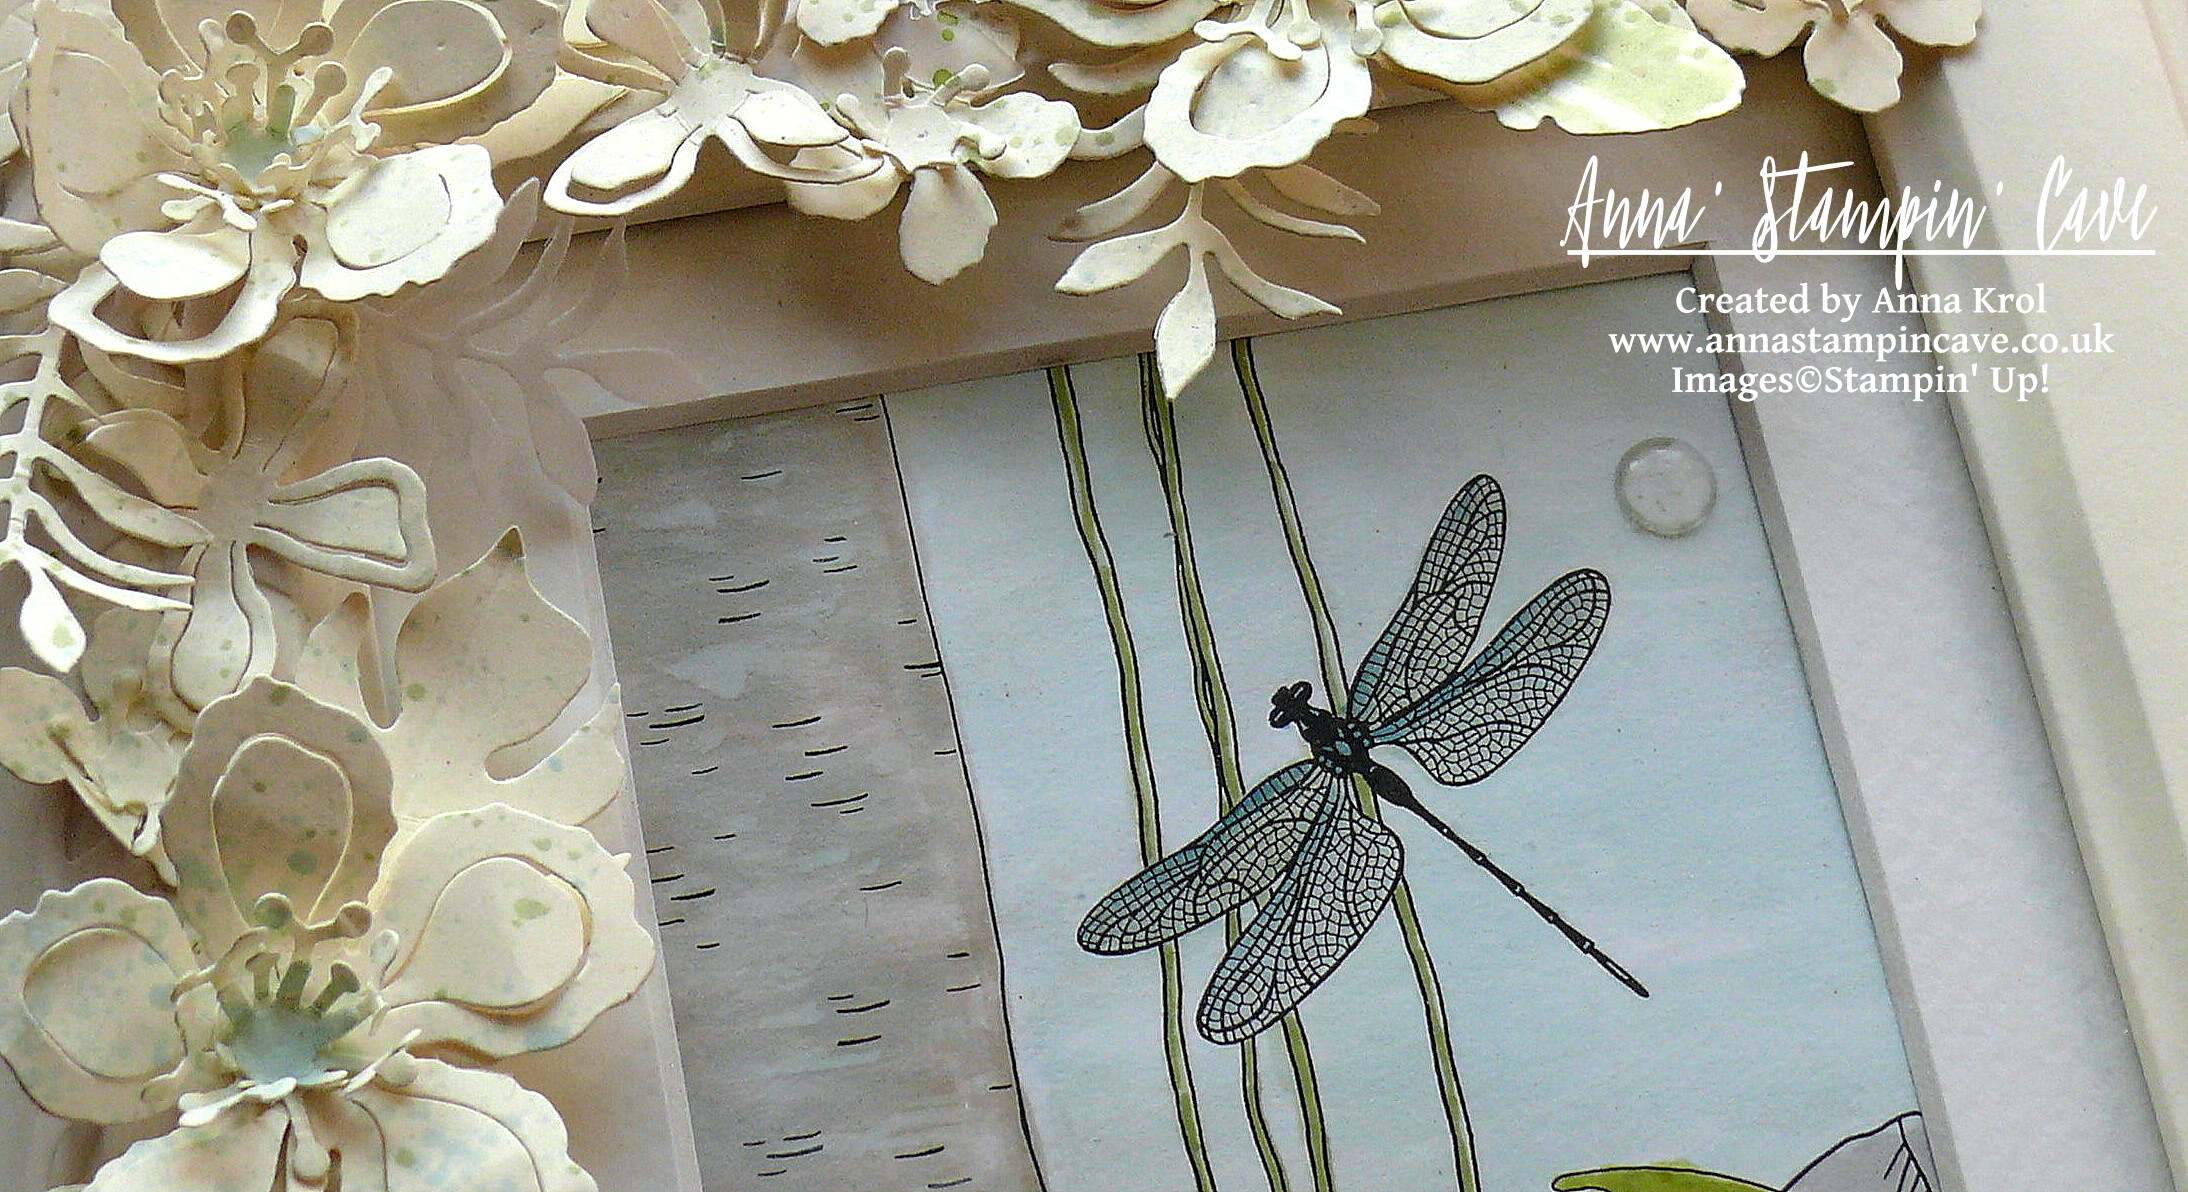
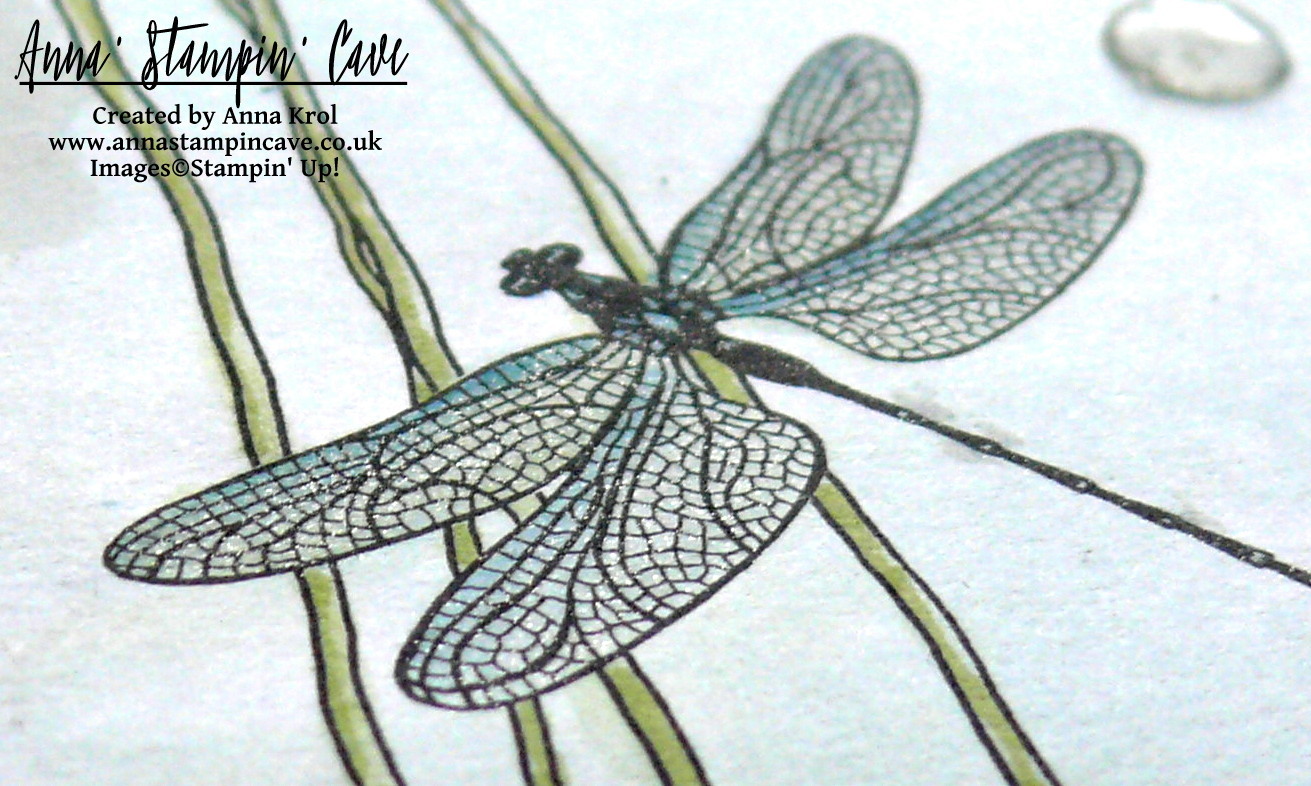
I’ve used Soft Sky for sky and dragonfly (with a little dab of Island Indigo marker). Mountains are coloured with Smoky Slate.

For the tree trunk, I’ve used Tip Top Taupe ink pad. To add some highlights I’ve used Whisper White Craft Ink (yes, I’ve used it with aqua painter too).

anna-stampin-cave-stampin-up-sale-a-bration-inside-the-lines

Polypores or conks (I’m not sure how they are called in the UK so forgive me if I’m wrong) are watercoloured with a mix of Sahara Sand, Crushed Curry and again some white craft ink for highlights.

For the final touch, I’ve added White Perfect Accents as dew drops (one on the sky is hiding a little boo-boo). And as a must, I had to add some shimmer with clear of Wink of Stella to the dragonfly, mountain tops, and polypores. Sadly it’s really hard to capture this lovely shimmer on photos. But now to the frame.

anna-stampin-cave-stampin-up-sale-a-bration-inside-the-lines-dragonfly

Believe it or not, this is my first ever altered photo frame. I knew I want flowers, but for a long time, I couldn’t decide on a colour. First, I wanted to go with quite a feminine look, so pinks and oranges. But once I had all my flowers ready I didn’t really like it. Typical haha. But no worries, I will use them to something else. And then I had this revelation: how about Very Vanilla?! Genius!

I die-cut oodles of flowers and leaves from Very Vanilla and Vellum cardstock. Arranged them around the frame and once I was happy with the placing, I adhered them with glue dots.

anna-stampin-cave-stampin-up-sale-a-bration-inside-the-lines-dsp-picture-frame

But as you may know me already, nothing can be too easy haha And when I looked at my frame something was missing, in my humble opinion. Oh right, it was too ‘clean’, too ‘white’. I needed some ‘controlled mess’.

I pressed Pear Pizzazz and Soft Sky ink pads next to each other on the craft mat and spritz it with water. I covered the glass with a piece of paper, and using a clean brush I added random and less random splatters to the flowers and leaves. And I have to say I love it now! And I hope you like my little project too.

I also want to add this project to the #071 Theme Challenge over at Global Design Project Challenge Blog. This weeks theme is ‘3D Or Off The Page’

gdp071

As always, if you wish to purchase any of products I have used, simply click the images below to go directly to my online store.

Thank you for stopping by and have a blessed day!


Inside The Lines Designer Series Paper

Inside The Lines Designer Series Paper
[143830]
£0.00

Botanical Builder Framelits Dies

Botanical Builder Framelits Dies
[140625]
£30.00

Very Vanilla A4 Card Stock

Very Vanilla A4 Card Stock
[106550]
£8.25

White Vellum A4 Card Stock

White Vellum A4 Card Stock
[106584]
£6.00

Many Marvelous Markers

Many Marvelous Markers
[131264]
£99.00

Crushed Curry Classic Stampin' Pad

Crushed Curry Classic Stampin’ Pad
[131173]
£6.00

Pear Pizzazz Classic Stampin' Pad

Pear Pizzazz Classic Stampin’ Pad
[131180]
£6.00

Tip Top Taupe Classic Stampin' Pad

Tip Top Taupe Classic Stampin’ Pad
[138325]
£6.00

Sahara Sand Classic Stampin' Pad

Sahara Sand Classic Stampin’ Pad
[126976]
£6.00

Smoky Slate Classic Stampin' Pad

Smoky Slate Classic Stampin’ Pad
[131179]
£6.00

Soft Sky Classic Stampin' Pad

Soft Sky Classic Stampin’ Pad
[131181]
£6.00

Whisper White Craft Stampin' Pad

Whisper White Craft Stampin’ Pad
[101731]
£7.25

Clear Wink Of Stella Glitter Brush

Clear Wink Of Stella Glitter Brush
[141897]
£7.25

Aqua Painters

Aqua Painters
[103954]
£15.50

White Perfect Accents

White Perfect Accents
[138416]
£4.50

Liquid Multipurpose Glue

Liquid Multipurpose Glue
[110755]
£3.75

Glue Dots

Glue Dots
[103683]
£4.75

Stampin' Trimmer

Stampin’ Trimmer
[129722]
£27.00

Big Shot

Big Shot
[143263]
£99.00