Ink Smooshing With Bloomin’ Hearts Thinlits Dies

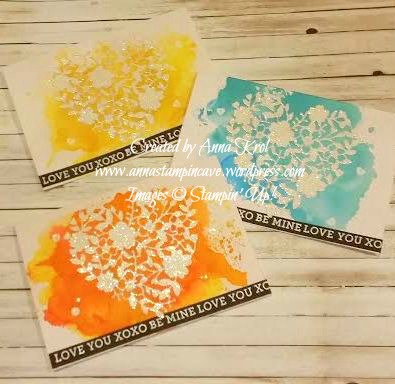
I have to say when I first saw Bloomin’ Hearts Thinlits Dies in new Stampin’ Up! Spring Summer Catalogue I couldn’t wait to put my hands on them and try ink smooshing technique.
bloomin love 2

Aren’t these awesome?! And ink smooshing is childishly easy. All you need is a piece of acetate or craft mat, you can use a plastic packaging too (any sleek surface works really).
bloomin love yellow 2

Then you choose the colours you want to use on your card and you simply smoosh them onto your surface. Spritz it with water and dip your card into the ink droplets. Let your card dry completely before you add more colour.
bloomin love yellow

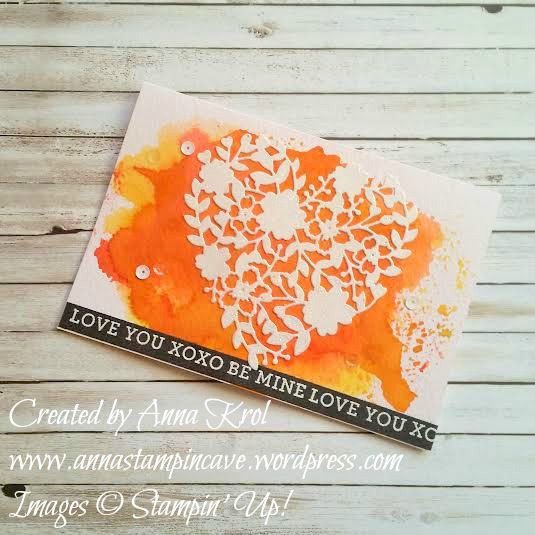
For my cards, I decided for really bright, intense colours. But you can make it as soft as you wish just add less ink and more water. And I have to say here I highly recommend using watercolour paper with this technique.
bloomin love orange 2

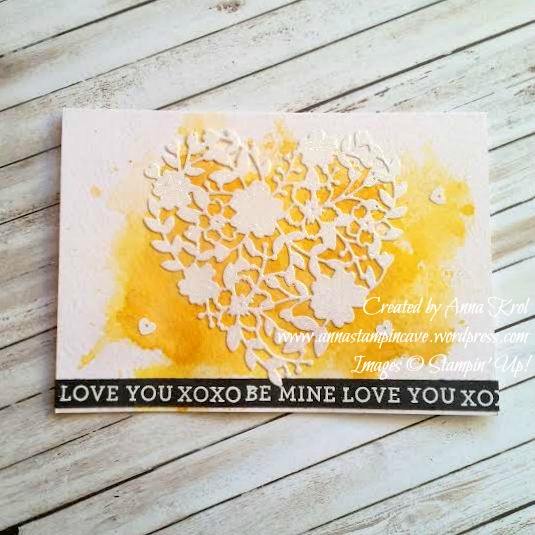
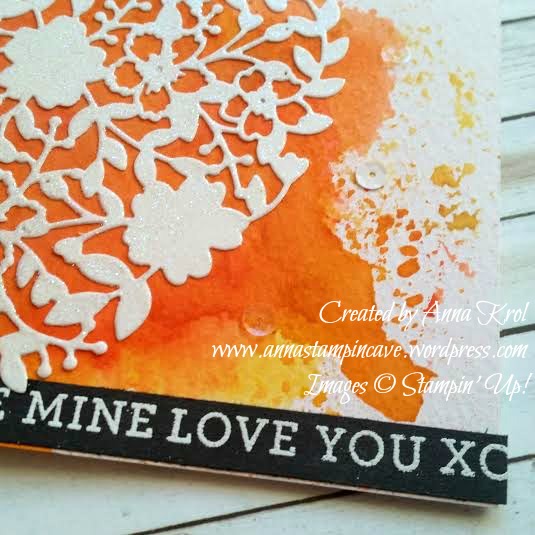
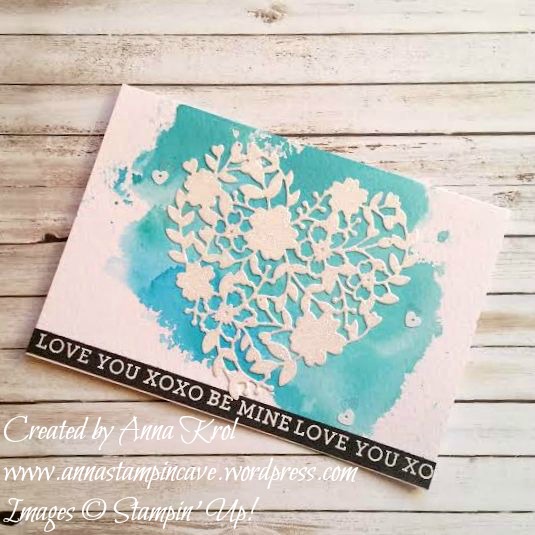
I’ve used the same design for all my cards. I die-cut hearts from a piece of Whisper White cardstock using Precision Base Plate. Trust me you need this plate! It’s perfect for more detailed thinlits dies to give you extra fine cuts. I saved the negatives (not tiny bits just “frames”) for another project.
bloomin love orange

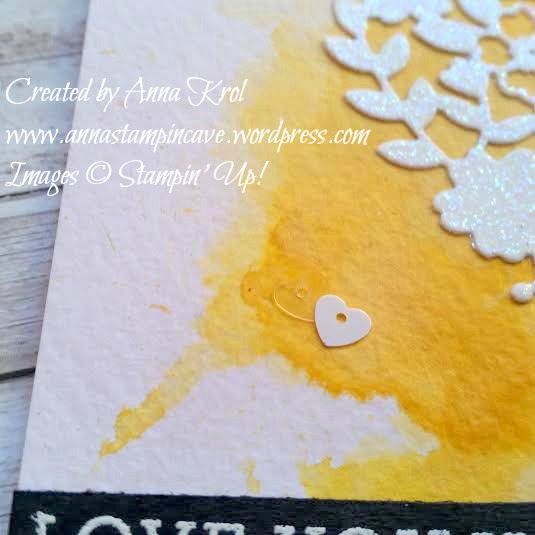
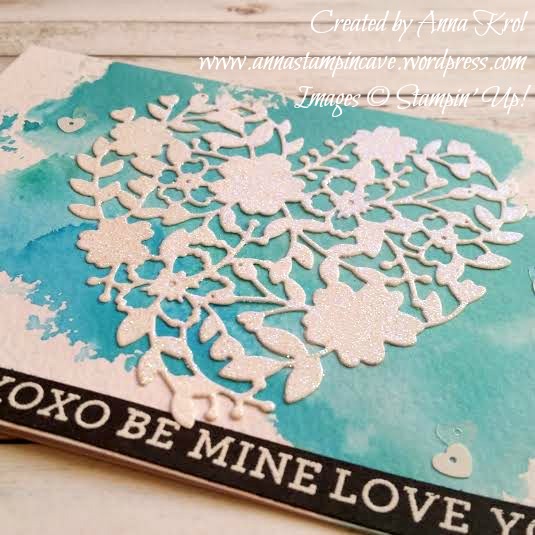
I then dabbed my die-cuts in Versamark and heat-embossed it with Iridescent Ice embossing powder. I love the gentle bling/shimmer it gives.
bloomin love blue 2

I wanted the sentiment to really stand out so I took a strip of Basic Black c/s and stamped my sentiments in Versamark and heat embossed them in white.
bloomin love blue

To finish off my cards I added few white and clear sequins from Metallics Sequin Assortment.

I love how these turned out,  really pleased! I know these are not typical cards you would think off for Valentine’s Day, but I love the unusual.

Thank you for stopping by,

Snow Friends For The Holidays!

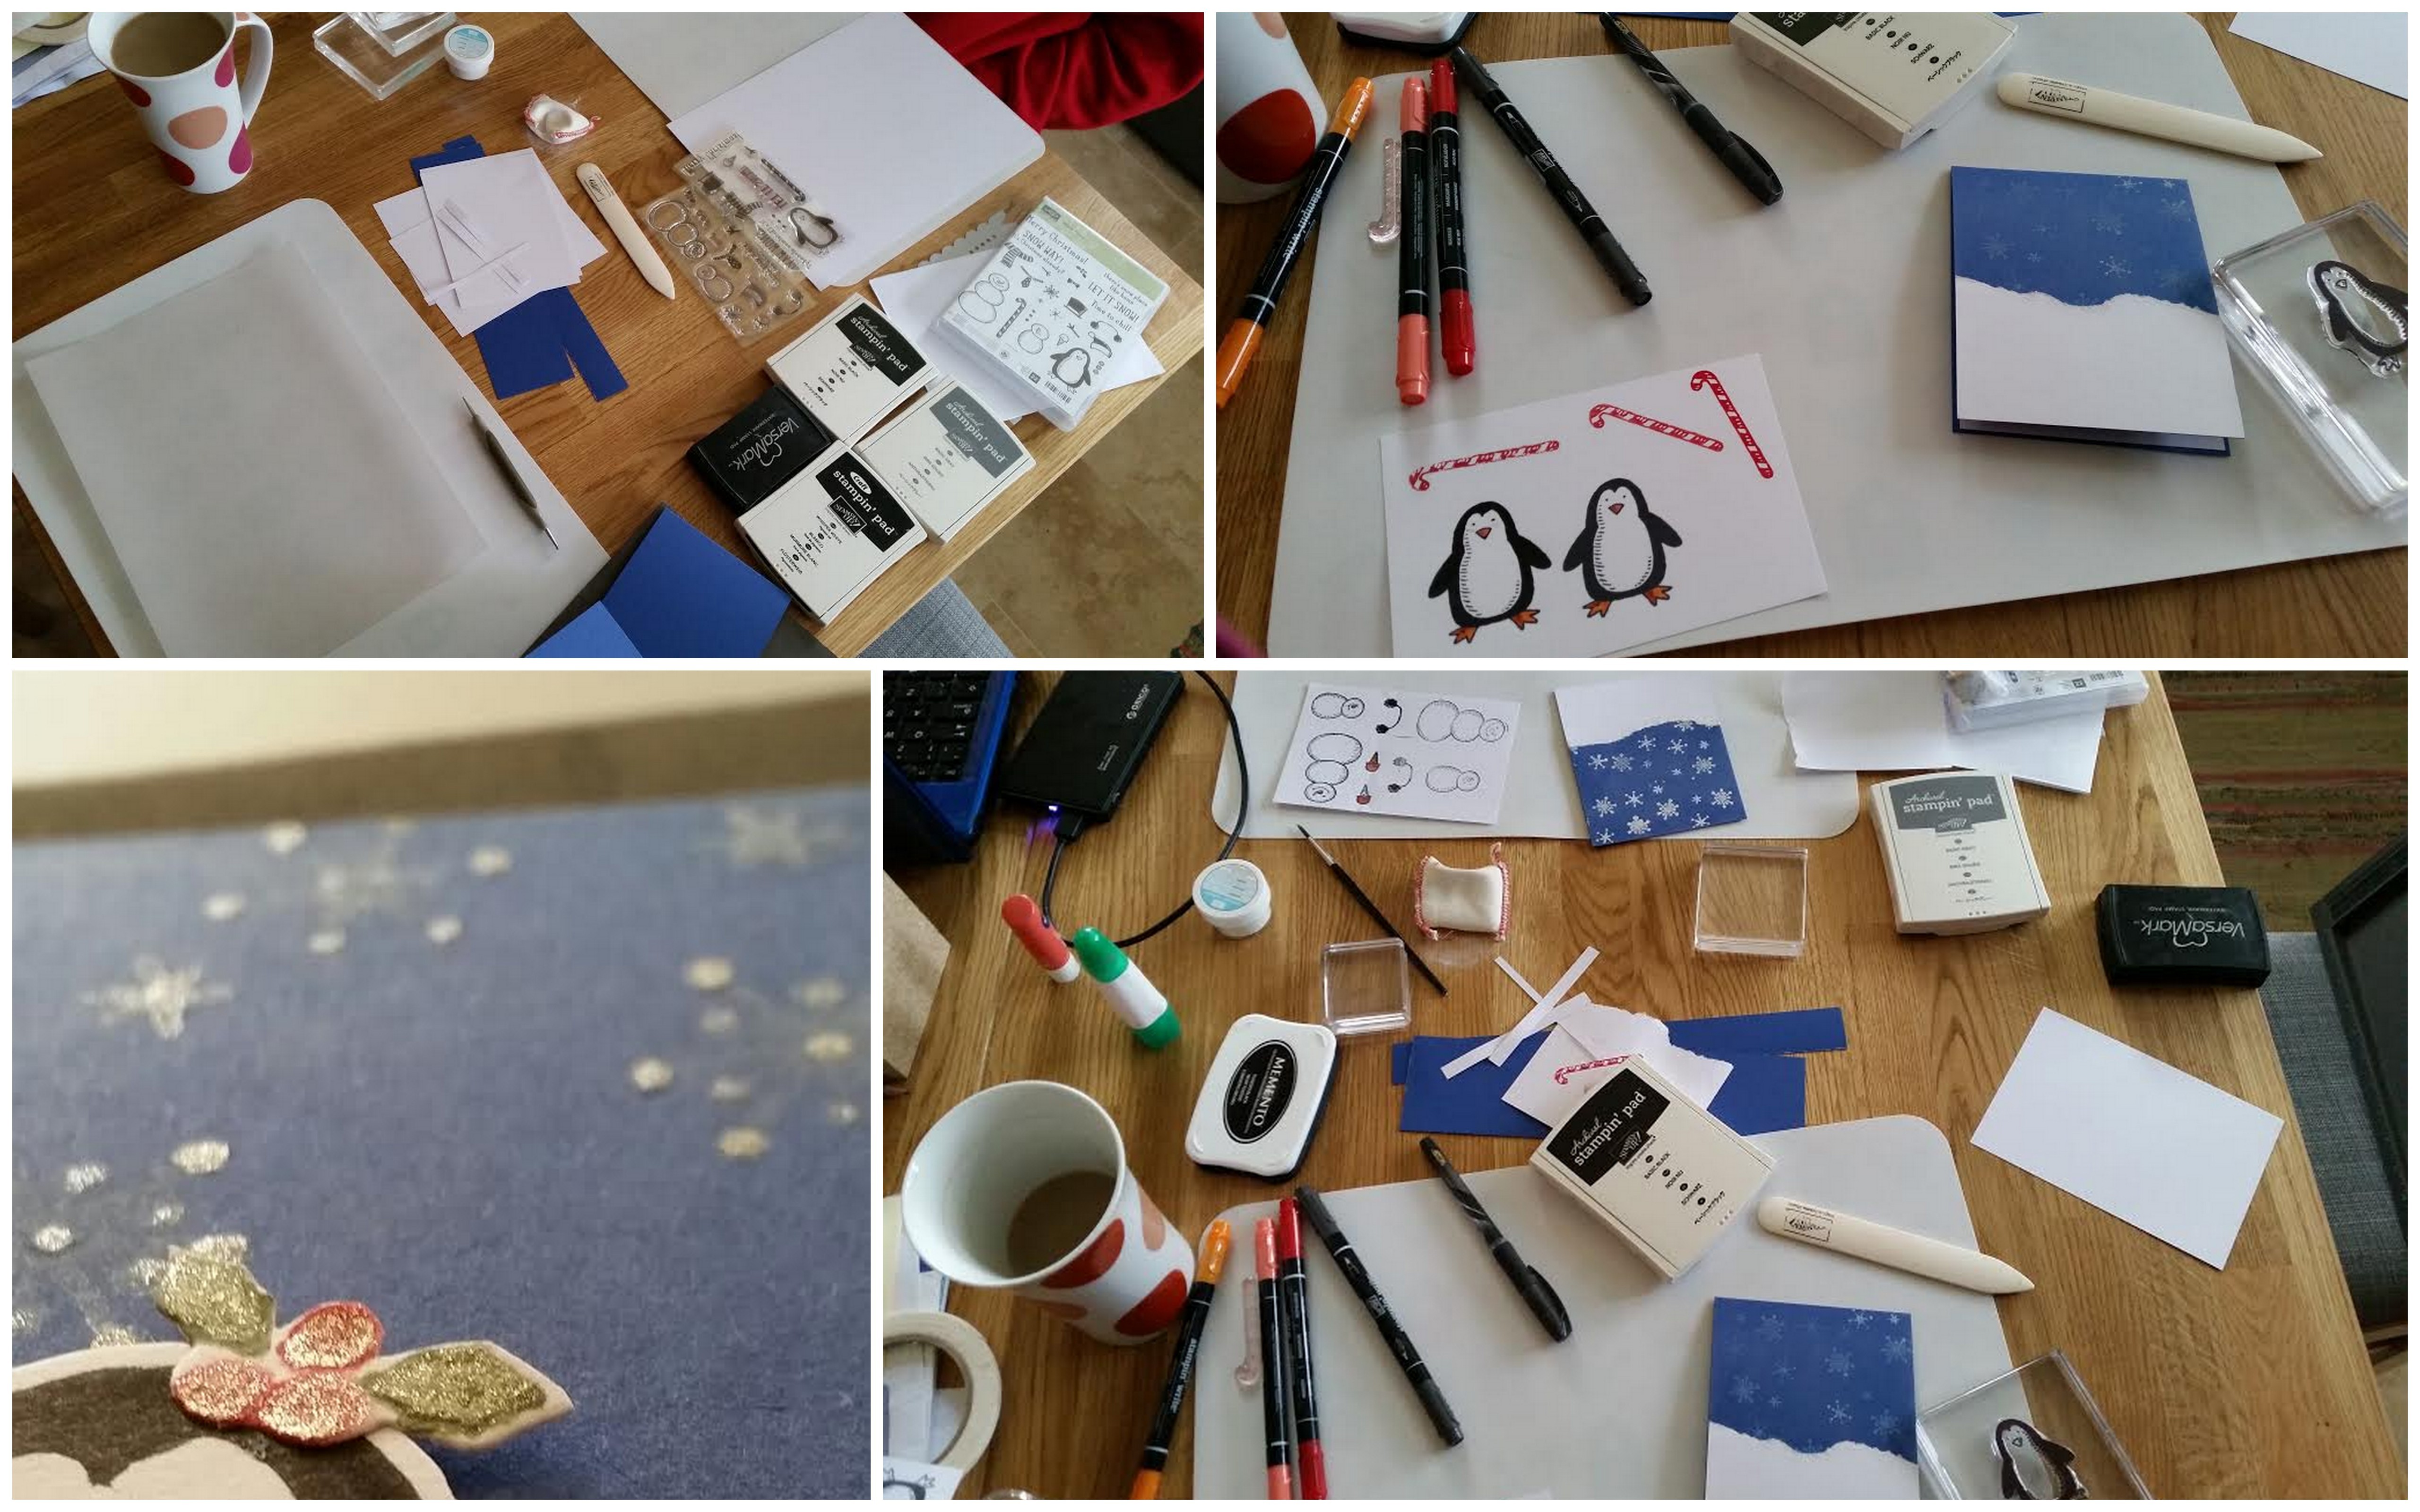
Howdy friends! How’s your weekend going? I had a lovely and quick crafty session with my little sister on Friday morning. She badly wanted to play with Snow Place bundle from Stampin’ Up before back home for a half term break at uni. So I sorted out some time to make a little crafty mess at my kitchen table.

Snow Friends Collage

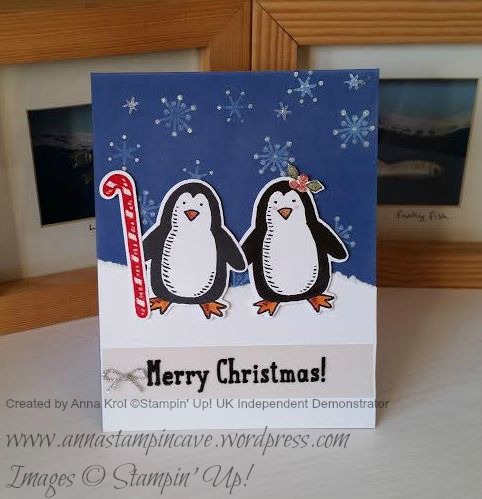
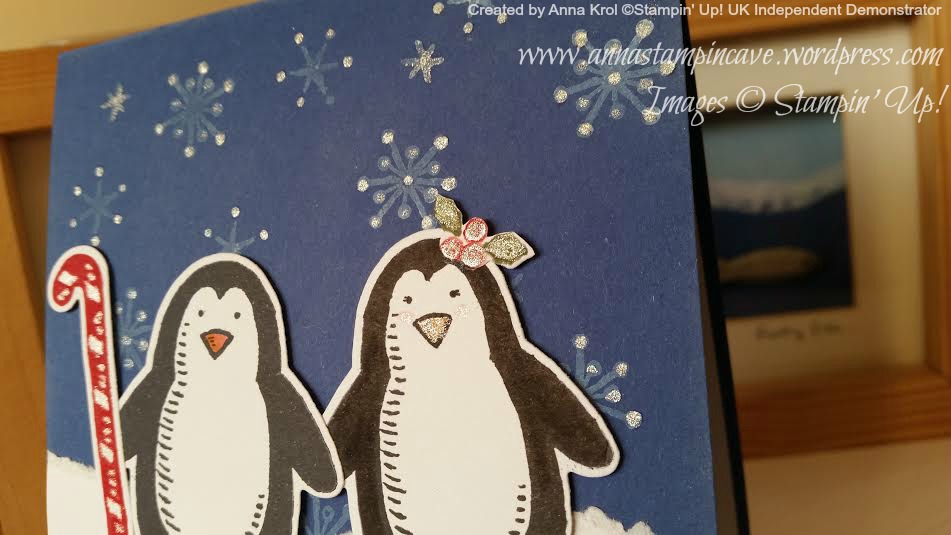
Last time I used cute little snowmen so this time I decided to use Mr Penguin, or shall I say Mr & Mrs Penguin? haha Yep, I decided to make cute Mrs for our handsome friend, so he’s not feeling lonely at a Christmas time.

Snow Friends by Stampin' Up!

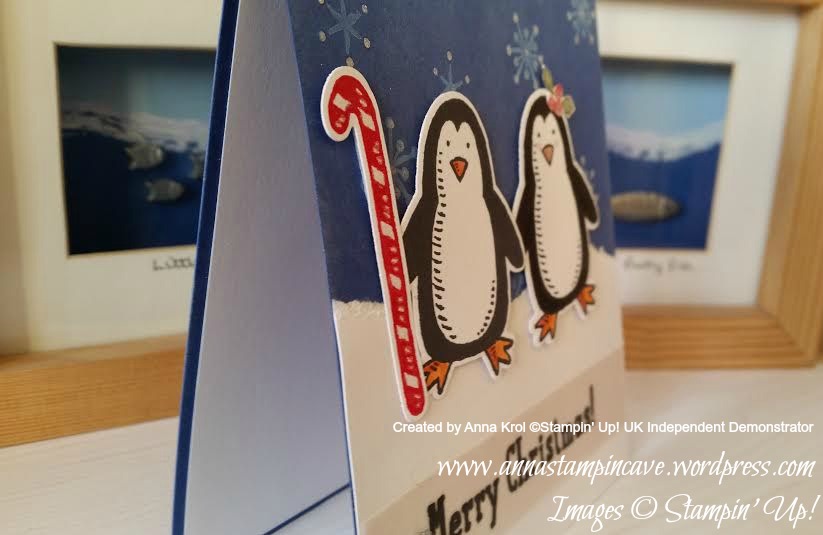
The card layout is pretty straightforward: top-folded base and a piece of the white panel inside for your writing. You also need a piece of white card for snow bank at the front of your card. You can die-cut it or use your scissors, but I just simply tear it. It adds some fun texture to the card.

Snow Friends by Stampin' Up!

You also need a piece of card for your stamping. And I have to mention here that there’s a lot of black in penguin, and it’s not that easy to get perfect impression/coverage. I tried two black ink pads I have: Memento Black and new Archival Stampin’ Up! Basic Black to get the best possible image. And although I love my Memento Black the best black and the really crisp impression I got while using Basic Black Archival ink.

Snow Friends by Stampin' Up!

When we had all of our images stamped we took it to my studio to die cut it with matching framelits. If you don’t have framelits or die-cutting machine fear not. Images are so simple that you can easily cut them by hand with a pair of good scissors. I actually hand-cut leaves with berries that Mrs Penguin has in her hair lol

I also used clear Wink Of Stella Glitter Brush to add shimmer to snowflakes, berries and leaves, Mrs Penguin’s beak and cheeks as well as white stripes on the candy cane.

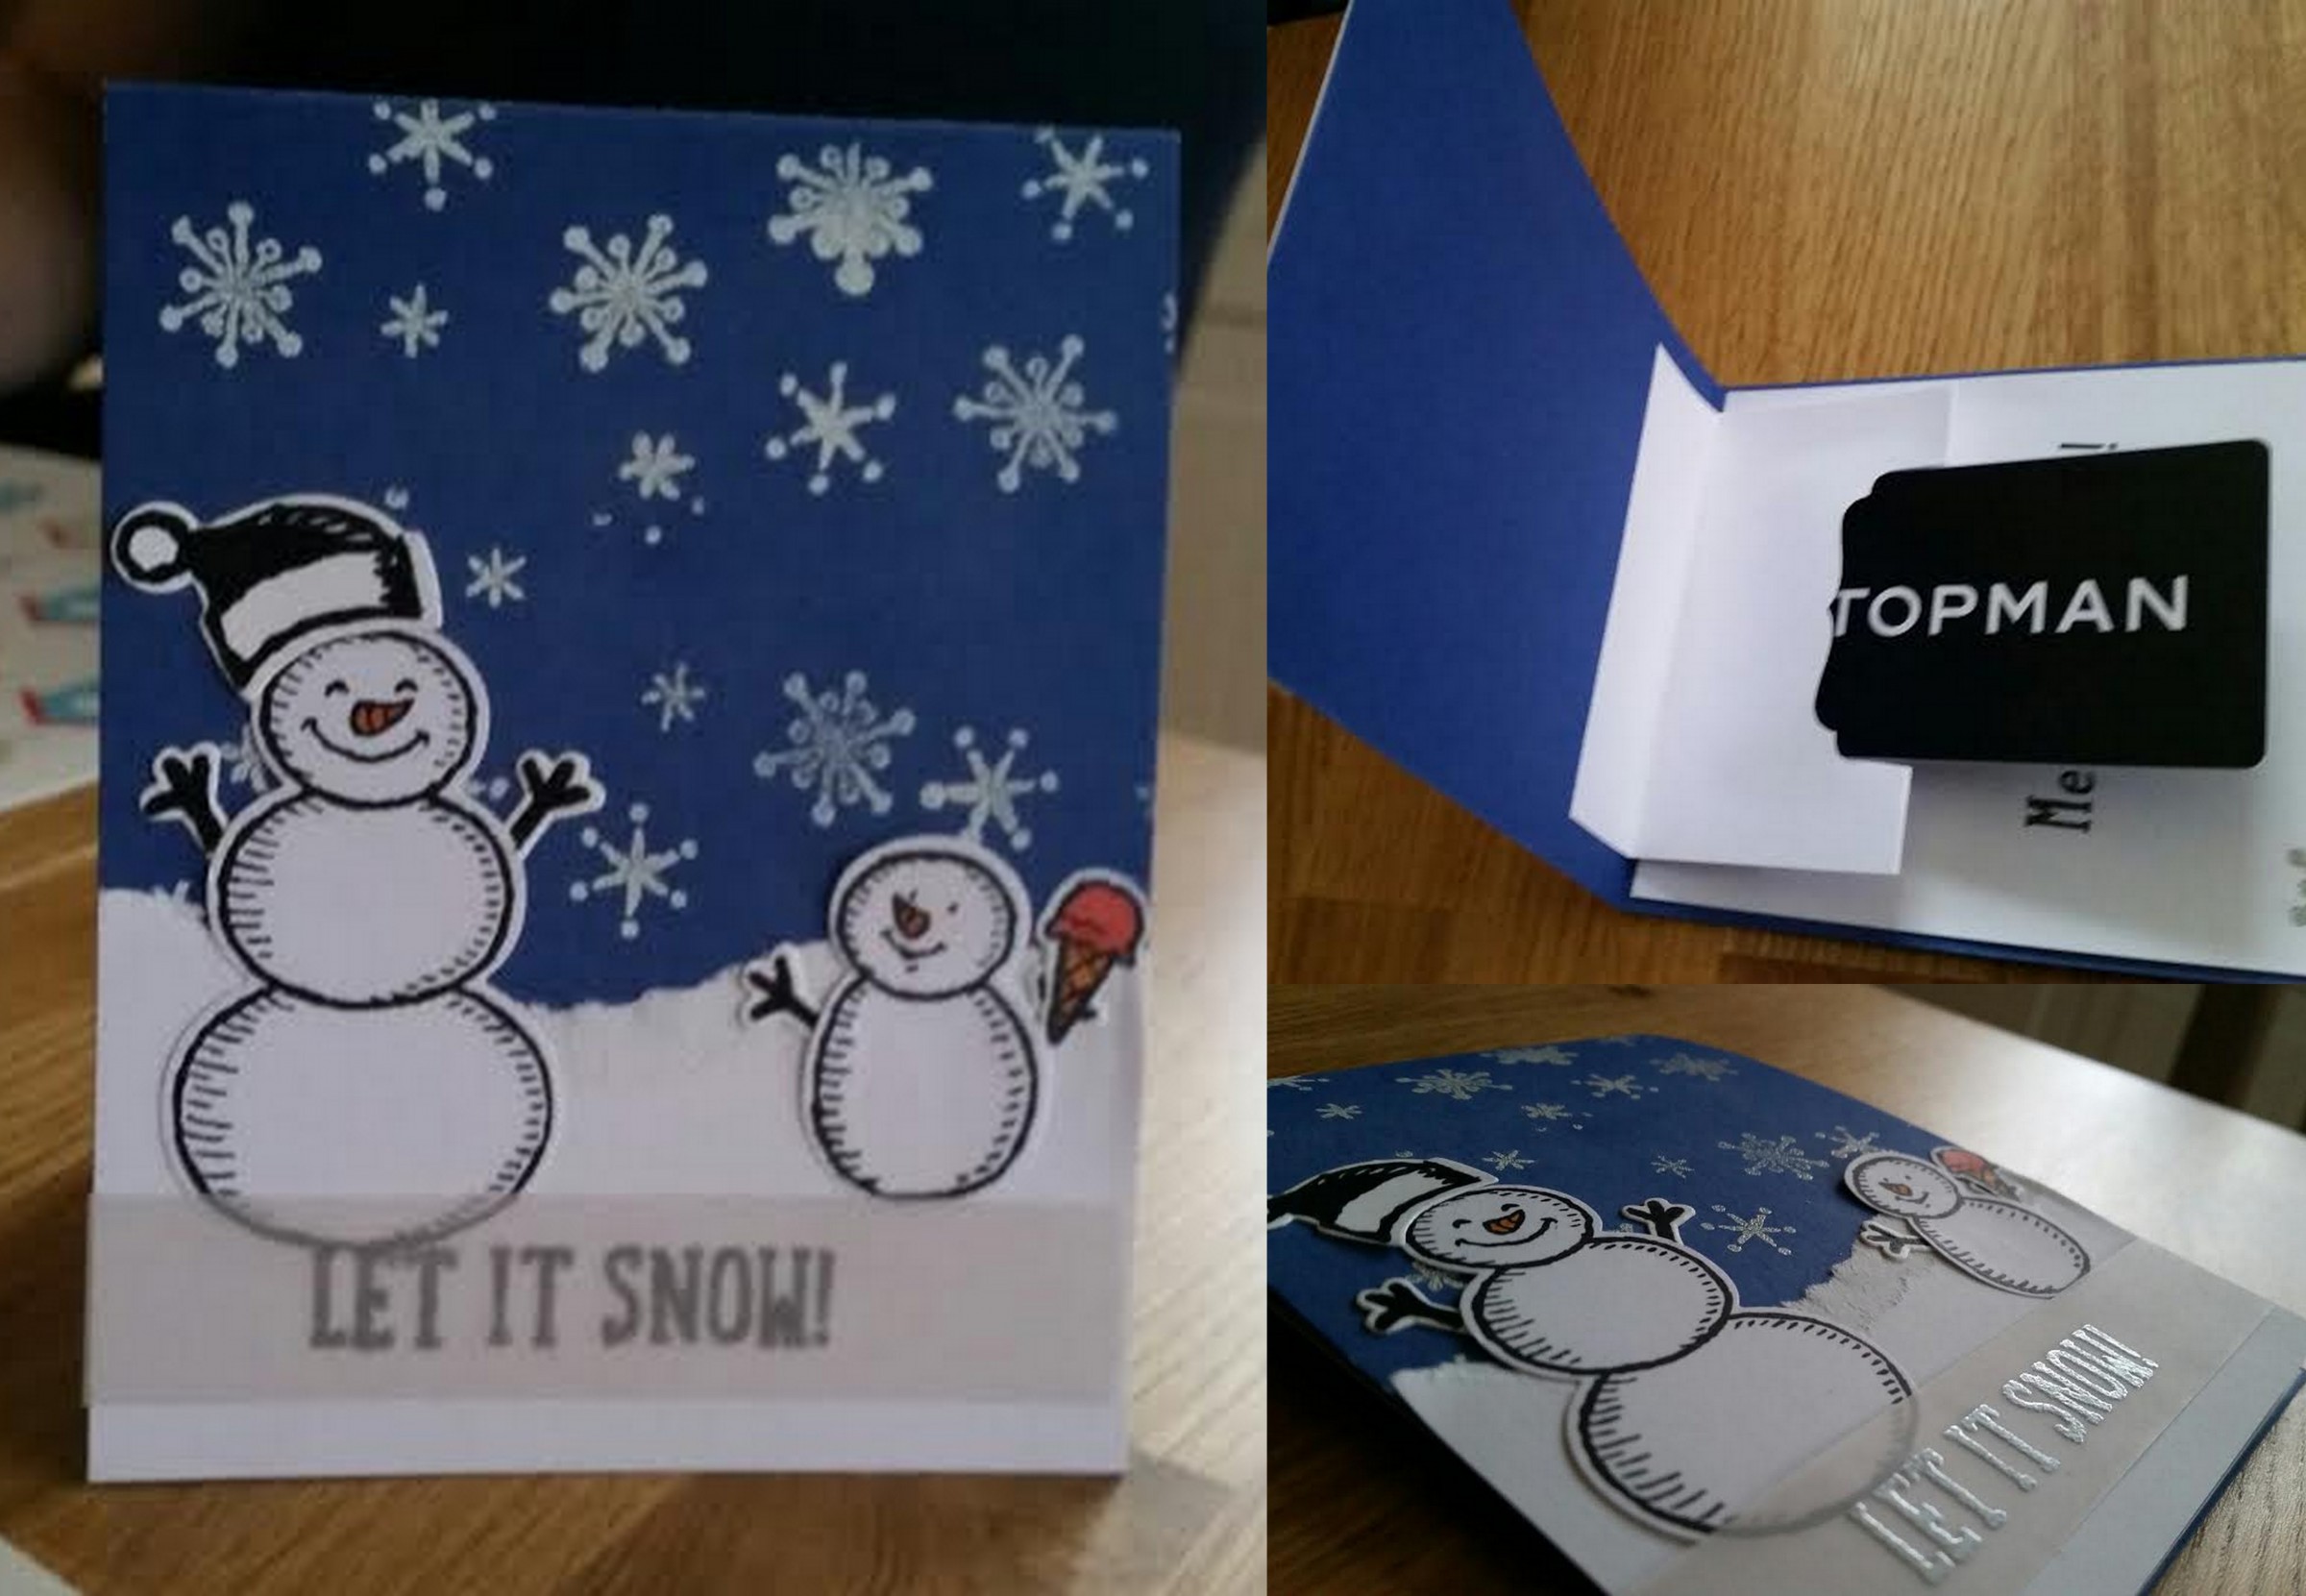
Now just wanted to show you a project that my sister created. Firstly she wanted to make a cute card for her boyfriend. But when the card was finished she asked if there’s a way to make it into gift card holder, haha But hey, everything is possible! So I made a pocket to hold a gift card and attached it inside of her card. It may not be perfect but it’s made with love and that is what really matters.

That’s it from me for today. I really hope you like our cute little projects. We definitely had lots of fun crafting, getting inky and making a mess.

Have a blessed day,

Simply Sketched Saturday Challenge Blog Hop #4 – Let It Snow

SSSC Header

Thank you for joining us for another Simply Sketched Saturday Challenge!  We’re so excited to be sharing this hop with you. The products used are all available in the current Annual, or seasonal, Stampin’ Up!®  Catalogues*. Simply use the buttons at the bottom of the post to keep hopping!

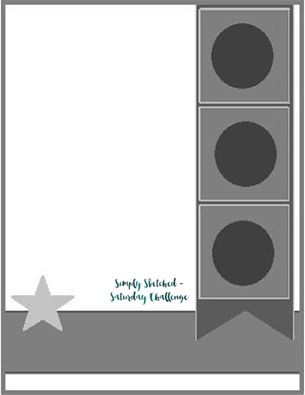
Welcome to our 4th sketch challenge, and this week it was my turn (and pleasure) to design a sketch. Here it is:

4

I truly hope this sketch will ignite your creativity.

Do you know it’s less than three weeks till Christmas?! It’s crazy how time flies by. And although I had pretty few ideas with this sketch in mind, I decided to go with a winter theme. Well…little crazy & fun winter theme 😉

Let it snow

Finally had a chance to play with Snow Place photopolymer bundle. It was one of those products in Autumn/Winter catalogue that didn’t catch my attention at first. I couldn’t see me using it at all: my daughter will be 16 y.o soon and you know teenagers, she thinks she’s so grown up 😉 But hey, once she knew there’s a snowman to build…yep! She’s a little crazy chicken about Frozen haha.

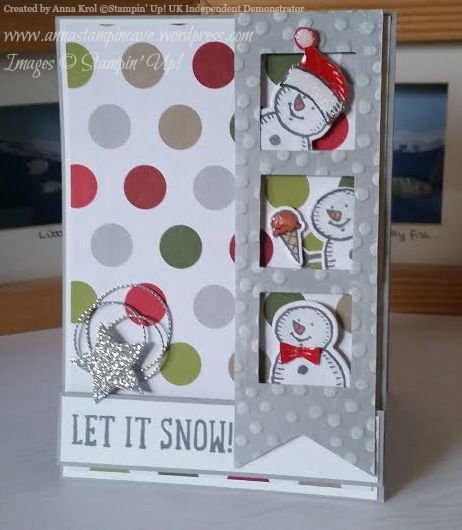
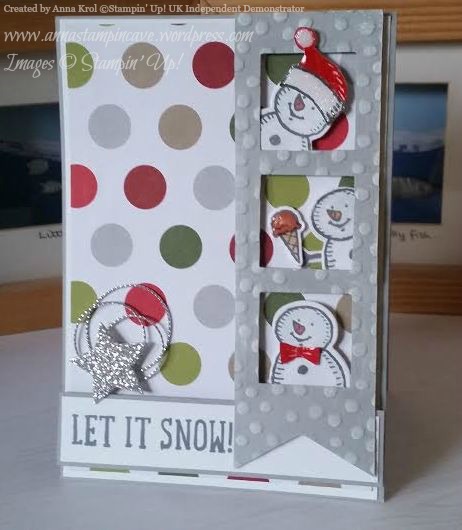
The base of the card is Smoky Slate. A layer of Whisper White measures 4″ x 5-3/4″ and the top layer of designer paper measures 3-7/8″ x 5-5/8″. I picked big dots design from Merry Moments DSP but it’s also available in 6×6″ paper stack. I chose big dots design as I thought it will go well with this fun card. Banner is cut from a piece of Smoky Slate (5-1/2″ x 1-3/4″) with three “windows” created using the smallest square from Squares Collection Framelits Dies and run it through the big shot with Decorative Dots Embossing Folder. If you don’t have squares framelits you could use punches instead. And it does not have to be square either. You could use circles or stars. To add some interest to the banner I sponged some Whisper White Craft Ink over the embossed area.

And now let’s meet my friends: crazy snowmen 🙂 I stamped snowmen and their accessories in Basic Grey Archival Ink. I was planning to do a little water-colouring, and our new Archival Inks are perfect for this technique. To add some dimension to these guys I coloured them with an aqua painter and Soft Sky. Noses are water-coloured in Calypso Coral and Pumpkin Pie.

Let it snow 5

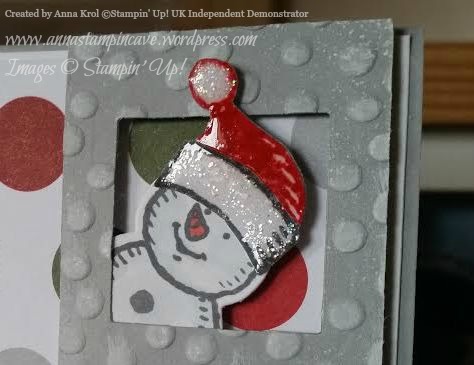
My first little fella wears Santa’s hat. Firstly I die-cut two hats: one in Basic Grey, and the other one in Real Red. Then I cut out just the top from a red hat and glued it on the top of grey one. I didn’t like the white border on my die cuts so I fussy cut it. To add some sparkle to the hat I used Dazzling Details, and once it was dry I add Crystal Effects on top.

Let it snow 4

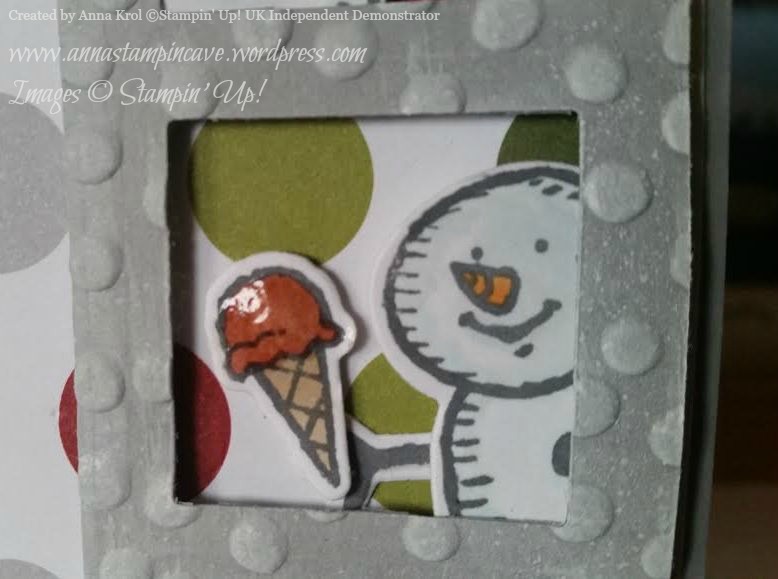
My second little friend looooves ice-creams. He could eat them all day long 🙂 I love how Crystal Effects makes the scoop of ice-cream pops!

Let it snow 3

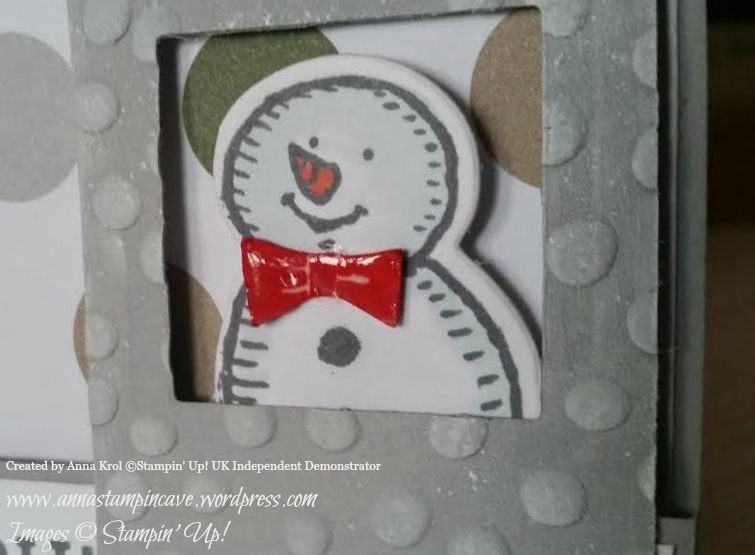
My third guy looks very elegant with this Real Red shiny bow-tie 😉

Let it snow 2

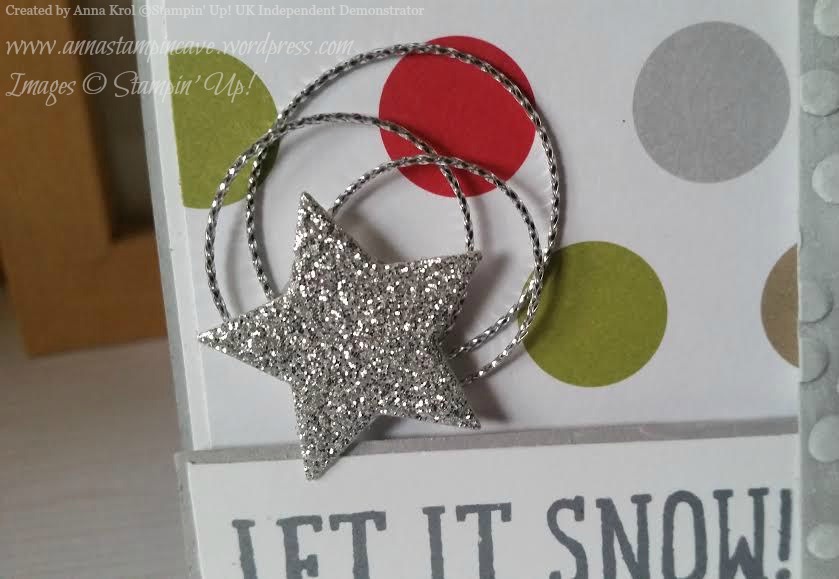
To finish off my card I die-cut a little star from silver glimmer paper. I used silver cording trim to create few fancy loops and glued them to the card with a glue dot, and added glimmer star on top. The sentiment “Let It Snow” comes from the same stamp set.

Now, be sure to hop along and see more inspiring projects. Thank you for stopping by and have a blessed day!

SSSC Previous   SSSC Next Blog

Beautiful Birthday Card Using Circle Of Spring Stamp Set By Stampin’ Up!

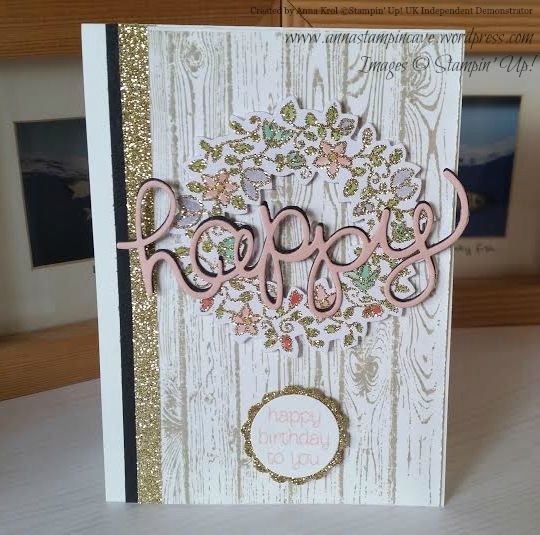
I love to make birthday cards for friends and family. Makes me so happy to see their smiles, it makes my day. And when the card I make is a challenge and turn out better then I hoped for?! Well, I nearly squealed with excitement when I finished this card for my friend’s birthday. She received the card already so I can share it with you now.

Spring wreath

My friend Linda is an amazing crafter and she makes the most beautiful, feminine cards ever. So no pressure there, haha

I wanted to create a card that is soft, feminine and exciting. Plus I wanted to use some cool techniques.

Spring wreath 4

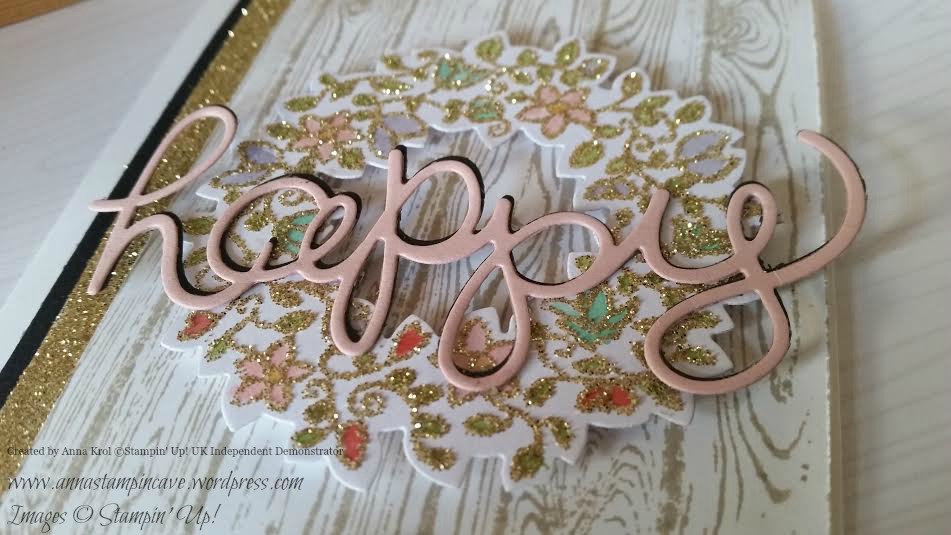
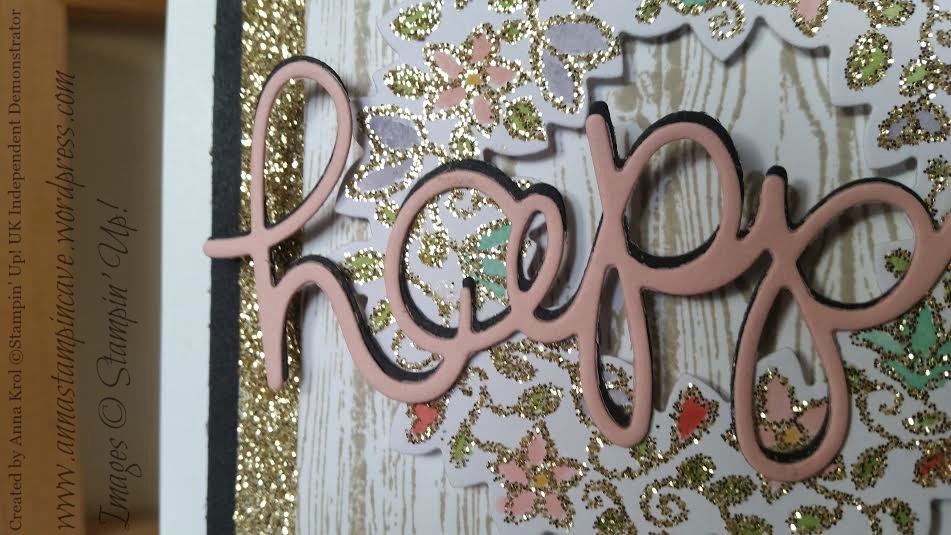
I stamped this beautiful wreath in Versamark, heat embossed with Heat & Stick powder and sprinkled with Gold Stampin’ Glitter. I heat set it again and watercoloured flowers and leaves. Then I die-cut ‘happy’ twice: in basic black and blushing bride, and glue them together. I slightly offset both pieces for ‘shadow’ effect.

Spring wreath 3

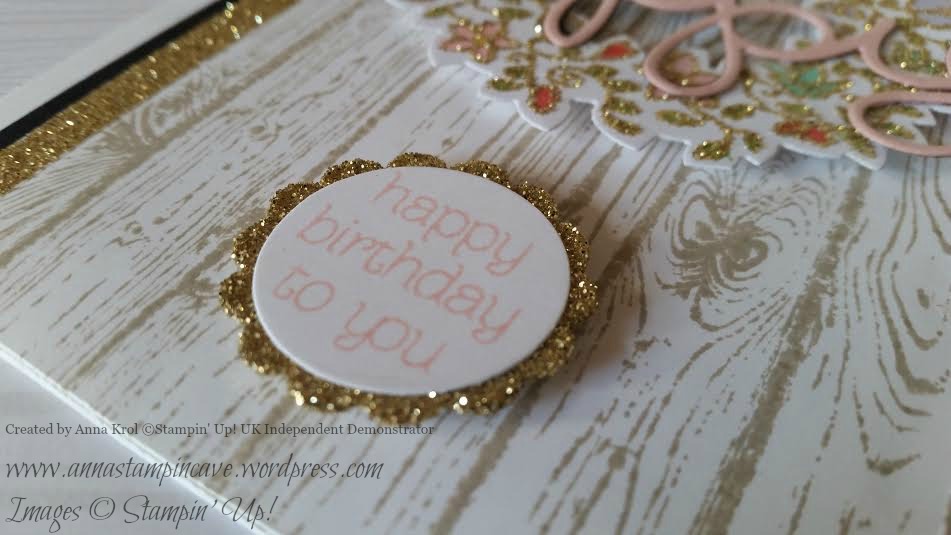
I love this cute sentiment from Circle of Spring. I do not own many punches, so I had to cut it out with Circle Framelits Dies. But I believe you could use 1″ Circle punch too. The glittery scalloped circle is 1-1/4 Scallop Circle punch. To make it I didn’t use glimmer paper. I punched it from a piece of paper, squashed it into Versamark and again used Heat & Stick powder and gold glitter. It’s so easy to make your own glimmer paper, and I love it.

Spring wreath 6

Just look at all this sparkle ✨✨✨ I love it!

Hope you like my little card, and maybe you will try to add some sparkle to your projects too.

Thank you for stopping by and have a blessed day,