Ink Smooshing With Bloomin’ Hearts Thinlits Dies

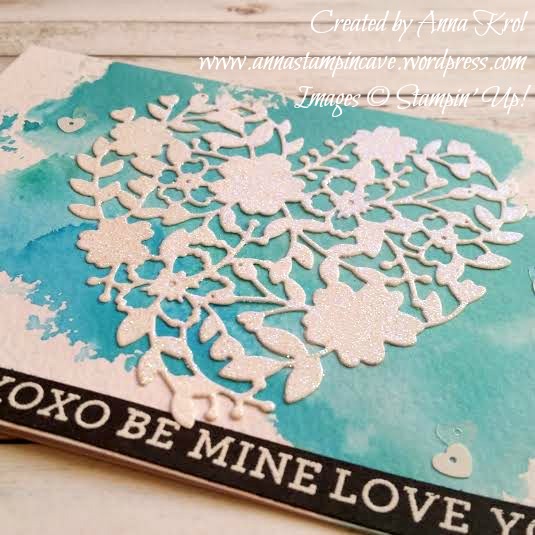
I have to say when I first saw Bloomin’ Hearts Thinlits Dies in new Stampin’ Up! Spring Summer Catalogue I couldn’t wait to put my hands on them and try ink smooshing technique.
bloomin love 2

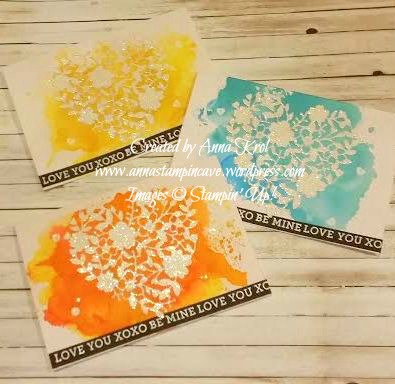
Aren’t these awesome?! And ink smooshing is childishly easy. All you need is a piece of acetate or craft mat, you can use a plastic packaging too (any sleek surface works really).
bloomin love yellow 2

Then you choose the colours you want to use on your card and you simply smoosh them onto your surface. Spritz it with water and dip your card into the ink droplets. Let your card dry completely before you add more colour.
bloomin love yellow

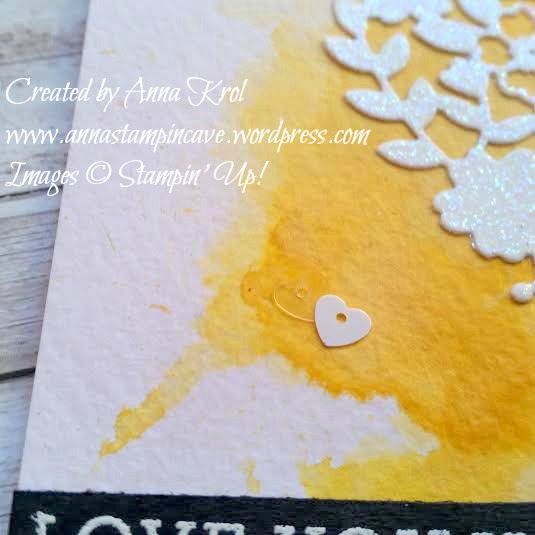
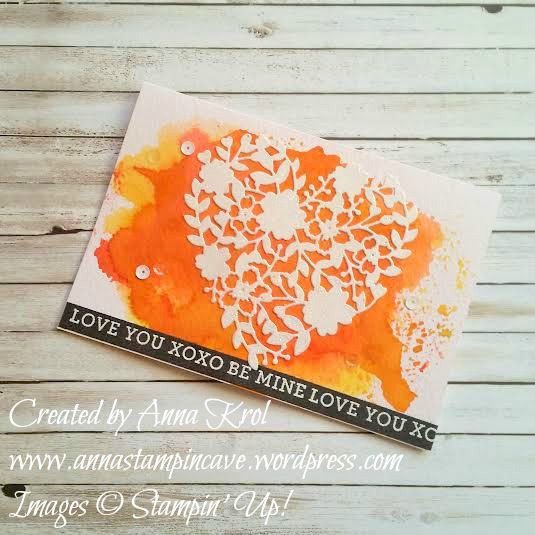
For my cards, I decided for really bright, intense colours. But you can make it as soft as you wish just add less ink and more water. And I have to say here I highly recommend using watercolour paper with this technique.
bloomin love orange 2

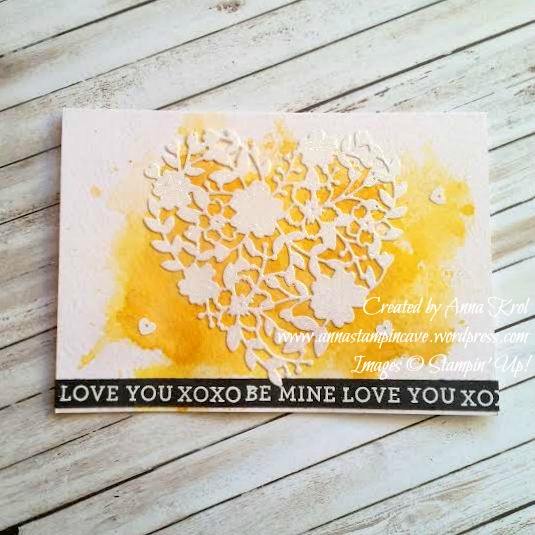
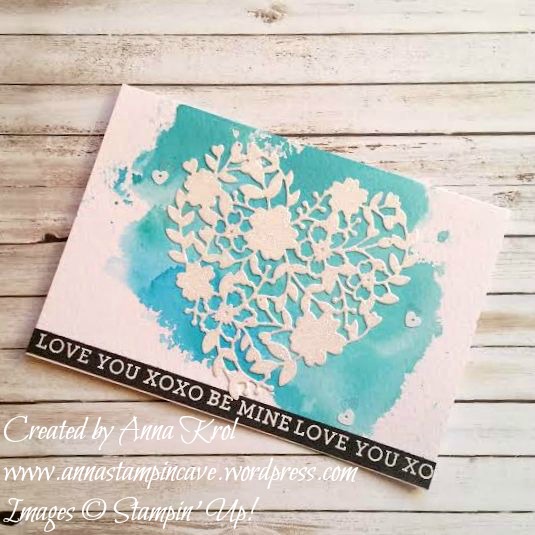
I’ve used the same design for all my cards. I die-cut hearts from a piece of Whisper White cardstock using Precision Base Plate. Trust me you need this plate! It’s perfect for more detailed thinlits dies to give you extra fine cuts. I saved the negatives (not tiny bits just “frames”) for another project.
bloomin love orange

I then dabbed my die-cuts in Versamark and heat-embossed it with Iridescent Ice embossing powder. I love the gentle bling/shimmer it gives.
bloomin love blue 2

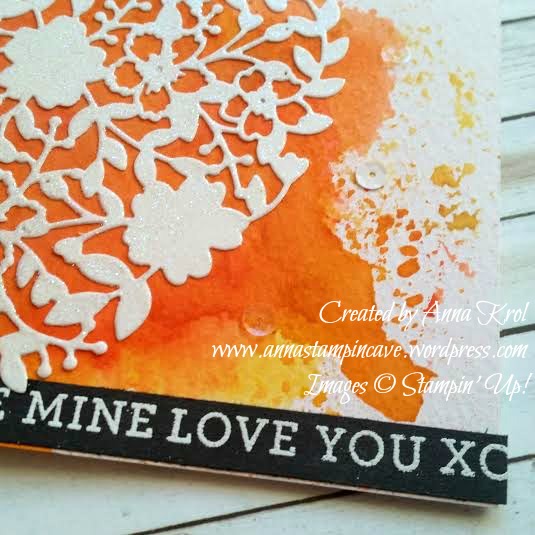
I wanted the sentiment to really stand out so I took a strip of Basic Black c/s and stamped my sentiments in Versamark and heat embossed them in white.
bloomin love blue

To finish off my cards I added few white and clear sequins from Metallics Sequin Assortment.

I love how these turned out,  really pleased! I know these are not typical cards you would think off for Valentine’s Day, but I love the unusual.

Thank you for stopping by,

Thank You Notes Using Botanical Blooms & What I Love Stamp Sets

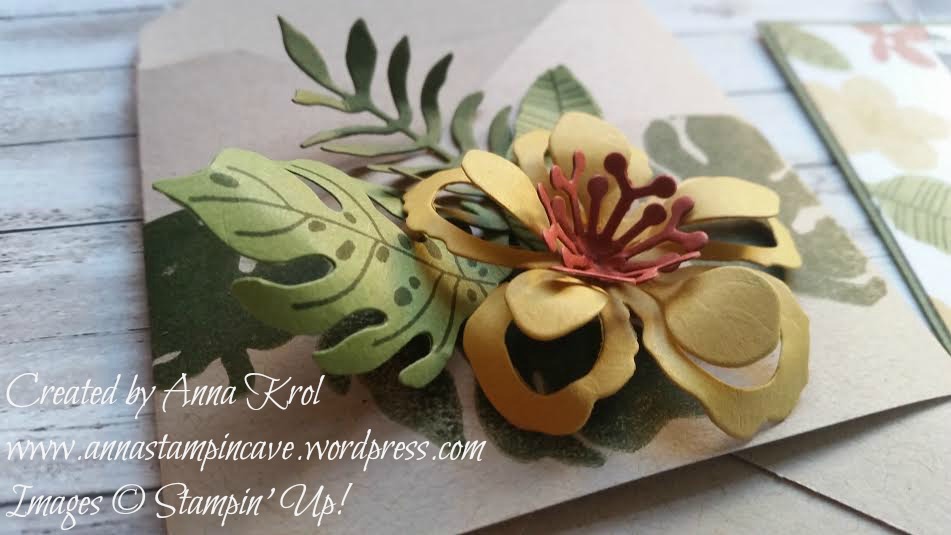
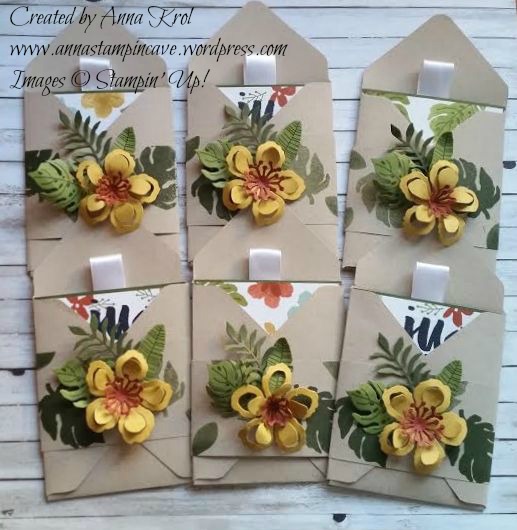
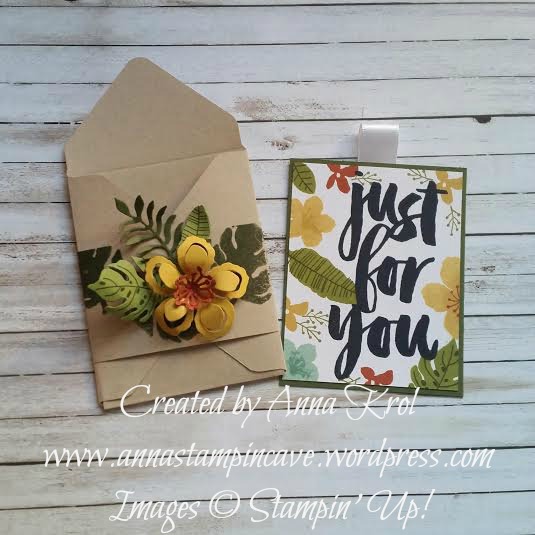
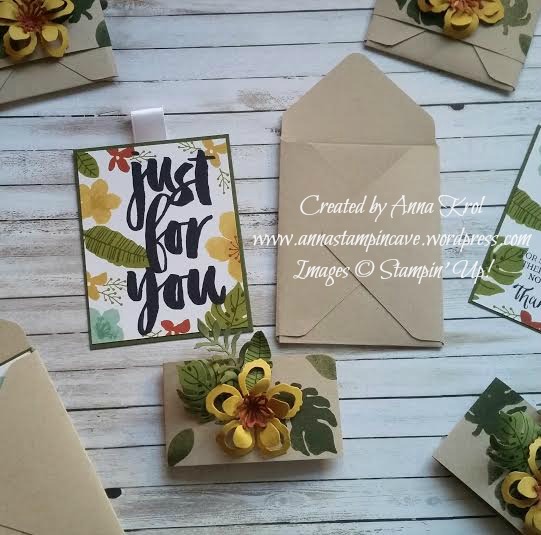
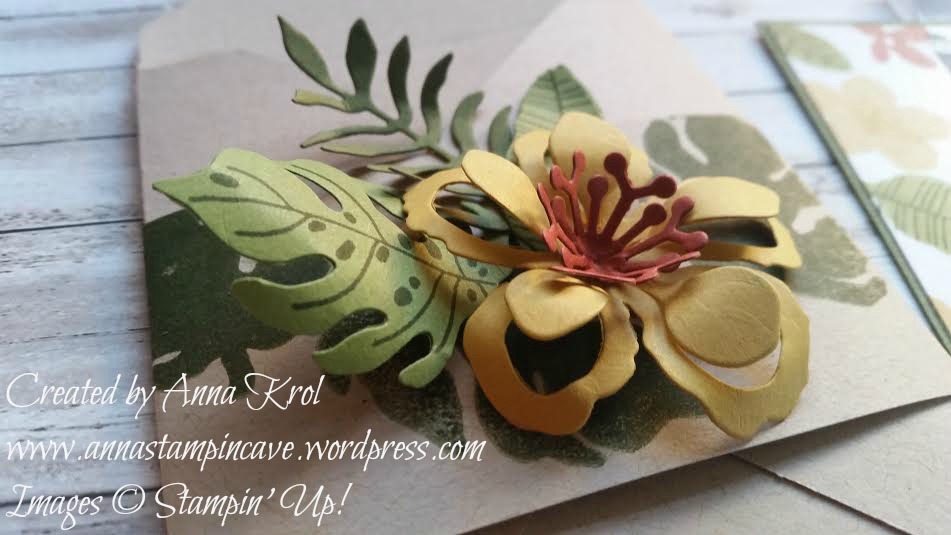
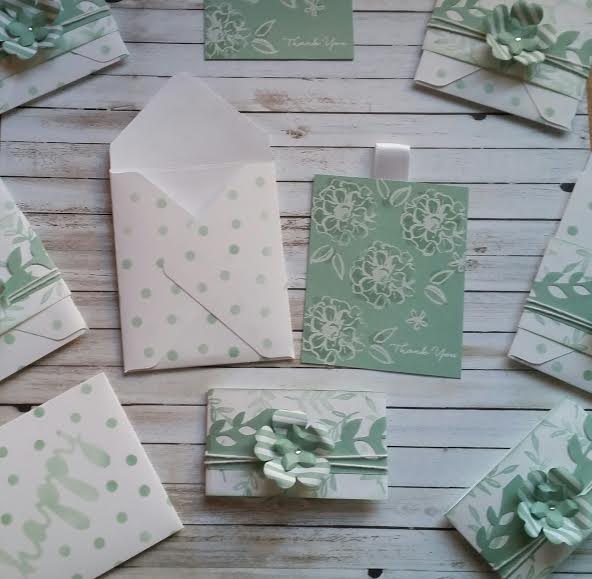
Today I decided to show you some thank you notes I’ve made using Botanical Blooms Stamp Set and coordinating Botanical Builder Framelits Dies.

customer gifts botanicals 5

I just love how these turned out! 

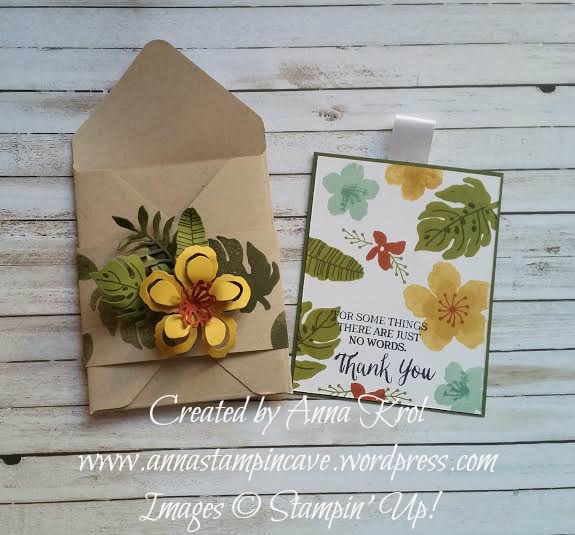
The idea behind these note cards was pretty simple. I wanted to create a panel card with floral design on one side and plain on the back, where you could leave a private message. Sentiments come from two different stamp sets: on the left from Rose Wonder Stamp Set and the other one is from Botanicals For You Stamp Set.

customer gifts botanicals 3

As my note cards aren’t typical size, they measure 3×4″, I created little holders for them using envelope punch board.

customer gifts botanicals 4

Now just a belly band to wrap it up together. Aren’t these A W E S O M E!!! I love love love these dies so much!

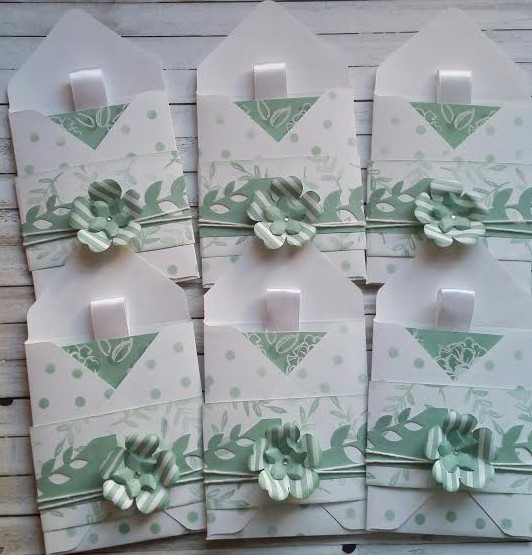
For a second lot, I have used the same idea just different stamp set and colours.

customers thank you notes 3

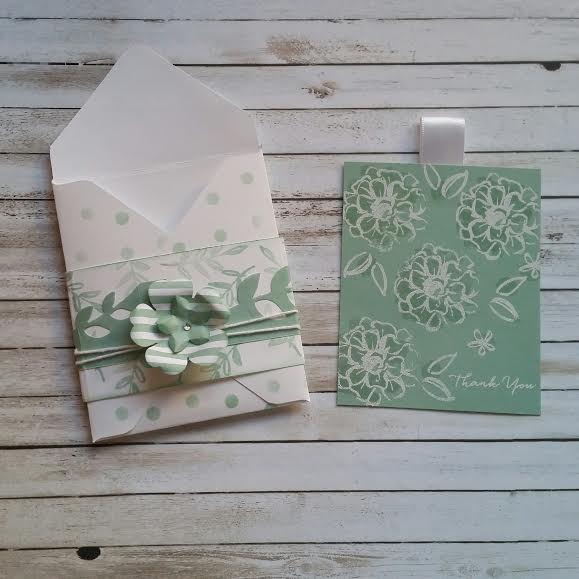
To create these I’ve used What I Love stamp set.

customers thank you notes 2

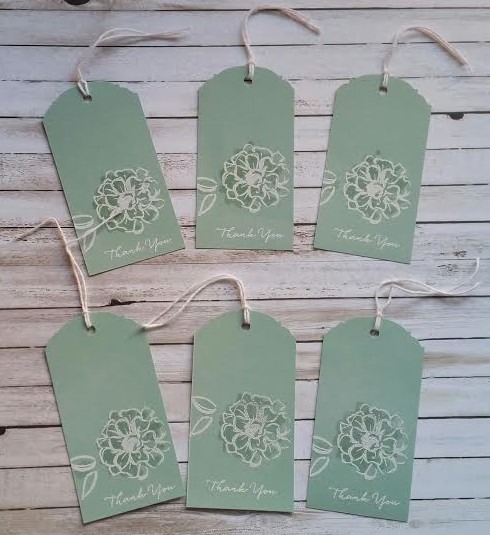
I love this three-step stamp set. It’s got a WOW factor without much effort. All I have done is to stamp step nr 3 & 2 in Mint Macaron, and nr 1 heat embossed in white. And voila!

customers thank you notes

To “break” all that white I decorated the holder using sponges and one of Happy Patterns stencils. To decorate belly band I’ve used a border die from Botanical Builder and few punches: Petite Petals and Pansy punch. Super easy! As I was on the roll 😉 I also made these super lovely tags.

tags

Hope you like my note cards. They are super easy and what fun to make! And you?

Have a blessed day,