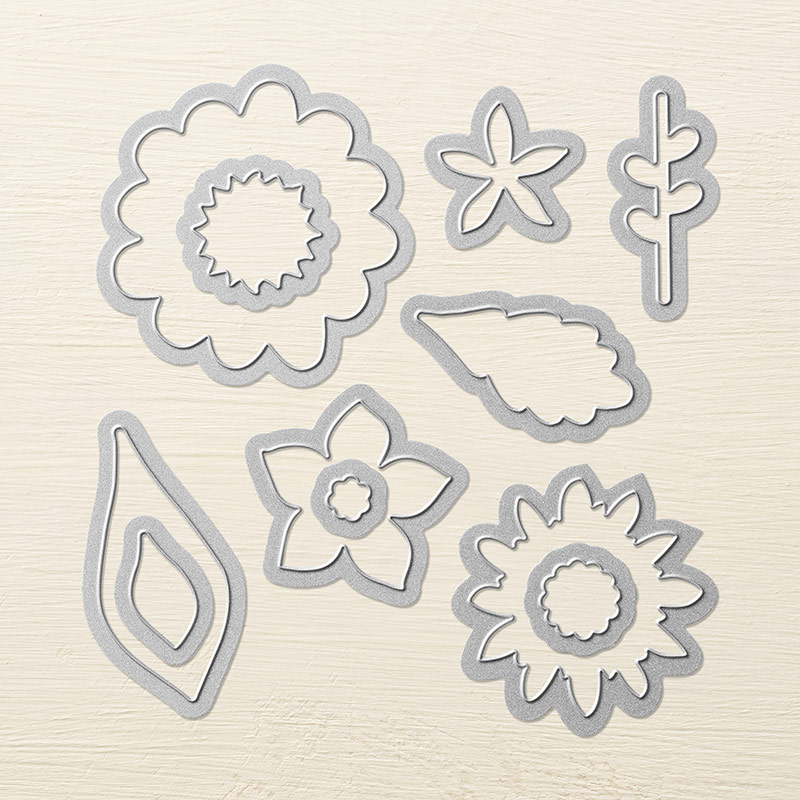
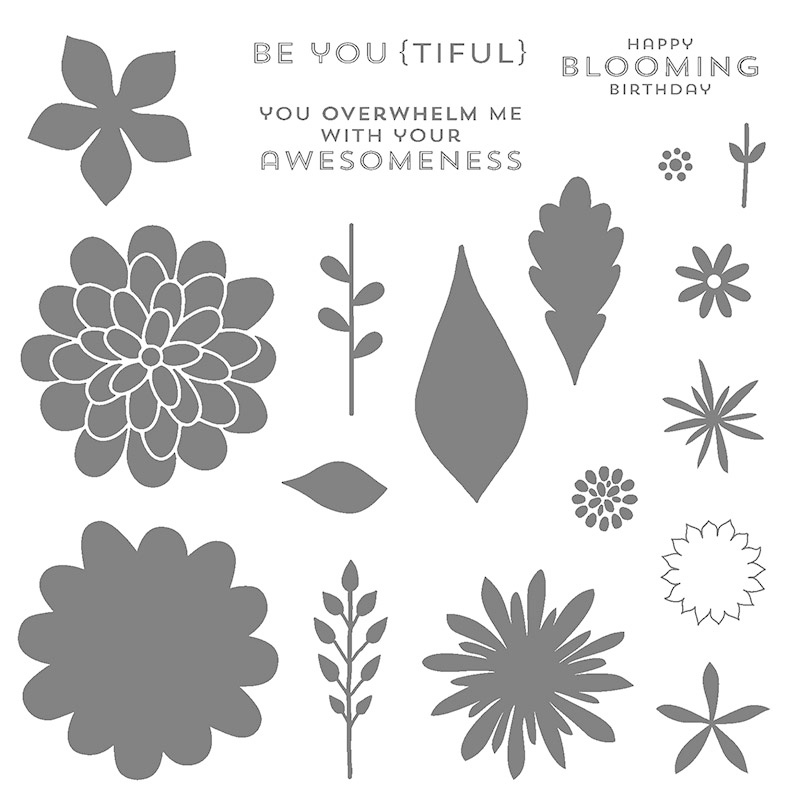
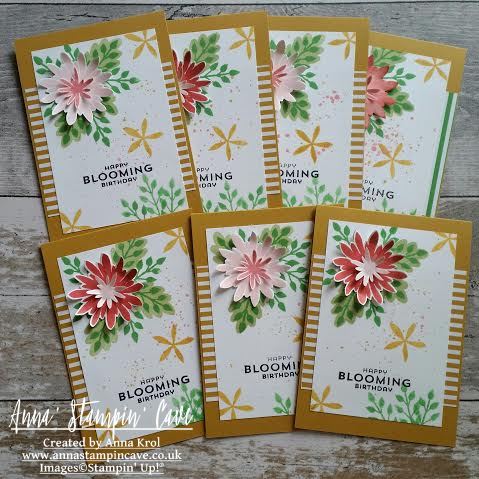
Time flies so quick, I completely forgot to share with you birthday cards I’ve made last month for ladies in our swap group. It was a great opportunity to showcase beautiful Flower Patch Stamp Set and matching Flower Fair Framelits Dies
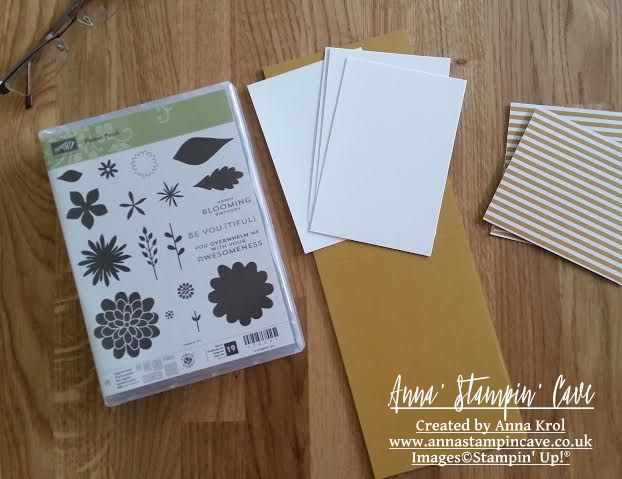
For the base of my cards, I’ve used Delightful Dijon cardstock (I really, really like this colour!). And for the mats, I’ve used striped paper from now retired 2015-2017 In-colour Envelope Paper.
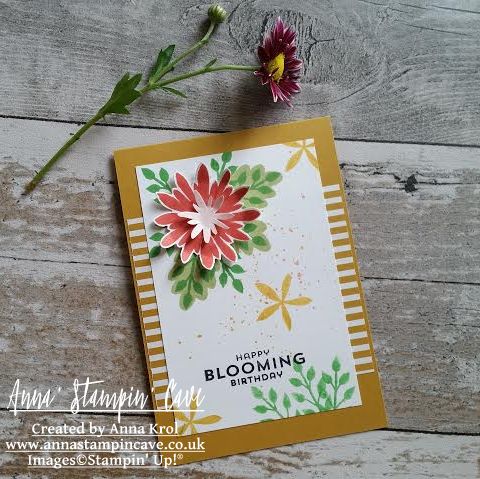
Because I was making several cards, same design at the same time, I cut all my cardstock and paper first. This way I saved lots of time. Next, I stamped big and small flowers and cut them out: I fussy-cut small ones and die-cut big ones. I’ve used Watermelon Wonder, Flirty Flamingo and Blushing Bride for my flowers.
When I knew the placing of the flowers I stamped my sentiment in Basic Black Archival Ink. I love this sentiment, it’s so fun 🙂
I stamped all the foliage using Cucumber Crush and Pear Pizzazz ink pads. I also stamped few random flowers on each panel, using Delightful Dijon (I stamped them off first for lighter shade). To add some pizzazz to my layouts I added few speckles with watered down Watermelon Wonder and Flirty Flamingo.
Now all I had to do was to assemble my cards. I really love how these turned out. And I truly hope you like them too. As always, if you wish to purchase any of the products I have used, simply click the images below to go directly to my online shop and don’t forget to enter the hostess code for the month of July GUHXWAR6, to receive a gift from me.
Thank you for joining us for another Simply Sketched Saturday Challenge! We’re so excited to be sharing this hop with you. The products used are all available in the current Annual, or seasonal, Stampin’ Up!® Catalogues*. Simply use the buttons at the bottom of the post to keep hopping!
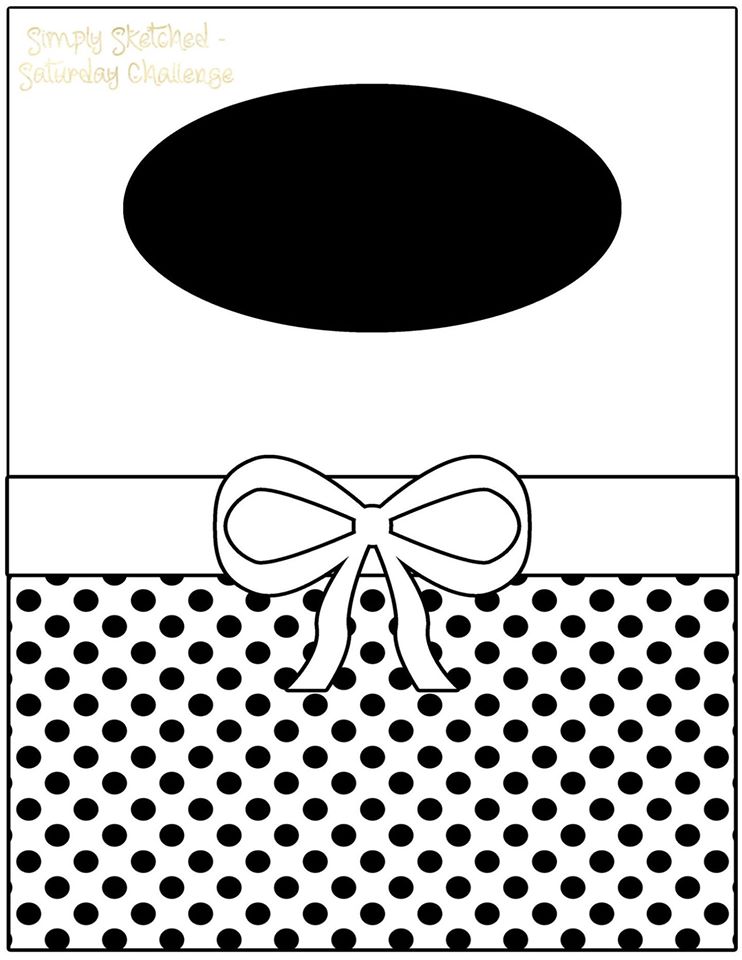
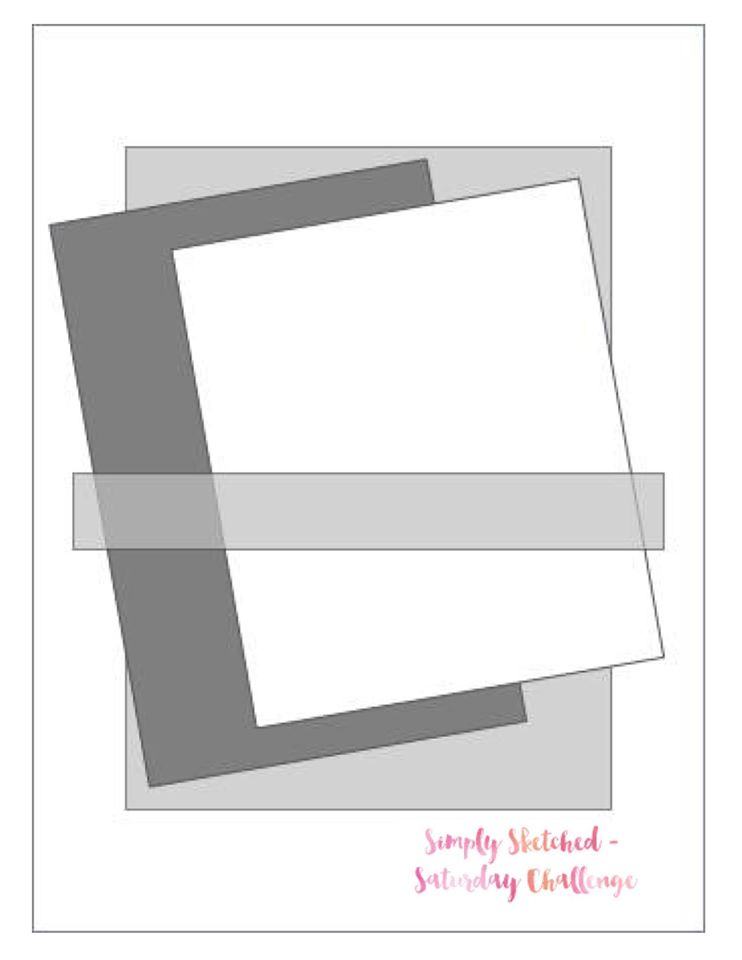
Today’s sketch was designed by very talented Angelina from Intatwyne Designs. I really like the simplicity of this design.
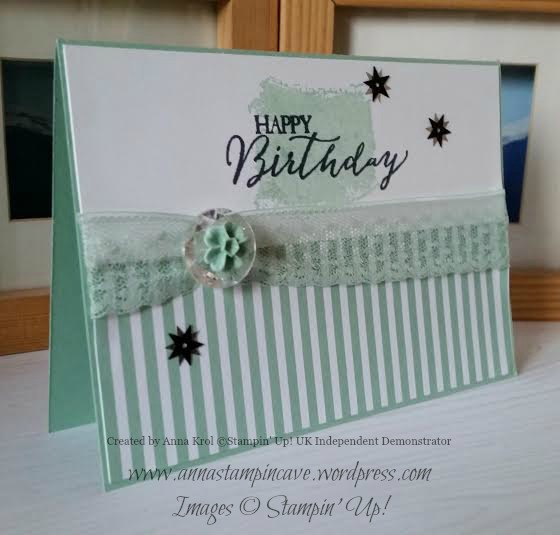
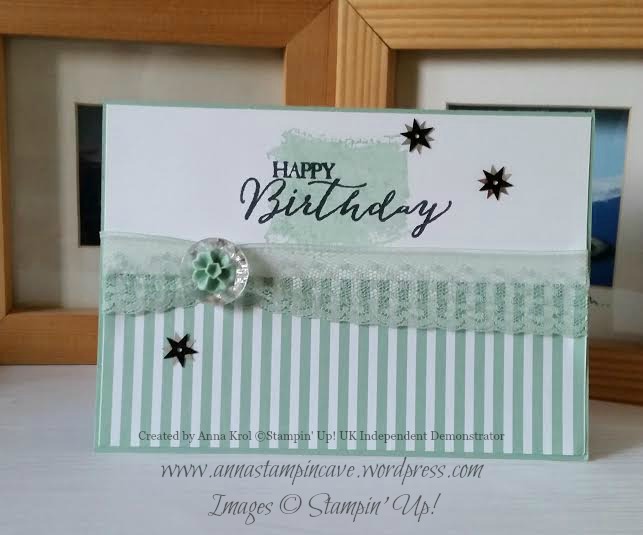
My first thought about this sketch was that it’s sweet. So is my today’s card: sweet & mint. I absolutely love 2015 – 2017 In Colors. But Mint Macaron is definitely my favourite one.
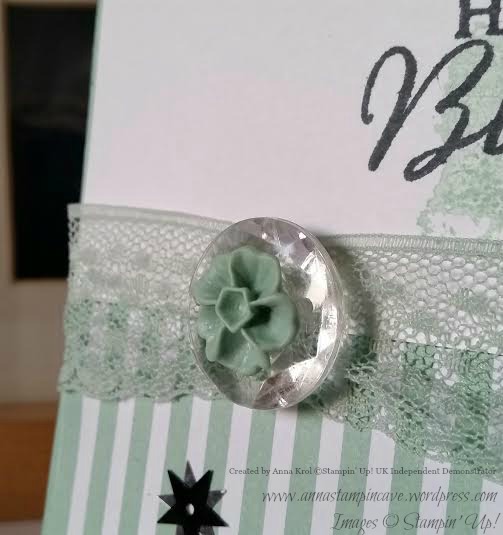
The base of my card is Mint Macaron scored at 4-1/4″ and folded in half in landscape mode. Both panels measure 5-3/4 x 2″. The top panel is a piece of Whisper White. I stamped one of the “swooshes” from Work of Art in Mint Macaron (briefly in the middle of the panel). Then I stamped the sentiment in Memento Black. The bottom panel is a piece of 2015-2017 In Color Envelope Paper.
I adhered both panels to the base and added a ribbon in the middle ( I tucked the ends under the panels). Don’t you just love this Dotted Lace Trim Ribbon? I’ve used a glue dot to bunch up the ribbon and adhered button on top. I was planning to add bakers twine bow on top, but I didn’t like it. I added Blossom Accent instead.
To finish my card off I added few star sequins. I didn’t plan that but needed to hide a boo-boo. I end up adding three just for a good measure 😉
Hope you like my sweet and simple card. It’s very versatile design and would work nicely with different sentiments. Plus it’s perfect for mass-producing: only took few minutes to put it together. So it’s a win-win.
Now, be sure to hop along and see more inspiring projects. Thank you for stopping by and have a blessed day!
Thank you for joining us for another Simply Sketched Saturday Challenge! We’re so excited to be sharing this hop with you. The products used are all available in the current Annual, or seasonal, Stampin’ Up!® Catalogues*. Simply use the buttons at the bottom of the post to keep hopping!
If you have arrived here from Mandy’s blog thank you for stopping by. If you just start here please keep “hopping” to see the inspiration from our little group. I’m sure you will enjoy what everyone prepared for you this time.
I was really excited about this week’s sketch designed by Amy from blog Engineering Home. Not that it’s an easy one. Oh, and it was her BIRTHDAY yesterday!!! Happy Birthday, Amy! ??????
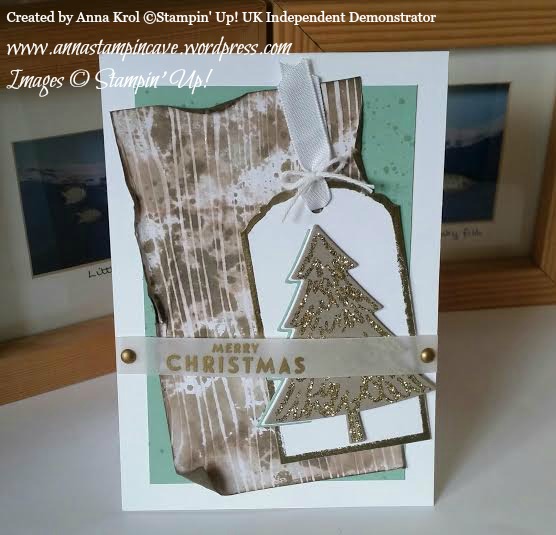
This time I decided to go with Christmas theme. And yes I know there’s still a time for Christmas cards, but hey, you’ve got to start somewhere 🙂 So here’s my interpretation of this week’s brilliant sketch:
I know that many cardmakers prefer ever-so-popular clean and simple style, but I’m a big fan of distressing. And in my card today I tried to incorporate both styles.
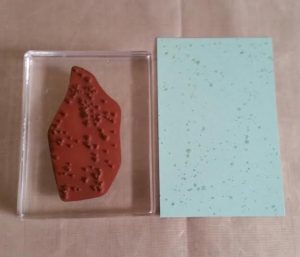
The base of my card is Whisper White card stock. A slightly smaller panel of Mint Macaron measures 5″ x 3-3/8″. I knew this panel will be mostly covered but I wanted to add some interest to it. First I thought about dry embossing but it would be too busy for an idea I had in my head. Instead, I stamped some splotches with Gorgeous Grunge in Mint Macaron for a subtle tone-on-tone look.
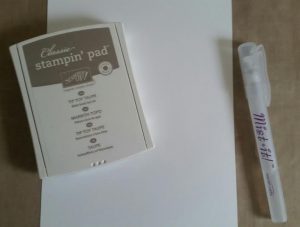
A distressed panel is a piece of white woodgrain patterned paper from Color Me Irresistible Specialty DSP. This paper is amazing, as each sheet is clear embossed, ready for inking, sponging, spritzing – getting messy in short 🙂
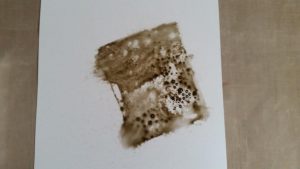
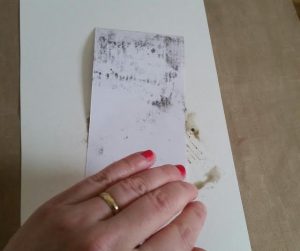
I squeezed Tip Top Taupe ink pad on the sleek surface (you can use acetate or craft sheet), spritz it with water and swooshed my paper into this puddle of colour. I added ink and water until achieved the look I wanted. I love how embossing resists the colour. When the paper was dry I stamped few splotches from Gorgeous Grunge and distressed and sponged the edges. Just a warning, this technique will warp your paper so you have to be careful, or use watercolour paper.
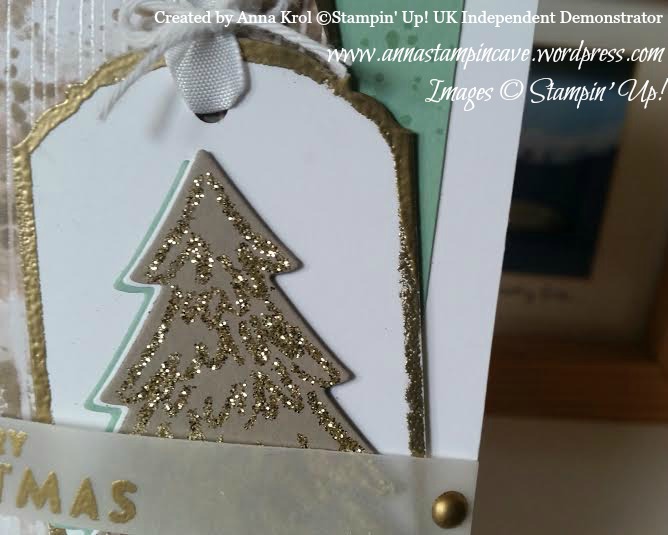
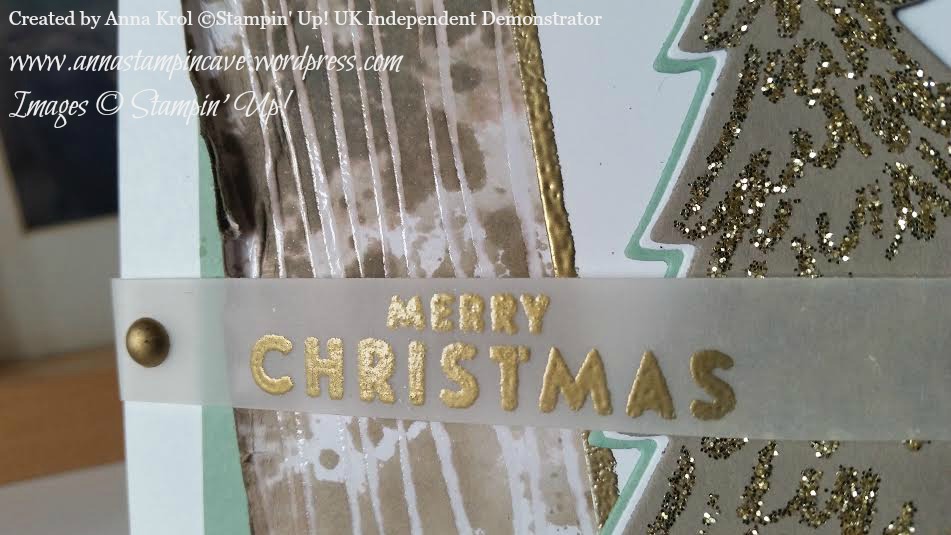
To create my tag I cut a piece of Whisper White card that measures 2″ x 4″ and punch it with Ornate Tag Topper punch. Then I dabbed the edges in Versamark and heat emboss it with gold embossing powder.
I stamped Christmas tree from Peaceful Pines stamp set in Versamark on a piece of Tip Top Taupe card stock. I heat embossed it with Heat & Stick powder and when it got sticky I sprinkled gold glitter over it (I must say that I’m in love with Gold Stampin’ Glitter). Then I die cut it using coordinating framelits. I also die cut half of the tree from Whisper White and Mint Macaron to layer them together. When the tree was ready I assemble my tag and finish it with a piece of ribbon and bakers twine. Finally, I could assemble my card. Now just sentiment left.
The sentiment comes from Flurry of Wishes stamp set. I embossed it in gold on a strip of vellum and attached to my card with edges of dimensionals (folded in half). To finish it off I coloured two White Perfect Accents using gold Sharpie and added them where the adhesive was. Taa-daah!
Now, be sure to hop along and see more inspiring projects. Your next stop is Suzanne at Hullahbaloo. Thank you for stopping by and have a blessed day
Stampin’ Up!’s mission statement, called its Statement of the Heart, reads: “To love what we do and share what we love, as we help others enjoy creativity and worthwhile accomplishments . . . in this we make a difference.”
To help fulfil this statement, Stampin’ Up! launched Making a Difference program in 2003. This program facilitates corporate giving and promotes service among demonstrators and employees.
Through the Making a Difference program, Stampin’ Up! partnered with Ronald McDonald House Charities (RMHC). Each year, we design an exclusive stamp set to promote the partnership with RMHC and donate a portion of the proceeds from each sale of that set. To date, more than $95,000 has been donated from RMHC stamp set sales.
Stampin’ Up!’s demonstrators are also encouraged to volunteer their time teaching local Ronald McDonald House guests the creative art of rubber stamping through the Making a Difference program. Demonstrators also create cards at training events which are donated to Ronald McDonald Houses. Those staying at the Houses then use the cards to keep in touch with loved ones while they are away from home.
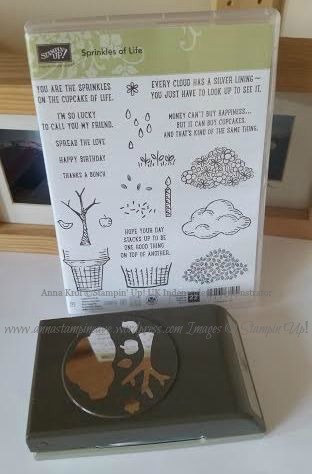
And this year is no different…except now there is a matching Tree Builder Punch that coordinate with RMHC stamp set “Sprinkles Of Life”.
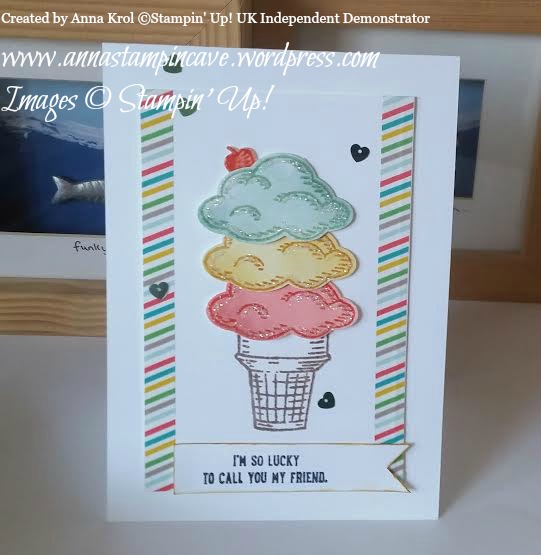
Isn’t it awesome! First of all this stamp set consists of a whopping number of 22 stamps! Yep! You hear me. And it’s so versatile. You can create cupcakes, ice-creams, trees, flower pots, piles of leaves, clouds…and many, many more. With just one stamp set. Pretty amazing, right? So let me share my little make.
And truly, I won’t tell you how many techniques I’ve used on this single card: watercolouring, heat embossing, clear heat embossing on the stamped image, using glitter, sequins, washi tape… and I had tonnes of fun creating it!
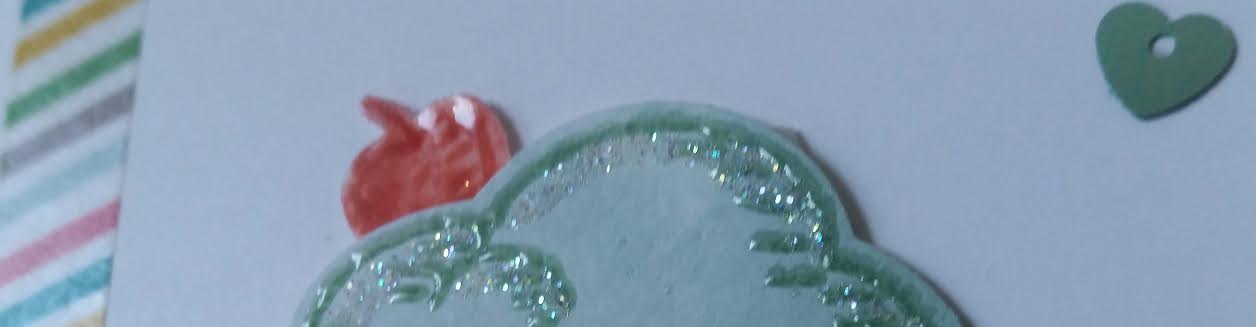
It just looks yummy! Oh, and cherry on top?!
Cherry is made from an apple, water coloured and clear embossed to add a little bit of shine.