Emboss Resist Watercolour Background With Beautiful Peacock Stamp Set

Anna’ Stampin’ Cave – Emboss Resist Watercolour Background With Beautiful Peacock Stamp Set

Hello everyone and thank you for visiting my little stampin’ cave.

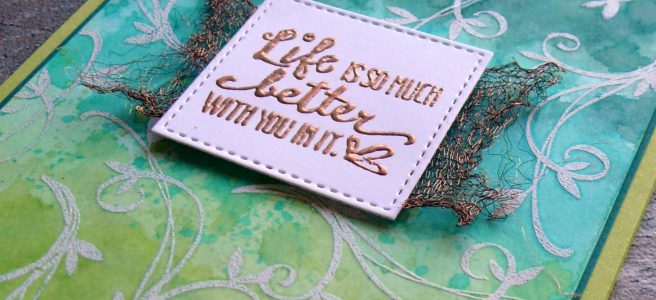
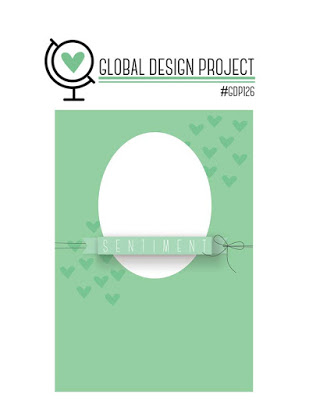
Today, I’m playing along with Global Design Project and their #GDP126 Sketch Challenge. And I’ve got for you really simple, yet beautiful card, using FREE Sale-a-bration stamp set: Beautiful Peacock. I don’t know exactly why, but I really love this set, even though it’s completely not in my style.

But except the peacock image, its got all those beautiful, swirly stamps, which supposed to be its tail. And I couldn’t resist using one of these for creating a beautiful, emboss resist watercolour background for my card.
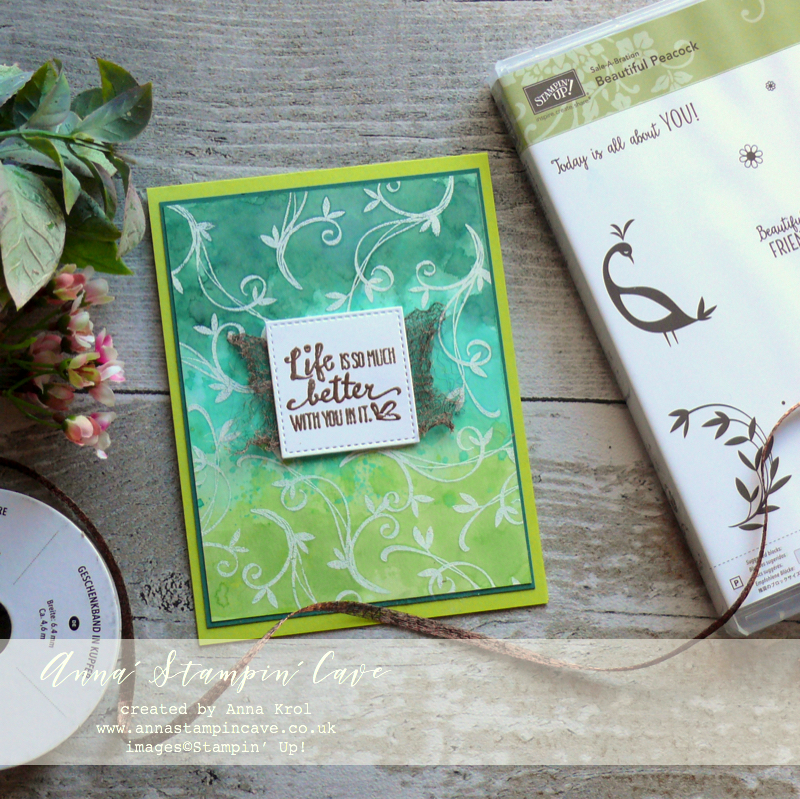
Anna' Stampin' Cave - Emboss Resist Watercolour background using Beautiful Peacock Stamp Set

Dimensions:

  • Lemon Lime Twist cardstock: 11-6/8″ x 4-1/8″ scored in half at 5-7/8″ (29.7 x 10.5 cm scored in half at 14.8 cm)
  • Tranquil Tide cardstock: 3-7/8″ x 5-1/8″
  • Shimmery White cardstock: 3-3/4″ x 5″
  • Whisper White cardstock for die cutting
  • Copper Trim: around 2-1/2″

First, I took Shimmery White panel and dust it with embossing buddy. Next, using Versamark, I stamped peacock’s tail all over the panel. sprinkled with white embossing powder and heat set it using a heat tool.

I pulled out three inkpads I wanted to use: Lemon Lime Twist, Bermuda Bay and Tranquil Tide. To prepare my colour palettes I squeezed each inkpad in the middle lightly to transfer ink from foam to the lid and opened the inkpads.

I wet the entire Shimmery White panel, using aqua painter, and next, I started adding my colours: Lemon Lime Twist at the top, Bermuda Bay in the middle and Tranquil Tide on the bottom. I let the colours to bleed into each other.

I love to watch how embossed images resist the ink – it’s like magic

Remember, watercolours dry lighter, so once my piece was dry, I added more water and more colour, and repeat the process until I was happy.
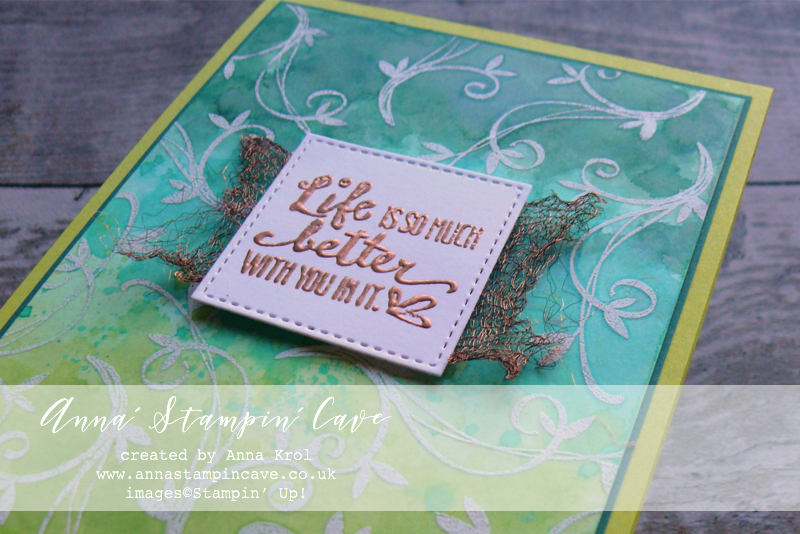
Anna' Stampin' Cave - Emboss Resist Watercolour background using Beautiful Peacock Stamp Set

The sentiment I chose comes from Petal Palette  Stamp Set. I stamped in on a piece of Whisper White cardstock with Versamark and heat embossed it in copper. Next, I die-cut it using the second smallest square die from Stitched Shapes Framelits Dies.

When assembling the card, I decided to turn my panel upside down – it looked so much better with Tranquil Tide on top.

Instead of a ribbon or twine from the sketch, I swap it for a Copper Trim. I cut briefly 2-1/2 piece and I pulled it apart to create this cool mat for my sentiment. I add it to the card with dimensionals.

As always, I really want to encourage you to visit the Global Design Project challenge blog to see other beautiful projects from all around the world. Just click on their logo below to visit the website

I’m also adding my card to:

If you wish to purchase any of products I have used, simply click the images below to go directly to my online store and don’t forget to enter the hostess code RRMR76JH to receive a gift from me.

Thank you for stopping by and have a blessed day

Hostess Code for February: RRMR76JH – Use this code in the month of February and receive a gift from me. Spend £50 or more and use the code, and you will receive Whisper White 1/4″ (6.4mm) Organza Ribbon + a handmade gift from me

Special Notes: 1) Make sure you select Anna Krol as your demonstrator;
2) If you select “No Contact” box I do not have access to your name and can’t send you a gift;
3) If your order is £150 or more do not use the code and grab your own Stampin’ Rewards + gift from me

Product List

Aqua Painters

£15.50

Big Shot

£99.00

Pin me

Summary of the project which gives all the views of the card in one photo. I’d love if you pinned and called by on Pinterest xx
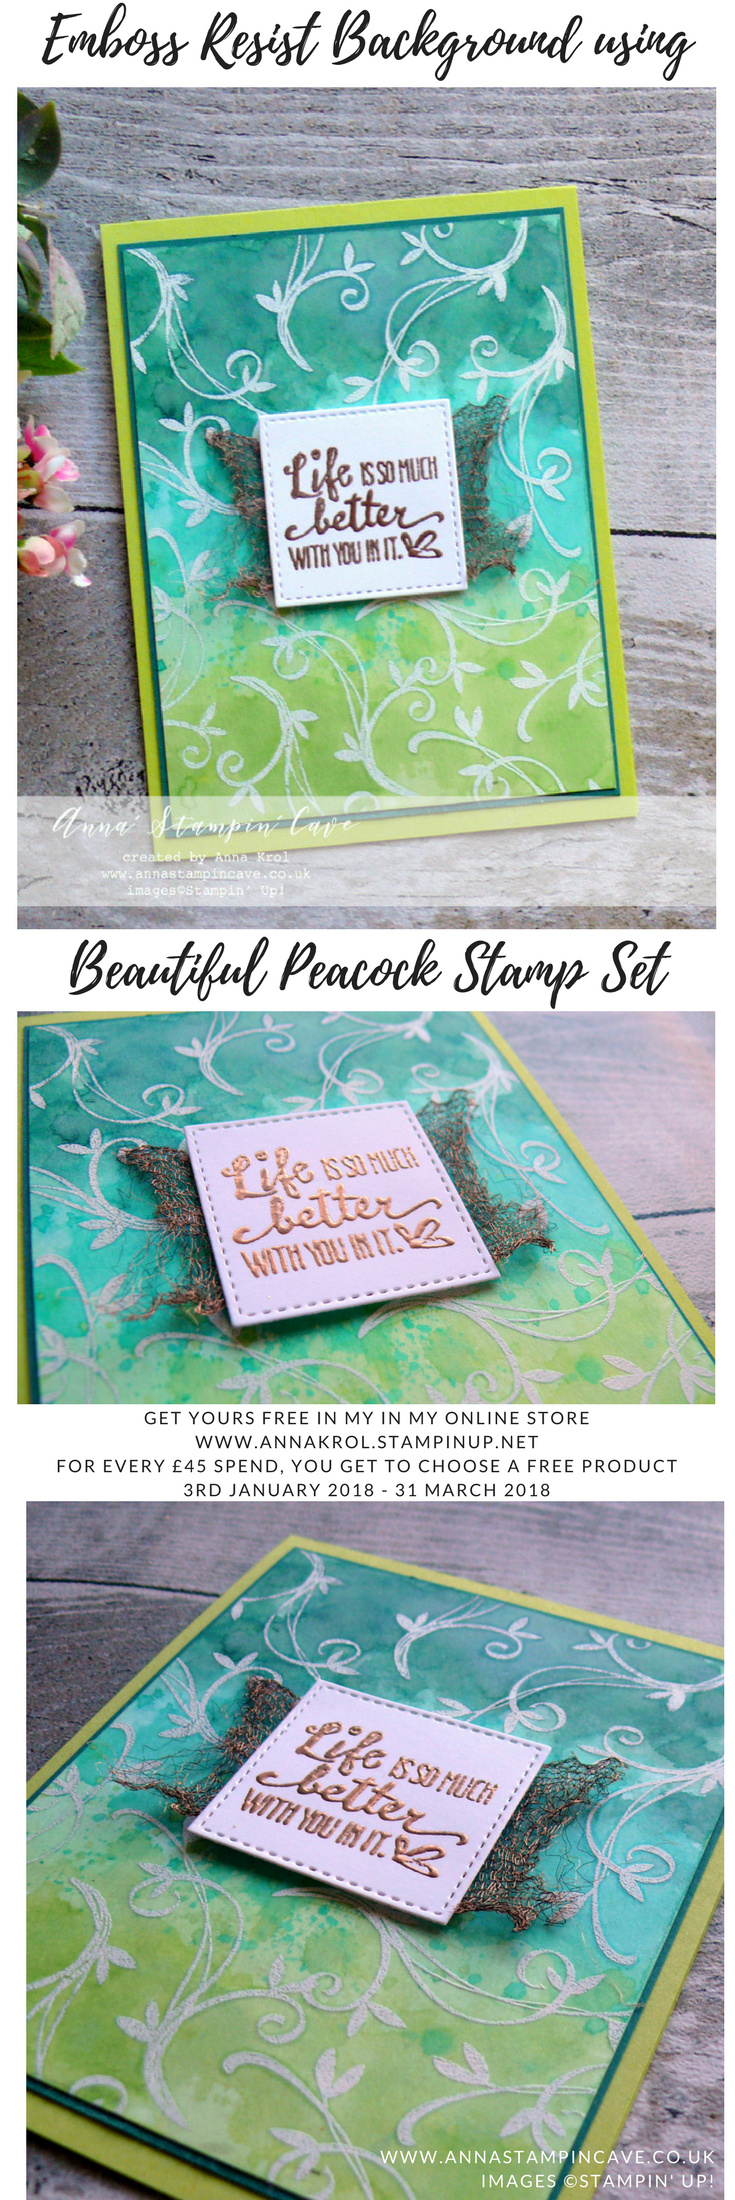
Anna' Stampin' Cave - Emboss Resist Watercolour background using Beautiful Peacock Stamp Set

Don’t forget to check:

New Sale-a-bration release is LIVE. Click here for more details –>

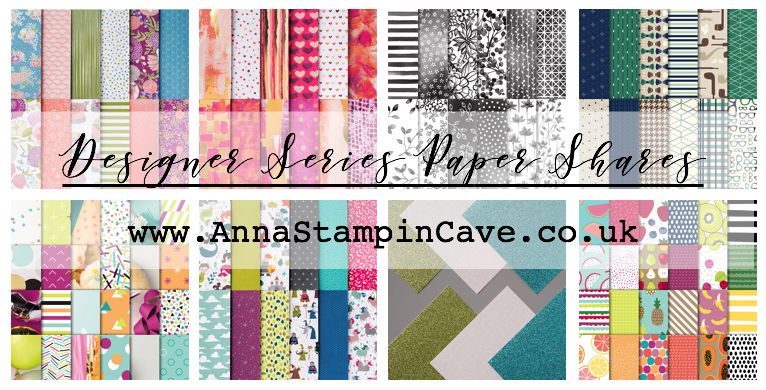
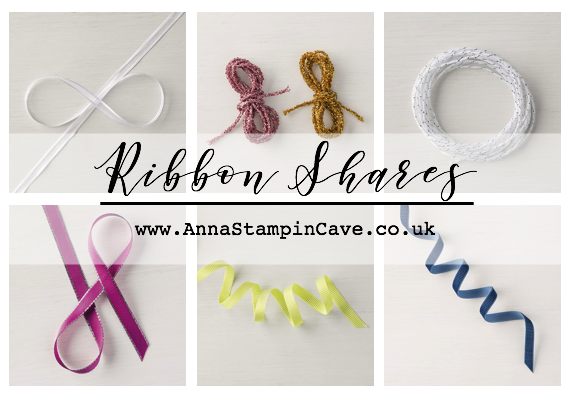
Spring Summer Catalogue Paper & Ribbon Shares. Shares are open to Austria, France, Germany, Netherlands & United Kingdom. 102 sheets of DSP & 2 yards of each type of ribbon from Spring/Summer Catalogue. Click here for more details —>

The New Stampin’ Up! Spring/Summer 2017 Catalogue and Sale-A-Bration are LIVE and it’s AMAZING! For every 60 €/£45, you spend either from Spring Summer Catalogue or Annual Catalogue, you will get to choose one FREE  level 1 product from SAB brochure! If you spend 120 €/£90, you get one FREE level 2 product, OR, you can choose two level 1 items. If you spend 180 €/£135, you have the option to choose three level 1 items or one level 1 item and one level 2 item. Click here for more details —>

Ever wondered what it’s like to join Stampin’ Up!’s community? I may have few answers for you. Click here for more details –>

New Adventure Card For GDP076 Case The Designer Challenge

Anna’ Stampin’ Cave – New Adventure Card For GDP076 Case The Designer Challenge

gdp076

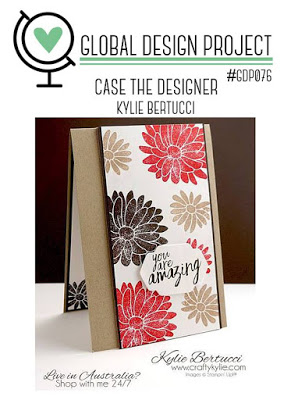
Hello and welcome everyone! Today I’m back with my entry for Global Design Project. This week’s challenge is to CASE lovely and talented Kylie Bertucci. And oh, boy! What a brilliant card it is!

Phew, I did it! To be honest I really thought I won’t make it this week. Lately, I’m so exhausted it’s unbelievable. Living with MS alone isn’t easy, but working night shifts on top of that truly wreak a havoc in my body. And even though I only work two shifts per week, sometimes I am so drained I need to recover for a couple of days before I get back on track. Then I have to pick up on things at home that have to be done, spend some quality time with hubby and daughter…and by the time I’m ready to sit down and create, another week roll on…crazy vicious cycle isn’t it haha

But today I woke up with ‘this idea’ that I just had to turn it into a card. So I jumped out of bed, brew myself a cup of chicory coffee, done my Bible reading and sneaked straight into my ‘cave’. I’ve used a really fun technique called ‘layered embossing resist’.

anna-stampin-cave-layered-embossing-resist-using-perpetual-birthday-calendar-and-wild-about-flowers-stamp-sets

New Adventure Card dimensions:

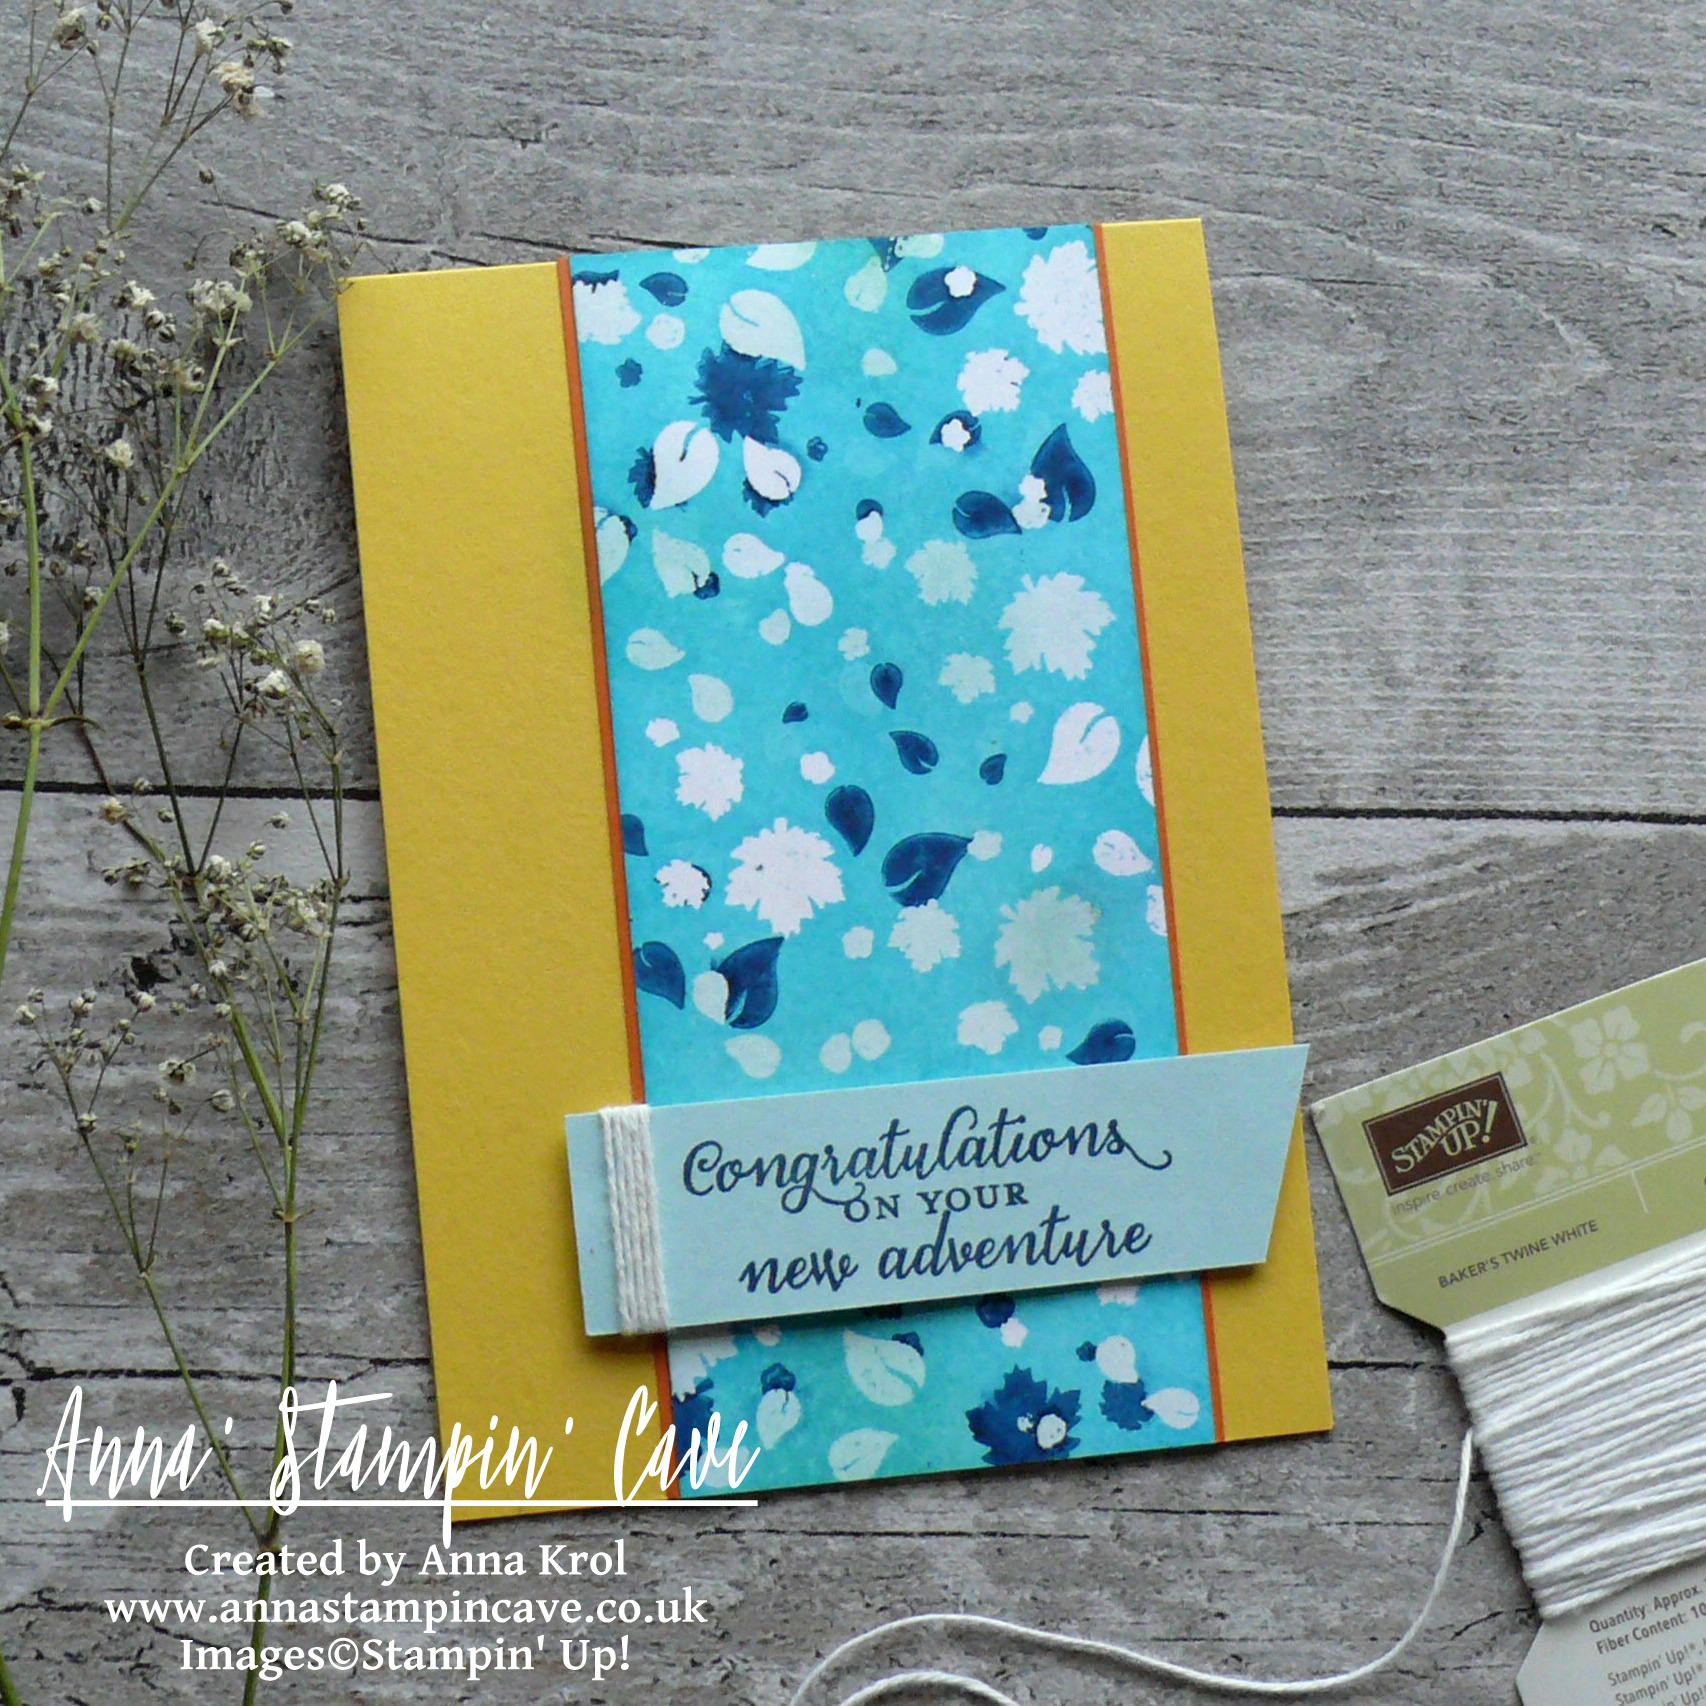
  • Daffodil Delight cardstock: 11-6/8″ x 4-1/8″ scored in half at 5-7/8″ (29.7 x 10.5 cm scored in half at 14.8 cm)
  • Whisper White cardstock: 5-7/8″ x 2-1/2″ (14.8 cm x 6.4 cm)
  • Pumpkin Pie cardstock: 2 strips 5-7/8″ long and 1/2″ wide approx (14.8 cm x 1.3 cm)
  • Soft Sky cardstock: 3-1/2″ x 1″ (9 cm x 2.6 cm)
  • Whisper White Baker’s Twine: 6″

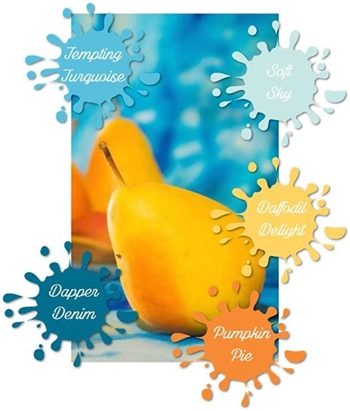
The bright colour combination I’ve used is inspired by this month’s Colour Your World Challenge.

colour-your-world-challenge

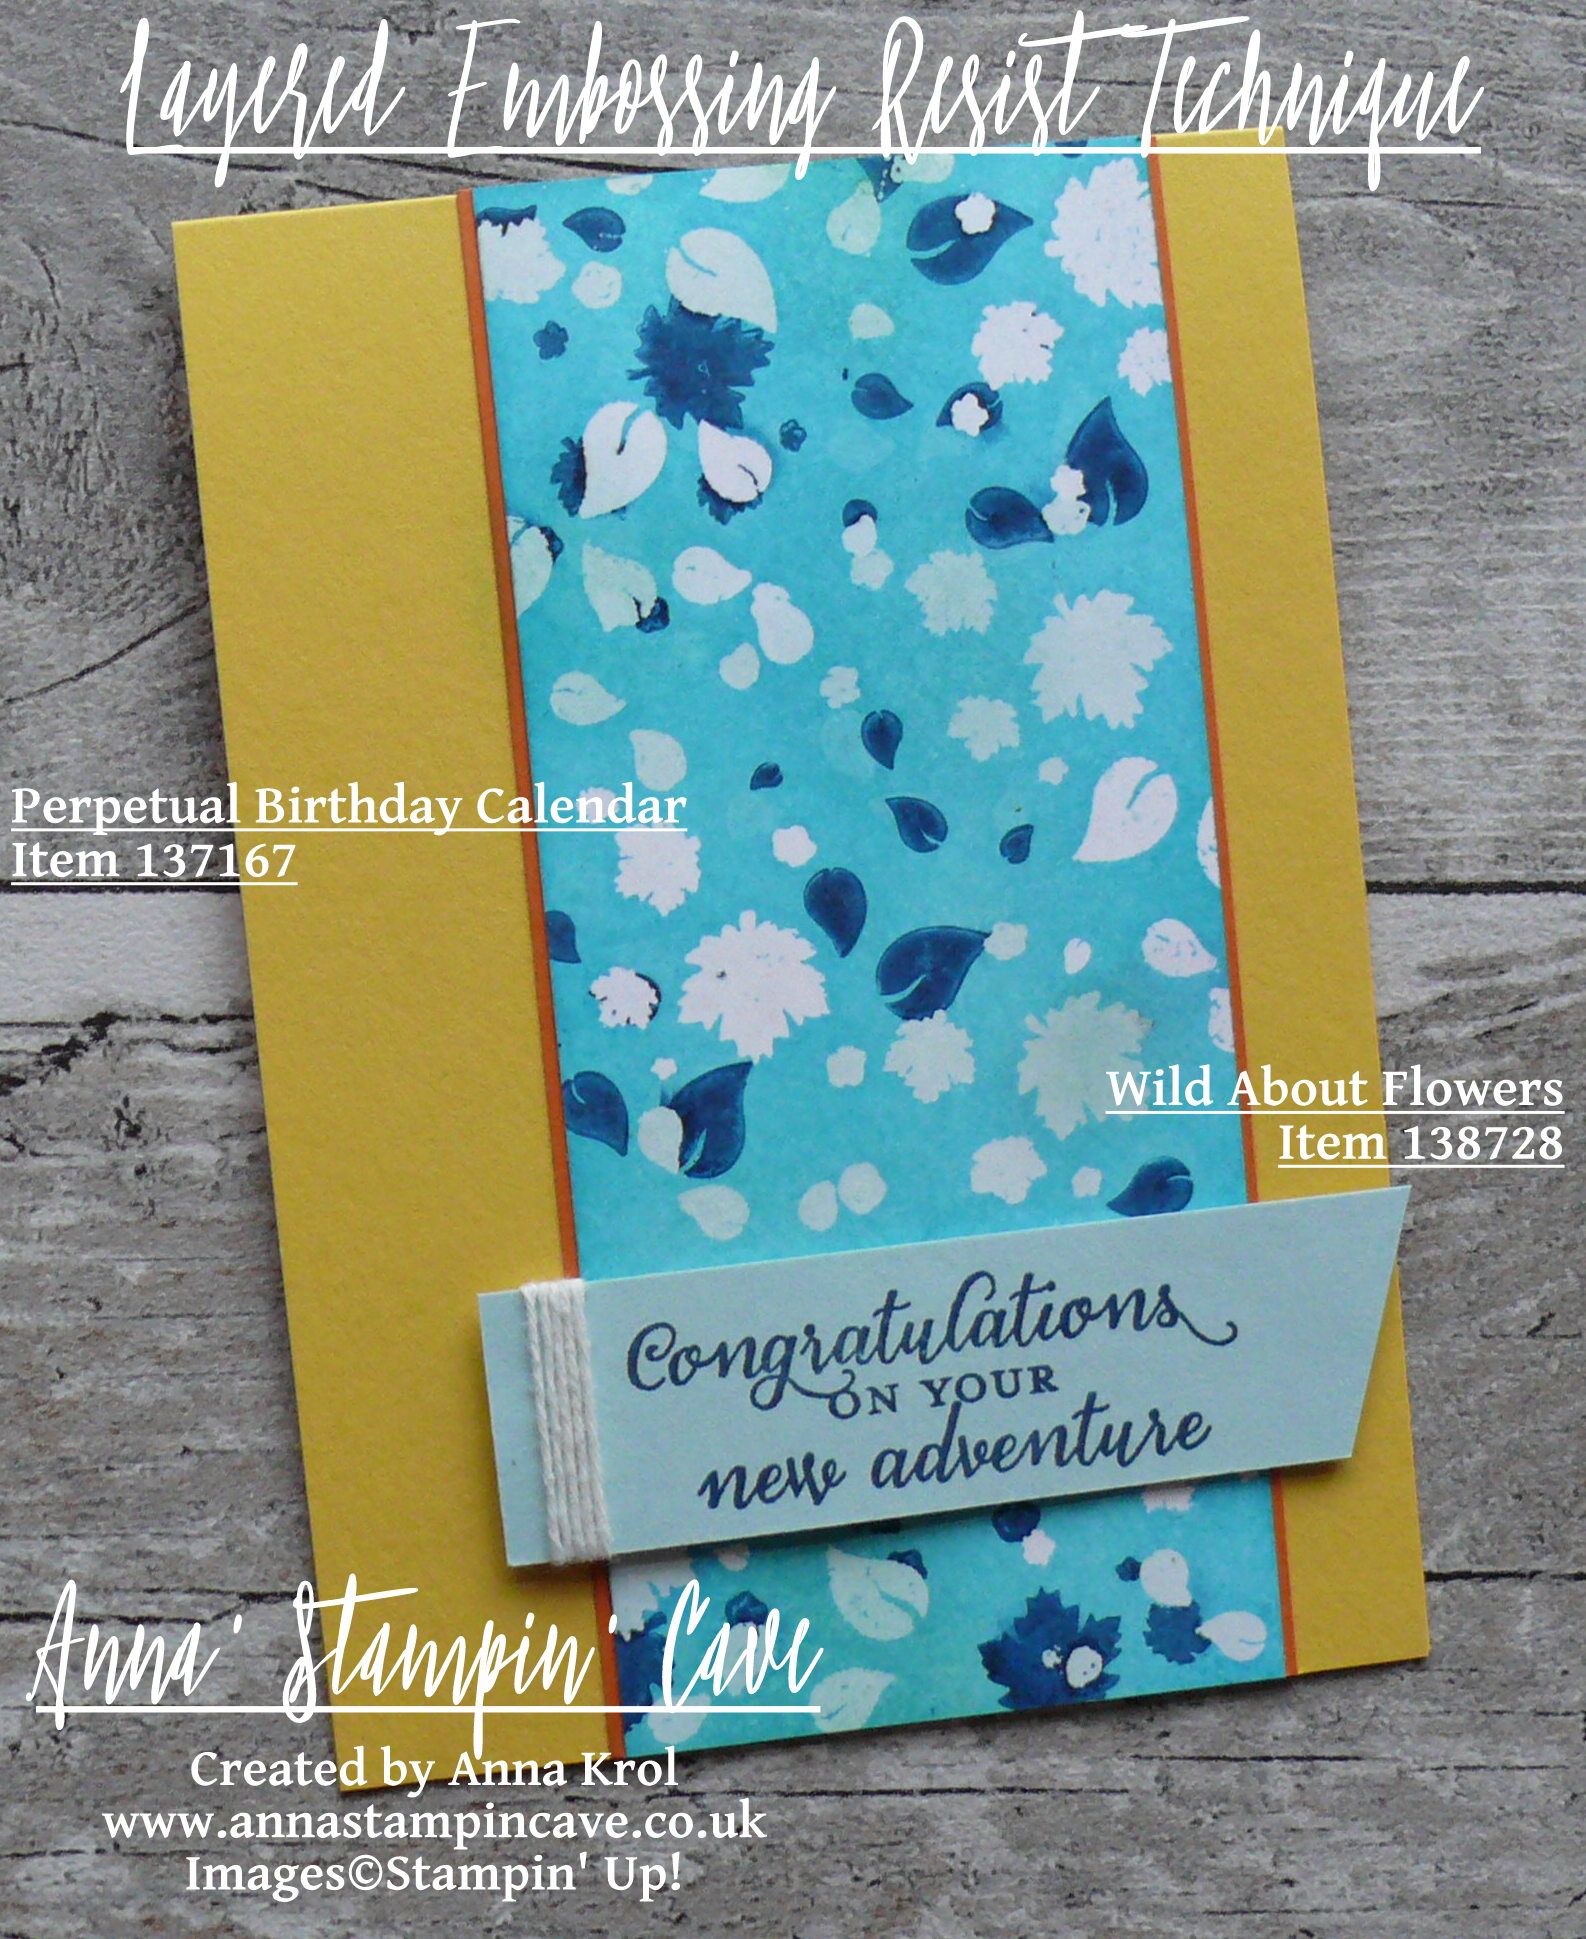
To create this fun background (and a focal point of my card) I decided to use the clusters of leaves from Perpetual Birthday Calendar Stamp Set.

For the first layer, I randomly stamped few clusters of leaves using Versamark ink on Whisper White panel and heat embossed them in clear. Once it’s done, I inked the panel using Soft Sky Ink Pad.

To create the second layer I stamped and heat embossed my leaves in clear again and sponged my panel in Tempting Turquoise. For the last layer, I stamped my leaves in Dapper Denim. Next, I used iron and regular copy paper to remove embossing from the panel.

anna-stampin-cave-layered-embossing-resist-using-perpetual-birthday-calendar-wild-about-flowers-stamp-sets

I added strips of Pumpkin Pie cardstock under my panel and adhered it all to the card base.

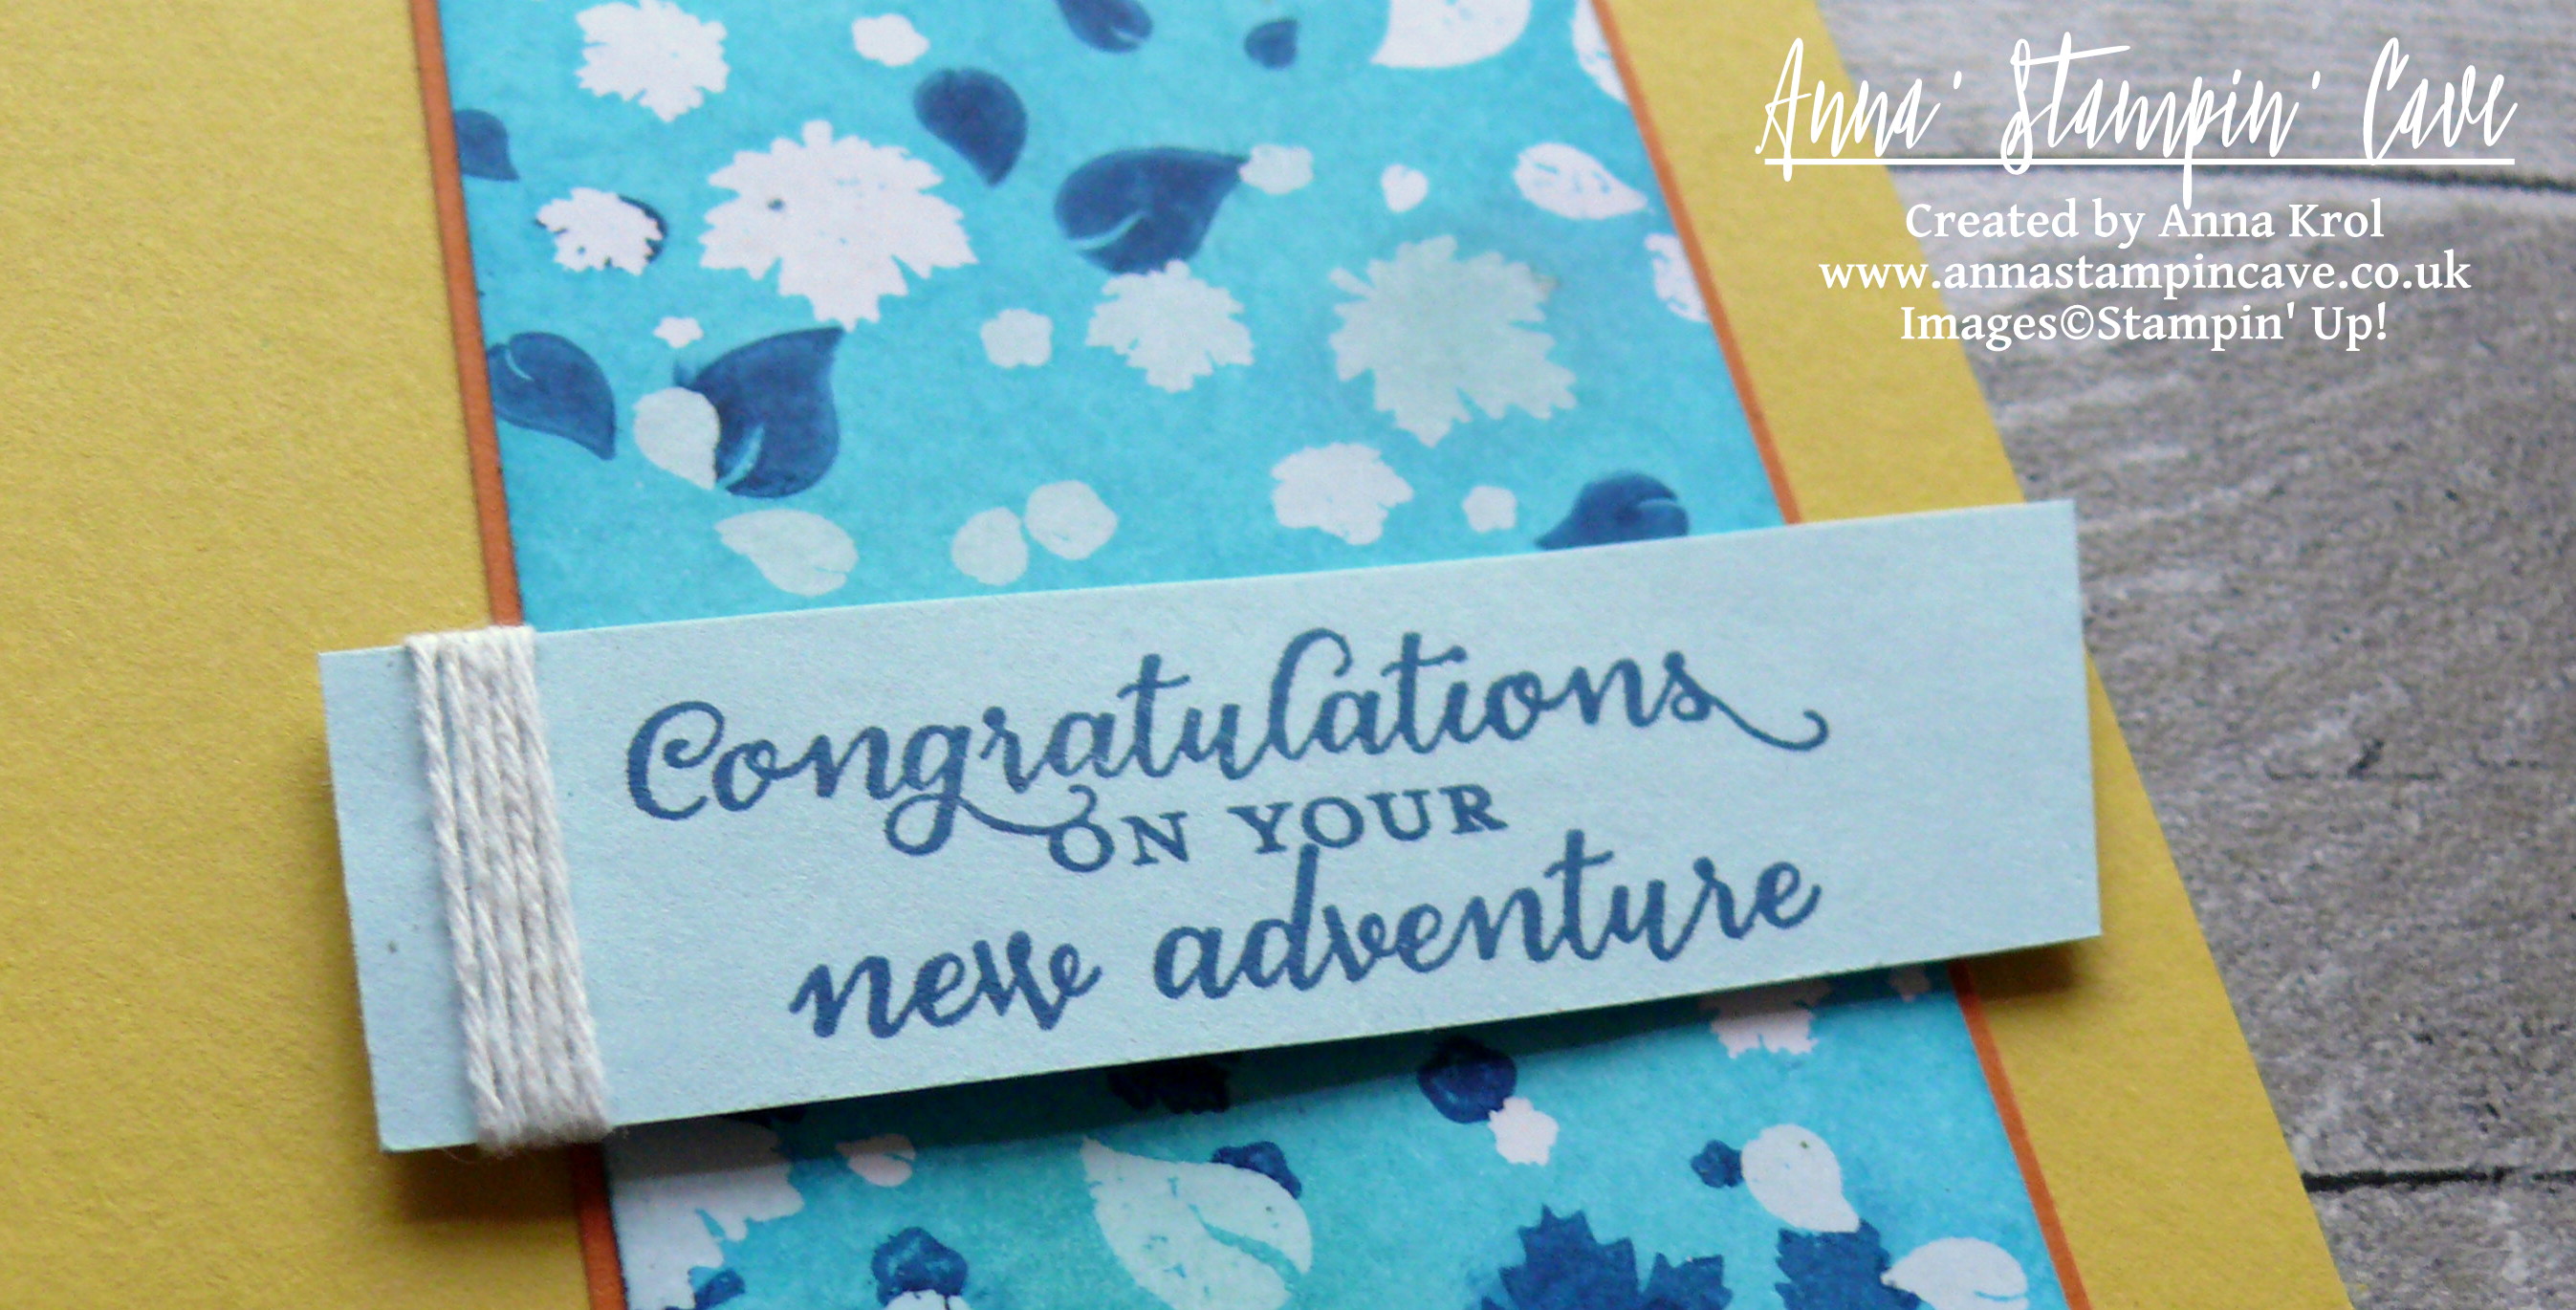
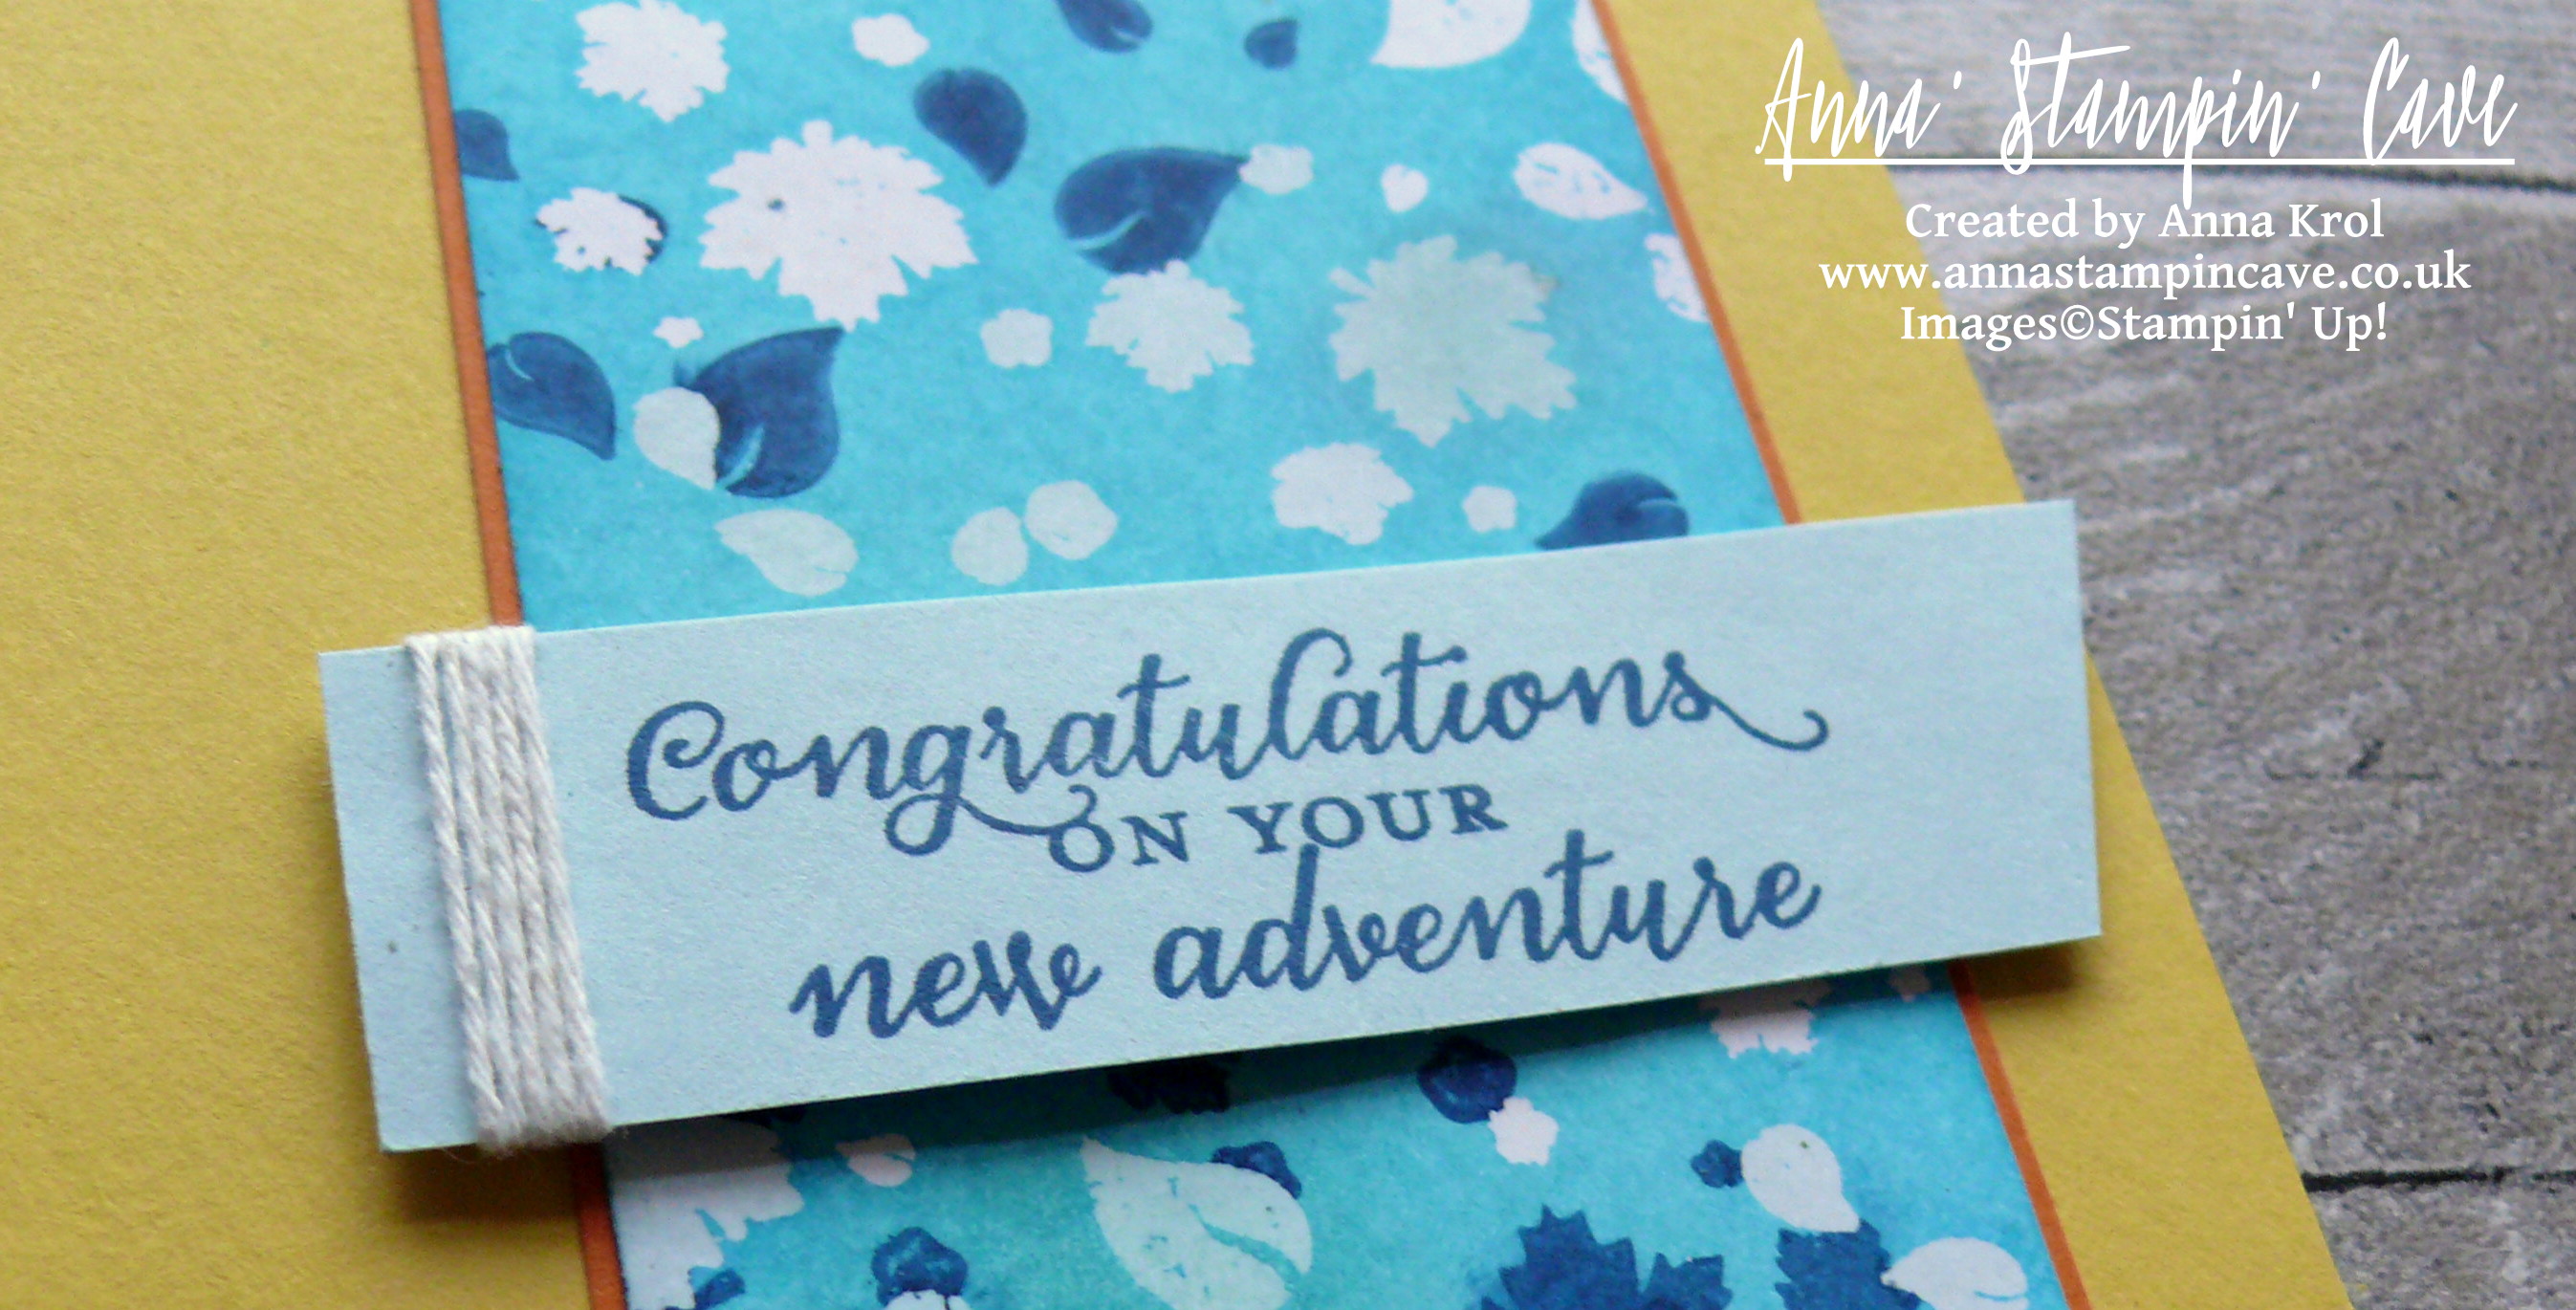
The sentiment is from Wild About Flowers Stamp Set. I stamped it in Dapper Denim on a piece of Soft Sky cardstock and cut one of the ends diagonally creating and wrapped white baker’s twine around the other end. I adhered it to the card base with dimensionals.

anna-stampin-cave-layered-embossing-resist-technique-using-perpetual-birthday-calendar-and-wild-about-flowers-stamp-sets

So this is it from me for today. Very simple card and so different from my usual style, but I quite like it. And I hope you like it too.

As always, I really want to encourage you to visit the Global Design Project challenge blog to see other beautiful projects from all around the world. Just click on their logo below to visit the website

Thank you for stopping by and have a blessed day,

Embossing Resist Technique With Corner Garden Background Stamp By Stampin’ Up!

Embossing Resist Technique With Corner Garden Background Stamp By Stampin’ Up!

Corner Garden Easter Card 4

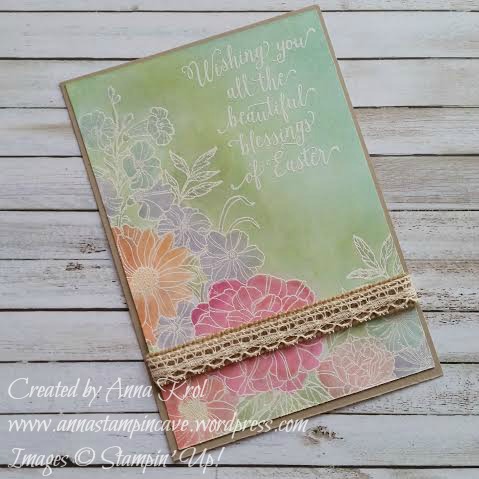
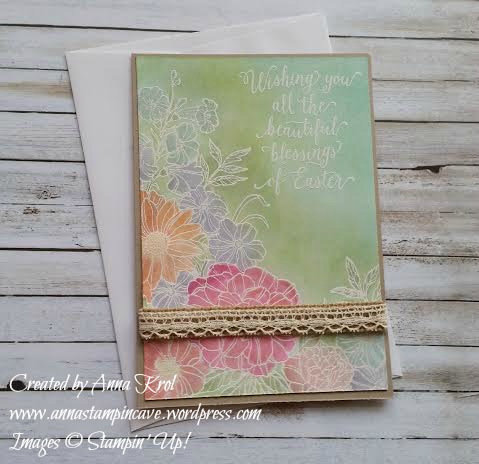
While Easter is just around the corner, today I’ve got for you beautiful Easter card using embossing resist technique. I love this technique as it has a real WOW factor to it! I love how the colours just POP on the card when sponged or water coloured over the heat embossing.

But first thing first – I wanted to apologise for being absent on the blog for a long time. I didn’t mean to neglect anyone of you but I’ve been struggling with a very nasty bacterial chest infection, which knocked me down, literally. I wasn’t able to do anything around the house, or even myself (not to mention crafting). So blessed to have a wonderful husband who took care of the house and our family, cooking, cleaning, etc and most of all – me.

The project I share today was made for our team swap at the end of February. But since the infection kicked in I wasn’t able to share it with you at all.

Corner Garden Easter Card

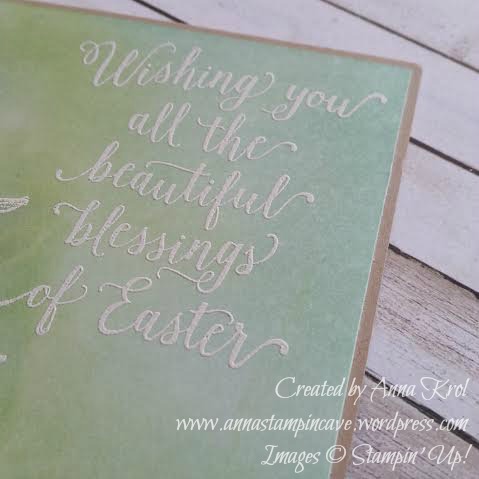
To create my card I stamped a beautiful image from Corner Garden background stamp in Versamark on the piece of regular Whisper White. Remember to always use an antistatic tool on your card before stamping your image if you want to heat emboss it, as it will take all the static from your card, and embossing powder will stick only to your stamped image. The sentiment is stamped in Versamak too. Both: flowers and sentiment are heat embossed in white.

Now the fun part starts – water colouring! You may think: oh no! You should use a watercolour paper. But to be honest, if you don’t plan to soak your cardstock in water, use your aqua painters gently, and your layer will be mounted on the base – you can add your water colouring on regular cardstock without any problem. Just like I did. Believe me or not, I coloured all my flowers and leaves using aqua painter. As they say, the devil is in the detail. You can’t allow aqua paint brush to carry lots of water, it needs to be slightly wet. You only use it to pick the colour from the lid of your ink pad ( to have some ink on your lid you have to squeeze you ink pad gently when it’s closed). And you pick more colour with every stroke or two. You can’t paint with water only as it will damage your paper if using regular Whisper White.

Corner Garden Easter Card 2

When all the colouring was done I sponged the background using Pear Pizzazz, Wild Wasabi and Pool Party. Any place of the background that I thought was too dark, I lightened with Whisper White Craft ink pad. I also lightened the look of some flowers, especially the Melon Mambo one, the large at the bottom of my card. I also added some Clear Wink of Stella to my flowers for a shimmer.

Corner Garden Easter Card 3

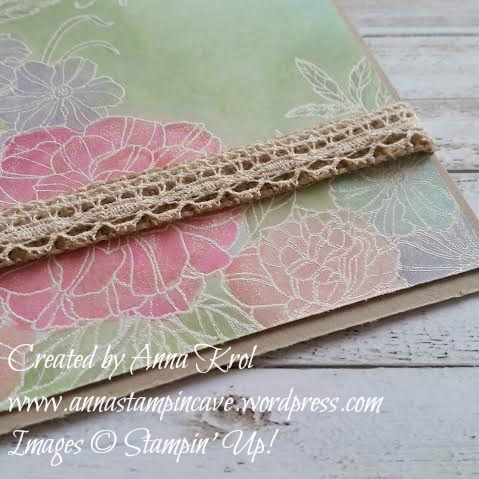
To embellish my card I cut a narrow strip of Burlap Ribbon, added Venetian Crochet Trim at the top and add it at the bottom of my layer. Next, I mount it on my Crumb Cake base.

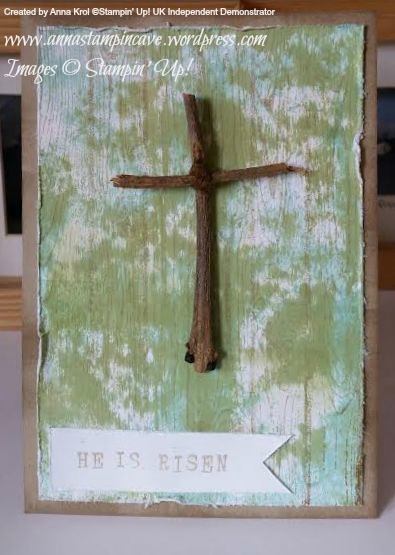
I love that slight rustic feel to my card, even though there’s lots of shimmer on the flowers from Wink of Stella. It may not be your traditional Easter card but I love it! And you can always change a sentiment and make it into the birthday card, get well or congratulations card maybe? Possibilities are endless. If it comes to Easter I personally prefer cards with the strong message like this one I’ve made last year:

he is risen 6

Now I would love to hear from you! Do you prefer more traditional Easter cards? Or maybe you’re a fan of fun and cheeky ones (I’ve seen lots of these lately)? Let me know in the comments below.

Have a blessed day,

Floral Wings By Stampin’ Up! And Pootlers Blog Hop

pootlers blog hop

Thank you for joining us on our second Pootler’s Blog Hop! This Blog Hop is all about new Stampin’ Up!® Annual Catalogue so prepare yourself for lots of beautiful projects and tonnes of inspiration. Simply use the buttons at the end of each post to keep hopping!

If you have arrived here from Keren’s blog thank you for stopping by. I hope you enjoy seeing the inspiration from our team and continue to hop on through to see what everyone has made.

It’s actually my very first blog hop so I’m a little bit nervous but hey – let’s have some fun!

For today’s projects, I’ve chosen gorgeous new hostess set Floral Wings. The idea for today’s cards was born the minute I saw our new 6×6″ Brick Wall Embossing Folder.

blog hop roz 2

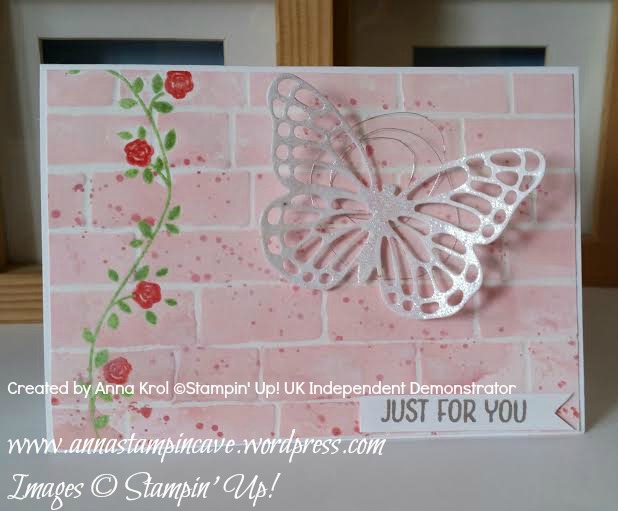
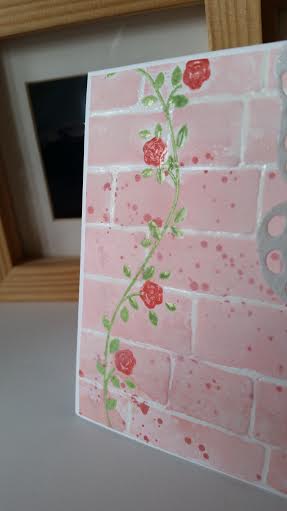
For my top layer, I stamped the vine and roses first before embossing it with Brick Wall TIEF. But I wanted to watercolour my panel so needed my images to be water-proof. To achieve it I ink vines stamp in Versamark first, followed by Pear Pizzazz ink pad – this way once stamped Versamark was on top and I could emboss it with clear embossing powder. I did the same with roses, just used one of our new In Colors: Watermelon Wonder ink pad. The sentiment is stamped in another new In Color: Tip Top Taupe.

Floral Wings Stamp Set

I’ve used embossing resist technique to create the background. I applied Versamark onto the ridges of embossing folder ( on the side that says Sizzix) and run it through the Big Shot with a piece of Whisper White. Then I heat embossed it with clear embossing powder. I used Pink Pirouette, Blushing Bride and Watermelon Wonder to watercolour my panel, and added few Gorgeous Grunge splotches.

Floral Wings Stamp Set

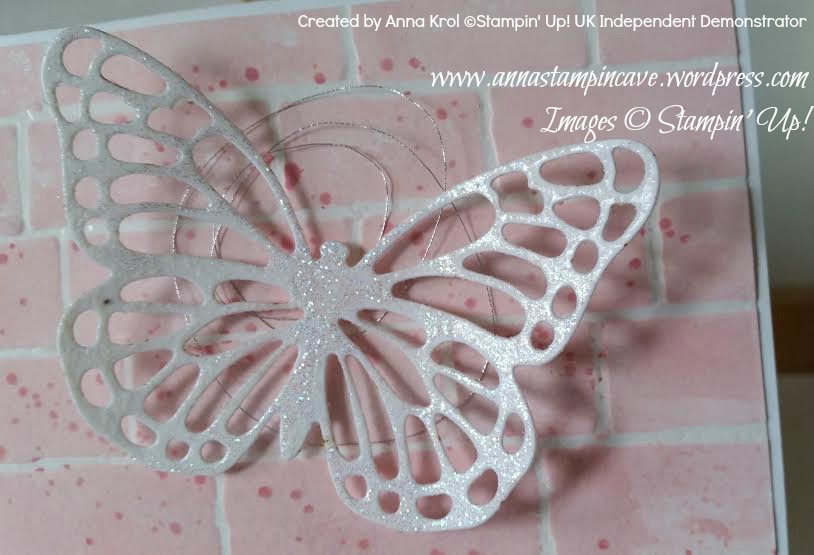
I die cut butterfly from Whisper White and embossed it using Iridescent Ice embossing powder for some sparkle. Tiny bit of new Silver Metallic Thread (L.O.V.E. this stuff!!!) and my card was done 🙂

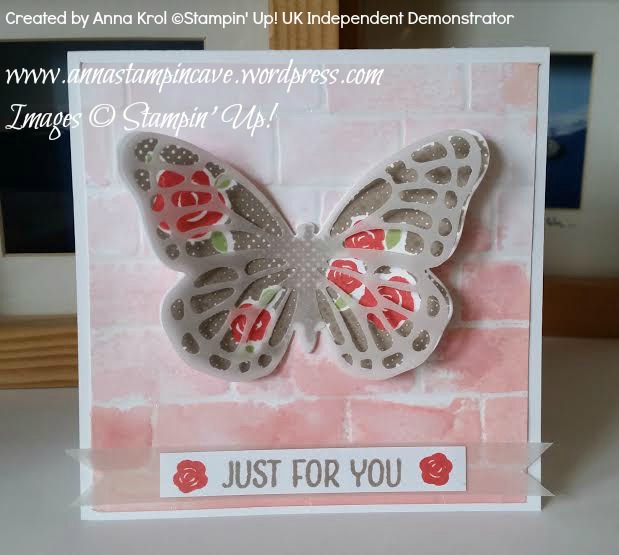
My second card measures 4×4″ and background (panel) is made using the same technique.

blog hop square 2

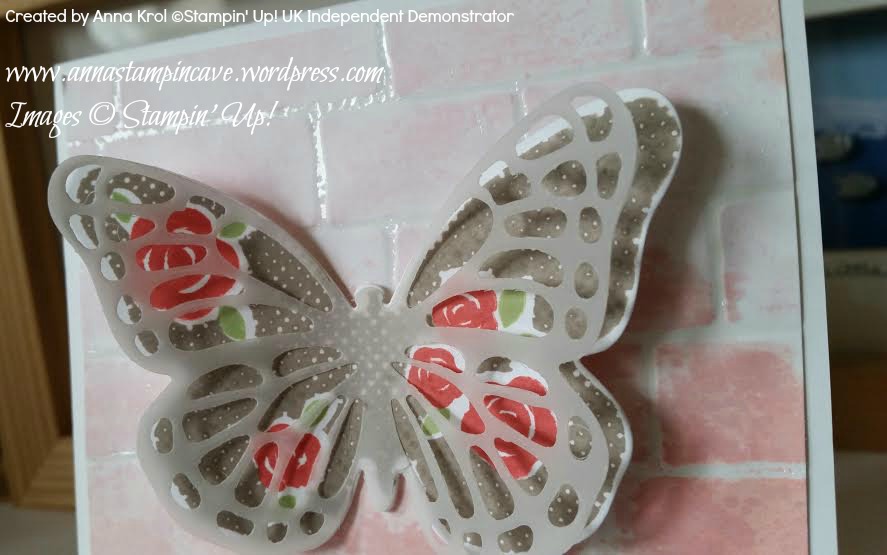
This time for the focal point I’ve used this gorgeous three-step butterfly stamp from Floral Wings set. First I stamped wings in Tip Top Taupe. Next roses in Watermelon Wonder. Leaves are the third step. I’ve used (again) Pear Pizzazz. I die cut the butterfly using new Bold Butterfly Framelits, but if you don’t have dies you can also fussy cut it. The second butterfly is die cut from vellum, this time with Butterfly Thinlits Die. I layered them together to add some more interest and dimension to the card.

blog hop square

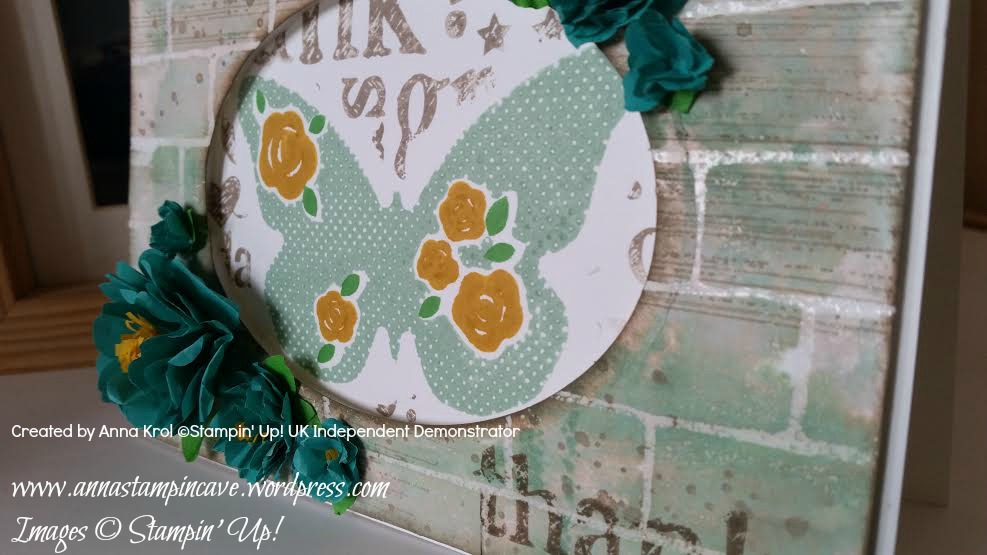
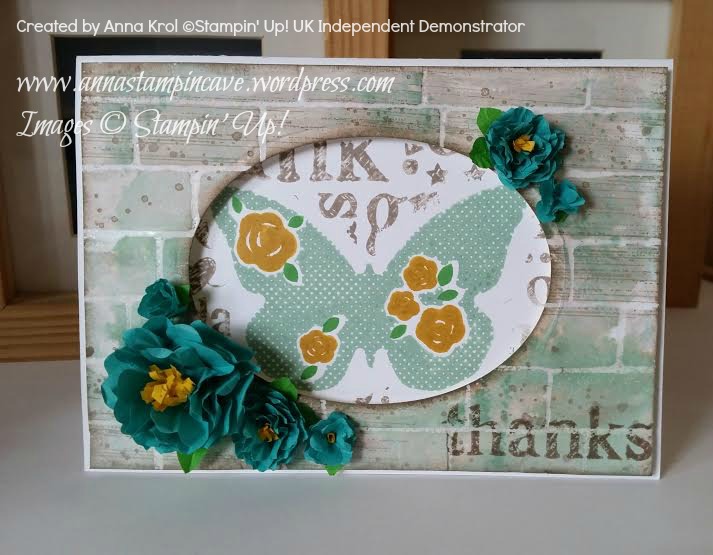
My last card for today uses same technique and stamp set like previous cards – just completely different style and different colours. I also used new background stamp A World Of Thanks and Cotton Paper. And again – I love this stuff! I know that many people got mixed feelings about it but I truly, deeply love it 🙂 Cotton paper is quite thin, like a tissue paper, but is much, much stronger. Really hard to tear it’s perfect for making flowers. It die-cuts beautifully but if you want to use punches (like me in this project) bear in mind that you need to punch through several layers at a time, otherwise it won’t punch. But enough talking – here’s my card:

blog hop blue 2

I won’t go into details how I made the entire card, but…

blog hop blue

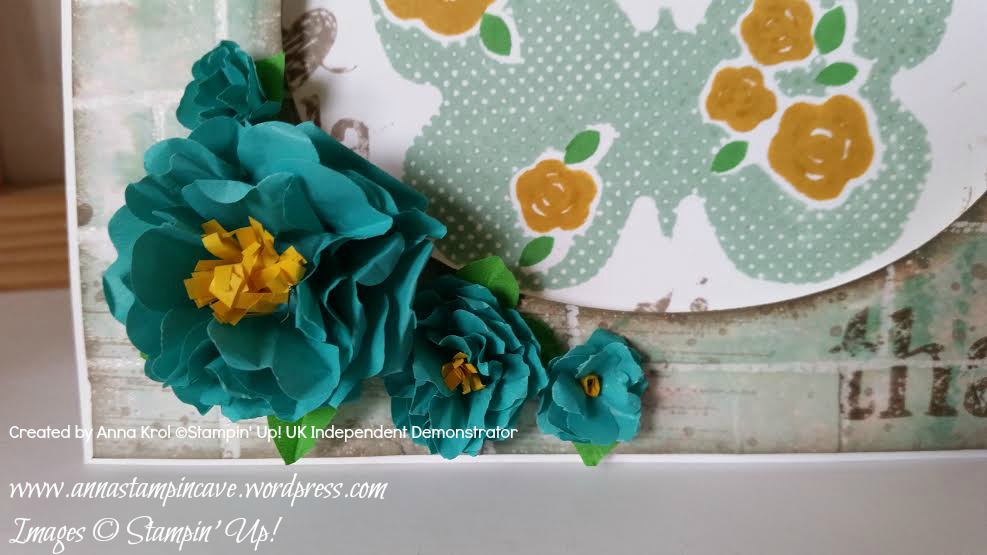
For flowers, I’ve used Bermuda Bay cotton paper and three different punches: Pansy Punch for the largest one (six layers), Petite Petals Punch for medium flowers (six layers) and little flower from Itty Bitty Accents Punch Pack for the tiny ones (three layers for each flower).

blog hop blue 3

To make leaves I’ve used Petite Petals and Flower Medallion punches and Cucumber Crush cotton paper. For the flower centres, I’ve used 2/8″ wide and around 2″ long strips of Crushed Curry cotton paper. I do not own fringe scissors however it wasn’t that hard to make tiny cuts (halfway) through those strips. Adhered them with Tombow glue.

I really hope you’ve enjoyed my projects today. Which one is your favourite? Feel free to leave a comment below. Next stop is lovely Jerim at Willow Piggy. I’m sure she’s made something beautiful for you.

   next blog

previous blog

Thank you for stopping by,