Timeless Love Wedding Card – Colouring On Vellum Technique

Anna’ Stampin’ Cave Timeless Love Wedding Card – Colouring On Vellum Technique

Hello! Today I wanted to share with you this beautiful card I created for my card swap teamie last month. Our theme was ‘Wedding Bells’ and I think this card fits perfectly.
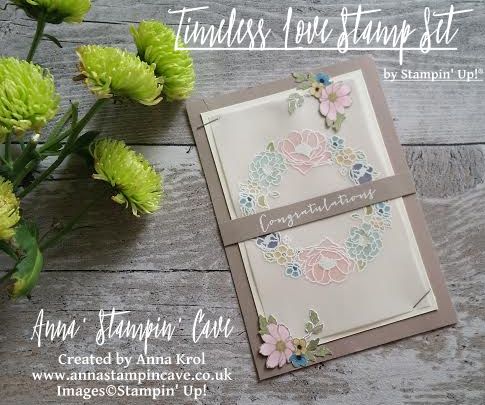
Timeless Love Wedding Card with Vellum Panel

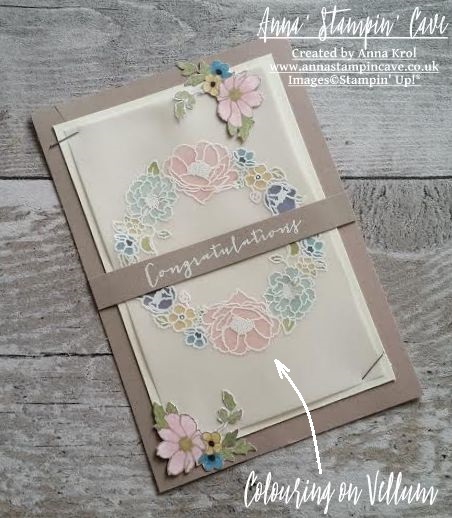
I think I forgot how amazing working with vellum is. There are so many techniques you could use it for. And my card shows just one of them: colouring on vellum. It’s a really easy technique that even a newbie could do. And it adds that extra OOMPH to your card too 🙂

First, I stamped this floral arc from Timeless Love Stamp Set onto my vellum panel with Versamark Ink. I’ve stamped it twice to create a wreath. Of course, I’ve used my embossing buddy before stamping (any anti-static product will work). Next, I heat embossed it using white embossing powder. TIP! You probably know that already but just in case: When heat embossing on vellum make sure you pre-heat your heat gun. Just switch it on and let it warm up for 30 seconds or so, before hitting the vellum. I usually heat the back of the vellum, which prevents any unwanted warping.
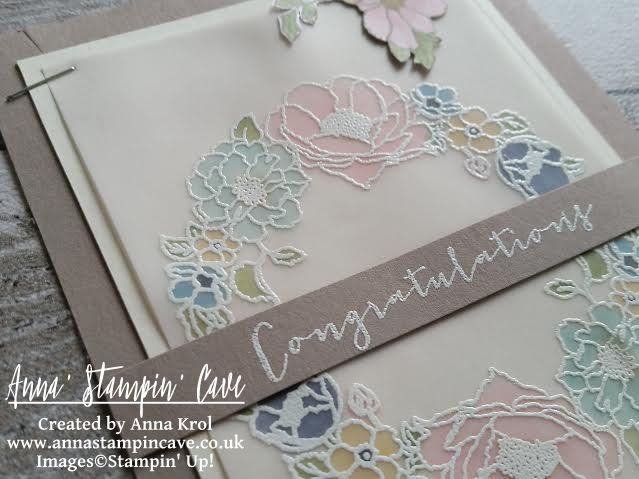
Timeless Love Wedding Card Vellum Panel

Now to the fun part: colouring! It’s so easy to add colour to the image heat embossed on vellum. I just chose my favourite markers and colour on the back of the vellum. The colours I’ve used are Pink Pirouette, Marina Mist, Pear Pizzazz, So Saffron, Soft Sky and Wisteria Wonder.

It doesn’t have to be perfect: vellum is semi-transparent so it’s very forgiving, and you can’t really see marker strokes on the other side.

Once the colouring was done I stamped two flower clusters from the same set on some Whisper White cardstock, coloured them in with blender pen and fussy-cut them.

Now to assemble the card. I took my vellum and adhered it onto the Very Vanilla panel using glue dots, I hide them behind flower centres. Next, I adhered it to the Tip Top Taupe base. I’ve used the clusters of flowers I fussy-cut earlier, to secure the vellum on two opposite corners, and I also used simple stapler on the other corners. I love how simple stapler can add character to the card!

For the sentiment, I cut a strip of Tip Top Taupe cardstock, heat embossed ‘Congratulations’ in white and I’ve added it to the middle of my card, between two arcs.
Timeless Love Congratulations Card

I really hope you like my project, and that I inspired you to try, and have some fun with vellum too. As always, if you wish to purchase any of the products I have used, simply click the images below to go directly to my online shop and don’t forget to enter the hostess code for the month of July GUHXWAR6, to receive a gift from me.

I’m adding my card to:

Thank you for stopping by and have a blessed day,

Simply Sketched Saturday Challenge #9 – Time To Split!

Simply Sketched Saturday Challenge #9 – Time To Split!

SSSC Header

Thank you for joining us for another Simply Sketched Saturday Challenge!  We’re so excited to be sharing this hop with you. The products used are all available in the current Annual, or seasonal, Stampin’ Up!®  Catalogues*. Simply use the buttons at the bottom of the post to keep hopping!

Today’s sketch was designed by talented Karen from Lilliputcrafts.

SSSC 9

I have to admit I was stumped when I saw this sketch, and my mind just went blank. Like mo ideas at all!! But two days ago? Eureka! A lightbulb moment! So here’s my take on the sketch:

Balloon Celebration

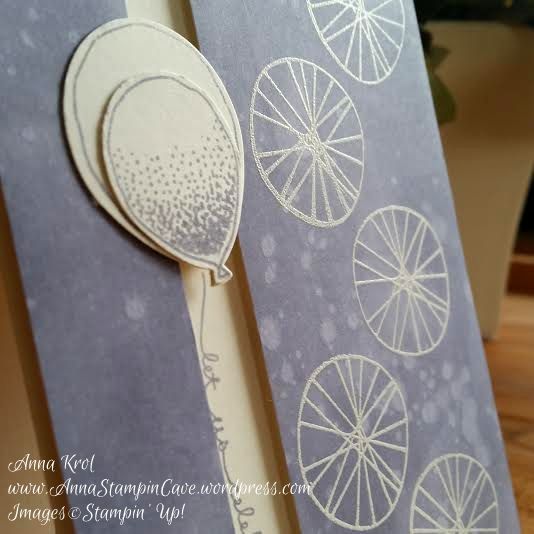
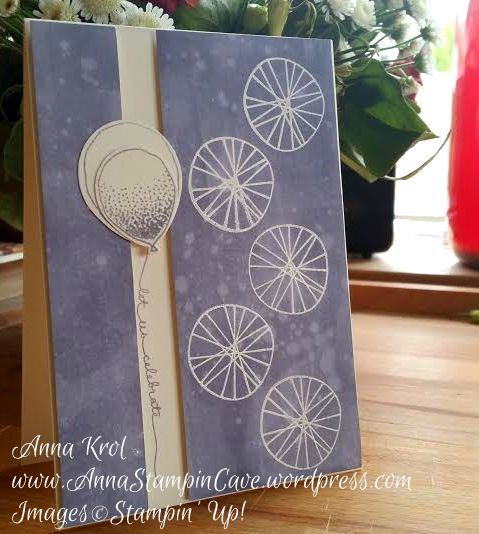
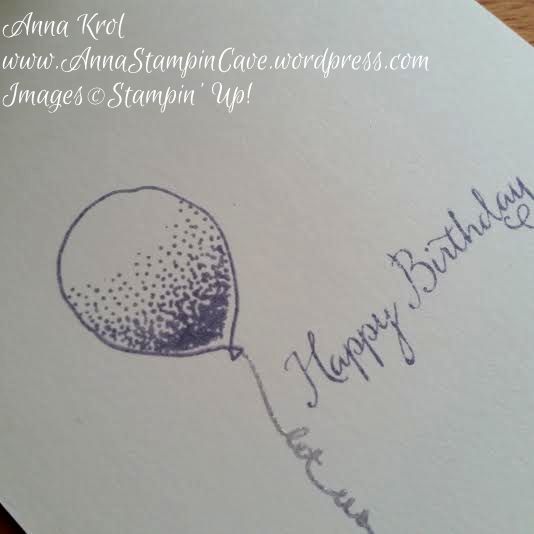
I don’t know if this technique has any name, but I’ve noticed that splitting your card fronts is quite a big trend lately. And I really wanted to give it a go. And as unusual for me, I only used one stamp set to make my card: Balloon Celebration. Shock, right?! 😉

Balloon Celebration 2

The base of my card is A6 top folded Very Vanilla because I run out of Whisper White when making my swaps for OnStage…oops 😉 Actually the last piece of WW (4″ x 5-6/8″) I’ve used to create panel for this card., seriously haha

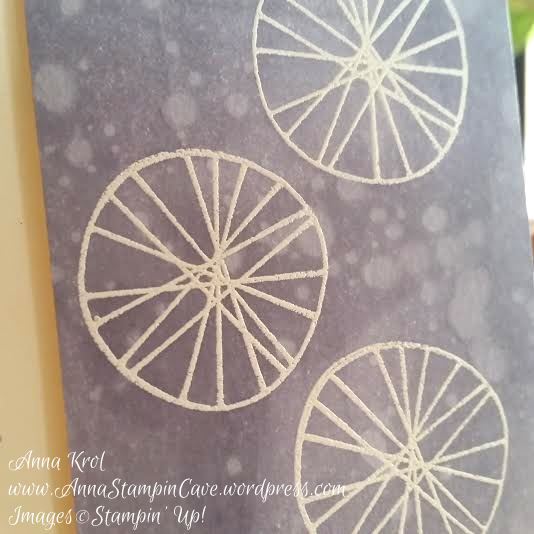
First, I stamped the circles (quite overlooked stamp in Balloon Celebration set) in Versamark and heat embossed them in white. Next, I took Wisteria Wonder ink pad and swoosh it through the panel until it was all covered in beautiful lavender colour. This technique seems to add texture to the card as it’s not flat solid colour.

Balloon Celebration 3

To add even more texture I sprinkled some water on my panel. I love to watch how ink reacts with water. Remember, for this cool effect, you have to sprinkle your water as soon as possible. And you have to immediately wipe off the water with paper towel. Otherwise, you will ruin your panel (ask me how do I know lol). When my panel was dry I cut it: the wider piece, with circles, measures 4″ x 2-1/2″ and the other piece measures 4″ x 1″.

Balloon Celebration 4

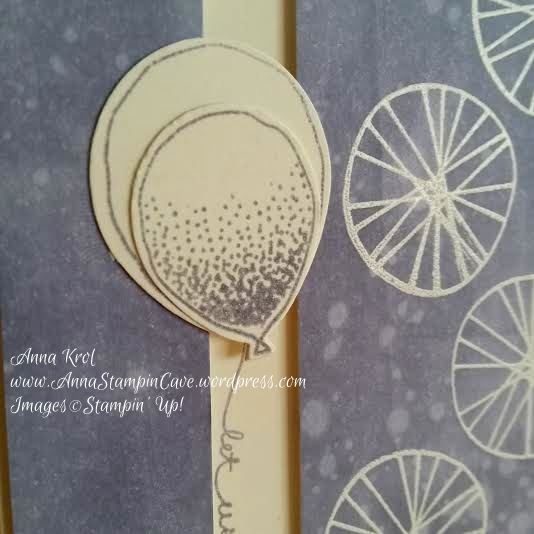
The split we’ve got left is the perfect spot for our sentiment. I’ve used this cool “let us celebrate” balloon string. I attached the panels with dimensionals. Next, I stamped and punched two balloons from a piece of Very Vanilla (one small and one large), glued them together, and add them above the split. So it looks like the sentiment is actually a string hanging from balloons. I love it! I stamped the inside of my card too.

Balloon Celebration 5.jpg

Do you like my project?! If so please leave me a comment. I would love to hear from you!

Now, be sure to hop along and see more inspiring projects. Your next stop is Suzanne’s blog  go and see what she has made for you.

Thank you for stopping by and have a blessed day!

SSSC Previous   SSSC Next Blog

Ink Smooshing With Bloomin’ Hearts Thinlits Dies

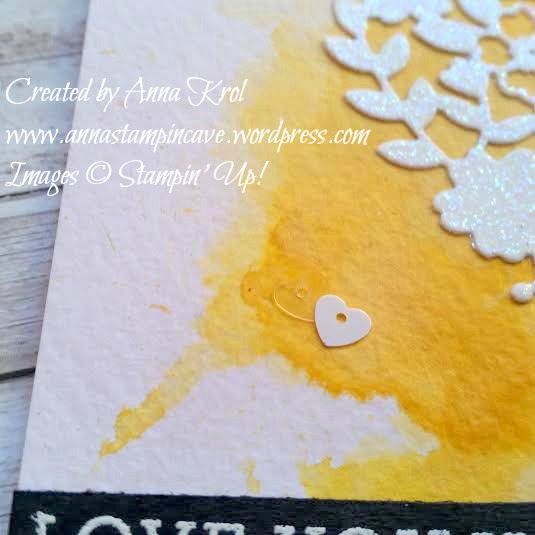
I have to say when I first saw Bloomin’ Hearts Thinlits Dies in new Stampin’ Up! Spring Summer Catalogue I couldn’t wait to put my hands on them and try ink smooshing technique.

bloomin love 2

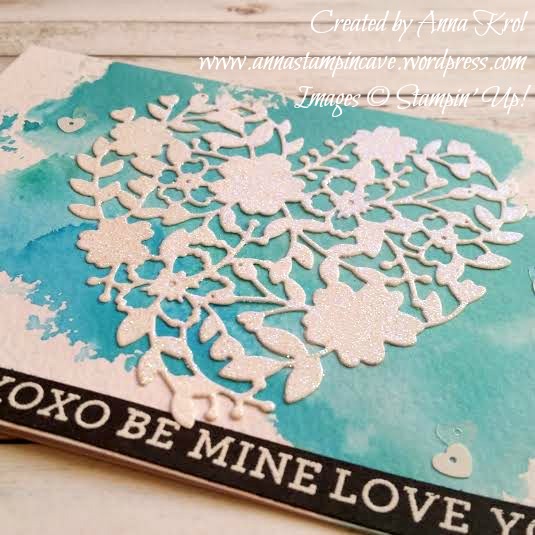
Aren’t these awesome?! And ink smooshing is childishly easy. All you need is a piece of acetate or craft mat, you can use a plastic packaging too (any sleek surface works really).

bloomin love yellow 2

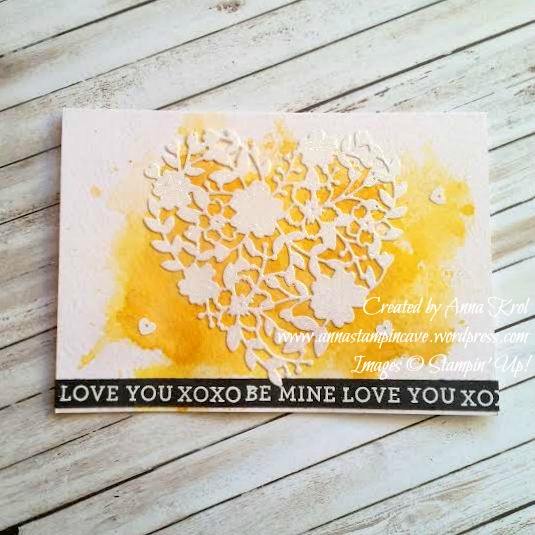
Then you choose the colours you want to use on your card and you simply smoosh them onto your surface. Spritz it with water and dip your card into the ink droplets. Let your card dry completely before you add more colour.

bloomin love yellow

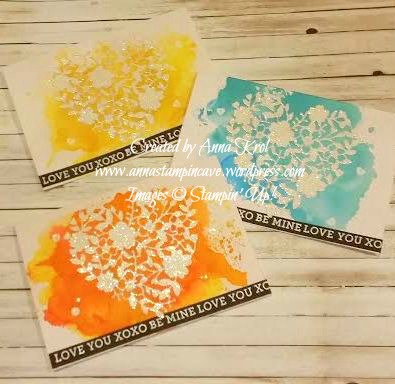
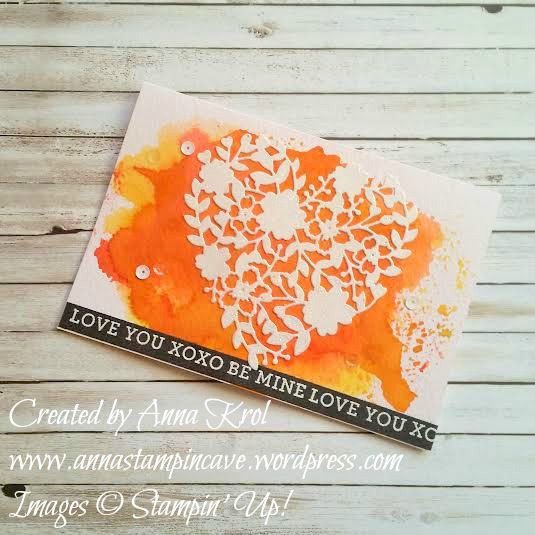
For my cards, I decided for really bright, intense colours. But you can make it as soft as you wish just add less ink and more water. And I have to say here I highly recommend using watercolour paper with this technique.

bloomin love orange 2

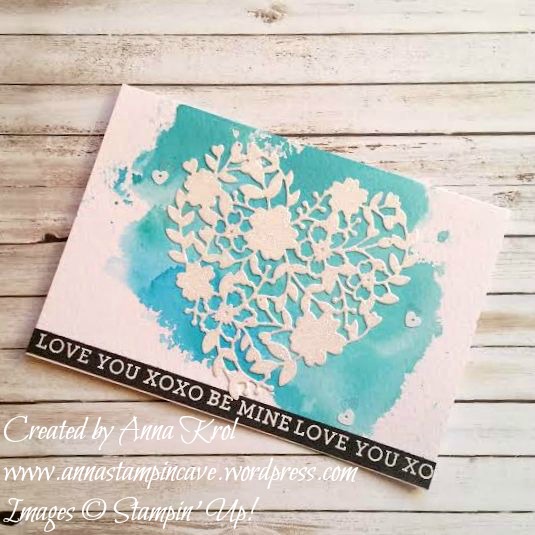
I’ve used the same design for all my cards. I die-cut hearts from a piece of Whisper White cardstock using Precision Base Plate. Trust me you need this plate! It’s perfect for more detailed thinlits dies to give you extra fine cuts. I saved the negatives (not tiny bits just “frames”) for another project.

bloomin love orange

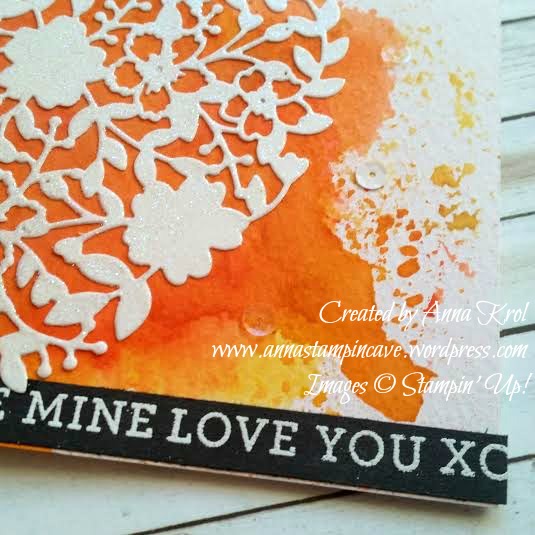
I then dabbed my die-cuts in Versamark and heat-embossed it with Iridescent Ice embossing powder. I love the gentle bling/shimmer it gives.

bloomin love blue 2

I wanted the sentiment to really stand out so I took a strip of Basic Black c/s and stamped my sentiments in Versamark and heat embossed them in white.

bloomin love blue

To finish off my cards I added few white and clear sequins from Metallics Sequin Assortment.

I love how these turned out,  really pleased! I know these are not typical cards you would think off for Valentine’s Day, but I love the unusual.

Thank you for stopping by,

Lotus Blossom Gorgeous Grunge And Gold Fancy Foil Vellum All About Kindness + Bonus Free Gift

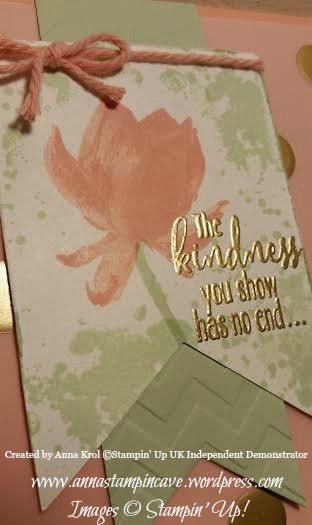
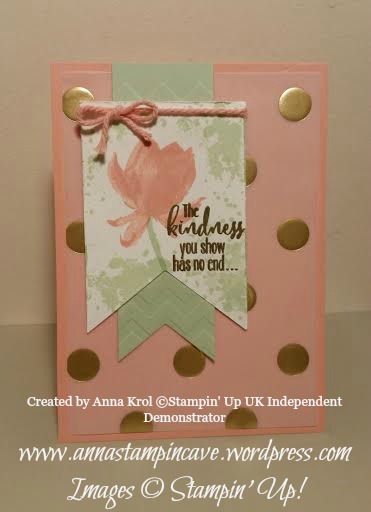
Lotus Blossom is so far the most popular Sale-A-Bration product. And I’m not surprised at all. This gorgeous three step stamping stamp set is very versatile, and flowers look like hand-painted. It comes with two sentiments: simple “thank you” and absolutely beautiful “The kindness you show has no end…”. And this sentiment I’ve used in today’s card.

I wanted to keep this card sweet and gentle so decided to use Crisp Cantaloupe for card base and Pistachio Pudding for banner. I’ve layered the base (standard A6) with piece of Gold Fancy Foil Designer Vellum. Pistachio Pudding banner measure 1 1/2″ x 4 1/2″, and is dry embossed with Chevron Embossing folder to add some texture to the card.

sweet 1

I took a piece of Whisper White and cut it into banner that measures 2 1/2″ x 3 1/2″ and distressed the edges. Then stamped Lotus Blossom in Crisp Cantaloupe. Added little stem in Pistachio Pudding. But it was missing something, so decided to stamp some splotches from Gorgeous Grunge. Sentiment is stamped in versamark and heat embossed with Gold Embossing Powder – LUSH, and it fits the vellum.

Before I put the card together I decided to add Crisp Cantaloupe Thick Bakers Twine (in Weekly Deals offer this week) to my white banner. To avoid visible traces of glue under vellum I used glue dots – perfect, as they are hiding under gold dots. For the rest of the card I’ve used snail adhesive. Less then 10 minutes and card is done 🙂

sweet 2

I love this card. It looks exactly the way I wanted 🙂 Soft colours, and a WOW factor with gold embossing and vellum. And all done in 10 minutes – it’s a win win 🙂

Thank you for stopping by,