Halloween Treat Holders With Popcorn Box Thinlits Dies

Hello, everyone! From today, for every Thursday, for the next 5 weeks, I’m gonna showcase My Hero Stamp Set by Stampin’ Up!Stampin' Up! My Hero Stamp Set
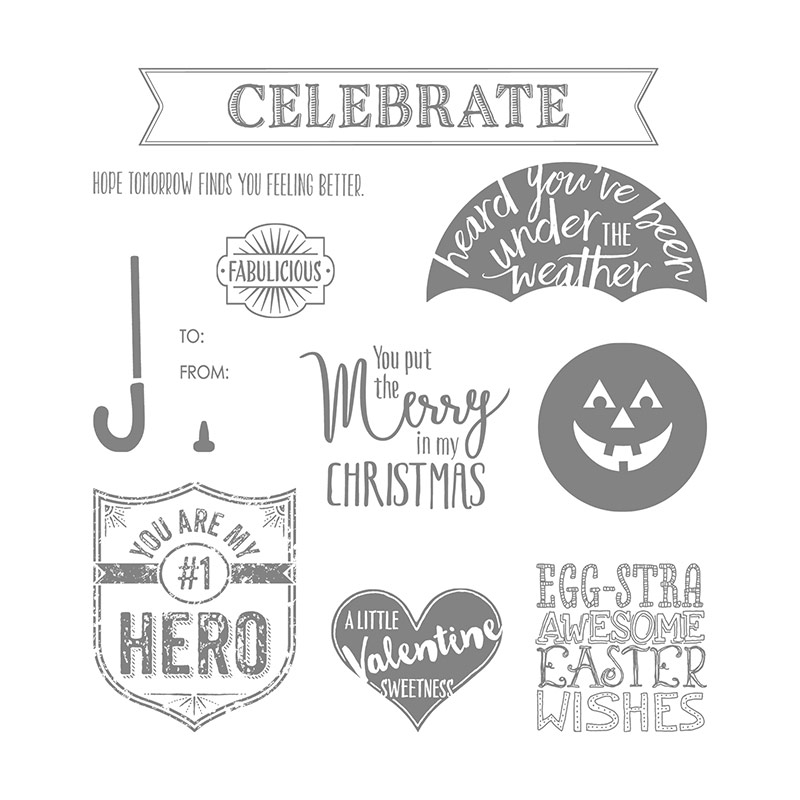
The stamp set is called ‘My Hero’ and what’s amazing about this particular set is that it’s a Ronald McDonald House Charities Stamp Set.

If you haven’t heard about it, here’s how it works: through the Making a Difference program, which Stampin’ Up! launched back in 2003, we partnered with Ronald McDonald House Charities (RMHC). Each year, Stampin’ Up! design an exclusive stamp set to promote the partnership with RMHC, and donate a portion of the proceeds from each sale of that set. To date over $1.5 million has been donated from RMHC stamp set sales!

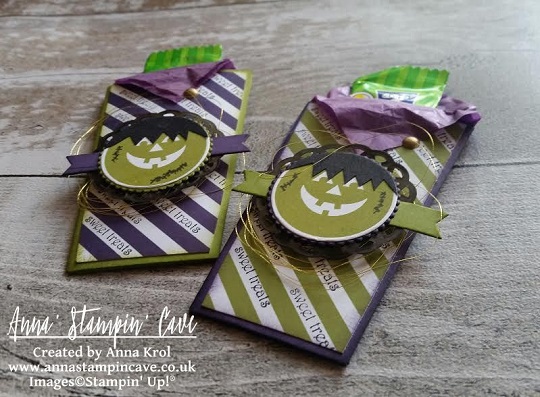
But let’s get back to my project. For this week I’ve decided for something fun and created these Halloween treat holders using Popcorn Box Thinlits Dies.
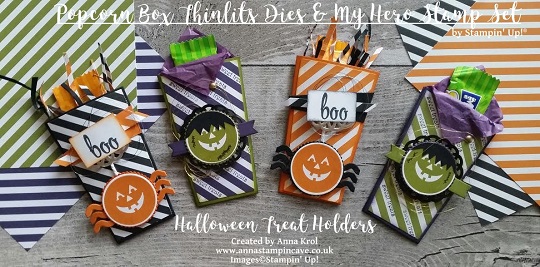
Anna' Stampin' Cave Stampin Up Popcorn Box Die Halloween Treat Holders

Aren’t these cute?!! You won’t believe how quick and easy they are to make. For each holder, you only need one die-cut piece (for the box you need two). Next, you trim the larger flap, varnish well all the score lines and use a strong adhesive. I’ve used Tombow Multipurpose glue.
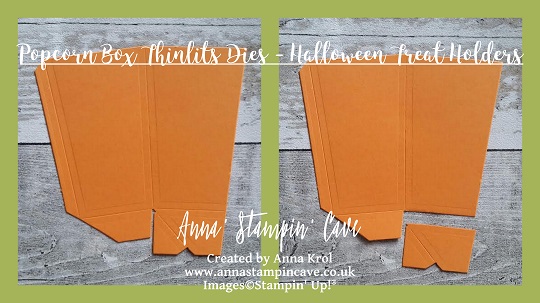
Anna' Stampin' Cave Stampin Up Popcorn Box Thinlit Dies Halloween Treat Holder

To create panels from Designer Series Paper you just simply die-cut the box and hand cut them following shallow lines created by the die.

For my treat holders, I’ve used two different colour combinations: Basic Black with Pumpkin Pie and Elegant Eggplant with Old Olive. I think these colours suit Halloween perfectly.

I’ve used ‘face’ stamp from My Hero Stamp Set, which I believe supposed to be a pumpkin face (!!?), and created these uber cute spiders. For their legs, I’ve used a wavy die from Popcorn Box Thinlits Dies. And yes, I know that spiders supposed to have 8 legs, but come on! These are mine and they only have six lol The sentiment is stamped using  Brushwork Alphabet Stamp Set and the panels underneath are just cut-outs I have left after die-cutting the box itself. These tiny strips of paper in my treat holders are also created using cut-offs. I love it – cute and frugal! For a final touch, I’ve added a piece of Metallic Foil Doily in Silver and also Basic Black and Silver Metallic Threads under the sentiment.
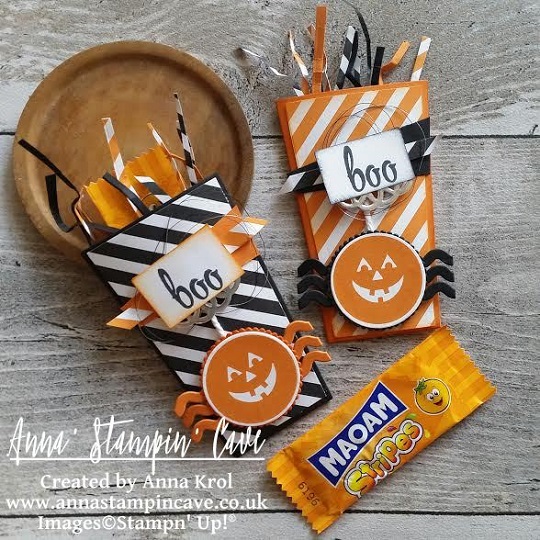
Anna' Stampin' Cave Stampin Up Popcorn Box Die Halloween Treat Holders Basic Black Pumpkin Pie

Elegant Eggplant with Old Olive treat holders I have turned into cute Frankenstein. For the hair, I die-cut a circle from a piece of Basic Black cardstock and gave him a trim with scissors. Not that I’m talented hairdresser but hey, for Frankenstein it’s just perfect.
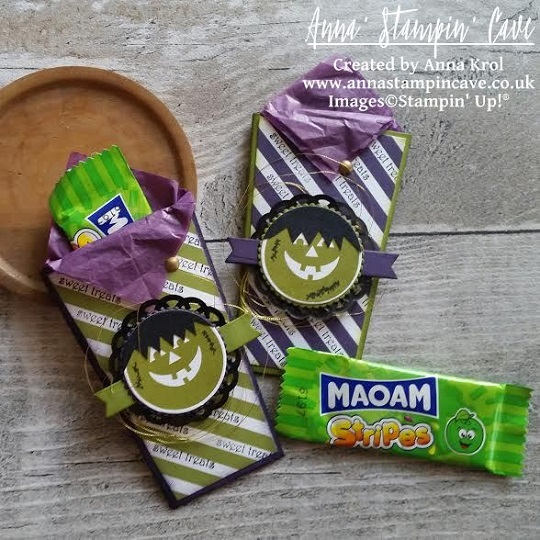
Anna' Stampin' Cave Stampin' Up Popcorn Box Die Halloween Treat Holders Elegant Eggplant Old Olive

To create black doilies I took the smallest of Metallic Foil Dollies and deepen them in Basic Black Archival ink pad. Remember to set them aside for a while, as it takes some time before the ink dries. I also added few loops of Gold Metallic Thread under the doily. For the sentiment, I’ve stamped (randomly) ‘sweet treats’ from Teeny Tiny Sentiments Stamp Set on the diagonal white stripes. I put some purple tissue paper into my treat holders. I coloured the smallest dot from White Perfect Accents, using a golden sharpie – it holds the overhung tissue paper in place.
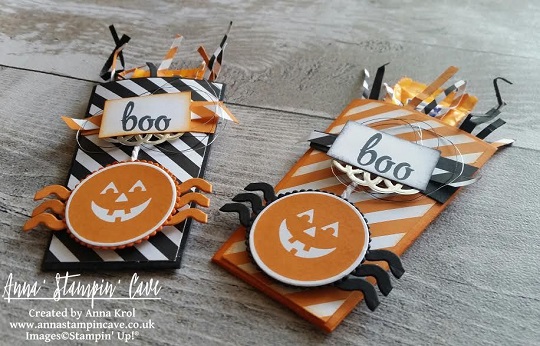
Anna' Stampin' Cave Stampin Up Popcorn Box Die Halloween Treat Holders Pumpkin Pie Basic Black

Anna' Stampin' Cave Stampin Up Popcorn Box Die Halloween Treat Holders Old Olive Elegant Eggplant

So here they are! I really hope you like my little project and that you will try to make these cute treat holders yourself. These would be super cute for Christmas treats too.

Thank you for stopping by and have a blessed day,

Pootlers Annual Catalogue Blog Hop – One Wild Ride

pootler's blog hop

Thank you for joining us on another Pootlers Blog Hop! We’re showcasing lots of gorgeous projects using products from the new Stampin’ Up!® Annual Catalogue. Simply use the buttons at the end of each post to keep hopping!

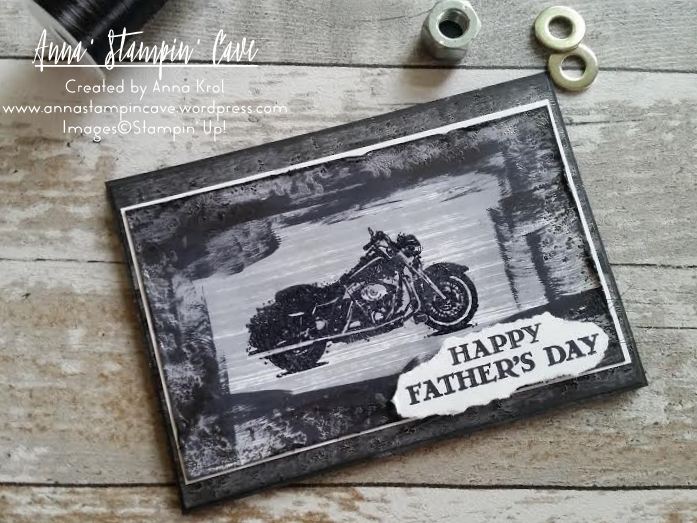
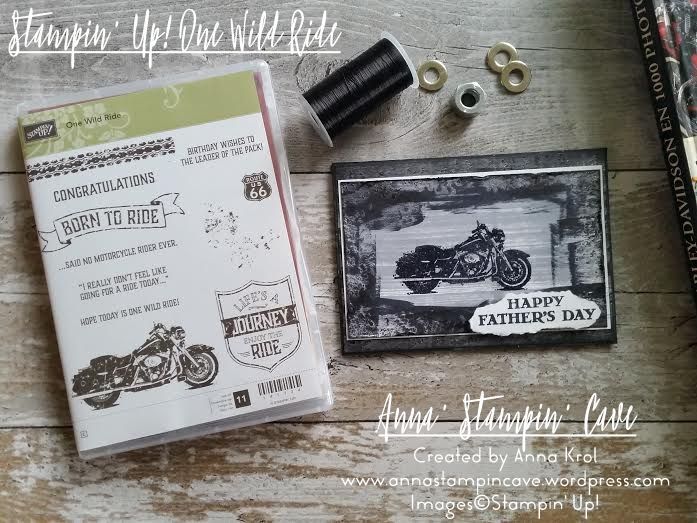
I hope you had a chance to look through our Annual Catalogue and you’ve got your favourites already. For today’s project, I’ve used One Wild Ride Stamp Set from page 115, to create a Father’s Day card for my hubby.

Why did I choose this set? As a teenager I was a rebel girl: I was listening to Gun’s N’ Roses, Aerosmith and other rock stars, wearing skinny jeans, long hair and combat boots, I always dreamed of having my own Harley-Davidson. Silly, I know, but who wasn’t those days 😉 No surprise then, this set was in my first order. And what can I say, hubby has a soft spot for Good Ol’ Harry too.

One Wild Ride Stamp Set

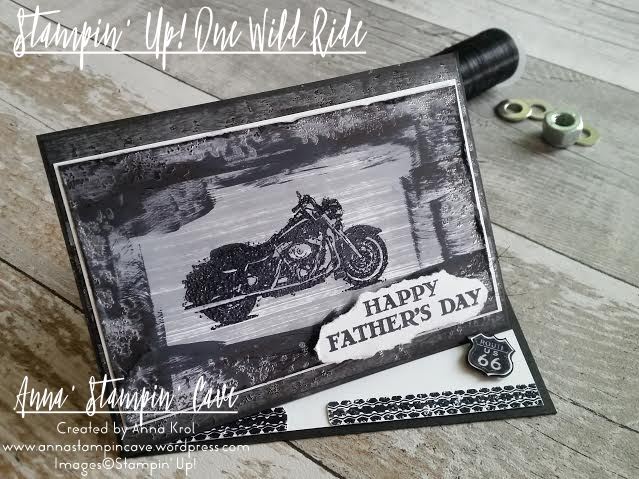
To really show off this stamp set I decided to create a twisted easel card, which sounds more complicated than it sounds. I have to admit I wanted this card to look really rough and distressed, so you could nearly feel motorcycle’s grease j/k 😉 (Chris loves distressed cards with lots of layers).

The base of my card is standard top folded A6 in Basic Black. And the “front” of the card is scored in half diagonally to create an easel. For the proper card front I’ve used a piece of Basic Black again, a slightly smaller piece of Basic Black and Whisper White for stamping.

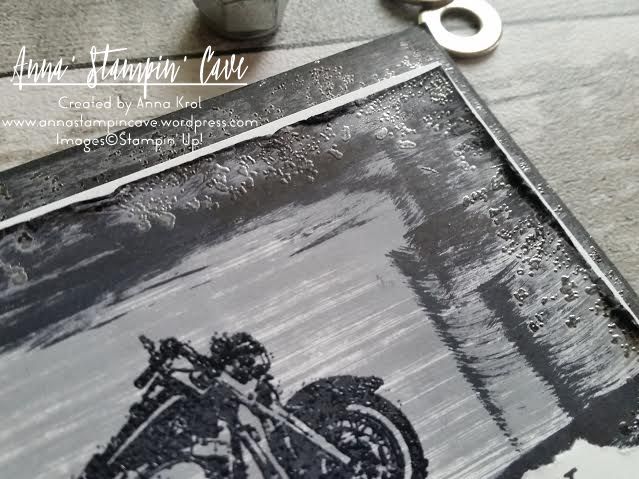
Basic Black panel I left intact. On Basic Grey, I stamped with this gravel-splatter -kinda stamp from the set, with Versamark, and heat embossed it in silver. Next, I took Basic Black Archival Ink and smooshed it across the panel, where the embossing was. It makes it look a little bit dull, but you can still see the Basic Grey card.

To add some shine and dimension to the motorcycle, I dabbed my stamp in Versamark first. Next, without stamping, I dabbed it in Basic Black Archival Ink, so once it’s stamped, Versamark was on top and I heat embossed the image using clear embossing powder. Again I’ve used gravel stamp and stamped it all around the edge of my WW panel. heat embossed it in silver and smooshed Basic Black across the panel where the embossing was. Next, I took a cloth and “took off” some of that ink which created that dull metal look. Because there was a too big contrast between Whisper White and all that black, I smooshed Basic Grey across the centre of the panel. To finish it off I added some distressing to the edges using scissors.

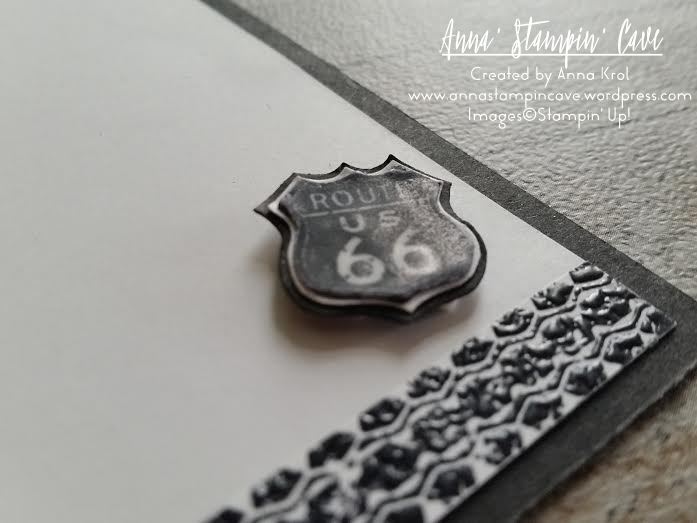
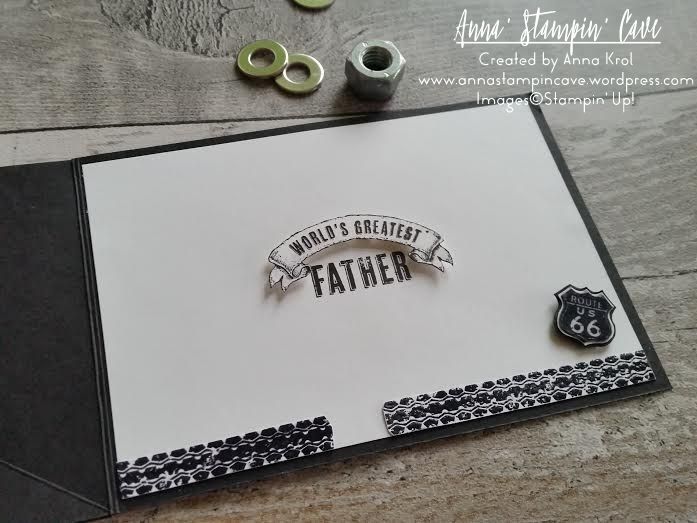
For the inside of the card, I’ve used banner and sentiment from Guy Greetings Stamp Set. I hand-cut the banner and add it to the card using dimensionals. I also stamped tire trail stamp on a scrap piece of paper, cut it out and adhere it to the bottom of the inside panel. To create a stopper for the easel I stamped Route 66 stamp on a piece of whisper white, cut it out with scissors and heat embossed it with clear embossing powder. I next used it as a guide, to create two slightly bigger layers to go underneath the original image. One in Whisper White and one in Basic Black. Glued them together and adhered it in the corner of the inside panel. I could now assemble the whole card.

One Wild Ride Father's Day Card Twisted Easel Card

The sentiment for the front comes, again, from Guy Greetings Stamp Set. I stamp it on a scrap of Whisper White and just simply tore it out. It’s hard to see on the picture, but I added few strings of new Basic Black Metallic Thread underneath the sentiment before adhered it with dimensionals.

I’m really happy with this card(it’s got our daughter approval too haha). I know Chris will love it too.

How about you? Do you like my card? Let me know in the comments below.

Now, be sure to hop along and see more inspiring projects. Your next stop is lovely Kathleen from Lilypopcrafts  go and see what she has made using the new products.

next pootler blog

previous pootler blog

Thank you for stopping by and have a blessed day


Pinkies Annual Catalogue Blog Hop – Tuscan Vineyard

blog hop logo

Thank you for joining us on another Pinkies Blog Hop! We’re showcasing lots of gorgeous projects using products from the new Stampin’ Up!® Annual Catalogue. Simply use the buttons at the end of each post to keep hopping!

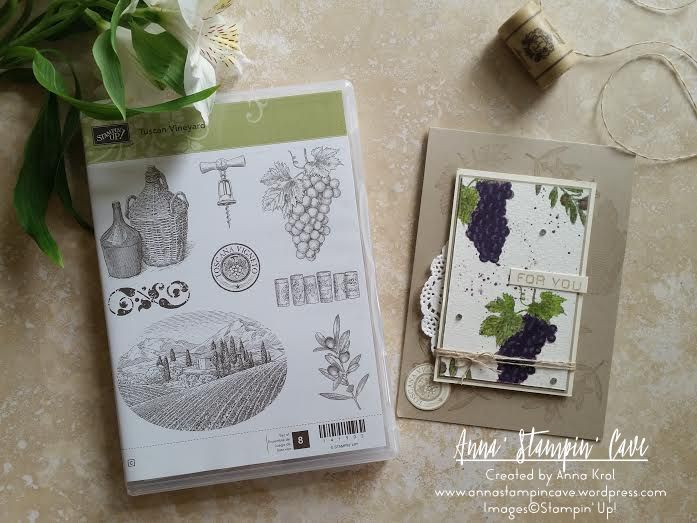
Tuscan Vineyard Stamp Set

When Chris, my husband, saw Stampin’ Up! Tuscan Vineyard Stamp Set he said: “we have to have it” ;). In our home, we love to have a glass of good wine on special occasion, or when friends come over. We also make our own wine from the fruits of our garden. Chris (my husband) is very passionate about it. When he was young he’s spent some time on a French vineyard, and he fell in love with the art of making wine.

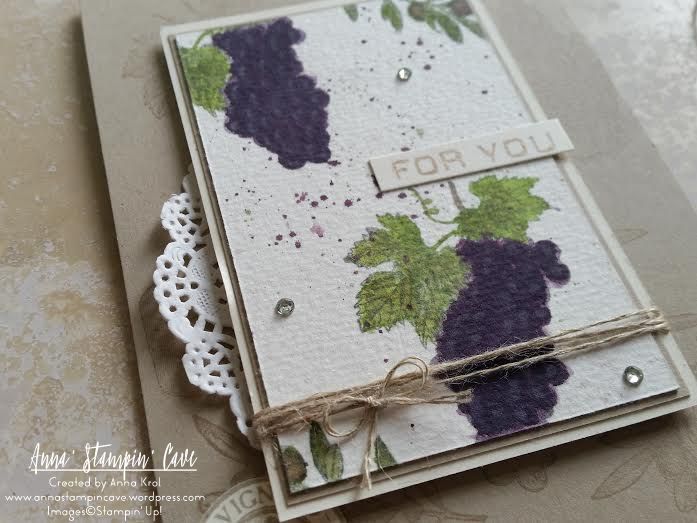
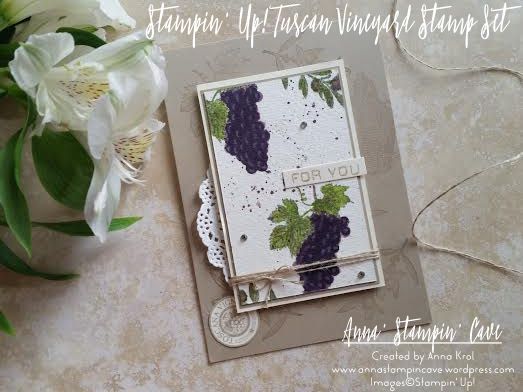
Tuscan Vineyard for you card

I think this set is perfect for collages, but I decided to use my favourite technique – watercolour. First, I randomly stamped the base of my card using various images from the stamp set. I used Crumb Cake cardstock and ink pad for tone on tone look. Next, I took a piece of watercolour paper and I stamped bunches of grapes and olive branches using Basic Grey Archival ink and water coloured them with an aqua painter. For fine lines, I’ve used Blender Pens.

Tuscan Vineyard for you card - close up

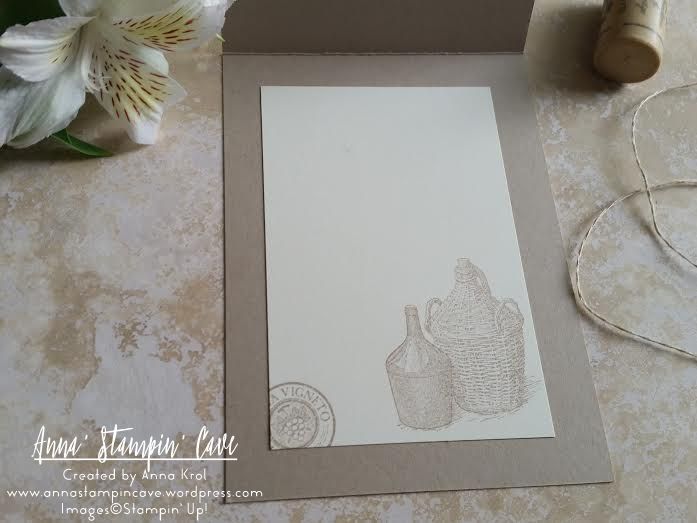
When I was happy with the results I made some random splotches with Perfect Plum and Wild Wasabi. To assemble my card I backed my watercolour panel with a piece of Crumb Cake and Very Vanilla. I wrap linen thread around the panel, added a piece of new doily underneath, and adhere it to the card base using dimensionals. I stamped round image from the same set, that reads Toscana Vigneto on a piece of Very Vanilla and tucked it underneath the panel. Few rhinestones, simple sentiment, and my card was done. I also stamped inside of the card.

Tuscan Vineyard - inside of the card

I truly hope you enjoyed coming to my blog today and see my card. As always, if you wish to purchase any of the products I have used, simply click the images below to go directly to my online shop.

Now, be sure to hop along and see more inspiring projects. Your next stop is lovely Kim  go and see what she has made using the new products.

next

previous

Thank you for stopping by and have a blessed day! Product List

Aqua Painters

£15.50

Blender Pens

£10.75

Linen Thread

£4.25

Something Old, Something New…Kind Koala Birthday Card

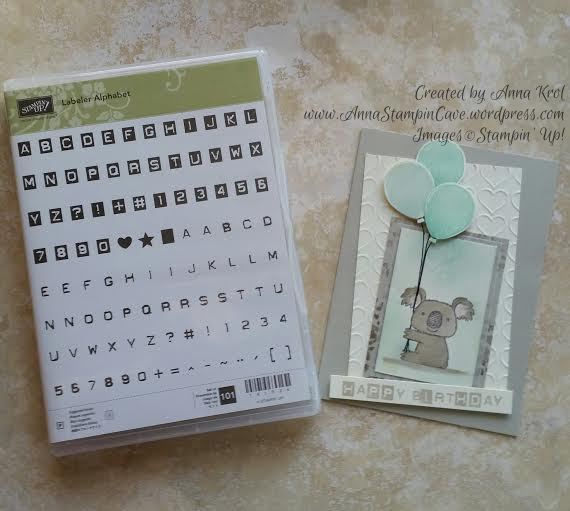
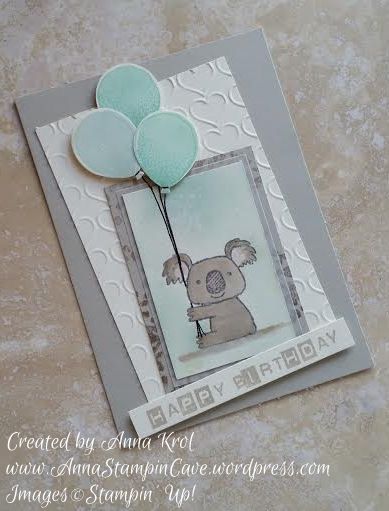
Hello, everyone! Something old, something new…Today I’ve got for you really adorable birthday card using sadly retiring Kind Koala stamp, and also a sneak peek at new Labeler Alphabet stamp set.


Kind koala

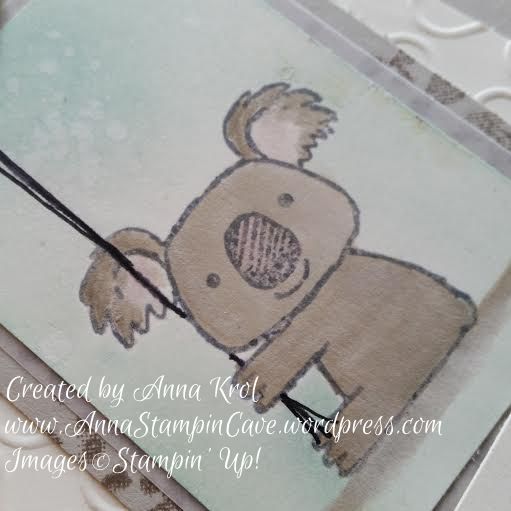
Isn’t this little koala cutest ever!? The base of my card is standard, top folded A6 in Sahara Sand. For the background, I’ve used Very Vanilla and dry embossed it with Happy Heart embossing folder.

Because I wanted this card to be a birthday card I used washi tape to cover the flower and a sentiment on my stamp before I inked it up in Basic Grey Archival Ink. Next, I stamped my cute koala on a piece of Very Vanilla. Just remember to take off the washi tape first or you will have a disaster. Guess how I know lol I also stamped him on a scrap of paper to create a mask I will need later.

Kind koala 4

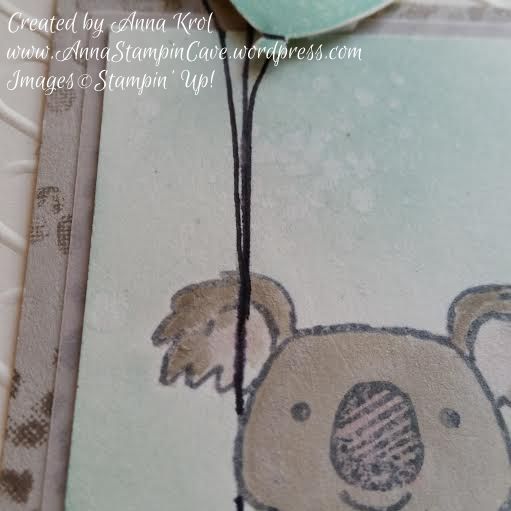
I watercolour my little fella in Sahara Sand and added some shadow underneath him. I also added a touch of Blushing Bride to his nose and inside of his ears. When I was happy with the results I masked my koala and sponged the background with Soft Sky and Pool Party. Then I used the aqua painter to add few droplets of water to the background and took off a little bit of the colour.

Kind koala 2

Next, I matted my koala panel with a piece of vellum and a slightly bigger piece of Sahara Sand. But to add some more interest to this panel I stamped it with Tip Top Taupe using the foliage stamp from Sheltering Tree. I assembled all my panels.Now was time for balloons!

Kind koala 5

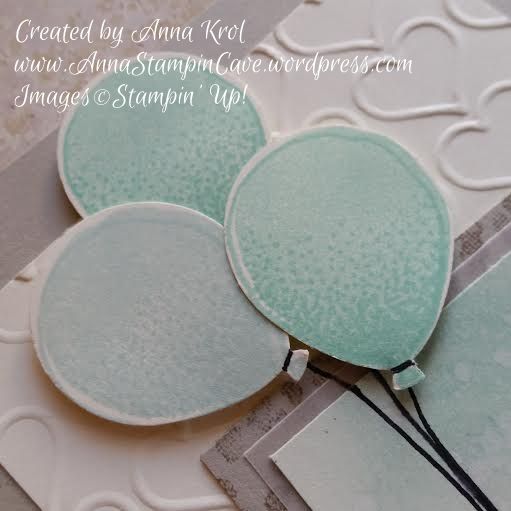
I stamped three smaller balloons from Balloon Celebration, two in Pool Party and one in Soft Sky, punch them with Balloon Bouquet punch and arrange them on the card using dimensionals. I also hand-drew balloon strings with Project Life pen (and yes, I know, I probably should have used a lighter colour, maybe Basic Grey or Smoky Slate marker) so it looks like koala is holding them in his paw.

kind koala 3

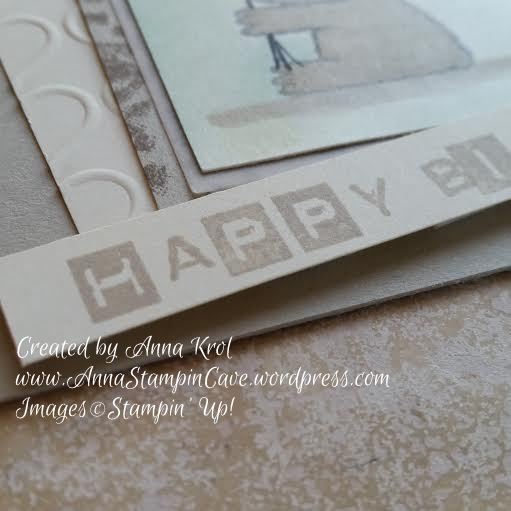
The card was busy enough so I kept the sentiment simple. I cut a strip of Very Vanilla and stamped my sentiment in Sahara Sand, using Labeler Alphabet stamp set. To keep it fun I mixed both types of letters and add it at wonky angle to my card.

Kind koala 6

Dimensions:

Very Vanilla:

  • 3-1/8 x 4-6/8″
  •  2 x 3-2/8″
  • 1/2 x 3-5/8″

Sahara Sand:

  • 2-2/8 x 3-4/8″

Vellum:

  • 2-1/8 x 3-3/8″

I’m adding my card to

Do you like my little card? I truly hope you do. Please let me know in the comments below.

Thank you for stopping by and have a blessed day,