Timeless Love Wedding Card – Colouring On Vellum Technique

Anna’ Stampin’ Cave Timeless Love Wedding Card – Colouring On Vellum Technique

Hello! Today I wanted to share with you this beautiful card I created for my card swap teamie last month. Our theme was ‘Wedding Bells’ and I think this card fits perfectly.
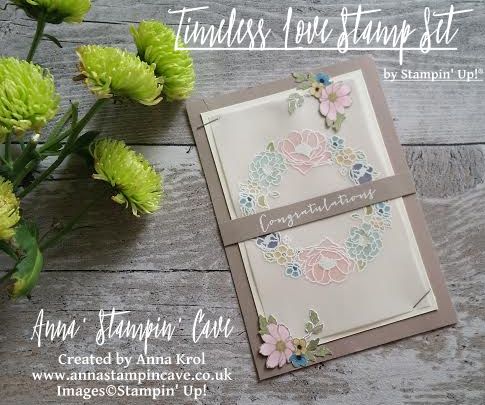
Timeless Love Wedding Card with Vellum Panel

I think I forgot how amazing working with vellum is. There are so many techniques you could use it for. And my card shows just one of them: colouring on vellum. It’s a really easy technique that even a newbie could do. And it adds that extra OOMPH to your card too 🙂

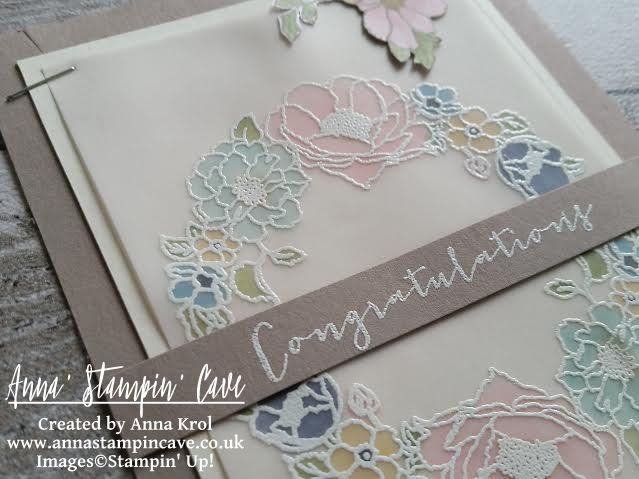
First, I stamped this floral arc from Timeless Love Stamp Set onto my vellum panel with Versamark Ink. I’ve stamped it twice to create a wreath. Of course, I’ve used my embossing buddy before stamping (any anti-static product will work). Next, I heat embossed it using white embossing powder. TIP! You probably know that already but just in case: When heat embossing on vellum make sure you pre-heat your heat gun. Just switch it on and let it warm up for 30 seconds or so, before hitting the vellum. I usually heat the back of the vellum, which prevents any unwanted warping.
Timeless Love Wedding Card Vellum Panel

Now to the fun part: colouring! It’s so easy to add colour to the image heat embossed on vellum. I just chose my favourite markers and colour on the back of the vellum. The colours I’ve used are Pink Pirouette, Marina Mist, Pear Pizzazz, So Saffron, Soft Sky and Wisteria Wonder.

It doesn’t have to be perfect: vellum is semi-transparent so it’s very forgiving, and you can’t really see marker strokes on the other side.

Once the colouring was done I stamped two flower clusters from the same set on some Whisper White cardstock, coloured them in with blender pen and fussy-cut them.

Now to assemble the card. I took my vellum and adhered it onto the Very Vanilla panel using glue dots, I hide them behind flower centres. Next, I adhered it to the Tip Top Taupe base. I’ve used the clusters of flowers I fussy-cut earlier, to secure the vellum on two opposite corners, and I also used simple stapler on the other corners. I love how simple stapler can add character to the card!

For the sentiment, I cut a strip of Tip Top Taupe cardstock, heat embossed ‘Congratulations’ in white and I’ve added it to the middle of my card, between two arcs.
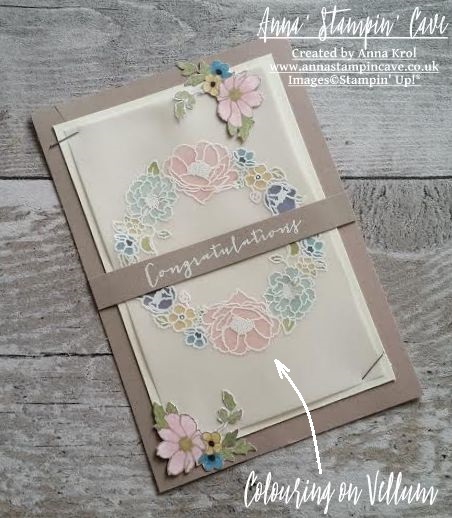
Timeless Love Congratulations Card

I really hope you like my project, and that I inspired you to try, and have some fun with vellum too. As always, if you wish to purchase any of the products I have used, simply click the images below to go directly to my online shop and don’t forget to enter the hostess code for the month of July GUHXWAR6, to receive a gift from me.

I’m adding my card to:

Thank you for stopping by and have a blessed day,

Gorgeous Wedding Card Using ‘On Your Perfect Day’ Stamp Set By Stampin’ Up!

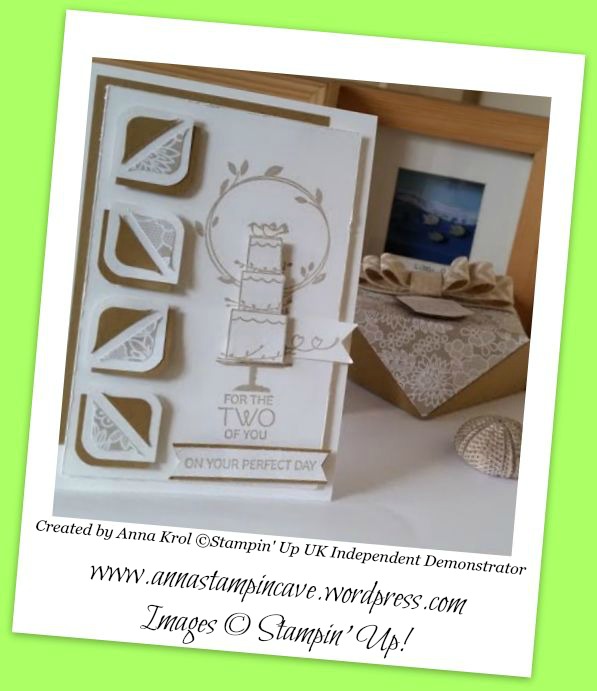
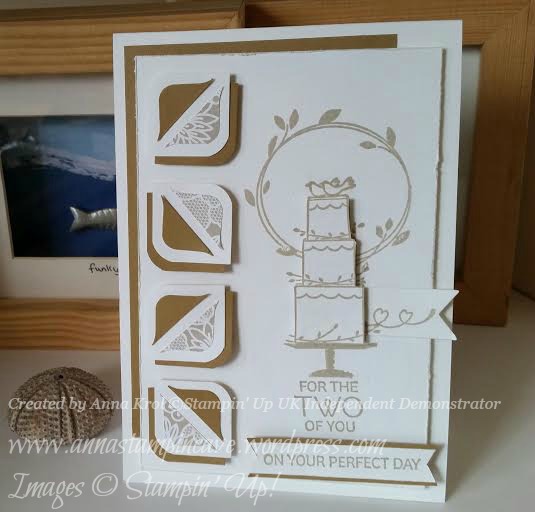
Hello world! Today I’ve got for you absolutely gorgeous wedding card. But it’s not just a gorgeous card. This card is matching Faceted Gift Box I’ve shared with you few days ago. And I will show you how I’ve used some scraps I had after making a box.

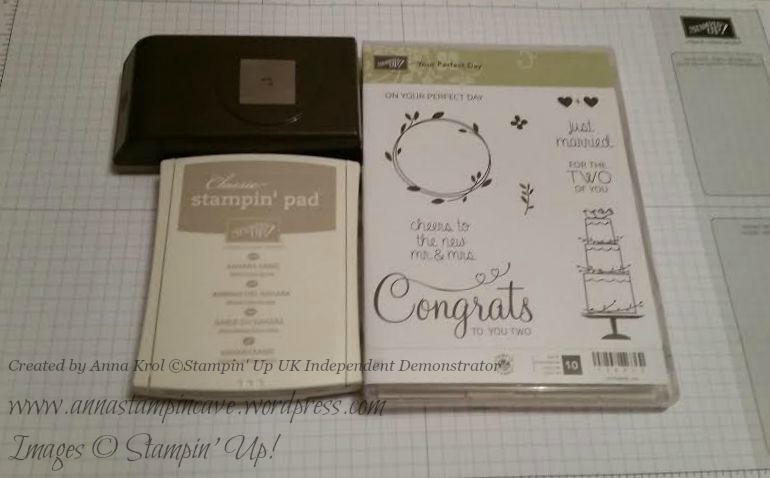
I tried not to use too many supplies ( I usually use way too many in one project) so except from card stock and adhesives these are the only products I’ve used. Cool hey? 🙂

weds 1

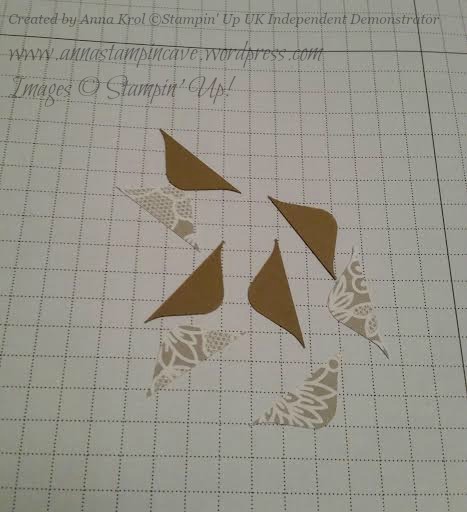
  You know when using Envelope Punch Board we are left with lots of tiny pieces of scrap paper. You can’t really use them for any project can you? Of course you can! So I’ve made this cute box and I had this pieces left:

weds 2

I’m always trying to be savvy person, I love recycling and I’m always looking for a good way to use all my scraps. Plus Something Borrowed DSP is so absolutely gorgeous I simply couldn’t throw those pieces to the bin. So I decided to use them in my card.

weds 9a

For the base I’ve used a piece of Whisper White card stock: took A4 , cut it in half on a long side and the fold it in half. Baked Brown Sugar panel measure 5 x 3 2/8″ and Whisper White panel measure 5 3/8 x 3 4/8″ ( I distressed it with scissors)

weds 6

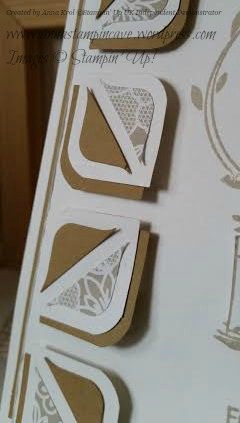
To make these cute sort of embellishments I punched four squares from piece of Whisper White. Four squares of Baked Brown Sugar has been punched from the panel I used on the card same as the banner piece. Why? Because you can only see two edges of the panel, so why not? 🙂 Then I rounded two opposite corners of my square pieces, layered them together and glued my scrap pieces I had left after making a box – Awesome! I love how these turned out 🙂

weds 4

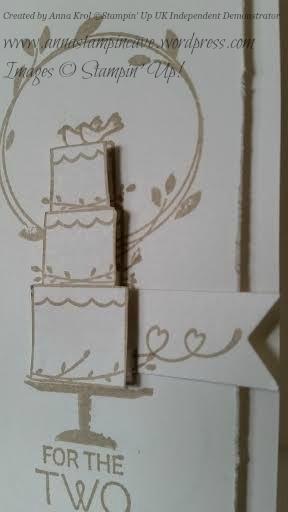
The focal point of my card is a wreath and gorgeous wedding cake from Your Perfect Day. This little banner wasn’t in my plans but I’ve made a little boo boo while stamping a cake, and I stained edge of my panel. My fingers are still pretty numb and got problems to hold acrylic blocks :/ But problem was solved and I think it looks pretty cool 🙂

weds 3

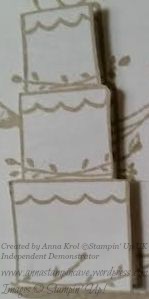
I stamped second cake on scrap piece of cs, cut out just a cake bit and layered it with foam adhesive onto cake on my panel. Sentimet “For The Two Of You” and “On Your Special Day” on a little banner comes from same stamp set. The last thing to do was to assemble the card. I’ve used foam adhesive for squares and top panel and snail for Baked Brown Sugar piece. I love this card and how it complement the box.

weds 8

What do you think? Do you like this card? How about my savvy ideas? Please let me know in the comments below. And share share share! 🙂

Thank you for stopping by,

Wedding Card using Scalloped Tag Topper Punch by Stampin’ Up!

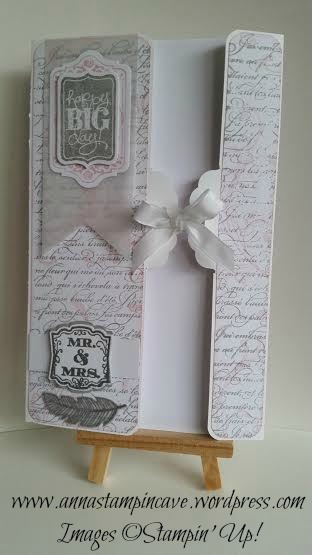
Hello everyone! Few days ago I’ve been asked to make a Wedding Day card. The only problem I only had 24 hrs to design and make it.  So I’ve decided to go with Smoky Slate, Pink Pioruette and Whisper White for the colours. The stamp sets I’ve used are (sadly) retired En Francais and Everything Eleanor for the background.

wedding 1

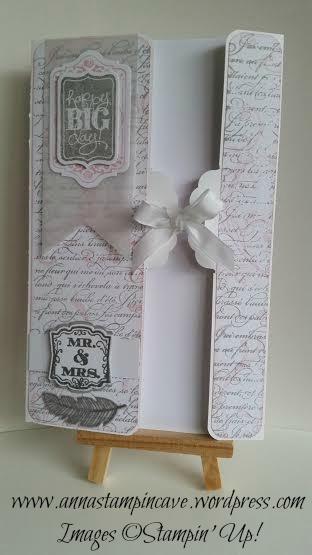
Greetings are from Chalk Talk and Label Love ( used coordinating framelits and punch). I’ve also made a translucent banner with vellum. And who can spot a little SNEAK-PEAK from Autumn-Winter Catalogue? I’ve used new stamp set Four Feathers, heat embossed the image in silver on a piece of vellum and cut it with matching framelits. For the closing as you can see I’ve used my favourite Scalloped Tag Topper Punch. A friend who asked for the card really loved it and so I hope the bride will love it too 🙂

Thank you for stopping by