Halloween Treat Holders With Popcorn Box Thinlits Dies

Hello, everyone! From today, for every Thursday, for the next 5 weeks, I’m gonna showcase My Hero Stamp Set by Stampin’ Up!Stampin' Up! My Hero Stamp Set
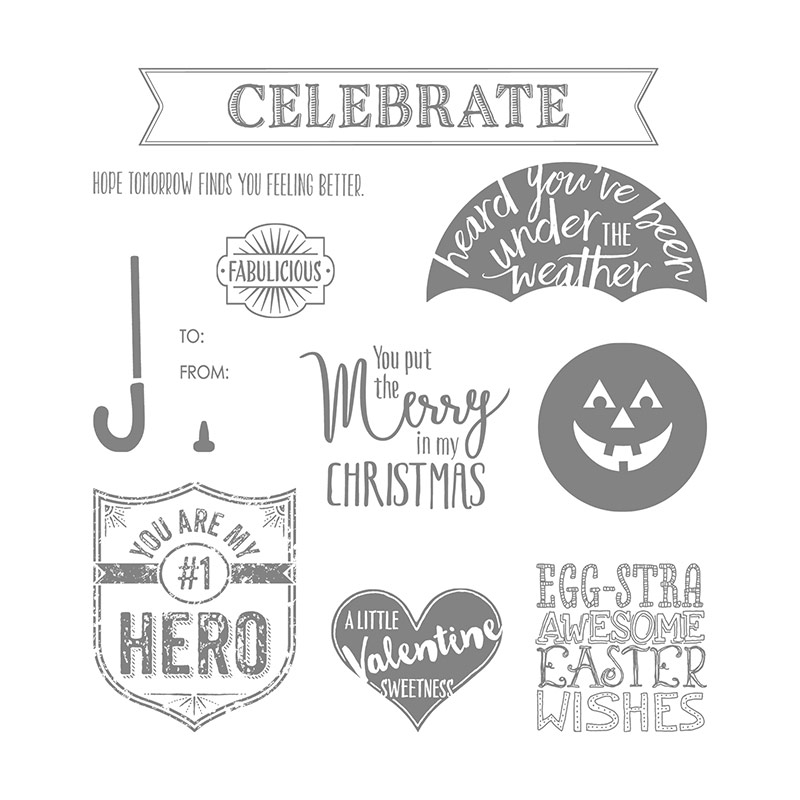
The stamp set is called ‘My Hero’ and what’s amazing about this particular set is that it’s a Ronald McDonald House Charities Stamp Set.

If you haven’t heard about it, here’s how it works: through the Making a Difference program, which Stampin’ Up! launched back in 2003, we partnered with Ronald McDonald House Charities (RMHC). Each year, Stampin’ Up! design an exclusive stamp set to promote the partnership with RMHC, and donate a portion of the proceeds from each sale of that set. To date over $1.5 million has been donated from RMHC stamp set sales!

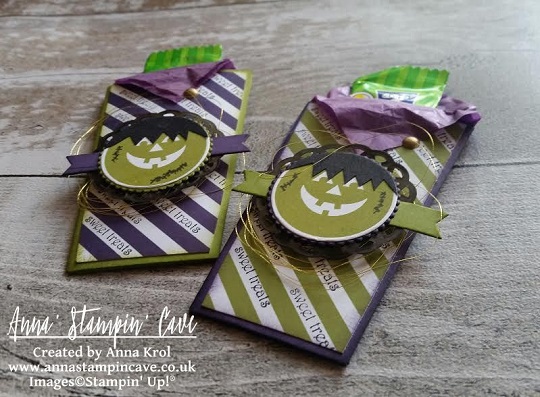
But let’s get back to my project. For this week I’ve decided for something fun and created these Halloween treat holders using Popcorn Box Thinlits Dies.
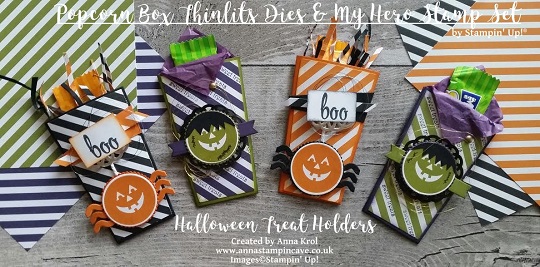
Anna' Stampin' Cave Stampin Up Popcorn Box Die Halloween Treat Holders

Aren’t these cute?!! You won’t believe how quick and easy they are to make. For each holder, you only need one die-cut piece (for the box you need two). Next, you trim the larger flap, varnish well all the score lines and use a strong adhesive. I’ve used Tombow Multipurpose glue.
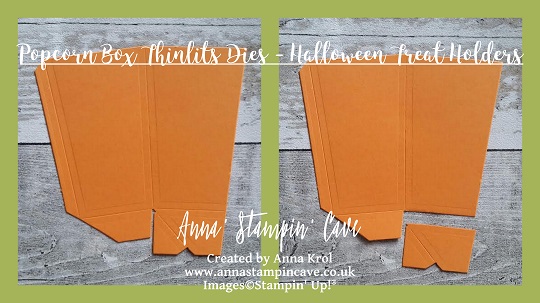
Anna' Stampin' Cave Stampin Up Popcorn Box Thinlit Dies Halloween Treat Holder

To create panels from Designer Series Paper you just simply die-cut the box and hand cut them following shallow lines created by the die.

For my treat holders, I’ve used two different colour combinations: Basic Black with Pumpkin Pie and Elegant Eggplant with Old Olive. I think these colours suit Halloween perfectly.

I’ve used ‘face’ stamp from My Hero Stamp Set, which I believe supposed to be a pumpkin face (!!?), and created these uber cute spiders. For their legs, I’ve used a wavy die from Popcorn Box Thinlits Dies. And yes, I know that spiders supposed to have 8 legs, but come on! These are mine and they only have six lol The sentiment is stamped using  Brushwork Alphabet Stamp Set and the panels underneath are just cut-outs I have left after die-cutting the box itself. These tiny strips of paper in my treat holders are also created using cut-offs. I love it – cute and frugal! For a final touch, I’ve added a piece of Metallic Foil Doily in Silver and also Basic Black and Silver Metallic Threads under the sentiment.
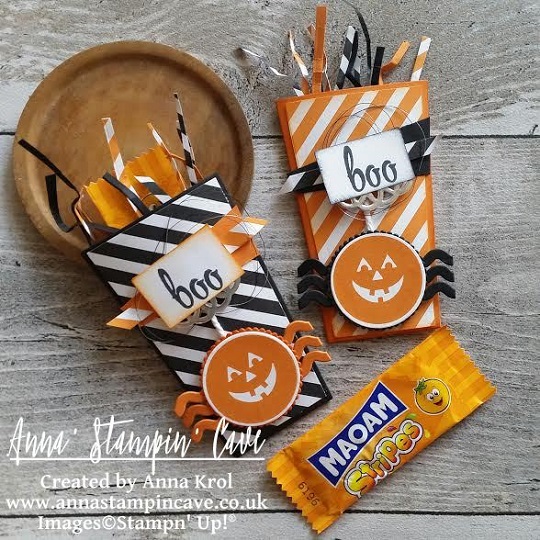
Anna' Stampin' Cave Stampin Up Popcorn Box Die Halloween Treat Holders Basic Black Pumpkin Pie

Elegant Eggplant with Old Olive treat holders I have turned into cute Frankenstein. For the hair, I die-cut a circle from a piece of Basic Black cardstock and gave him a trim with scissors. Not that I’m talented hairdresser but hey, for Frankenstein it’s just perfect.
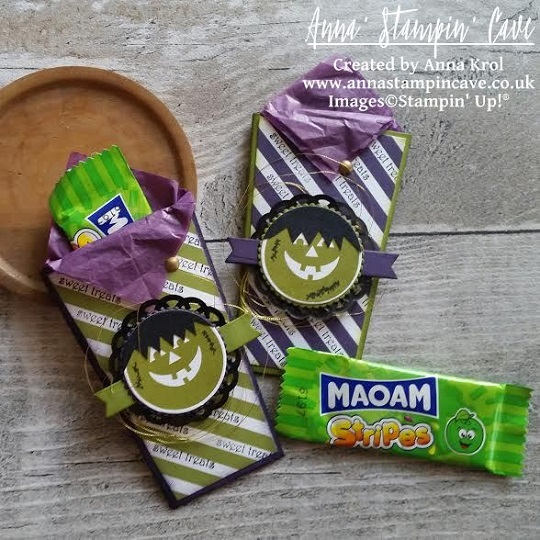
Anna' Stampin' Cave Stampin' Up Popcorn Box Die Halloween Treat Holders Elegant Eggplant Old Olive

To create black doilies I took the smallest of Metallic Foil Dollies and deepen them in Basic Black Archival ink pad. Remember to set them aside for a while, as it takes some time before the ink dries. I also added few loops of Gold Metallic Thread under the doily. For the sentiment, I’ve stamped (randomly) ‘sweet treats’ from Teeny Tiny Sentiments Stamp Set on the diagonal white stripes. I put some purple tissue paper into my treat holders. I coloured the smallest dot from White Perfect Accents, using a golden sharpie – it holds the overhung tissue paper in place.
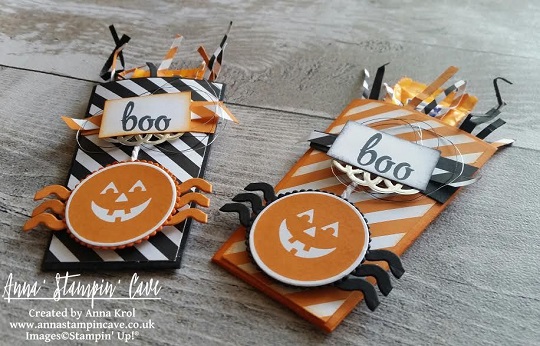
Anna' Stampin' Cave Stampin Up Popcorn Box Die Halloween Treat Holders Pumpkin Pie Basic Black

Anna' Stampin' Cave Stampin Up Popcorn Box Die Halloween Treat Holders Old Olive Elegant Eggplant

So here they are! I really hope you like my little project and that you will try to make these cute treat holders yourself. These would be super cute for Christmas treats too.

Thank you for stopping by and have a blessed day,

Super Cute Card in a Box For a Baby Using Something for a Baby by Stampin’ Up!

OMG! It has been ages since my last post and honestly, I’ve missed you all terribly! On a sad note, it seems like my hands and legs are giving up and MS taking it’s toll slowly. On a positive note though I’m not giving up just yet! In a past week I’ve managed to make some fun projects, but today I want to share with you a card in a box I’ve made while back for our new family addition: my husband’s nephew Franio. He’s our little star and true miracle but it’s a long story I won’t share on here. And even though he came to this world in August I just recently seen Franio’s mummy and daddy to give them this special card.

3

Dimensions: card base is made with a piece of cardstock that measures 11-1/2 x 4-1/8 inches ( half of A4). Here I’ve used Crumb Cake but you can use any colour really. Score the base at 3-7/8, 5-1/2, 9-3/8 & 11″ on the long side. Then score at 2-1/8 on a short side. You will also need two extra pieces of cardstock for the inserts. Each piece should measure 4-7/8 x 3/4″ and need to be scored at 1/2″ on each side.

2

Dotted DSP I’ve used is from Subtles DSP pack which is amazing! 40 sheets high quality 12×12″ double-sided designs in 10 colours for 19.50! Bargain! But let us get back to the project. DSP goes only on front and side panels. on the back panel and reverse (not on the pictures) I’ve used pieces of Whisper White stamped randomly using hearts, flowers and safety pins from Something For A Baby set. All DSP panels and base of the card has been sponged either with Crumb Cake or Pool Party ink pads. And now the fun part! I took all of the stamps (except for a bib) from Something For A Baby stamp set and assigned ( wow sounds too serious 😉 ) the colours for each one – just to avoid a mess later on. The colours I’ve used are as follows: Crisp Cantaloupe, Crumb Cake, Pool Party, Smoky Slate, Daffodil Delight and Pistachio Pudding. But hey, if you spot different colour please let me know as I may forget all of the colours used by now.

1

Every shape has been stamped and then cut out using coordinating Baby’s First Framelits Dies. It’s so much easier than fussy cut everything. But you’re probably wondering how I’ve made the stack of rings. I’ve simply coloured each ring in a different colour using Stampin’ Markers and then stamped on the piece of whisper white, just like the other shapes. Same technique with Stampin’ Markers I’ve used for the name using Stampin’ Up and Project Life stamp set Day to Day and Stamp-a-ma-jig to line up letters perfectly. The banner is made with the same stamp set. I’ve used a piece of white core’dination paper from American Crafts just to add some extra dimension.

4

And now the easiest part: put the card together. All cut out pieces are assembled using either glue dots or dimensionals. For the socks and one of the safety pins I’ve used tiny straps of window sheet so the can keep “floating”. And that’s it! The card is finished. Oh, I forgot about little bow made with thick bakers twine!

If you like this project please leave a comment below. Thank you all so much for stopping by. Happy crafting,

Who said….

So who said that “Zoo Babies” is a stamp set for babies? 😉 I’m telling you: absolutely not! And here’s the proof 🙂

love ya 1

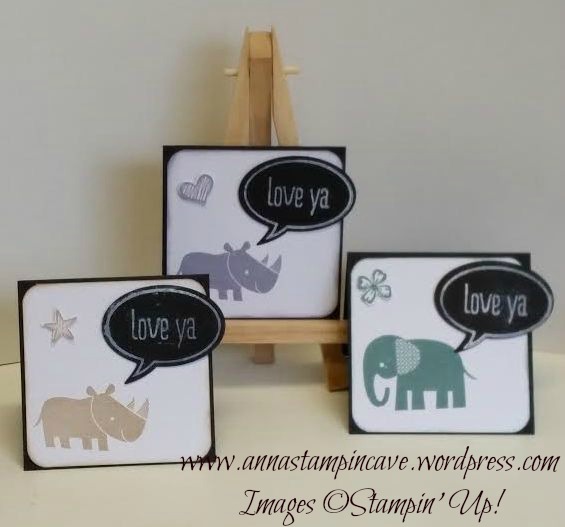
This is super cute 3×3 note card. You can give your friend, daughter or mum – truly you can give it to anyone who’s got that special spot in your heart – justso they know they’re important for you! 🙂

love ya 2

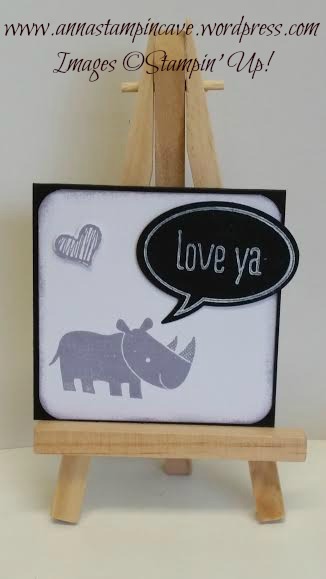
The base of thi card is 3×3 Basic Black cardstock. I’ve also used a piece of Whisper White cardstock. The sentiment is from “Just Sayin” stamp. I’ve stamped it with Whisper White Pigment Ink. Make sure that ink is completely dry or you will smudge it…just like I did – patience is not my virtue 😉 But you can always use heat gun to speed it up. I’ve used coordinating Word Bubbles framelits to cut out the sentiment.

love ya 3

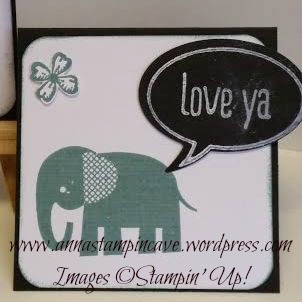
From “Zoo Babies” I’ve picked the elephant and little rhino and stamped them using Wisteria Wonder, Crumb Cake and one of new in-colours Lost Lagoon. Envelope Punch Board helped me to round the corners of white pieces, then I sponged the edge and taa daaah!  🙂

And at the very end just to add bit of interest I’ve used little stamps from “Something To Say” with coordinating Itty Bitty Accents punch pack and stick them using dimensionals. Oh and bubbles with sentiments are attached using dimensionals too.

Hope you like my little project. Please leave the comments below.

Thank you for stopping by and happy crafting

Wise Owl Chocolate Wallet for Your Favourite Teacher

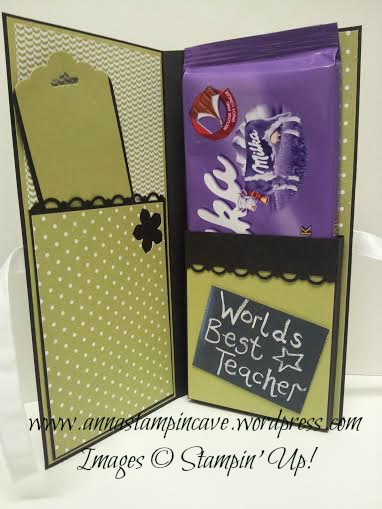
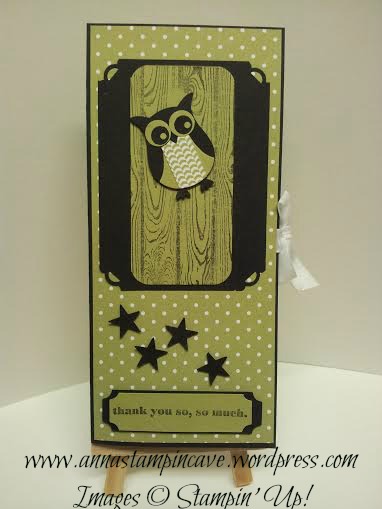
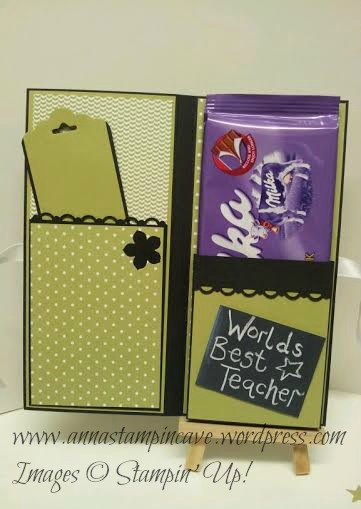
Have you ever wondering what to give to your child’s teachers, assistants, head teacher etc at the end of school year and don’t ruin your budget?! Here’s my idea: Super cute wallet/holder for chocolate bar. It’s a card and a treat all in one. Quite easy to make and perfect as a thank you gift: because chocolate bar don’t have to be boring! And because my project is a thank you gift for a teacher hence the Wise Owl 🙂

For the base I’ve used a piece of  cardstock that measures 7 1/8″ x 7 3/8″ and scored it ( on shorter side) at 3 3/8″ and 3 6/8″. Then I assembled the ribbon before decorate it with DSP.

wallet3

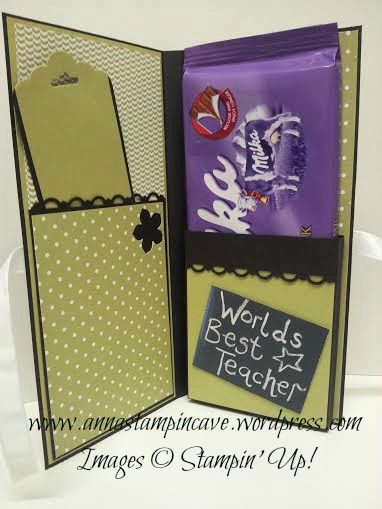
For the pocket which holds chocolate I’ve used a piece of cardstock that measures 4 5/8″ x 4 1/2″ and scored it (on wider side) at 3/8″, 6/8″, 3 7/8″ and 4 2/8″. Then turnon the shorter side and score it at 3/8″ and 6/8″. The sentiment on the pocket I’ve found and printed from internet. Loved this chalky handwriting 🙂

wallet5

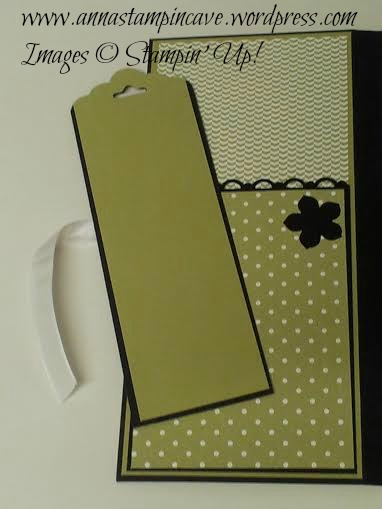
The second pocket if flat and can hold gift cards, but I’ve used it as a tag holder. The base for this pocket measures 3 1/8″ x 4 3/8″. Tag measures 2″ x 6″ and you can either decorate it or write your message on.

wallet2

To add some detail to both pockets I’ve used Retired Scallop Trim Border Punch. But it’s still available in digital. I will post details in the list below. I’ve also punched a single flower in DSP to add some interest.

wallet6

I truly hope you enjoy this project, and that it will inspire your creativity 🙂

Thank you for stopping by