Timeless Love Wedding Card – Colouring On Vellum Technique

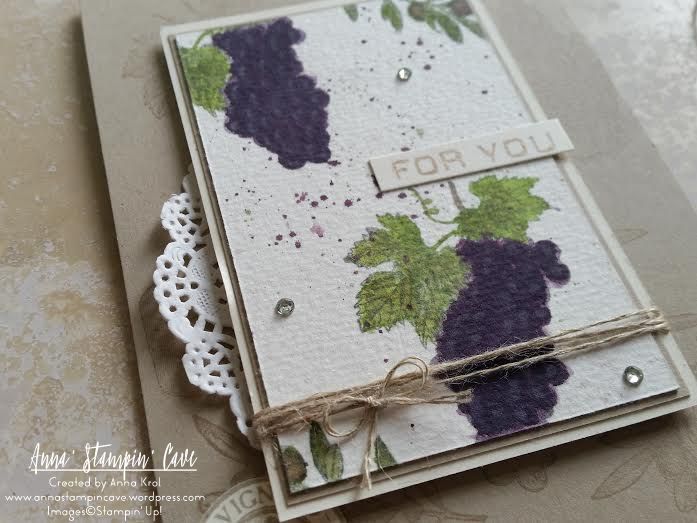
Anna’ Stampin’ Cave Timeless Love Wedding Card – Colouring On Vellum Technique

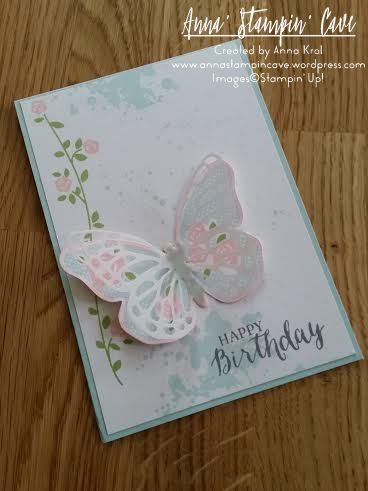
Hello! Today I wanted to share with you this beautiful card I created for my card swap teamie last month. Our theme was ‘Wedding Bells’ and I think this card fits perfectly.

Timeless Love Wedding Card with Vellum Panel

I think I forgot how amazing working with vellum is. There are so many techniques you could use it for. And my card shows just one of them: colouring on vellum. It’s a really easy technique that even a newbie could do. And it adds that extra OOMPH to your card too 🙂

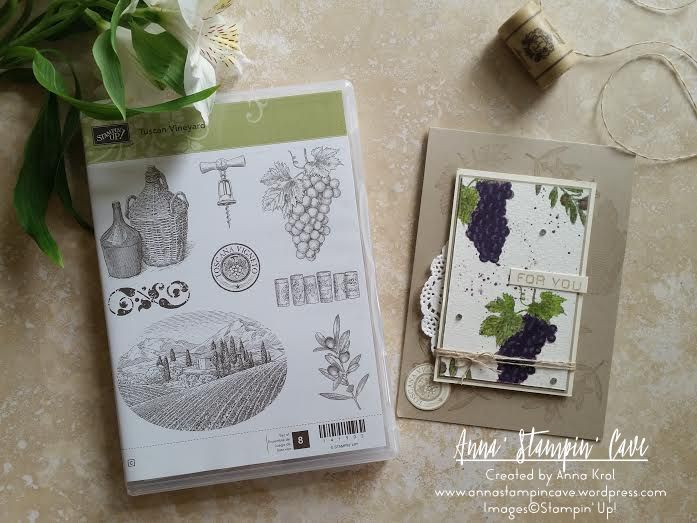
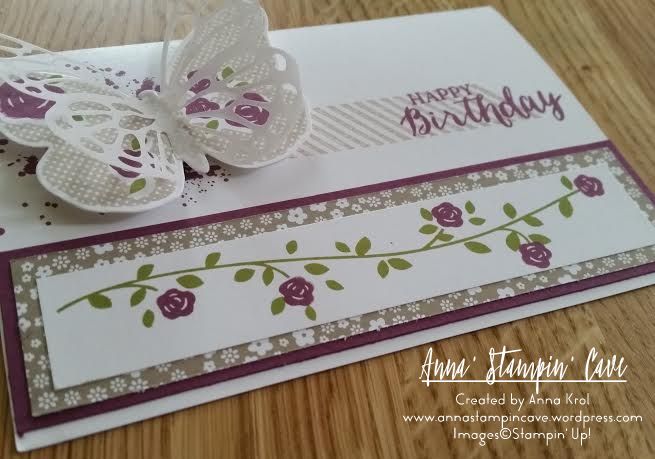
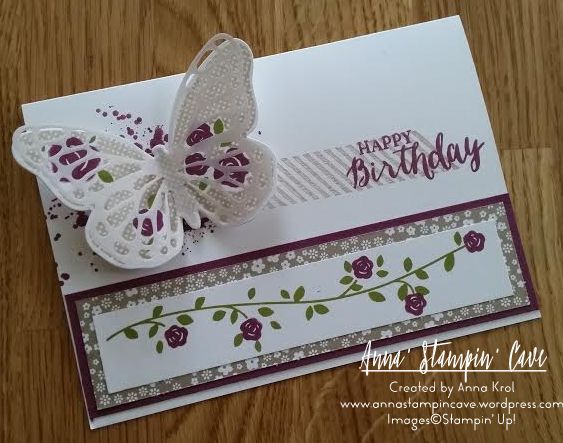
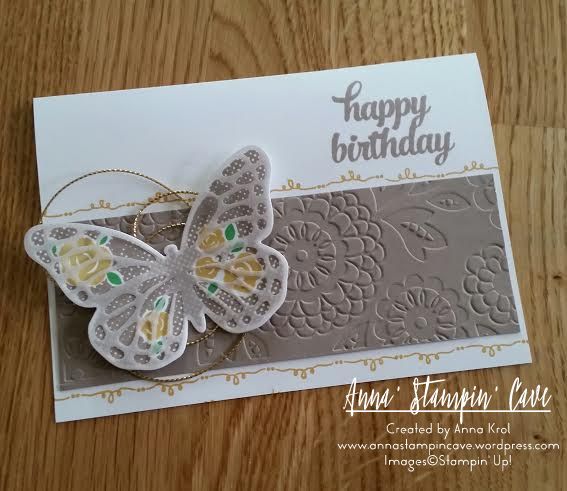
First, I stamped this floral arc from Timeless Love Stamp Set onto my vellum panel with Versamark Ink. I’ve stamped it twice to create a wreath. Of course, I’ve used my embossing buddy before stamping (any anti-static product will work). Next, I heat embossed it using white embossing powder. TIP! You probably know that already but just in case: When heat embossing on vellum make sure you pre-heat your heat gun. Just switch it on and let it warm up for 30 seconds or so, before hitting the vellum. I usually heat the back of the vellum, which prevents any unwanted warping.

Timeless Love Wedding Card Vellum Panel

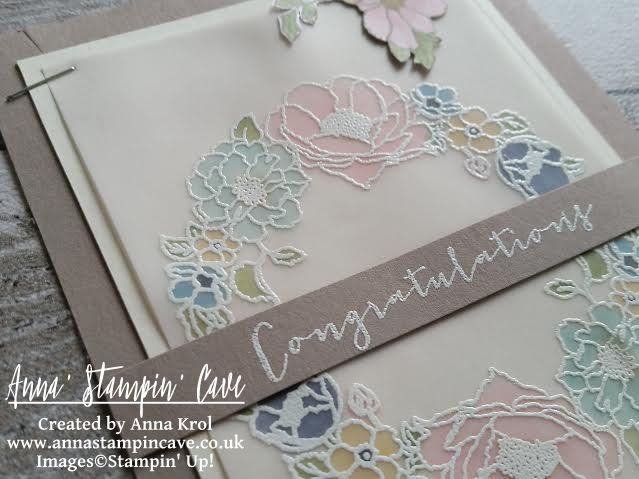
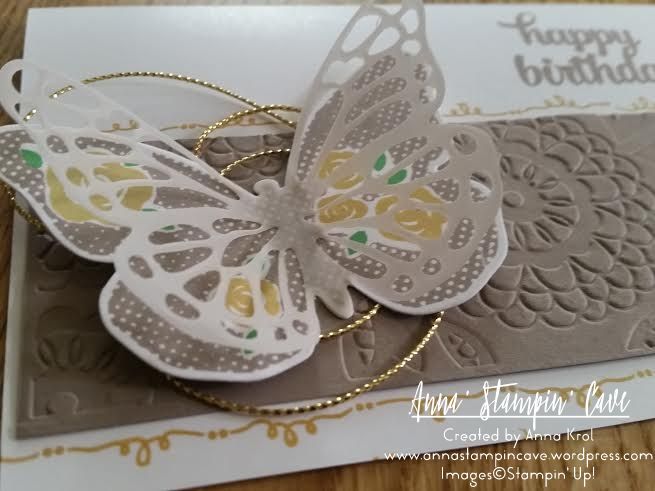
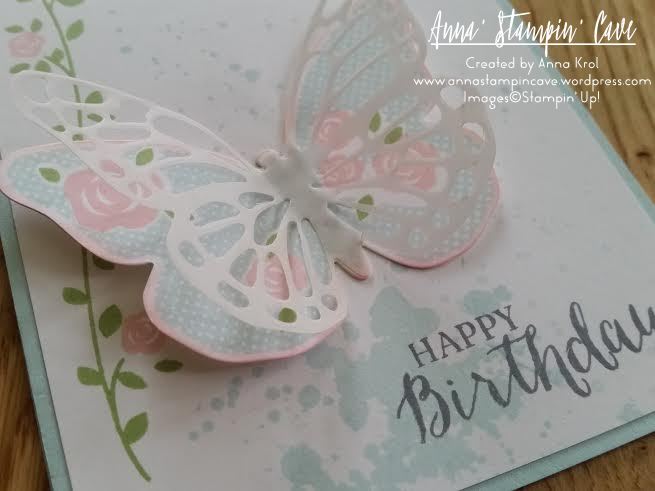
Now to the fun part: colouring! It’s so easy to add colour to the image heat embossed on vellum. I just chose my favourite markers and colour on the back of the vellum. The colours I’ve used are Pink Pirouette, Marina Mist, Pear Pizzazz, So Saffron, Soft Sky and Wisteria Wonder.

It doesn’t have to be perfect: vellum is semi-transparent so it’s very forgiving, and you can’t really see marker strokes on the other side.

Once the colouring was done I stamped two flower clusters from the same set on some Whisper White cardstock, coloured them in with blender pen and fussy-cut them.

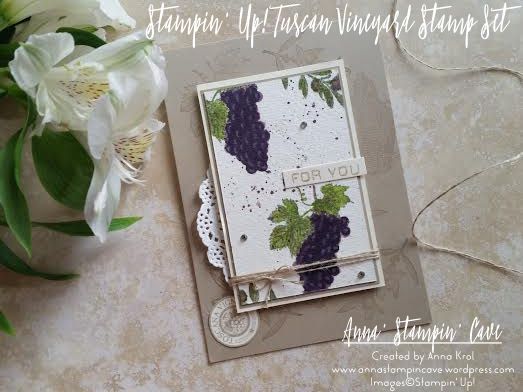
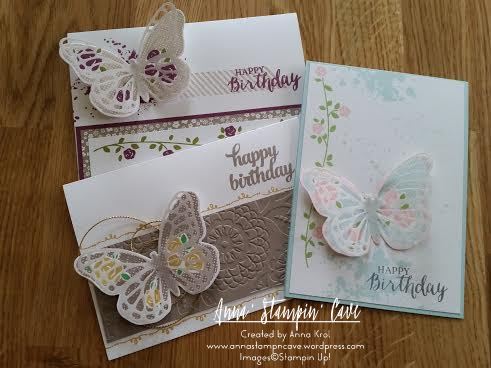
Now to assemble the card. I took my vellum and adhered it onto the Very Vanilla panel using glue dots, I hide them behind flower centres. Next, I adhered it to the Tip Top Taupe base. I’ve used the clusters of flowers I fussy-cut earlier, to secure the vellum on two opposite corners, and I also used simple stapler on the other corners. I love how simple stapler can add character to the card!

For the sentiment, I cut a strip of Tip Top Taupe cardstock, heat embossed ‘Congratulations’ in white and I’ve added it to the middle of my card, between two arcs.

Timeless Love Congratulations Card

I really hope you like my project, and that I inspired you to try, and have some fun with vellum too. As always, if you wish to purchase any of the products I have used, simply click the images below to go directly to my online shop and don’t forget to enter the hostess code for the month of July GUHXWAR6, to receive a gift from me.

I’m adding my card to:

Thank you for stopping by and have a blessed day,

Touches of Texture – More Than Flowers

Anna’ Stampin’ Cave – Touches of Texture – More Than Flowers

Touches Of Texture Stamp Set project.jpg

Have you played with the Touches of Texture Stamp Set yet? You’ll have fun mixing and matching the floral images with layers of texture.

The textured images in the set work well for all kinds of styles, as shown in the projects above and below.

Touches Of Texture

I’m in awe by all the possible techniques and designs that can be created with this set!

Touches Of Texture Stamp Set

Order your Touches of Texture in clear mount here or if you are a fan of wood mount you will find it here.
Thank you for stopping by and have a blessed day,

Pinkies Annual Catalogue Blog Hop – Tuscan Vineyard

blog hop logo

Thank you for joining us on another Pinkies Blog Hop! We’re showcasing lots of gorgeous projects using products from the new Stampin’ Up!® Annual Catalogue. Simply use the buttons at the end of each post to keep hopping!

Tuscan Vineyard Stamp Set

When Chris, my husband, saw Stampin’ Up! Tuscan Vineyard Stamp Set he said: “we have to have it” ;). In our home, we love to have a glass of good wine on special occasion, or when friends come over. We also make our own wine from the fruits of our garden. Chris (my husband) is very passionate about it. When he was young he’s spent some time on a French vineyard, and he fell in love with the art of making wine.

Tuscan Vineyard for you card

I think this set is perfect for collages, but I decided to use my favourite technique – watercolour. First, I randomly stamped the base of my card using various images from the stamp set. I used Crumb Cake cardstock and ink pad for tone on tone look. Next, I took a piece of watercolour paper and I stamped bunches of grapes and olive branches using Basic Grey Archival ink and water coloured them with an aqua painter. For fine lines, I’ve used Blender Pens.

Tuscan Vineyard for you card - close up

When I was happy with the results I made some random splotches with Perfect Plum and Wild Wasabi. To assemble my card I backed my watercolour panel with a piece of Crumb Cake and Very Vanilla. I wrap linen thread around the panel, added a piece of new doily underneath, and adhere it to the card base using dimensionals. I stamped round image from the same set, that reads Toscana Vigneto on a piece of Very Vanilla and tucked it underneath the panel. Few rhinestones, simple sentiment, and my card was done. I also stamped inside of the card.

Tuscan Vineyard - inside of the card

I truly hope you enjoyed coming to my blog today and see my card. As always, if you wish to purchase any of the products I have used, simply click the images below to go directly to my online shop.

Now, be sure to hop along and see more inspiring projects. Your next stop is lovely Kim  go and see what she has made using the new products.

next

previous

Thank you for stopping by and have a blessed day! Product List

Aqua Painters

£15.50

Blender Pens

£10.75

Linen Thread

£4.25

Birthday Butterflies

Anna’ Stampin’ Cave – Birthday Butterflies

Just get back from night shift and to be honest I should be in bed now and be sleeping. But I really, really, really wanted to stick to my plan and show you few birthday cards I created back in May for ladies in our swap group. For all cards I’ve used, sadly retired, Floral Wings stamp set. But it could be easily substituted with Butterfly Basic stamp set. So here are my cards:

Rich razzleberry

For first one I’ve used Rich Razzleberry, Crumb Cake and Old Olive colour combination

Rich razzleberry 3

Next one is a Tip Top Taupe, Hello Honey and Cucumber Crush combination

tip top taupe 4

tip top taupe 2

And last, but not least is Soft Sky, Pink Pirouette with a little of Pear Pizzazz

soft sky

soft sky 3

I had lots of fun creating these. And I’m really chuffed that the ladies liked them too 🙂 Here’s once again all three cards

floral wings

Hope you like my cards. I’m heading to bed now for my well-earned rest.

Thank you for stopping by, and have a blessed day,

Something Old, Something New…Kind Koala Birthday Card

Hello, everyone! Something old, something new…Today I’ve got for you really adorable birthday card using sadly retiring Kind Koala stamp, and also a sneak peek at new Labeler Alphabet stamp set.


Kind koala

Isn’t this little koala cutest ever!? The base of my card is standard, top folded A6 in Sahara Sand. For the background, I’ve used Very Vanilla and dry embossed it with Happy Heart embossing folder.

Because I wanted this card to be a birthday card I used washi tape to cover the flower and a sentiment on my stamp before I inked it up in Basic Grey Archival Ink. Next, I stamped my cute koala on a piece of Very Vanilla. Just remember to take off the washi tape first or you will have a disaster. Guess how I know lol I also stamped him on a scrap of paper to create a mask I will need later.

Kind koala 4

I watercolour my little fella in Sahara Sand and added some shadow underneath him. I also added a touch of Blushing Bride to his nose and inside of his ears. When I was happy with the results I masked my koala and sponged the background with Soft Sky and Pool Party. Then I used the aqua painter to add few droplets of water to the background and took off a little bit of the colour.

Kind koala 2

Next, I matted my koala panel with a piece of vellum and a slightly bigger piece of Sahara Sand. But to add some more interest to this panel I stamped it with Tip Top Taupe using the foliage stamp from Sheltering Tree. I assembled all my panels.Now was time for balloons!

Kind koala 5

I stamped three smaller balloons from Balloon Celebration, two in Pool Party and one in Soft Sky, punch them with Balloon Bouquet punch and arrange them on the card using dimensionals. I also hand-drew balloon strings with Project Life pen (and yes, I know, I probably should have used a lighter colour, maybe Basic Grey or Smoky Slate marker) so it looks like koala is holding them in his paw.

kind koala 3

The card was busy enough so I kept the sentiment simple. I cut a strip of Very Vanilla and stamped my sentiment in Sahara Sand, using Labeler Alphabet stamp set. To keep it fun I mixed both types of letters and add it at wonky angle to my card.

Kind koala 6

Dimensions:

Very Vanilla:

  • 3-1/8 x 4-6/8″
  •  2 x 3-2/8″
  • 1/2 x 3-5/8″

Sahara Sand:

  • 2-2/8 x 3-4/8″

Vellum:

  • 2-1/8 x 3-3/8″

I’m adding my card to

Do you like my little card? I truly hope you do. Please let me know in the comments below.

Thank you for stopping by and have a blessed day,