You Put The Merry In My Christmas

Anna’ Stampin’ Cave – You Put The Merry In My Christmas


Hello, and welcome! Today I’ve got for you a couple of rather traditional Christmas cards. As you probably remember we are showcasing My Hero RMHC Stamp Set by Stampin’ Up!®
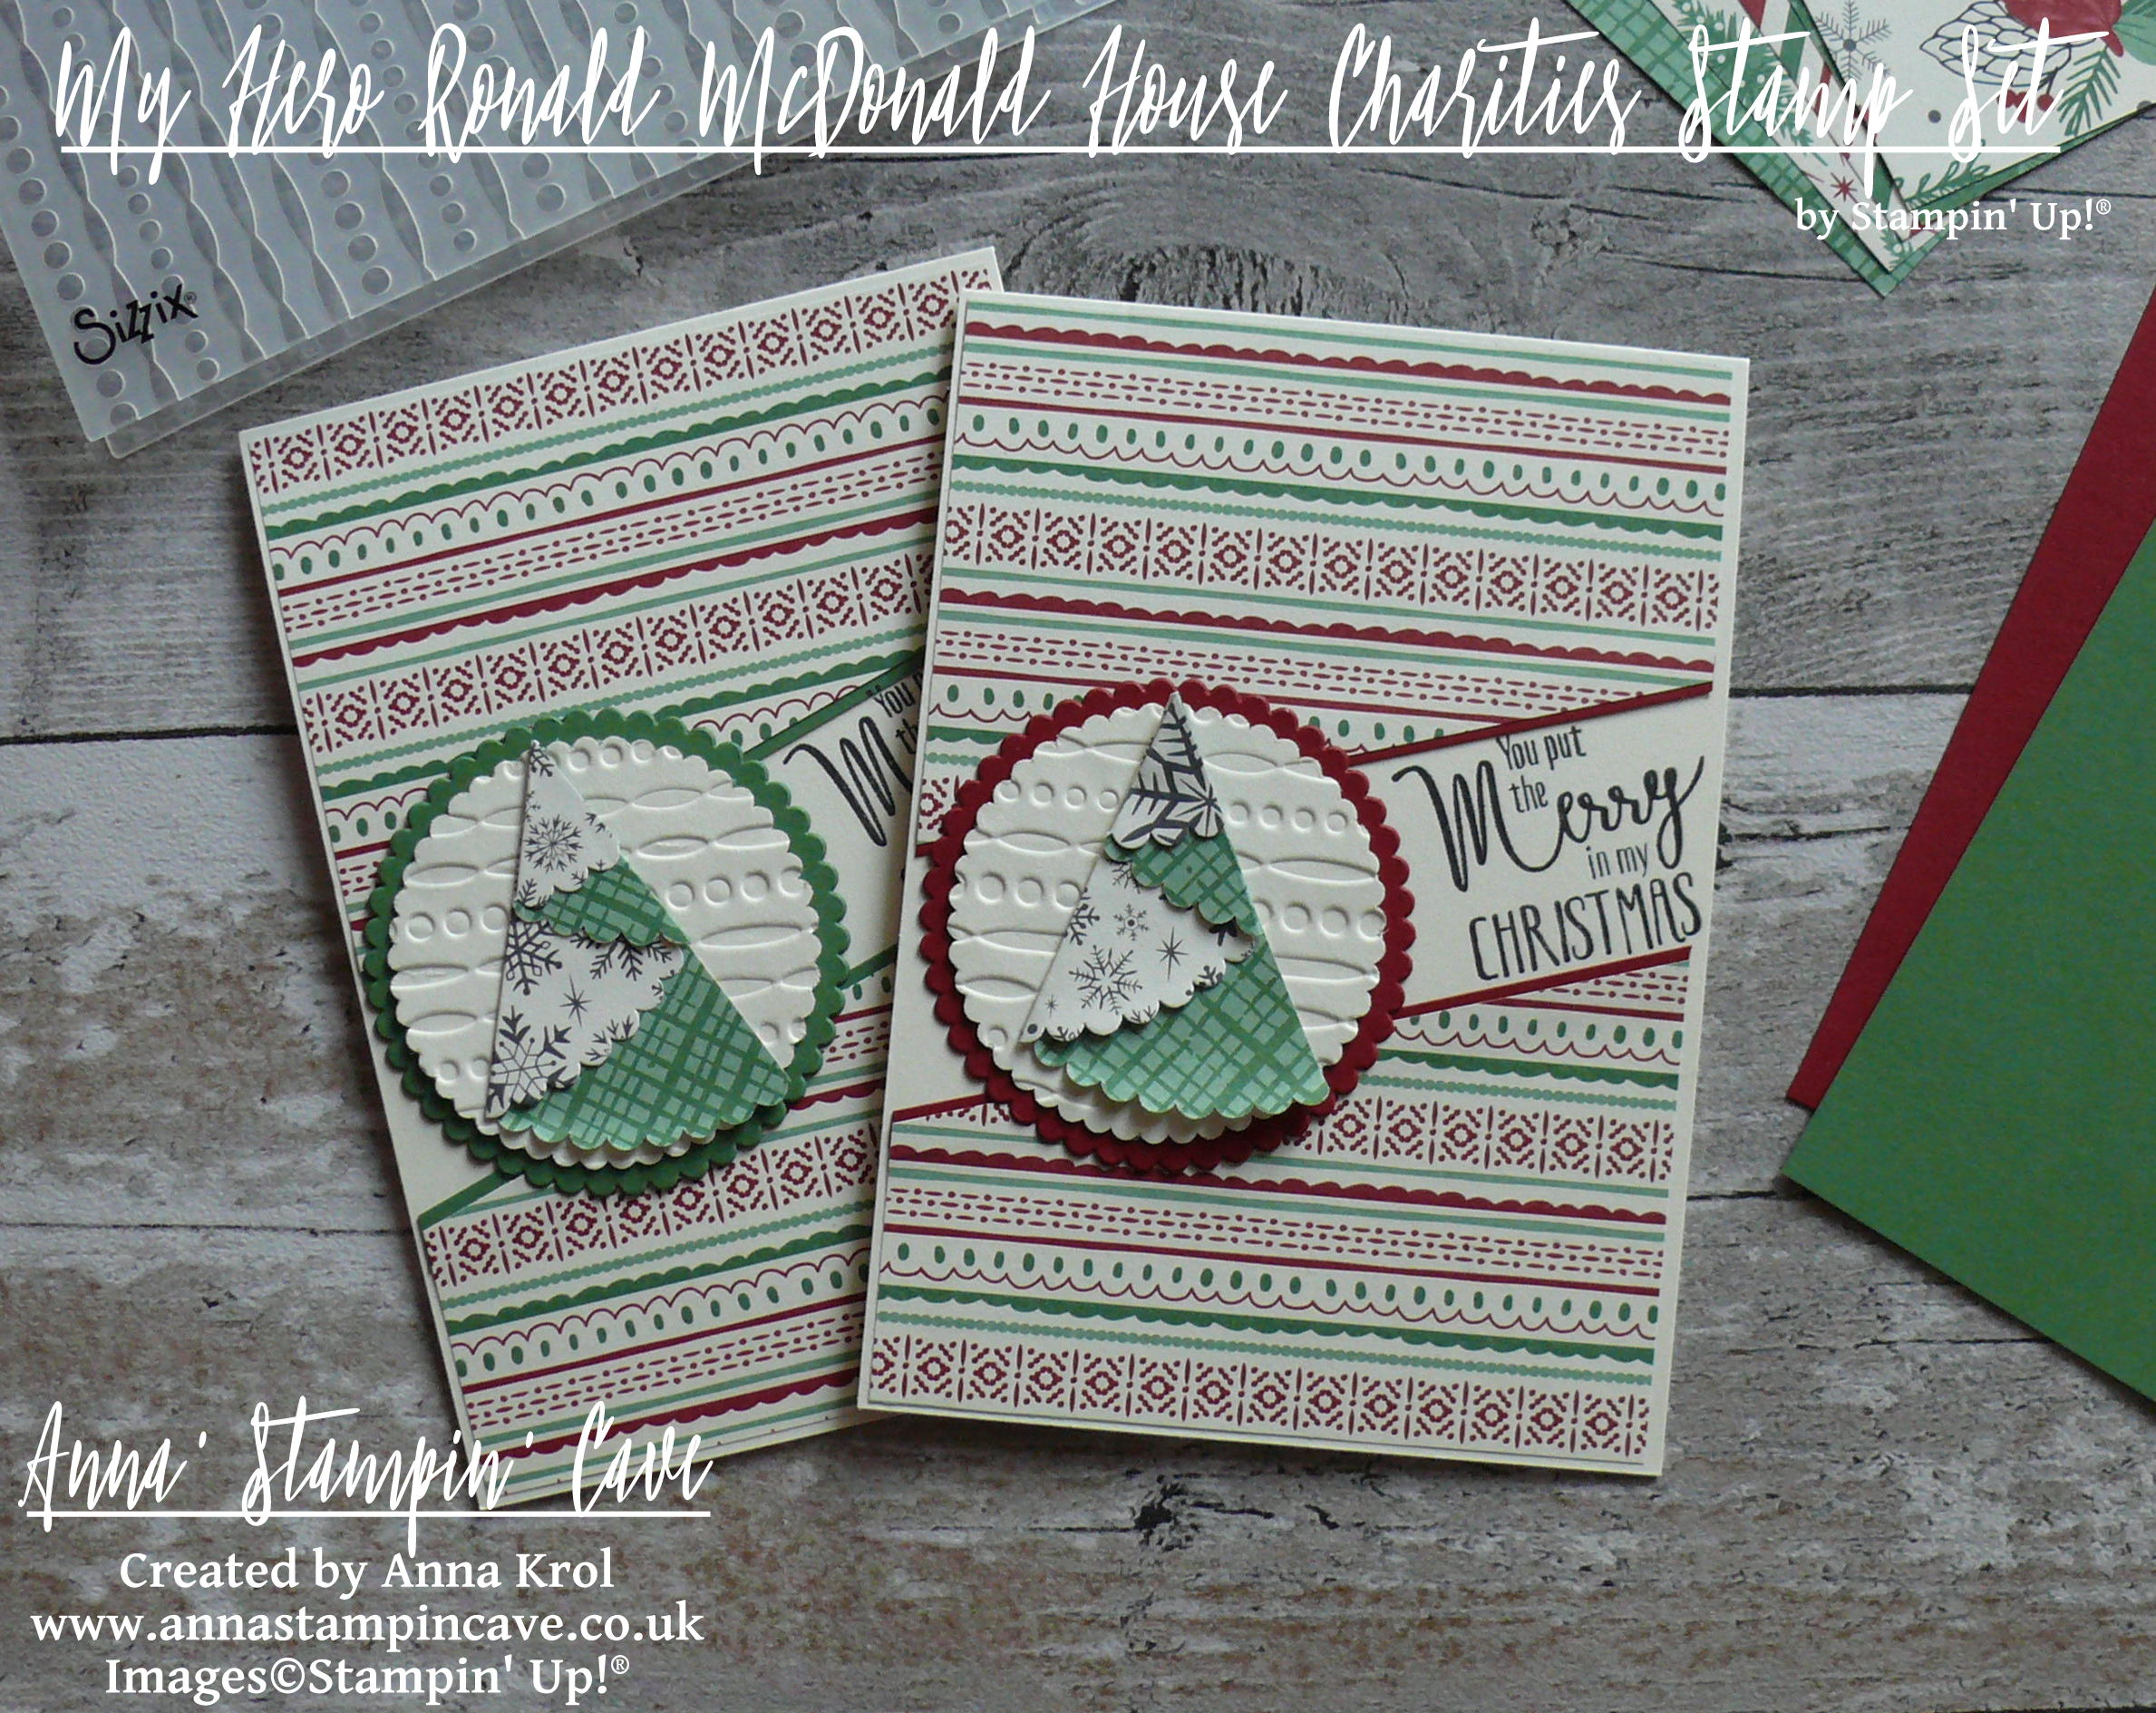
stampin-up-my-hero-rmhc-stamp-set-you-put-the-merry-in-my-christmas

Aren’t they lovely?! And they are so easy to make.

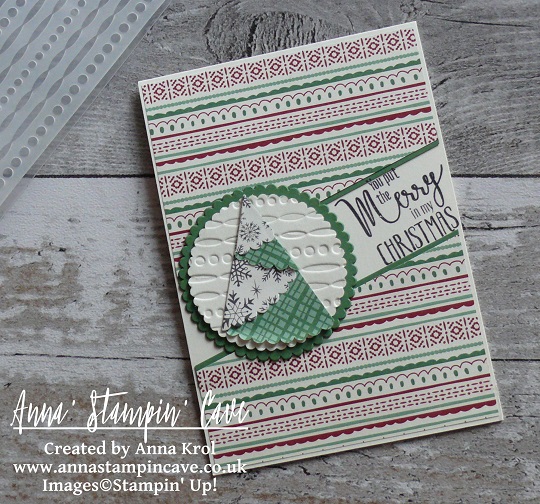
The card base is standard top folded A6 in Very Vanilla and I’ve used beautiful This Christmas Specialty Designer Series Paper for my panels. These were supposed to be simple, straightforward cards, but then again, I can’t make things that are too easy, can I?! So I decided to turn them into a split panels cards.

The panels I prepared earlier were 4 x 5-6/8″ in size. To create split panels, I cut them diagonally into 3 and removed the middle piece. I cut narrow strips of Garden Green and Cherry Cobbler cardstock and glued them underneath my split panels to accent the’split’. I adhered the panels to the base using snail adhesive.
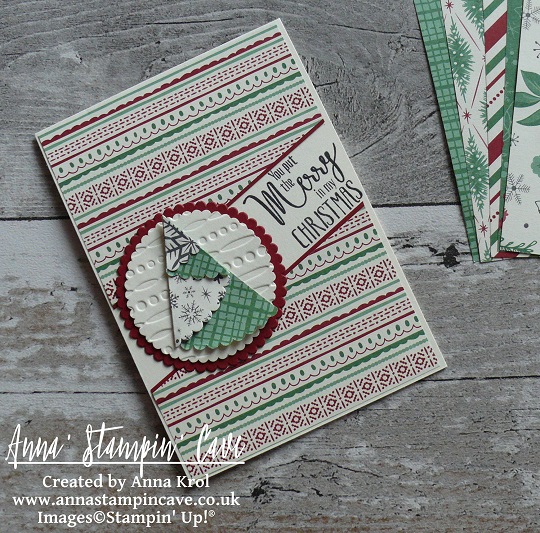
stampin-up-my-hero-stamp-set-you-put-the-merry-in-my-christmas-cherry-cobbler

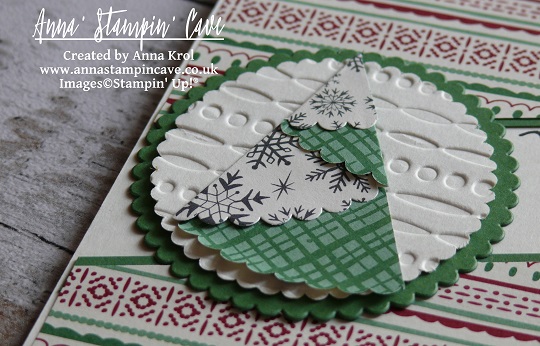
Using my Stamp-A-Ma-Jig I stamped the sentiment in the ‘split’ area. Next, I created these uber cute mini Christmas trees. To make them, I die cut a scalloped circle from a sheet of the same DSP, just a different design. I cut it in half, fold it into ‘tree’ and secured my folds with mini glue dots.
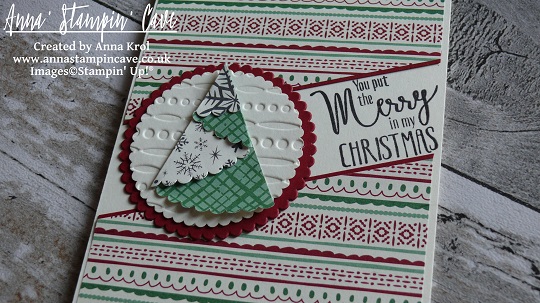
stampin-up-my-hero-stamp-set-you-put-the-merry-in-my-christmas-cherry-cobbler-2

Because design on this paper is quite ‘busy’, you couldn’t really see the trees, once attached to the card. So I die cut 2 scalloped circles in Very Vanilla and run them through my big shot with Festive Embossing Folder.
stampin-up-my-hero-stamp-set-you-put-the-merry-in-my-christmas-garden-green

Next, I die cut 2 slightly bigger scalloped circles: one in Garden Green and one in Cherry Cobbler to create mats for Very Vanilla pieces. Adhered them together (de-bossed side up) and then added my trees on top.
stampin-up-my-hero-stamp-set-you-put-the-merry-in-my-christmas-garden-green-2

First I thought to pop my circles up with dimensionals. But because these cards got quite of dimension anyway, I adhered them to the base with snail adhesive.

Super easy, aren’t they? I hope you like them. As always, if you wish to purchase any of the products I have used, simply click the images below to go directly to my online shop and don’t forget to enter the hostess code for the month of September RKW34AHD, to receive a gift from me.

I’m also adding my card to Craftyhazelnut’s Patterned Paper September 2016 challenge

Thank you for stopping by and have a blessed day,

CAS Card – Birthday Blooms Meets Wink Of Stella

Anna’ Stampin’ Cave – CAS Card – Birthday Blooms Meets Wink Of Stella

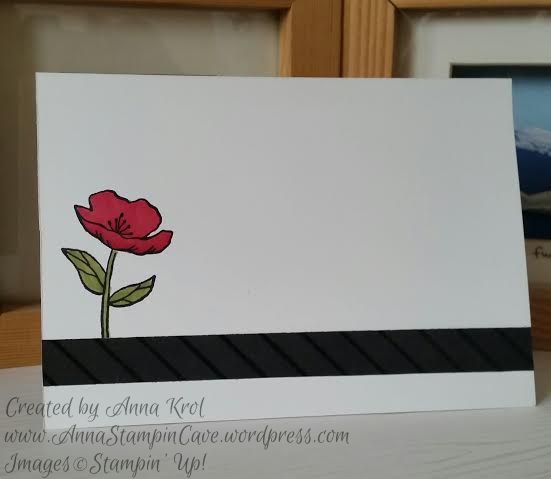
Birthday Blooms 3

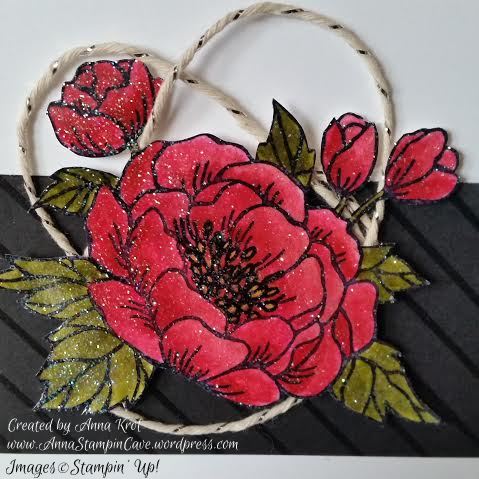
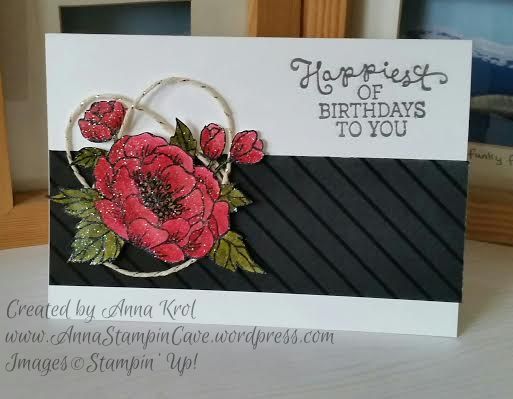
Today I’ve got for you beautiful, clean and simple (CAS) birthday card. I am so happy that Birthday Blooms stamp set staying with us for another year. I love this set for it’s stunning, bold flower image.

For the base, I took a piece of  Whisper White cardstock that measures 5-7/8″x 8-2/8″ and fold it in half at 4-1/8″. Next, I cut a strip of this beautiful, embossed Color Me Irresistible DSP in Basic Black and adhere it to my base. The strip measures 2″ x 5-7/8″.

Birthday Blooms

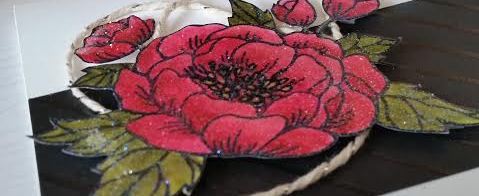
I stamped the flower image in Basic Black Archival ink and watercolour it. For the petals, I’ve used Watermelon Wonder and Rose Red. Center of the flower is Crushed Curry – I fell in love with this shade of yellow just recently. And leaves are a mix of Old Olive with a gentle touch of Always Artichoke.  First, I added my colours and shadings with blender pens. Next, I used my Aqua Painter to blend it nicely and to add more colour or shading if required.

I let my flower dry completely and then fussy cut it. I should probably mention that as I knew I will fussy cut it, I’ve used regular Whisper White cardstock for the flower. Because my hands are quite numb and I find it hard to do more intricate things, I cut off tiny leaves from the flower. Really wasn’t able to fussy cut them. However I’m pretty chuffed with myself that I managed to fussy cut the little buds, it took me a while, though.

Birthday Blooms 3

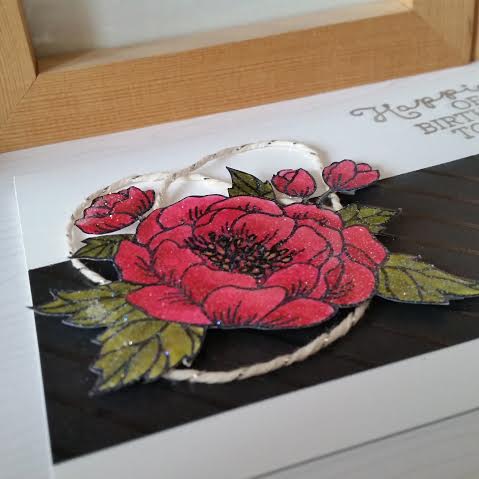
While the flower was drying I stamped the sentiment, from the same stamp set, in Versamark and heat embossed it with silver embossing powder. I really like this curly font. I assembled the flower using dimensionals and added some Silver Metallic Baker’s Twine underneath.

Birthday Blooms 2

I stamped the inside of my card too. I used the single flower from the set, but this time, I colour it only with blender pen so it doesn’t bleed through. I also added a strip of the same DSP (5-7/8″ x 1/2″), to match the card front.

The last touch was to add some shimmer to my beautiful flower, using Clear Wink Of Stella Glitter Brush Pen. I love this stuff!

Birthday Blooms 5

I love how this card turned out! I have to admit that CAS cards are growing on me but I still have a tendency to overthink and overcomplicate them. I’m a grungy-distress at heart, you know haha

I’m adding my card to Crazy 4 Challenges #C4C333 – April Showers bring May flowers!

Now I would love to hear from you. Do you like my today’s card?

Thank you for stopping by! Have a blessed day,