Anna’ Stampin’ Cave – 72 Hour FREE SHIPPING Starts Today!

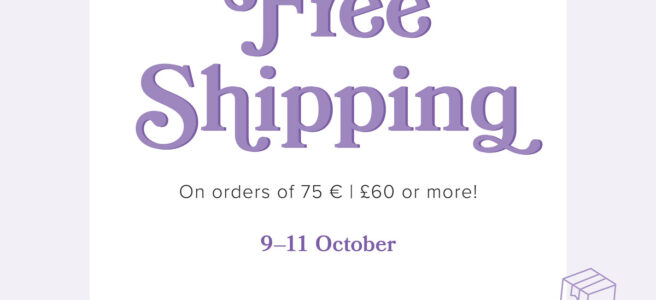
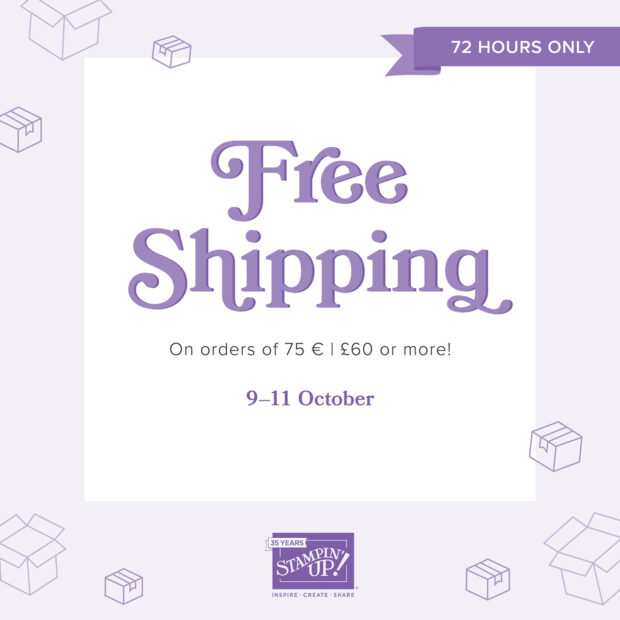
It’s time for you, my lovely customers, to stock up and save on your favourite Stampin’ Up! products! What’s the big occasion? From 9–11 October, we are offering FREE shipping on orders of 75 € | £60 or more (price before shipping and handling). This incredible deal lasts for three days only, so don’t miss out!
PROMOTION DETAILS
Date: 9–11 October
ORDERING INFORMATION:
- All order types qualify for this promotion (customer, demonstrator, workshop, and online).
- Free shipping applies after the qualifying amount (per market) has been met.
- The minimum qualifying amount to receive free shipping is 75 € | £60 (before shipping and handling).
- If you or your customers are using a coupon code or product credit, please remember that they are non-commissionable and will lower the order’s retail amount. The order must still meet the qualifying threshold to be eligible for free shipping.
- Free shipping only applies during the three-day period the promotion is live in each market; this means that the order must be opened and closed between 9–11 October.
Please note that, due to the time difference, this promotion will start on 8 October at 11:00 p.m. in Ireland and the United Kingdom. - The free shipping promotion does not cover the additional cost for expedited shipping.
- Please keep in mind, that with any product launch, the distribution centre may fall behind our typical shipping timeframes. In such cases, we will do all we can to return to our regular service levels as quickly as possible.
Ordering Deadlines
Phone: 11 October 2023 at 4:59 p.m. (IE, UK)/17:59 (BE, NL)
Online: 11 October 2023 at 10:59 p.m. (IE, UK)/23:59 (BE, NL)
Use this code while shopping to receive my special gifts!
- For every order of a minimum of £25 (before shipping), you will receive from me these amazing Exclusive PDF Tutorials
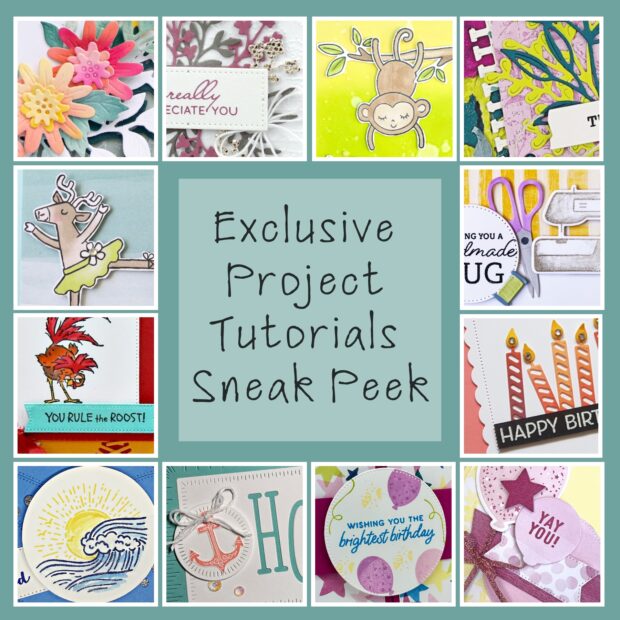
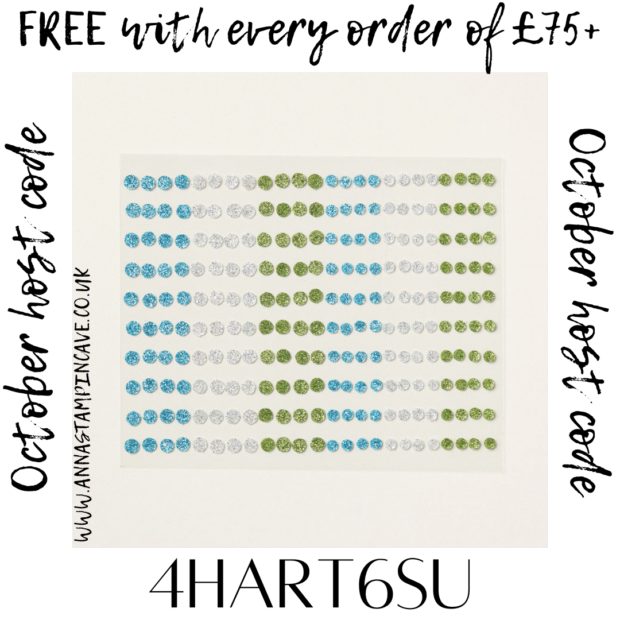
- For every order of £75 + (before shipping), you will receive from me, for free, an Exclusive PDF Tutorials Bundle and a brand new pack of Adhesive-Backed Glitter Sequins
How it works –
- Place a product order of £25 or more (excl. shipping) in my online store in October.
-
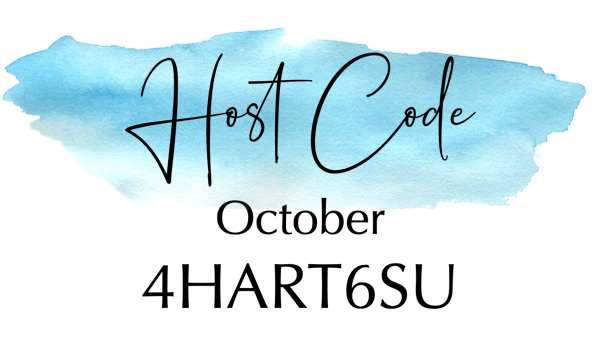
- Add Host Code 4HART6SU – To claim your reward – either just the Exclusive PDF Tutorials (£25) or FREE products (£75) – you must include this code in your ordering process.
-
- This October Special will be applied to all qualifying orders placed through my shop using Host Code 4HART6SU between 1 – 31 October 2023.
- If your order is £150 or more please do not use Host Code. You will earn your own Host Rewards to spend.
- IMPORTANT: My FREE Monthly Special Host Gift will be mailed separately from any order and will arrive in mid-November
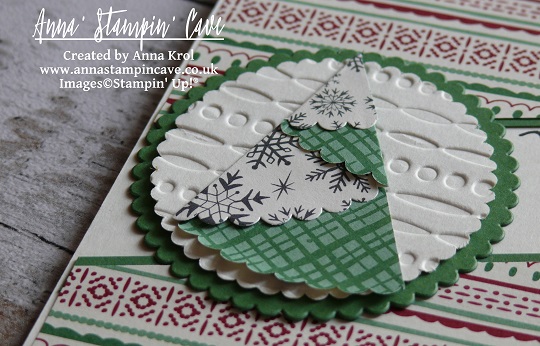
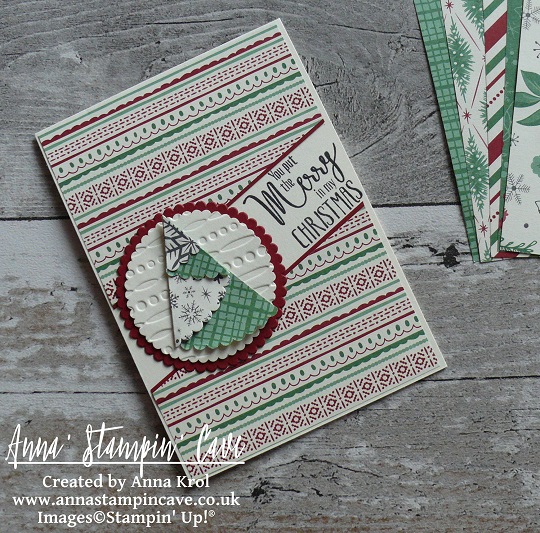
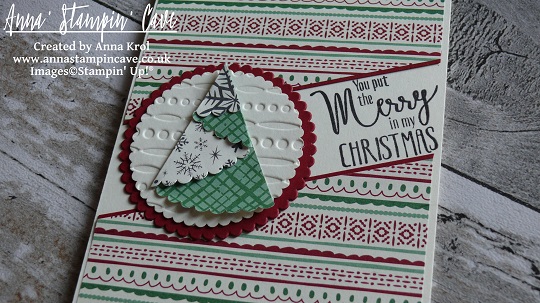
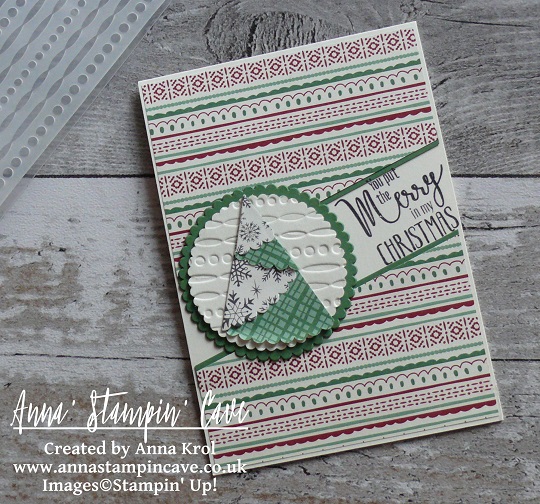
- PDF’s will include the photos of the finished projects, a list of products used and step by step instructions.
Thank you for stopping by, have a blessed day