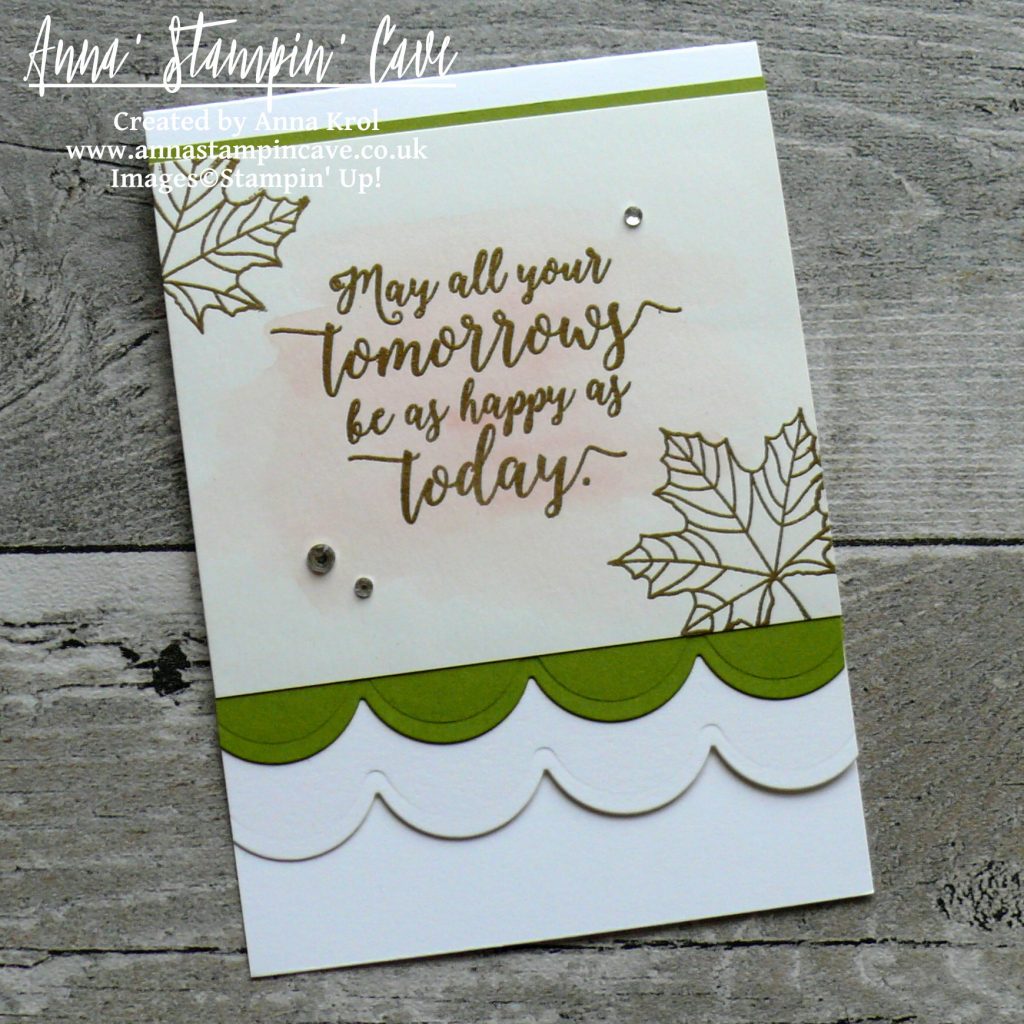
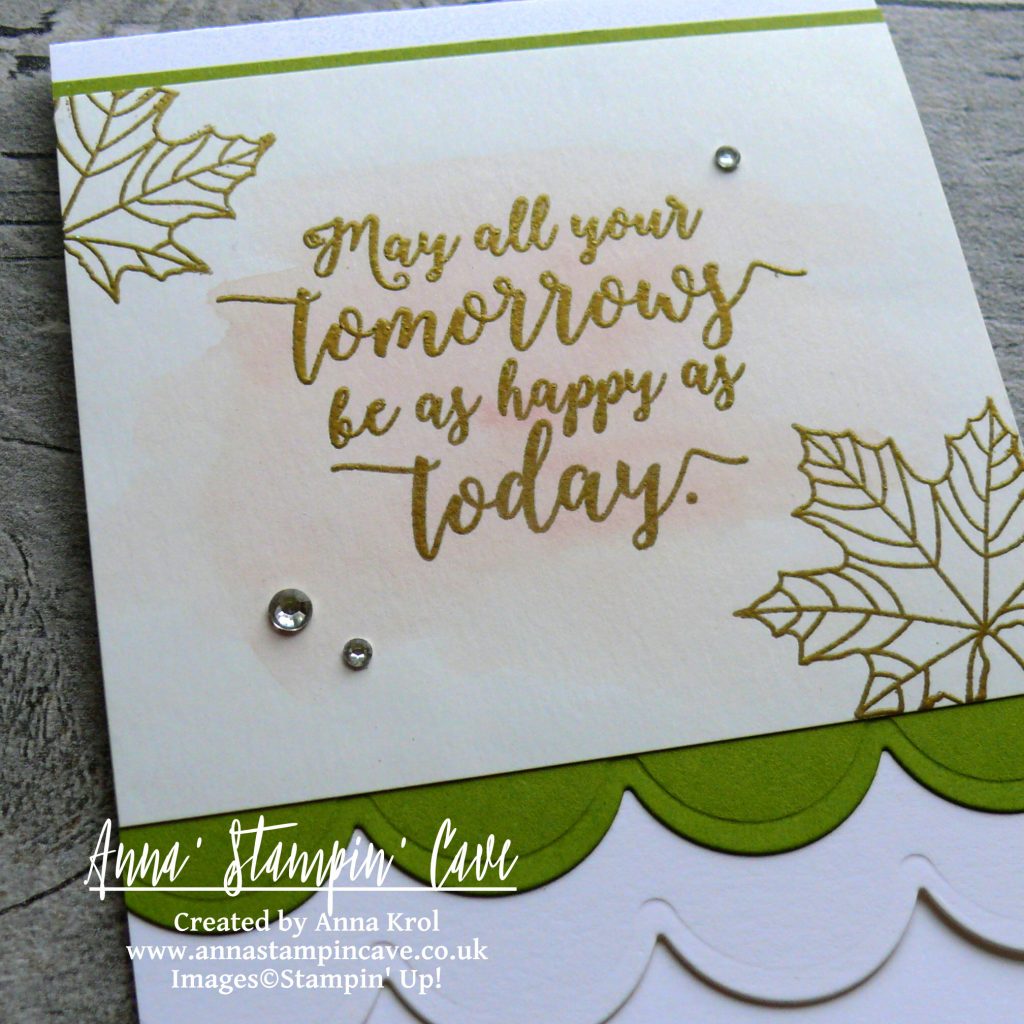
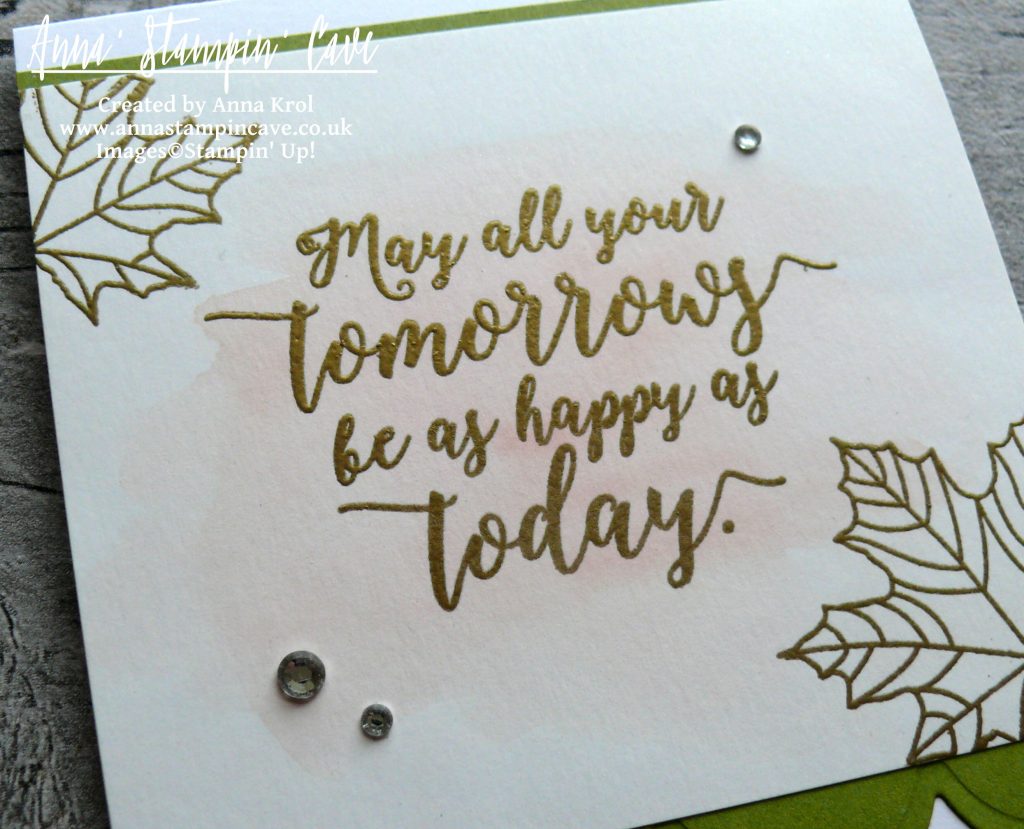
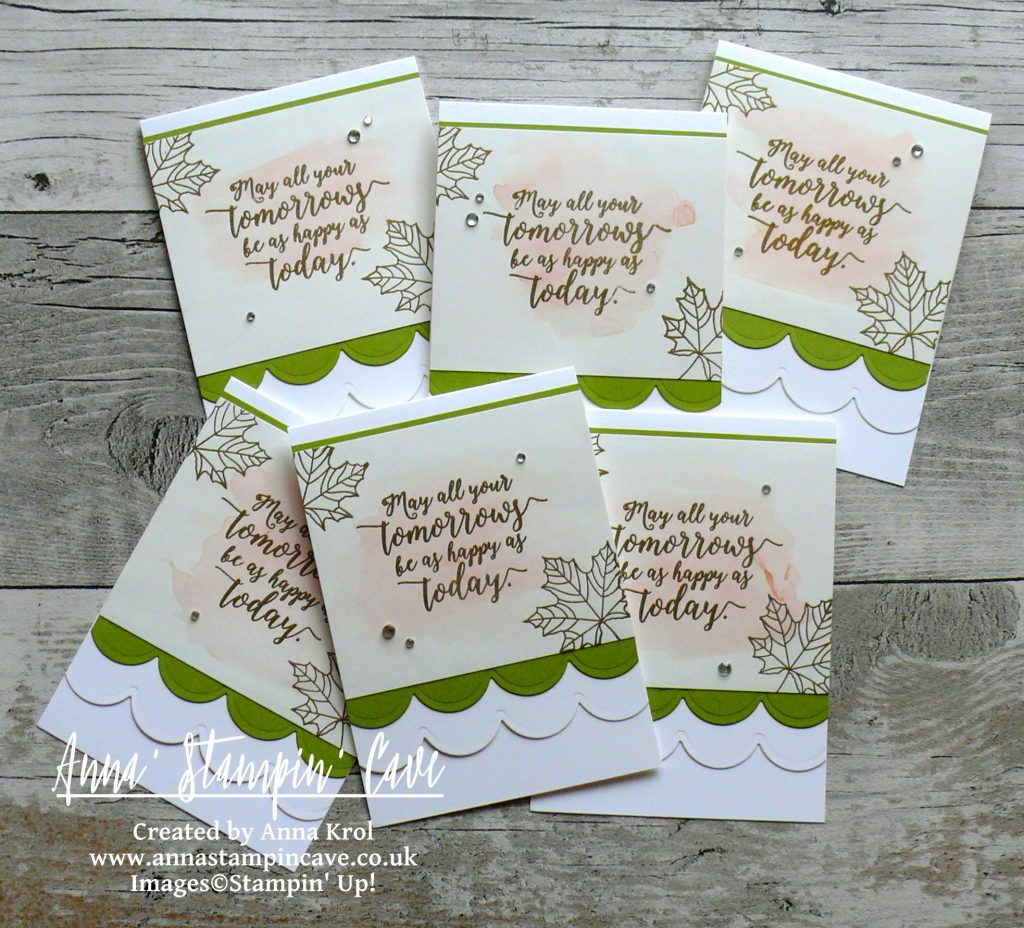
Watercolour Wash Using Colorful Seasons Bundle For #GDP088

Phewww! Finally, some air in the air after a heat wave we experienced lately. Don’t get me wrong: I love summertime. I’m just not a fan of hot weather when you can’t do any activity without gasping for the air. And how funny it may sound, in the UK 26C is hardly bearable. But today I woke up very early to the amazingly fresh breeze. I jumped out of bed (well not literally as I still can hardly walk), fixed some quick breakfast to take my medications, got my Bible study done (book of Judges – loveee) and off I go to my ‘cave’ before the ‘house’ woke up.

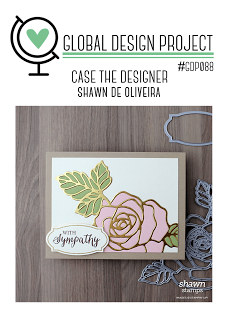
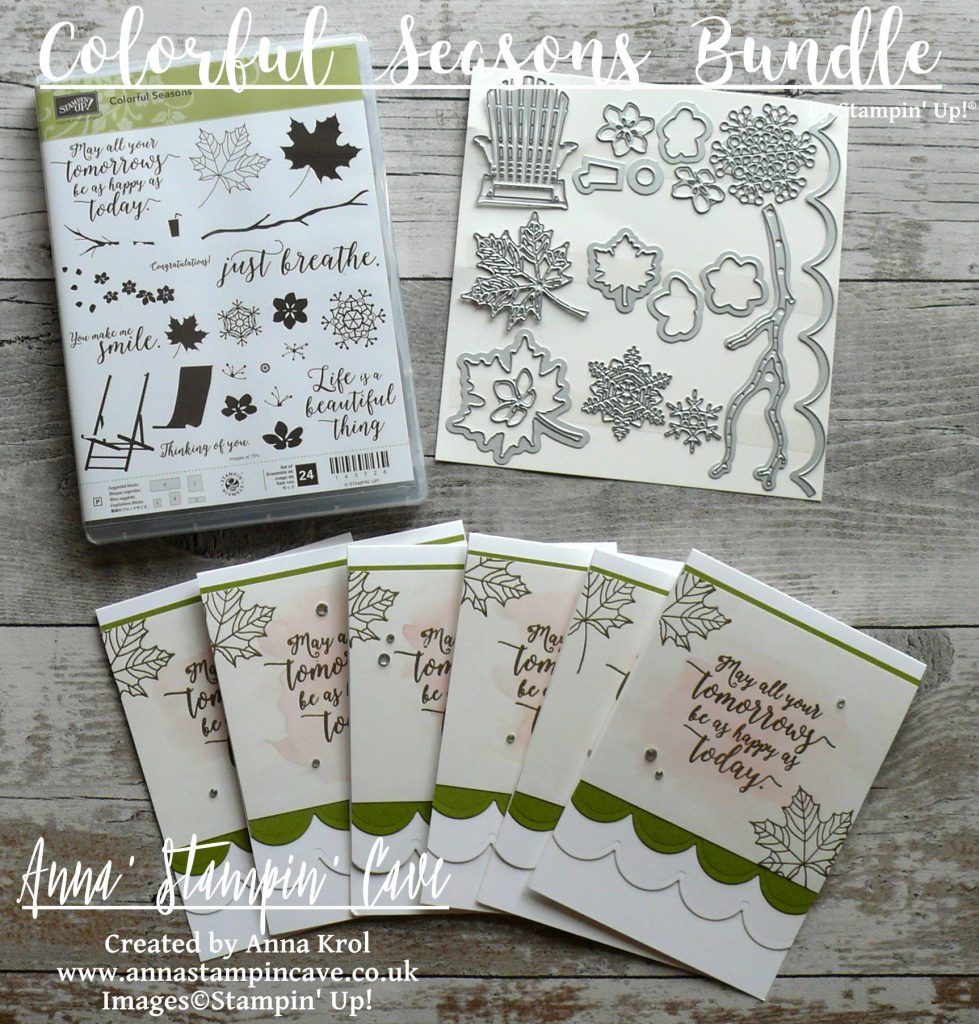
Since over a week, I’ve been ‘dying’ to crack open the Colorful Seasons Photopolymer Stamp Set and coordinating Seasonal Layers Thinlits Dies. And what a better excuse (not that I need one haha) than taking a part in Global Design Project. Especially that this week we are CASE’ing extremely talented, Shawn De Oliveira.

Rose Wonder Stamp Set and Rose Garden Thinlits Dies are one of my favourites from 2016-17 catalogue and I’m really happy that they are staying with us for another year (at least). But for my project today I really wanted to ‘play’ with new products.

What I ‘borrowed from Shawn’s card is the colour combination of soft pink and green with a touch of gold. And because I had all my supplies out I’ve made not one but six cards. Since a couple of months, I belong to amazing facebook group Random Act Of Kindness, where each month we are sending cards to random recipients. ‘It is more blessed to give than to receive.’ (Acts 20:35)

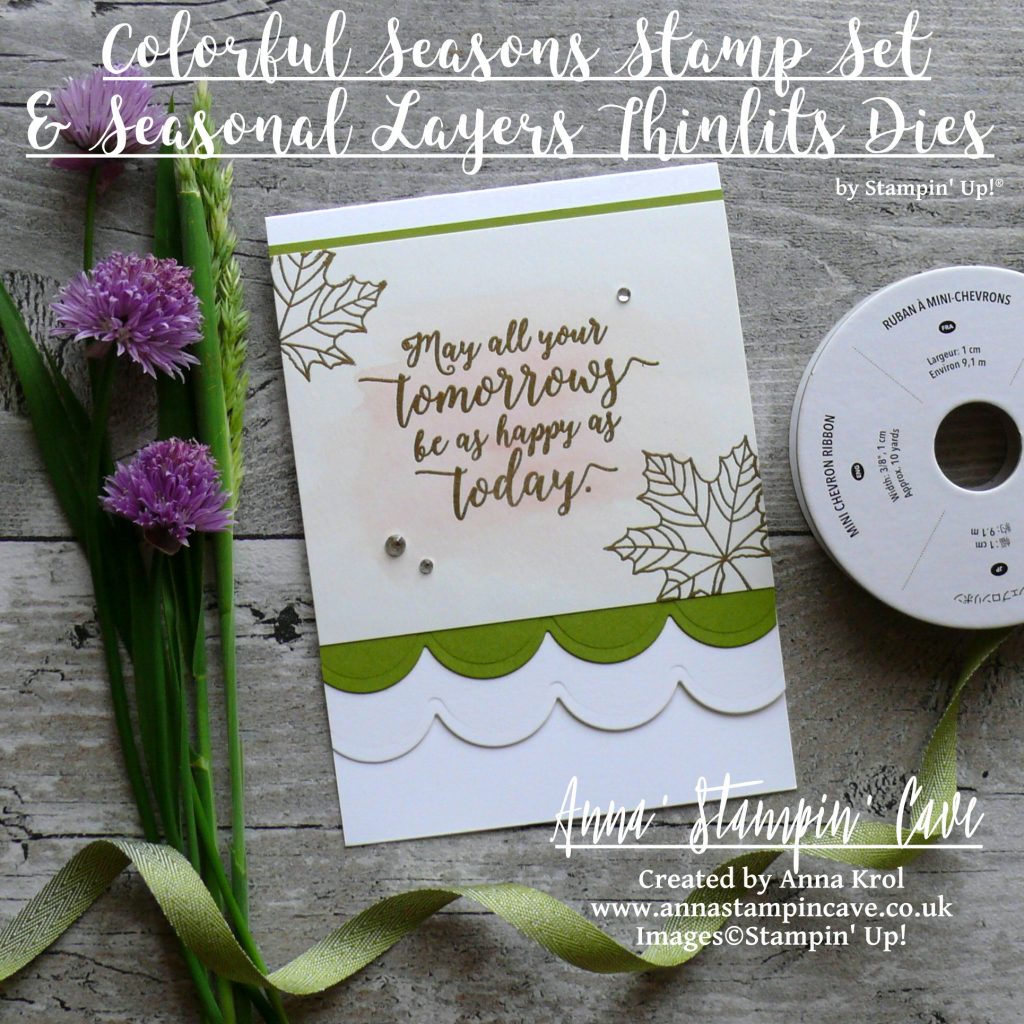
Colorful Seasons card dimensions:

  • Whisper White Thick cardstock card base: 11-6/8″ x 4-1/8″ scored in half at 5-7/8″ (29.7 x 10.5 cm scored in half at 14.8 cm)
  • Shimmery White cardstock: 3-1/2″ x 4-1/8″ (8.9 cm x 10.5 cm)
  • Old Olive cardstock two stripes: 4-1/8″ x 7/16″(briefly) and 4-1/8″ x 1″ (10.5 cm x 1.2 cm and 10.5 cm x 2.6 cm)
  • white cardboard from the back of DSP: 4-1/16″ x 2-1/2″ (10.4 cm x 6.3 cm)

I started with creating a scalloped edge to my card base. On the front of the card base, I measured 1″ from the bottom, centred the scallop edge die and secured it with a piece of washi tape (so it won’t shift) and run it through the big shot. Next, using the same die I created a scalloped edge on the wider strip of Old Olive cardstock.

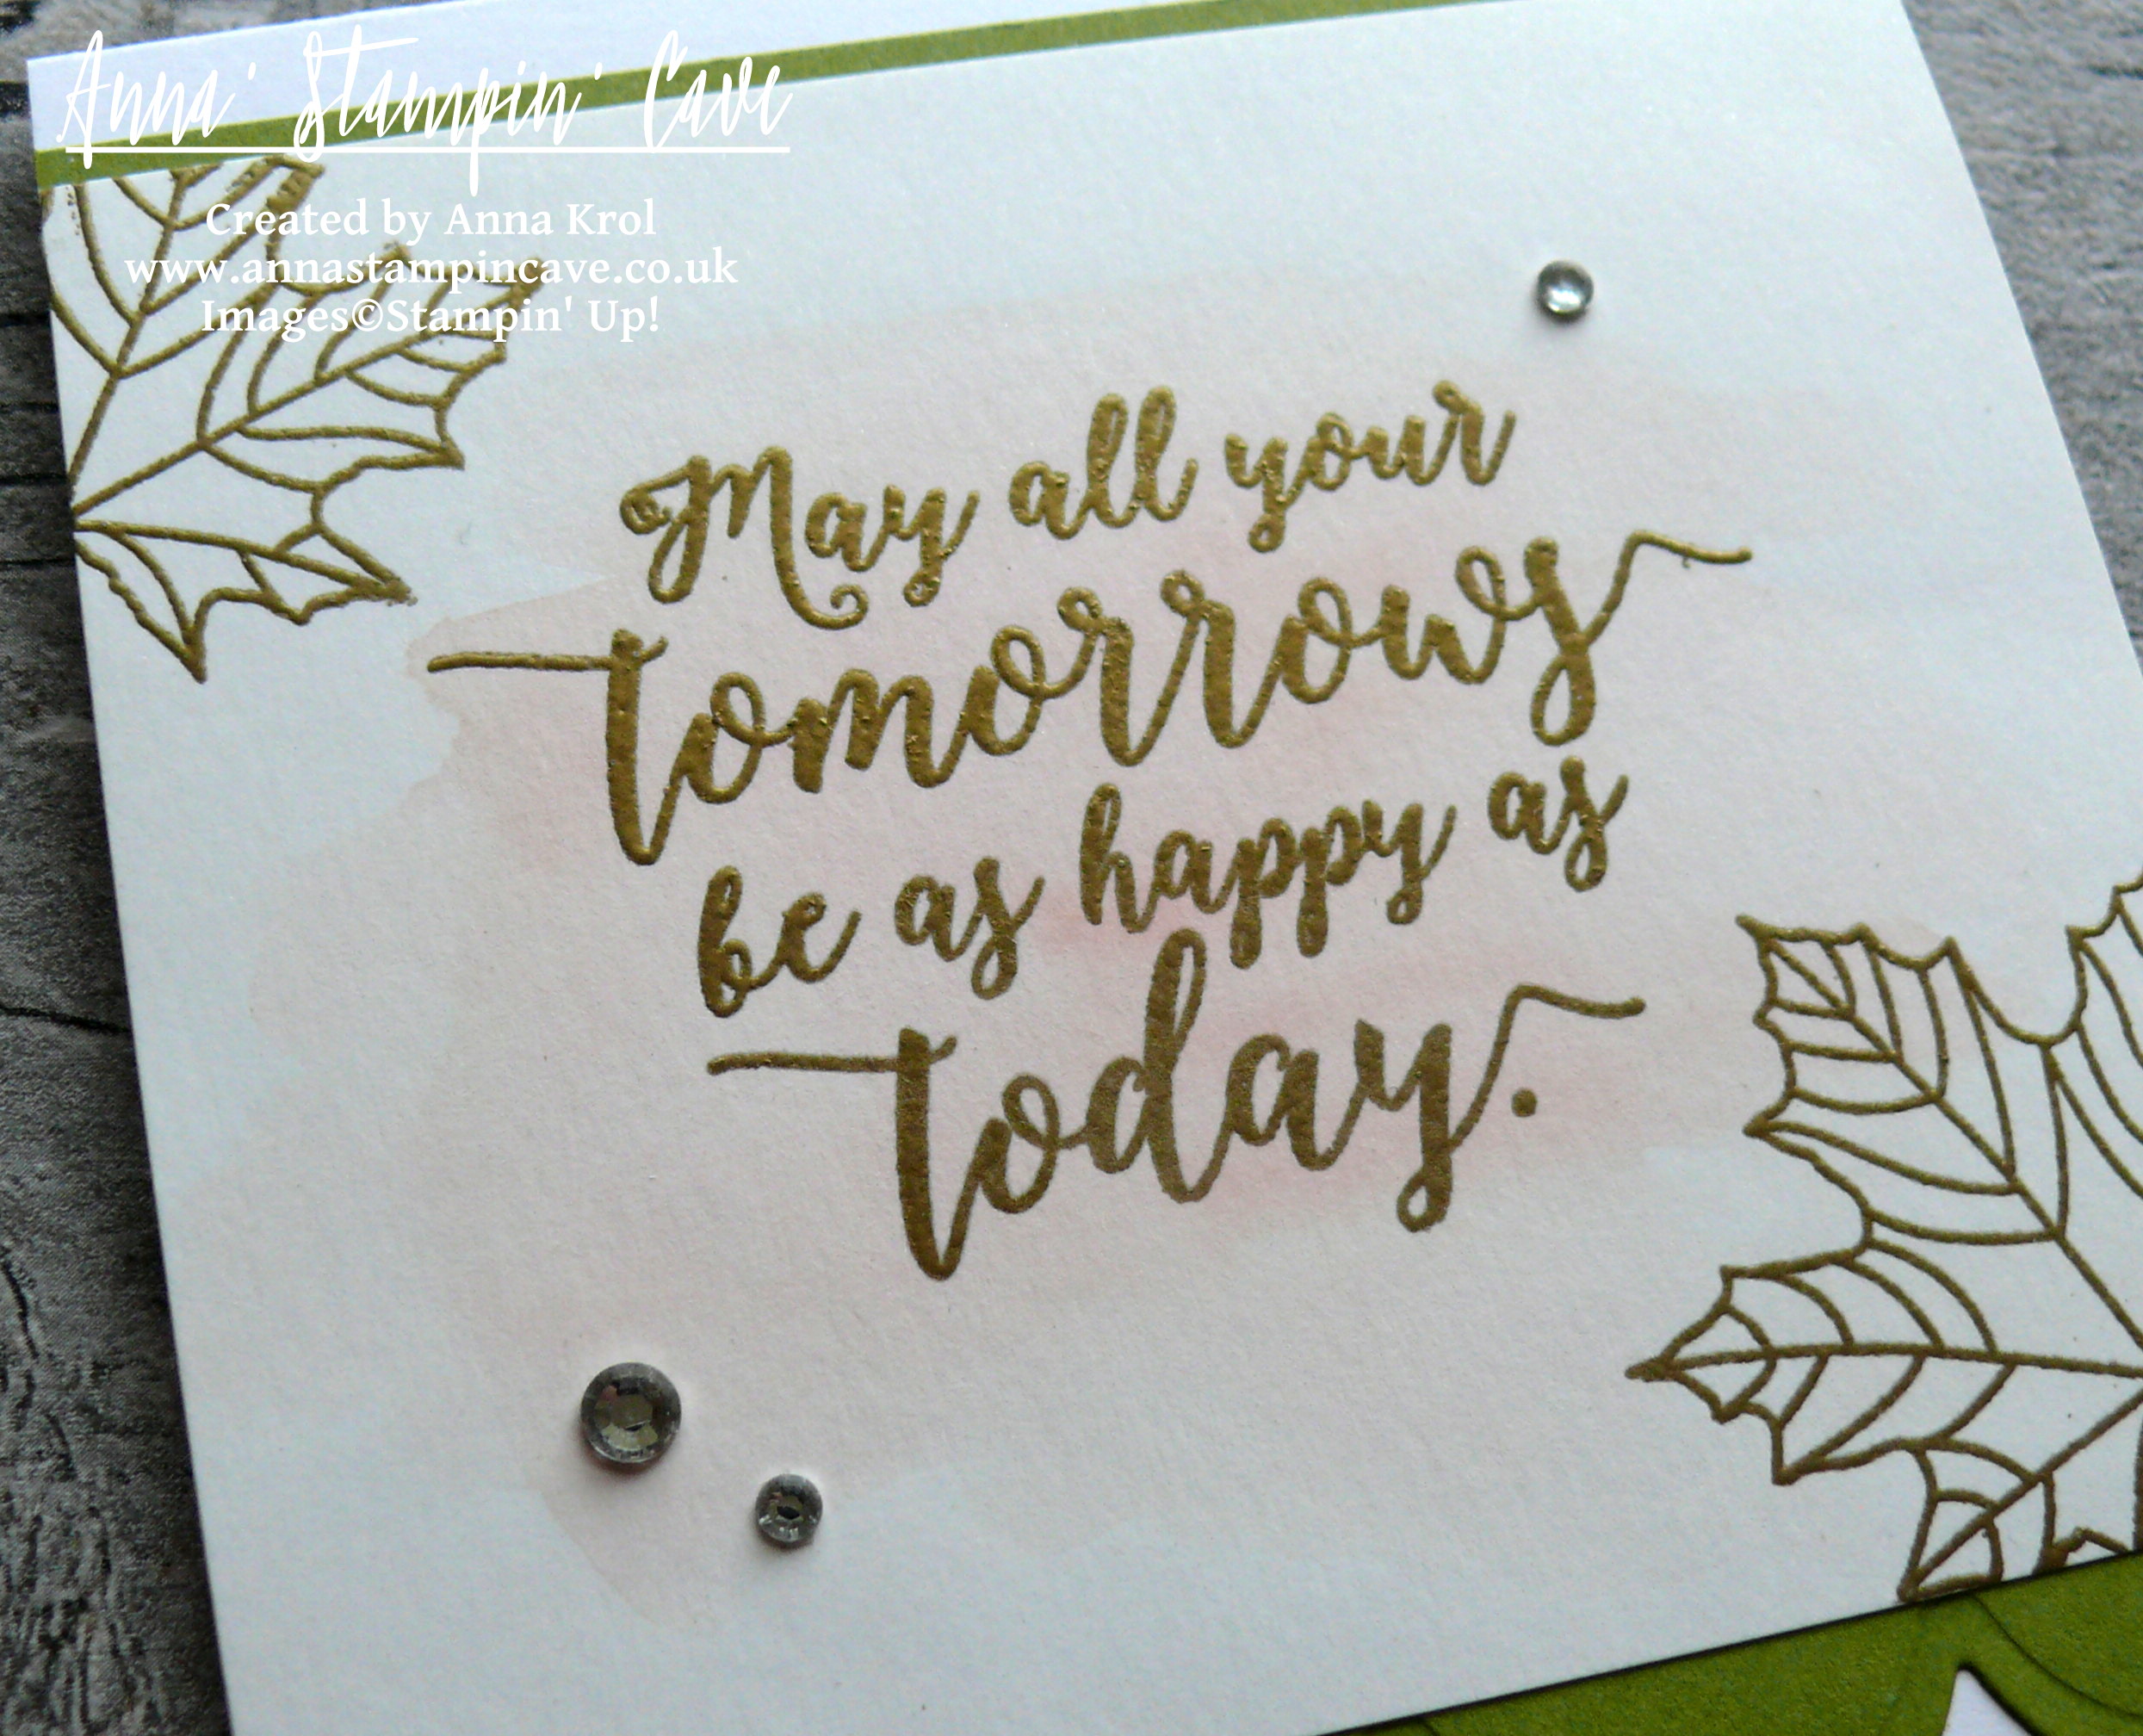
For the watercolour wash, instead of watercolour paper, I’ve used Shimmery White cardstock. It’s beautiful on its own but great for light watercolouring too; plus gives your work delicate shimmery look (hence the name).

Watercolour tip: While your ink pad is closed give the lid a gentle squeeze. It will transfer a little pool of ink from the ink pad into the lid.  Open your ink pad. Now you can pick up the ink with your aqua painter or with the tip of your blender pen.

I took aqua painter and I wet the surface of my panel slightly. I didn’t add the water to the entire piece, just to the centre. I picked some Blushing Bride ink with my aqua painter and I’ve done a quick wash of colour over the panel. Dried it with my heat tool.

When the panel was completely dry I rubbed it with embossing buddy to make sure embossing powder won’t stick where it shouldn’t. I stamped the sentiment and maple leaves with Versamark ink, covered them with gold embossing powder and heat set it.

I adhered Old Olive stripes behind the watercoloured panel with liquid adhesive. And now the #facepalm moment: paper + water = warping! …what was I thinking?! To rescue my watercolour pieces: strengthen and straighten them up, I cut rectangles from the white cardboard (I always save backings from DSP) and adhered them behind the panels, between two Old Olive pieces, with a fast fuse.

I assembled my cards with liquid glue. For a final touch, I decided to add few rhinestones. And that’s my cards done.

As always, I really want to encourage you to visit the Global Design Project challenge blog to see other beautiful projects from all around the world. Just click on their logo below to visit the website

Thanks for visiting my blog today. Have a blessed day

Something Old, Something New…Kind Koala Birthday Card

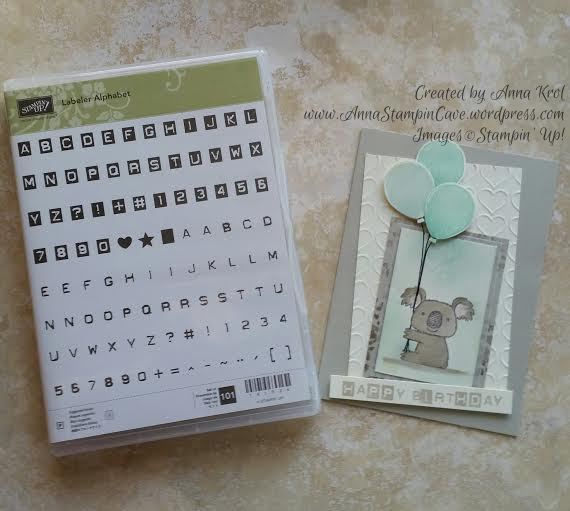
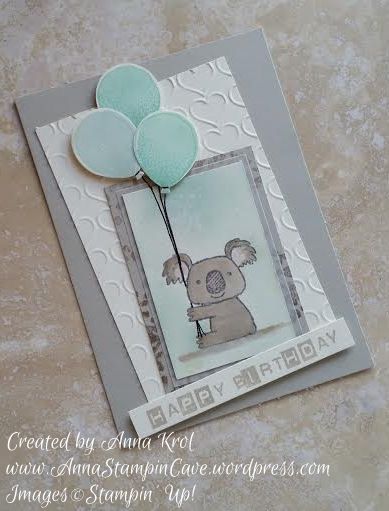
Hello, everyone! Something old, something new…Today I’ve got for you really adorable birthday card using sadly retiring Kind Koala stamp, and also a sneak peek at new Labeler Alphabet stamp set.


Kind koala

Isn’t this little koala cutest ever!? The base of my card is standard, top folded A6 in Sahara Sand. For the background, I’ve used Very Vanilla and dry embossed it with Happy Heart embossing folder.

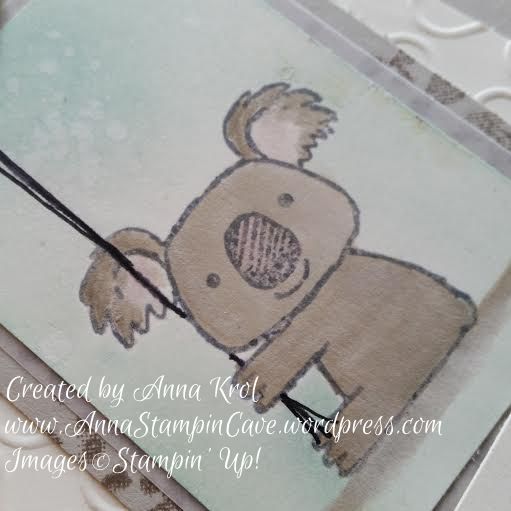
Because I wanted this card to be a birthday card I used washi tape to cover the flower and a sentiment on my stamp before I inked it up in Basic Grey Archival Ink. Next, I stamped my cute koala on a piece of Very Vanilla. Just remember to take off the washi tape first or you will have a disaster. Guess how I know lol I also stamped him on a scrap of paper to create a mask I will need later.

Kind koala 4

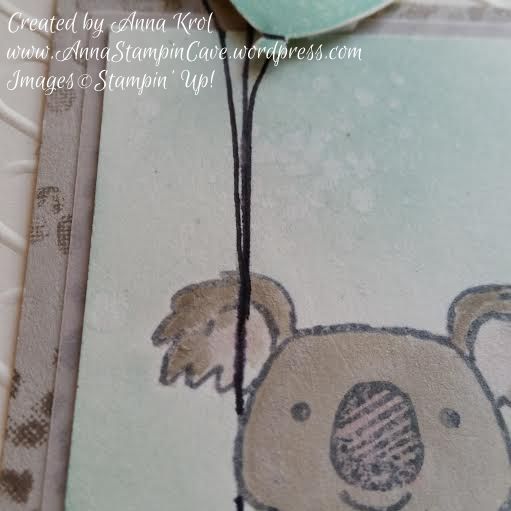
I watercolour my little fella in Sahara Sand and added some shadow underneath him. I also added a touch of Blushing Bride to his nose and inside of his ears. When I was happy with the results I masked my koala and sponged the background with Soft Sky and Pool Party. Then I used the aqua painter to add few droplets of water to the background and took off a little bit of the colour.

Kind koala 2

Next, I matted my koala panel with a piece of vellum and a slightly bigger piece of Sahara Sand. But to add some more interest to this panel I stamped it with Tip Top Taupe using the foliage stamp from Sheltering Tree. I assembled all my panels.Now was time for balloons!

Kind koala 5

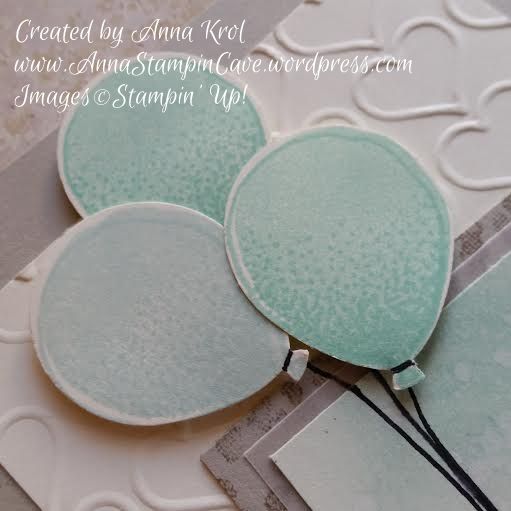
I stamped three smaller balloons from Balloon Celebration, two in Pool Party and one in Soft Sky, punch them with Balloon Bouquet punch and arrange them on the card using dimensionals. I also hand-drew balloon strings with Project Life pen (and yes, I know, I probably should have used a lighter colour, maybe Basic Grey or Smoky Slate marker) so it looks like koala is holding them in his paw.

kind koala 3

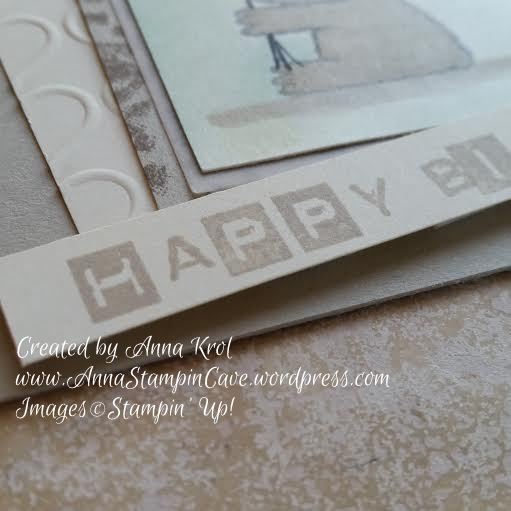
The card was busy enough so I kept the sentiment simple. I cut a strip of Very Vanilla and stamped my sentiment in Sahara Sand, using Labeler Alphabet stamp set. To keep it fun I mixed both types of letters and add it at wonky angle to my card.

Kind koala 6

Dimensions:

Very Vanilla:

  • 3-1/8 x 4-6/8″
  •  2 x 3-2/8″
  • 1/2 x 3-5/8″

Sahara Sand:

  • 2-2/8 x 3-4/8″

Vellum:

  • 2-1/8 x 3-3/8″

I’m adding my card to

Do you like my little card? I truly hope you do. Please let me know in the comments below.

Thank you for stopping by and have a blessed day,

Crazy Crafters & Pootlers Spring/Summer & Sale-A-Bration Catalogue Blog Hop

blog hop header

Hello everyone! Welcome to the Crazy Crafters / Pootlers Blog Hop. We are super excited to share with you lots of new products from the soon to be launched seasonal catalogue. We hope you’ll find great inspiration from our projects. If you have arrived here from Stephanie Fischer, a big welcome to you. Be sure to click on the buttons further down to continue your journey on this blog hop.

This blog hop is very exciting not only for the sneak peeks. This is our first collaboration with amazing Kylie Bertucci and her lovely team of Crazy Crafters all the way from Australia! We are thrilled that they invited us to play along. Thank you, Kylie and her team.x

In my project today I decided to incorporate two of my favourite techniques: watercolour and inlaid die-cutting. I have used a brand new set called Rose Wonder with coordinating Rose Garden Thinlit Dies – perfect for techniques!

Stampin' Up! Rose Wonder Bundle

We’ve been given a theme ONE, to use only one stamp set, one ink pad, one DSP, one cardstock etc. Luckily we could also use heat embossing and embellishments. I had to come up with some smart idea how to create my watercolour card with just one ink pad.

For a watercolour panel, I’ve used Lost Lagoon ink pad. It’s such a beautiful shade of blue. But how to create a rose if you only have one ink colour? Perfectly Artistic DSP came as a rescue! All inner pieces of my flower and leaves were die-cut from this DSP and “inlaid” into the rose frame. I love this beautiful paper. It has a marbled effect design on one side, while the reverse side has a watercolour wash. And what’s even better, this paper will be available as a FREEBIE during Sale-a-bration!

Stampin' Up! Rose Wonder Bundle

The frame of the flower, as well as sentiment, are heat embossed in silver. A glittery strip of paper is heat embossed too, using Heat and Stick powder and silver glitter.

Stampin' Up! Rose Wonder Bundle

For my sentiment, I created simple, little banner with a piece of silver doily underneath to add some dimension. Don’t you just love this beautiful font? I’m in love with sentiments in this set.

I truly hope you enjoyed coming to my blog and see my card.

Now, be sure to hop along and see more inspiring projects. Below is the list of all the participants but you can also use the buttons to keep hopping. Your next stop is lovely Emilie Robinson – go and see what she has made using the new items.

Thank you for stopping by and have a blessed day!

previous button   next button

Full Blog Line Up:

Sam Hammond Donald
Angela Lorenz
Angelina Clark
Nicole Spicer
Lea Denton
Bruno Bertucci
Angela Westland
Wendy Boag
Jessie Holton
Camille Moriarty
Stephanie Fischer

Sprinkles Of Life – New Stampin’ Up! Stamp Set For Ronald McDonalds House Charities

Stampin’ Up!’s mission statement, called its Statement of the Heart, reads: “To love what we do and share what we love, as we help others enjoy creativity and worthwhile accomplishments . . . in this we make a difference.”

To help fulfil this statement, Stampin’ Up! launched Making a Difference program in 2003. This program facilitates corporate giving and promotes service among demonstrators and employees.

Through the Making a Difference program, Stampin’ Up! partnered with Ronald McDonald House Charities (RMHC). Each year, we design an exclusive stamp set to promote the partnership with RMHC and donate a portion of the proceeds from each sale of that set. To date, more than $95,000 has been donated from RMHC stamp set sales.

Stampin’ Up!’s demonstrators are also encouraged to volunteer their time teaching local Ronald McDonald House guests the creative art of rubber stamping through the Making a Difference program. Demonstrators also create cards at training events which are donated to Ronald McDonald Houses. Those staying at the Houses then use the cards to keep in touch with loved ones while they are away from home.

And this year is no different…except now there is a matching Tree Builder Punch that coordinate with RMHC stamp set “Sprinkles Of Life”.

1


Isn’t it awesome! First of all this stamp set consists of a whopping number of 22 stamps! Yep! You hear me. And it’s so versatile. You can create cupcakes, ice-creams, trees, flower pots, piles of leaves, clouds…and many, many more. With just one stamp set. Pretty amazing, right? So let me share my little make. 5

And truly, I won’t tell you how many techniques I’ve used on this single card: watercolouring, heat embossing, clear heat embossing on the stamped image, using glitter, sequins, washi tape… and I had tonnes of fun creating it!

4

It just looks yummy! Oh, and cherry on top?!

6

Cherry is made from an apple, water coloured and clear embossed to add a little bit of shine.

Hope you like my little project.

Thank you for stopping by,